
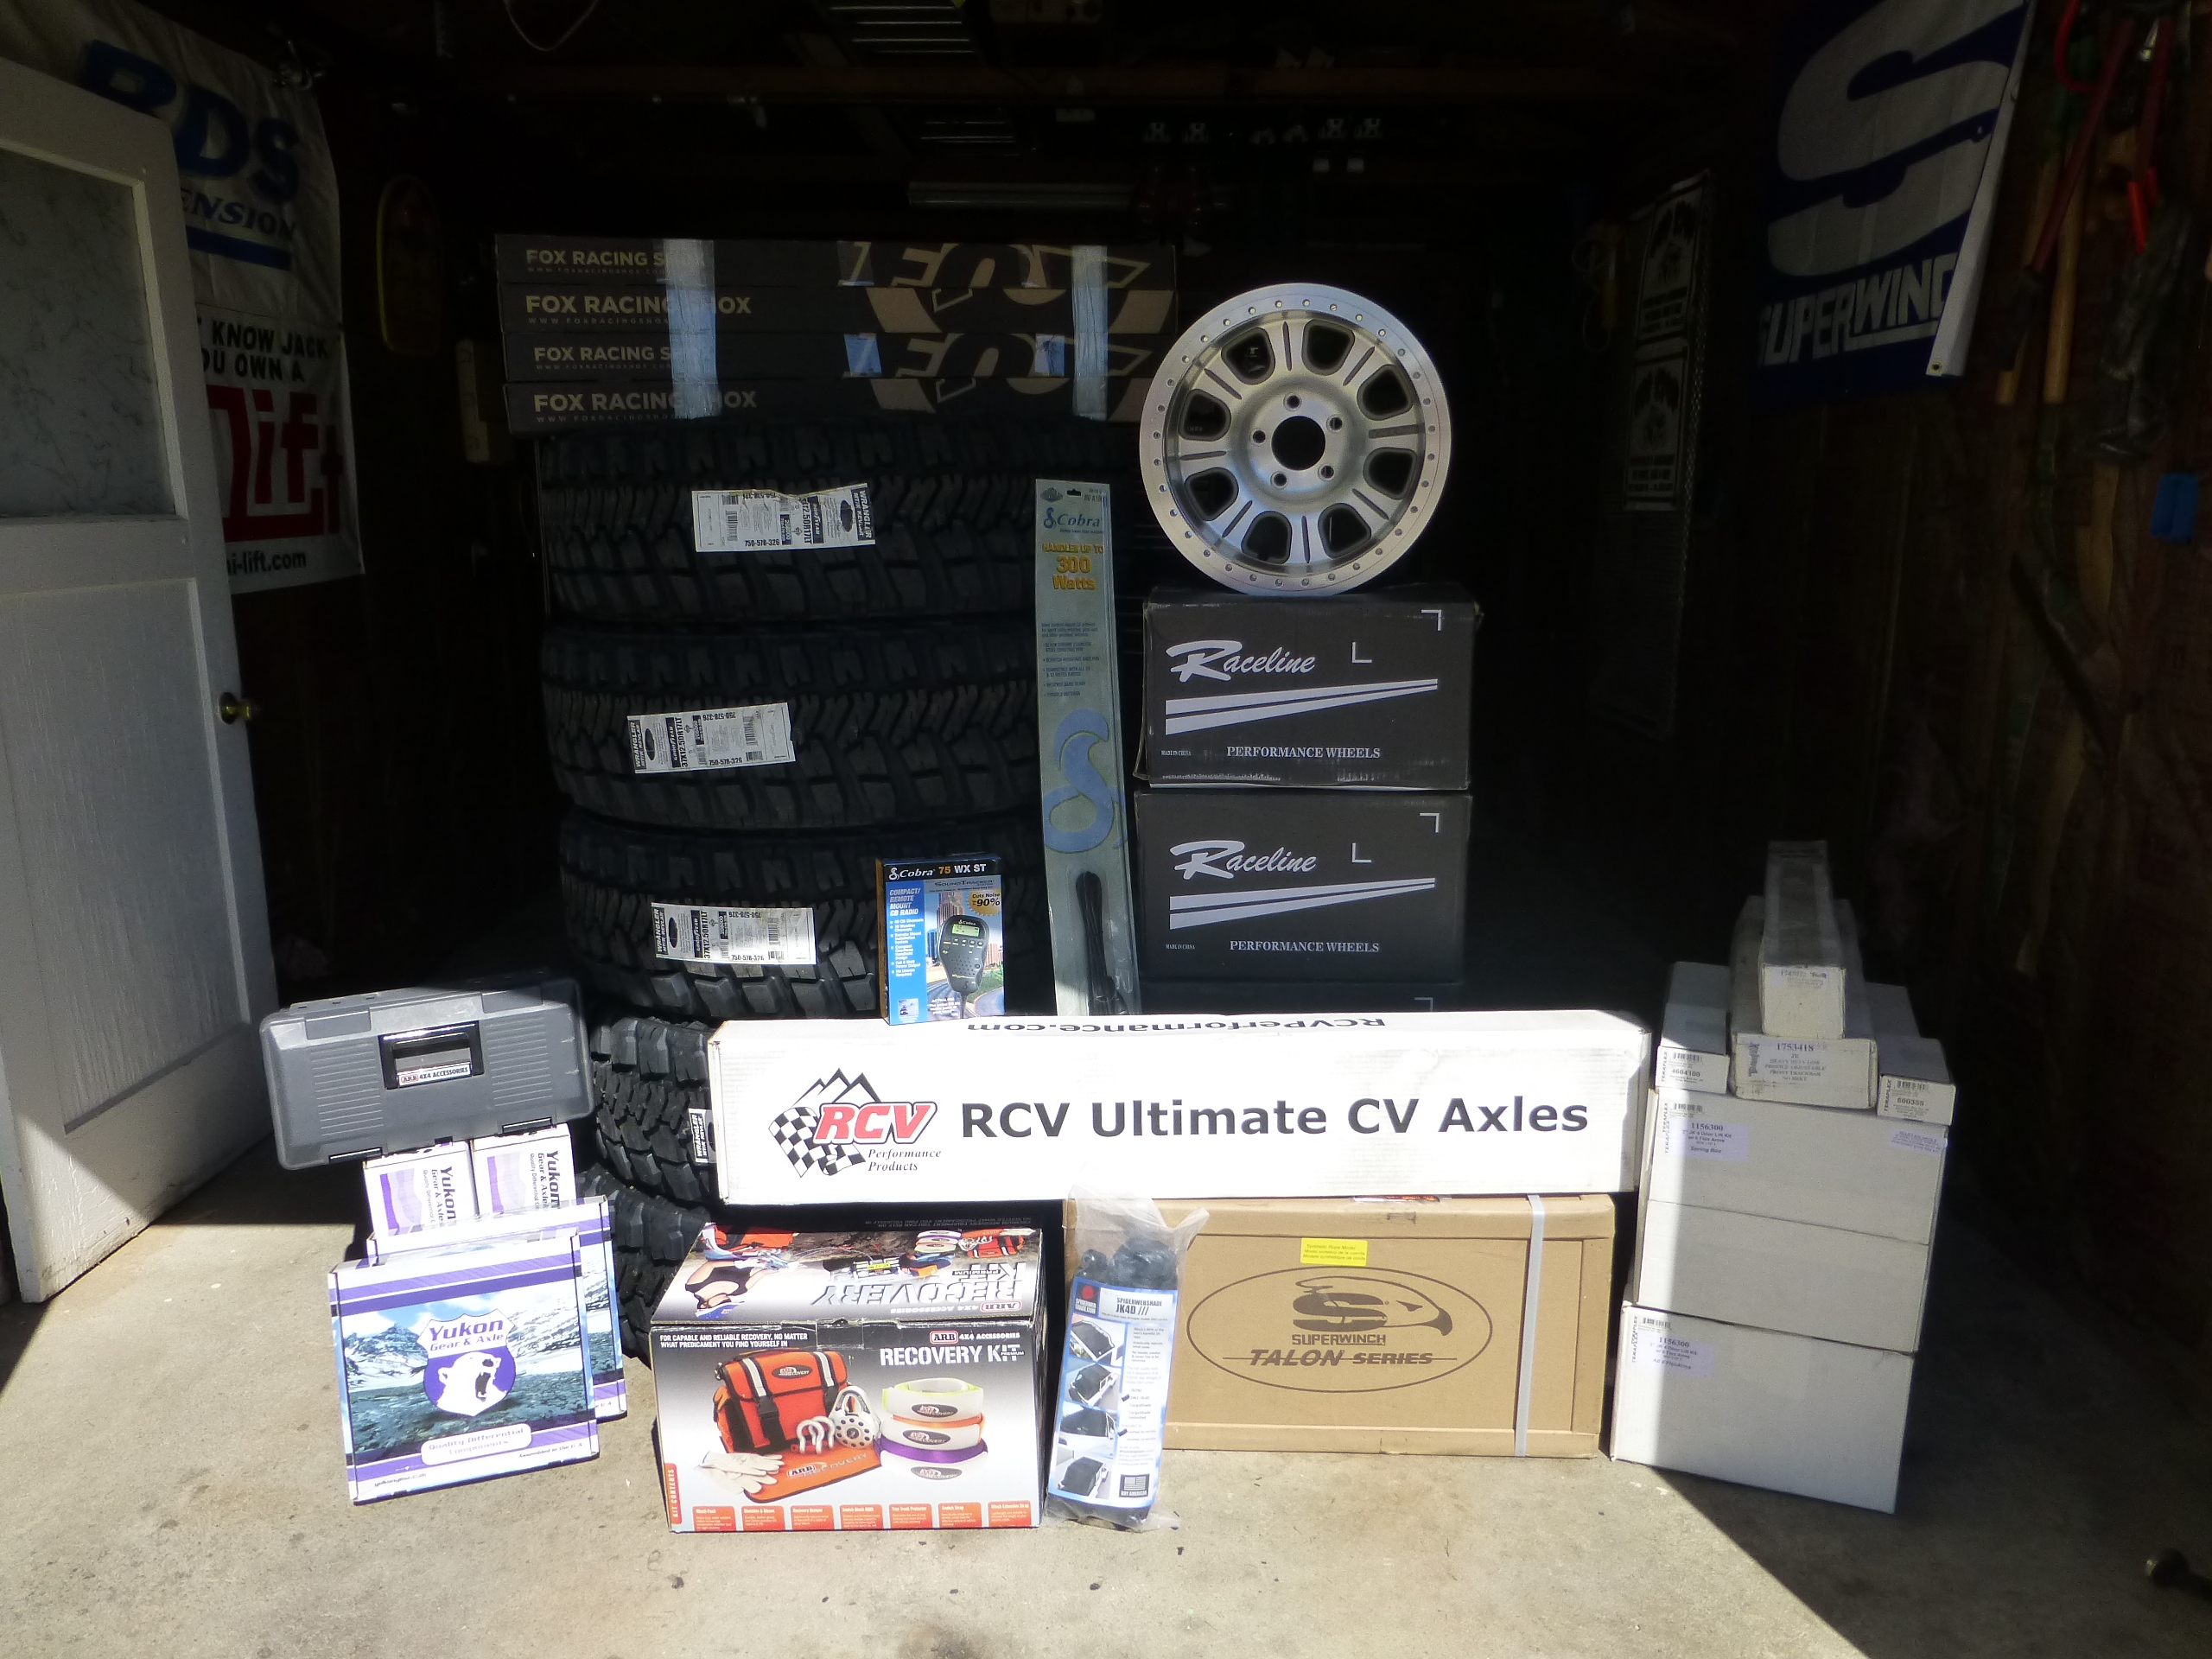
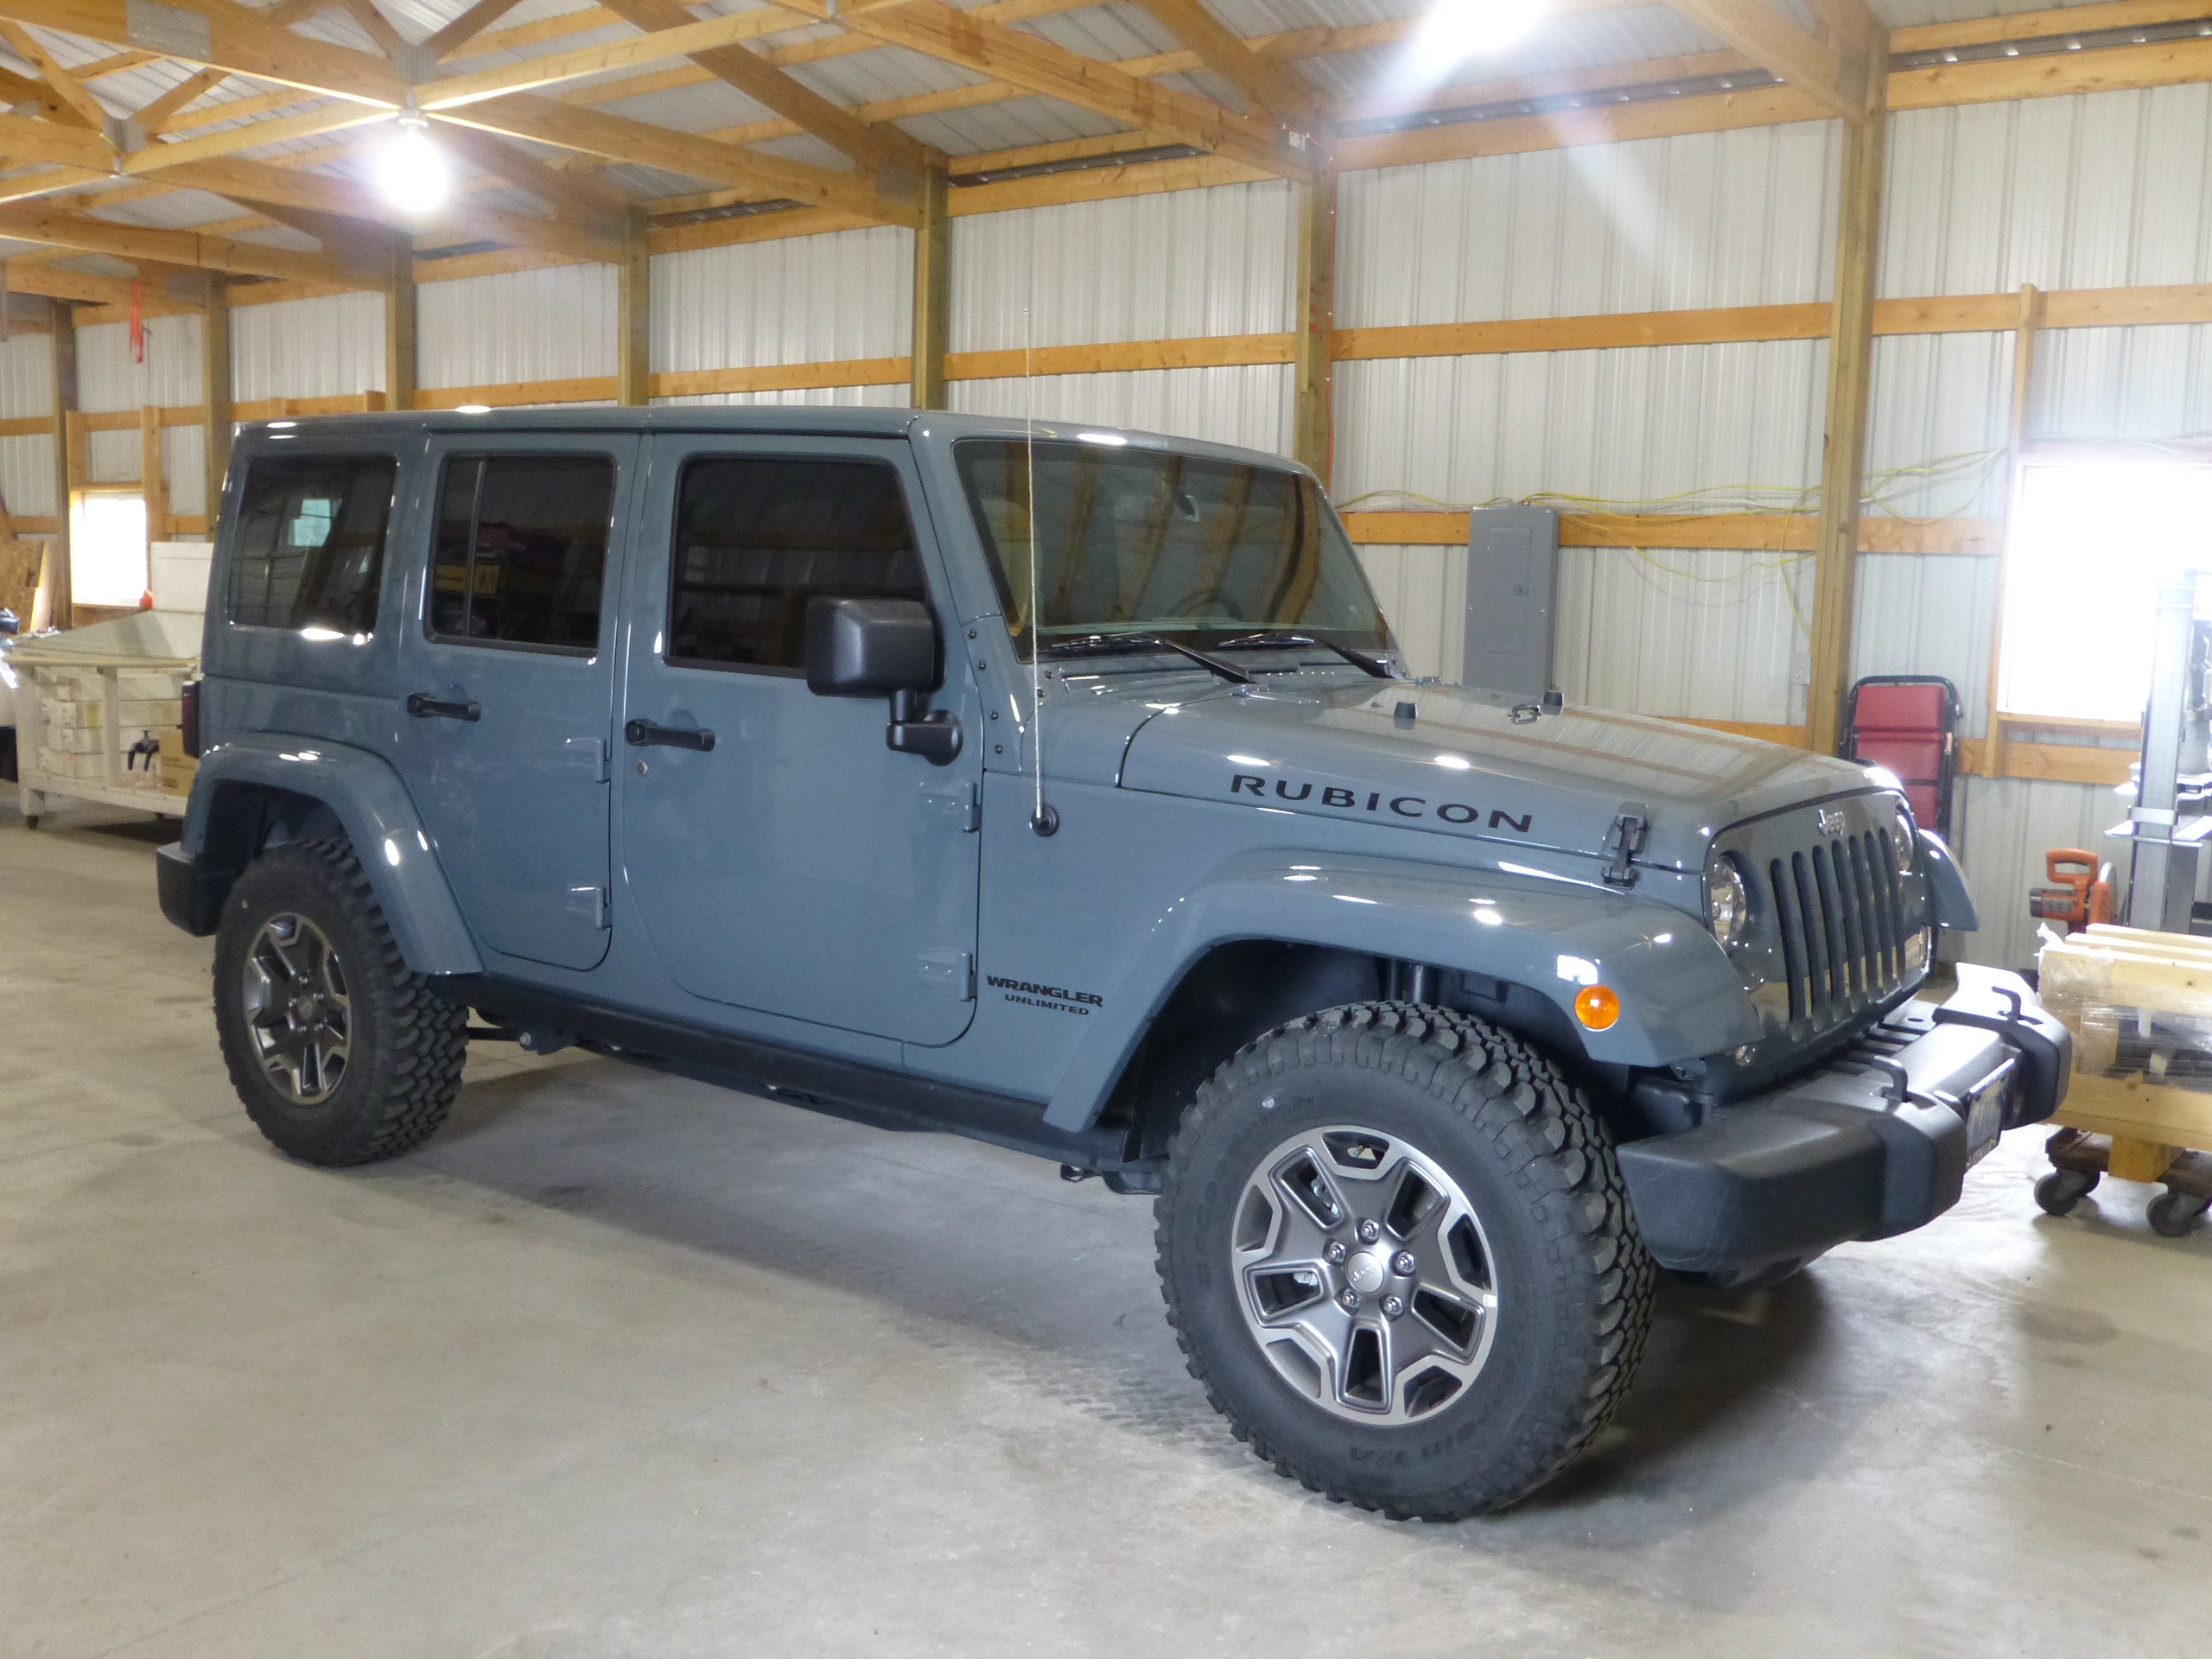
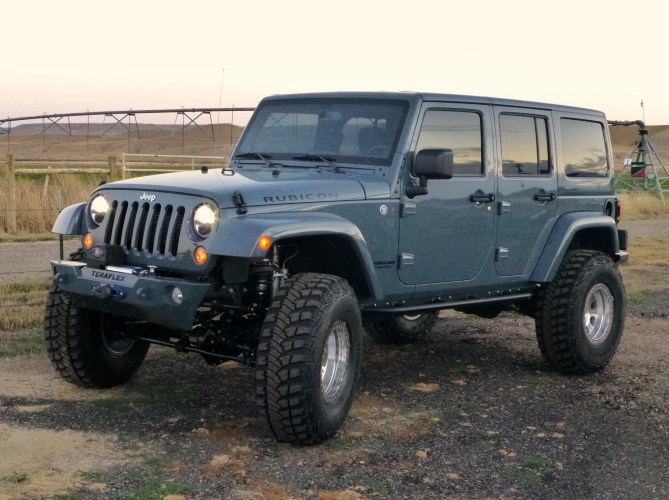
Follow along as we transform this Unlimited Rubicon JK into the Ultimate Rubicon JK, we’ll call it “Project Teracon”. The 2014 Jeep Rubicon build has a number of sponsors who have generously supported us to make this project happen, we will showcase and represent them here and in other portions of the site. Make sure to check them out through our links to their respective websites for your Jeep needs!
First stage of the build, the tear down:


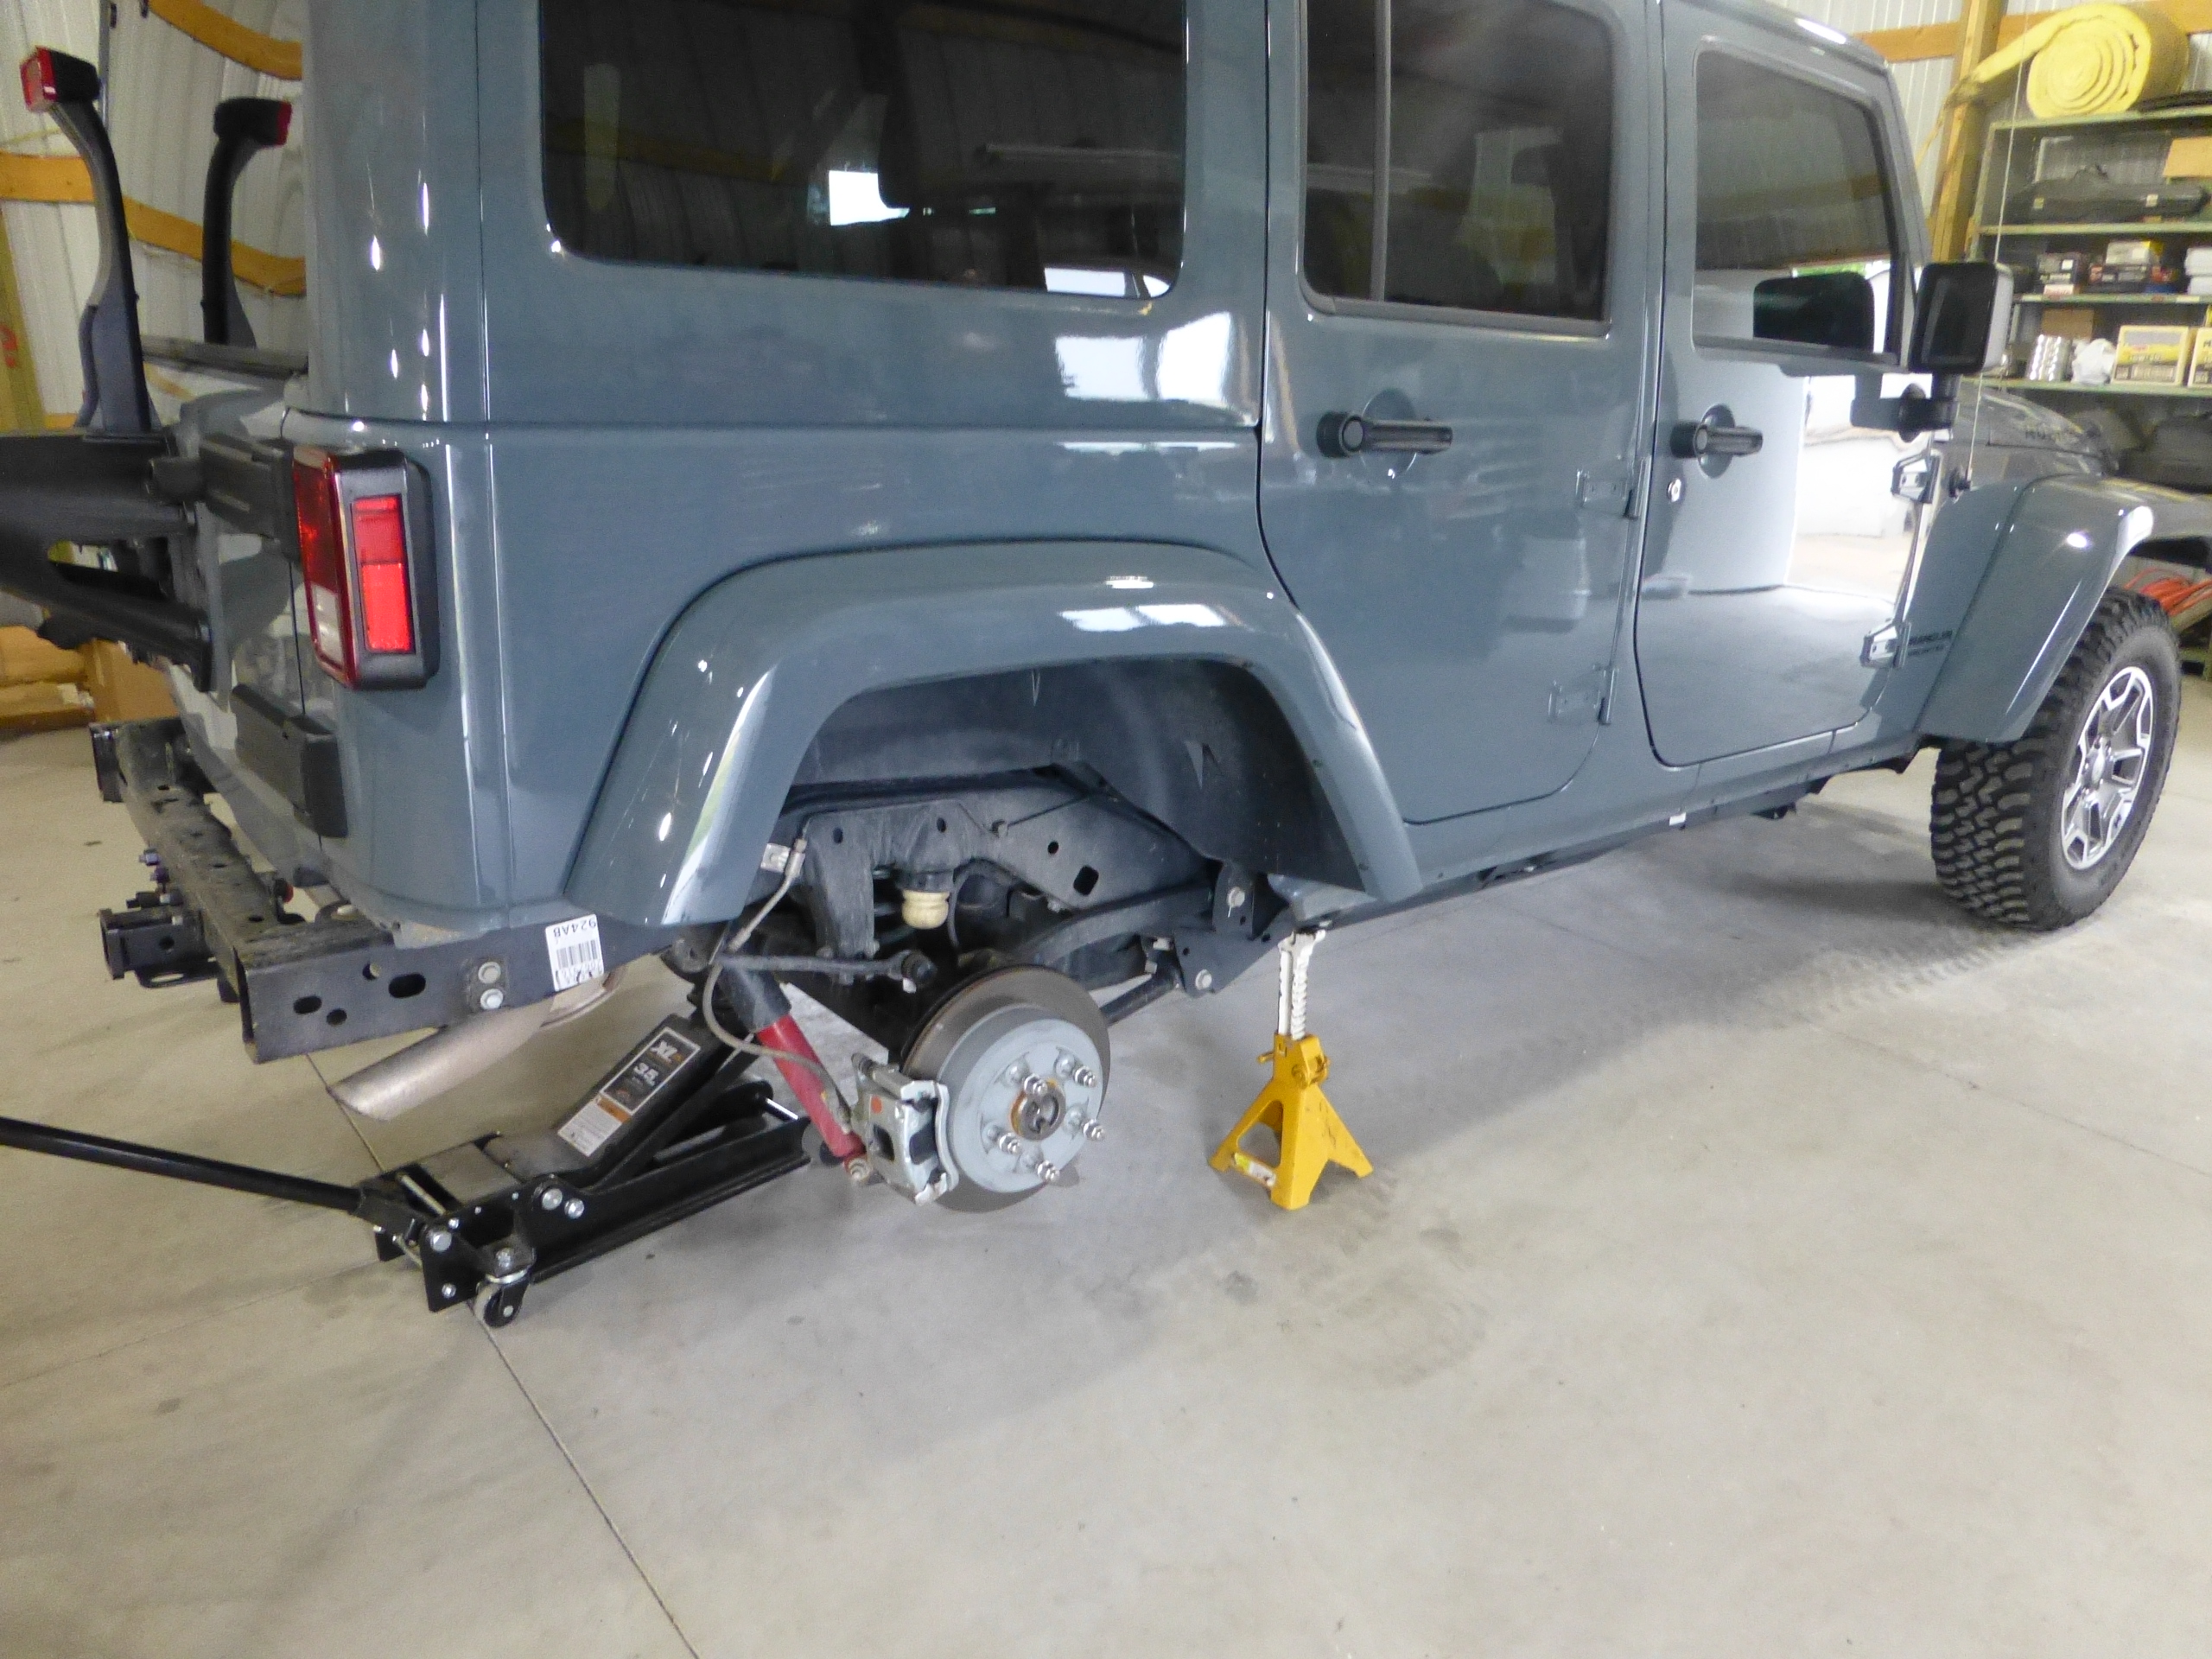


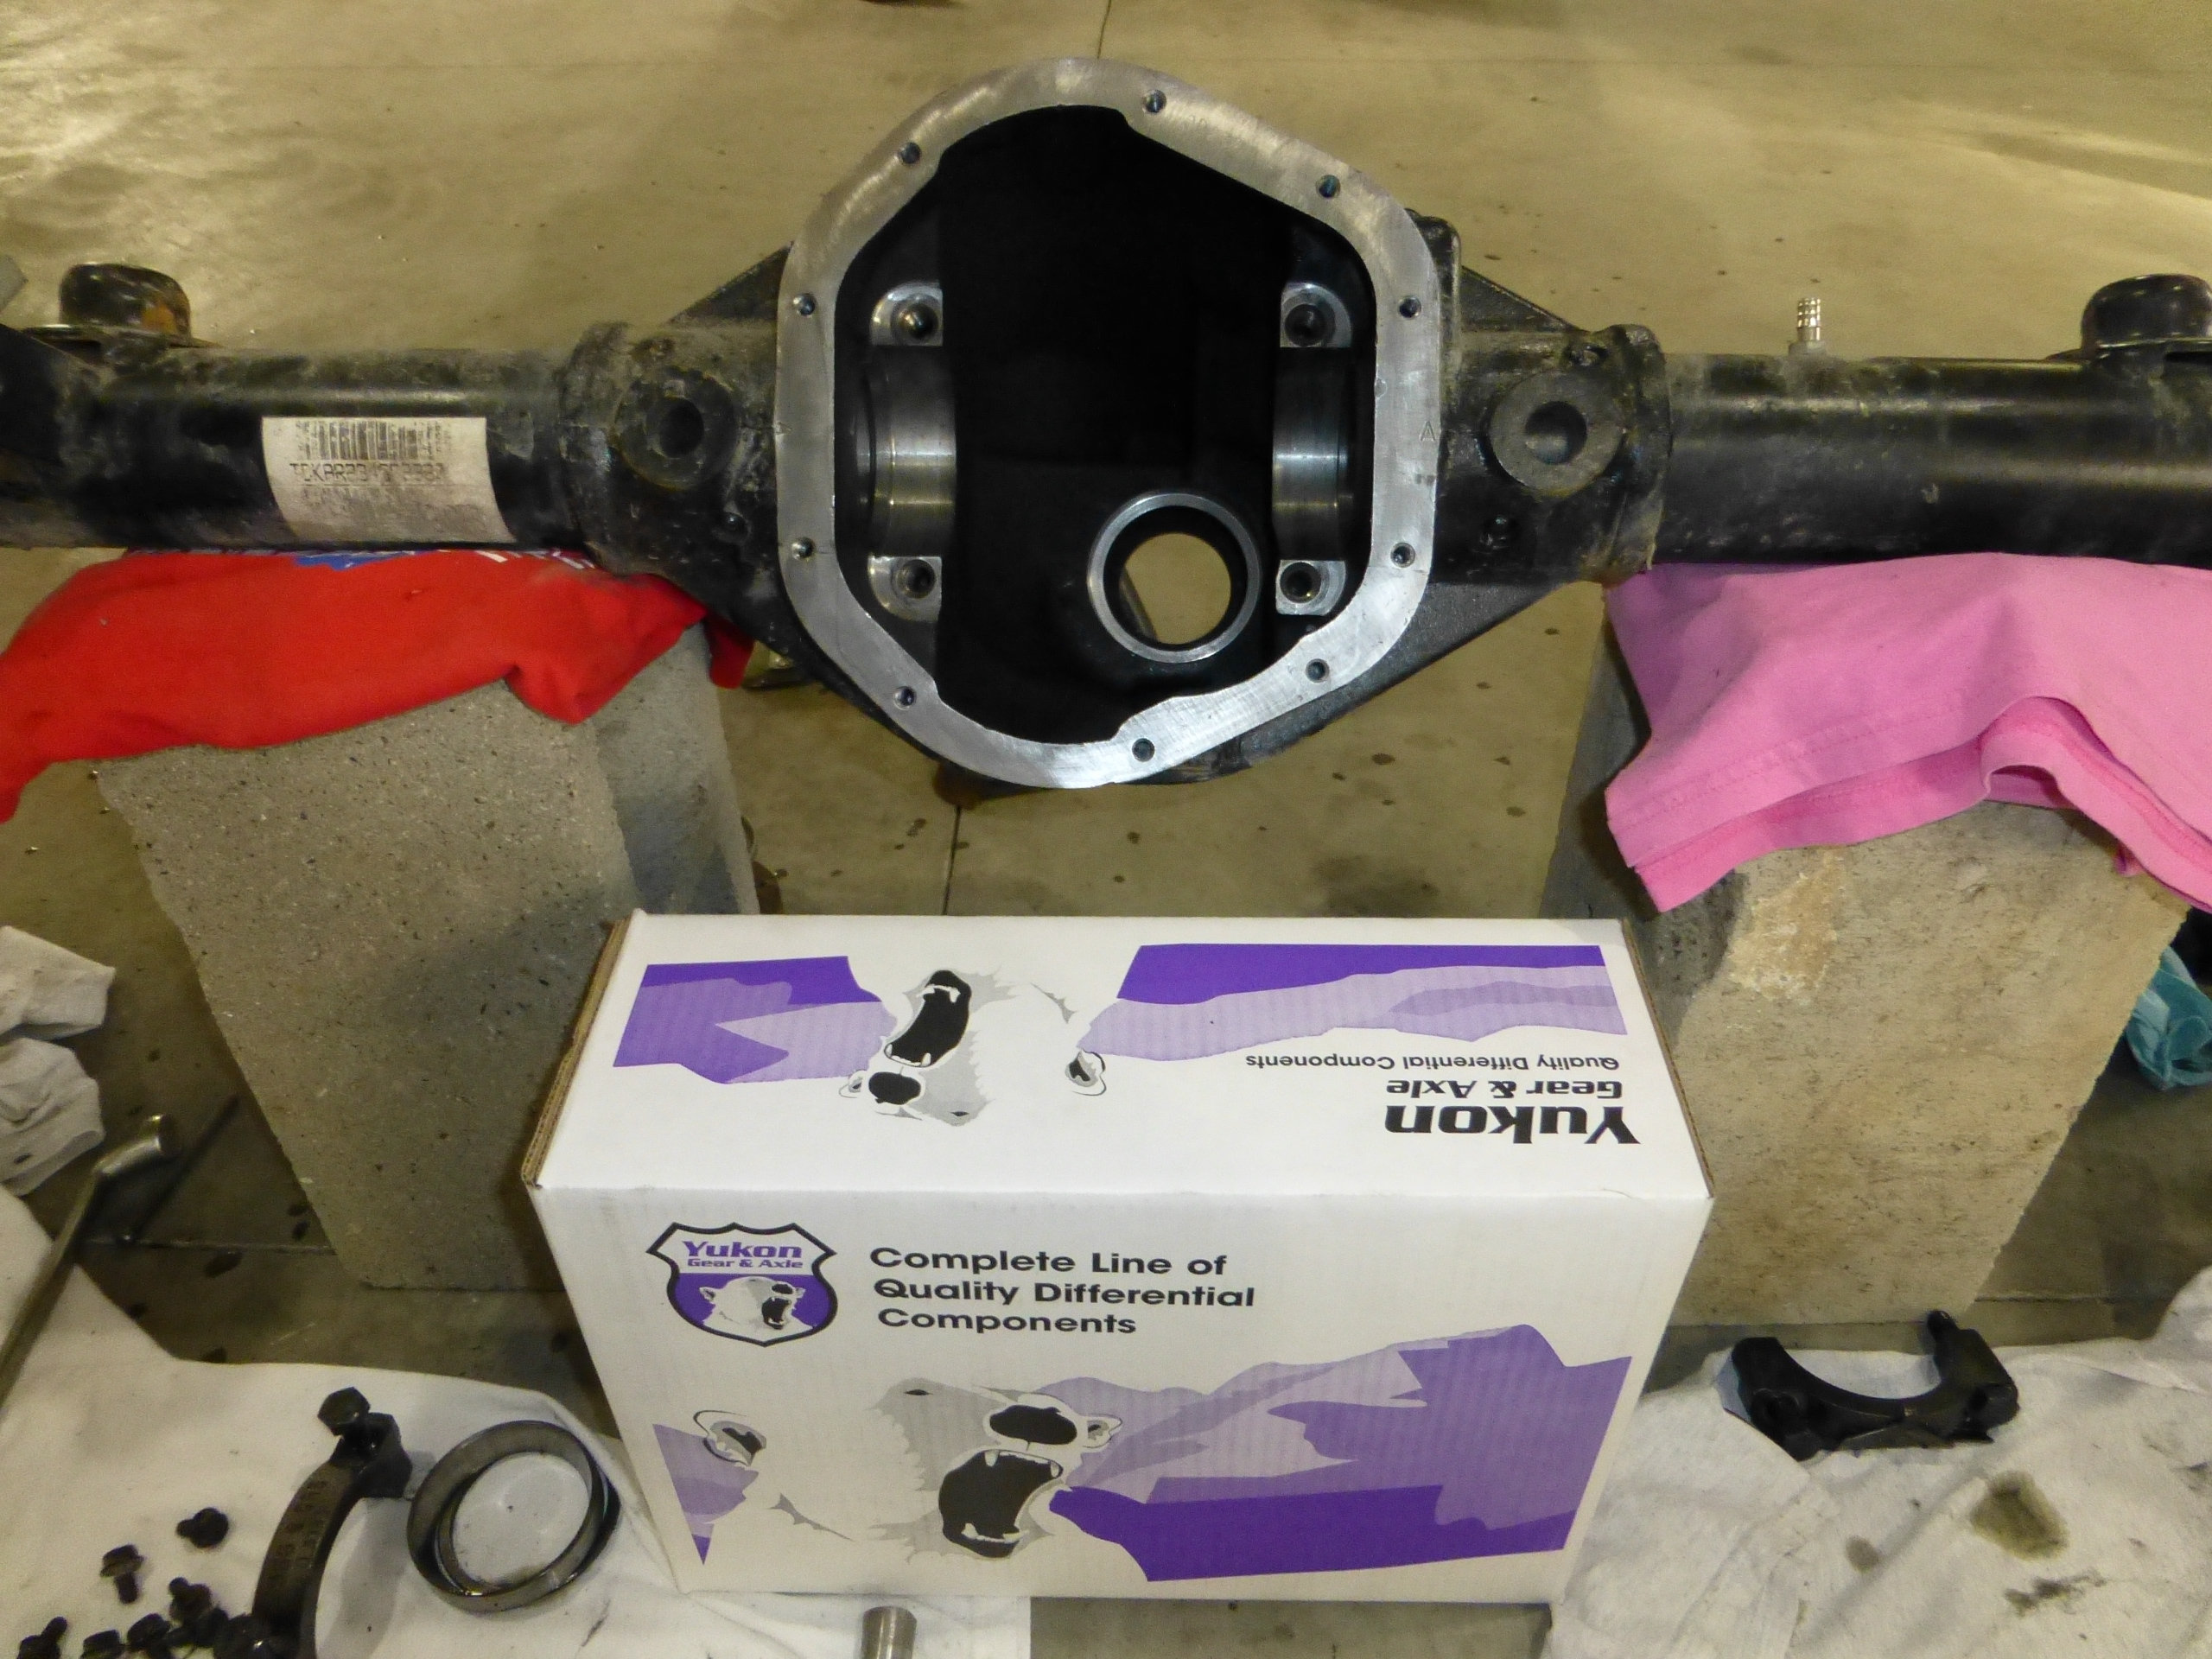
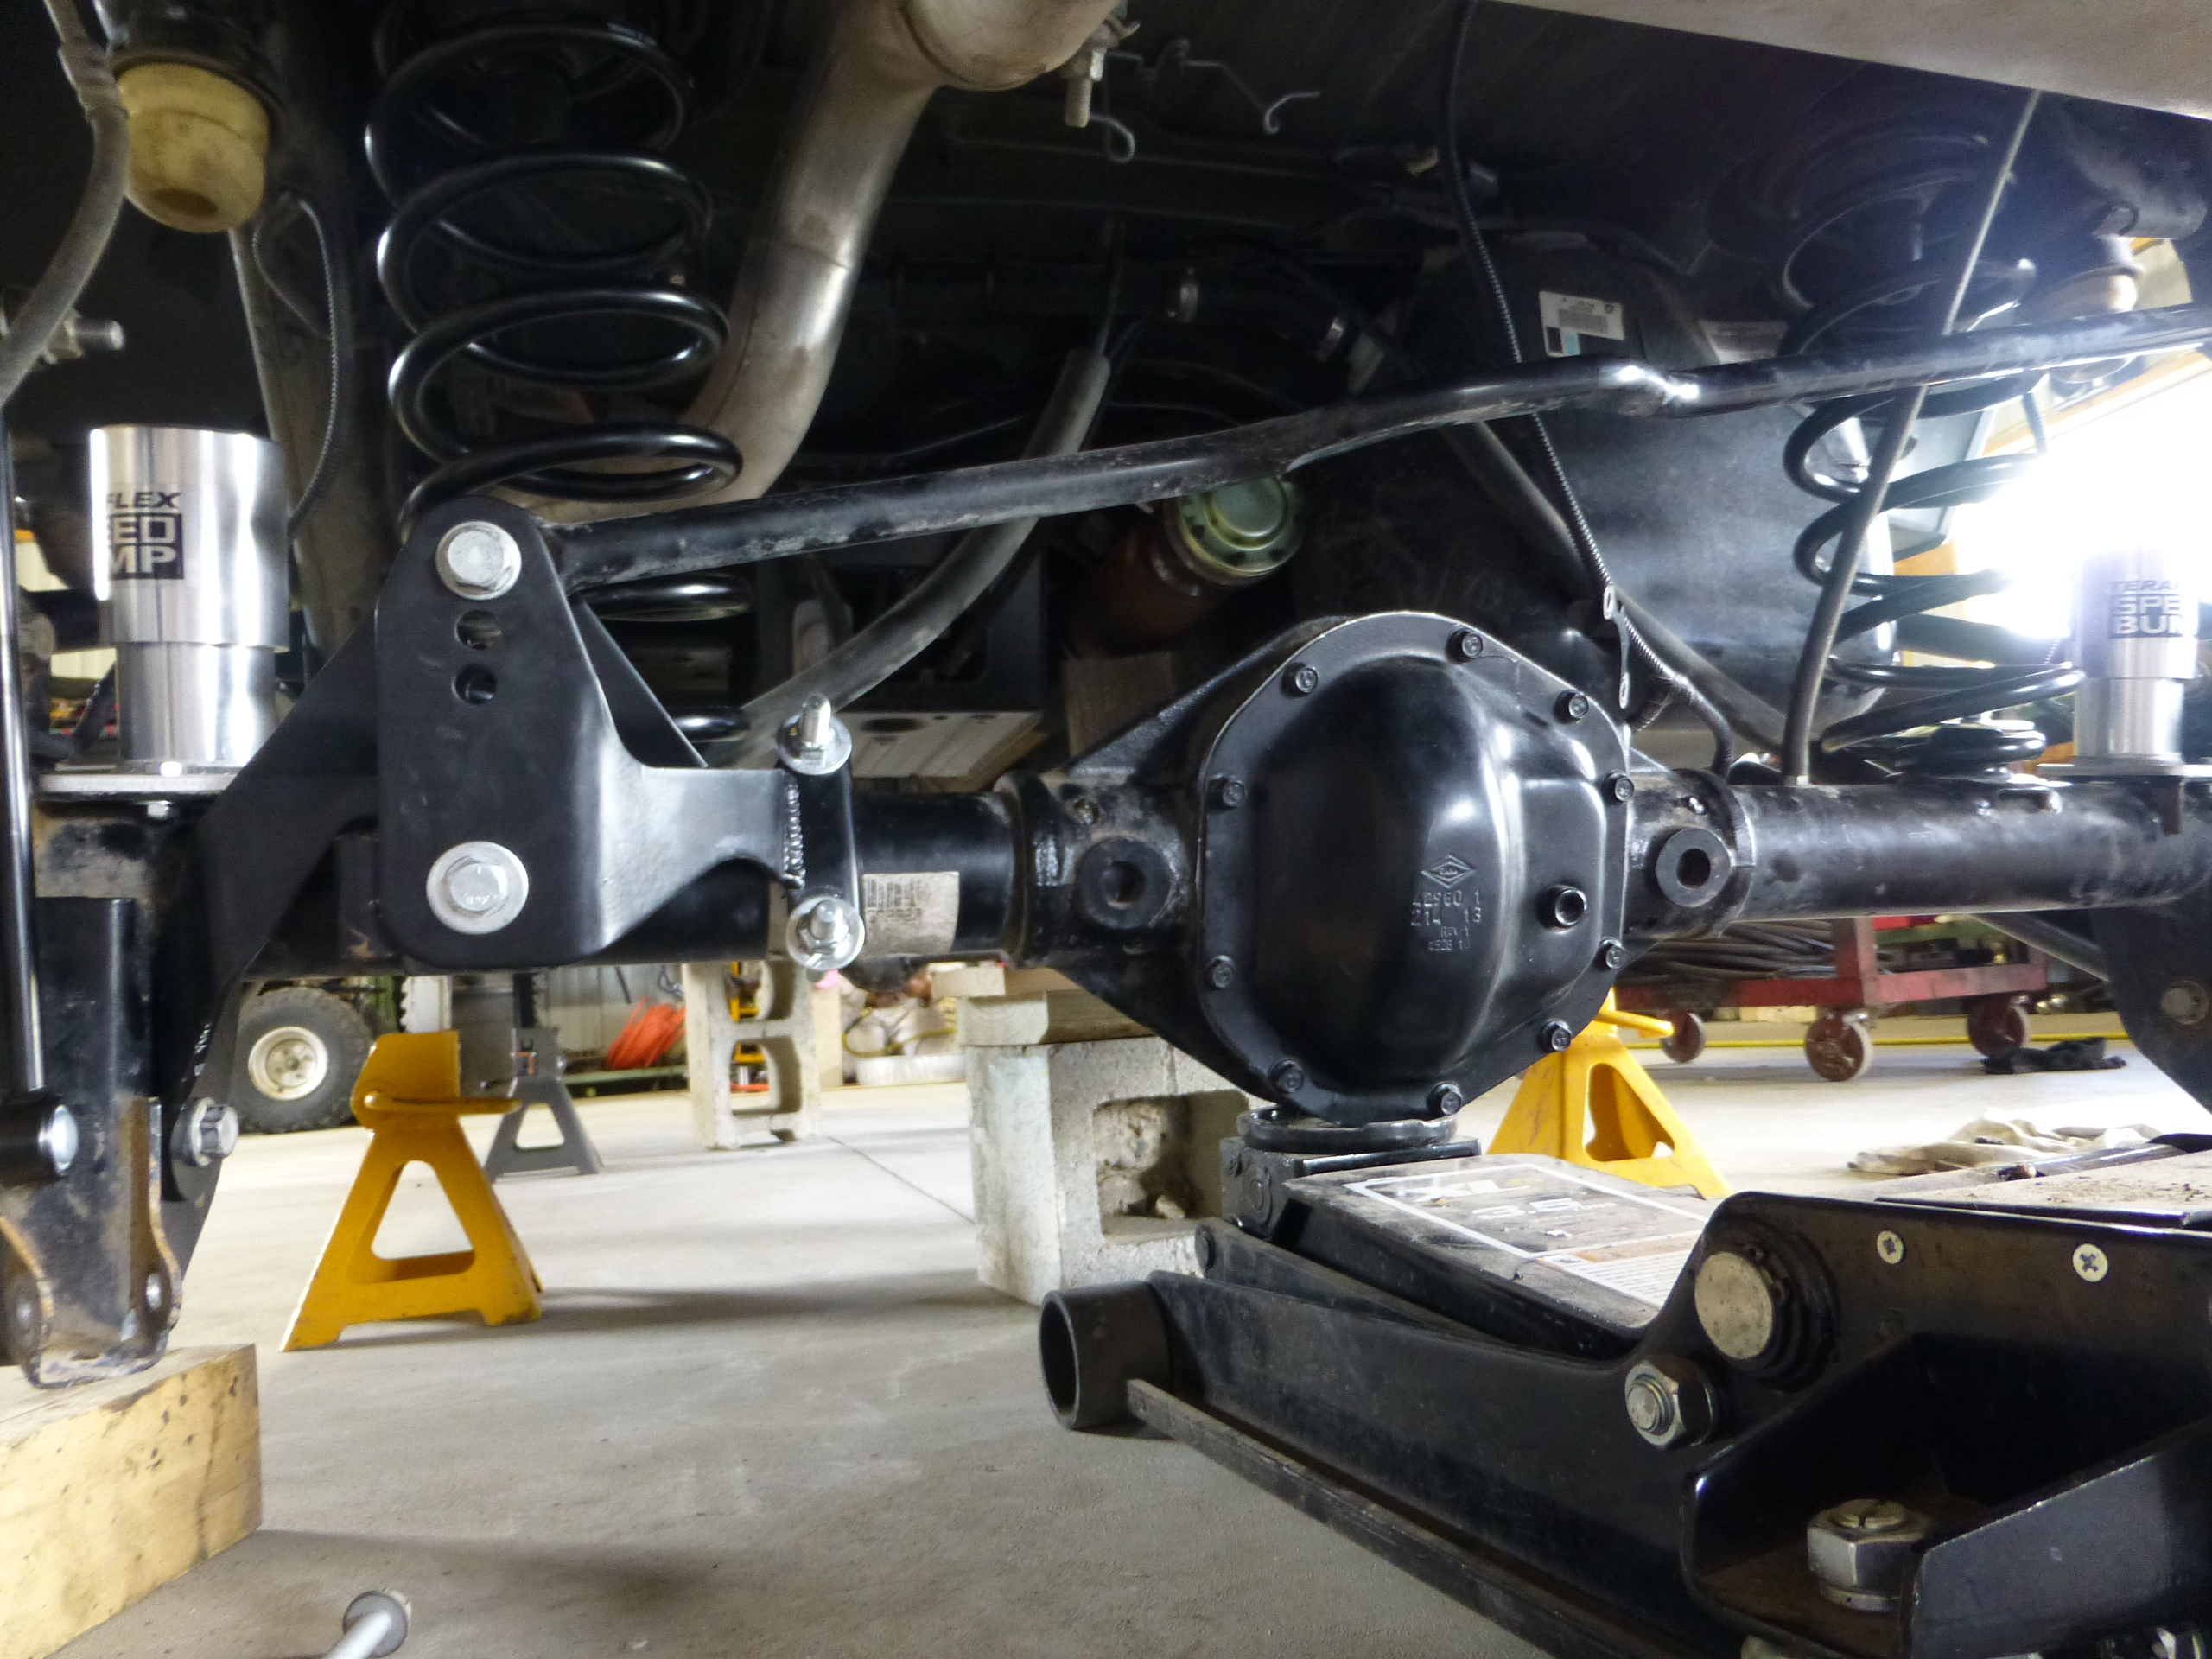
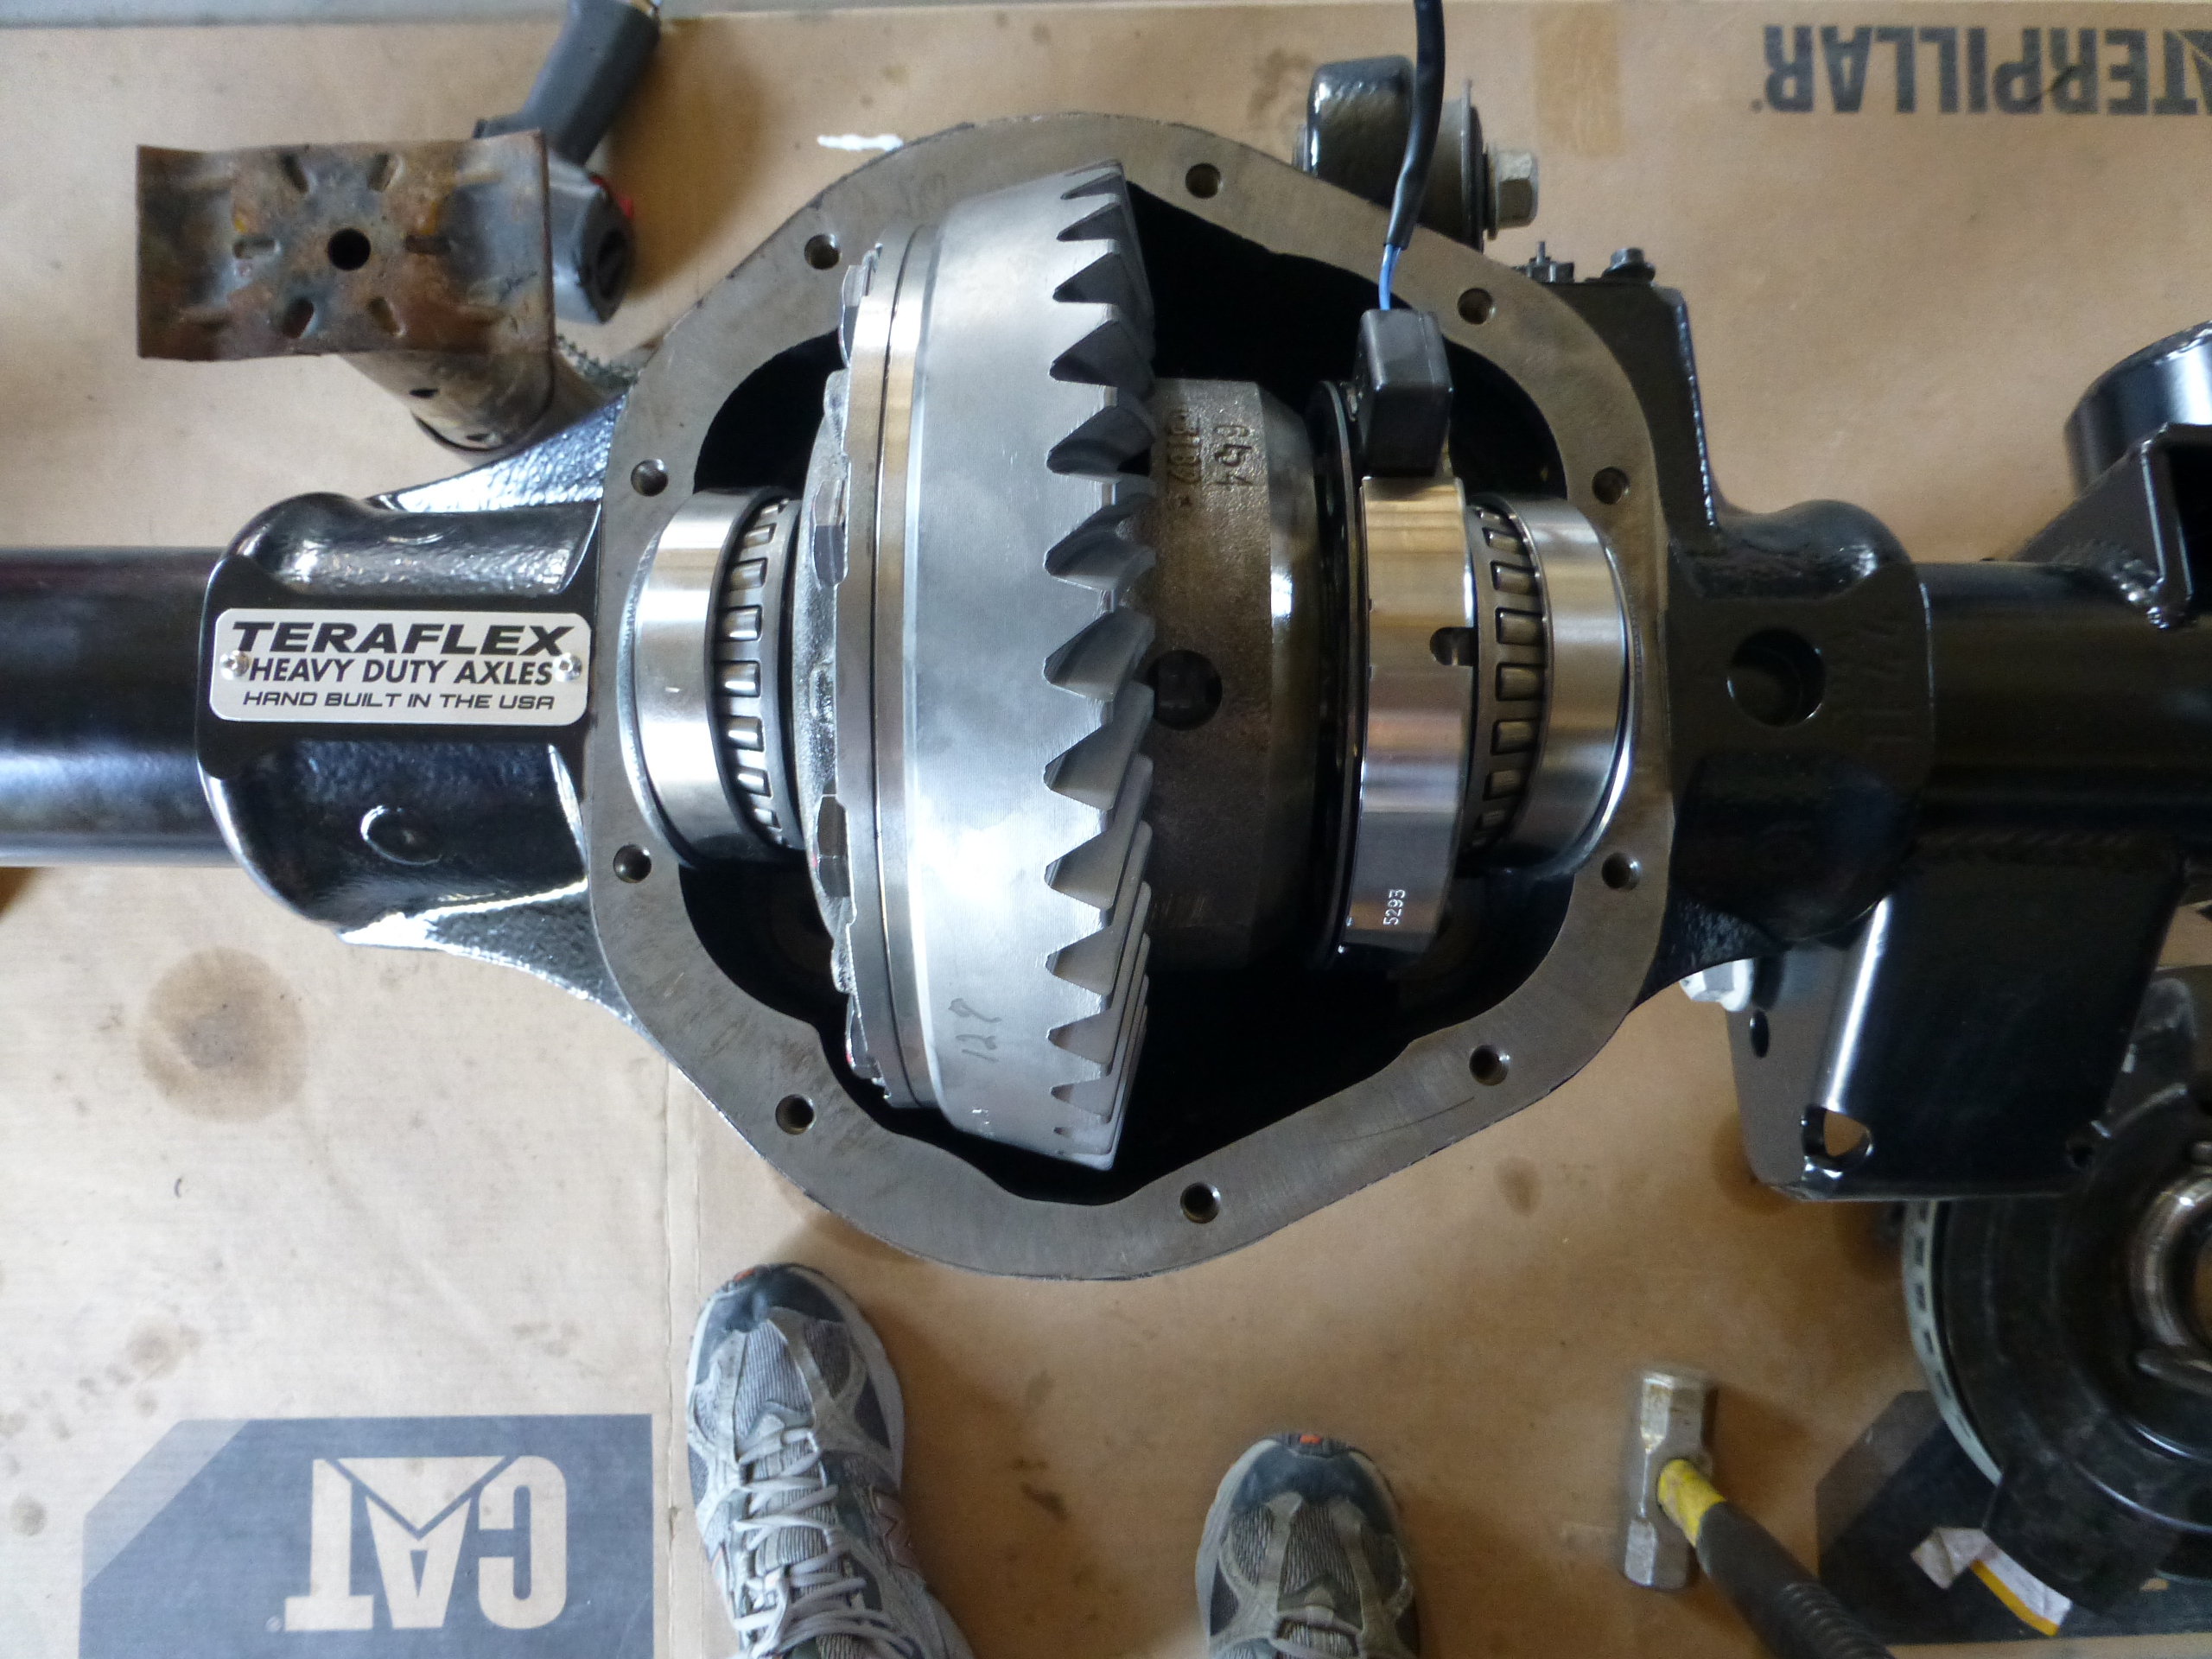
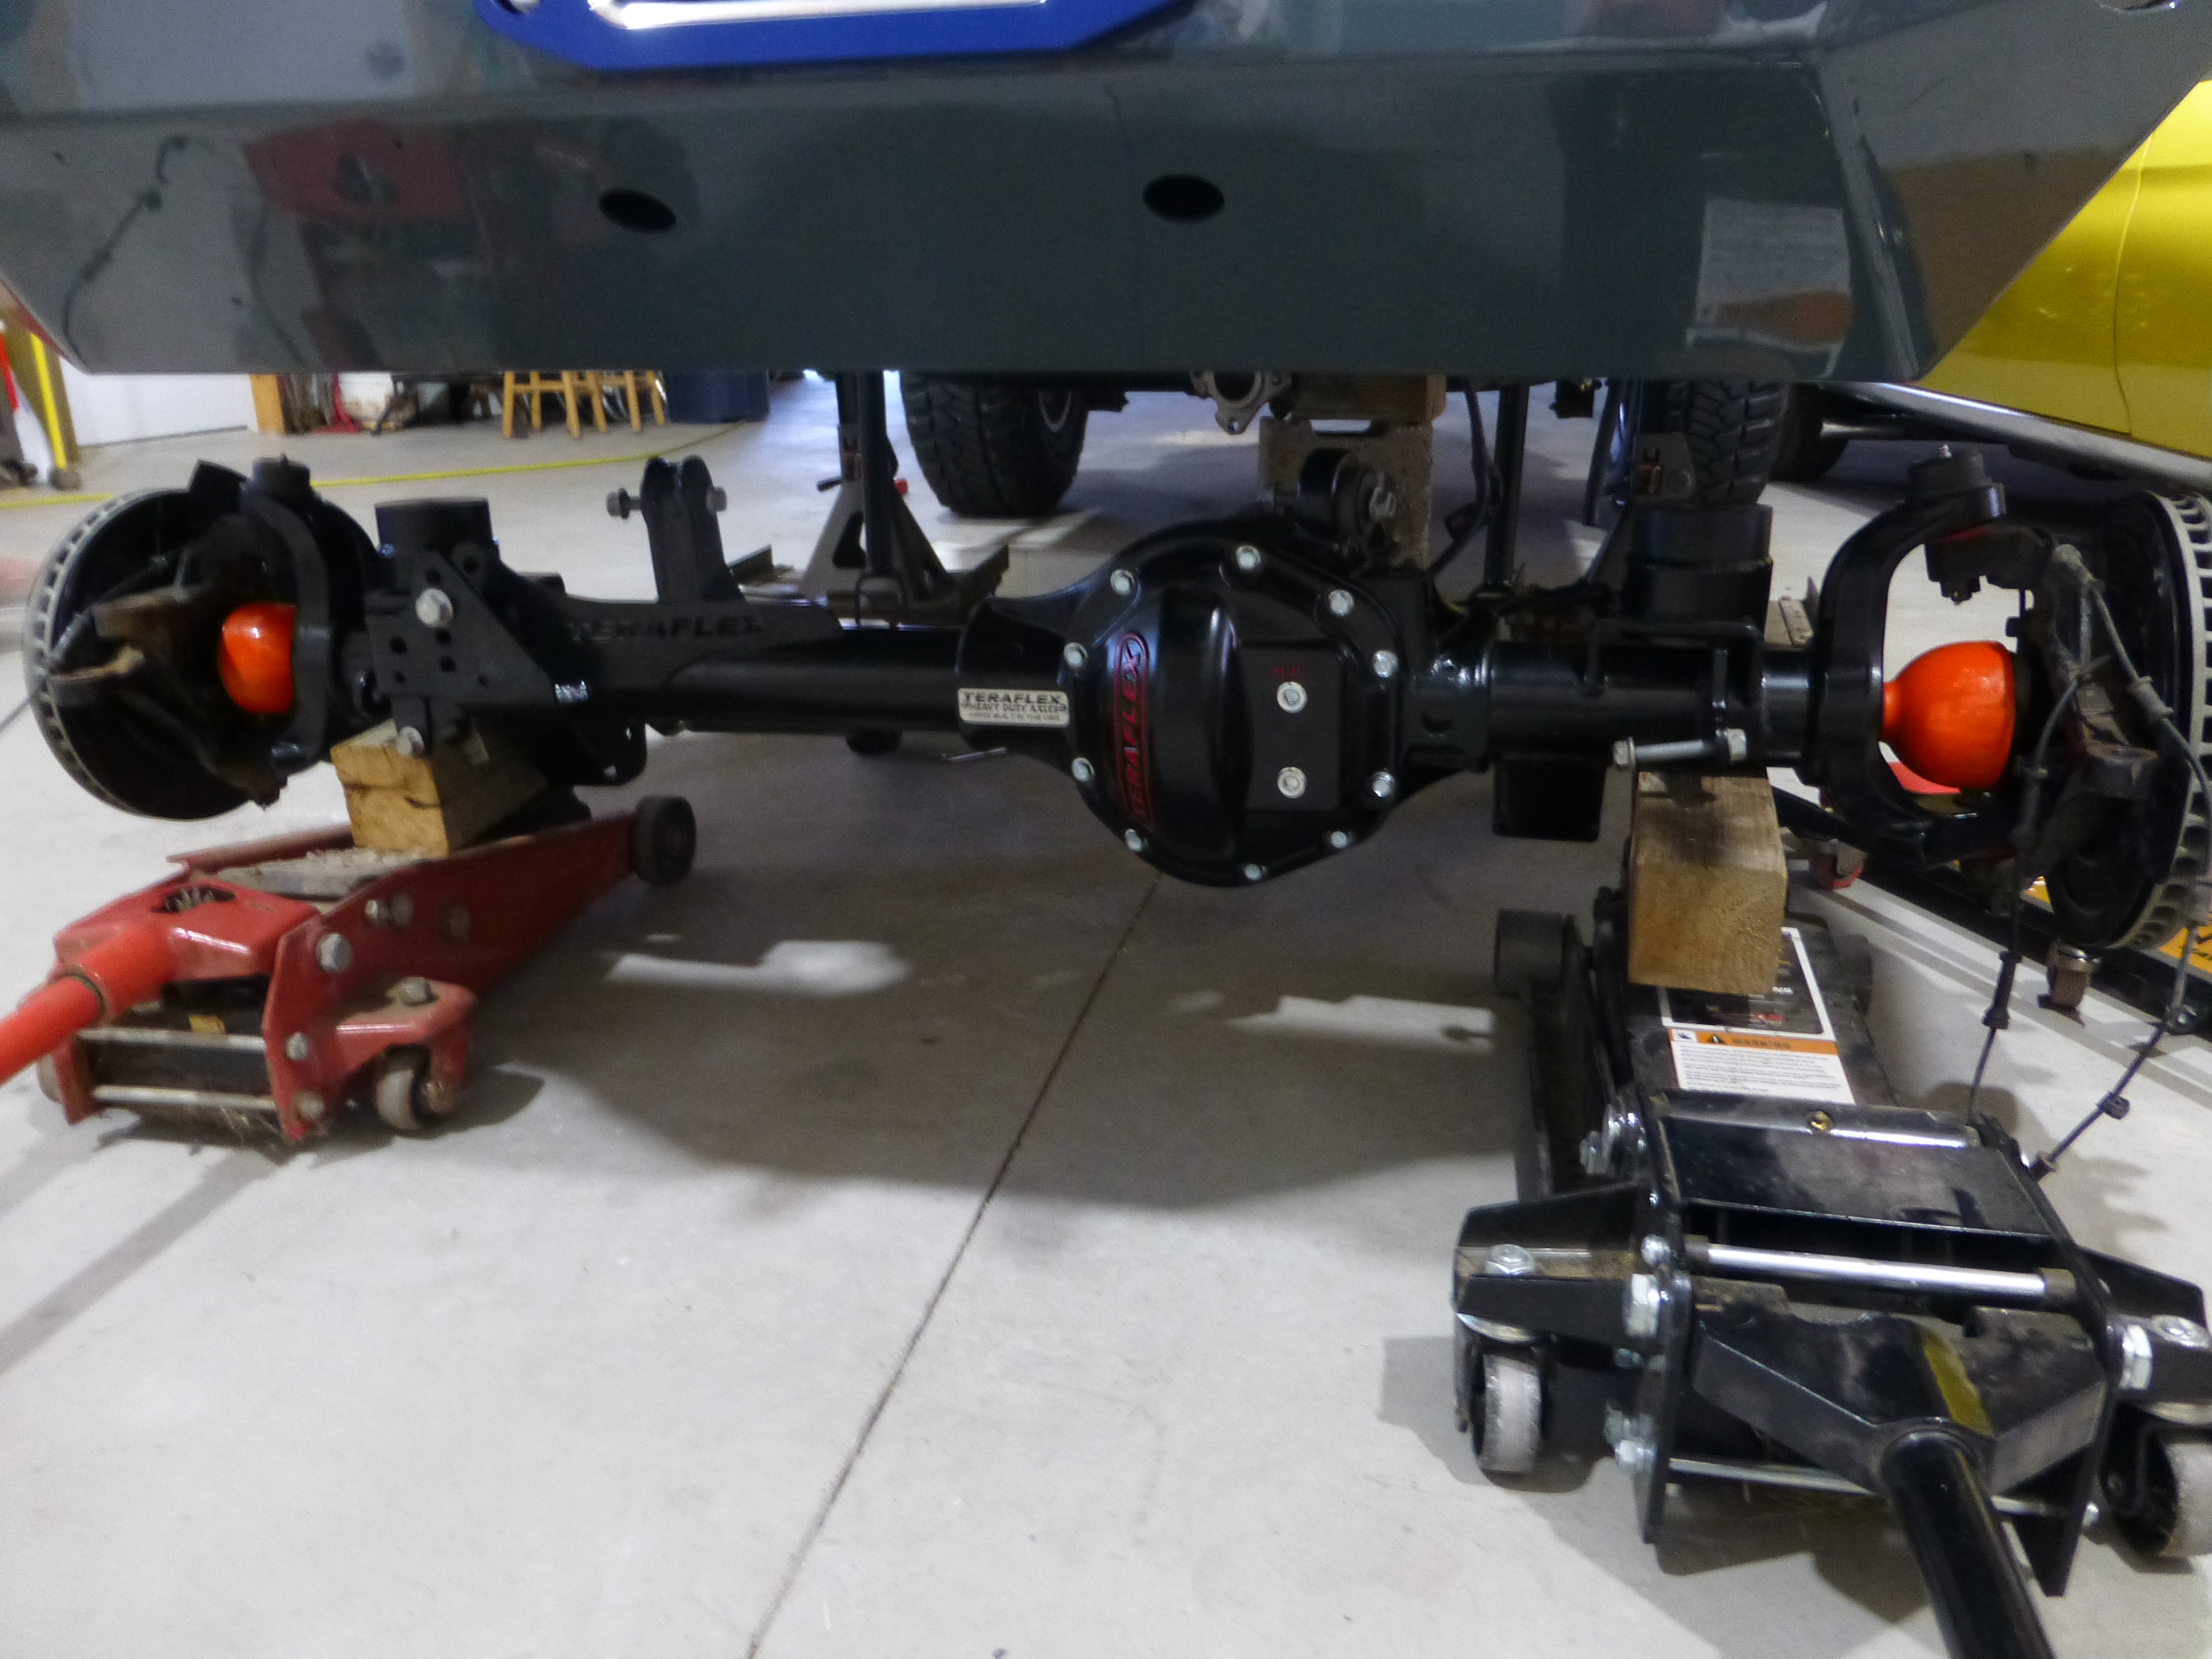
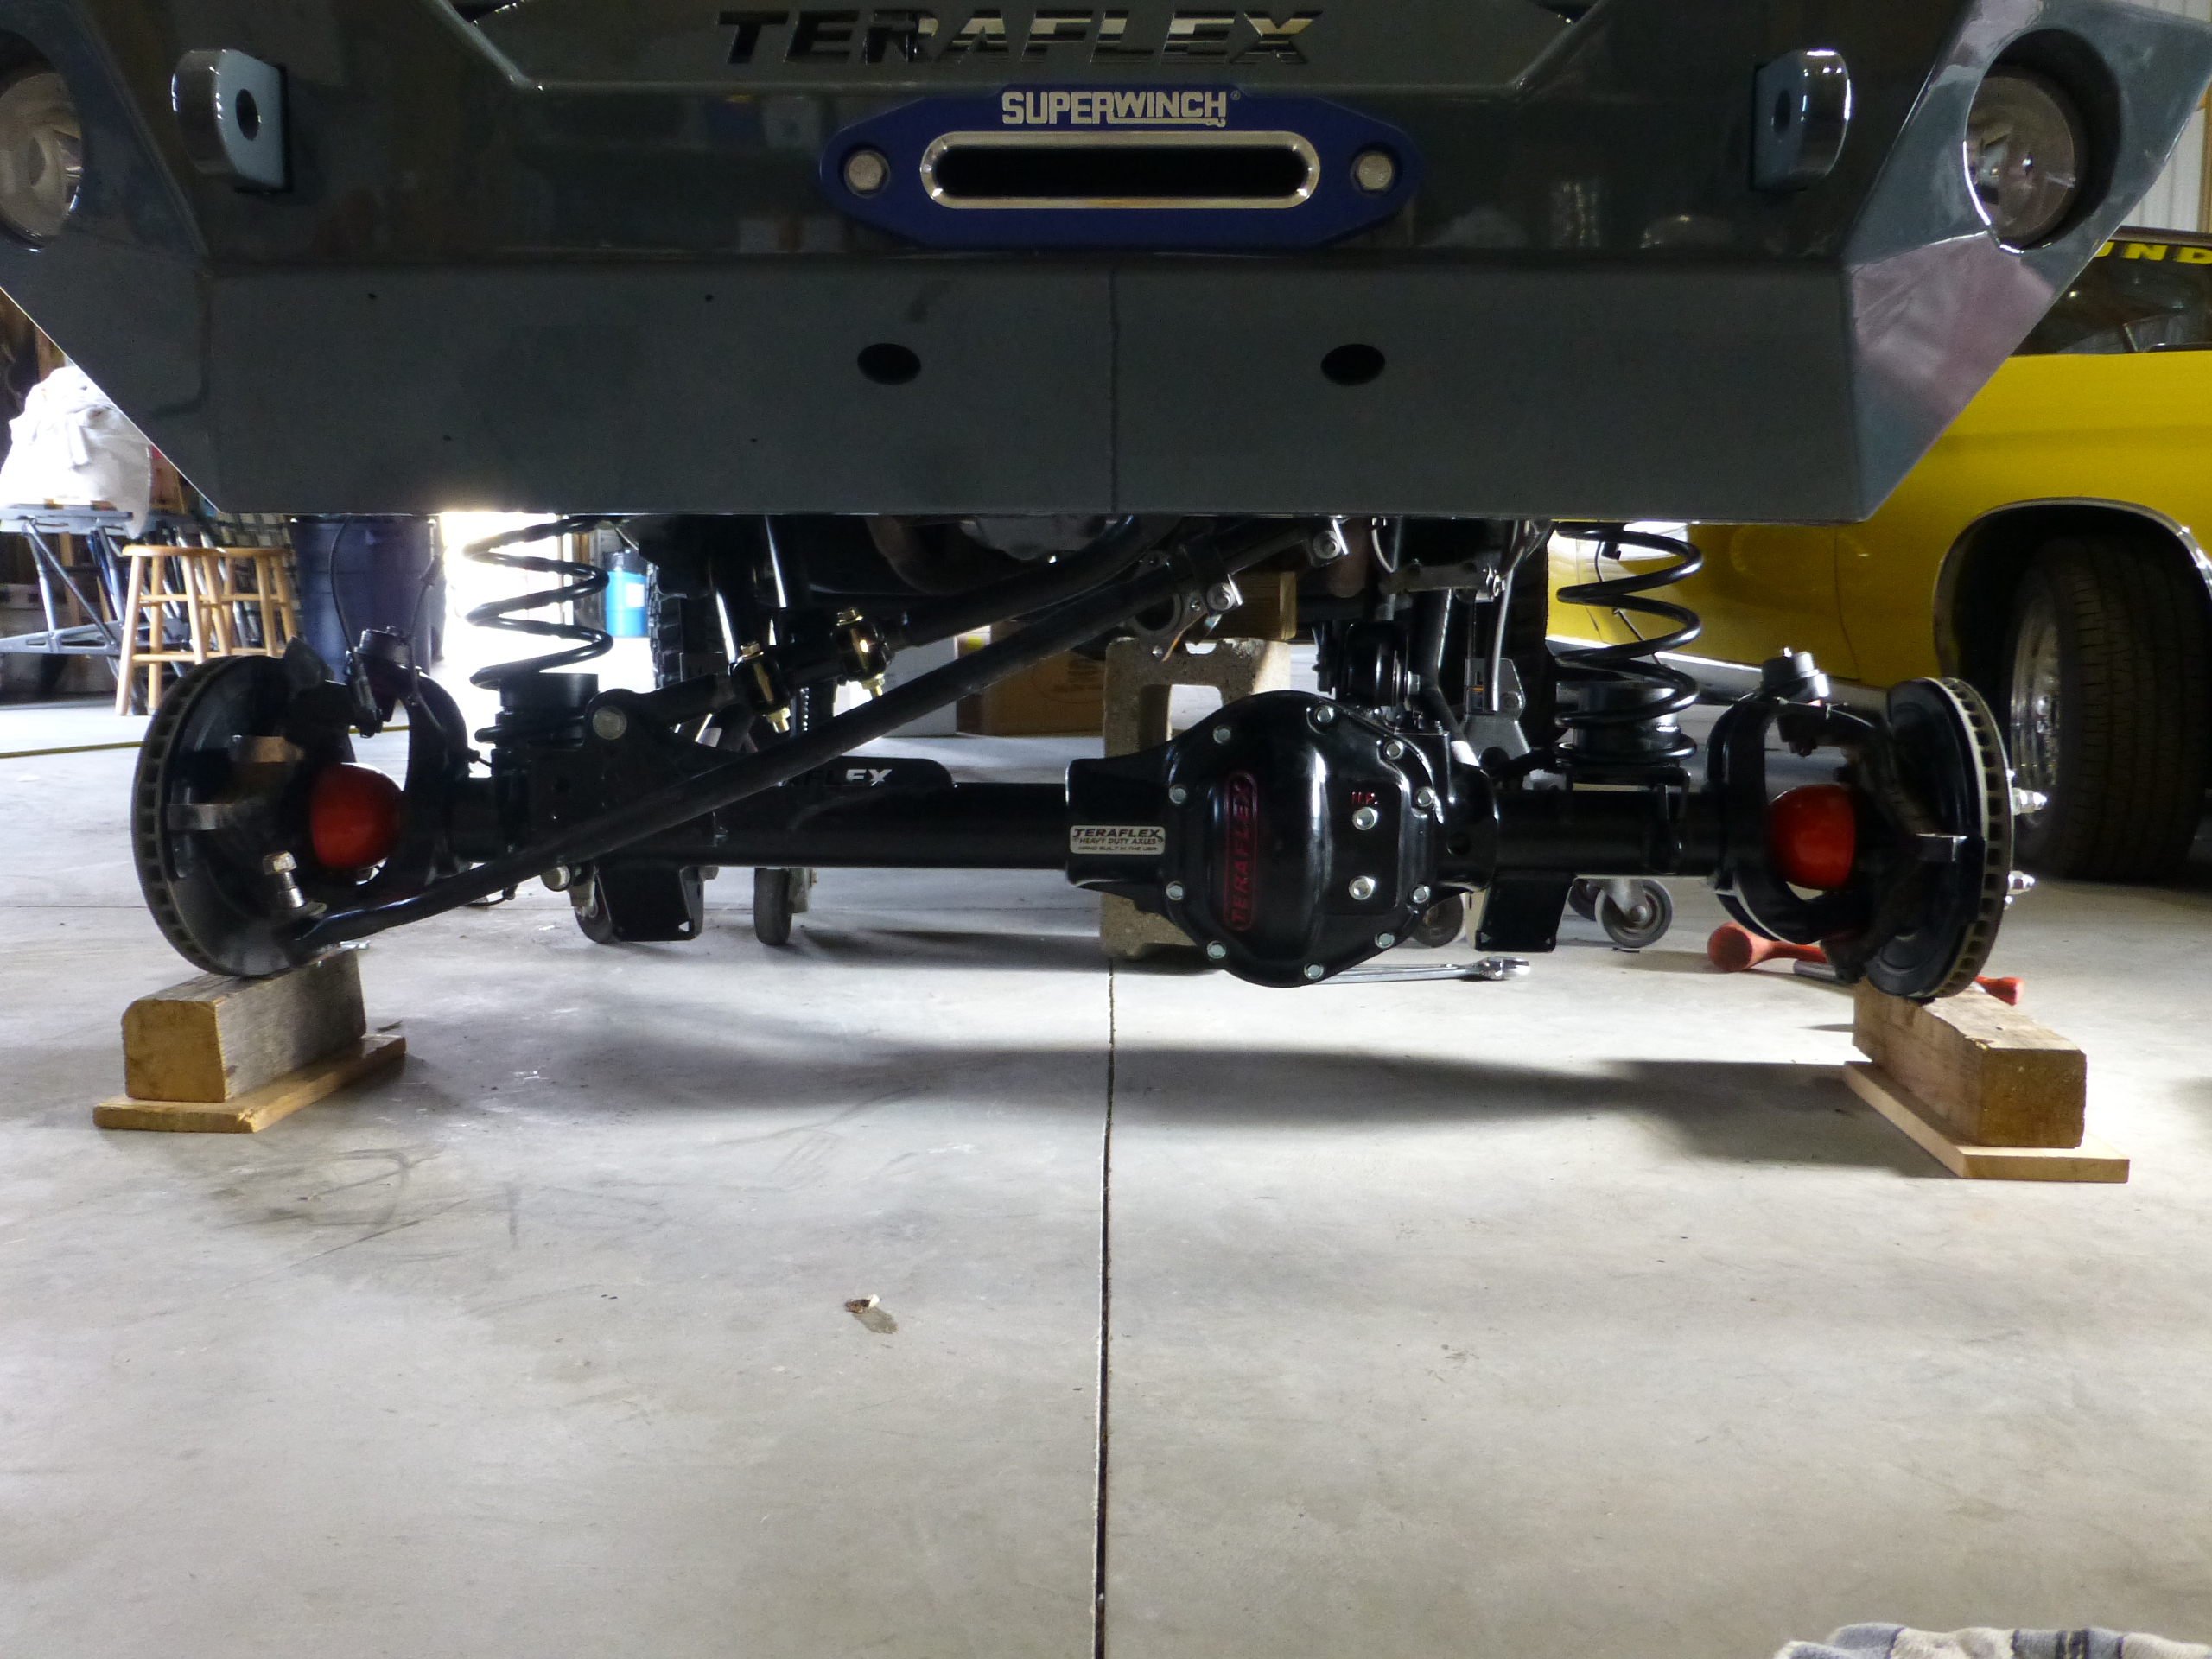
The Rear Axle:
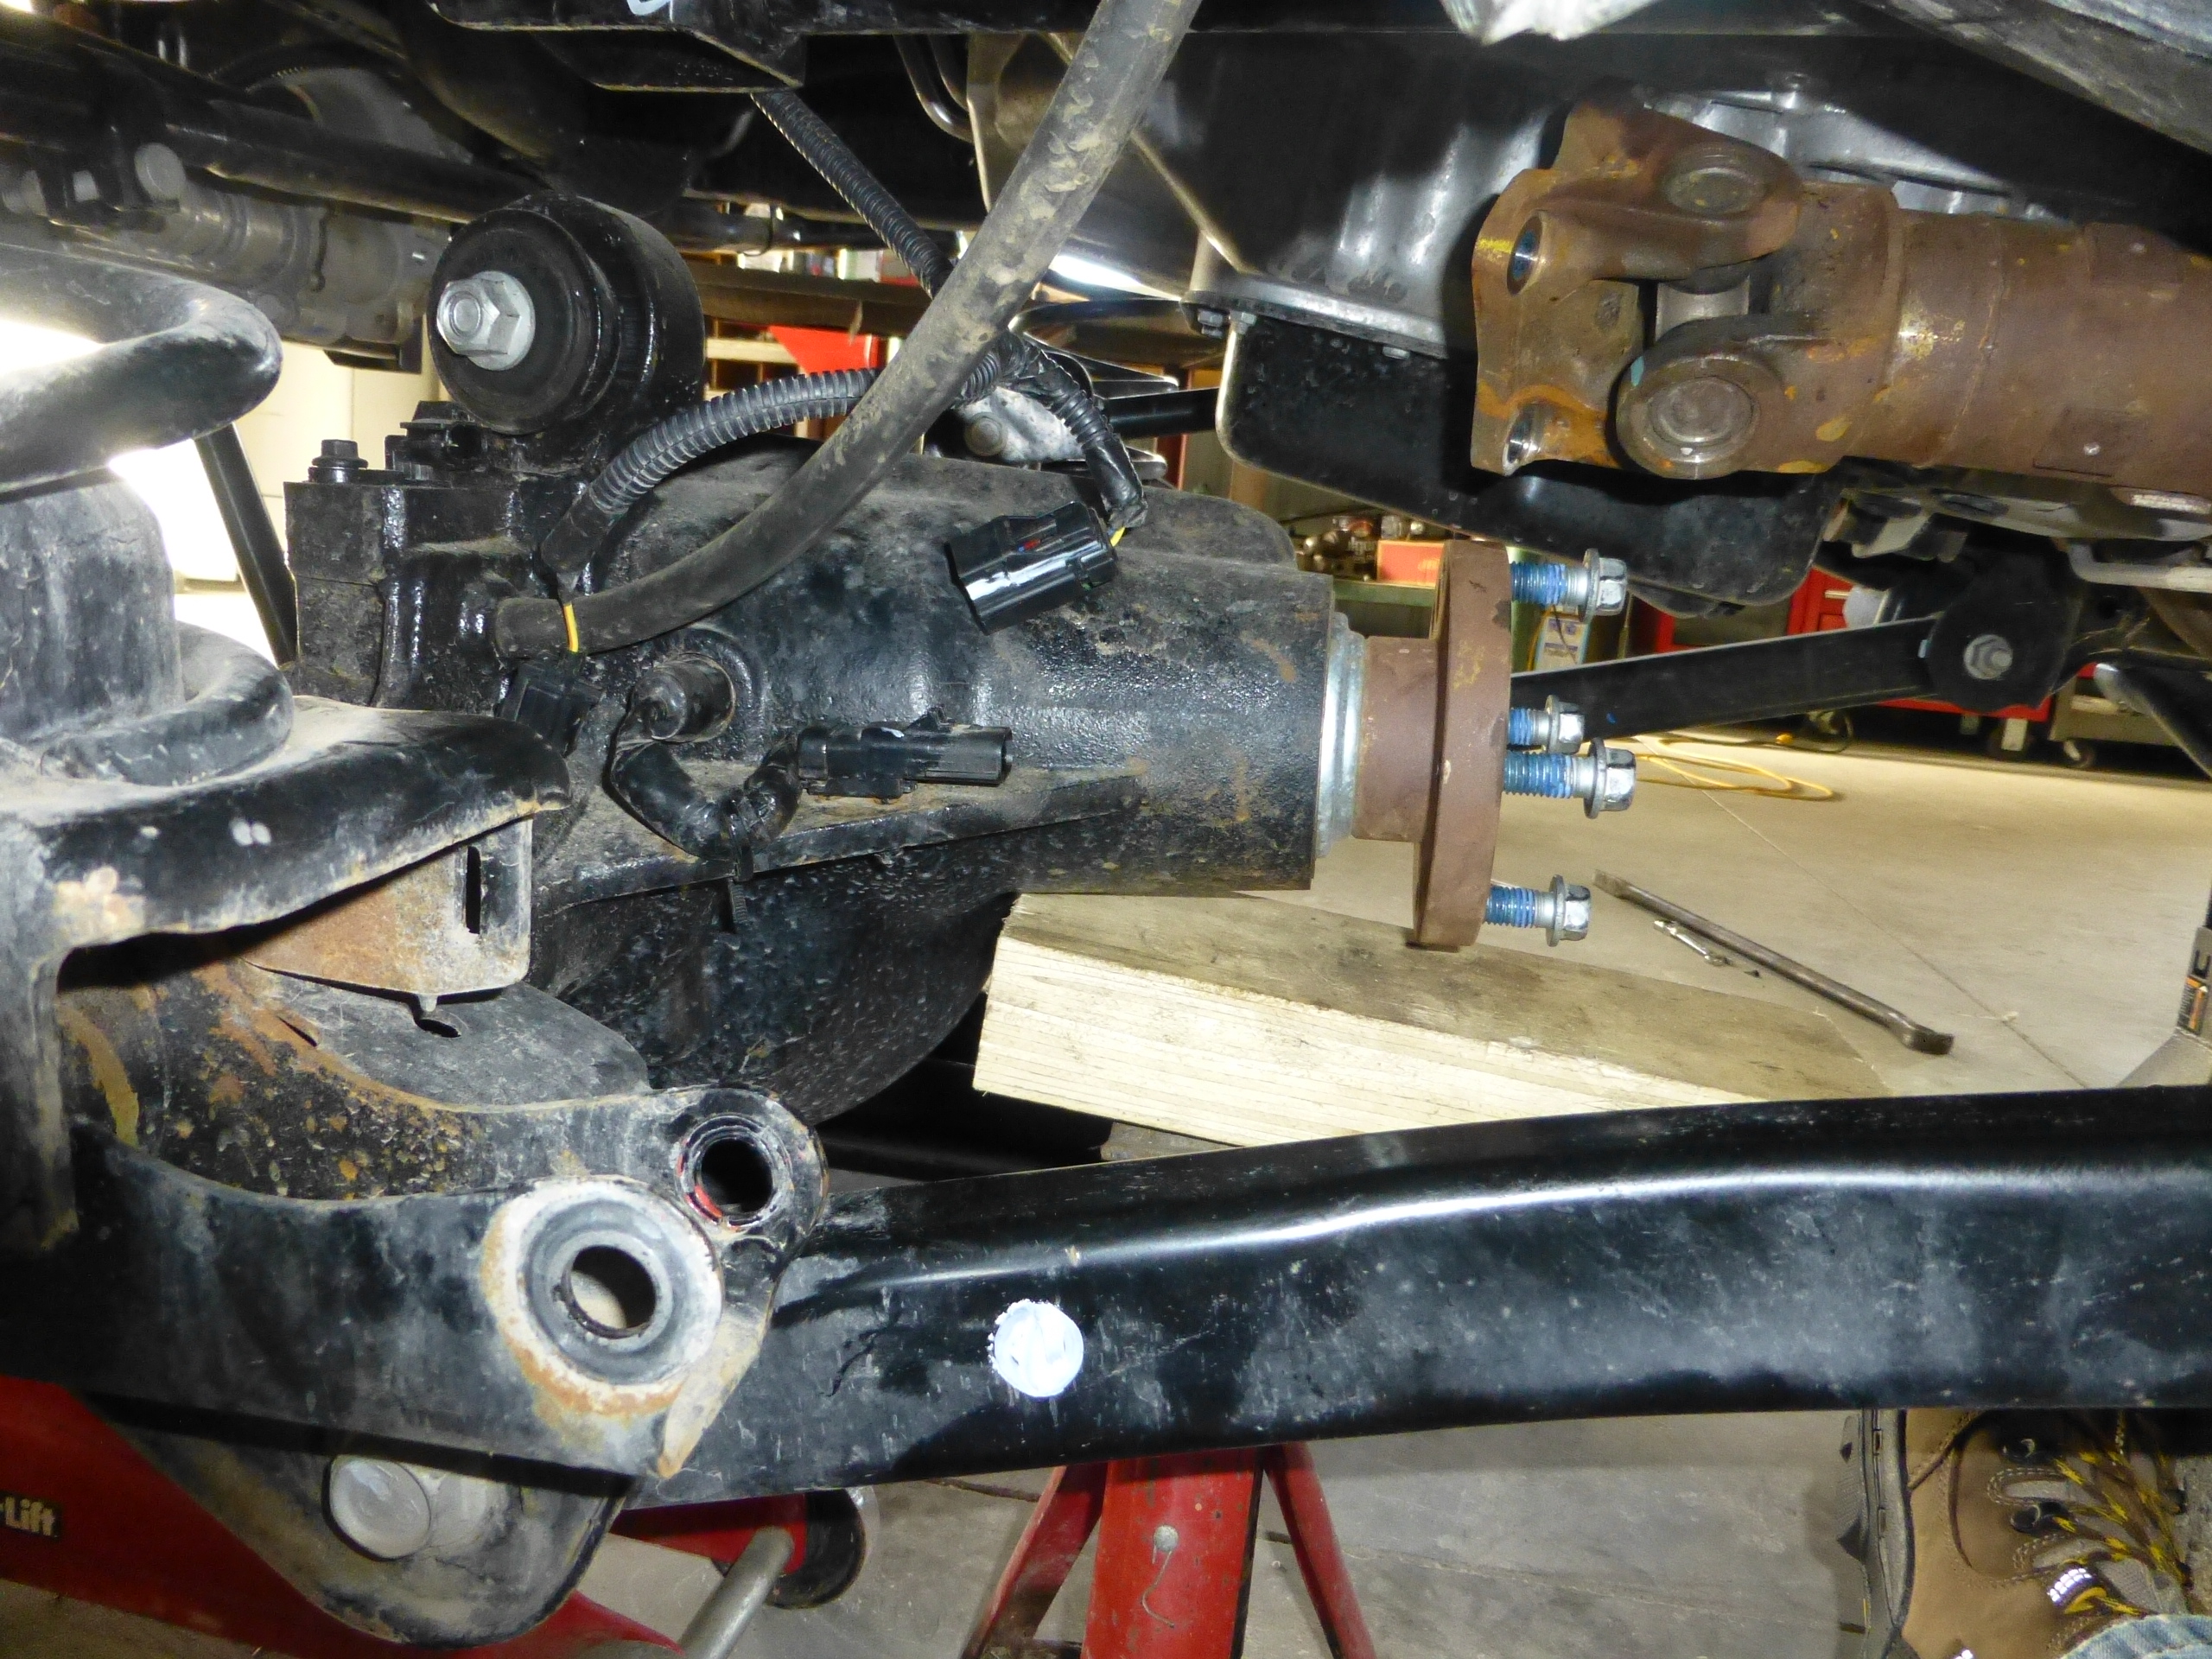
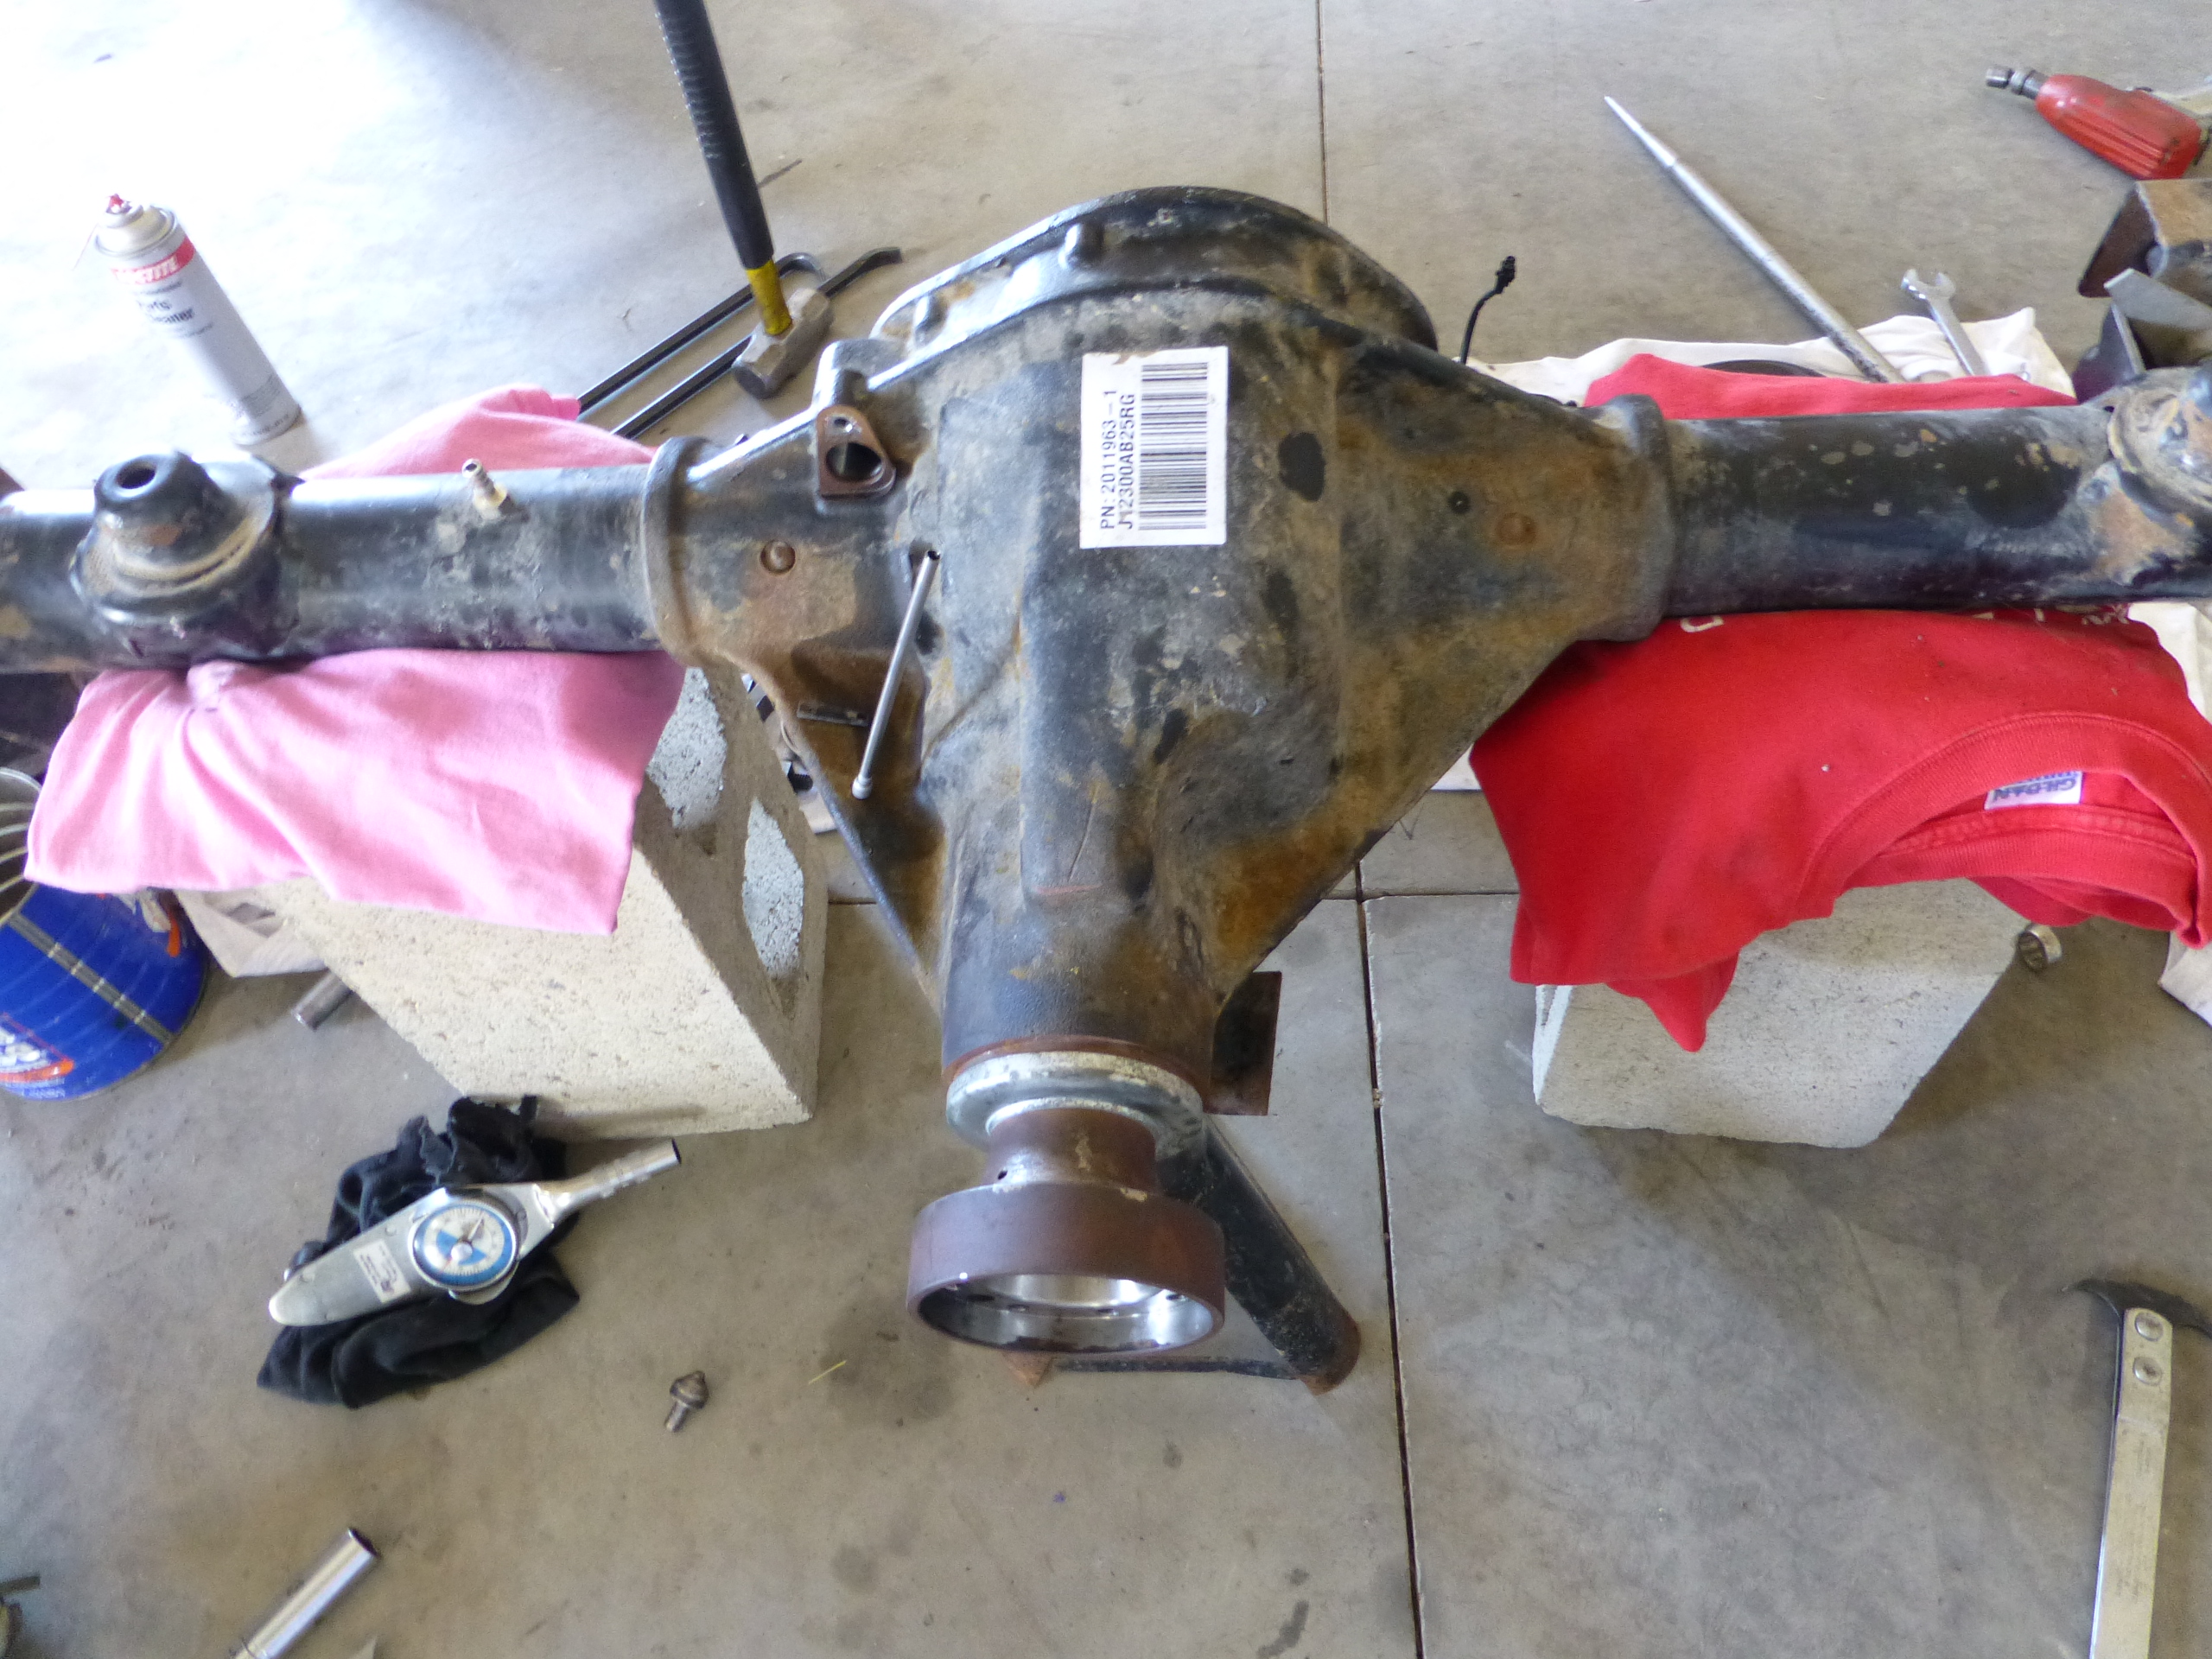
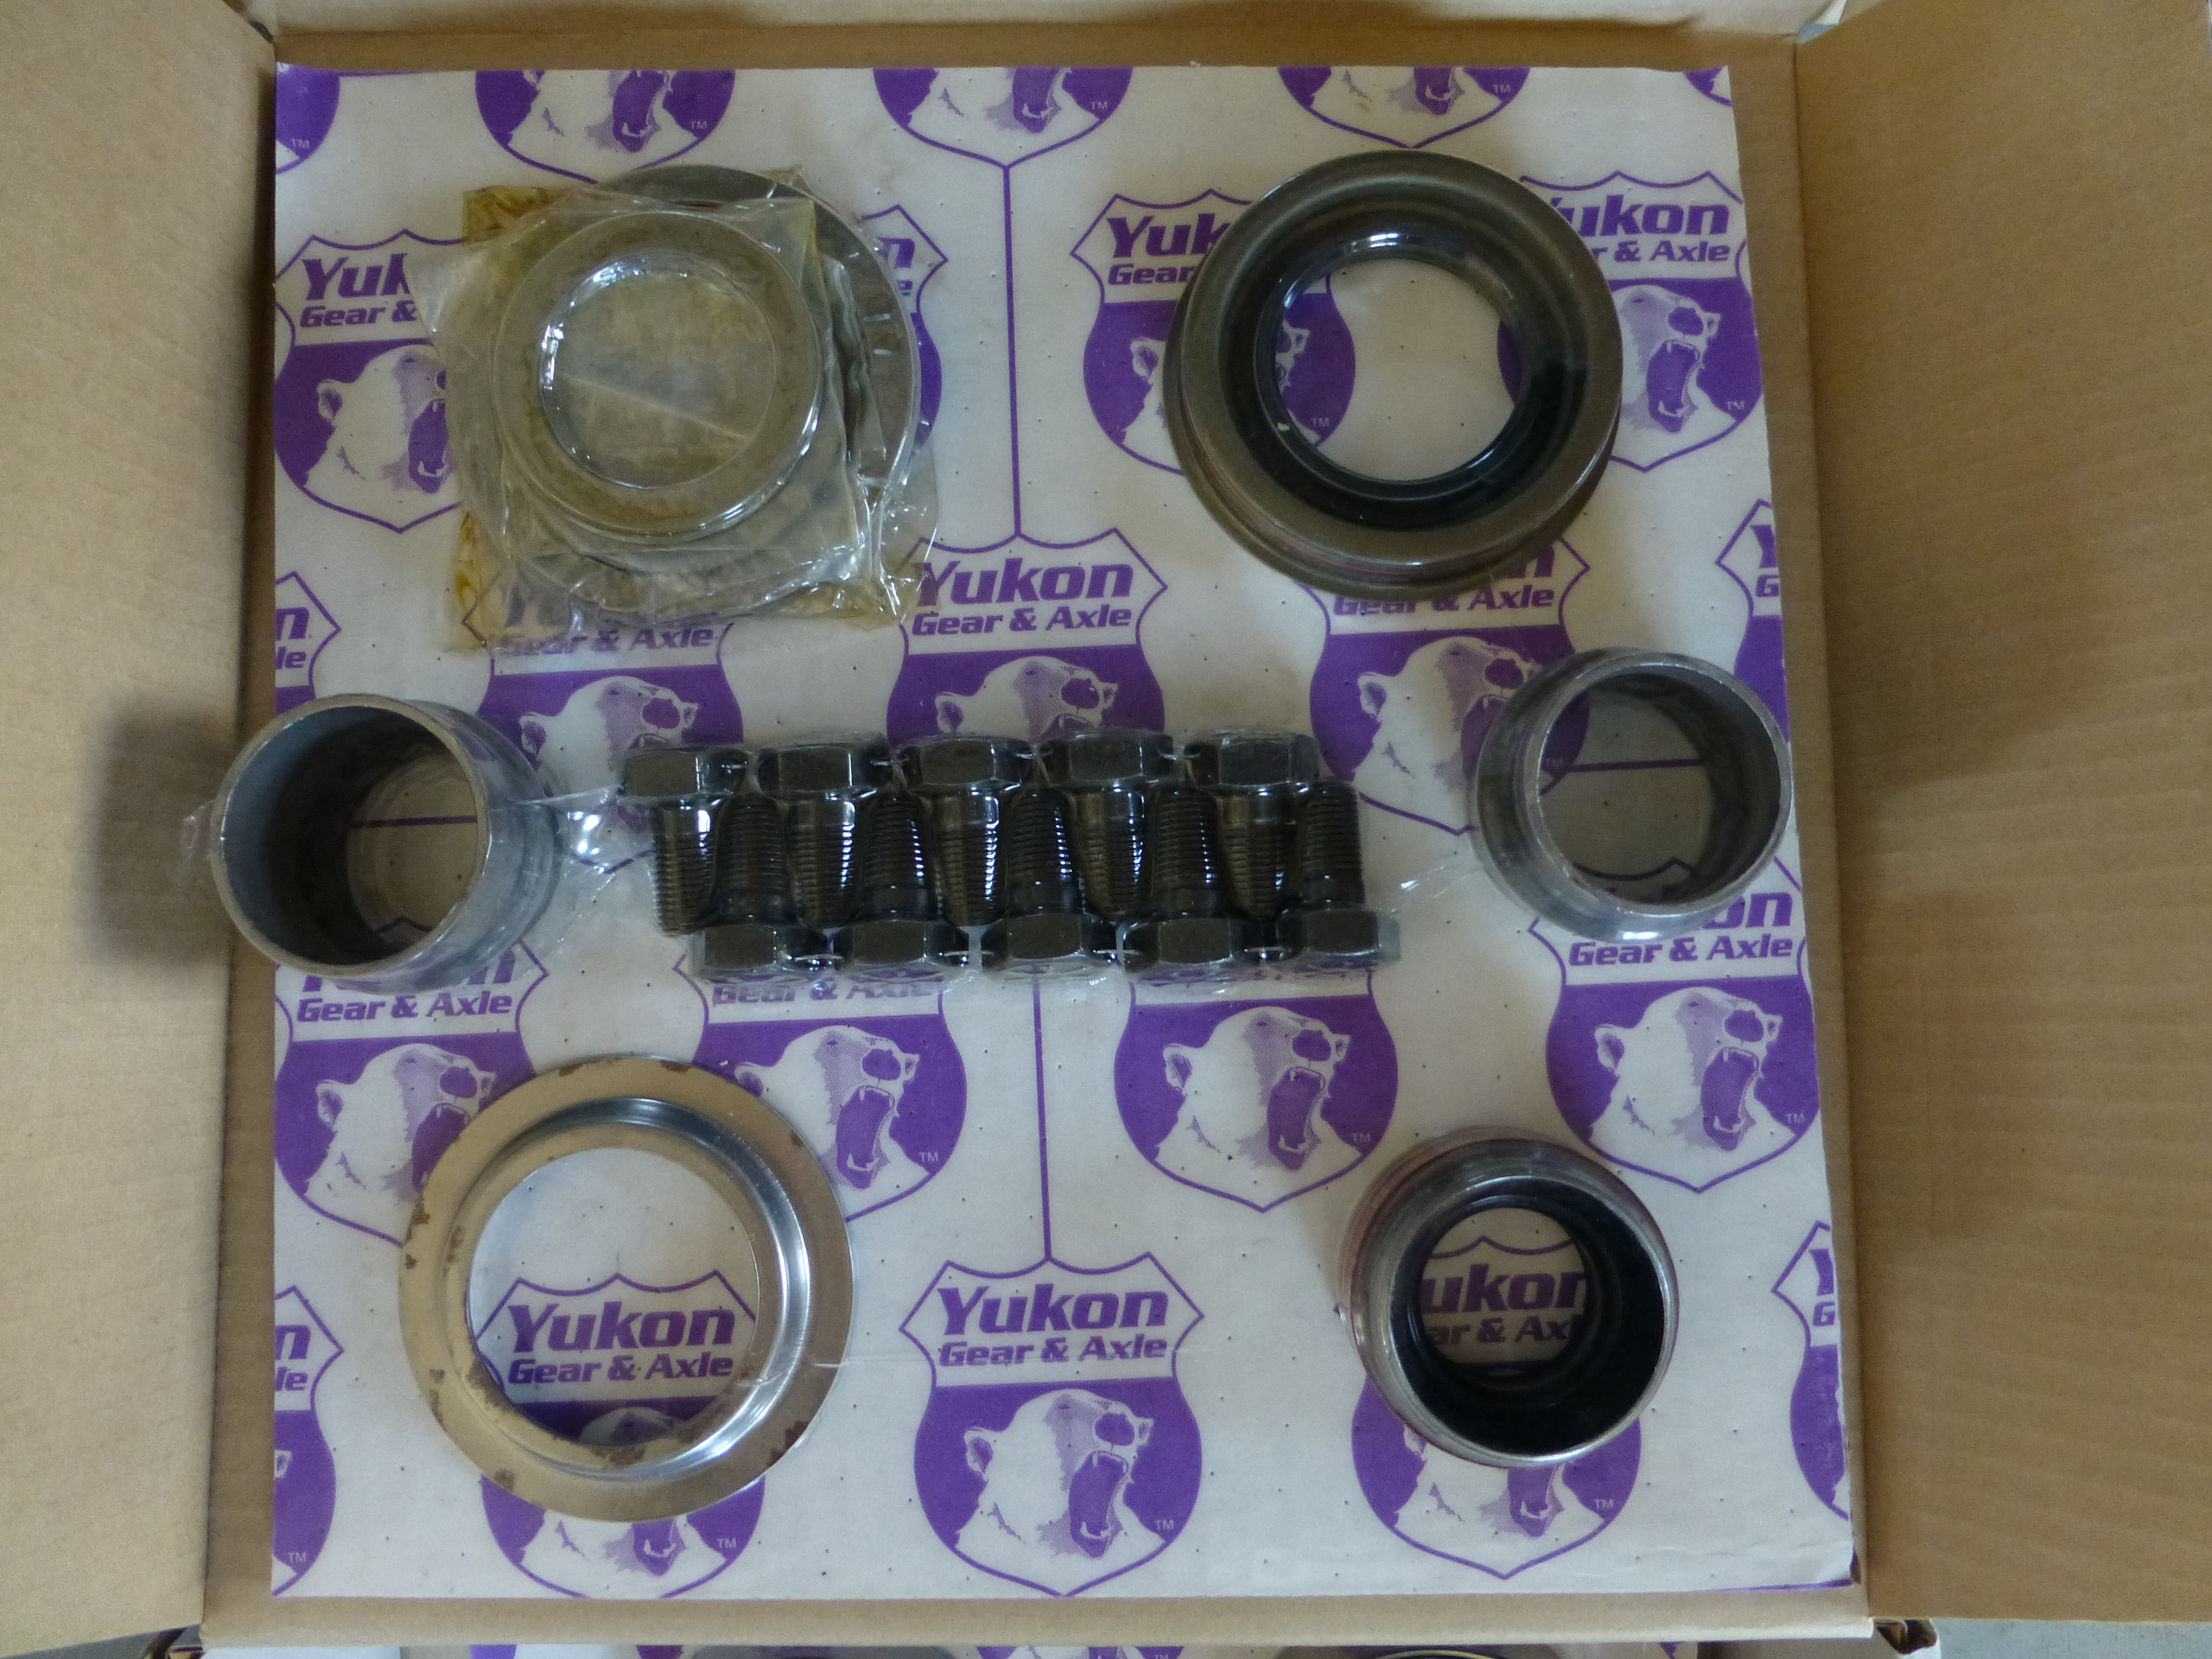
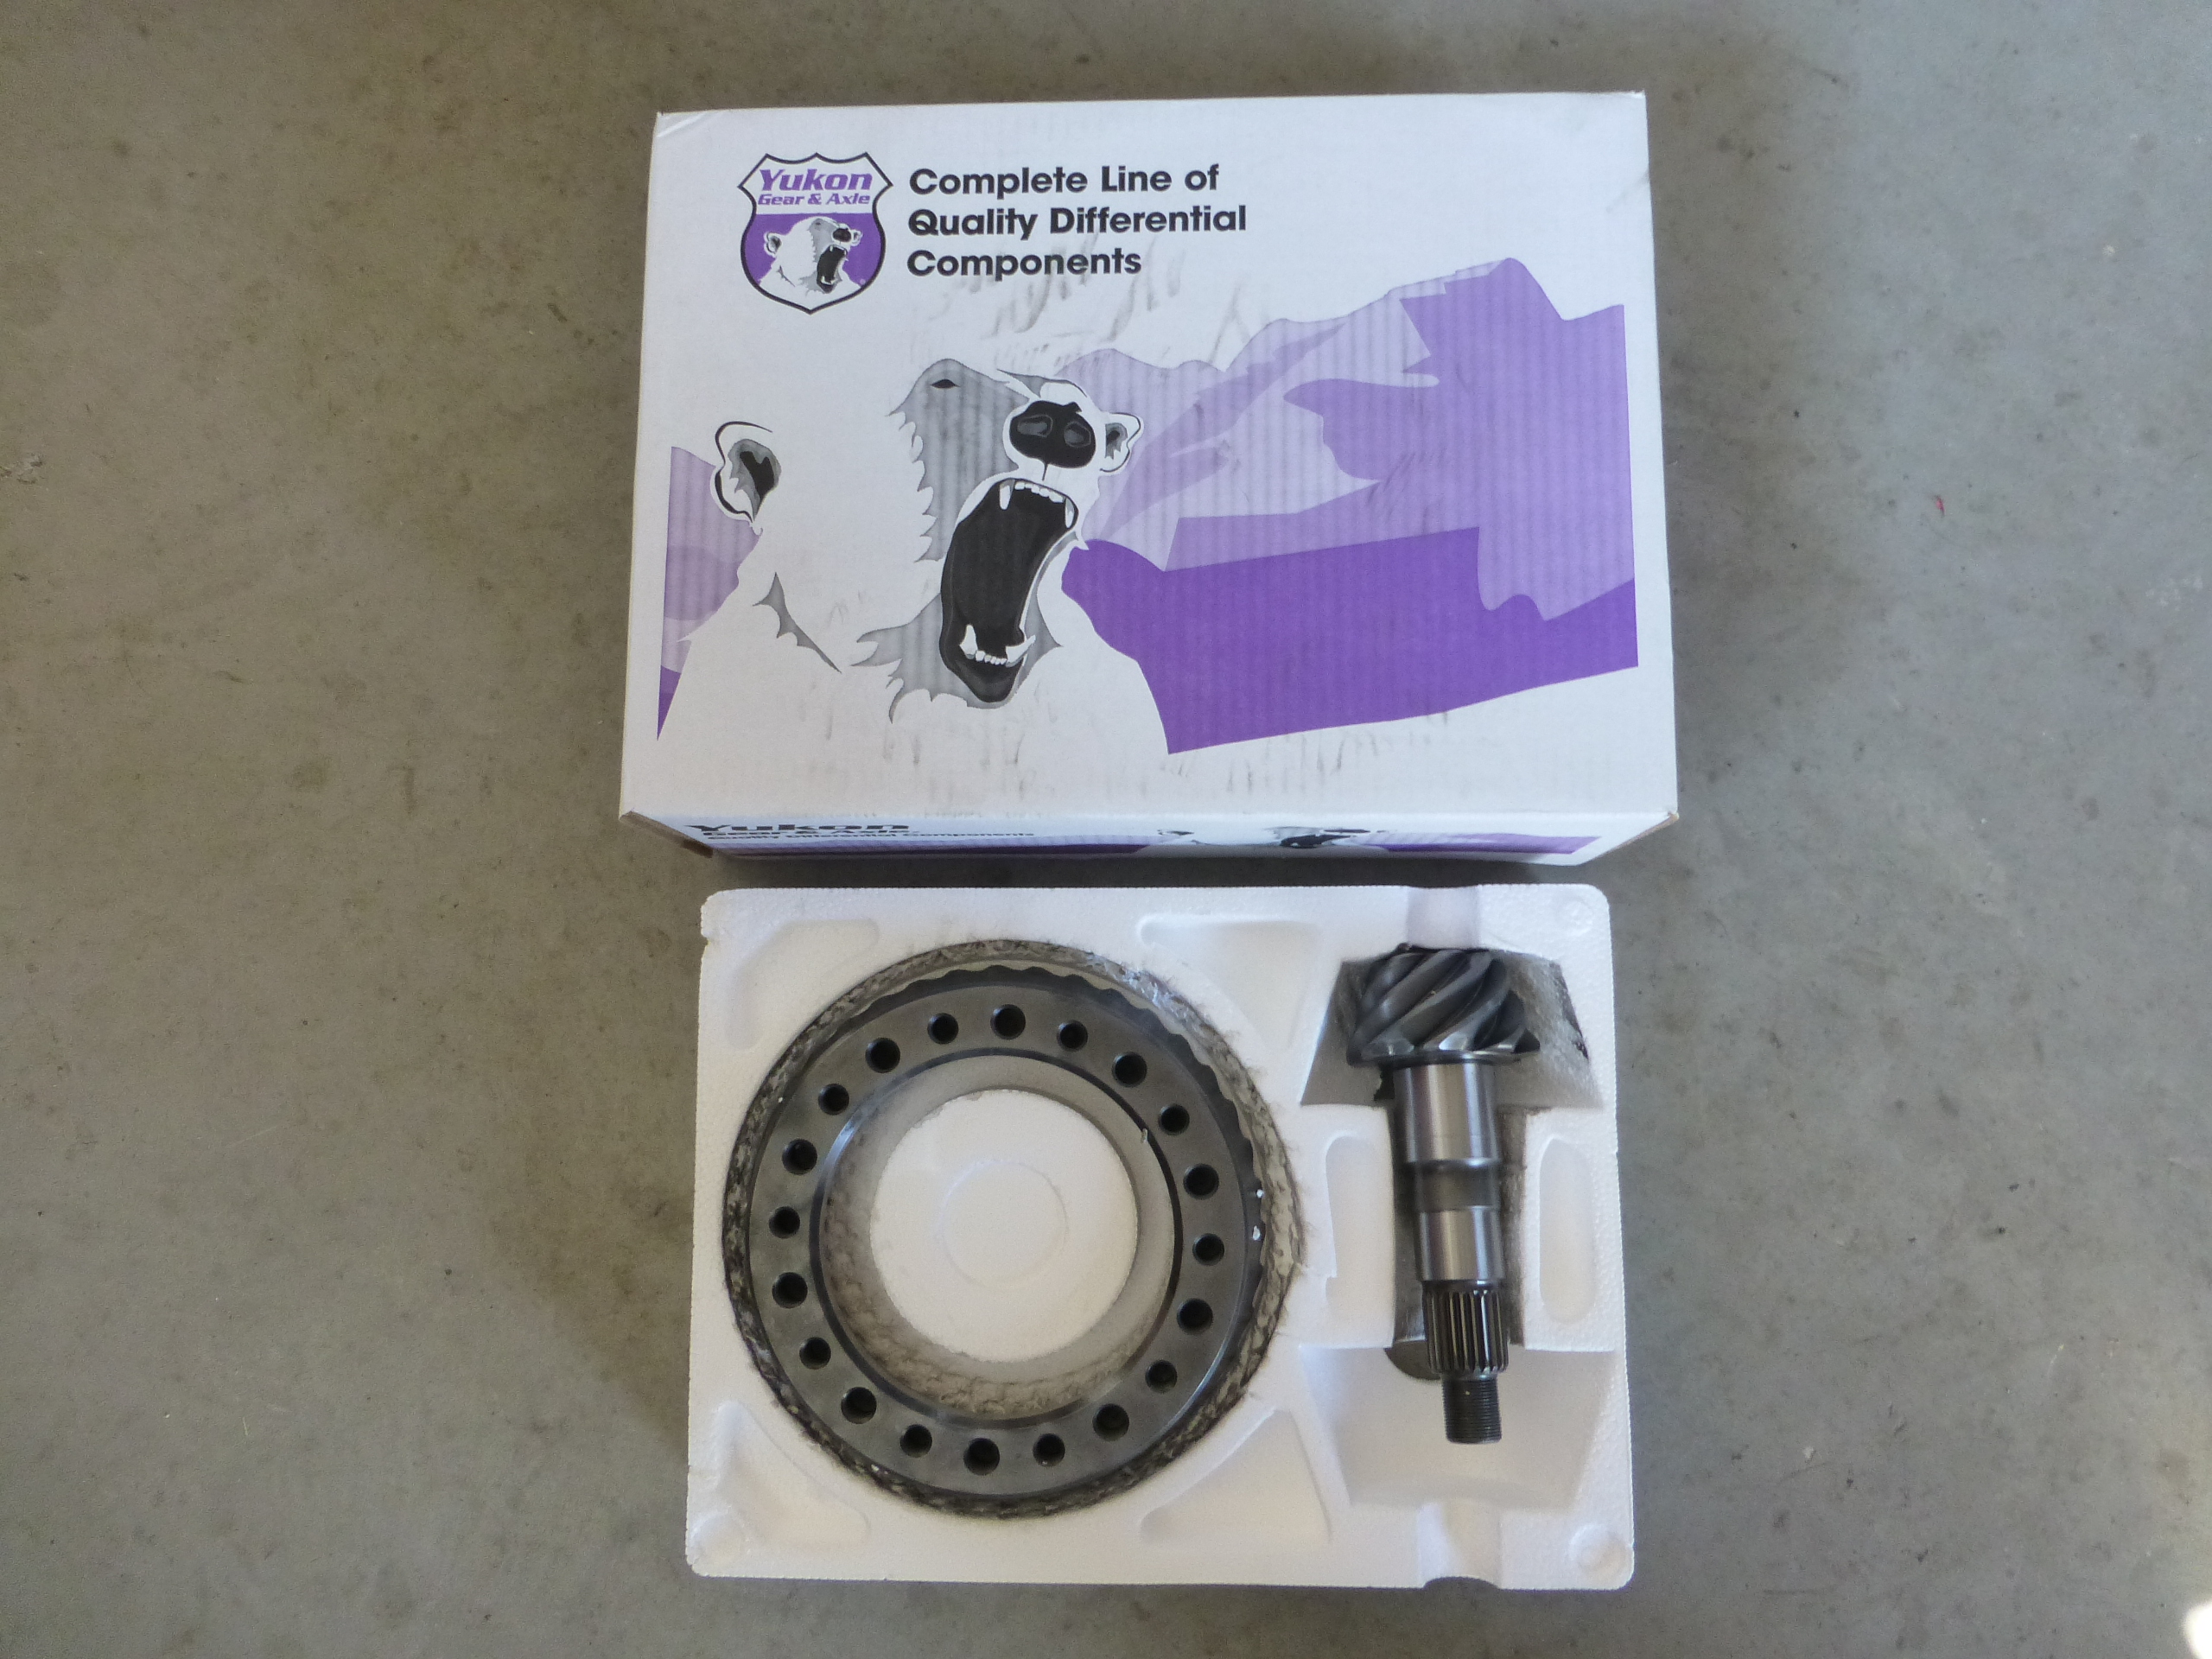
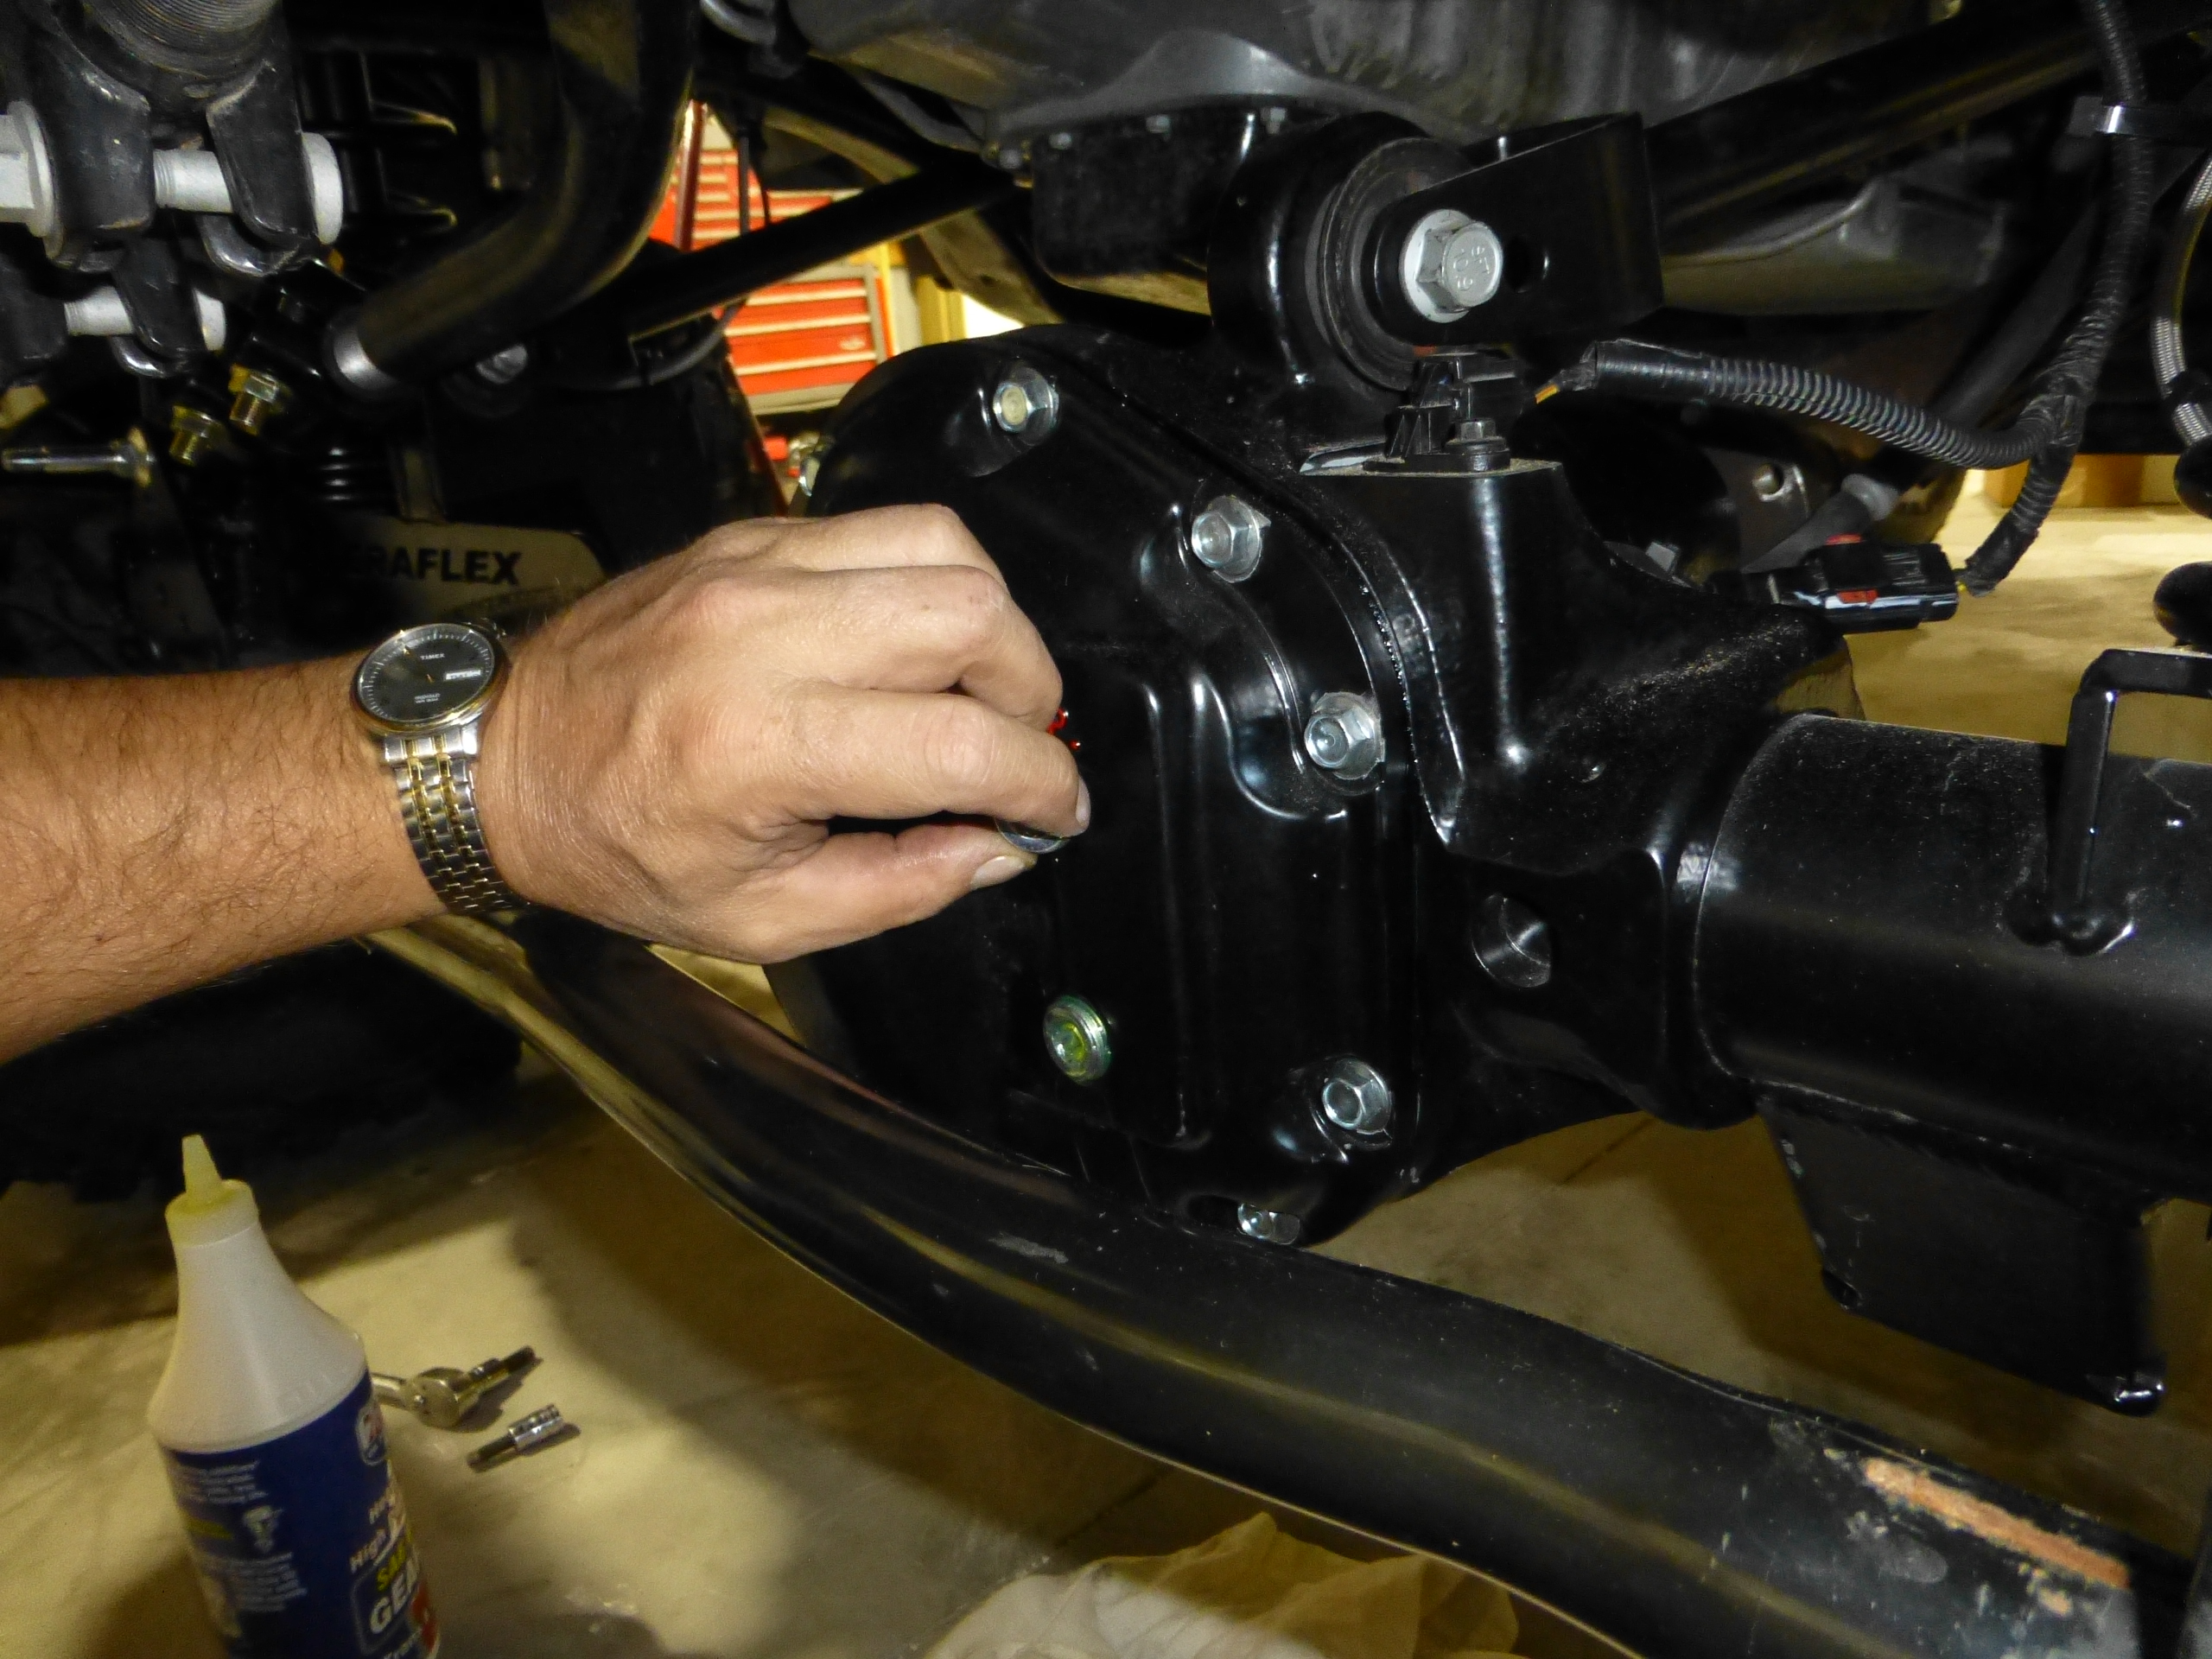
Before we could go far with the installation of the new suspension system from Teraflex, we had to change the gearing in the axle so it was time to utilize the new Yukon Gear & Axle components. We needed to change the gearing to match up with the oversize tires; since the rear axle was going to be quicker and easier we started there. The process was easier due to the fact that we had removed the axle from the Jeep allowing us full access to all angles and aspects of it.
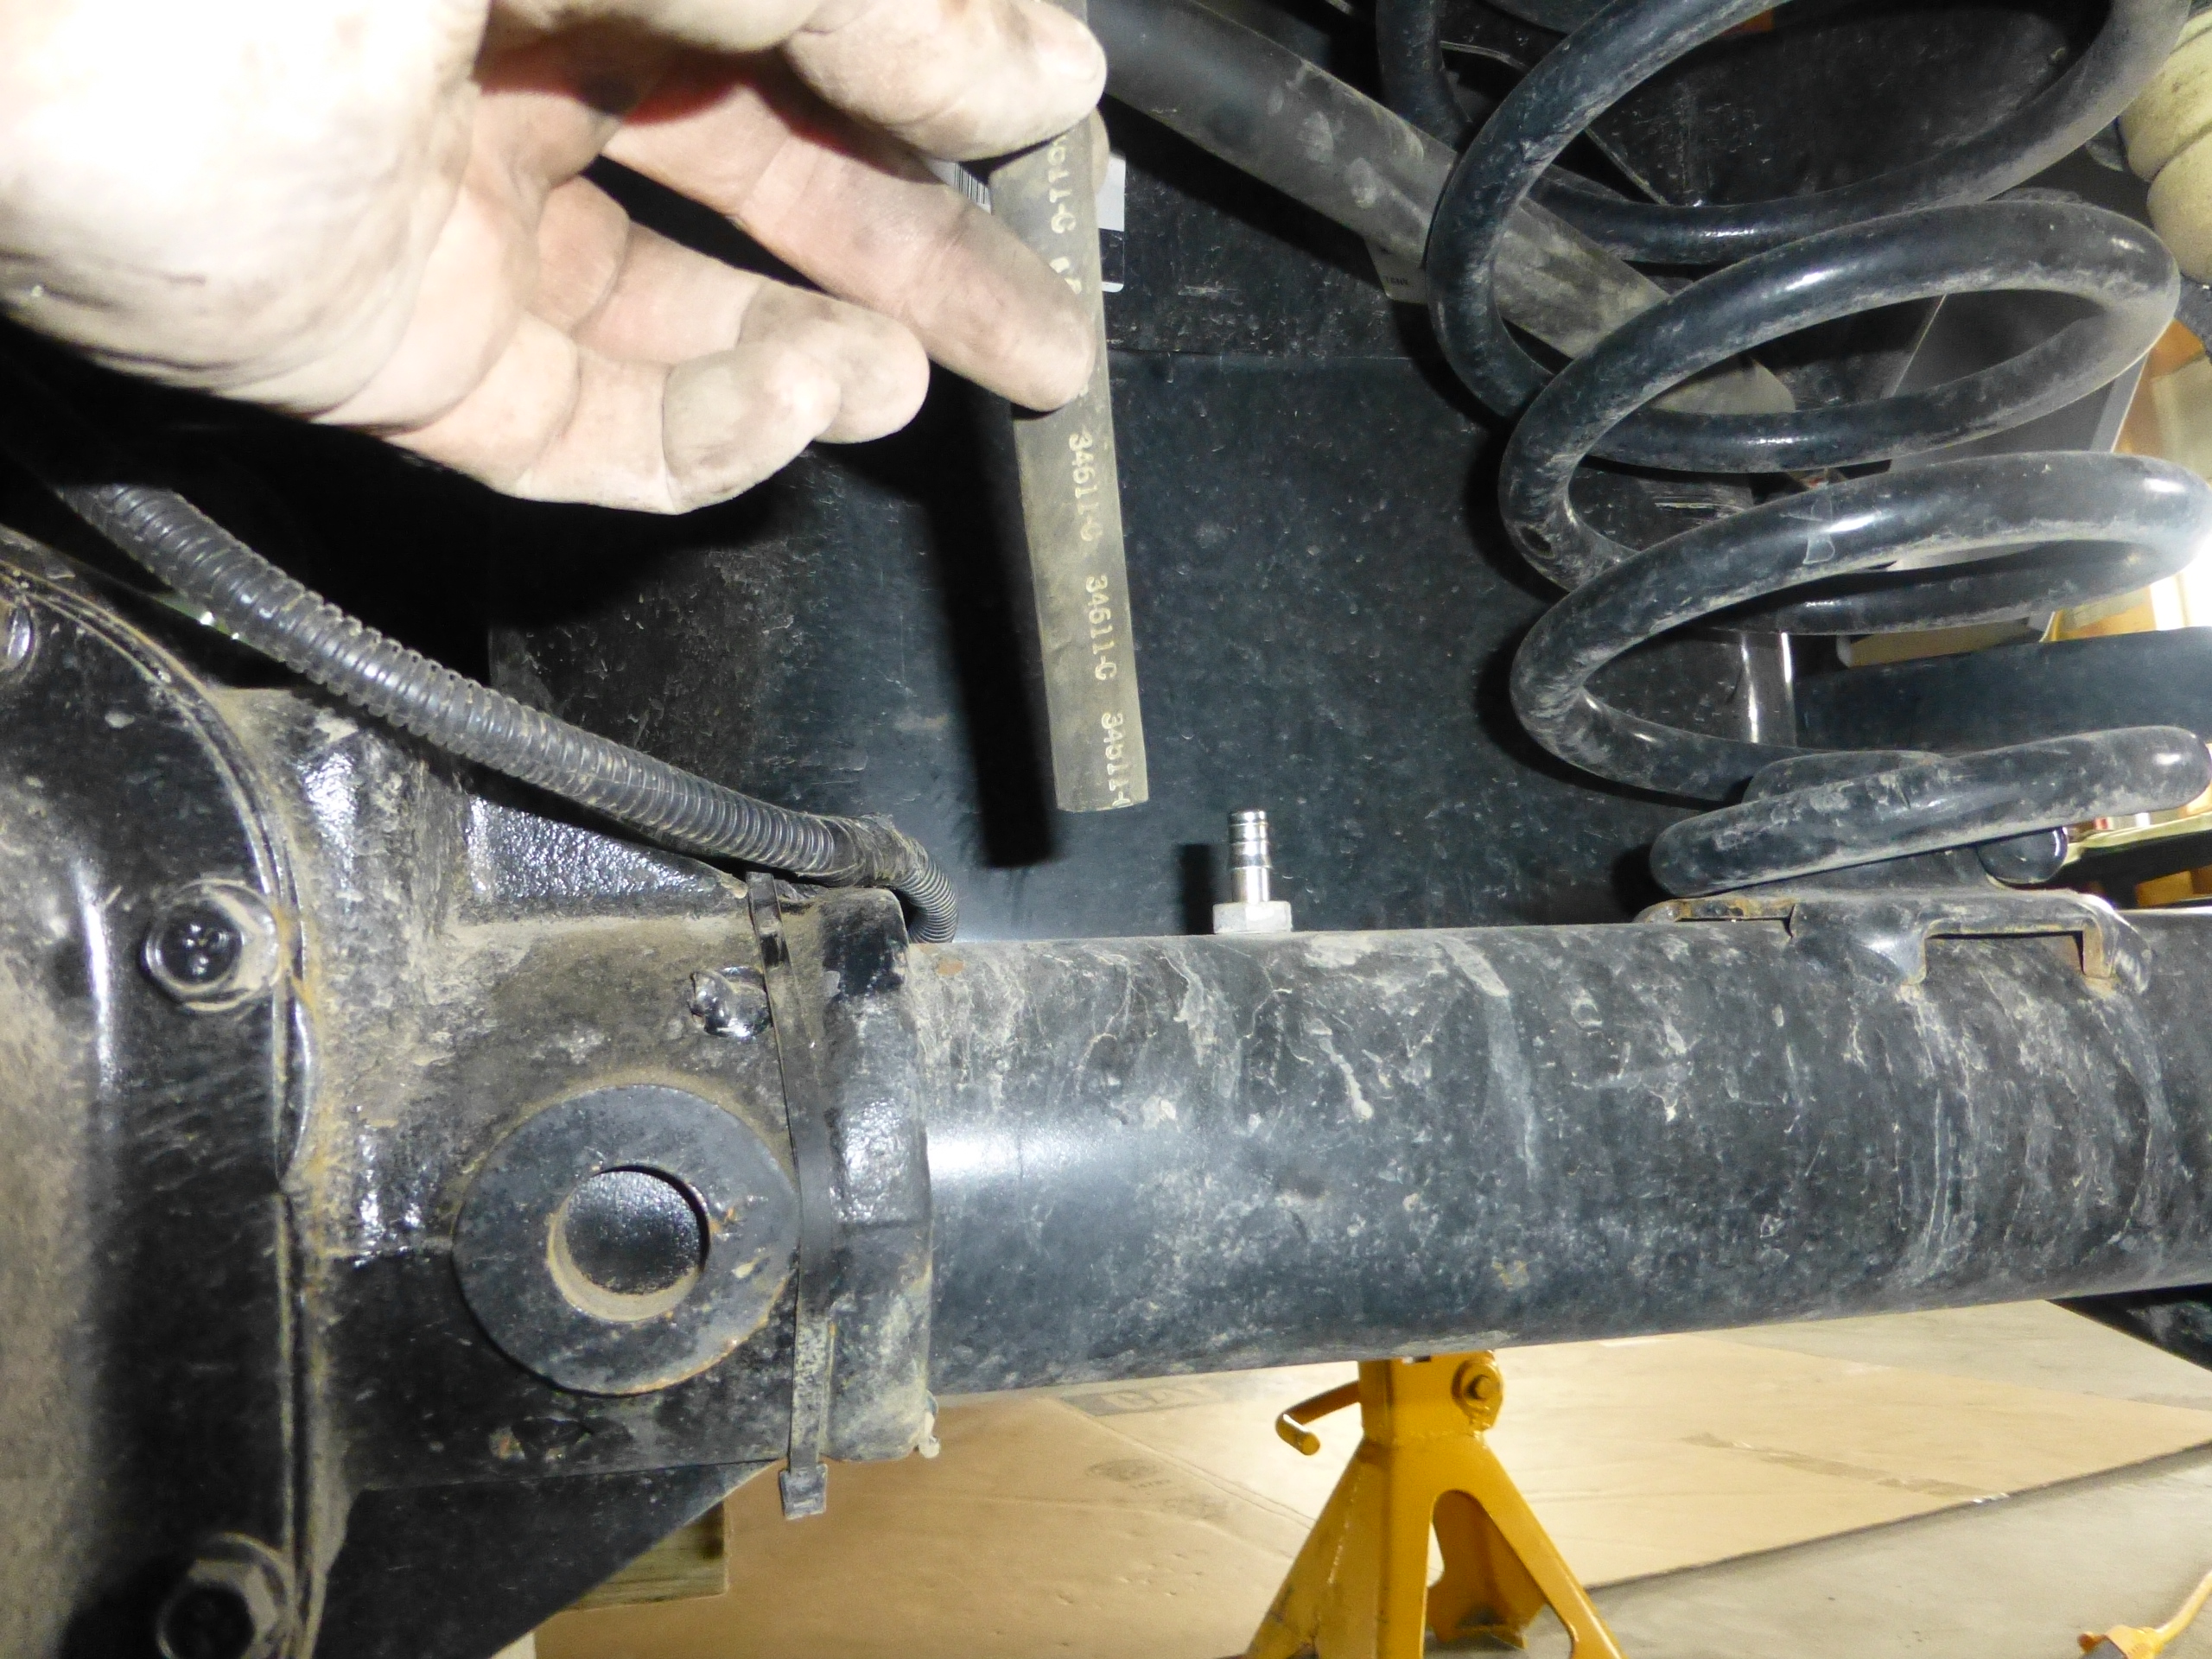
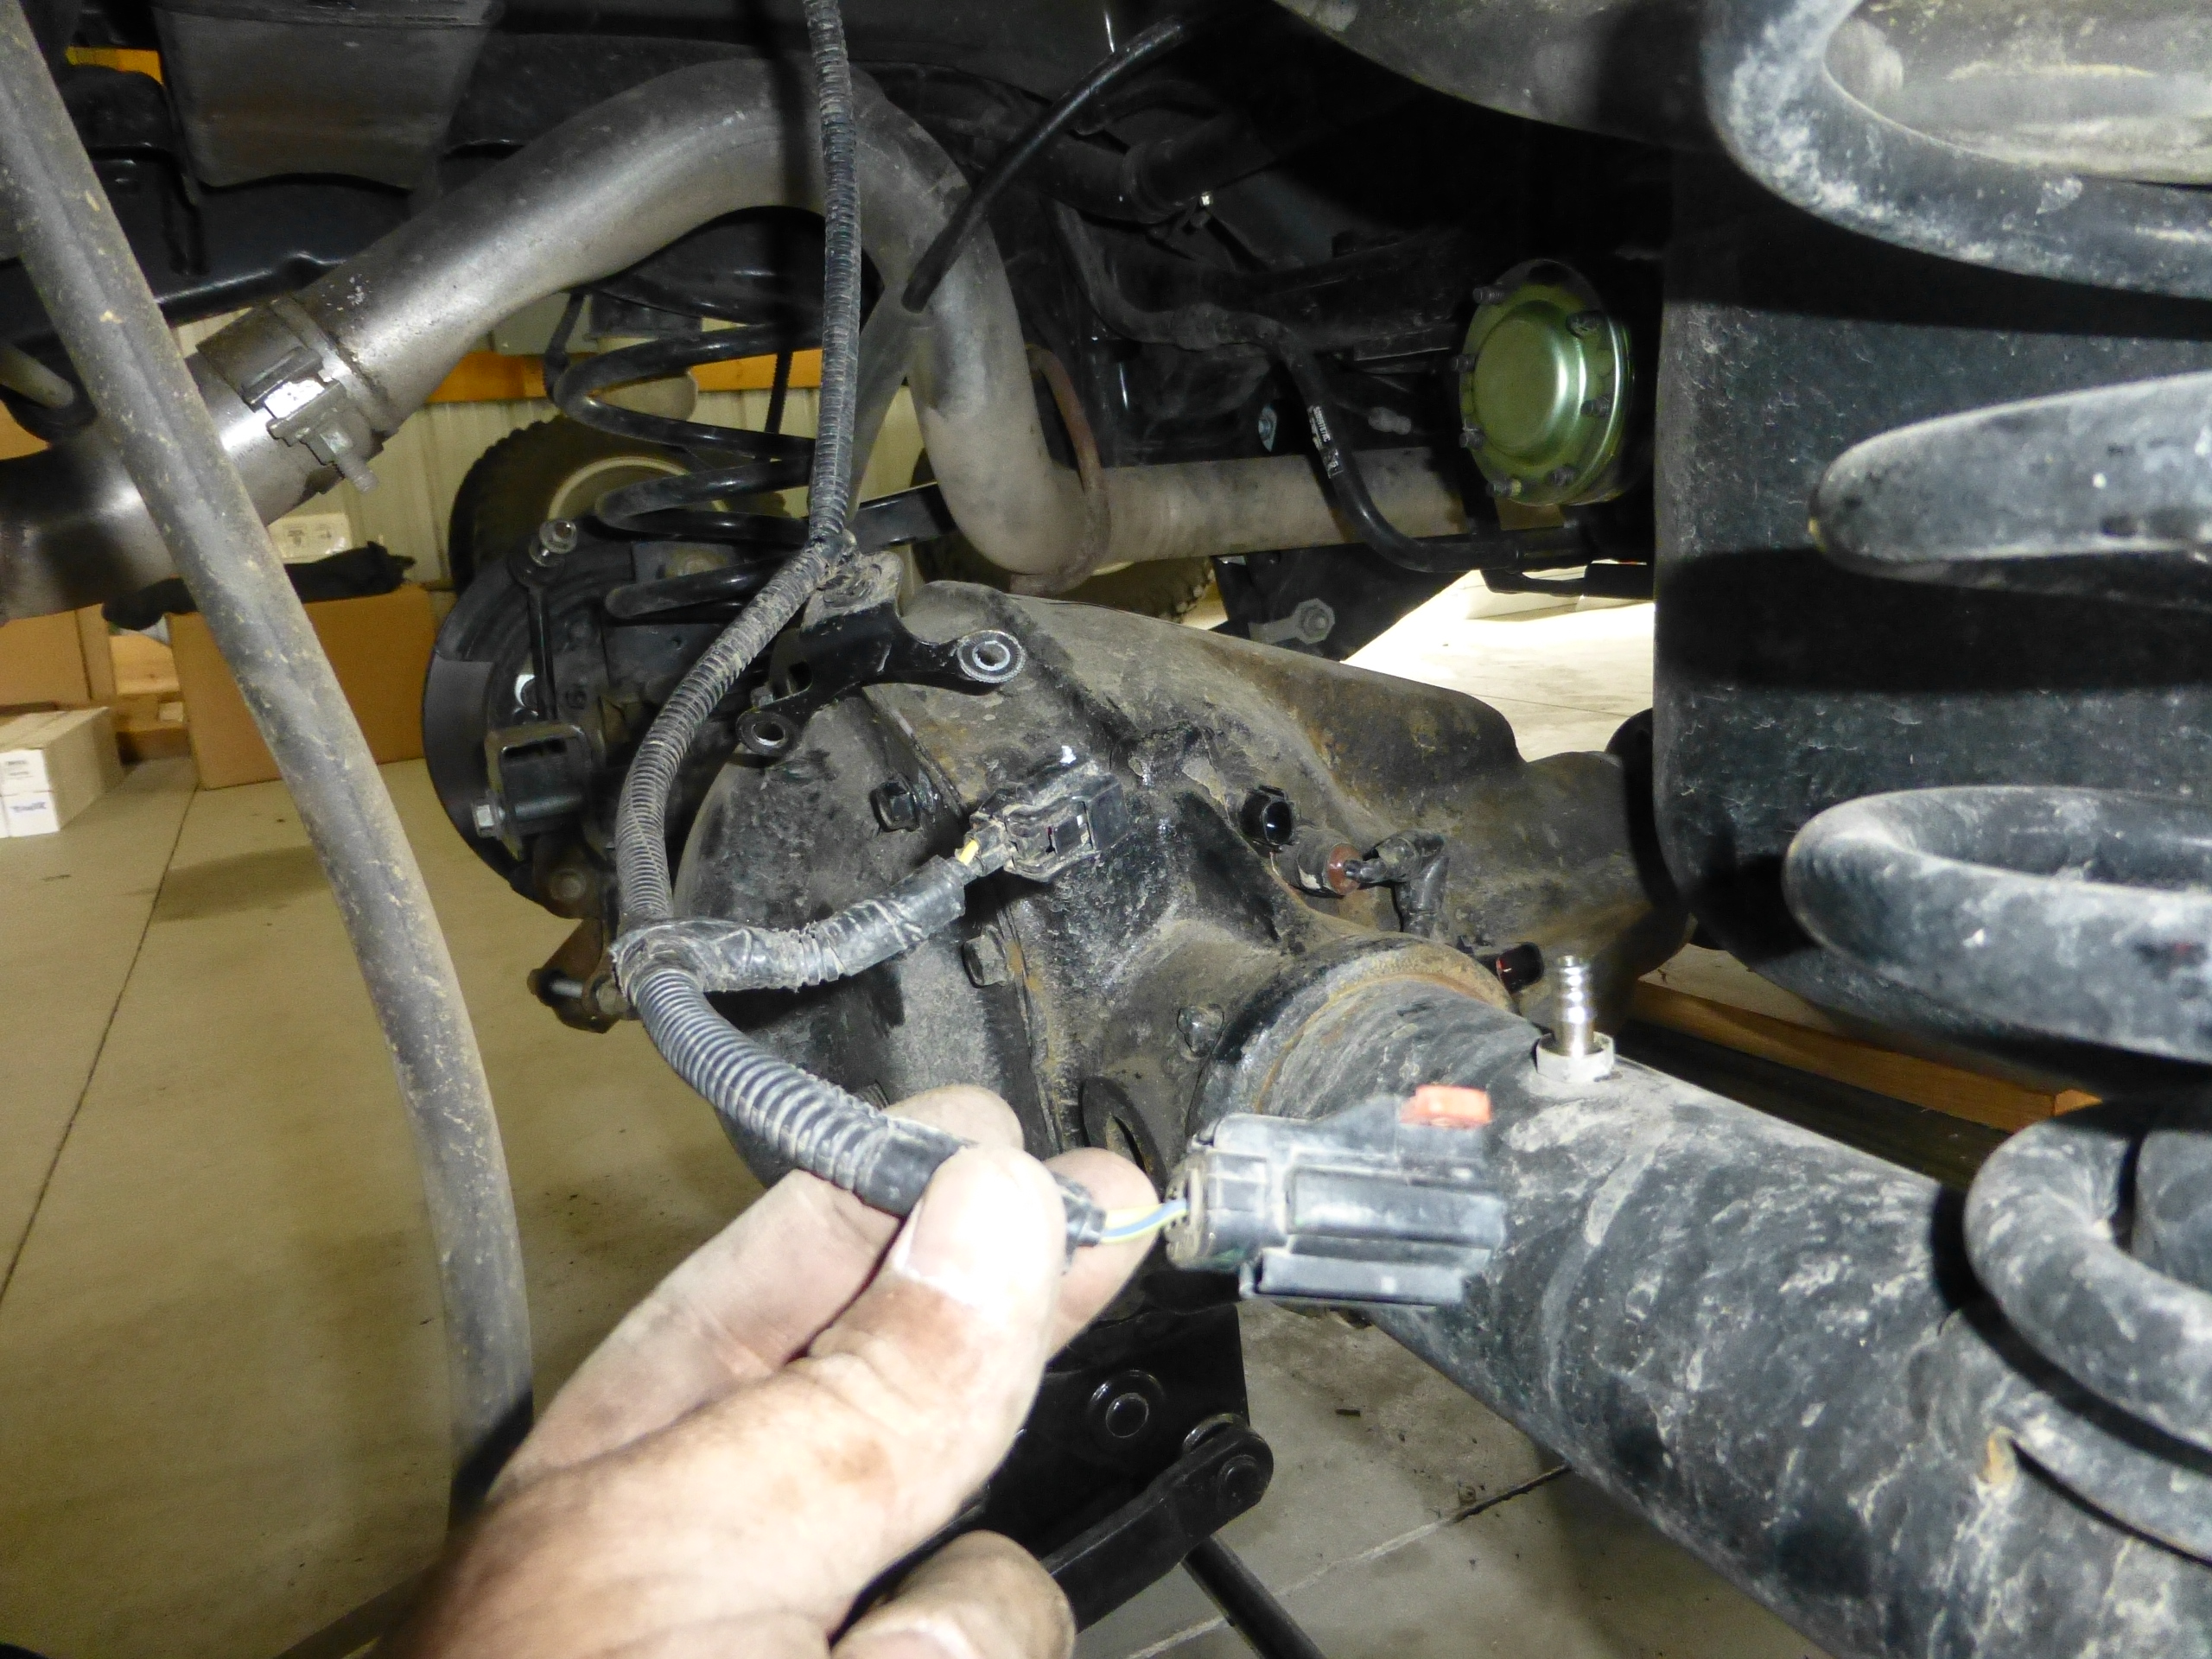
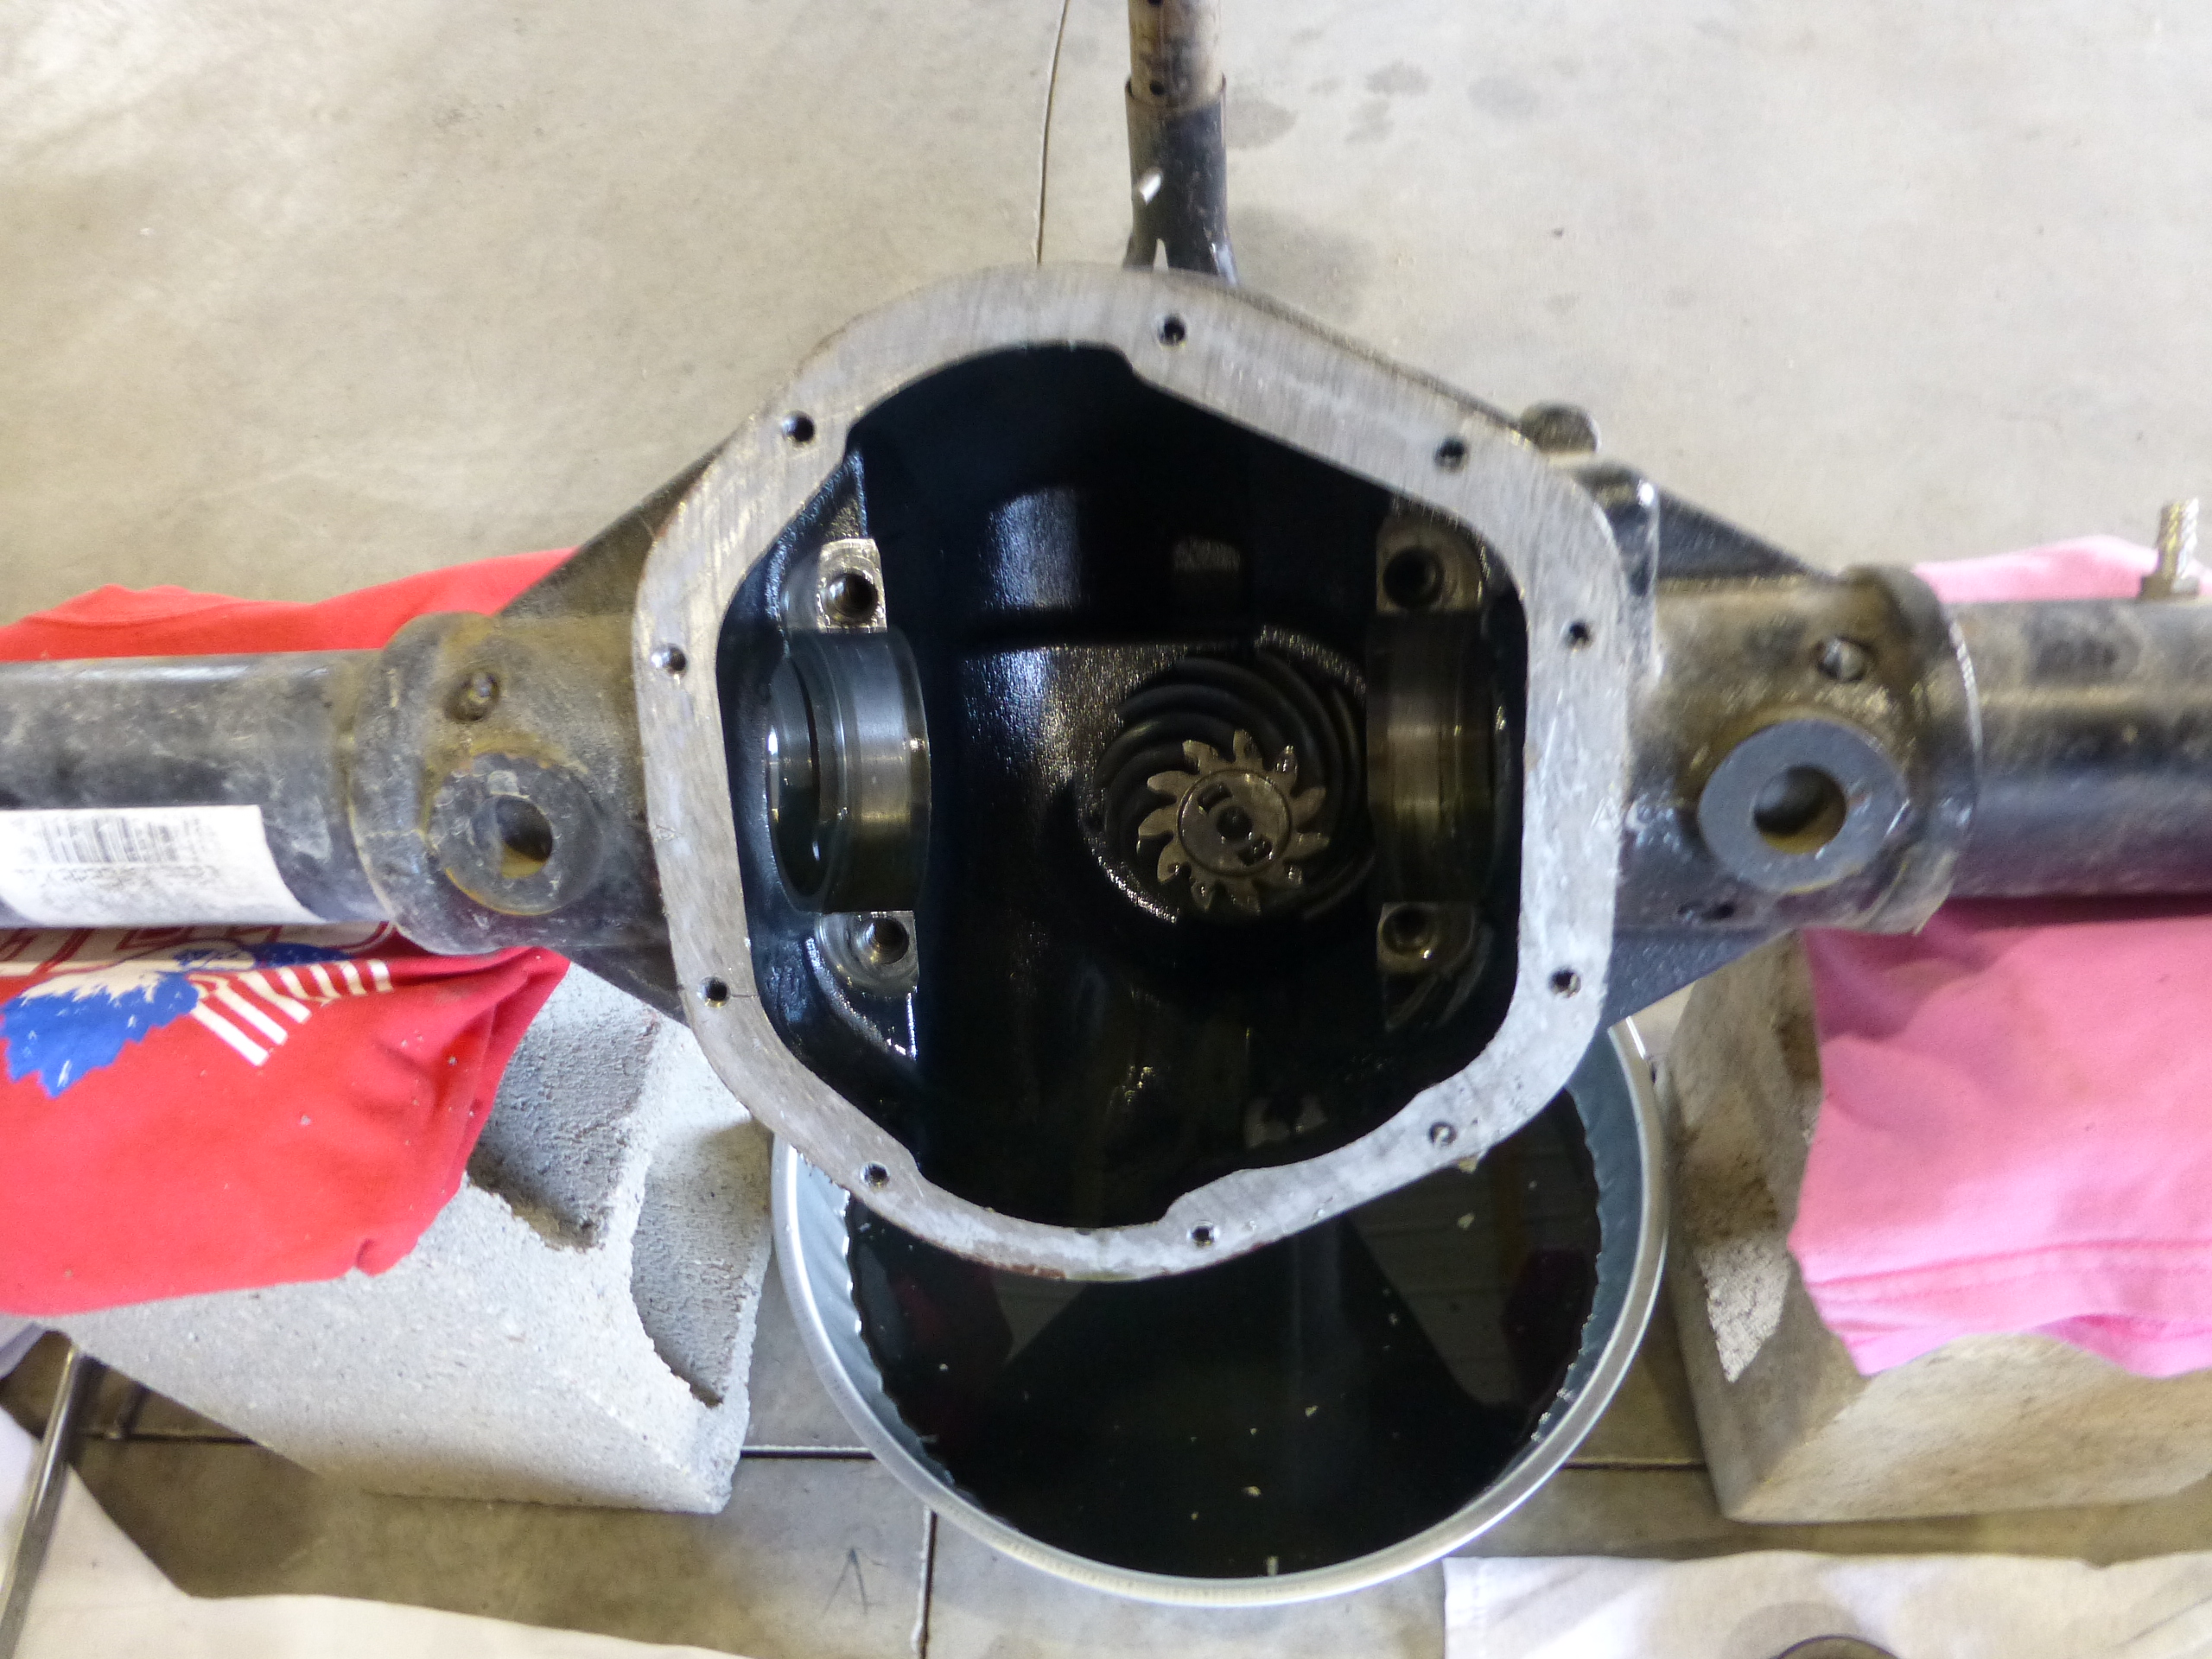
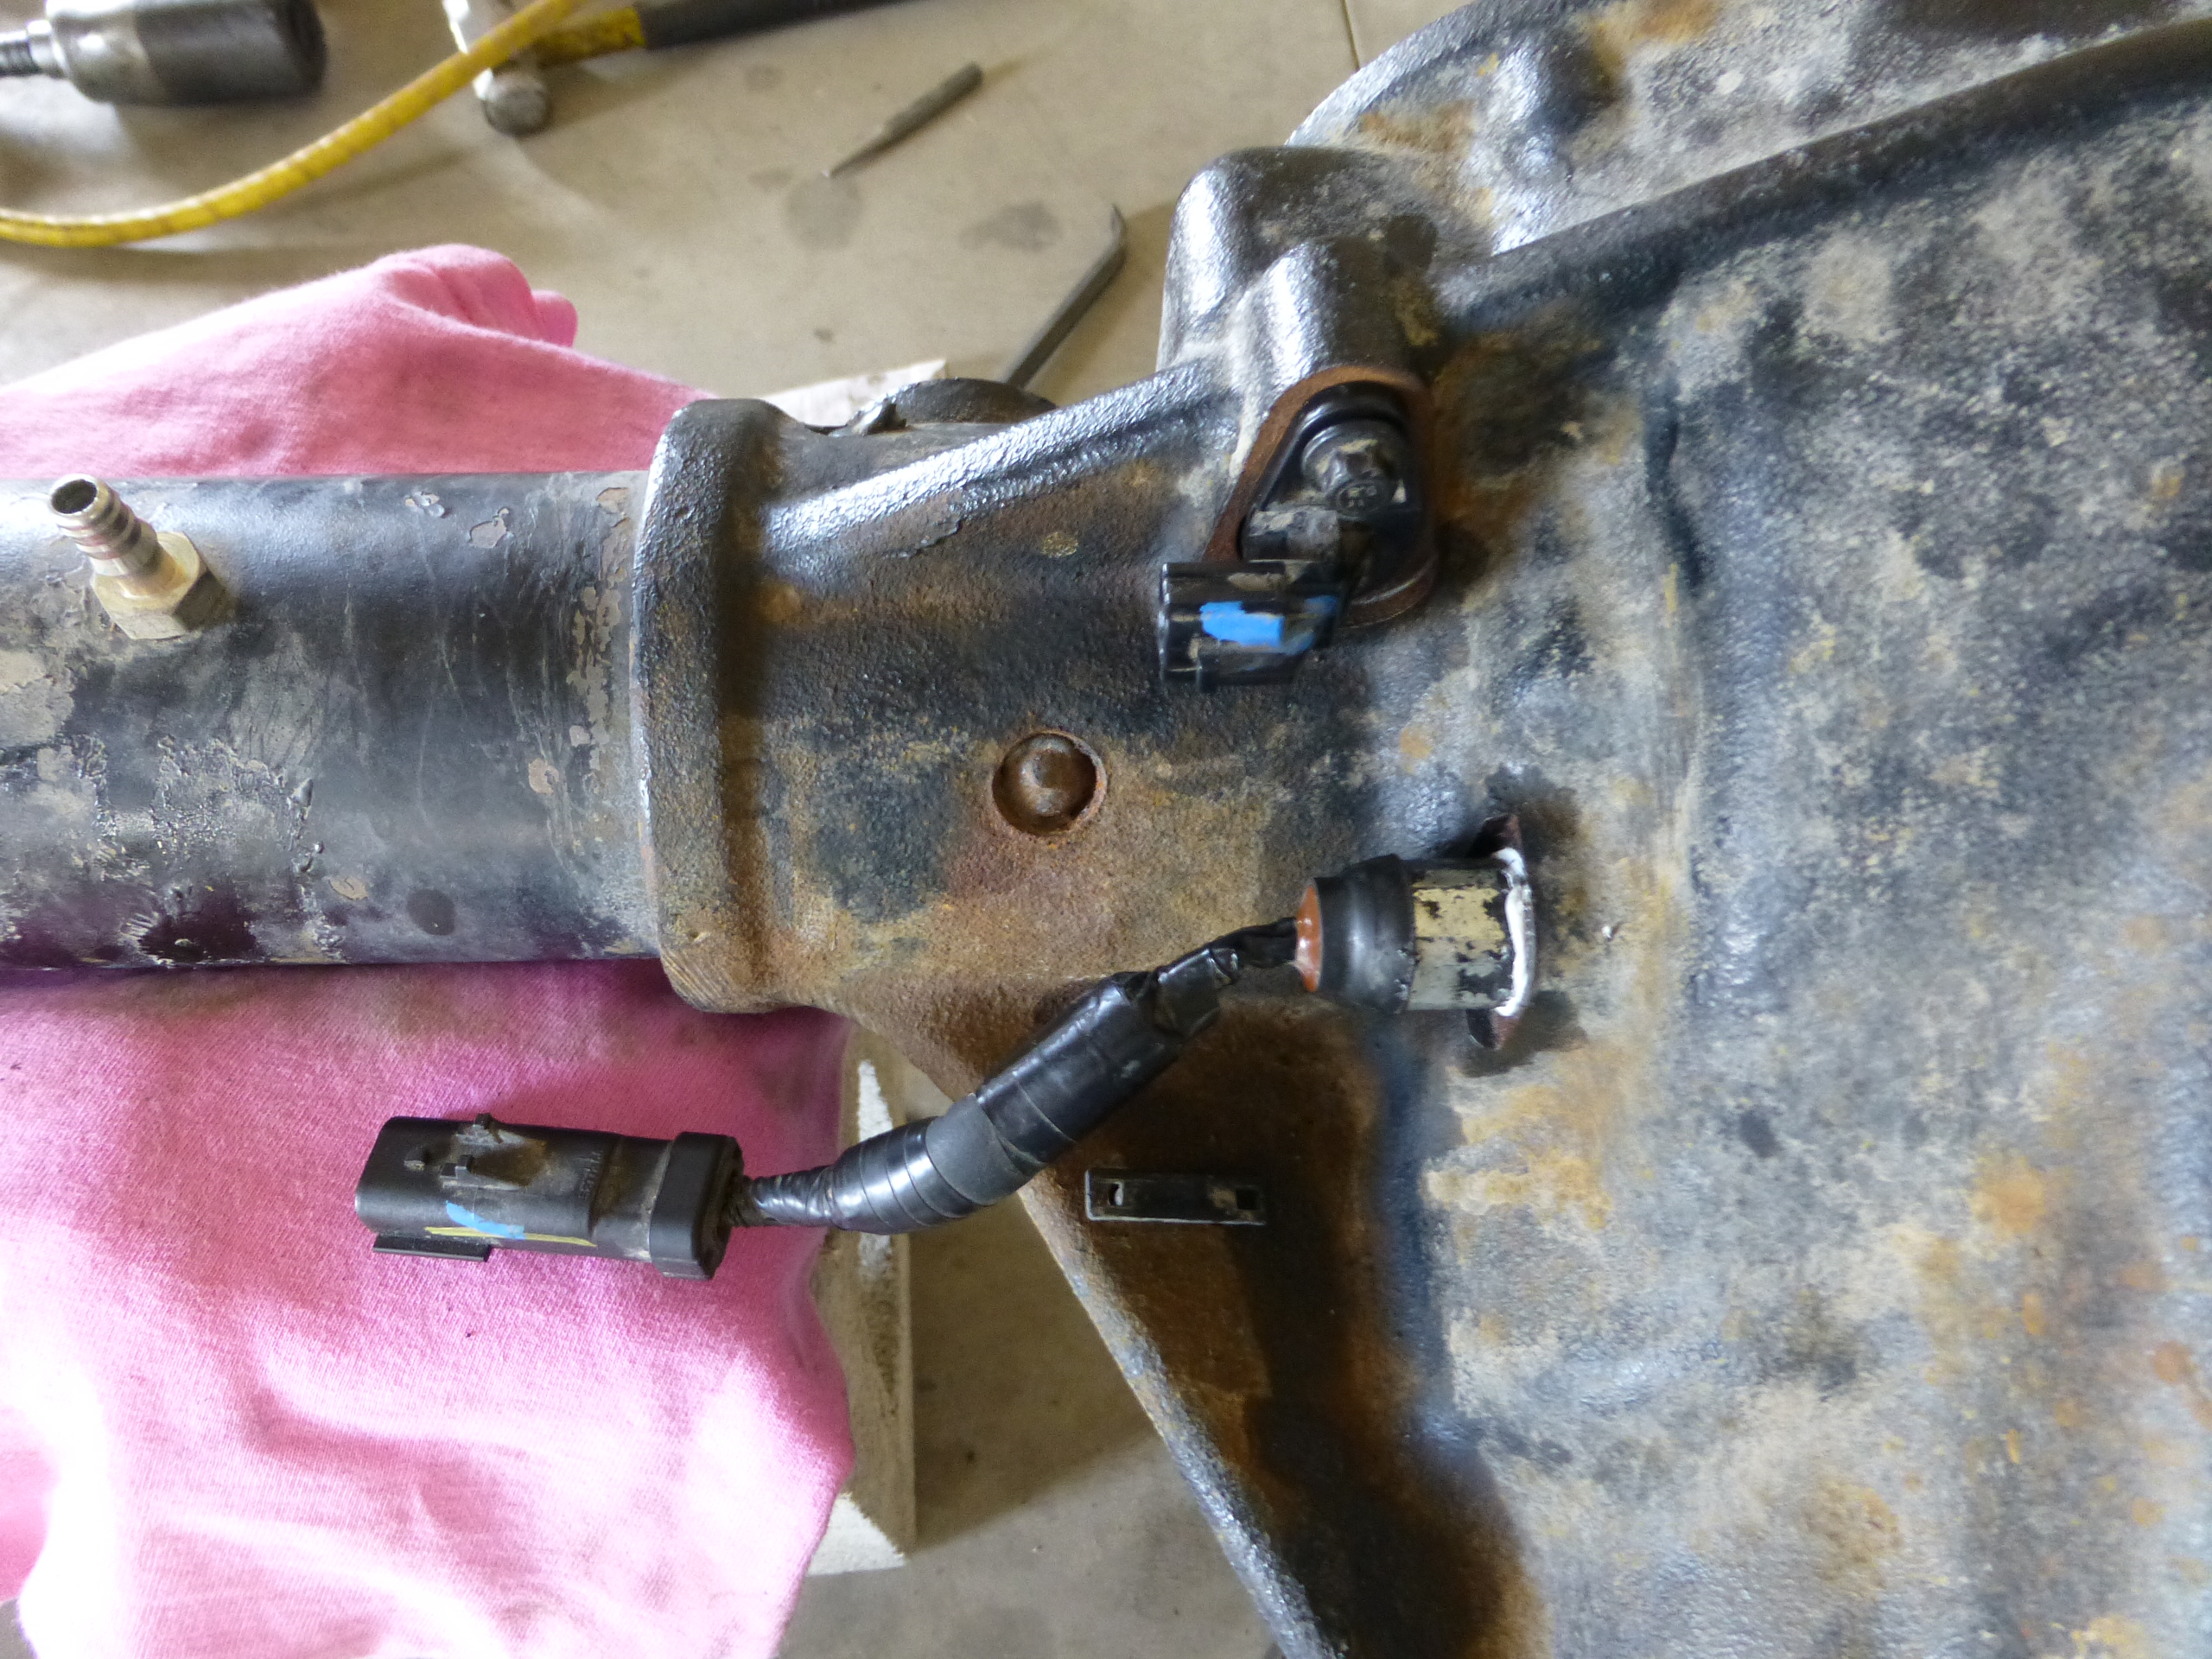
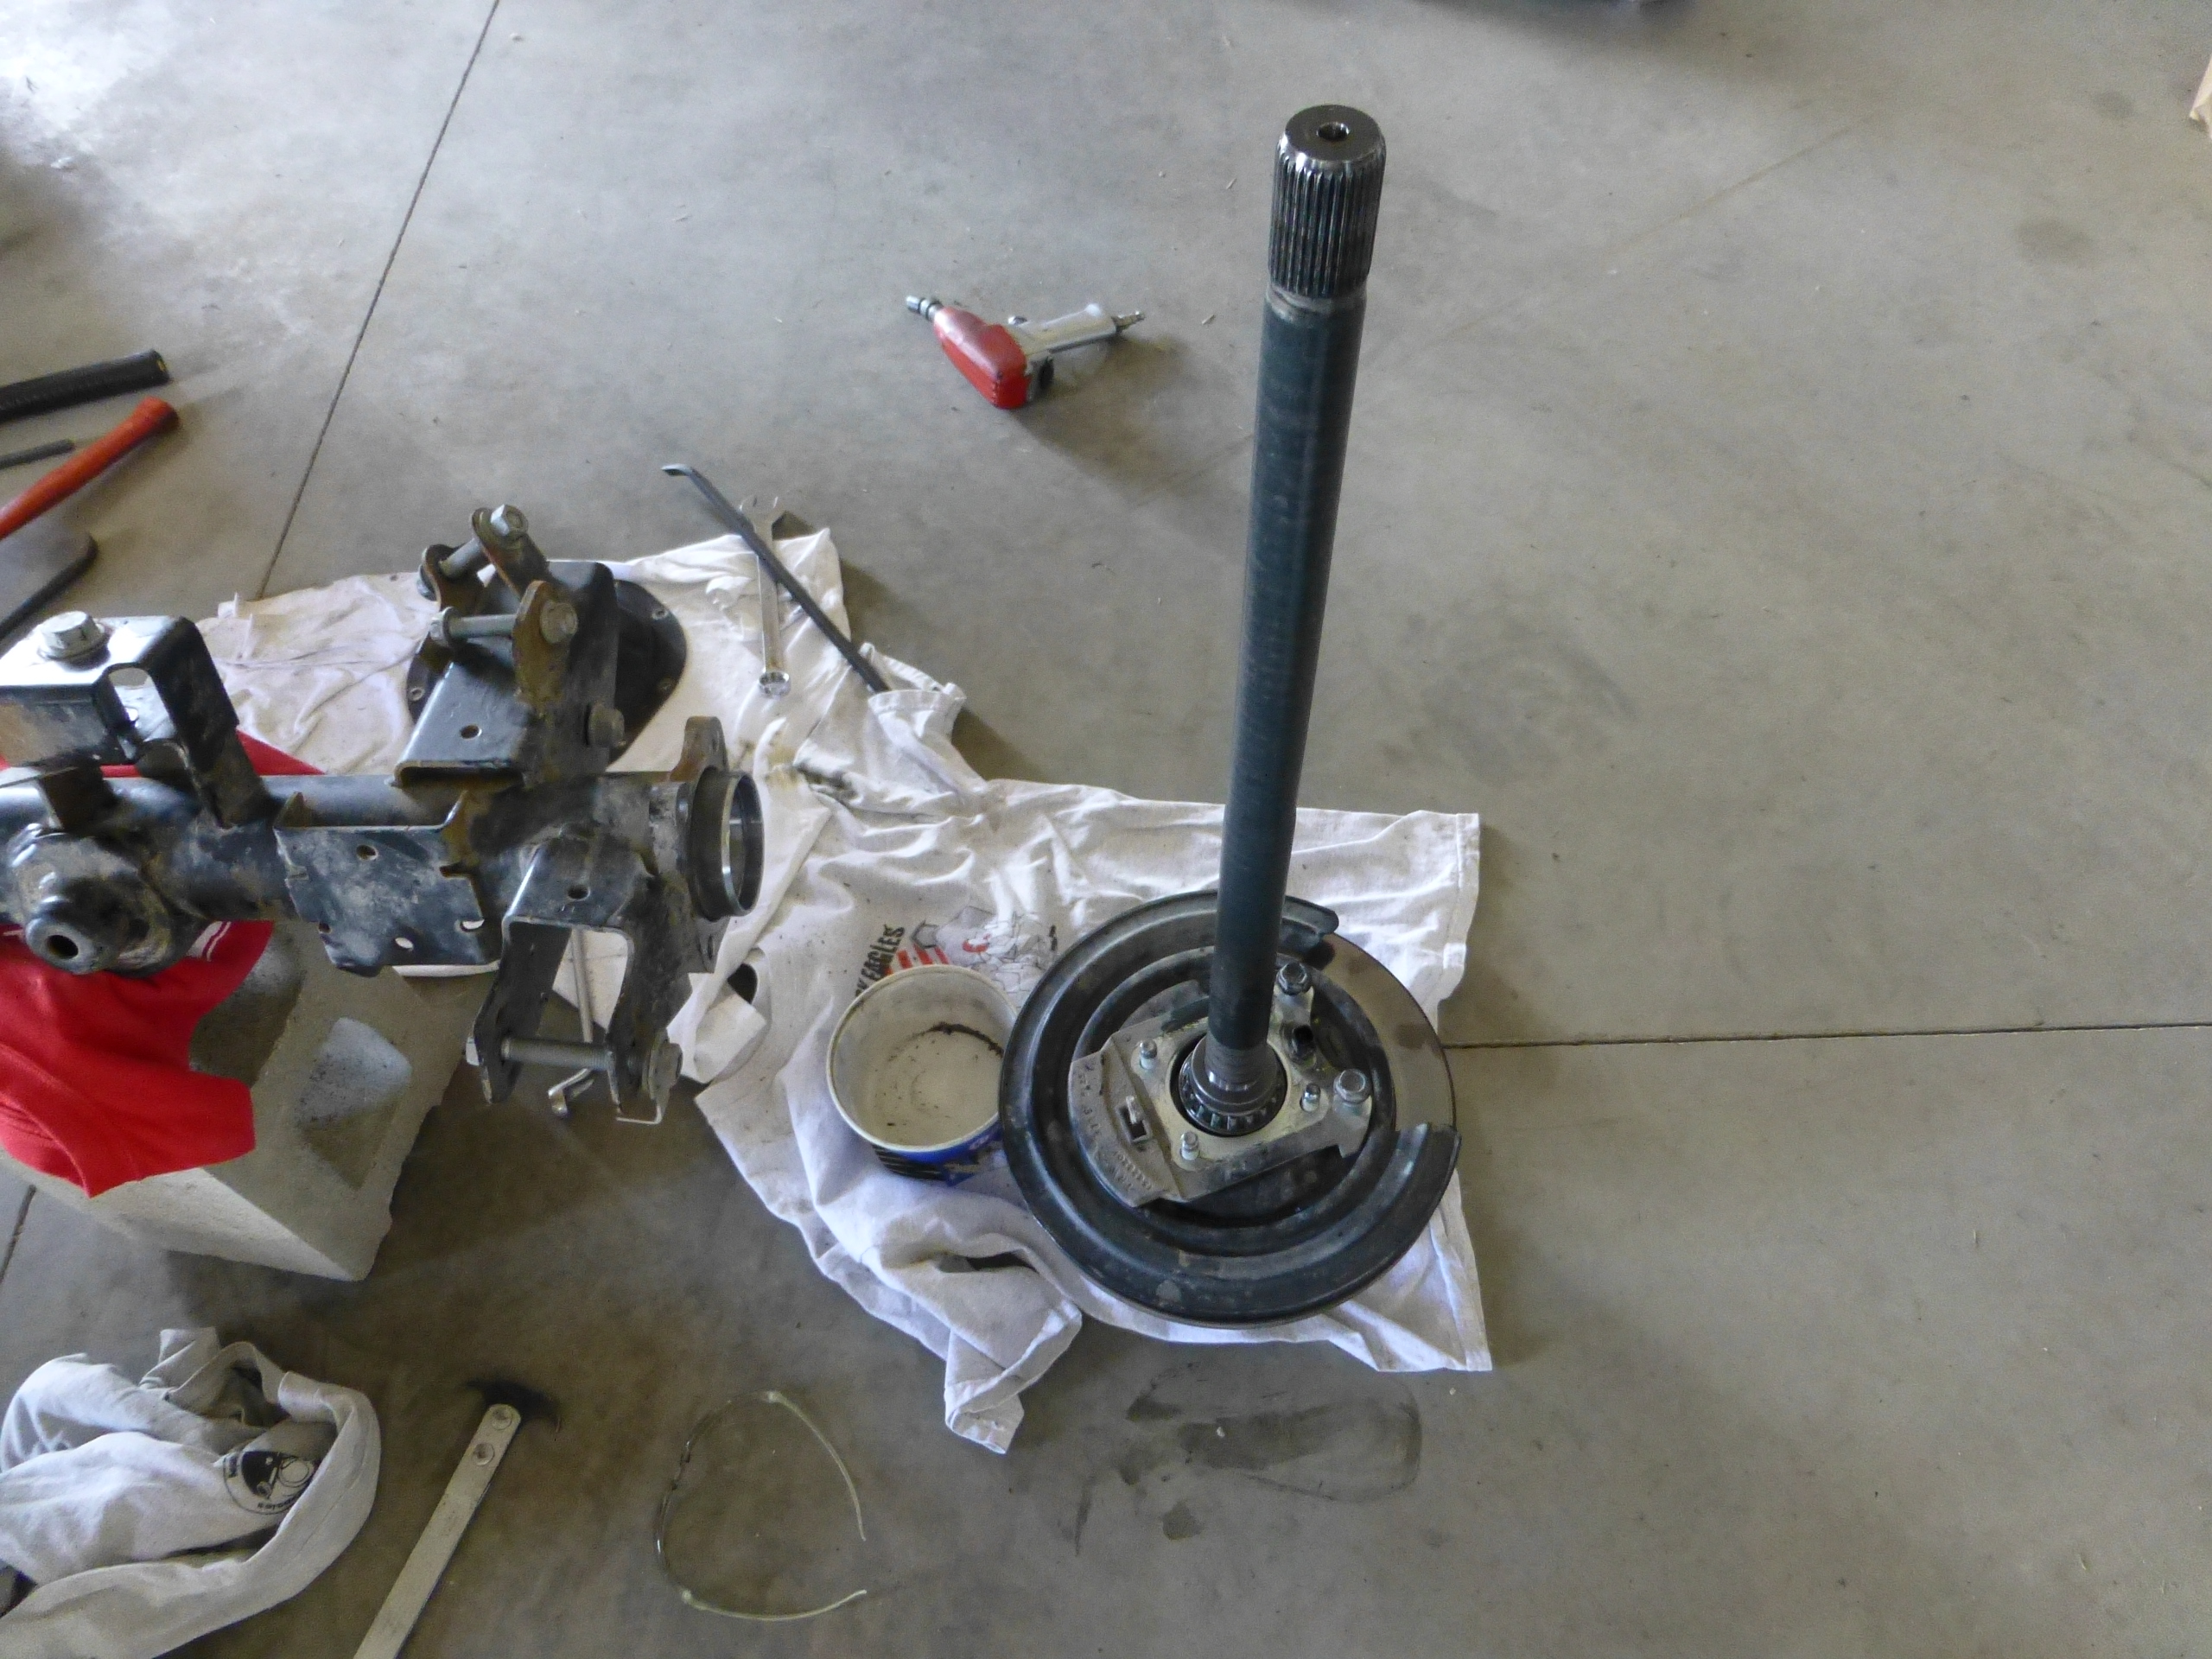
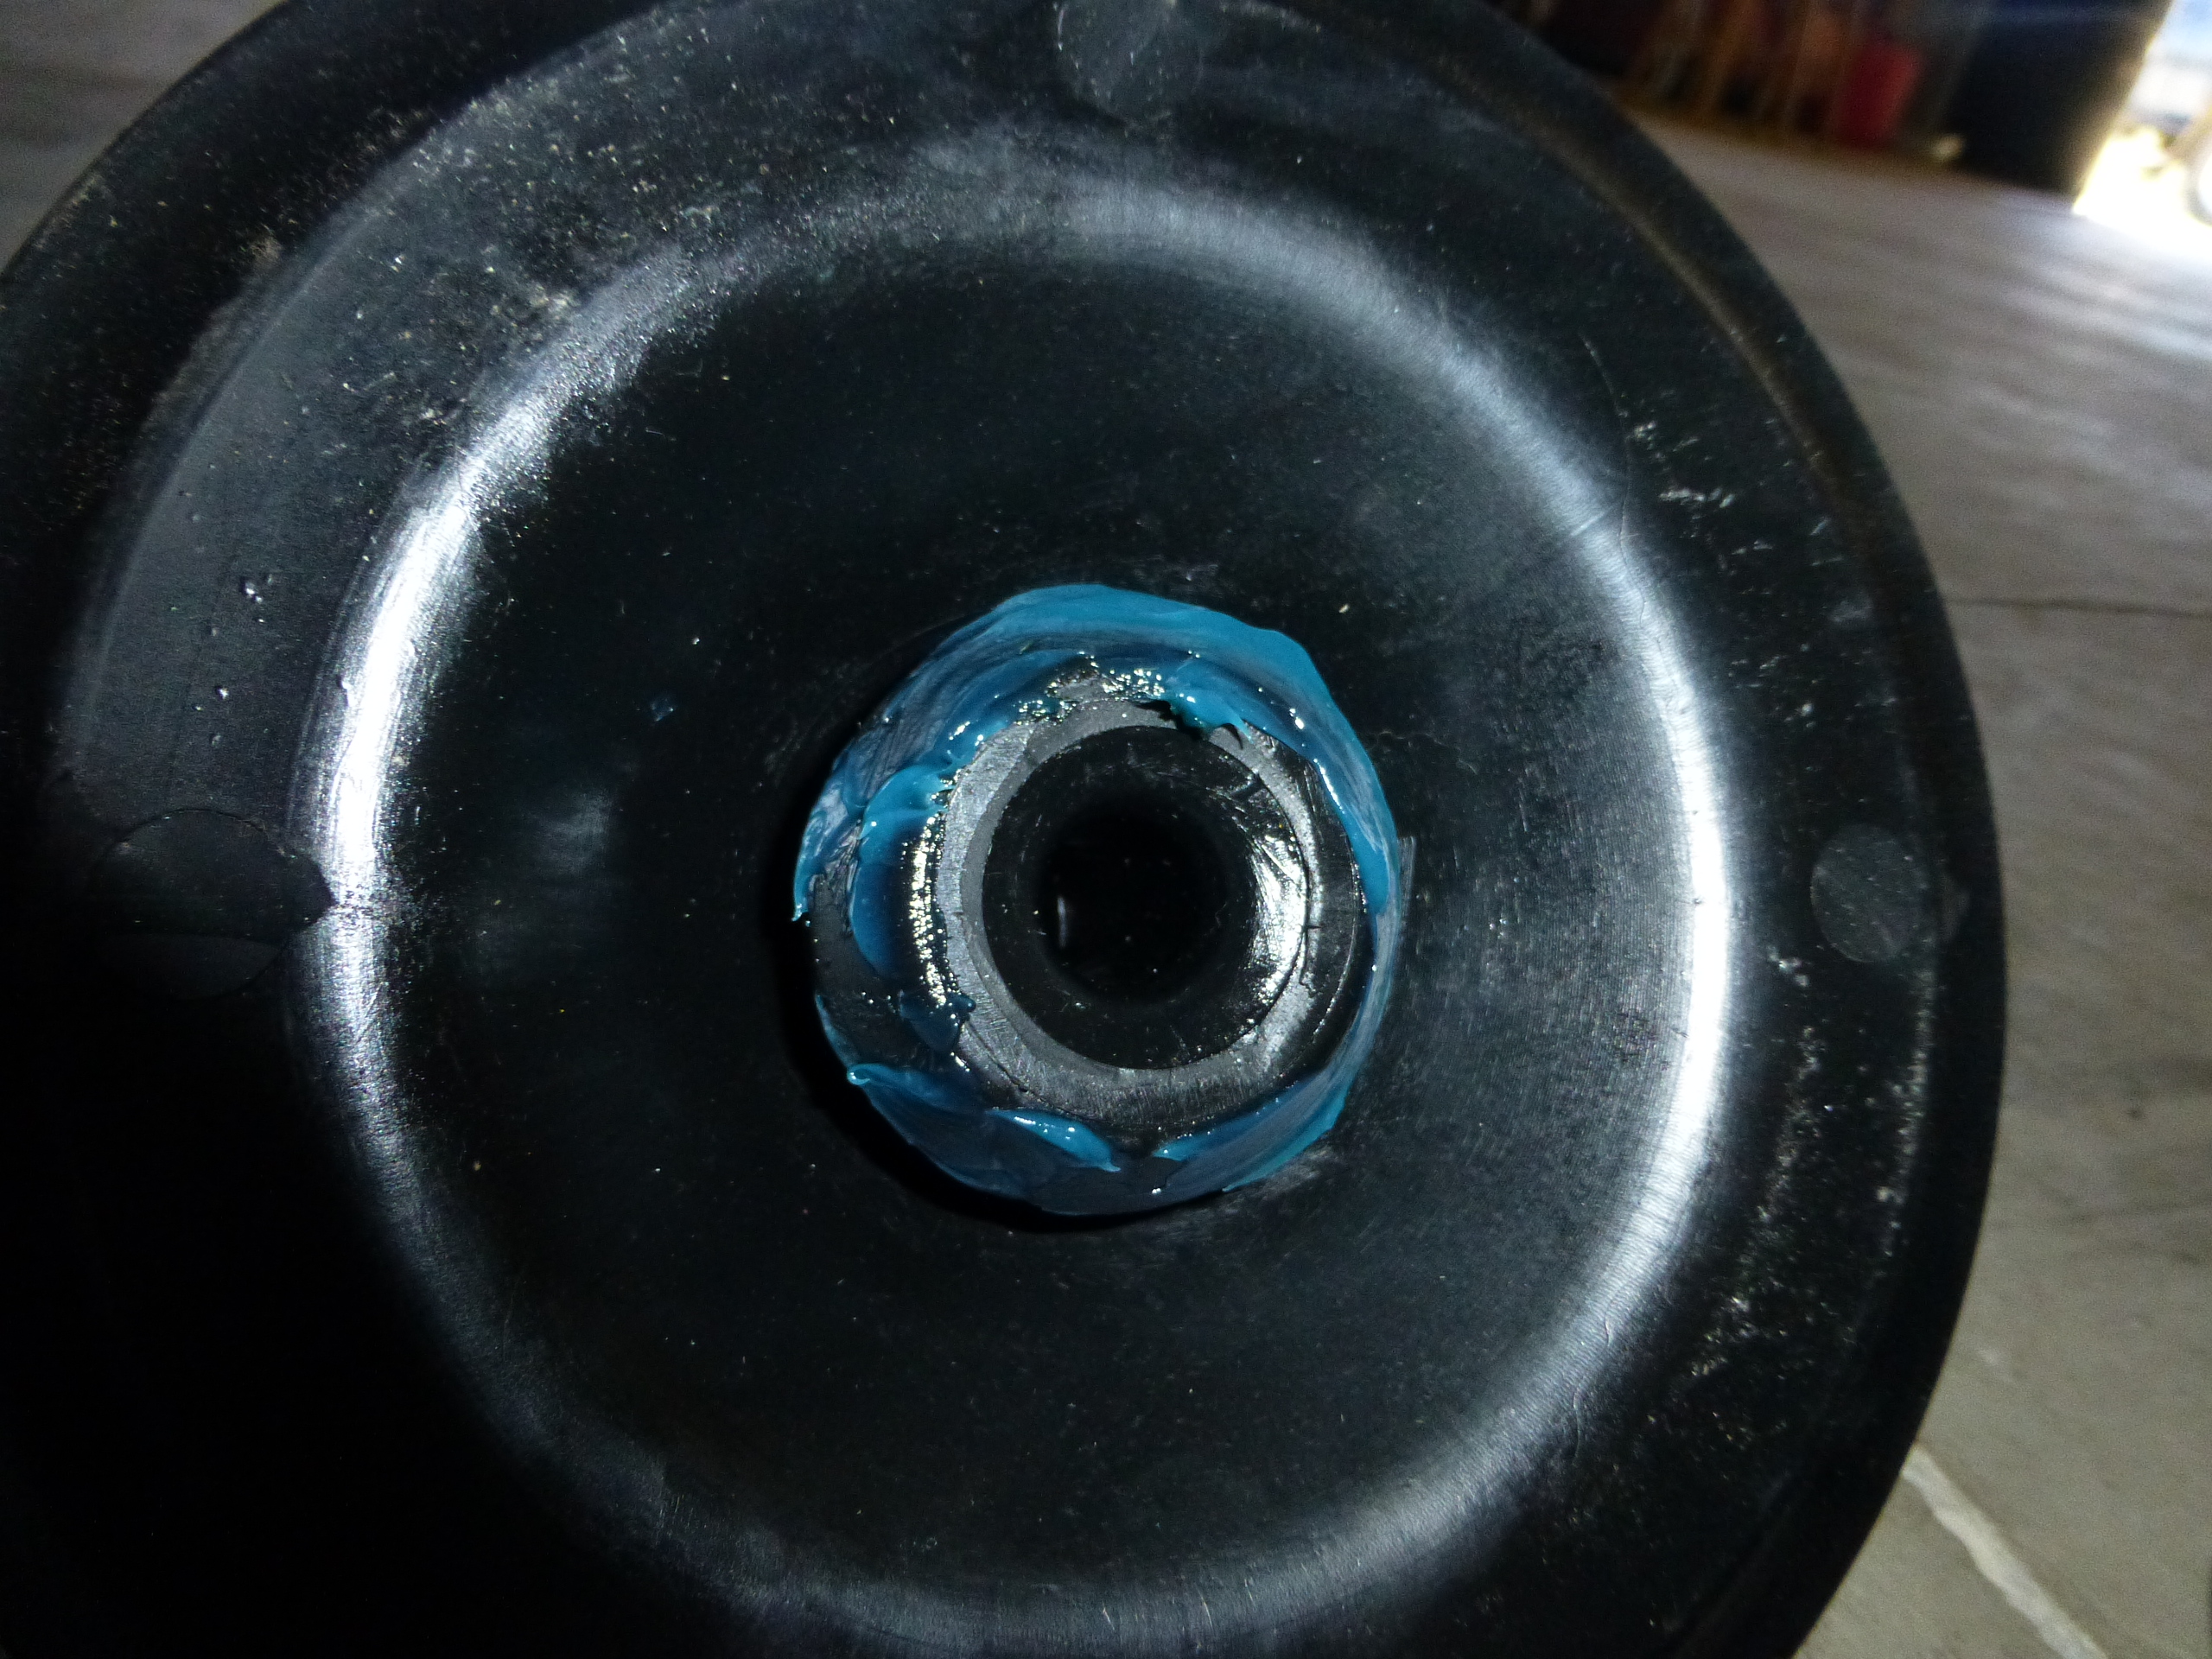
First off we drained the oil and remove the axle shafts as well as the various electronics and other components. This helped to ensure we didn’t damage or break anything during the build and installation process of the new gears since we would be moving the housing around. Note: Make sure these components are reinstalled before putting the carrier back into the housing to ensure proper function of the lockers. Installing them after the carrier is installed can affect locker engagement.
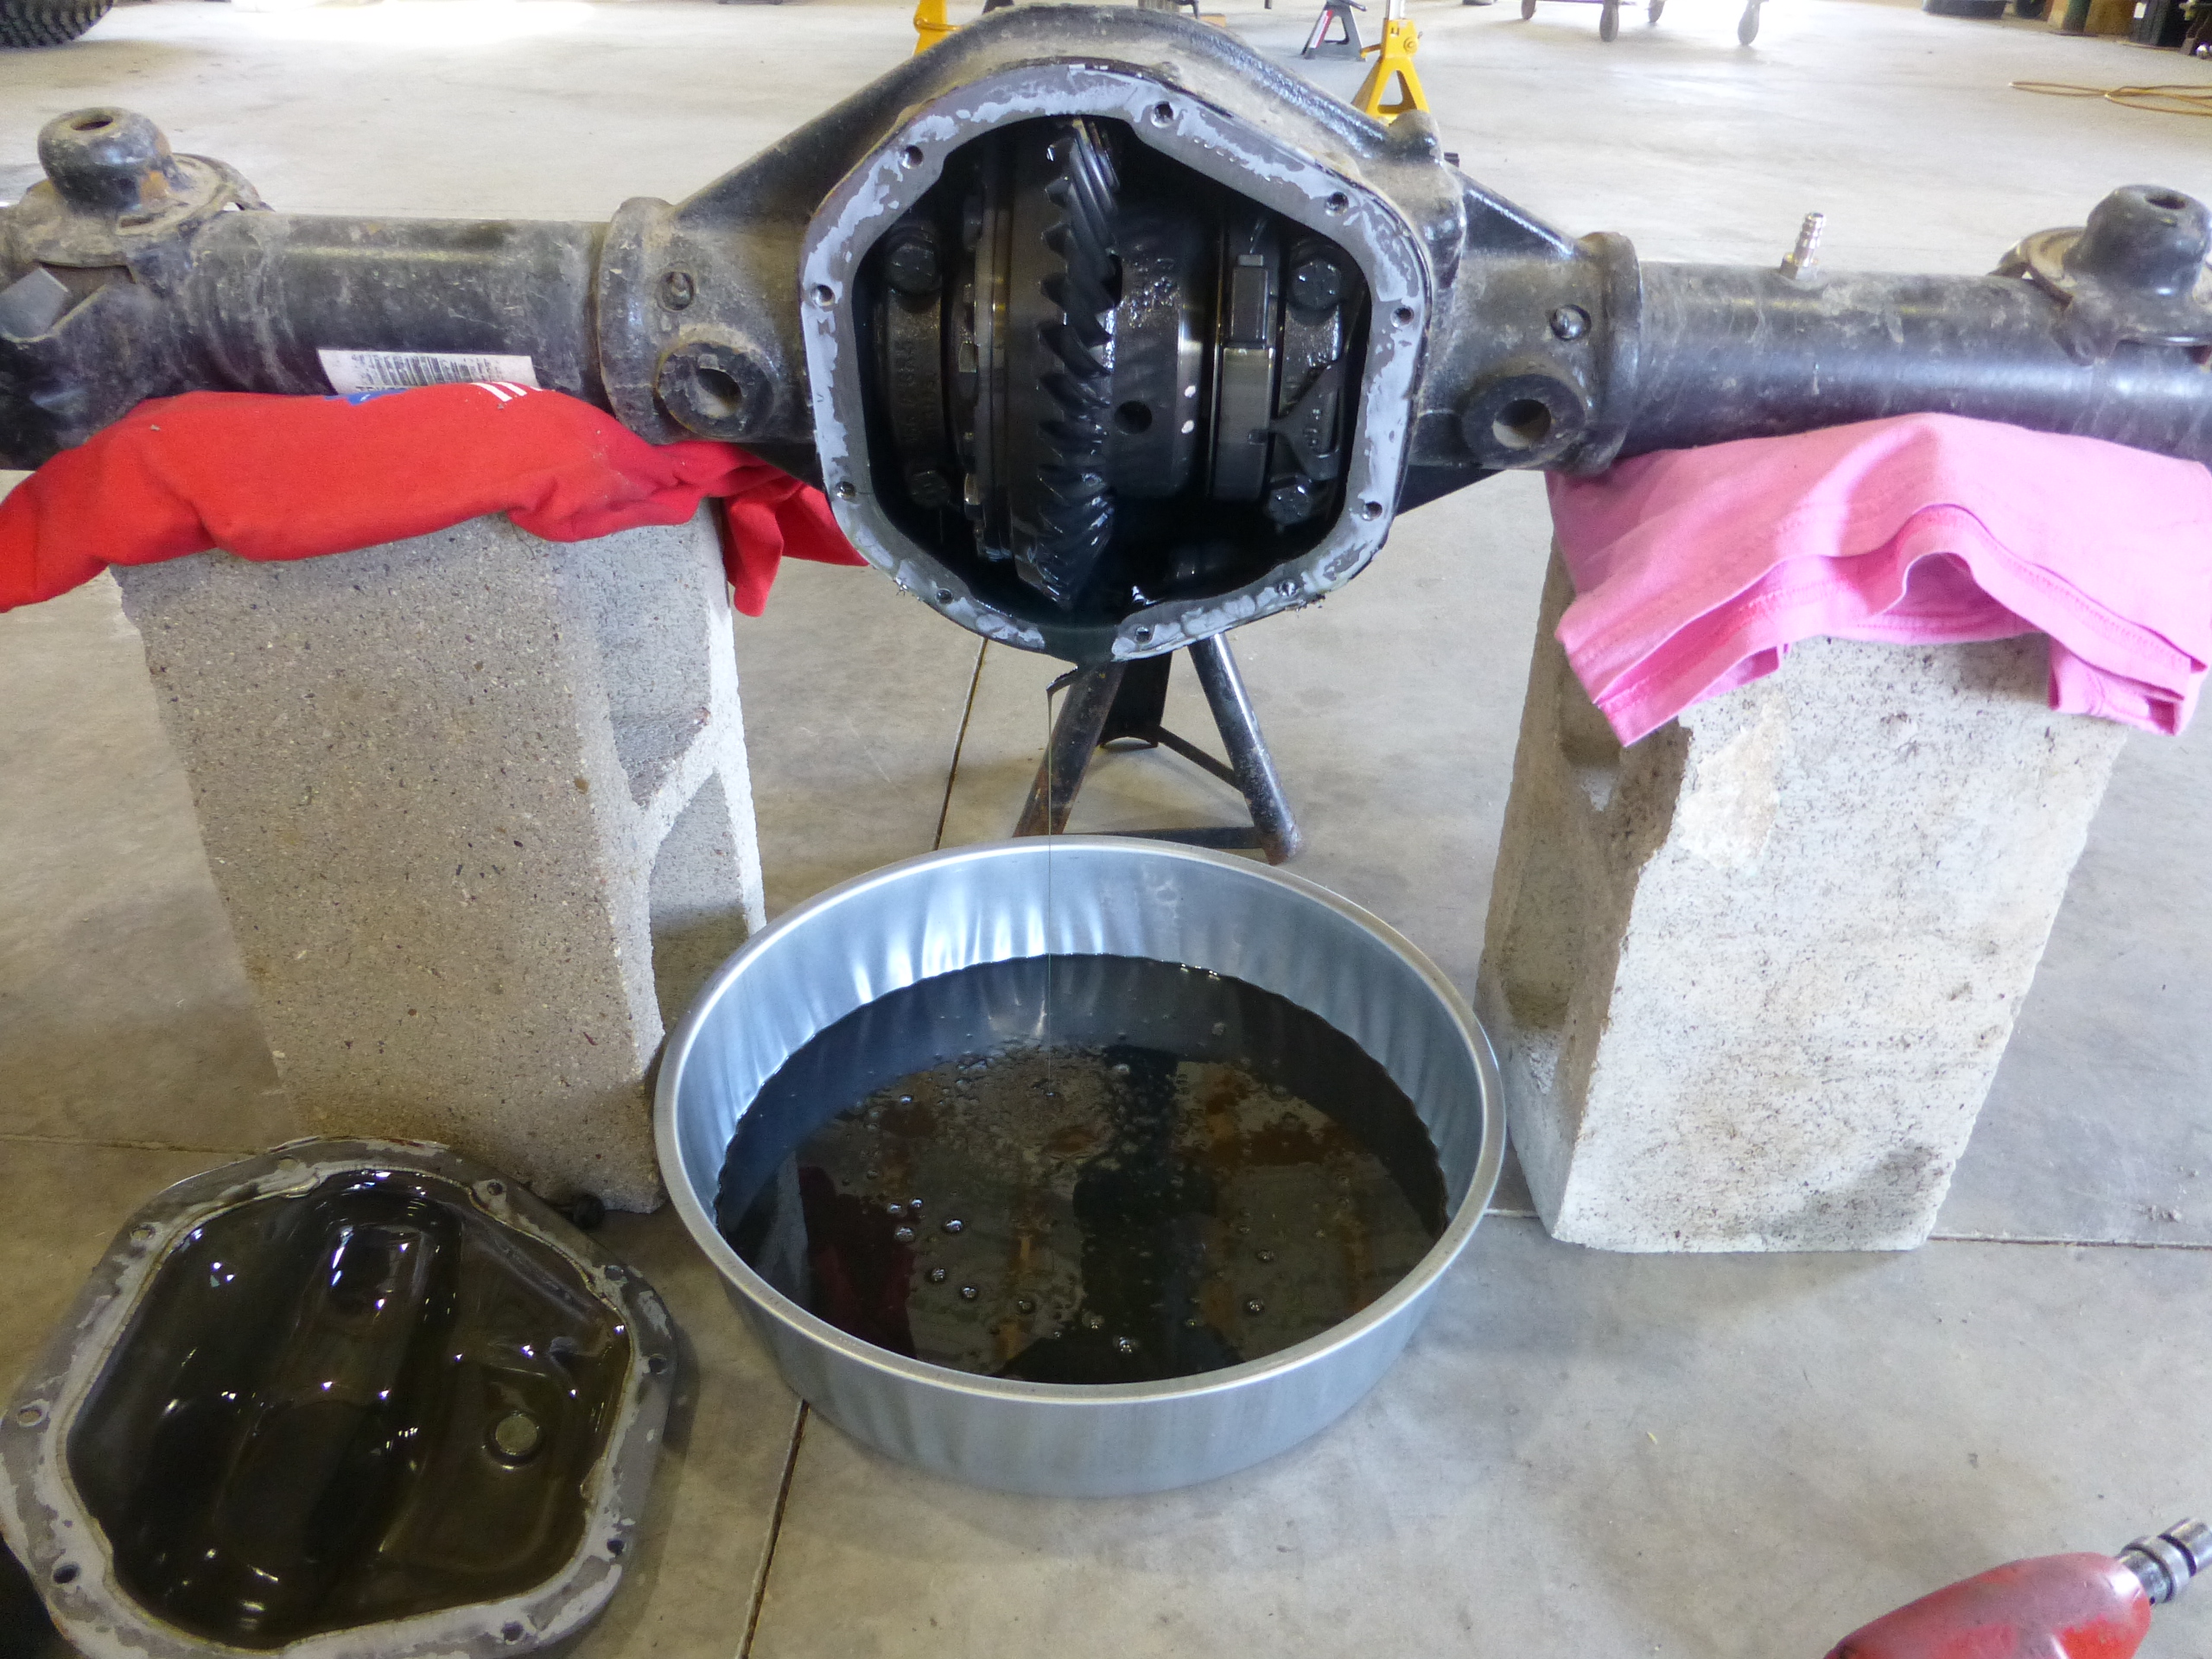

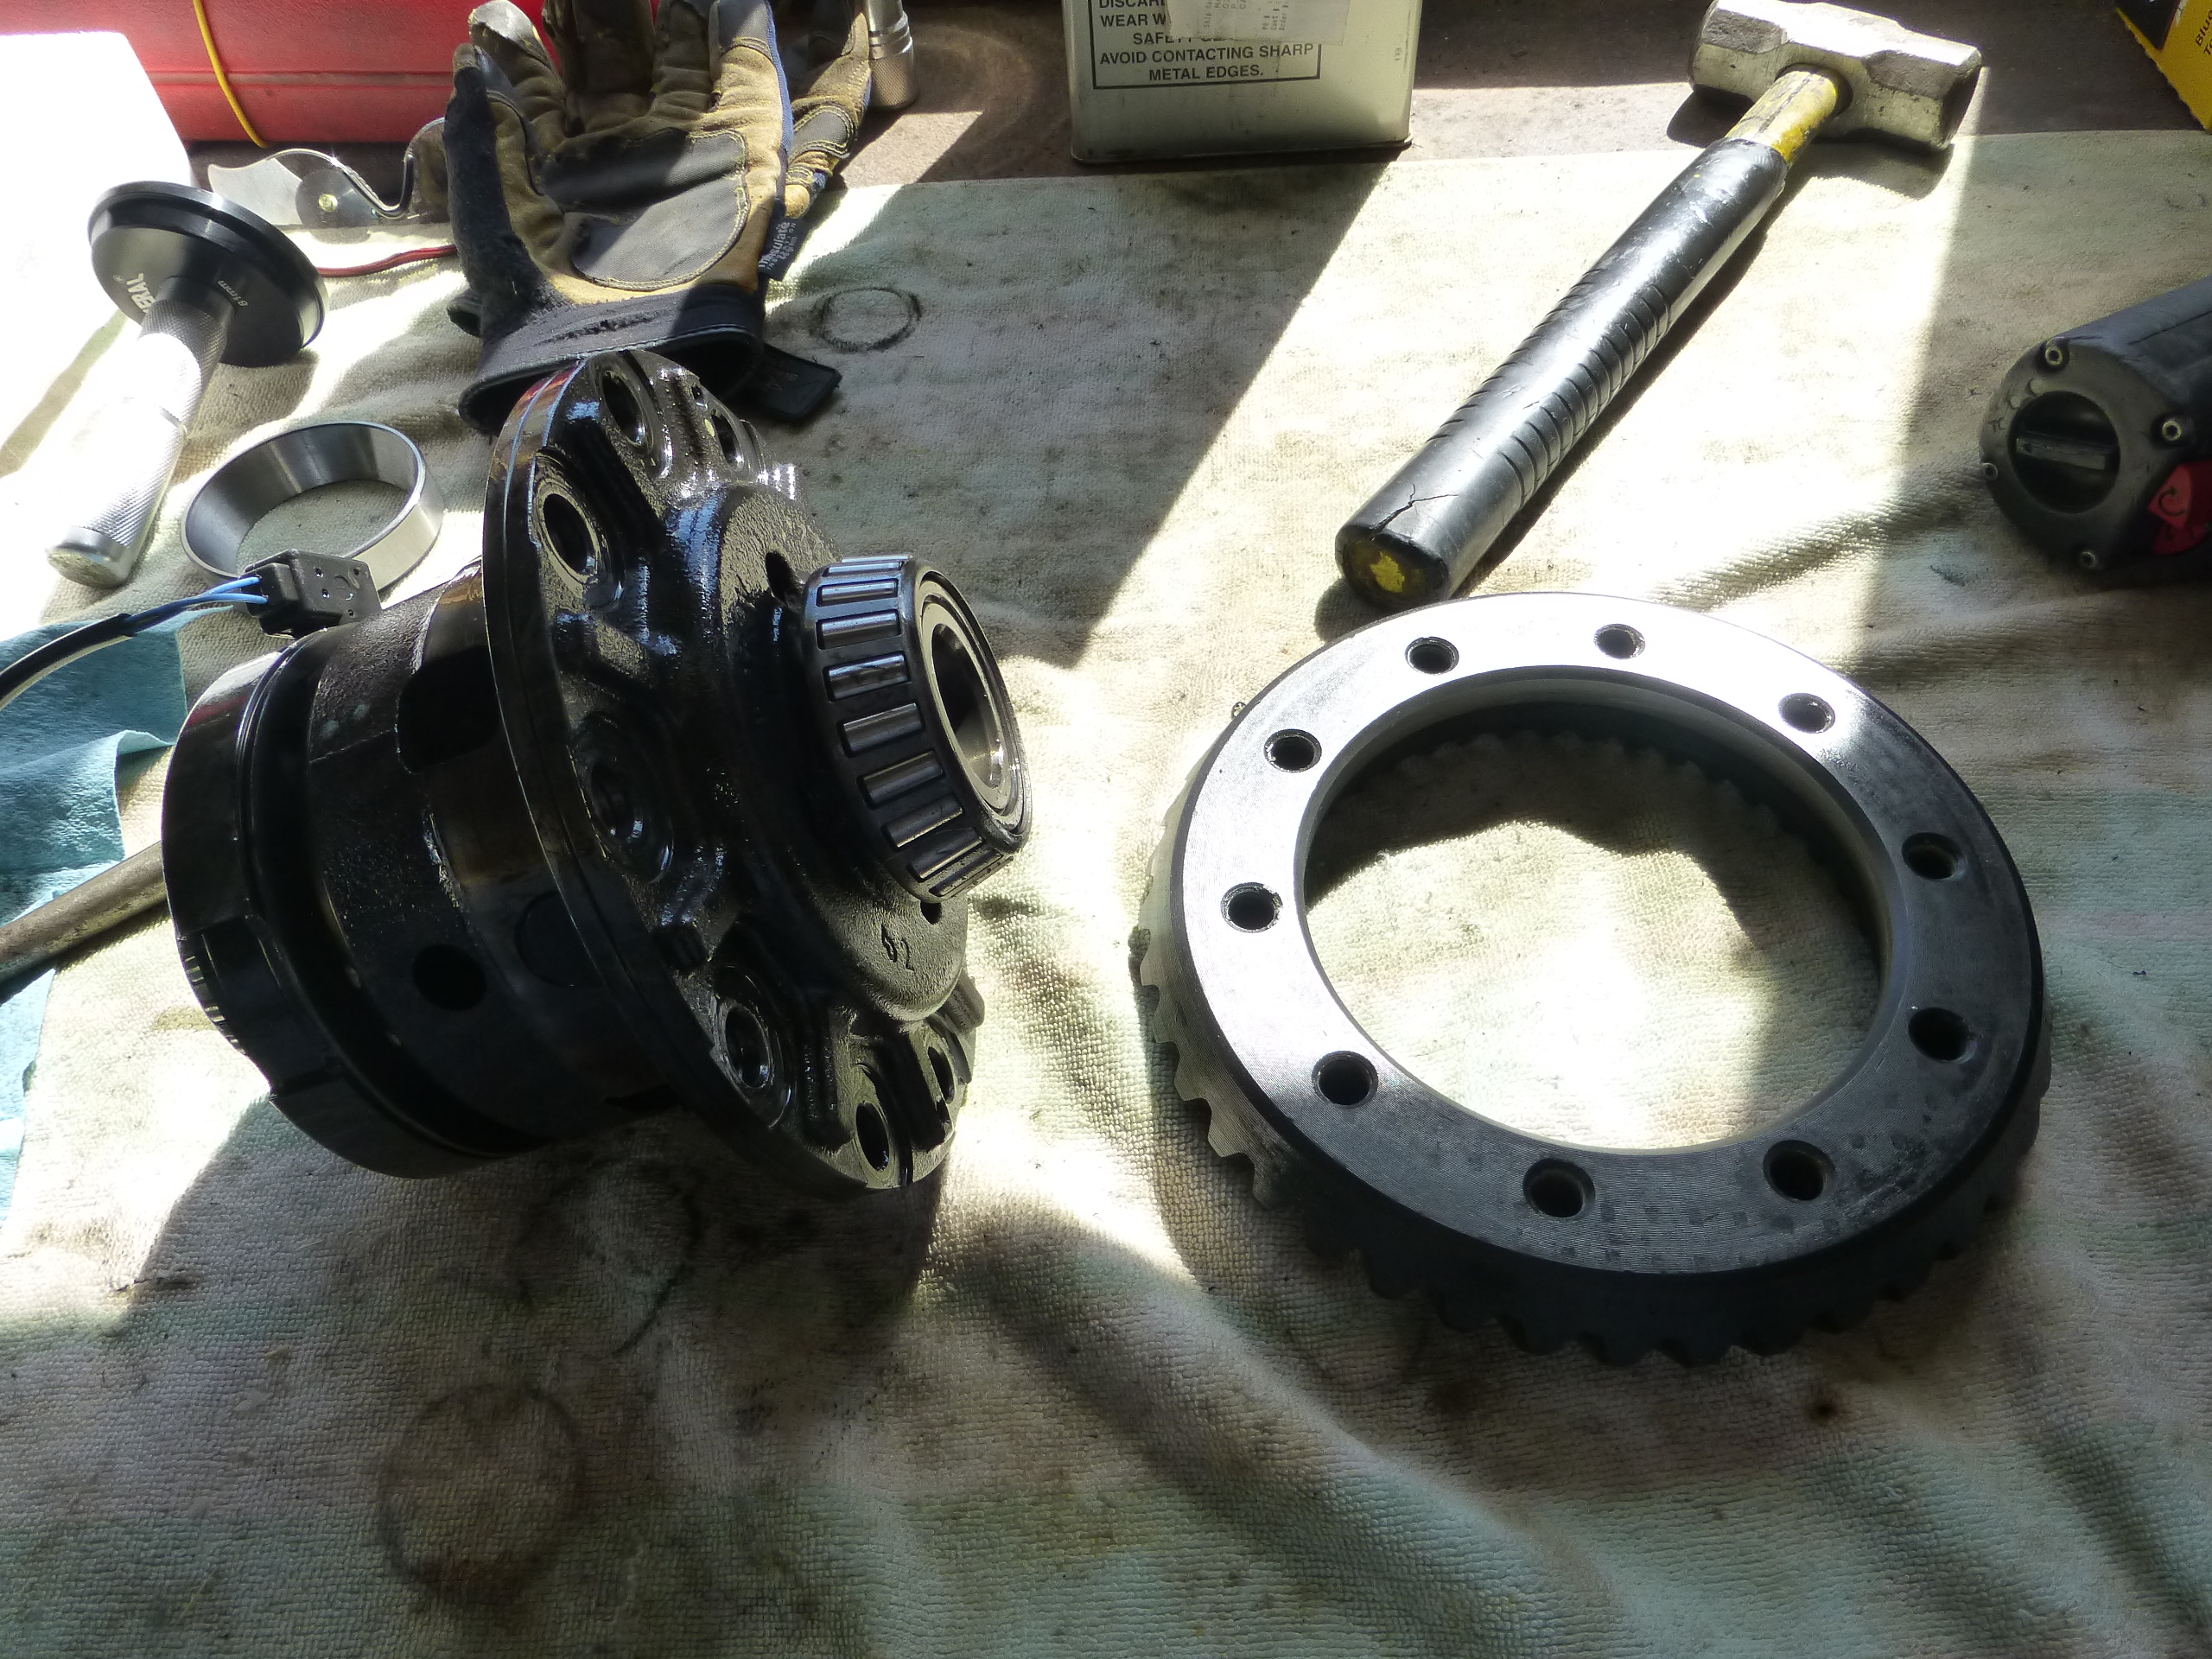
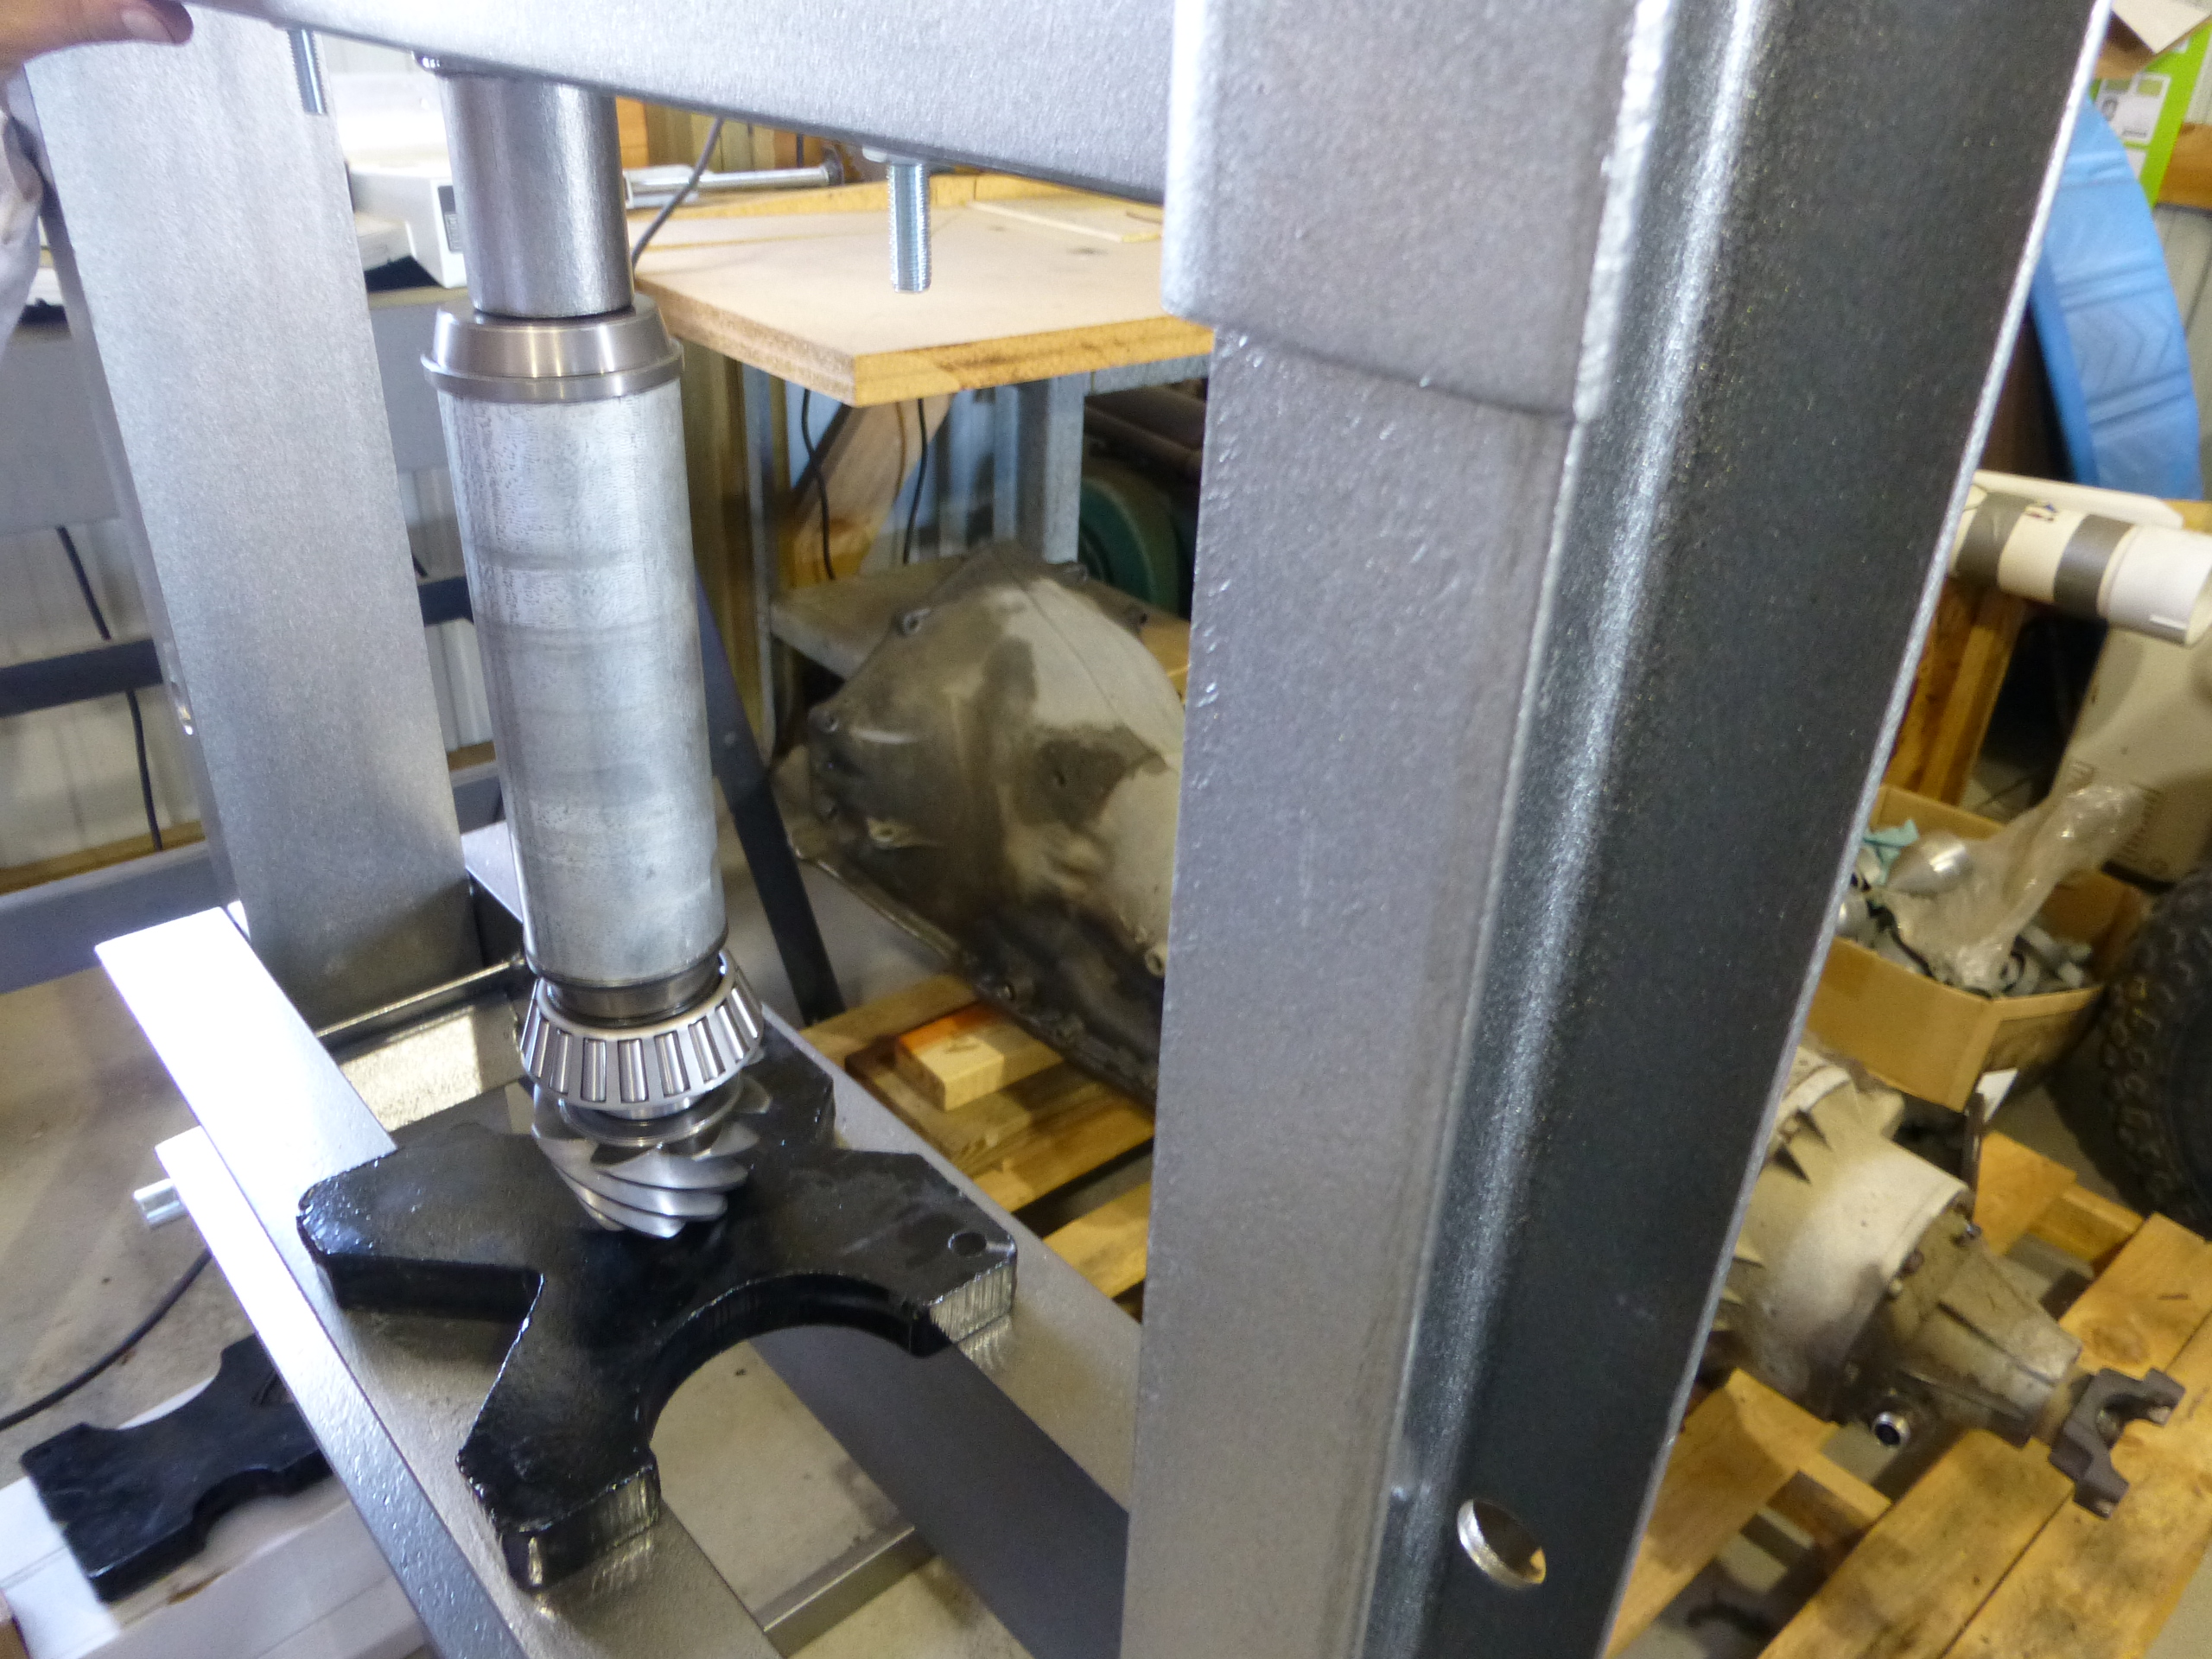
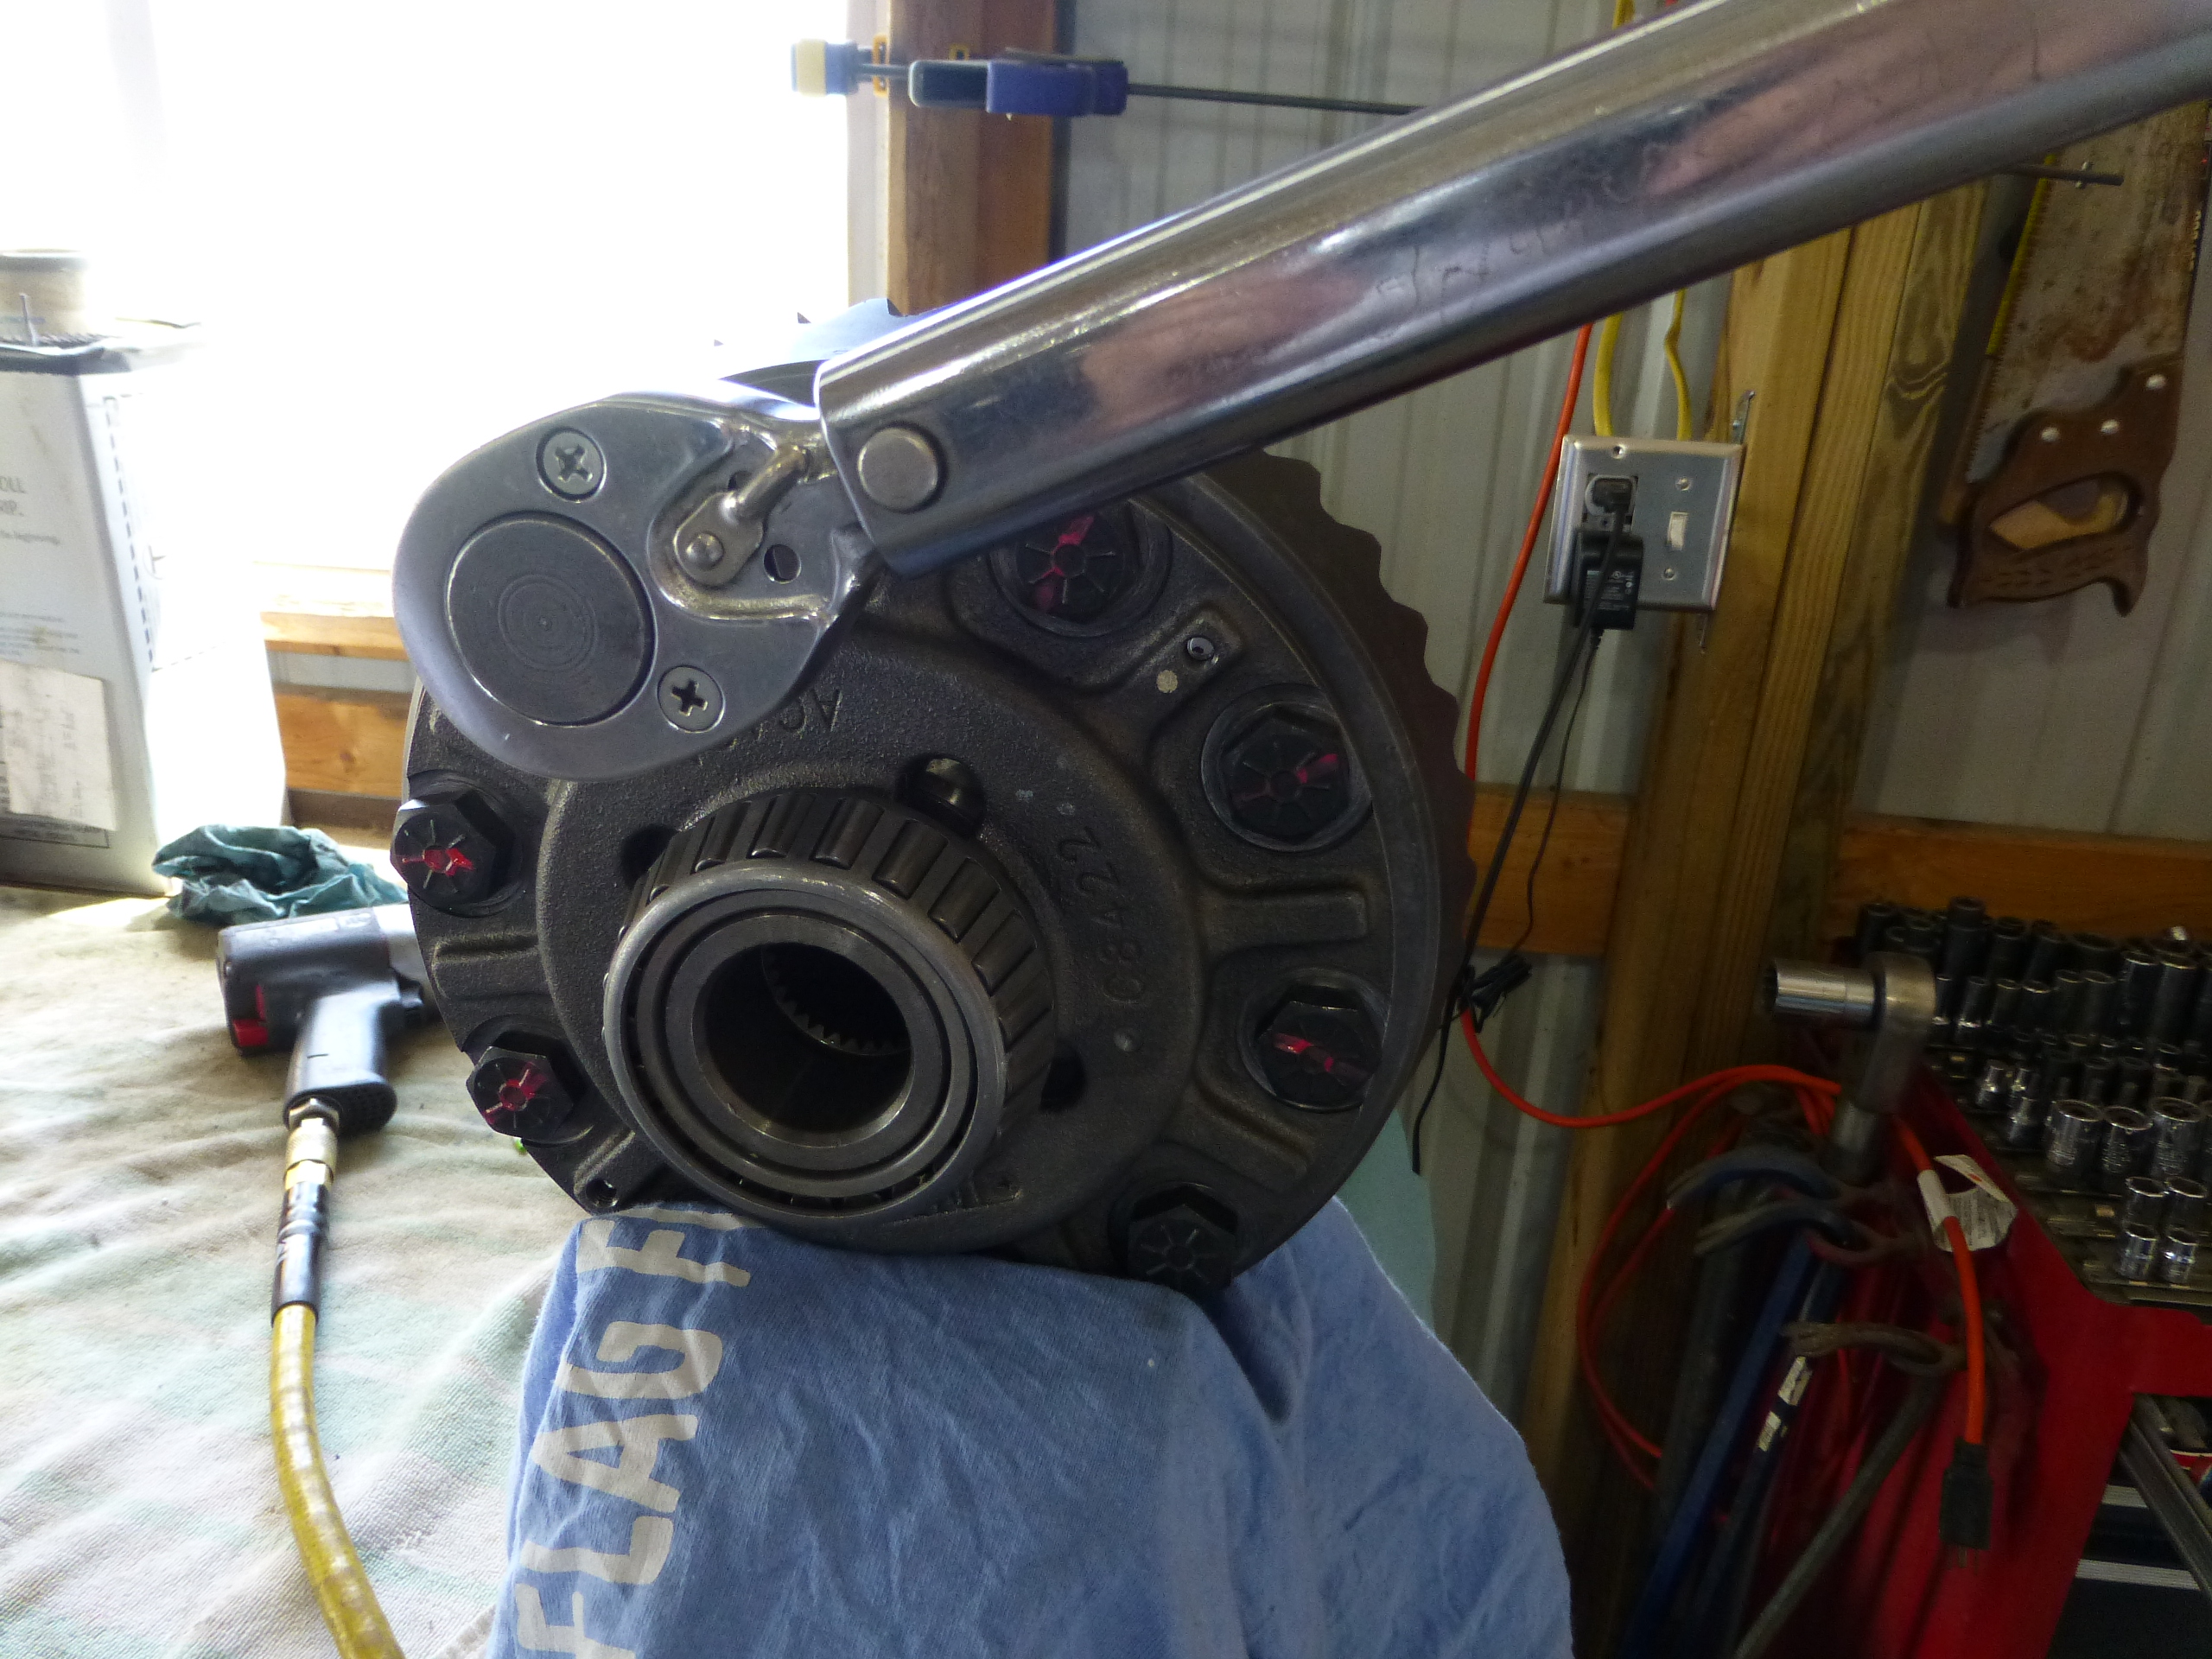
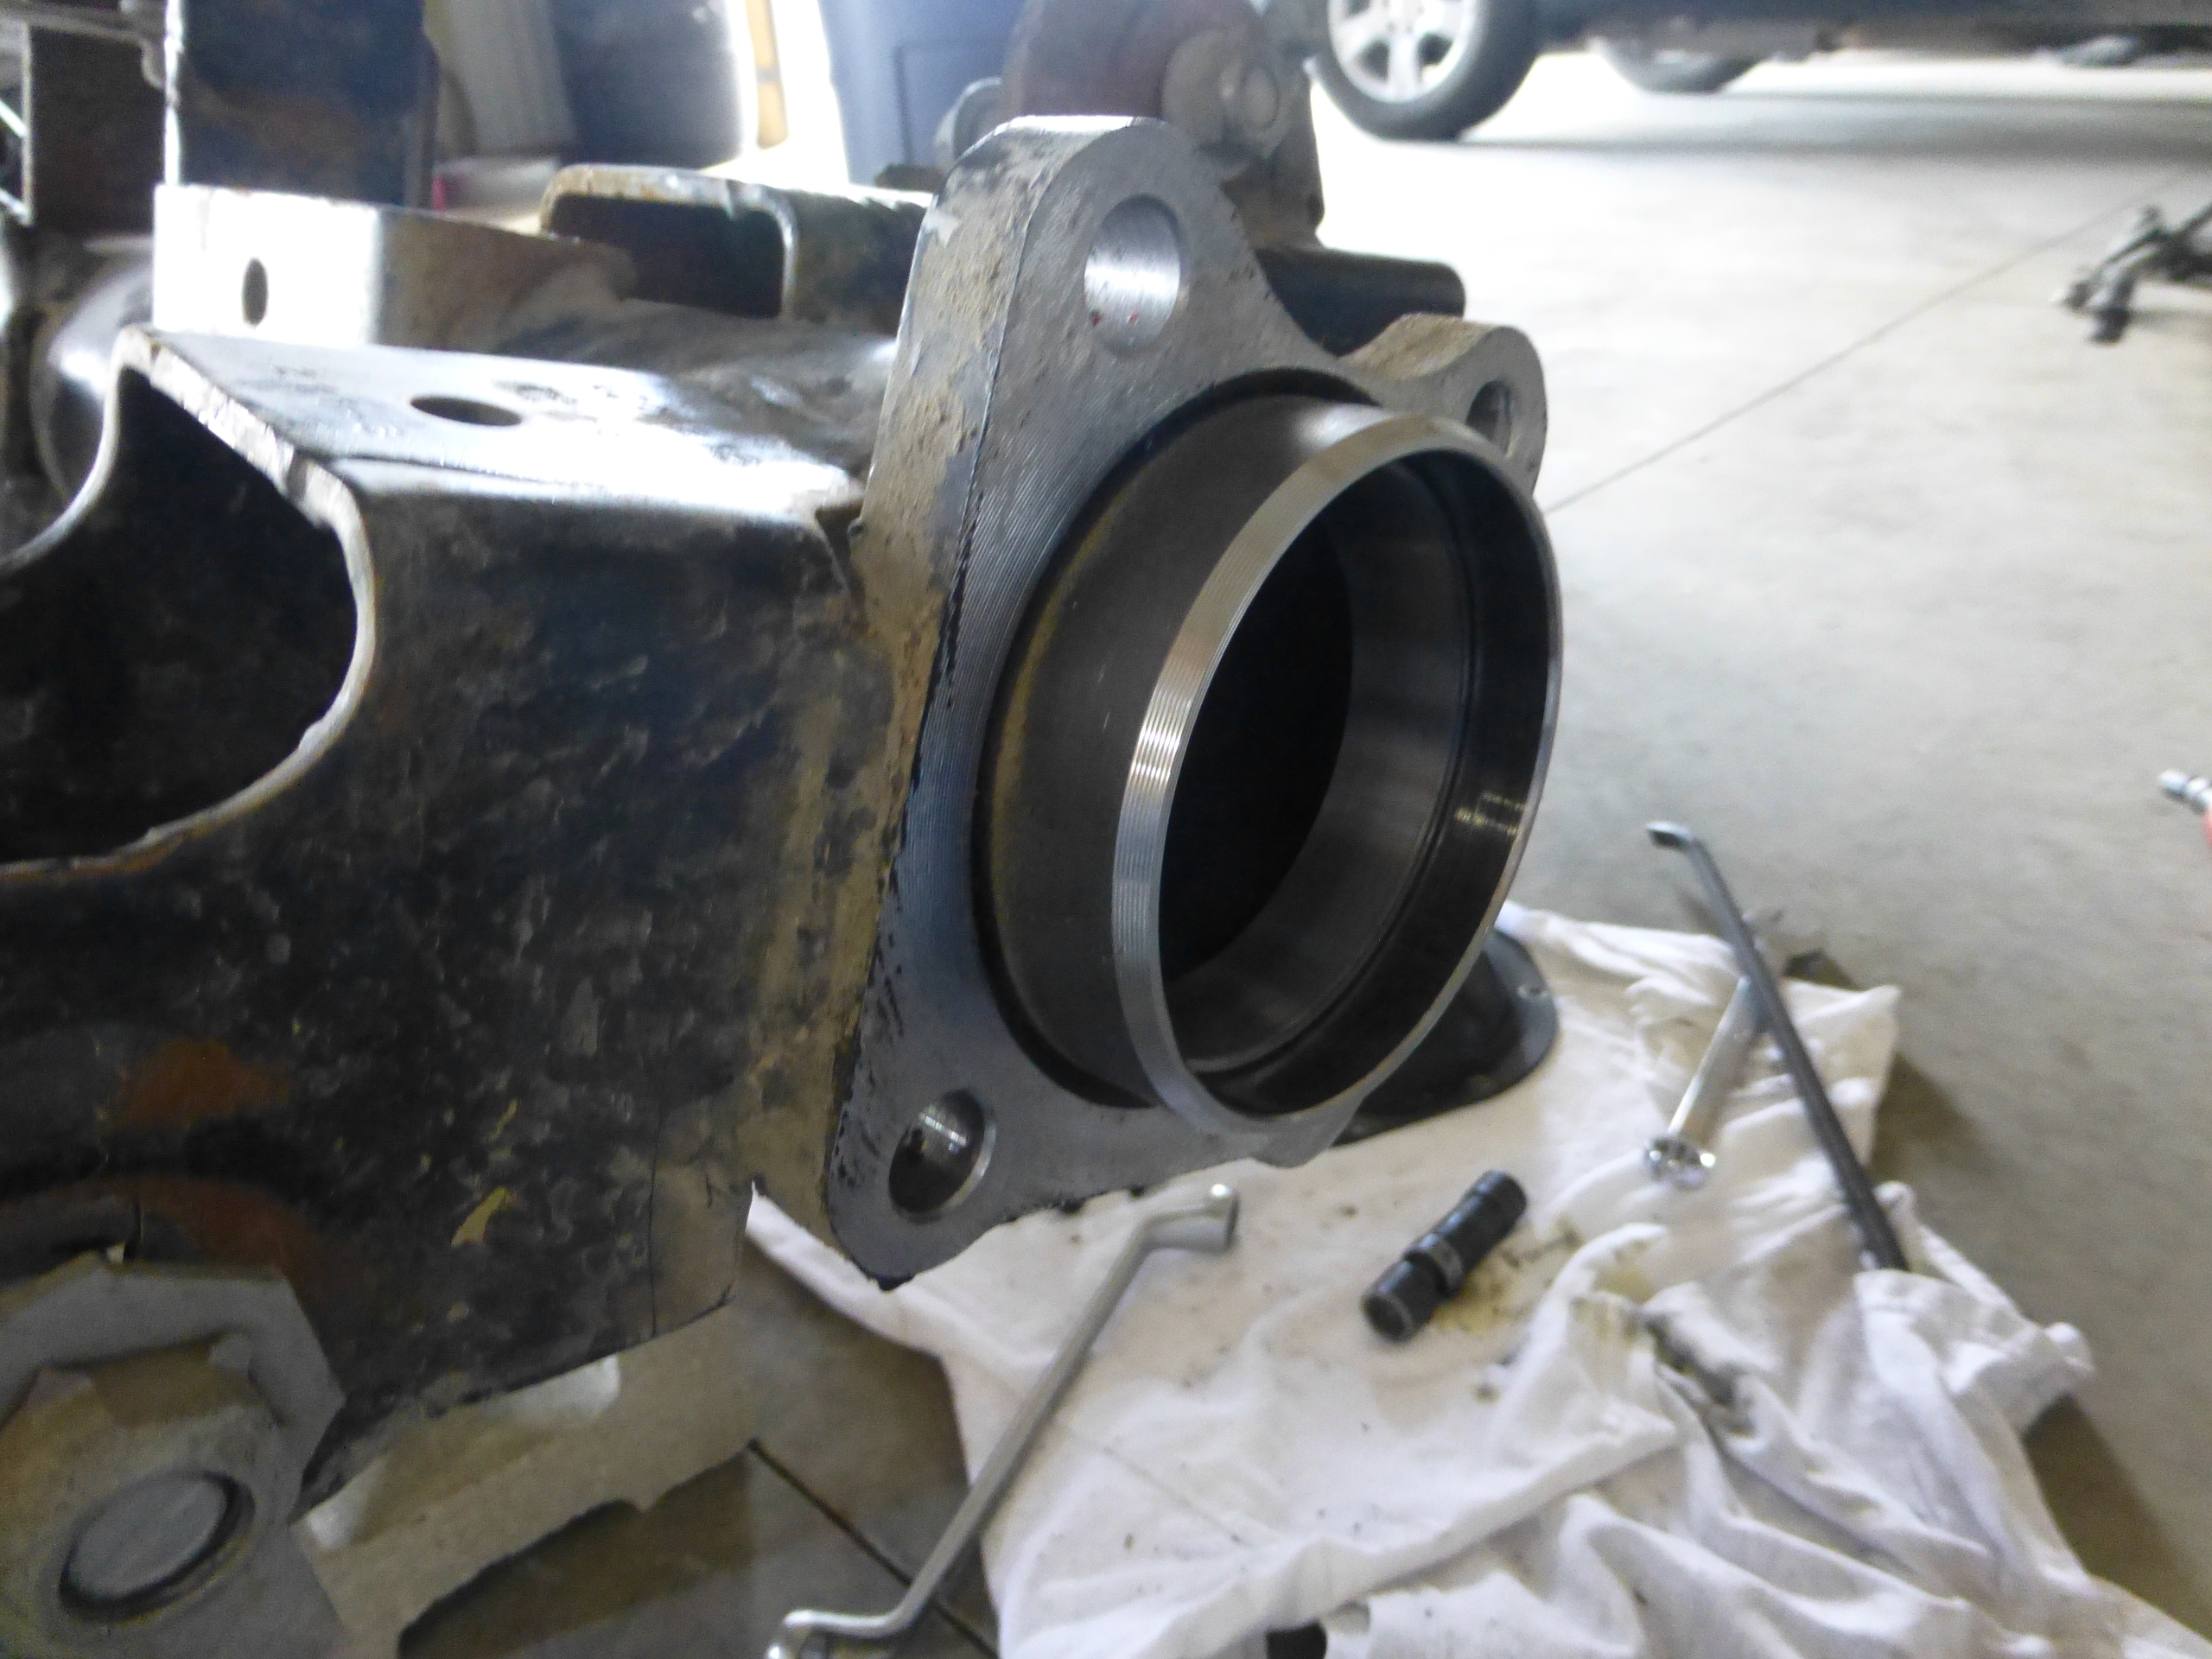
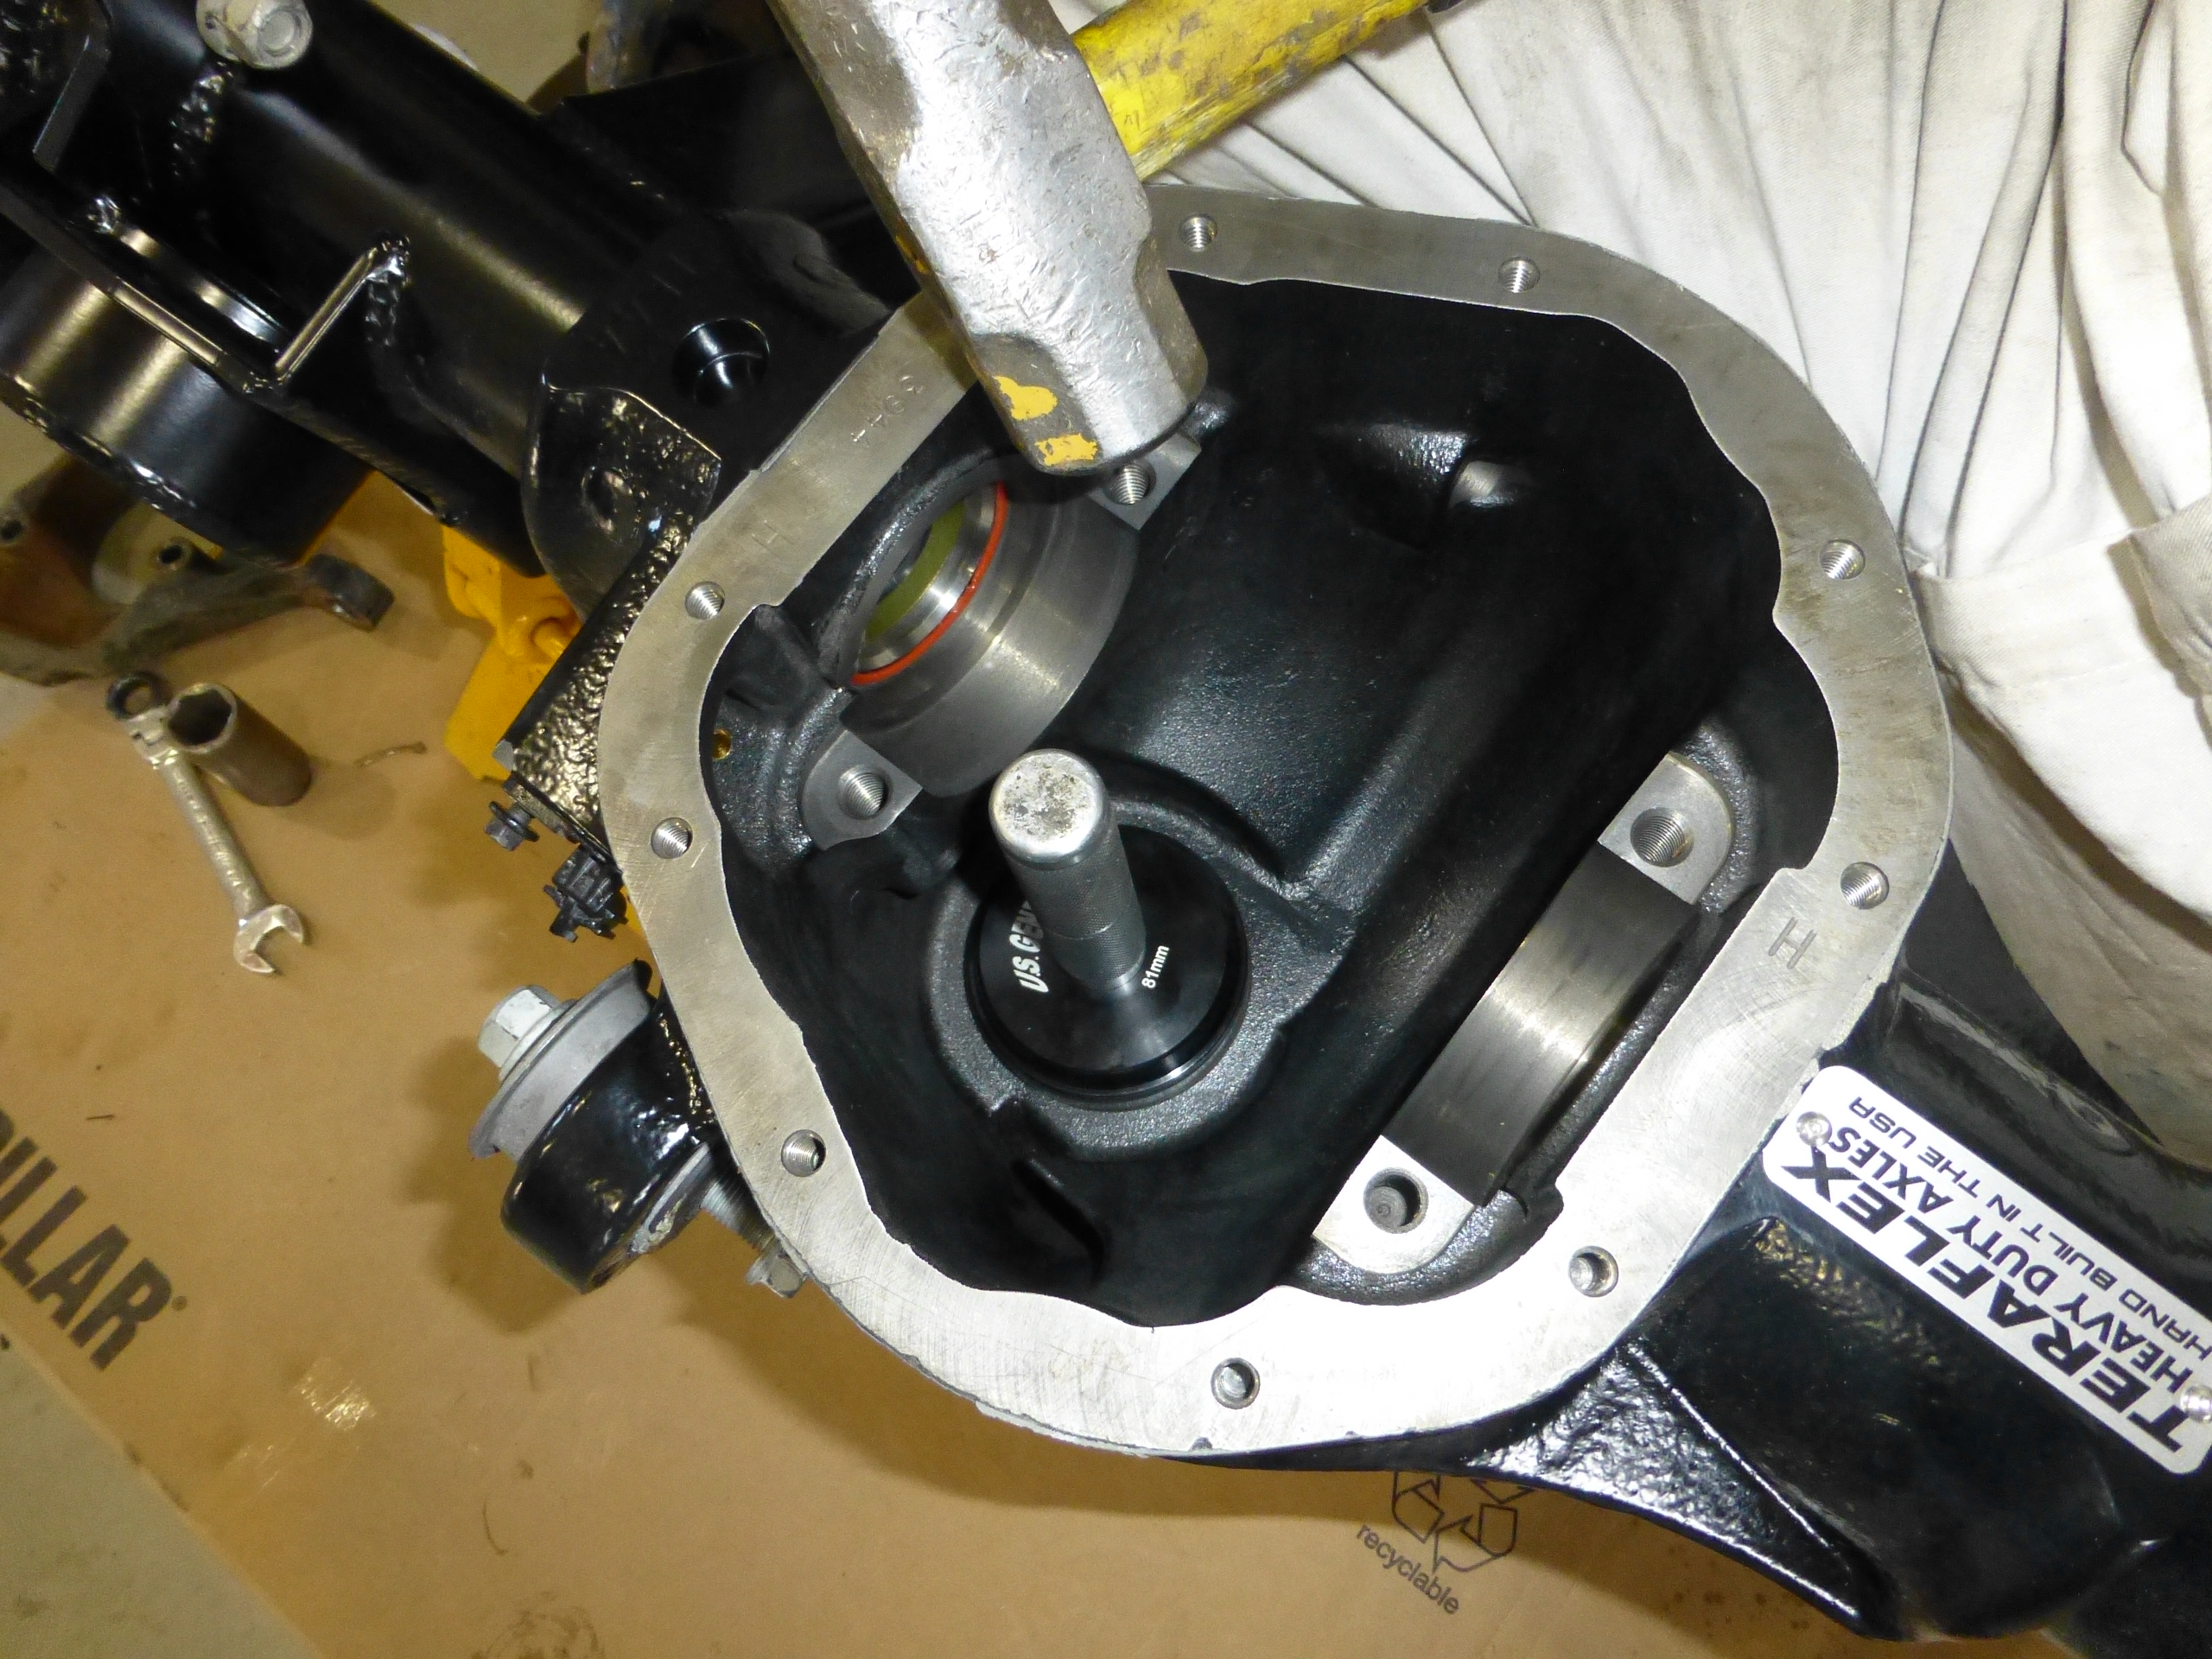
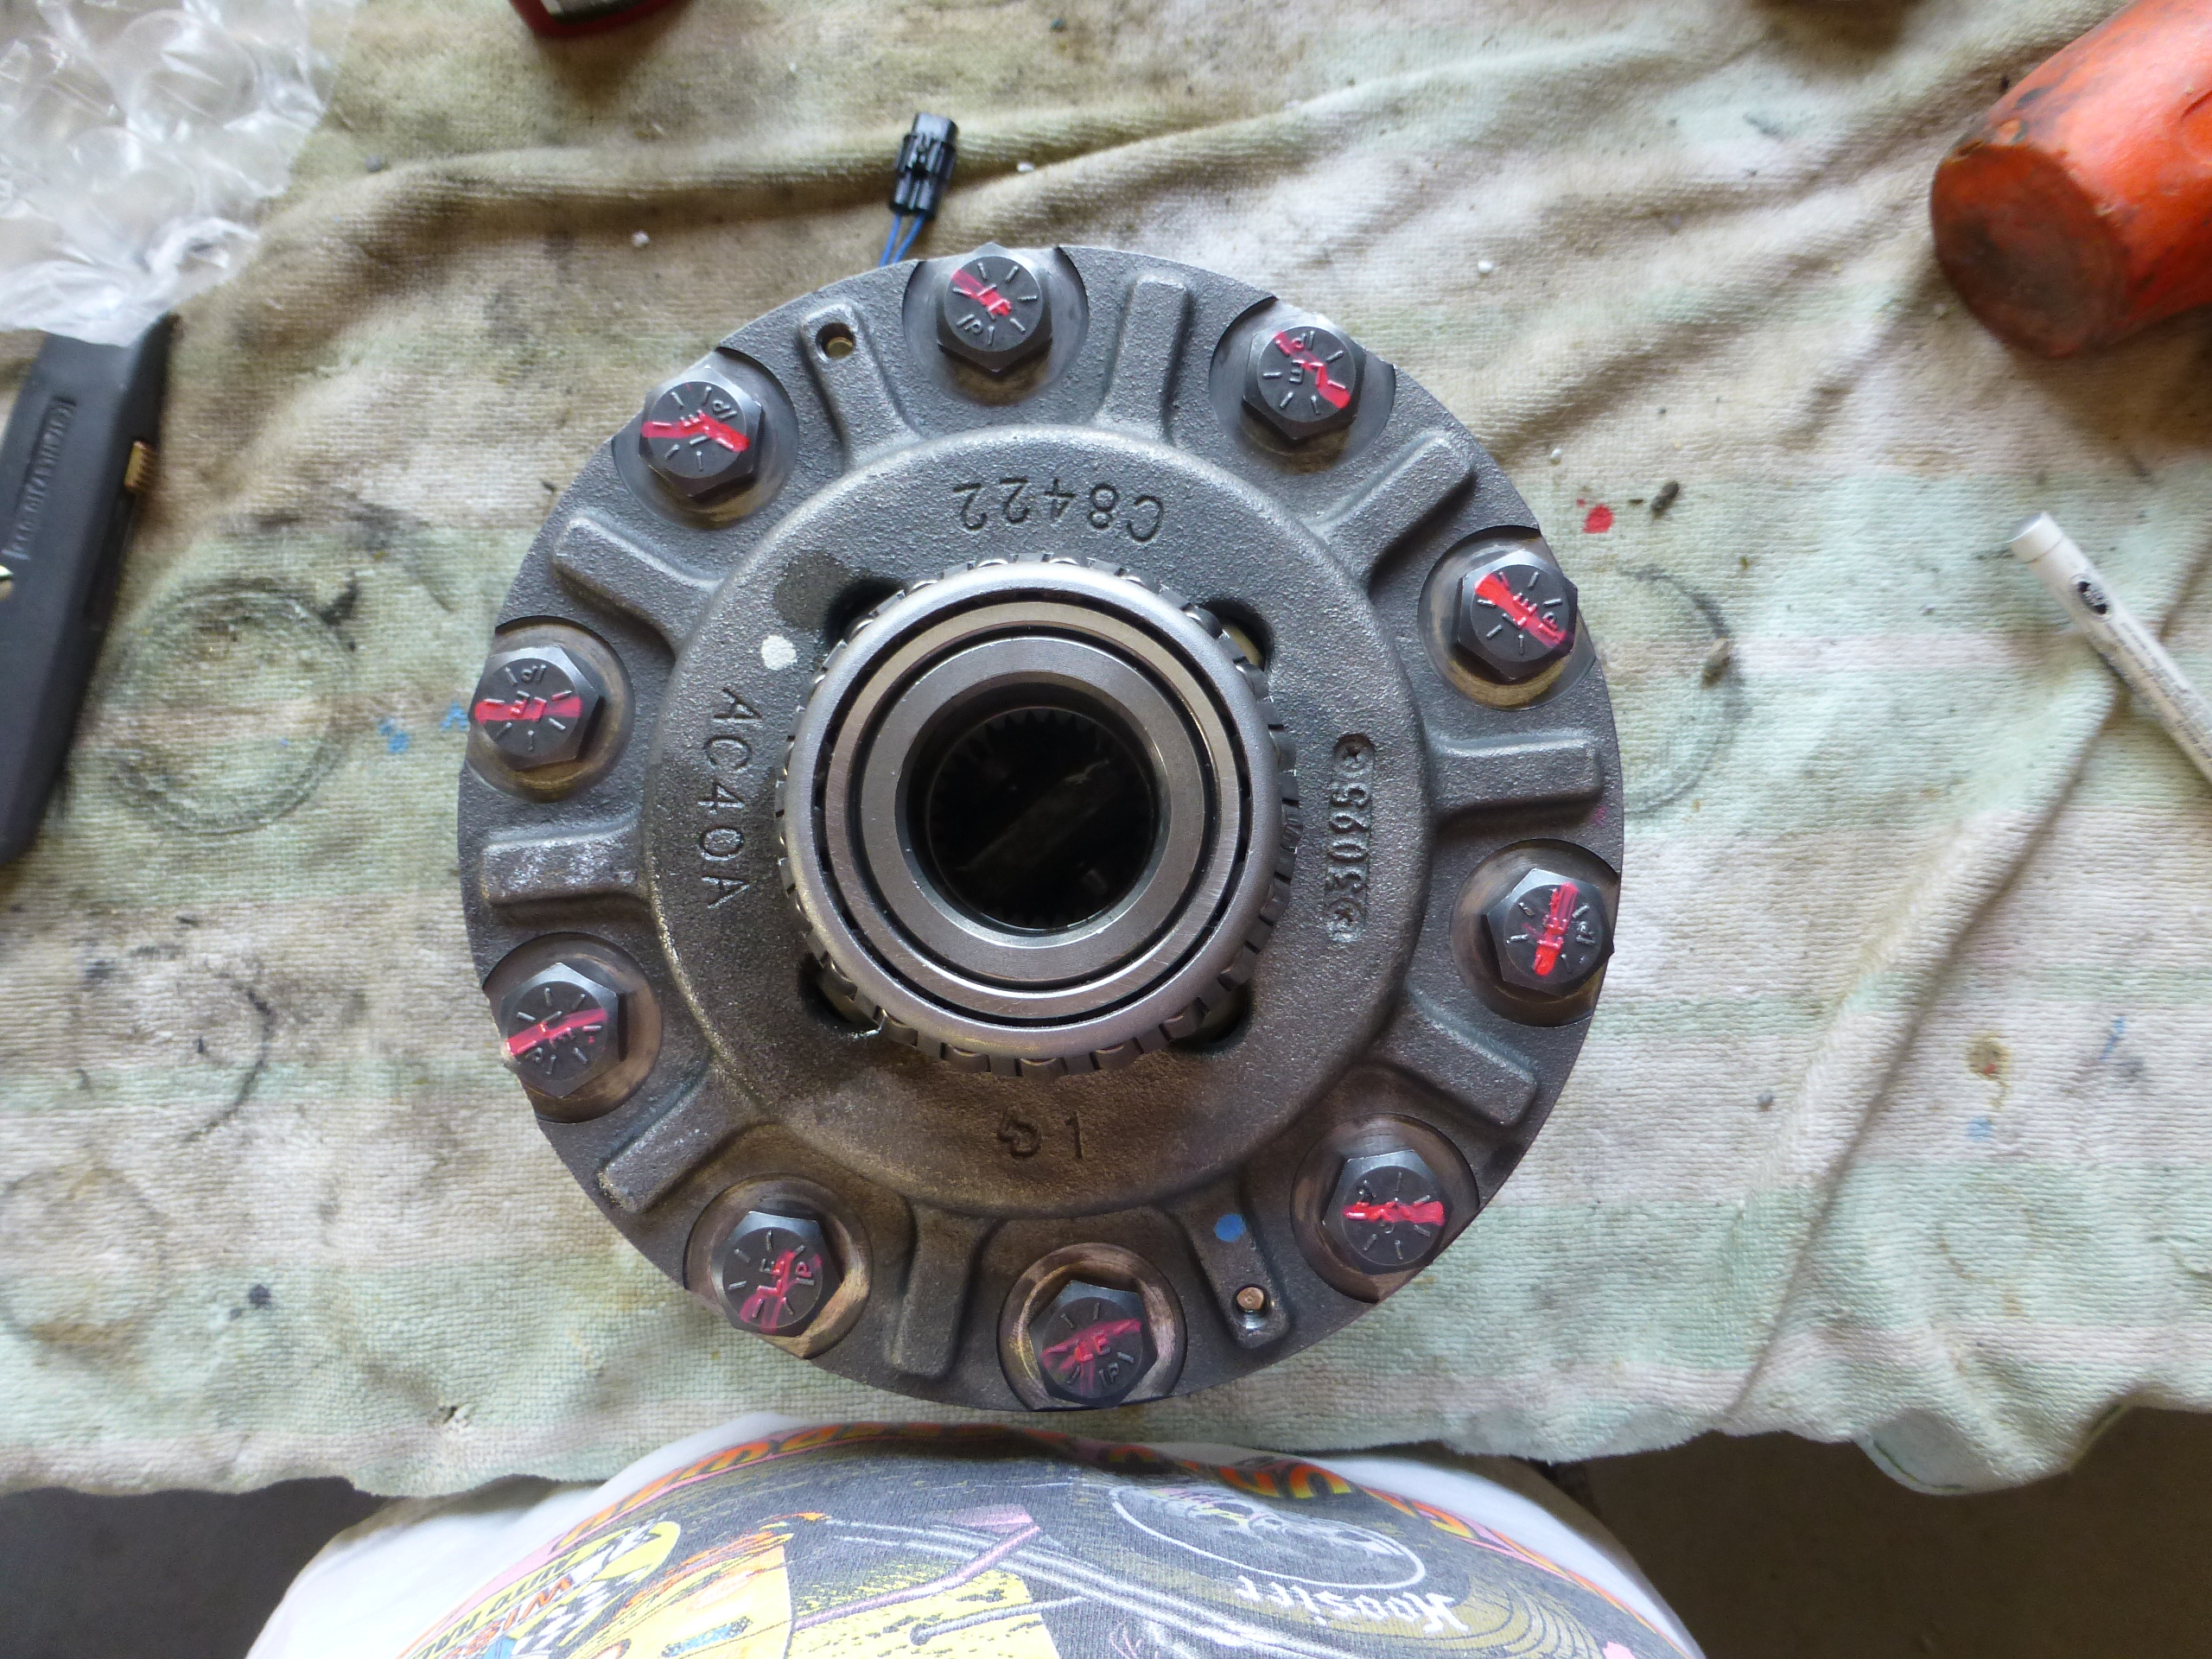
Next we removed the carrier which holds the factory locking unit and gears. Once the carrier unit was removed we pulled the pinion seal, races and gears out so we could get the housing cleaned up and ready for our new components from Yukon Gear & Axle. There is a process to removing these components. Those that know how to do a task like this are familiar and those who are not; may want to seek out a professional to ensure that everything is done correctly. Lastly we cleaned all surfaces of the differential housing that would be receiving new parts during the reassembly process.
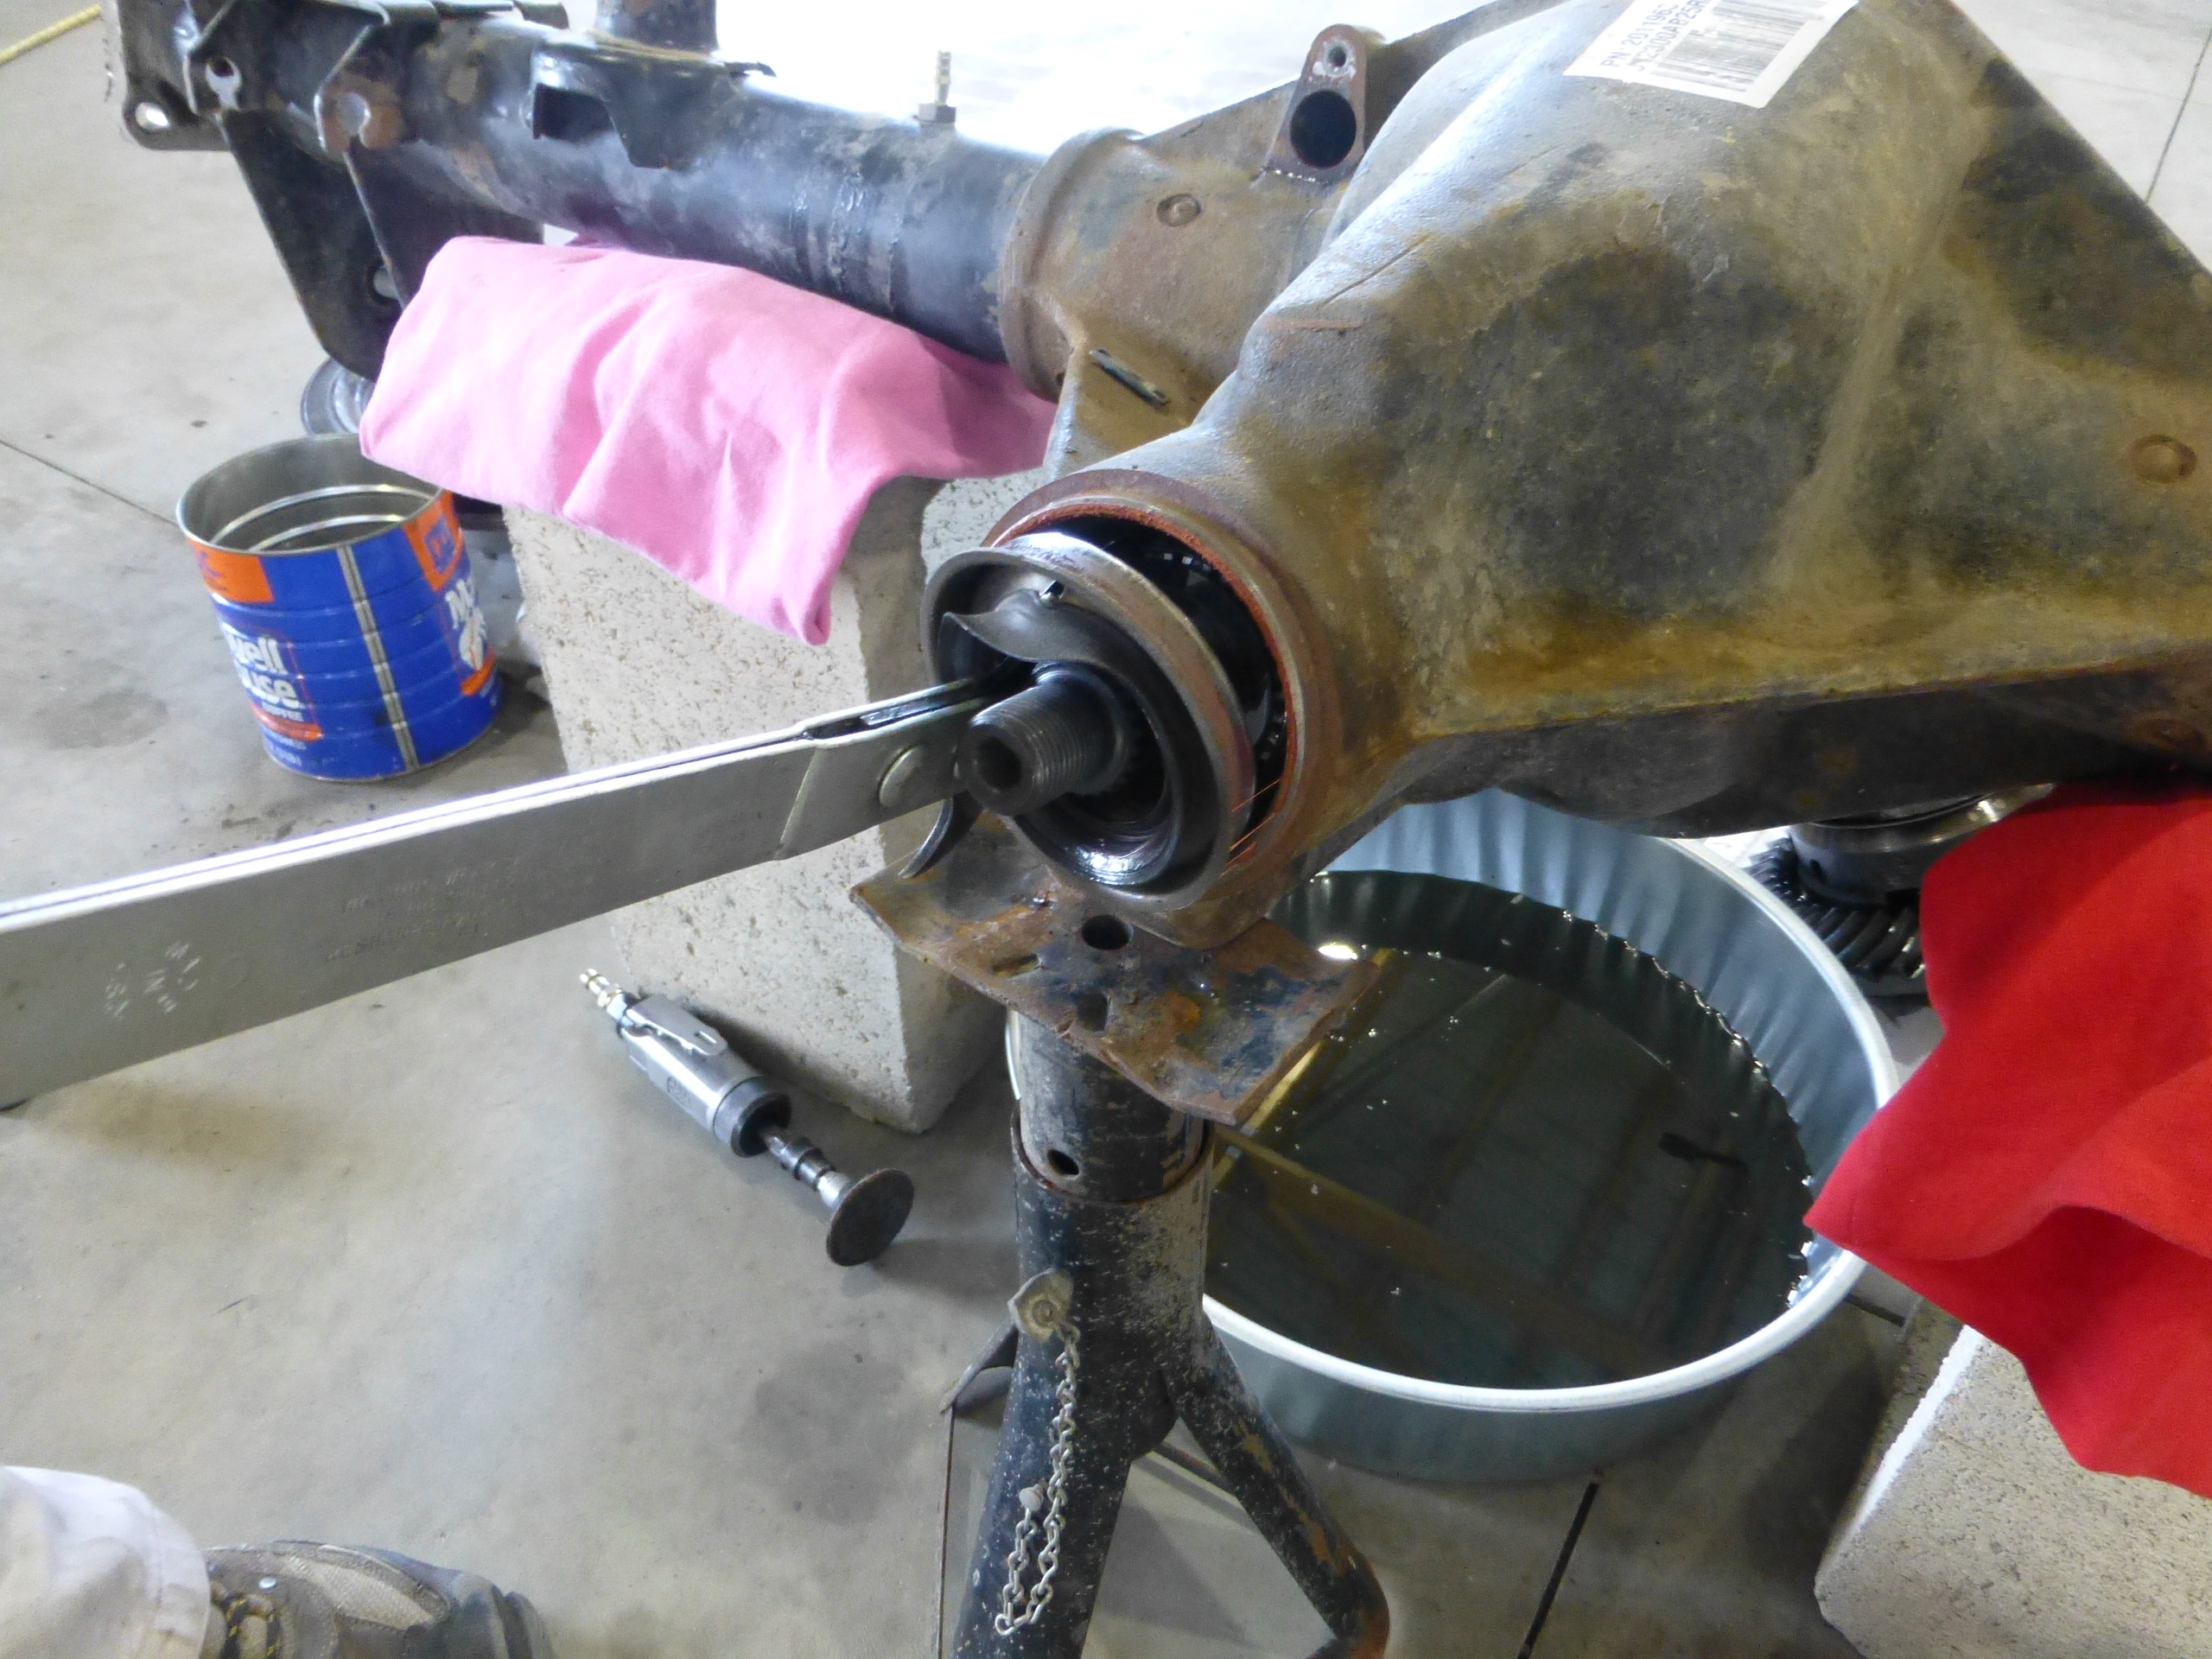


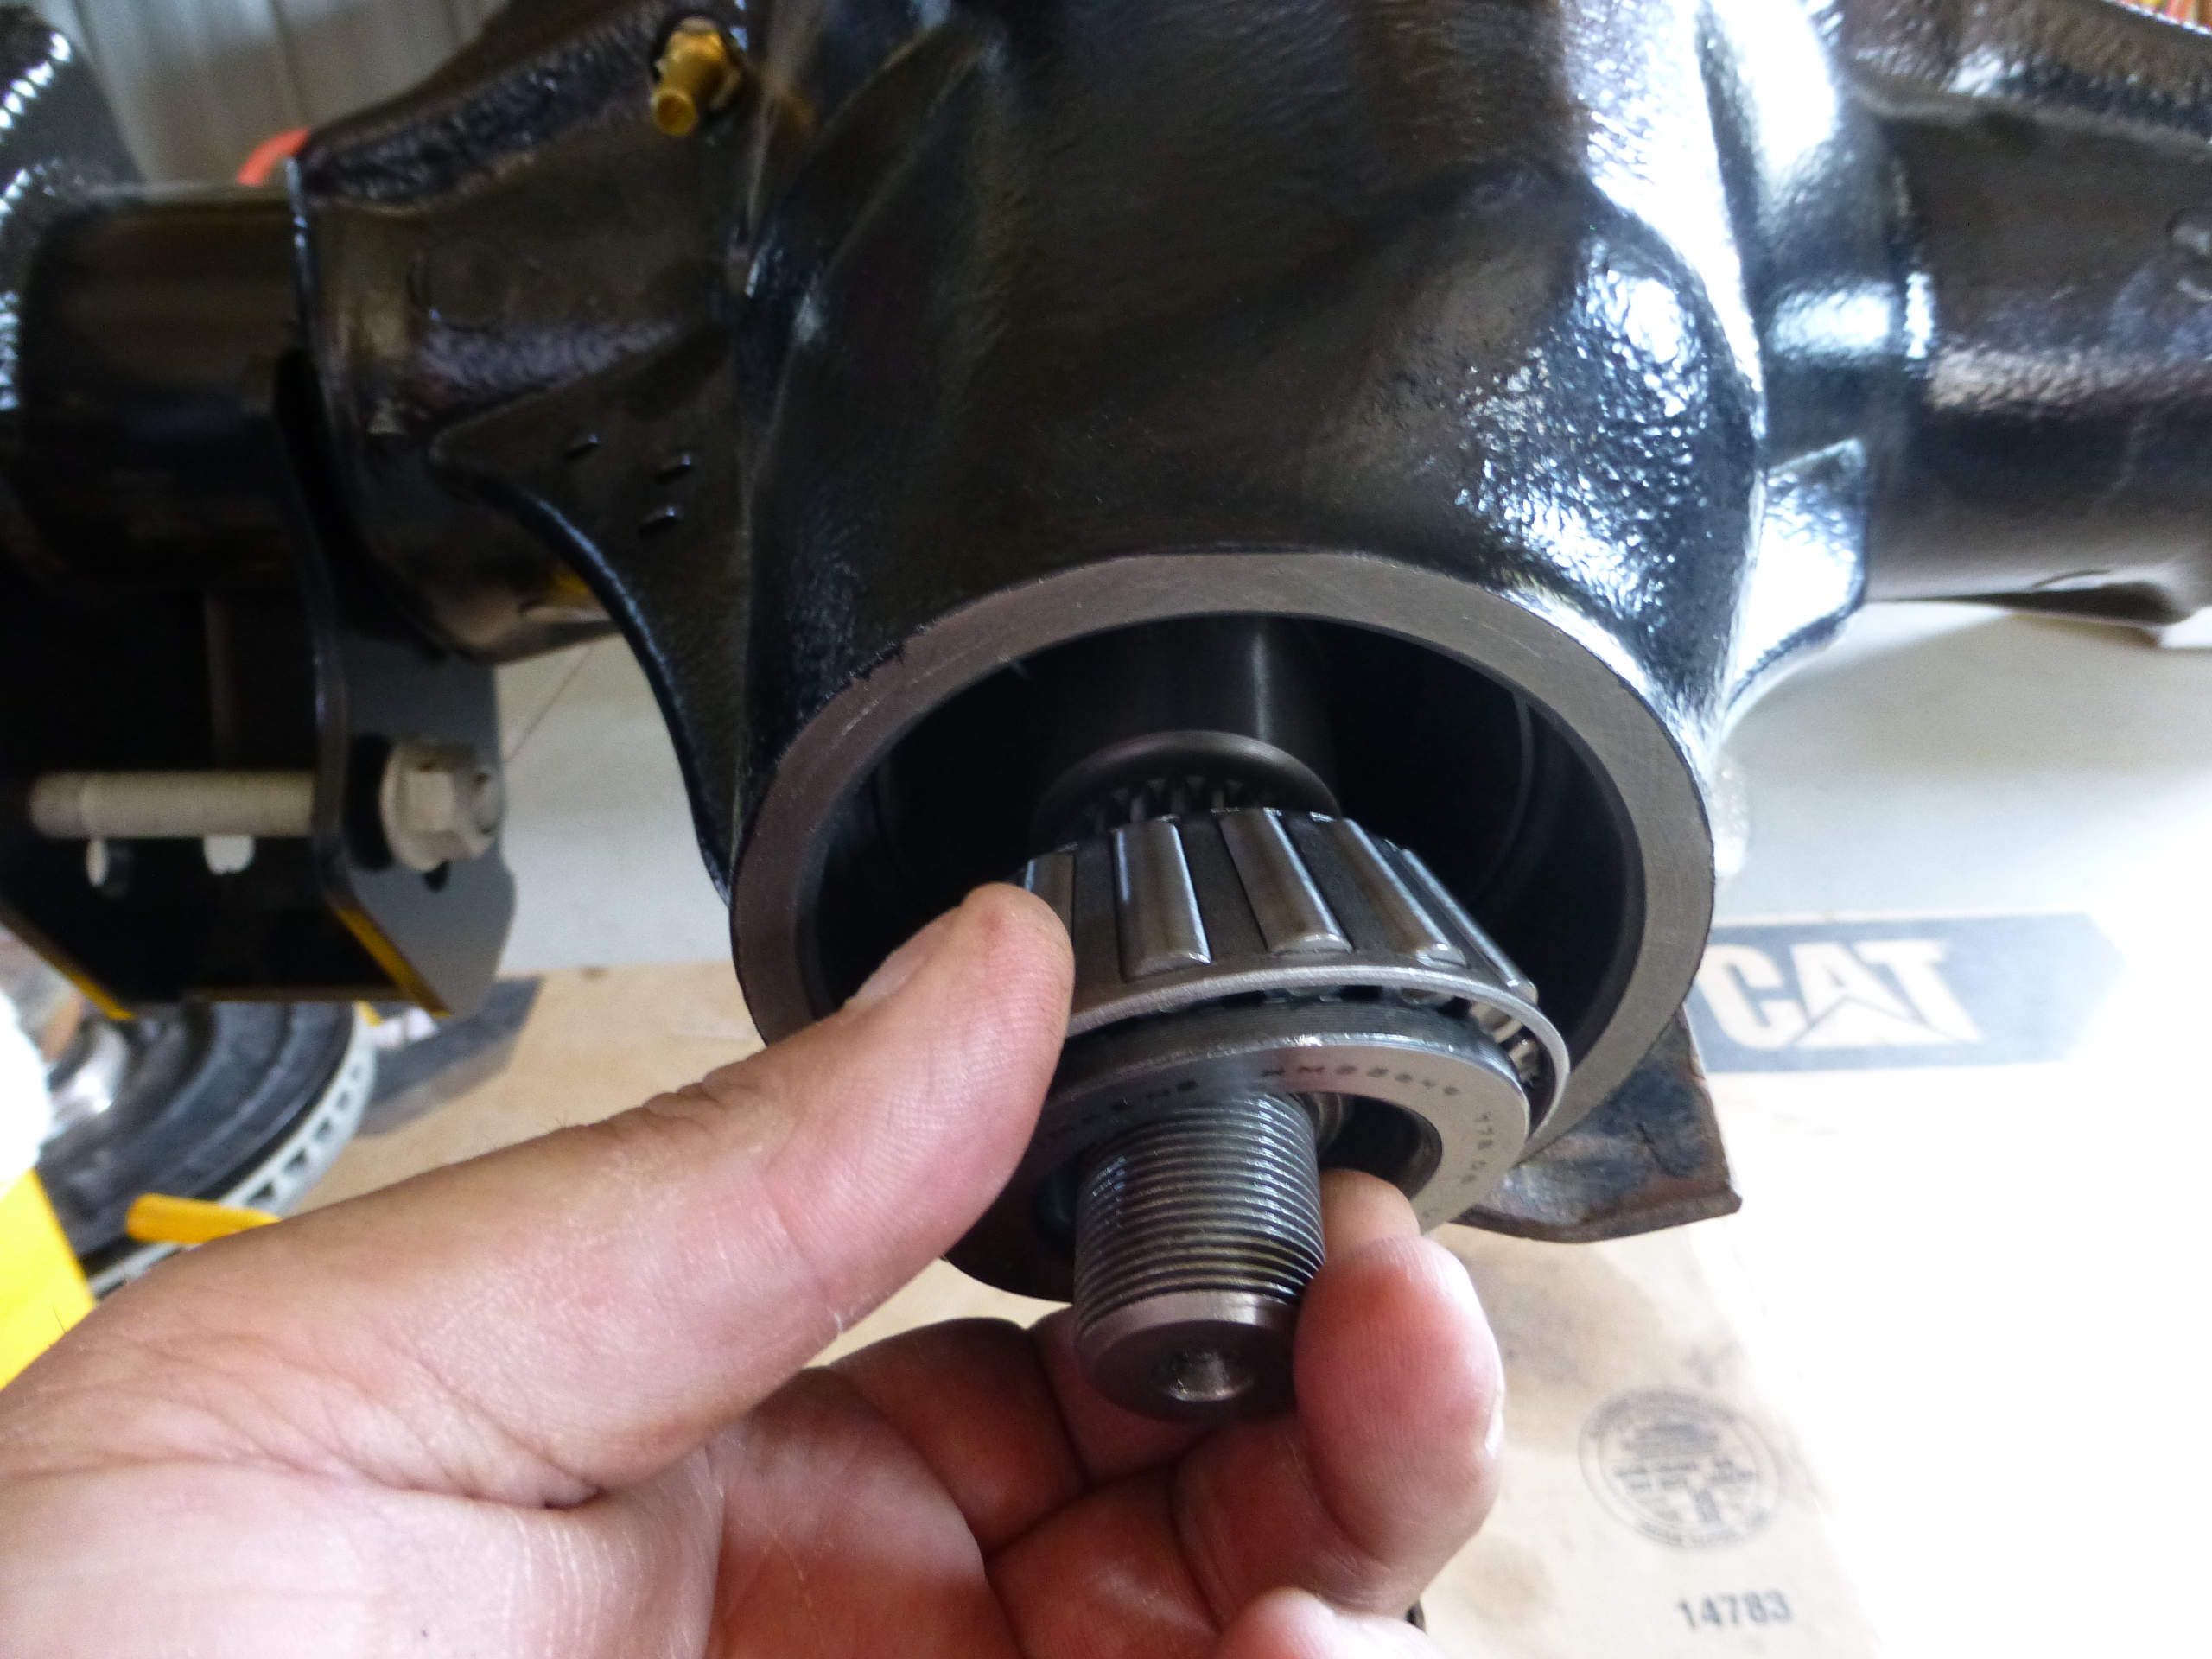
Before we could start the installation of the new components we removed the inner bearing from the pinion gear so we could use it for the set up process of the new gears. We slightly honed out the old bearing so we could slide it on and off of the new pinion gear in order to set the shims to the right depth so they would mesh with the new ring gear. The reason for that is so that we wouldn’t damage the new bearing while setting things up in case we had to try it multiple times to get the correct pattern.
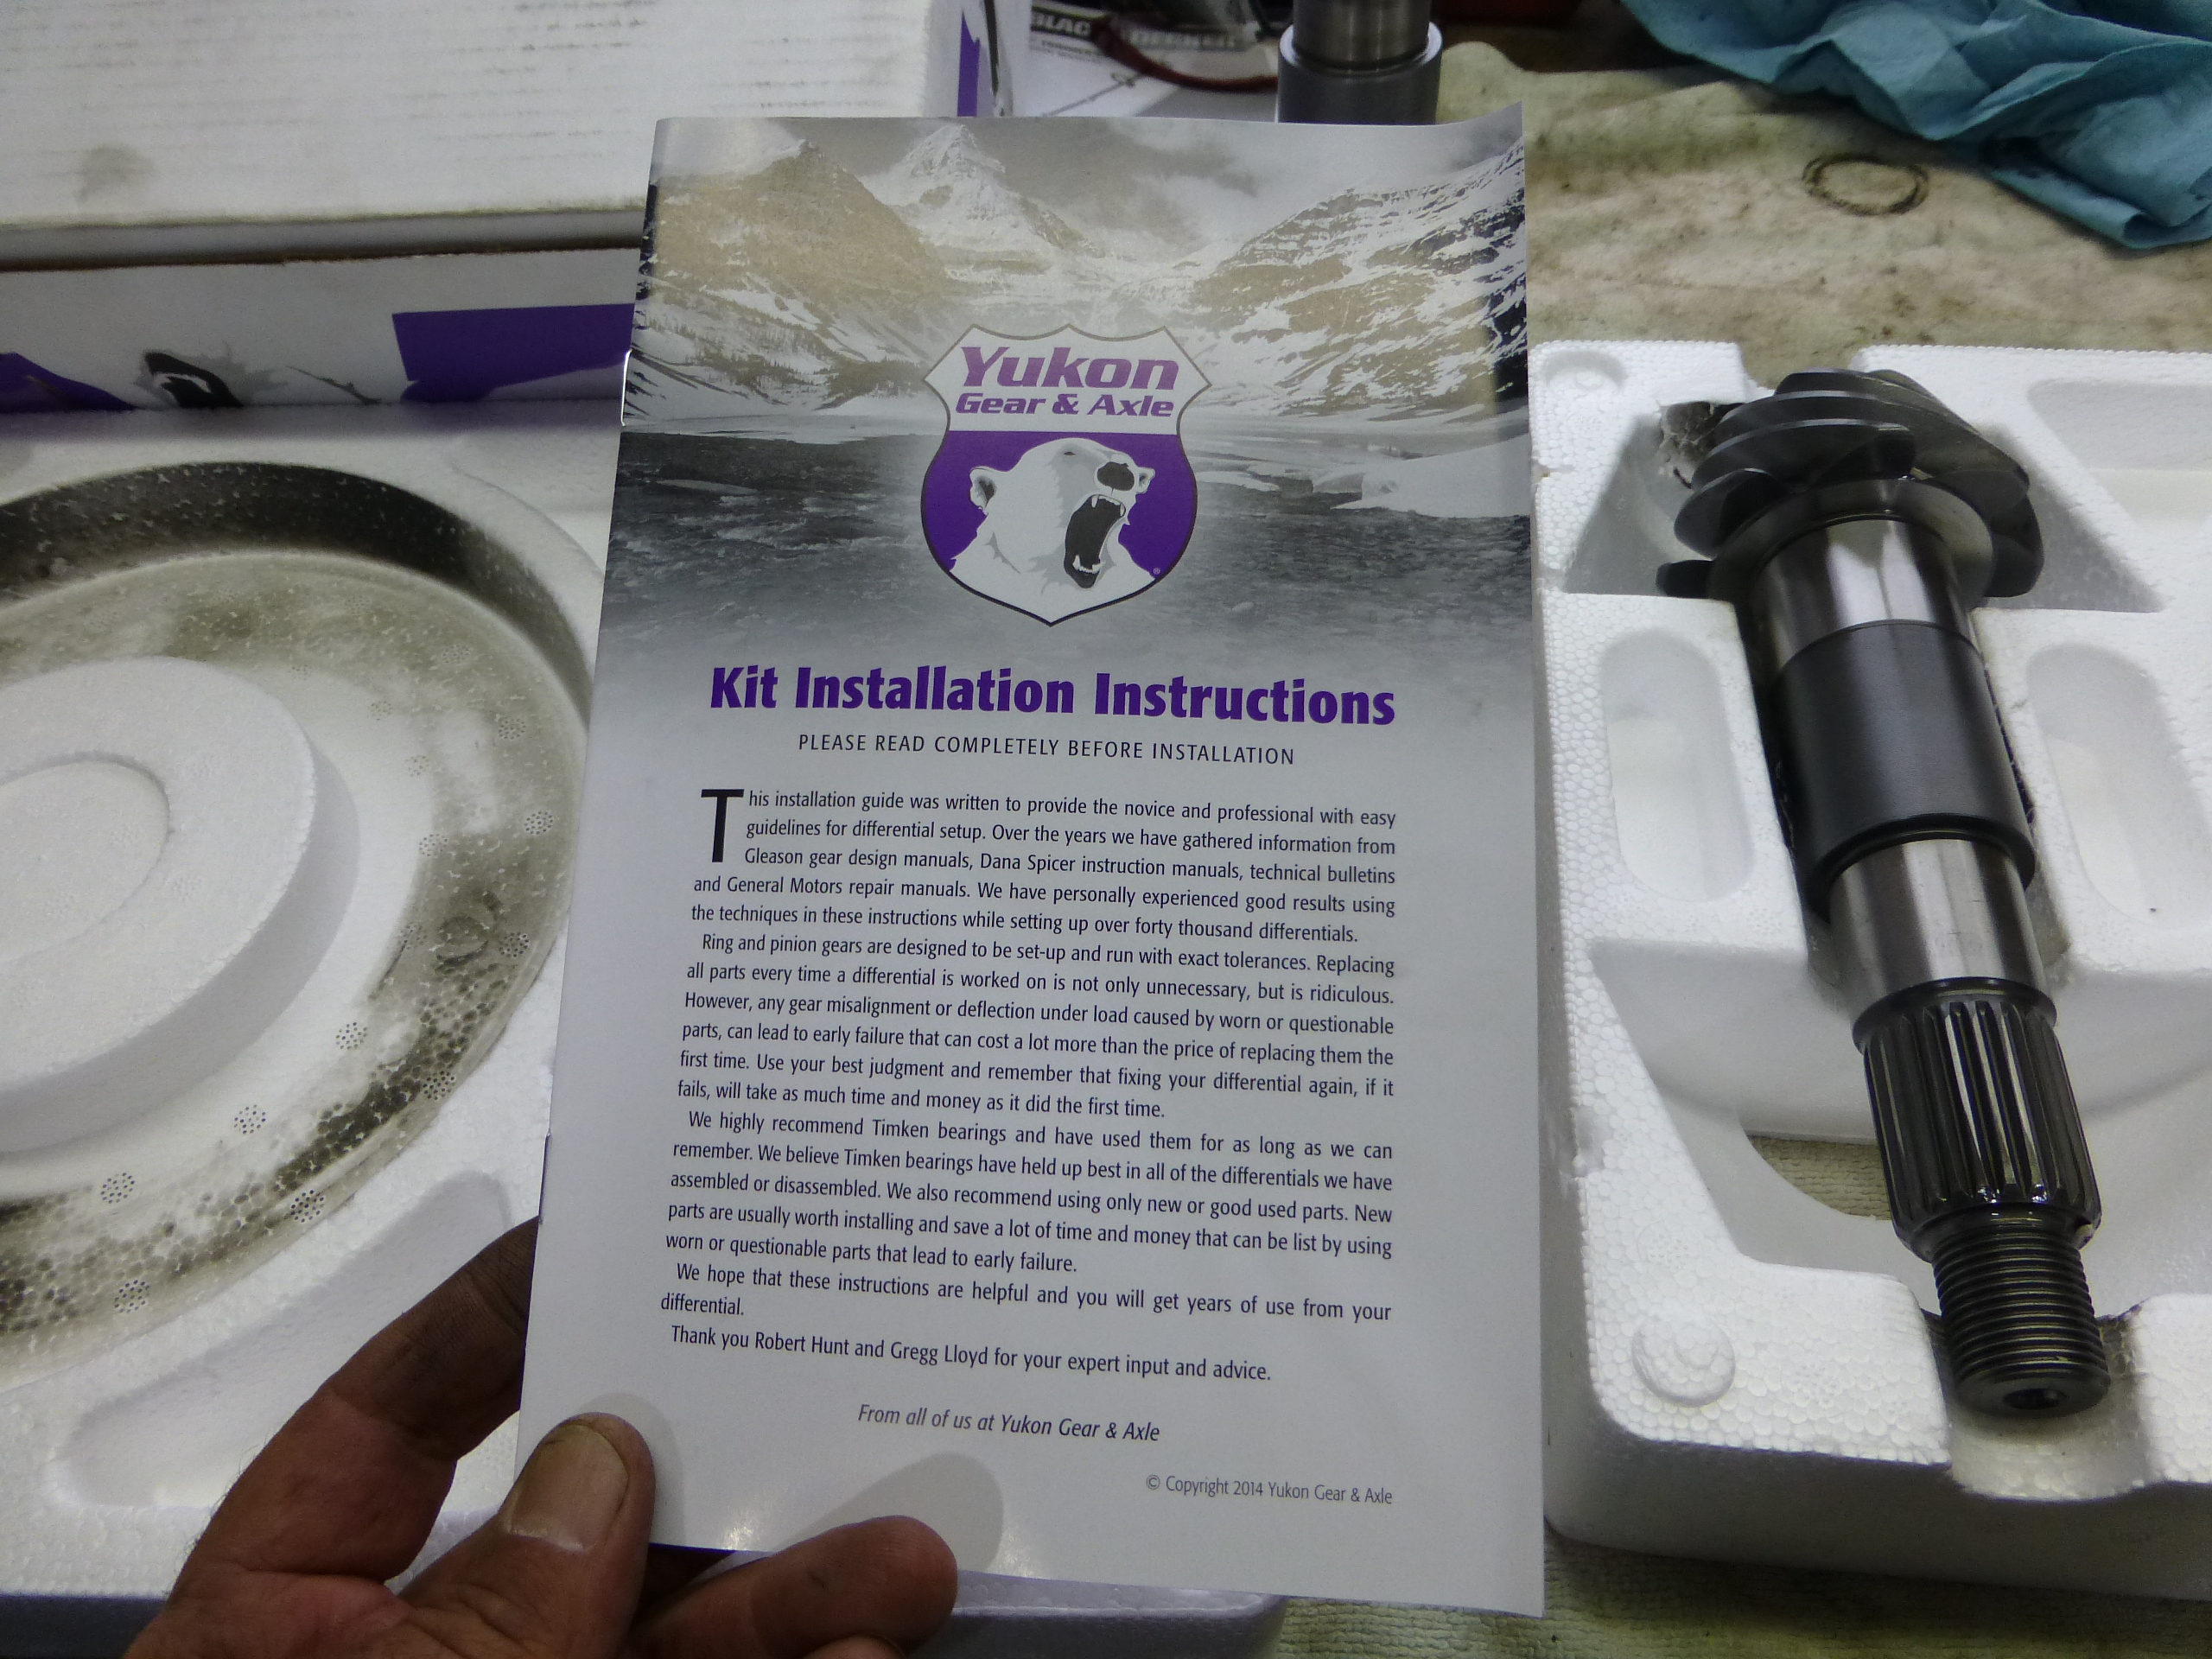
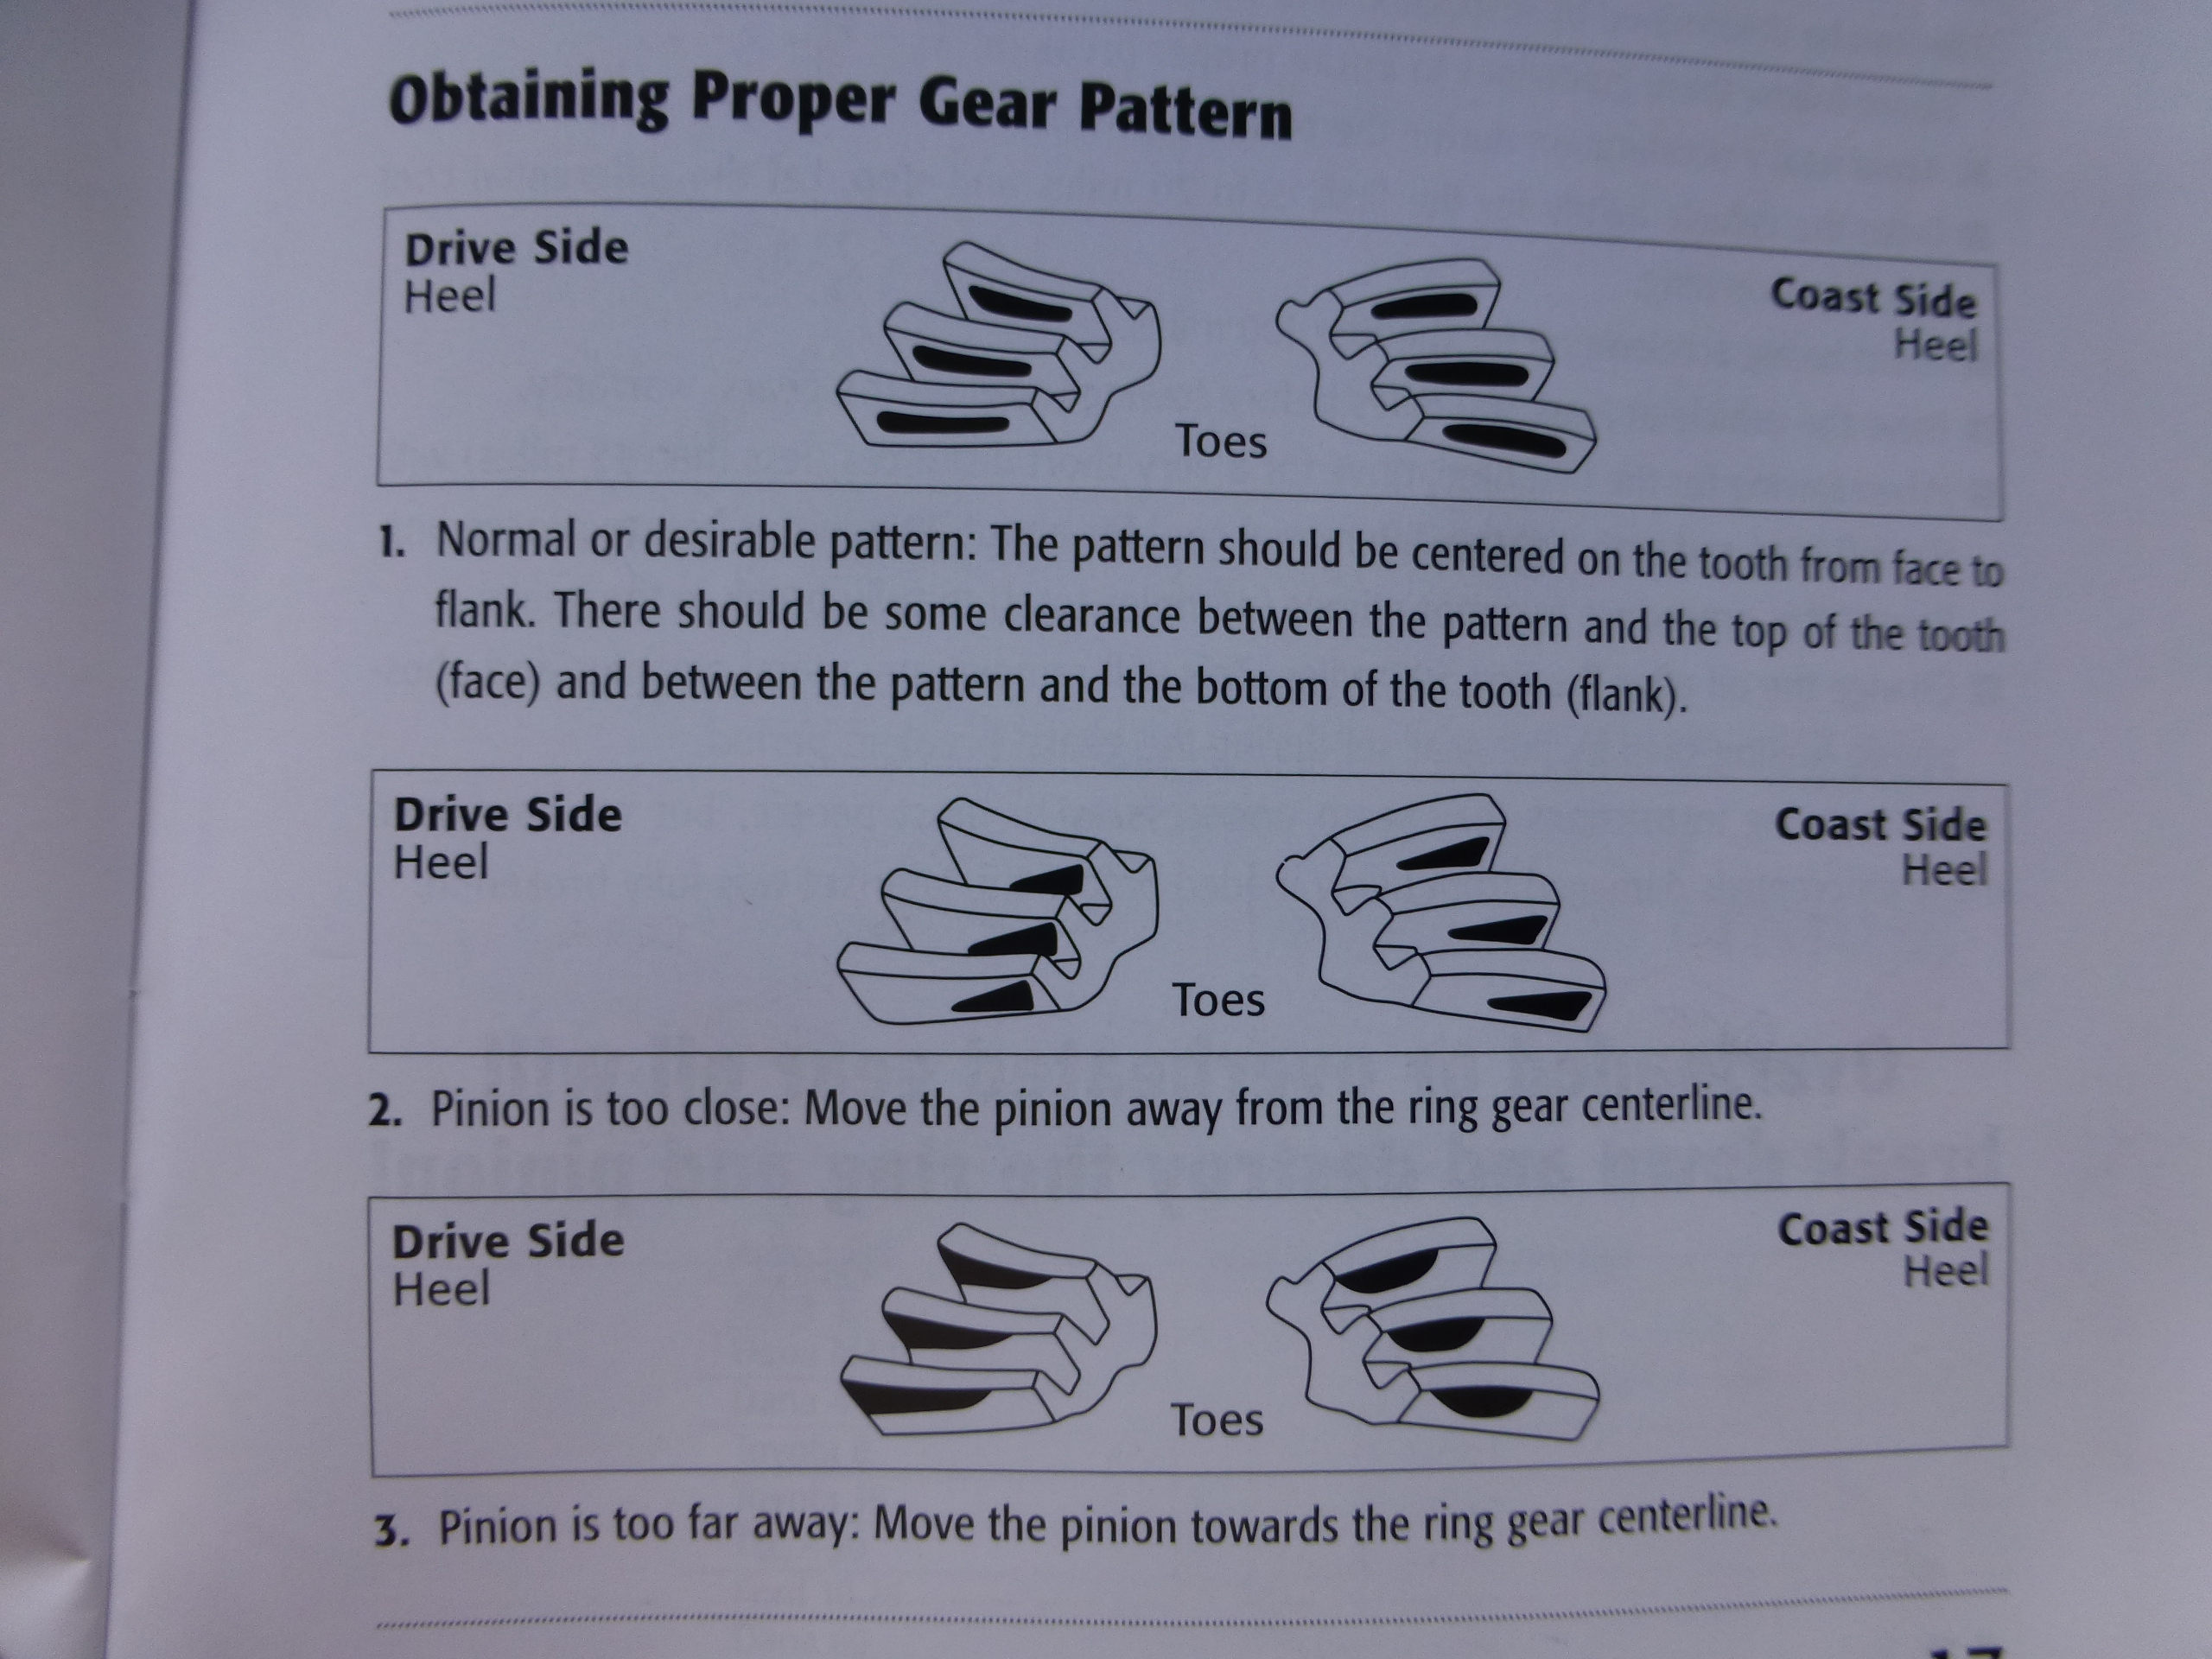
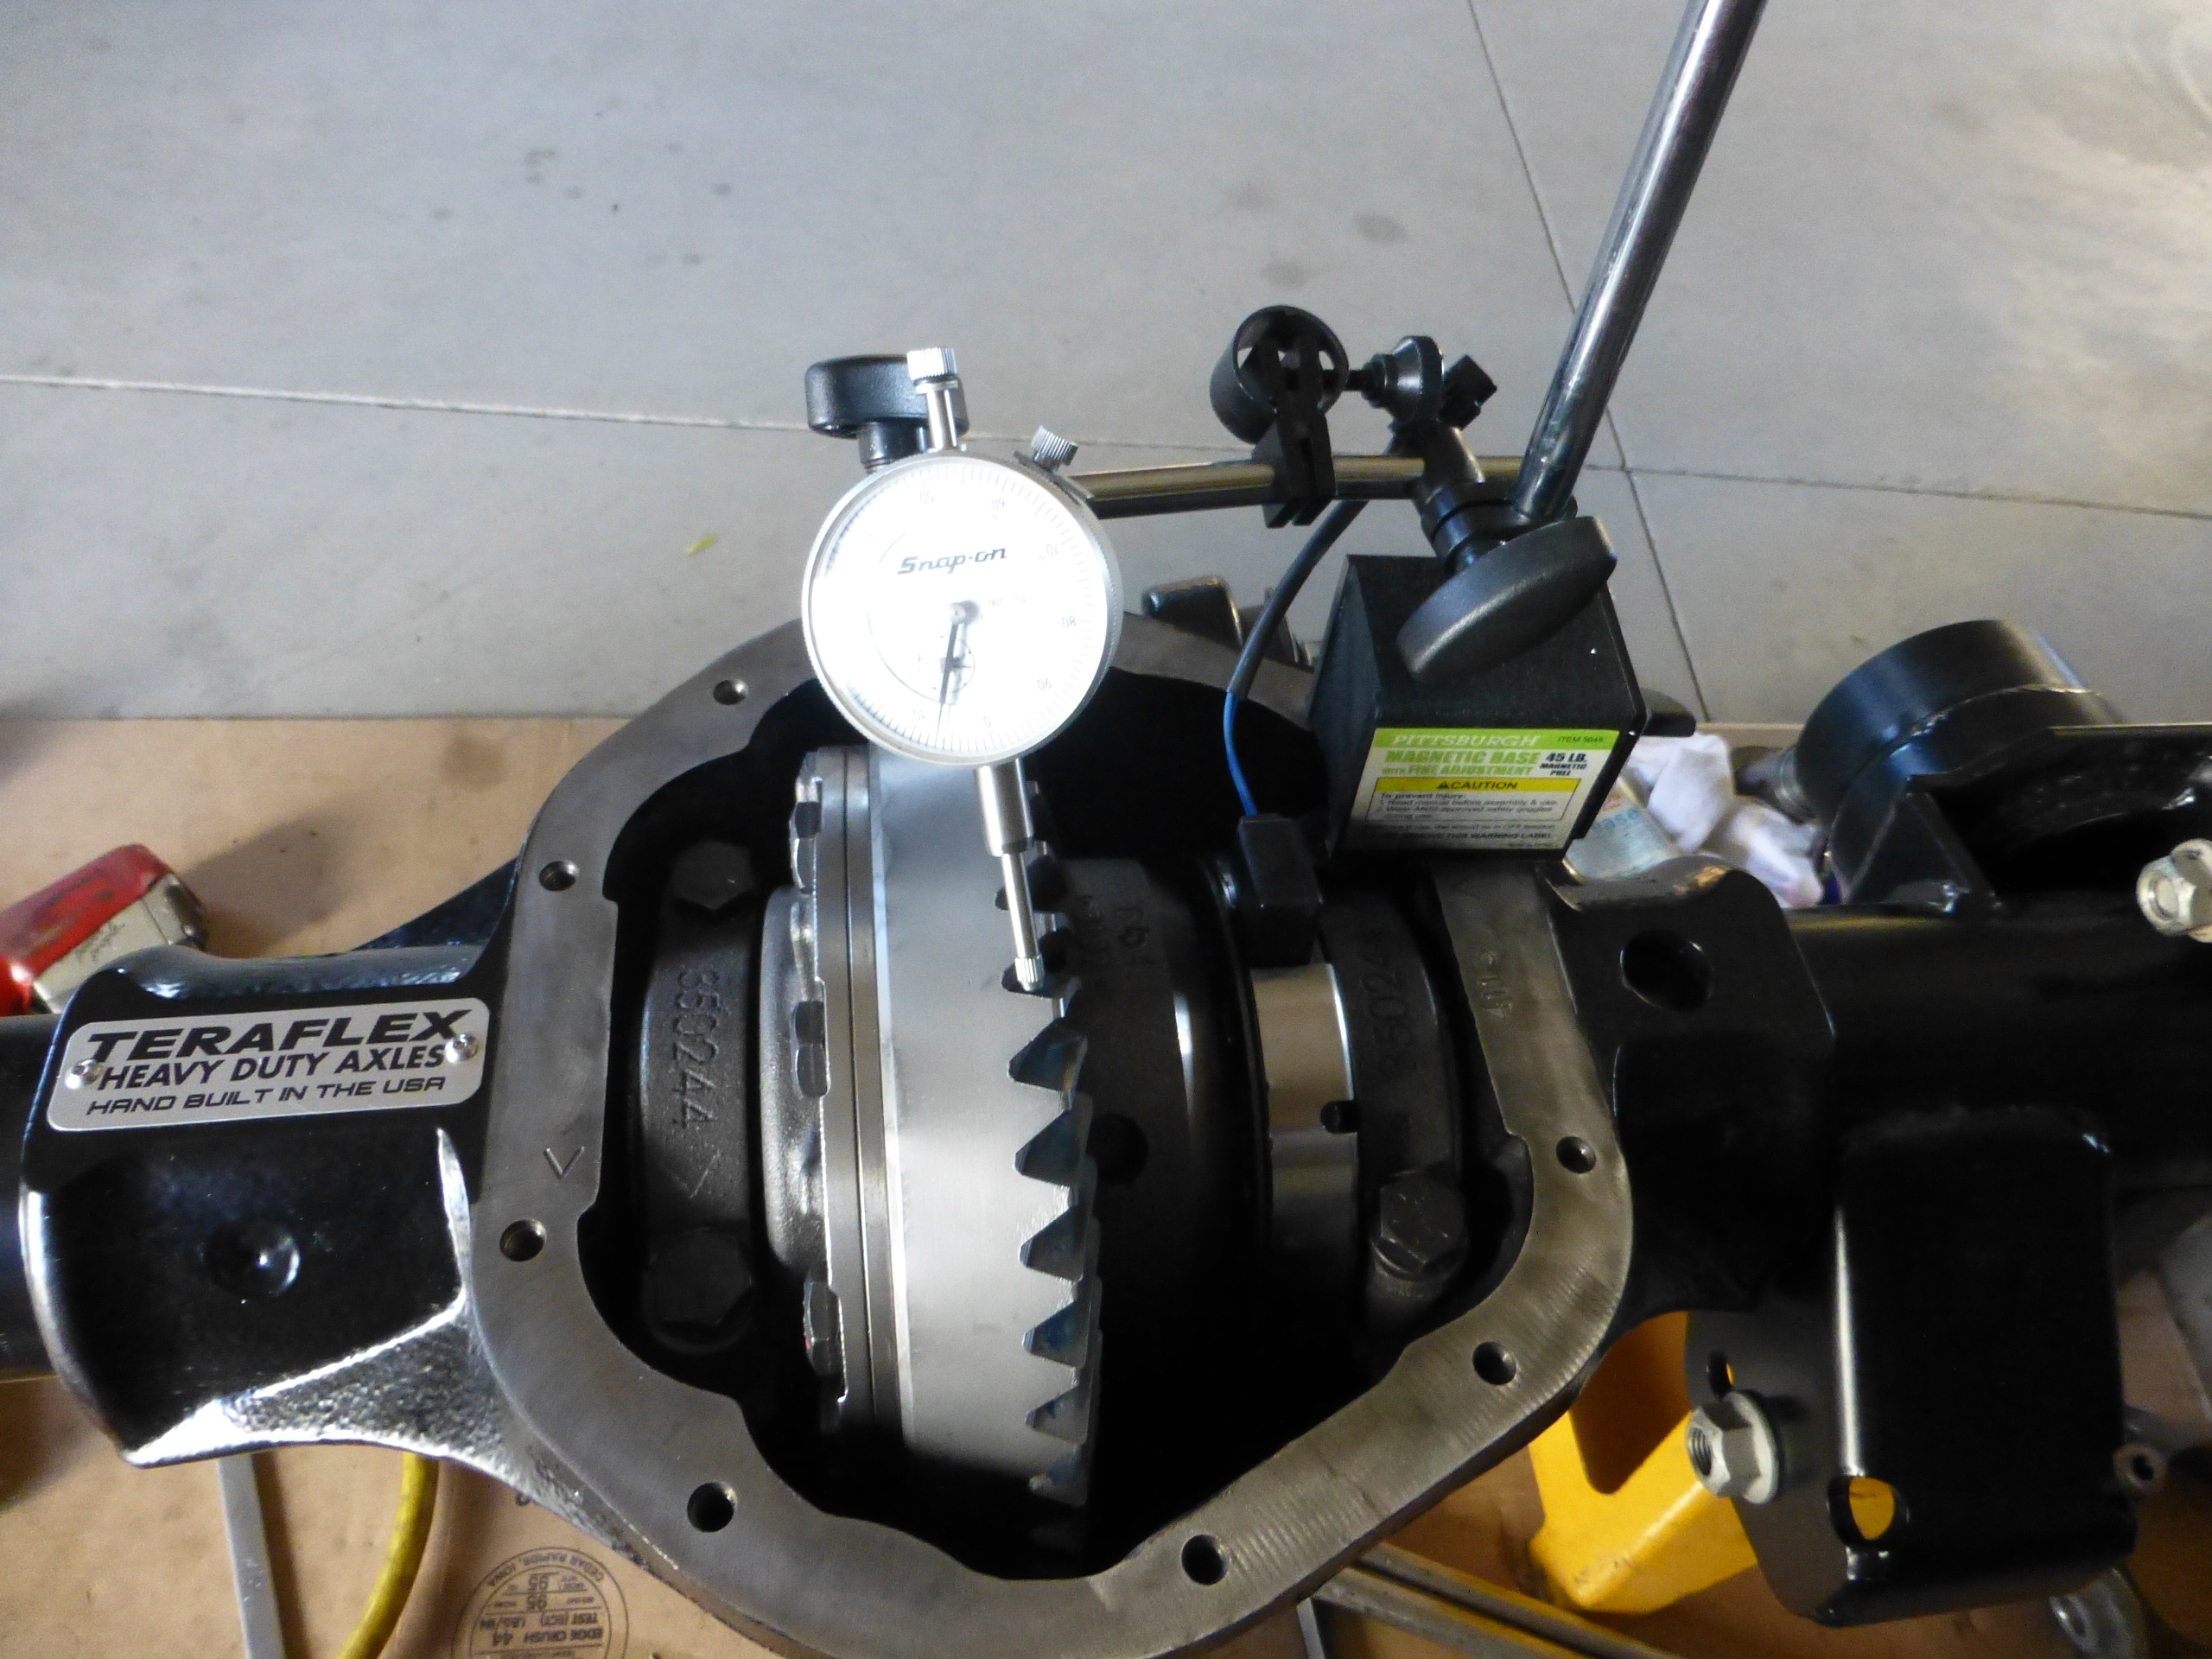
With the previous steps taken we were ready to set up the new gears. Yukon includes a very detailed set of instructions on how to install, correctly set the pinion depth and how to mesh the gears in a pattern that will keep them working properly and lasting when installed correctly. The instructions also cover the break in process to once again, provide all of the information they can to the user to help the new gears properly function and last.

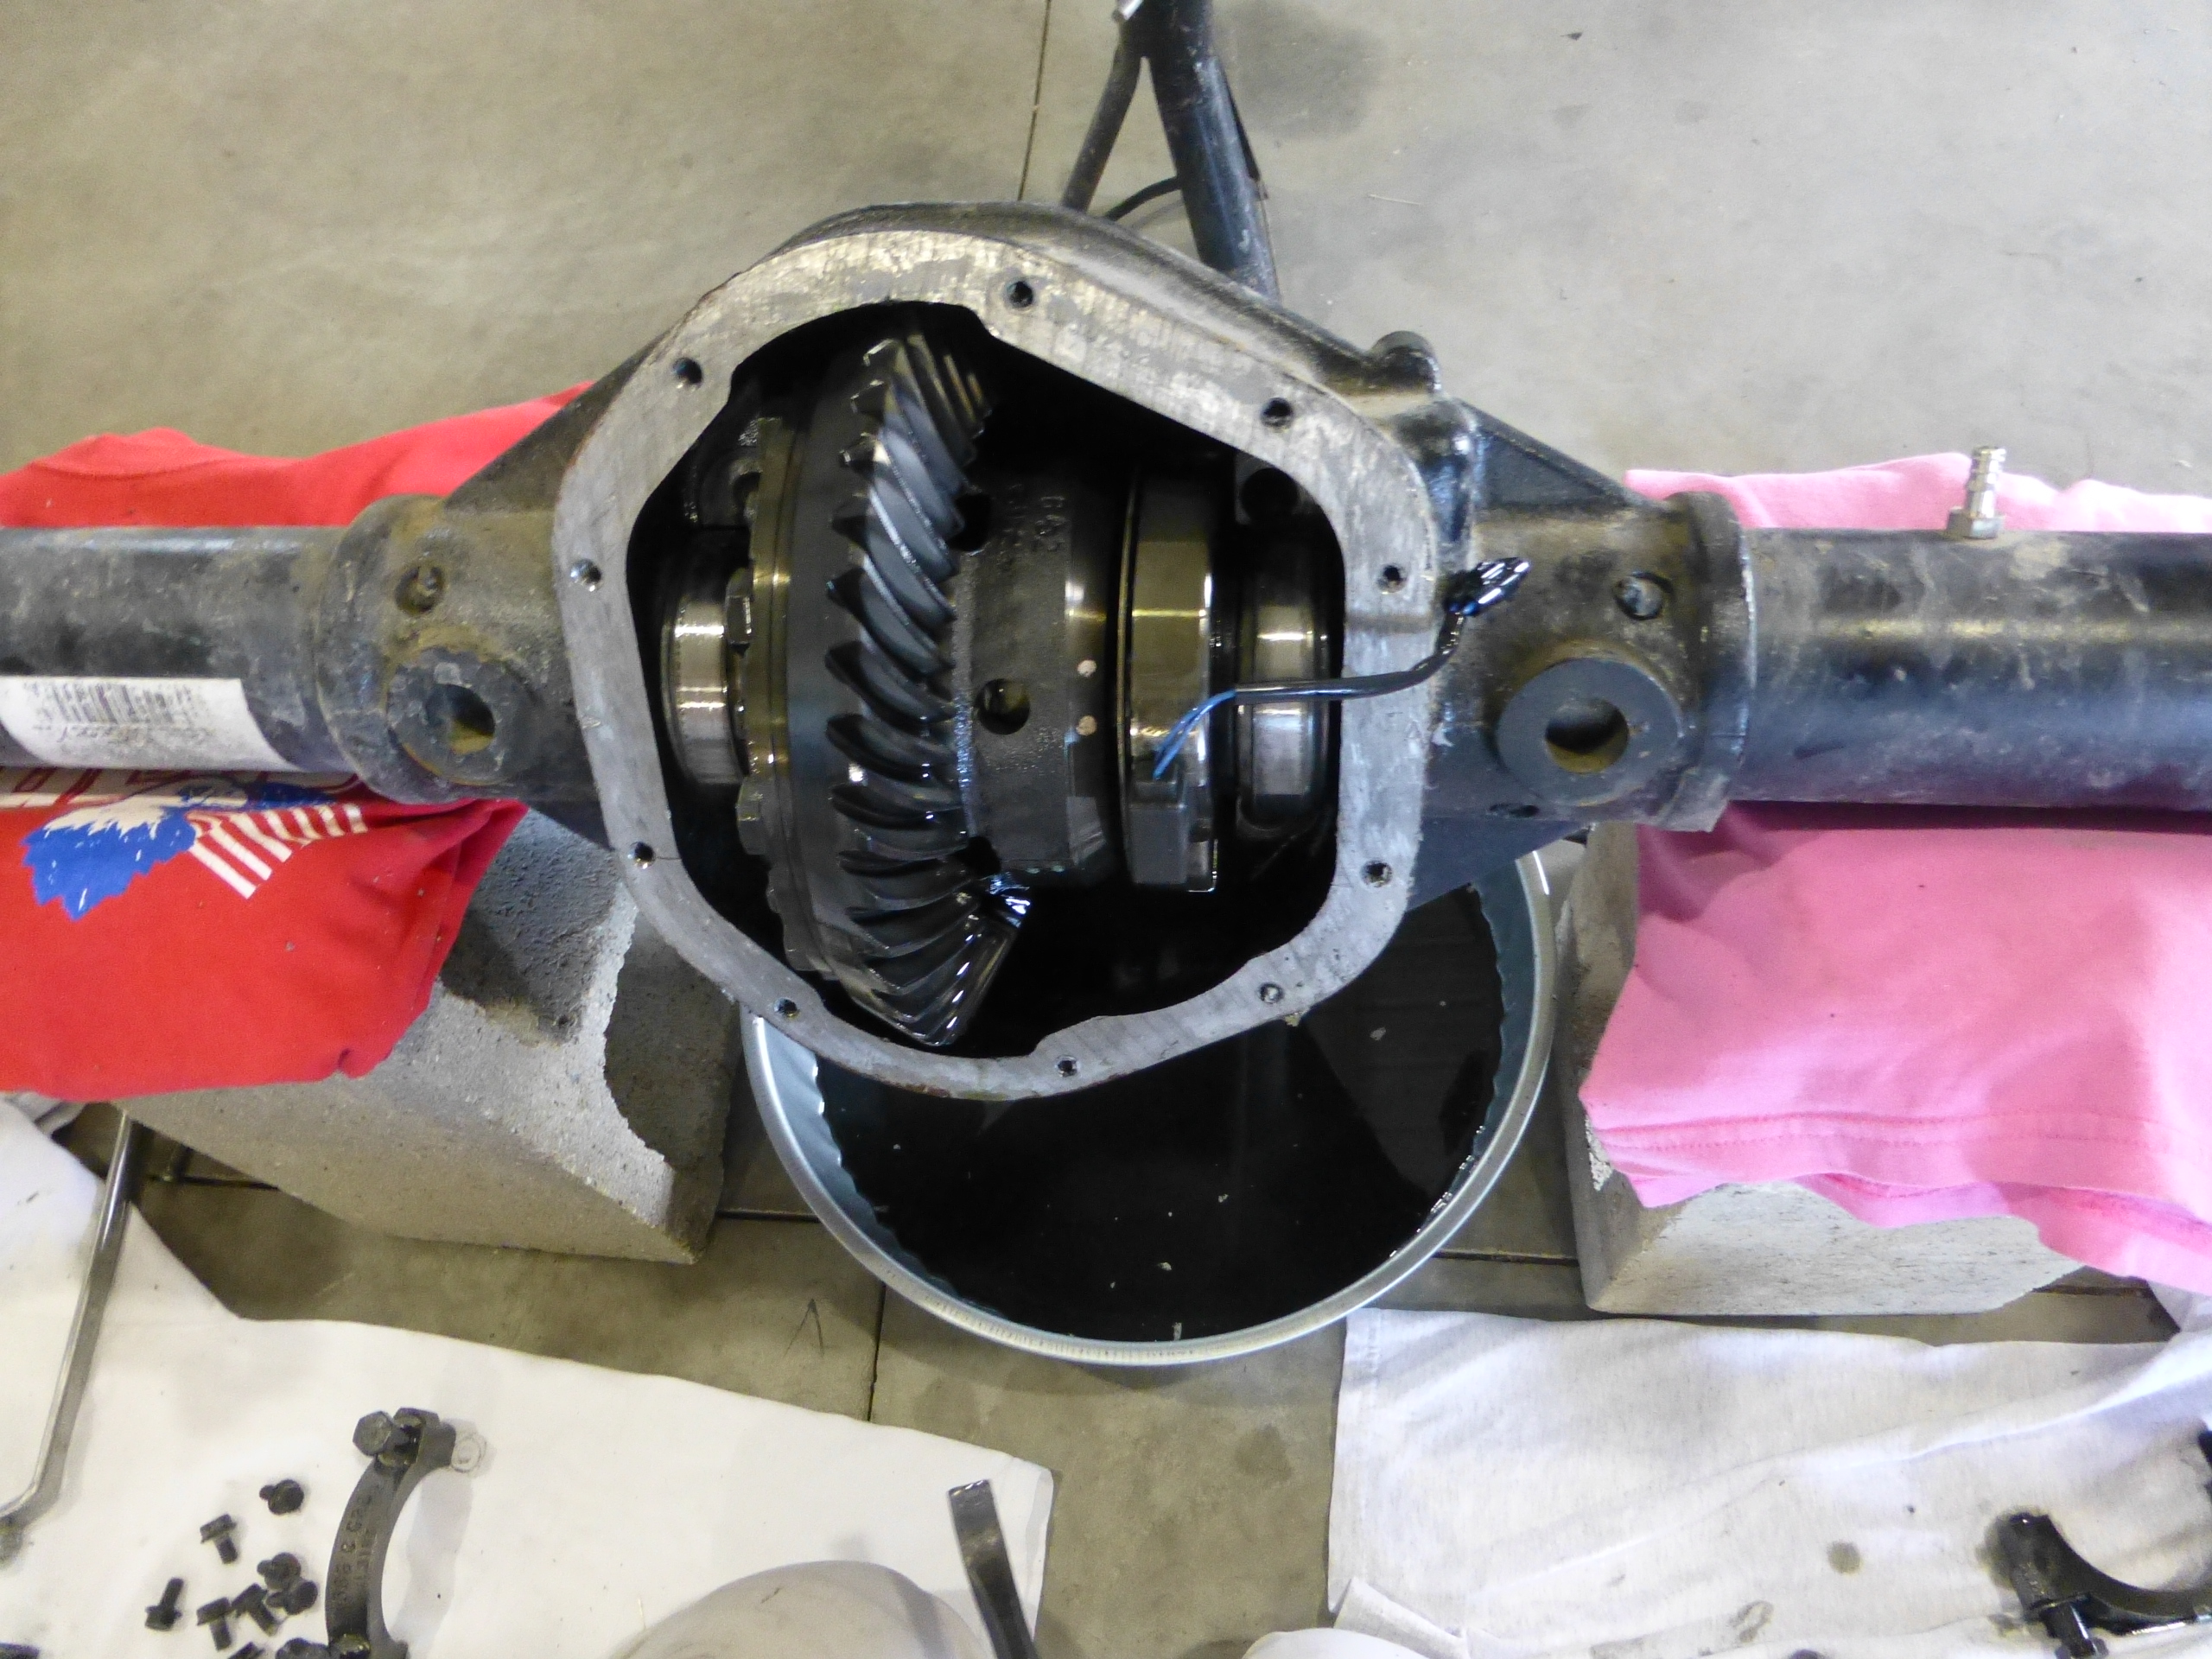
We installed the old bearing on the new pinion gear for the sole purpose of setting the pinion depth with shims so we could get a good gear mesh before we installed the new bearing for the final install. With all of that in place we set the “rolling torque” so we could get everything in place and check our gear mesh.
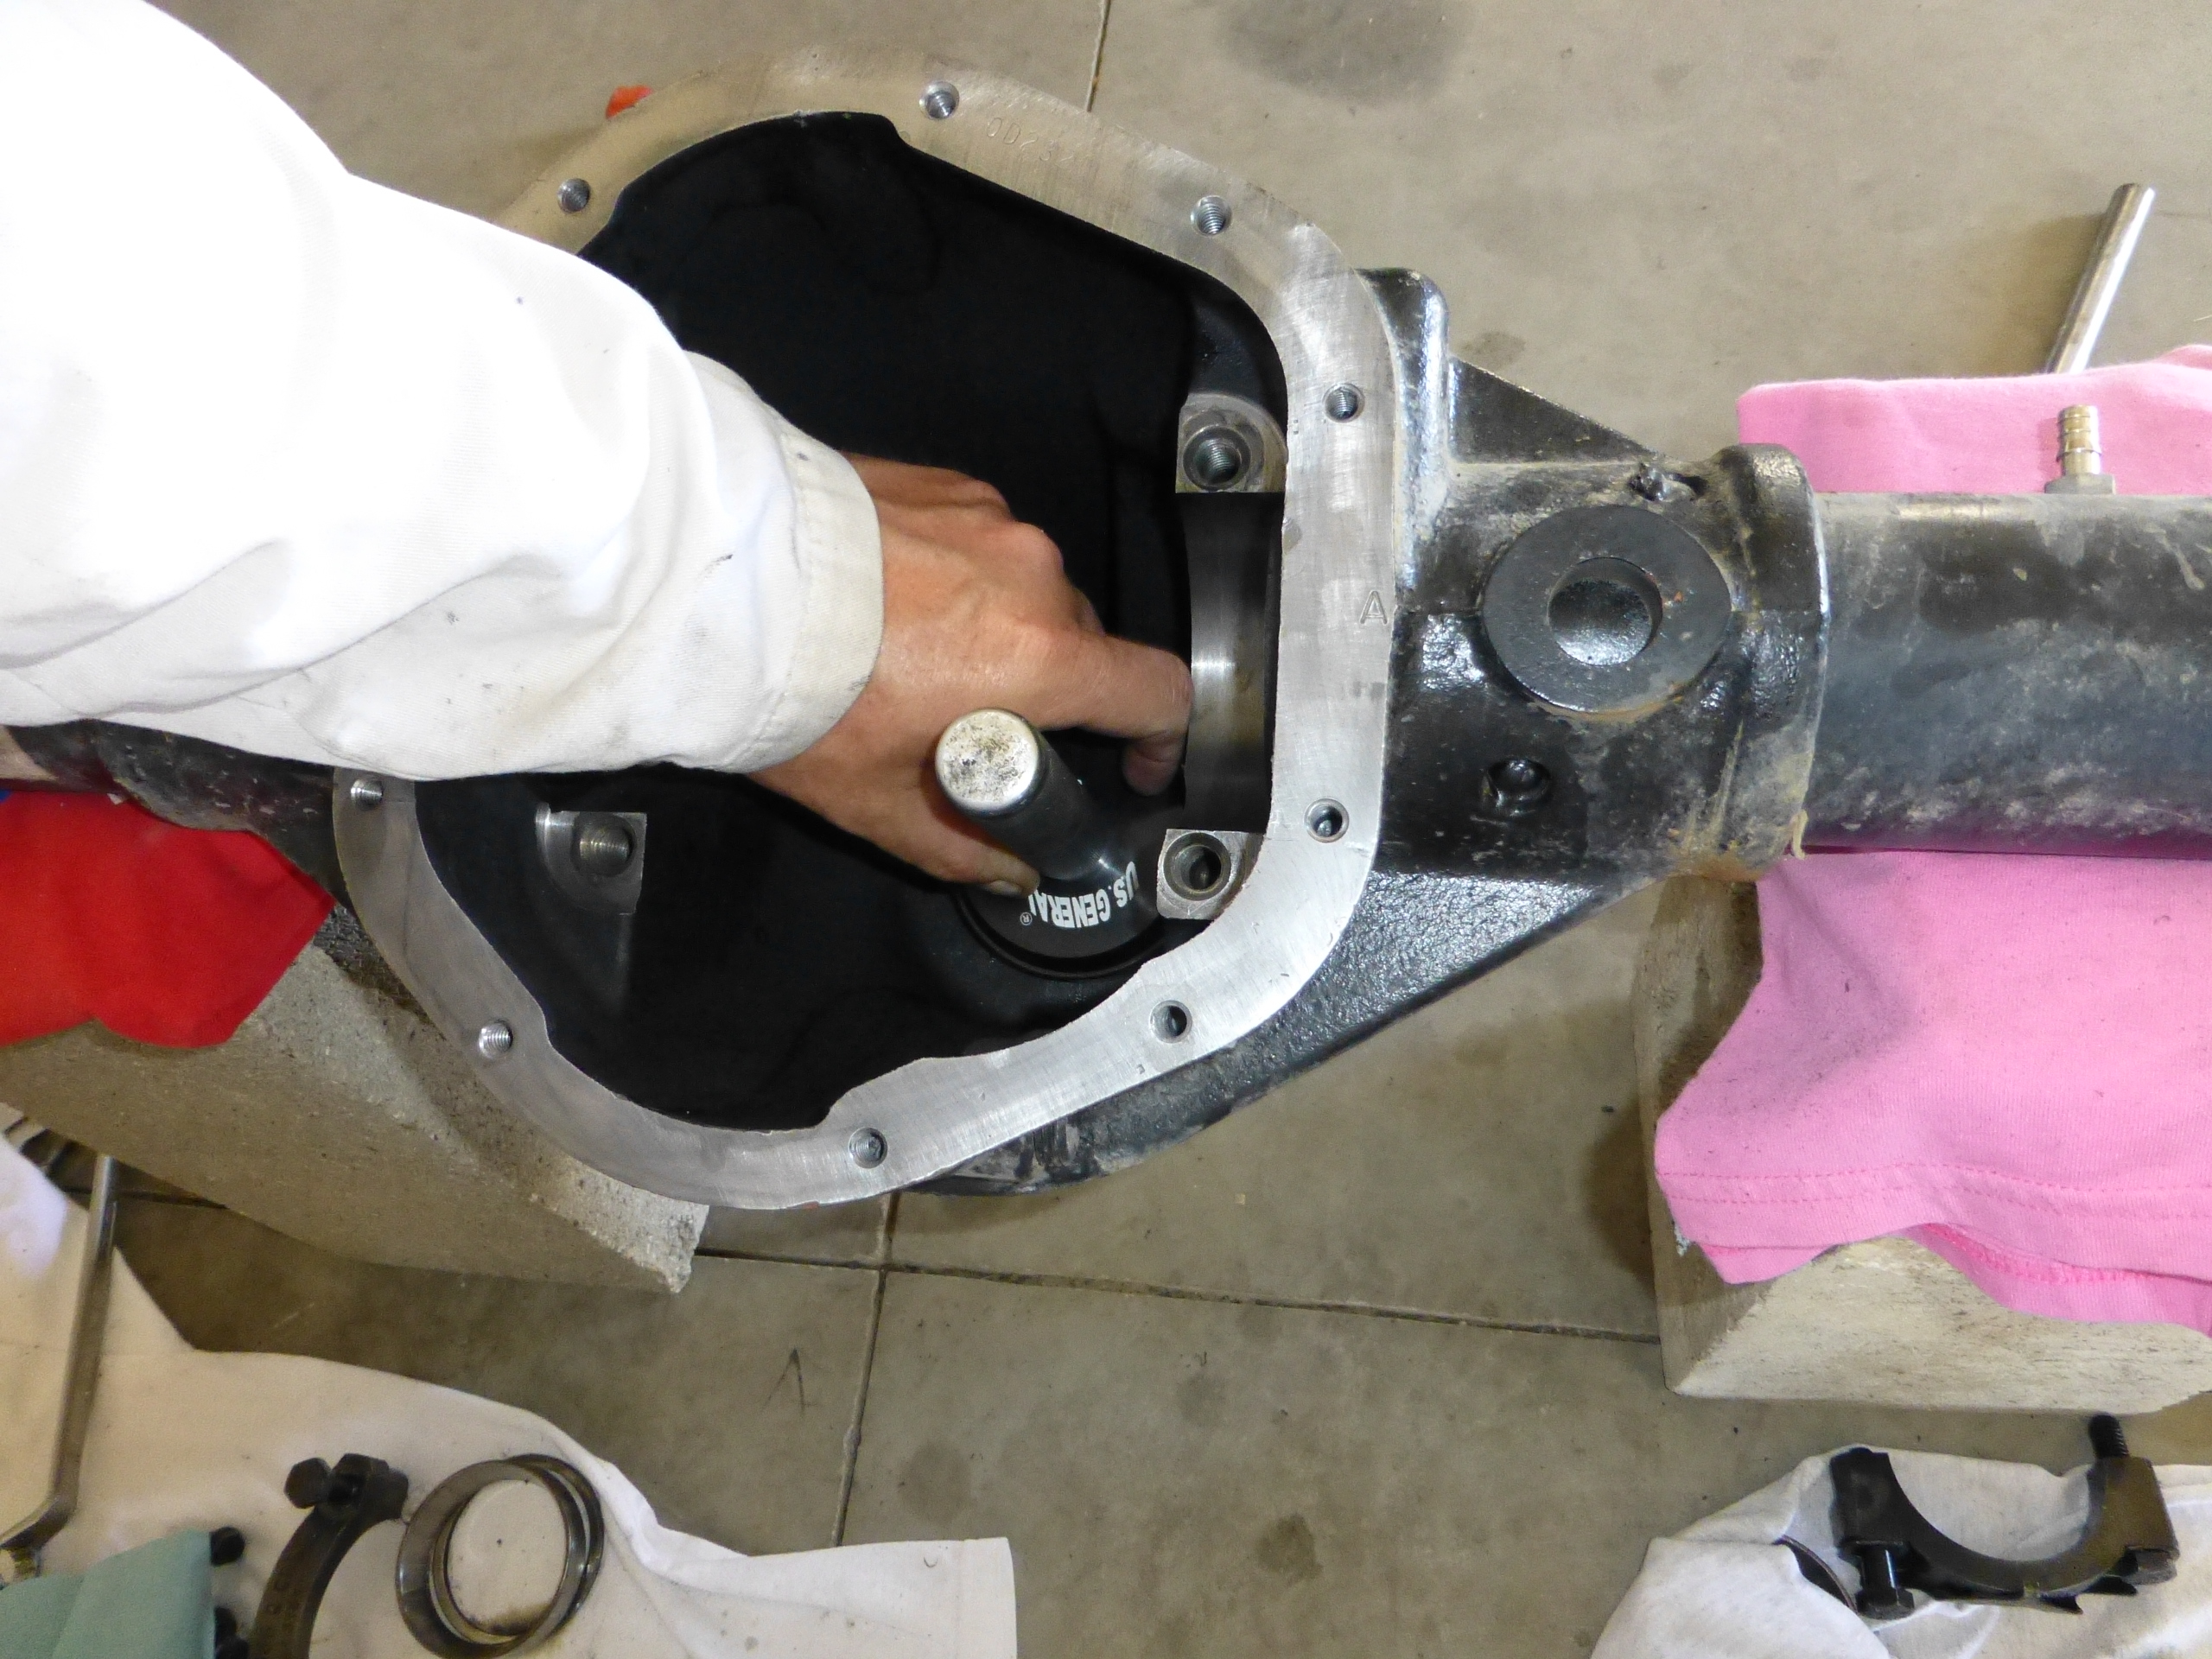


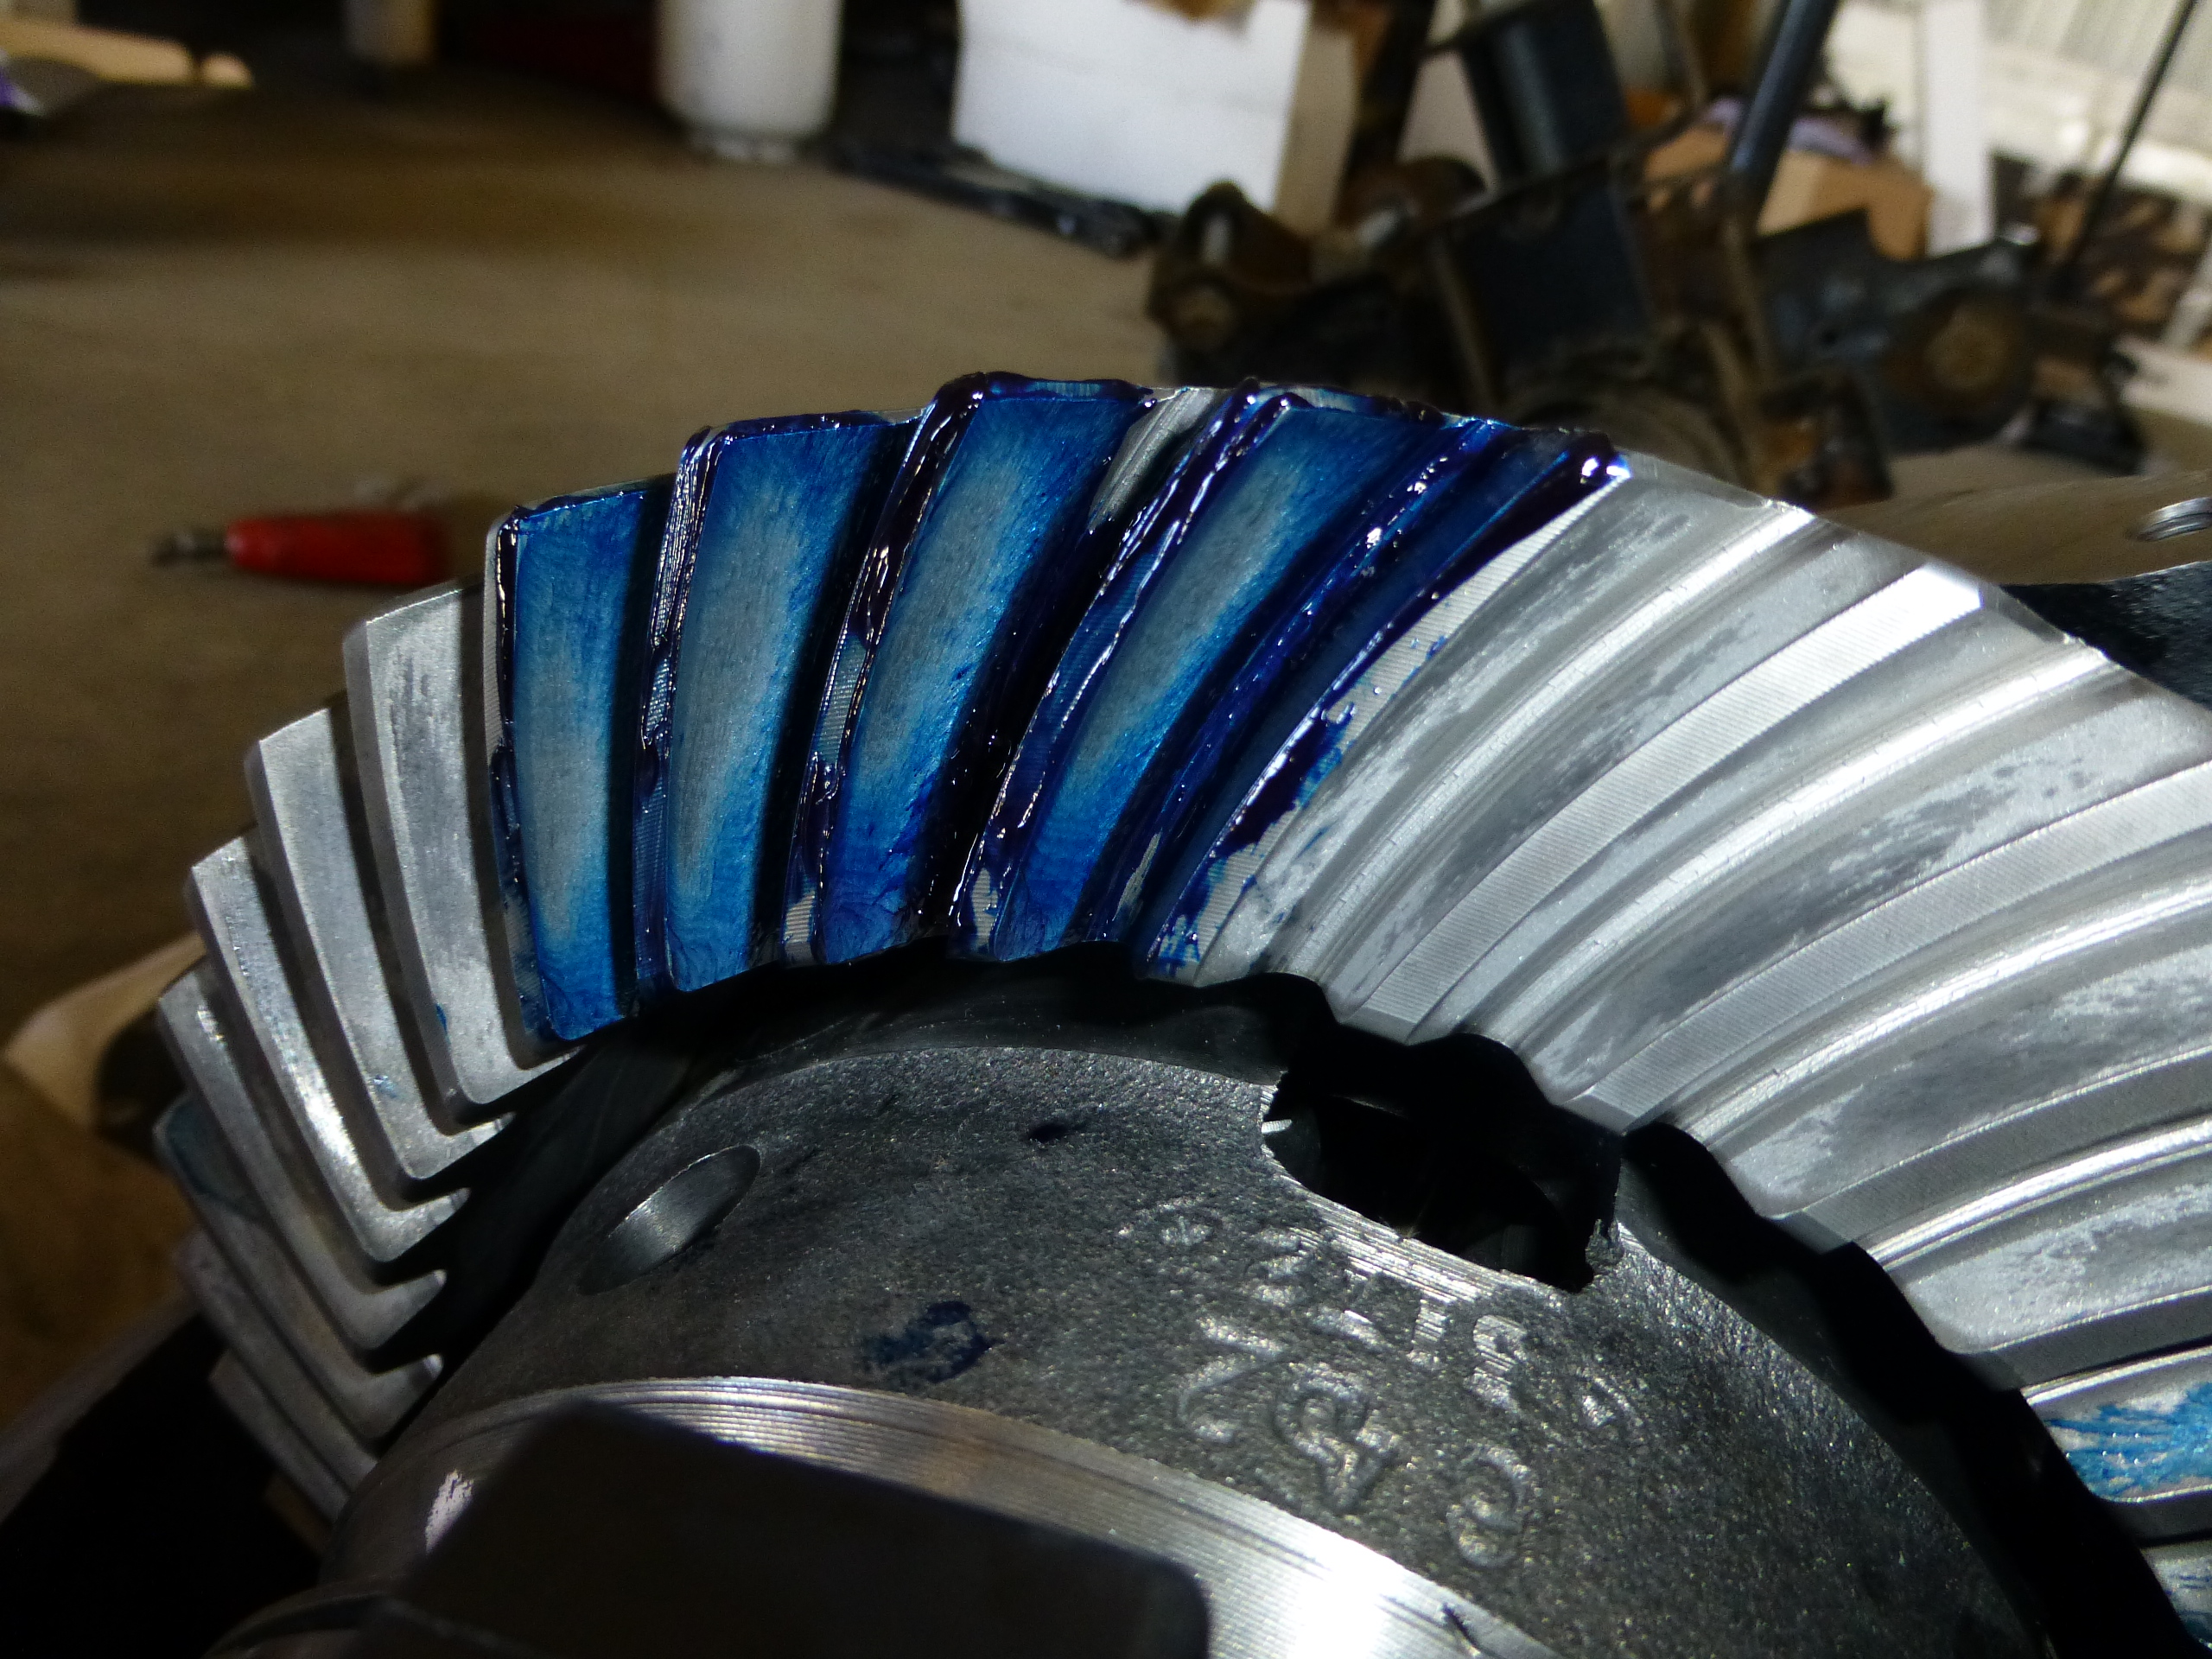
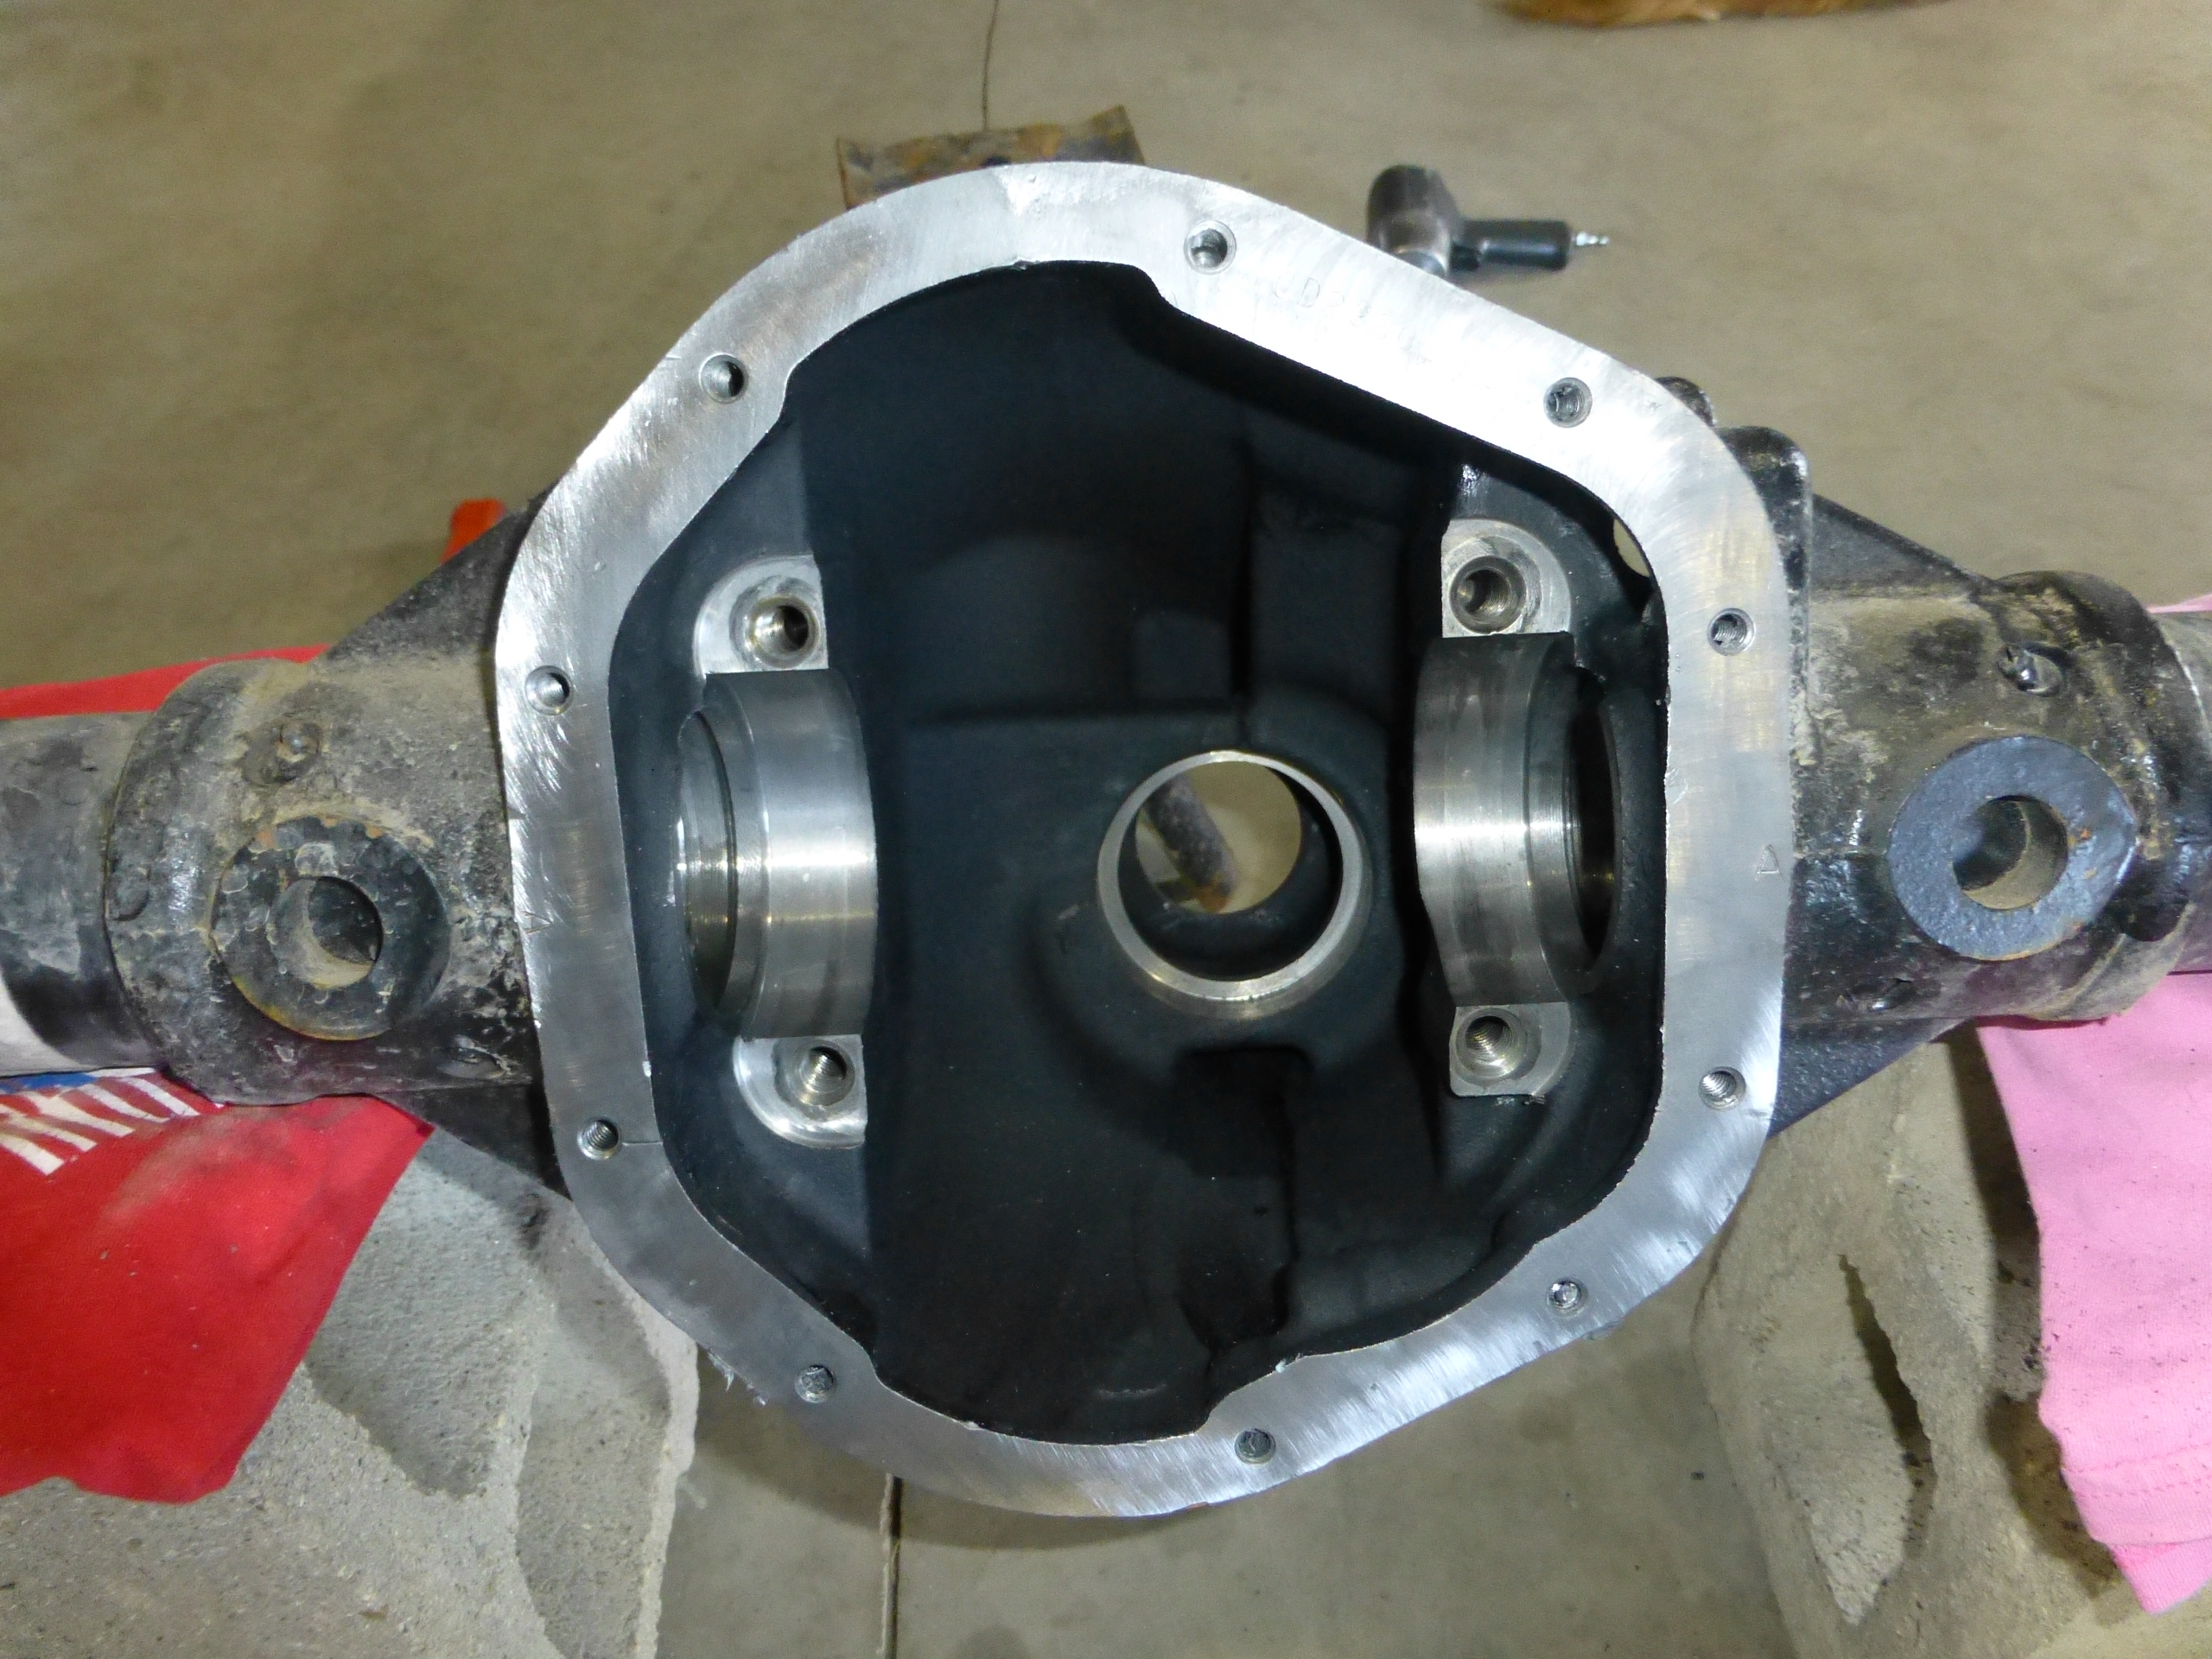
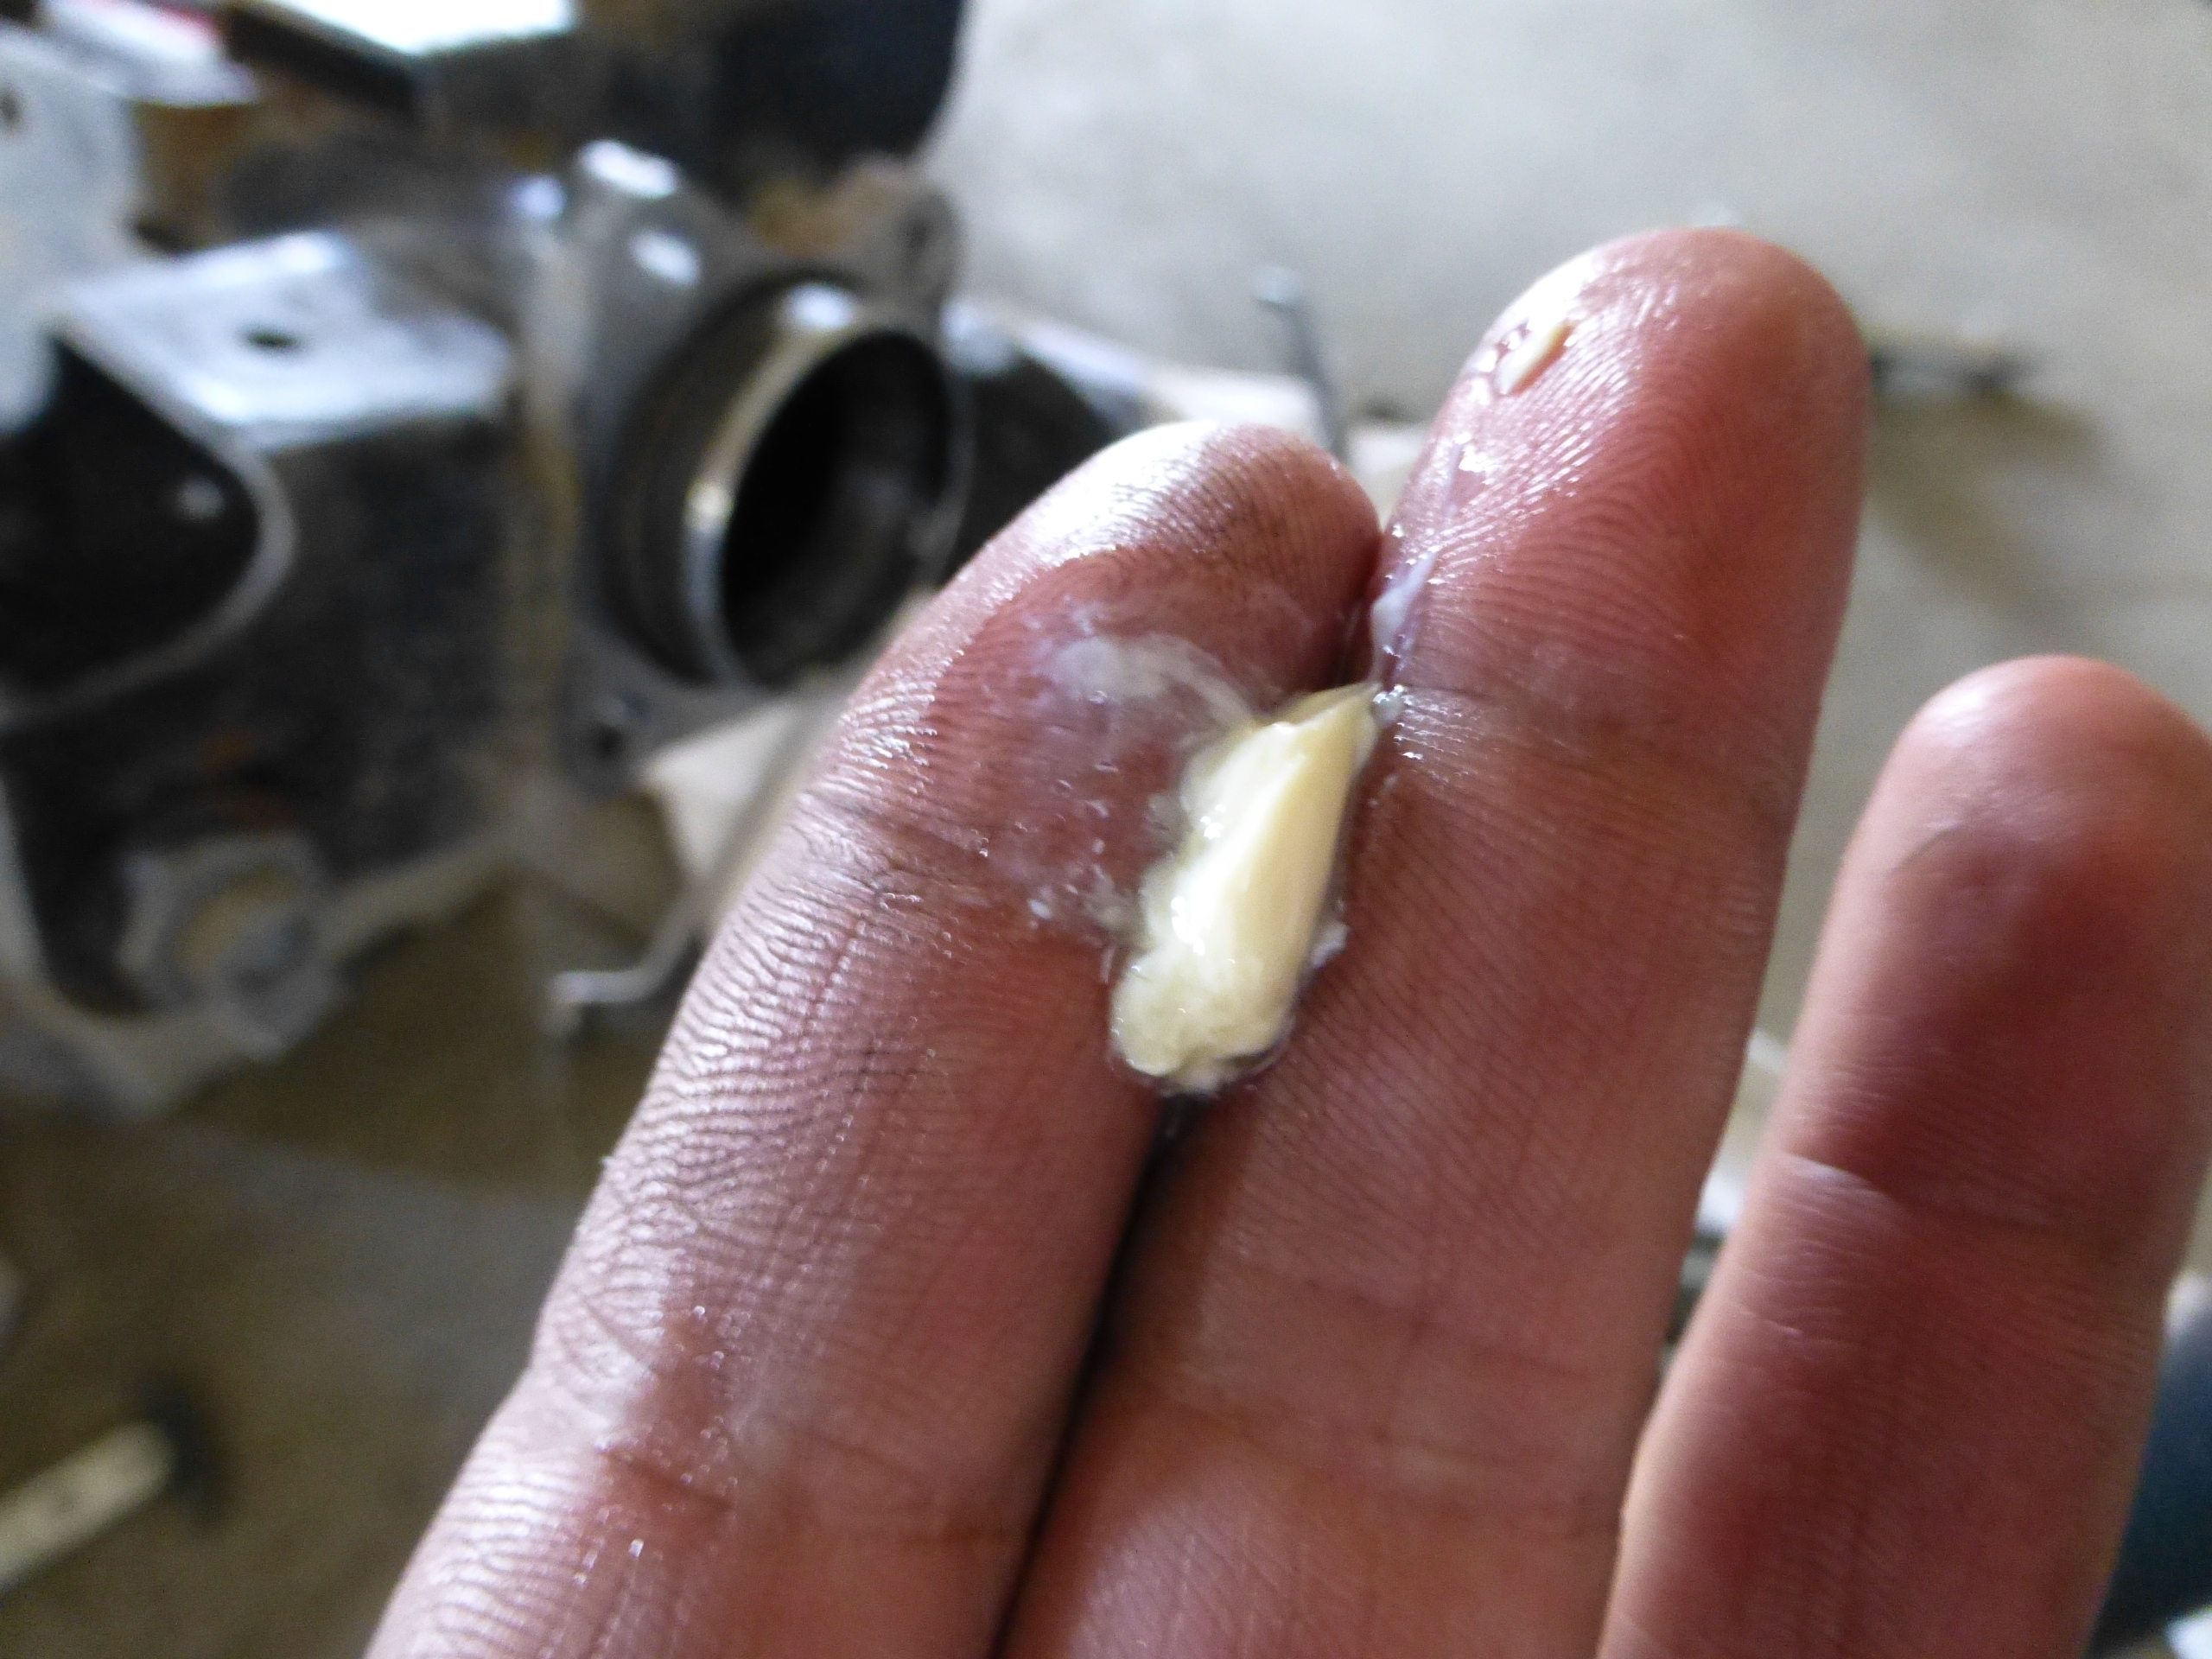
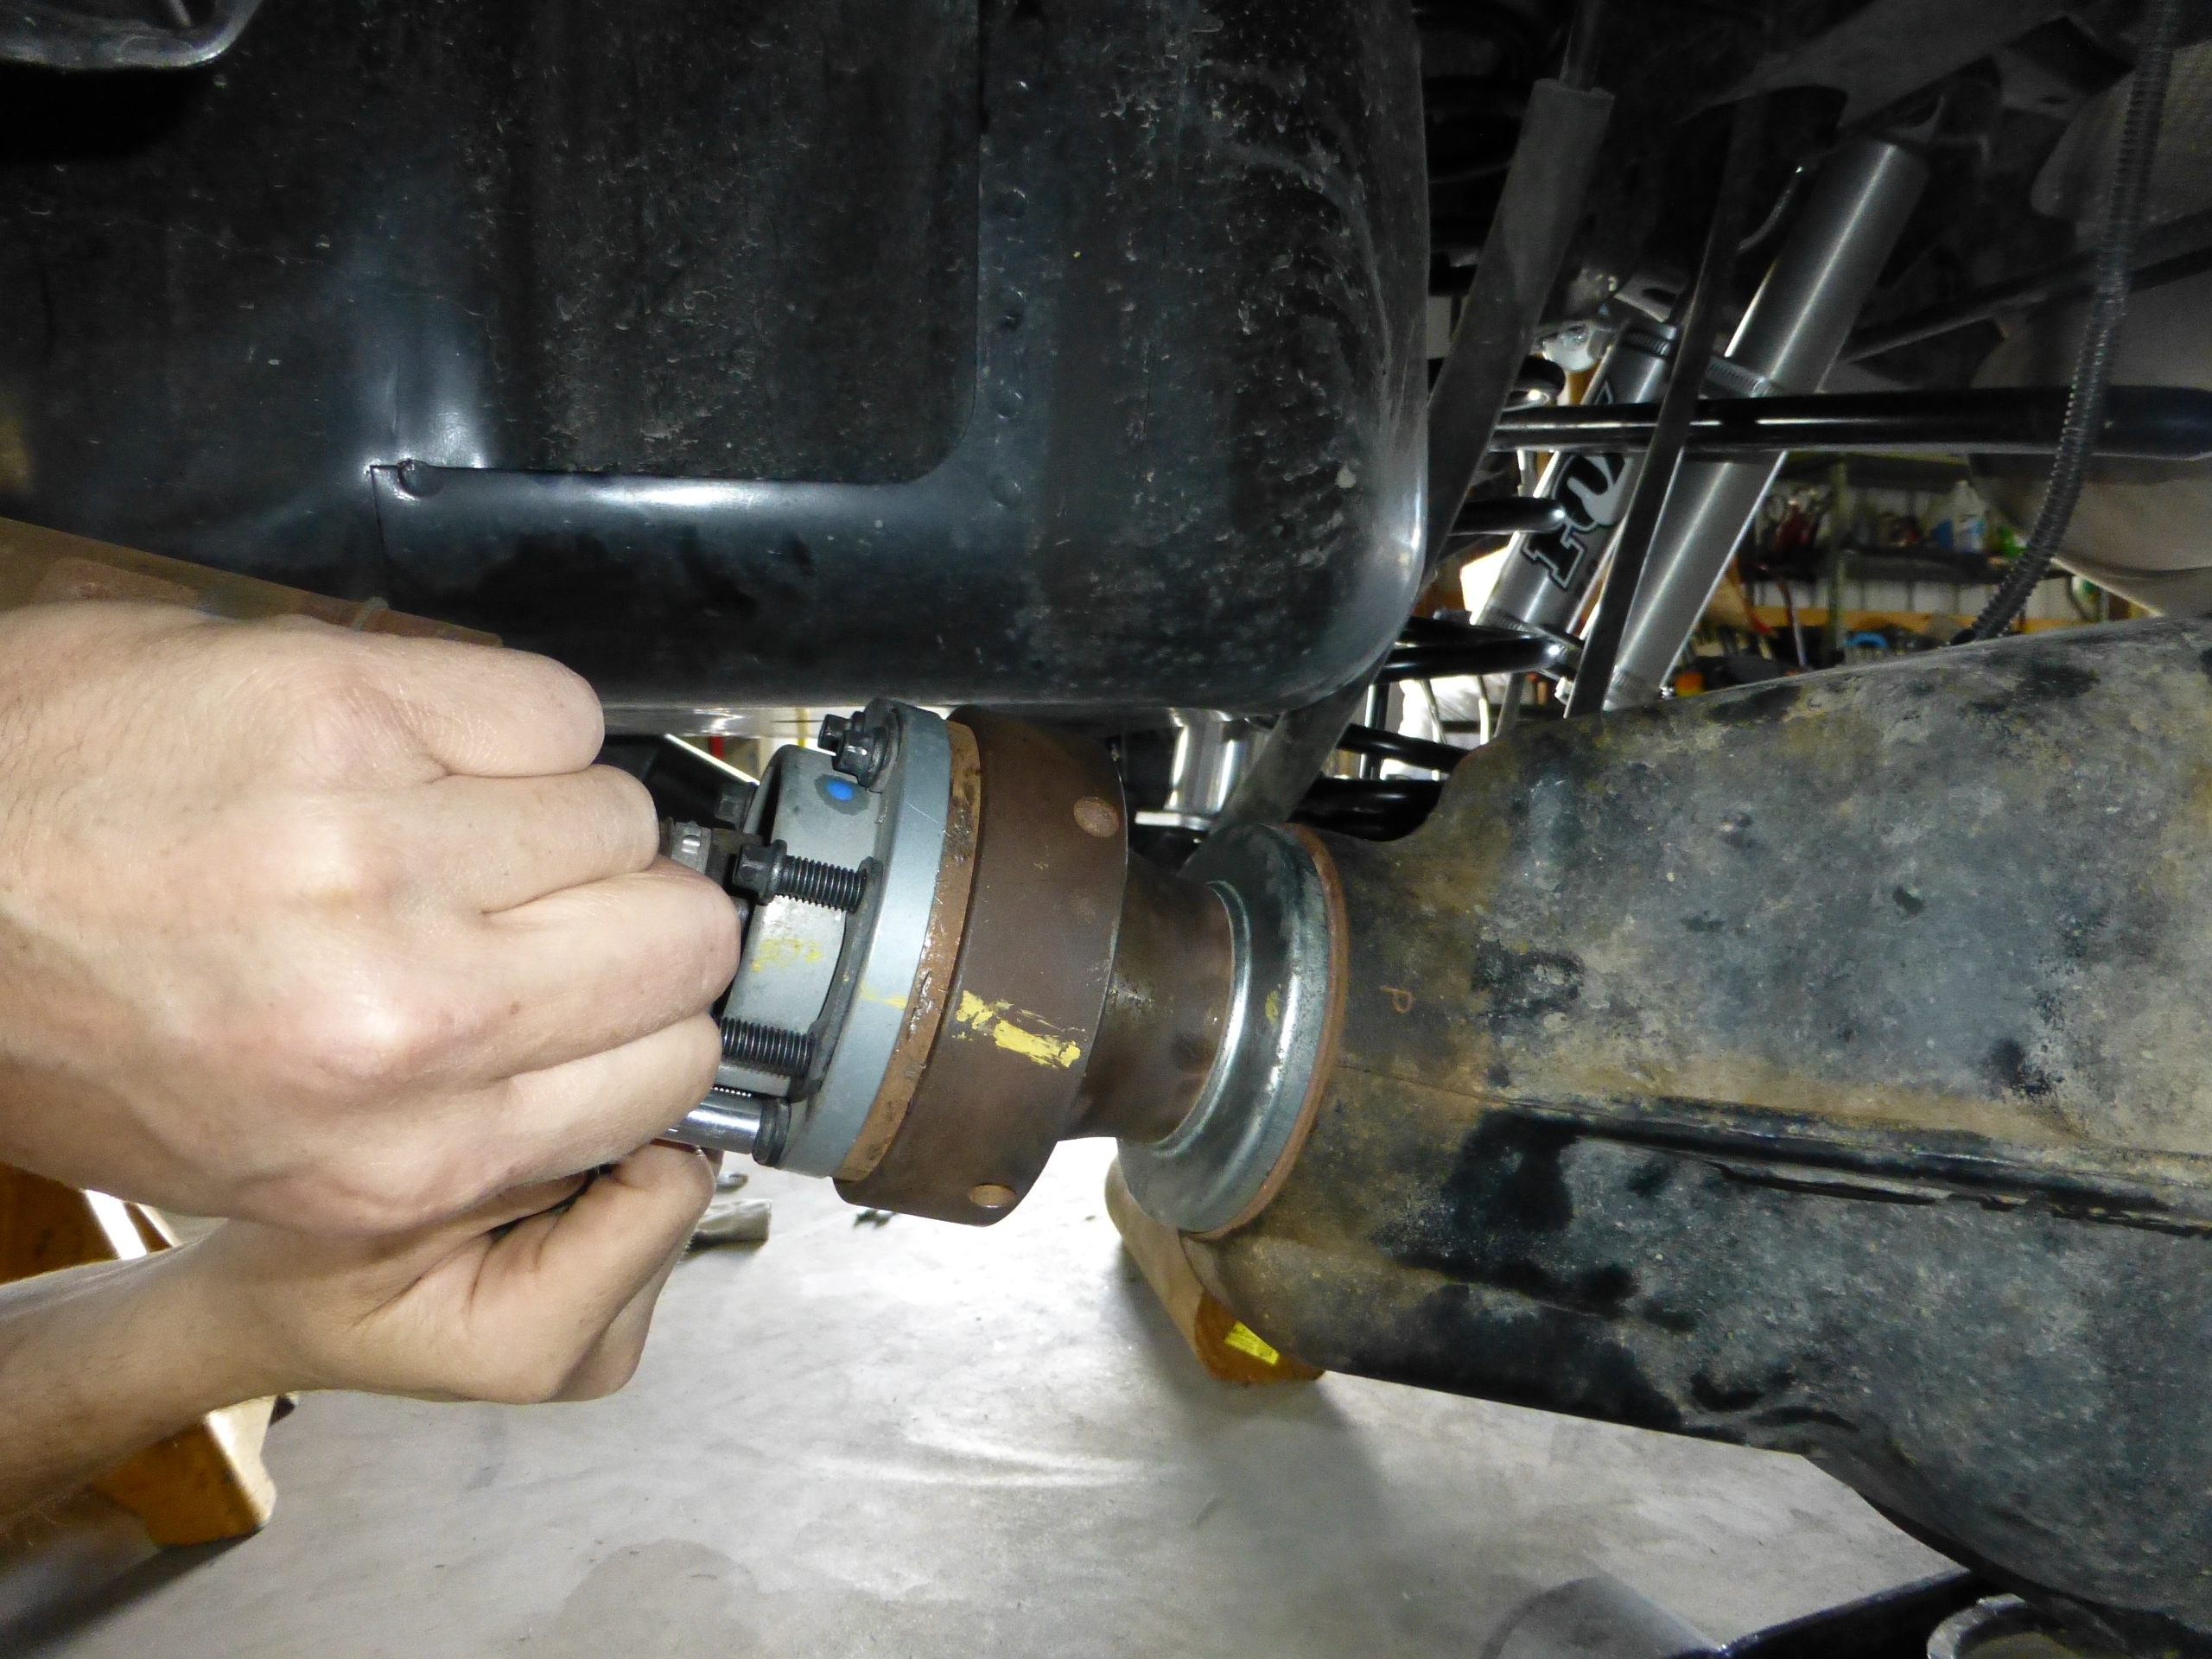
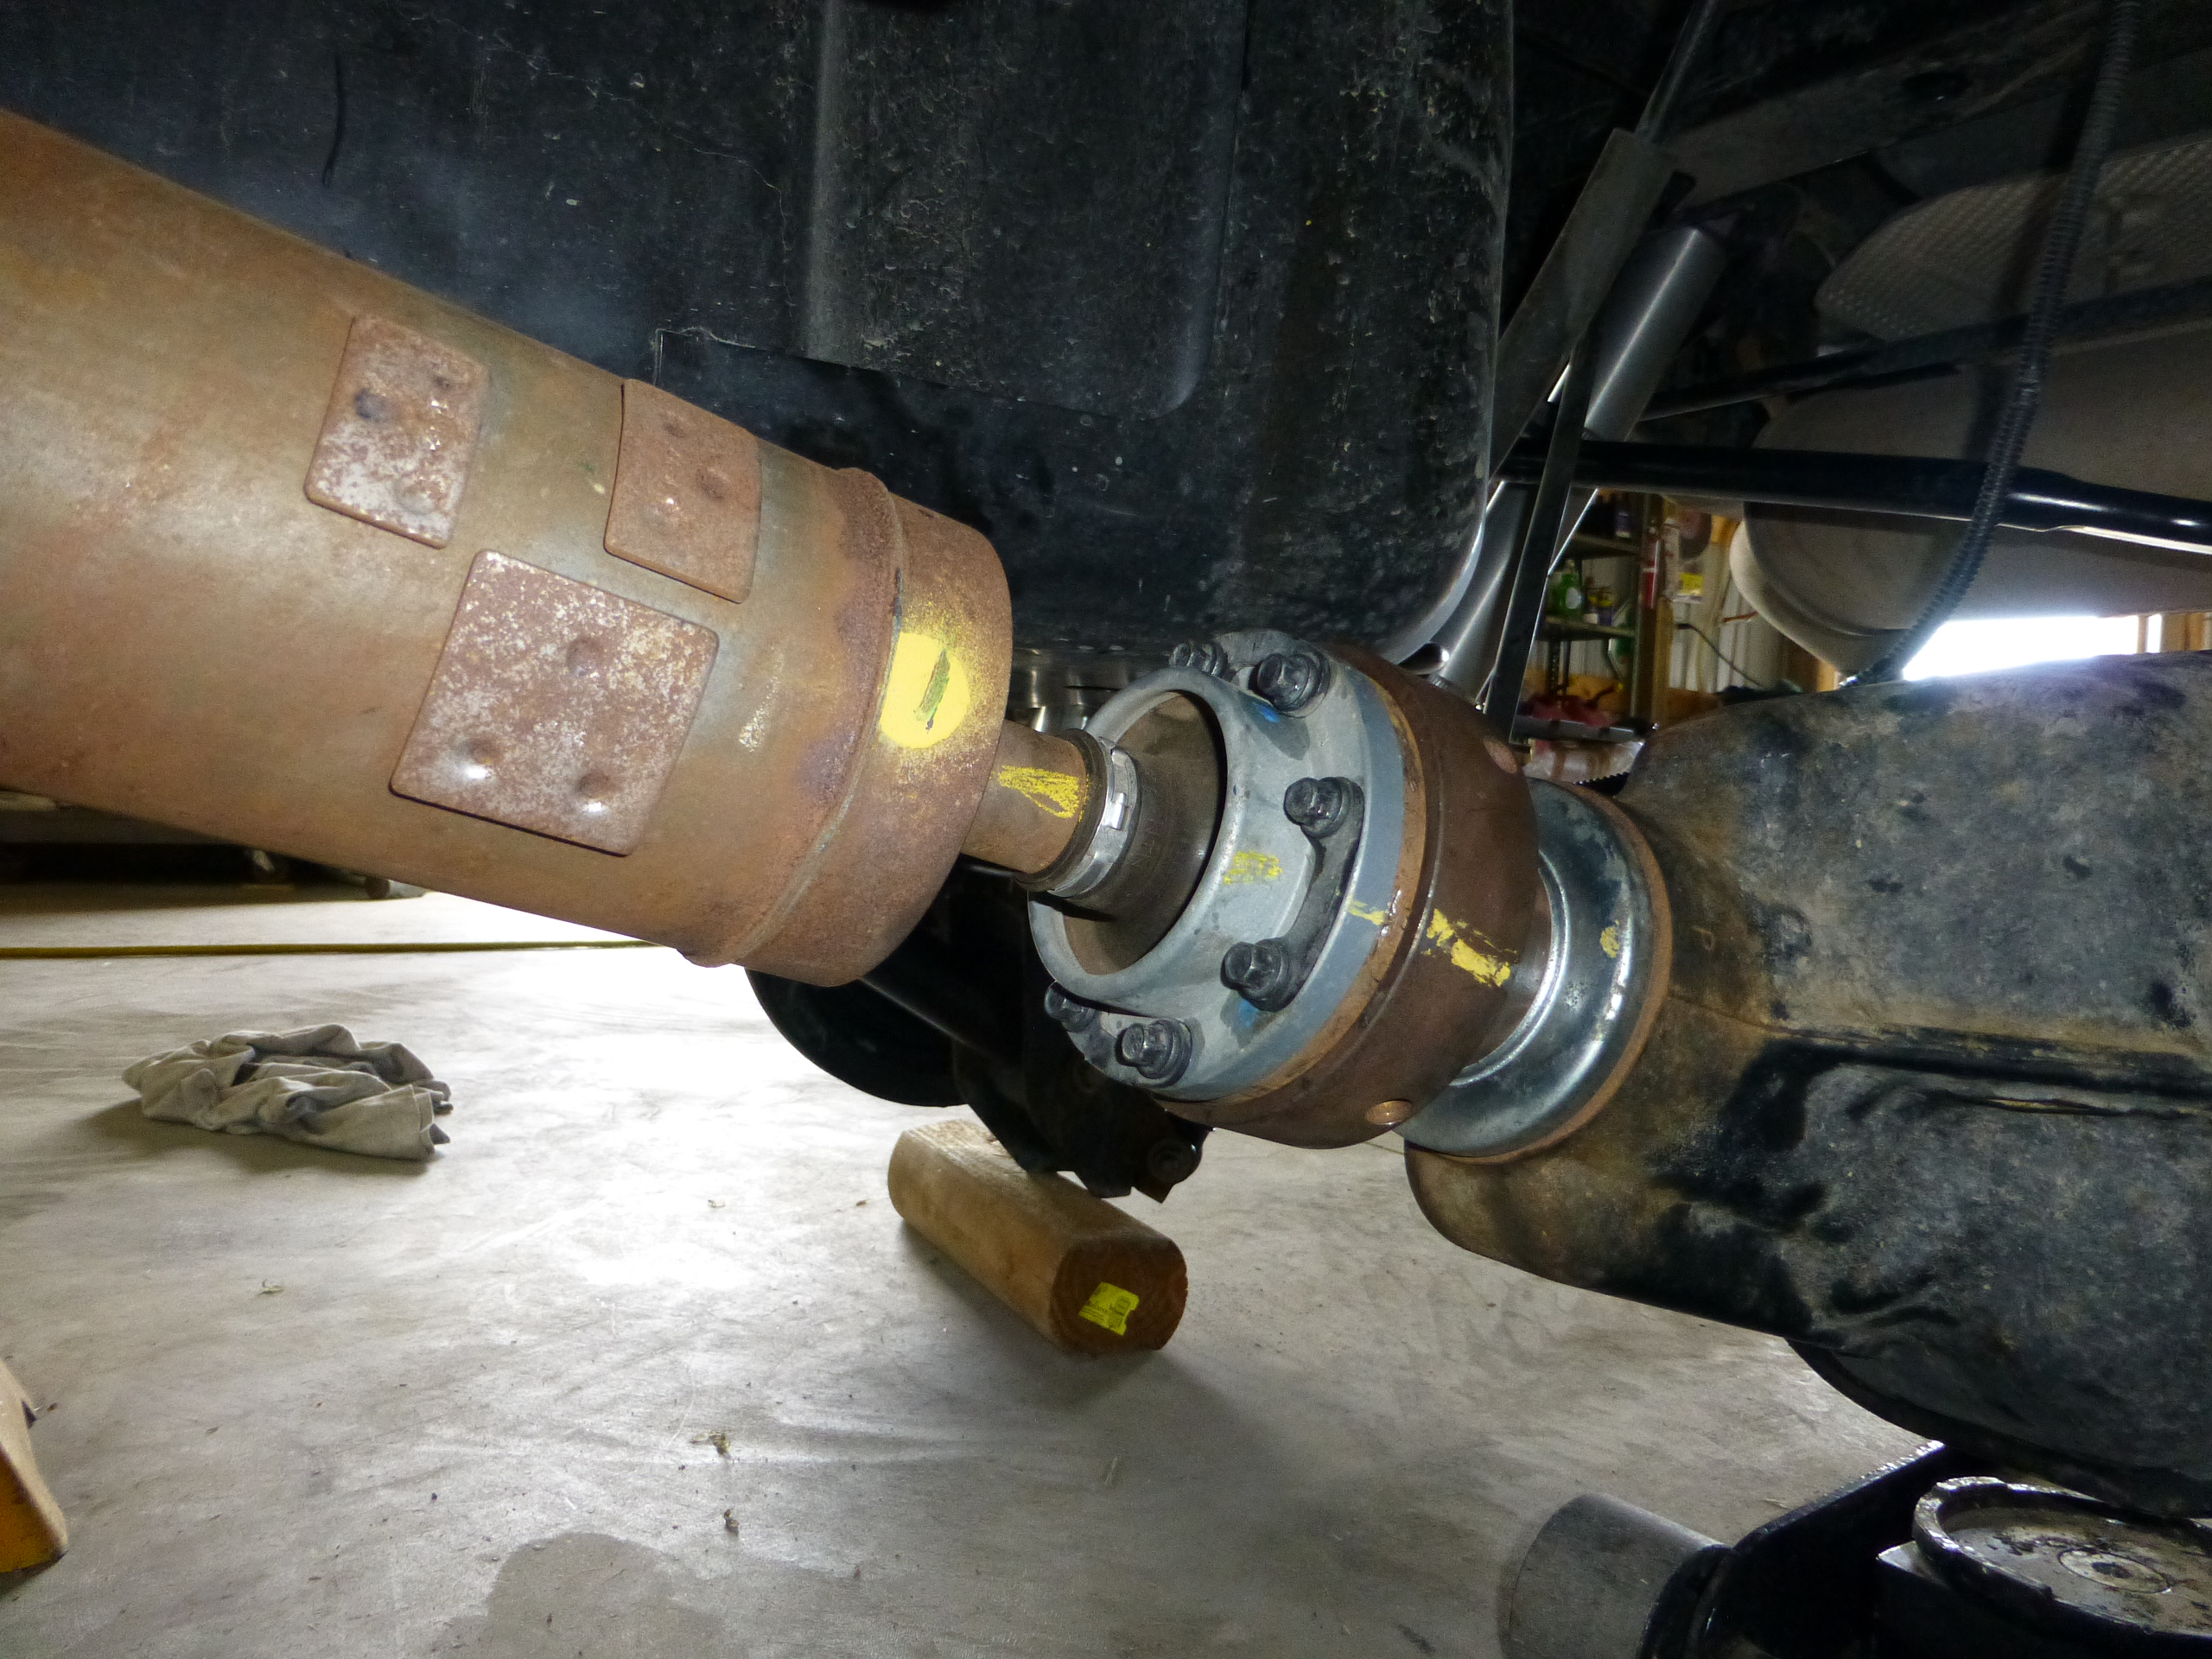
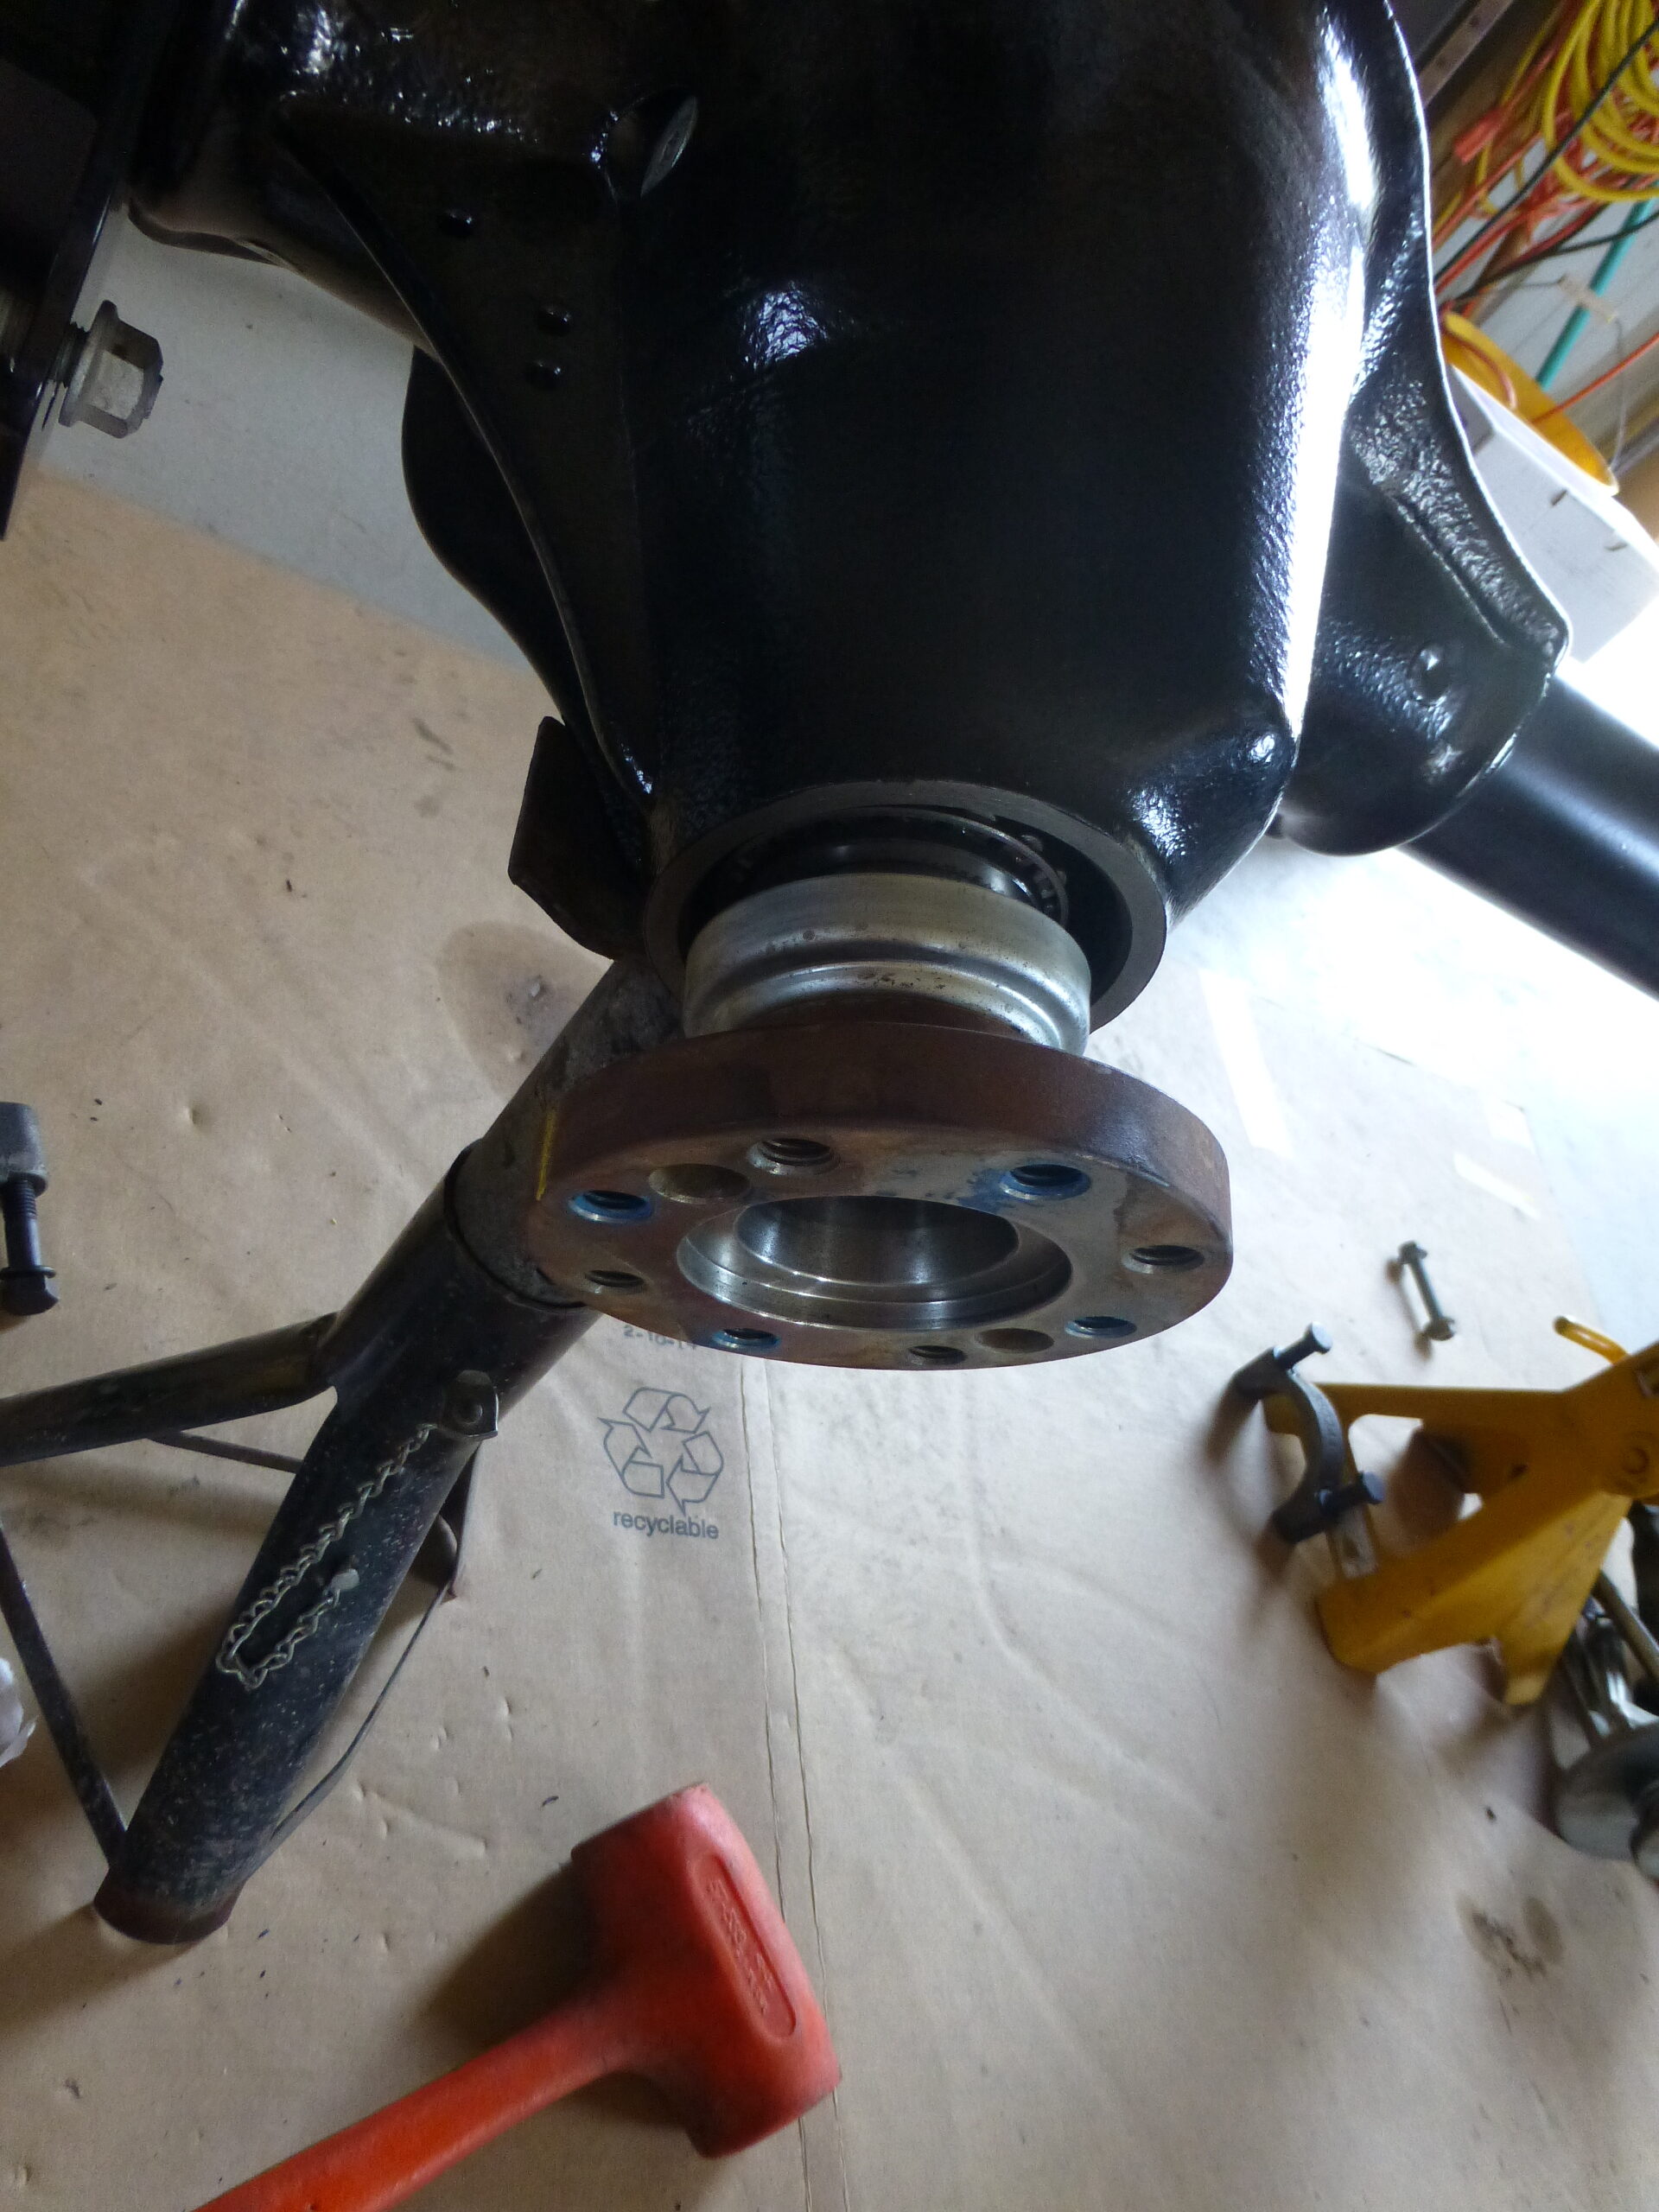
Once we had the pre load set on the carrier and the pinion depth set we checked the gear mesh one final time to make sure it was where we wanted it. We then pulled everything back apart so we could install the new bearing on the pinion gear, put it back together and confirmed our gear mesh. With the mesh still as we wanted we had to torque the bearing caps for the carrier, install the rear drive line yoke and prepared for the remaining components to go into the axle housing. When installing the axle it is good to use some grease on the race as well as the bearings during the install.


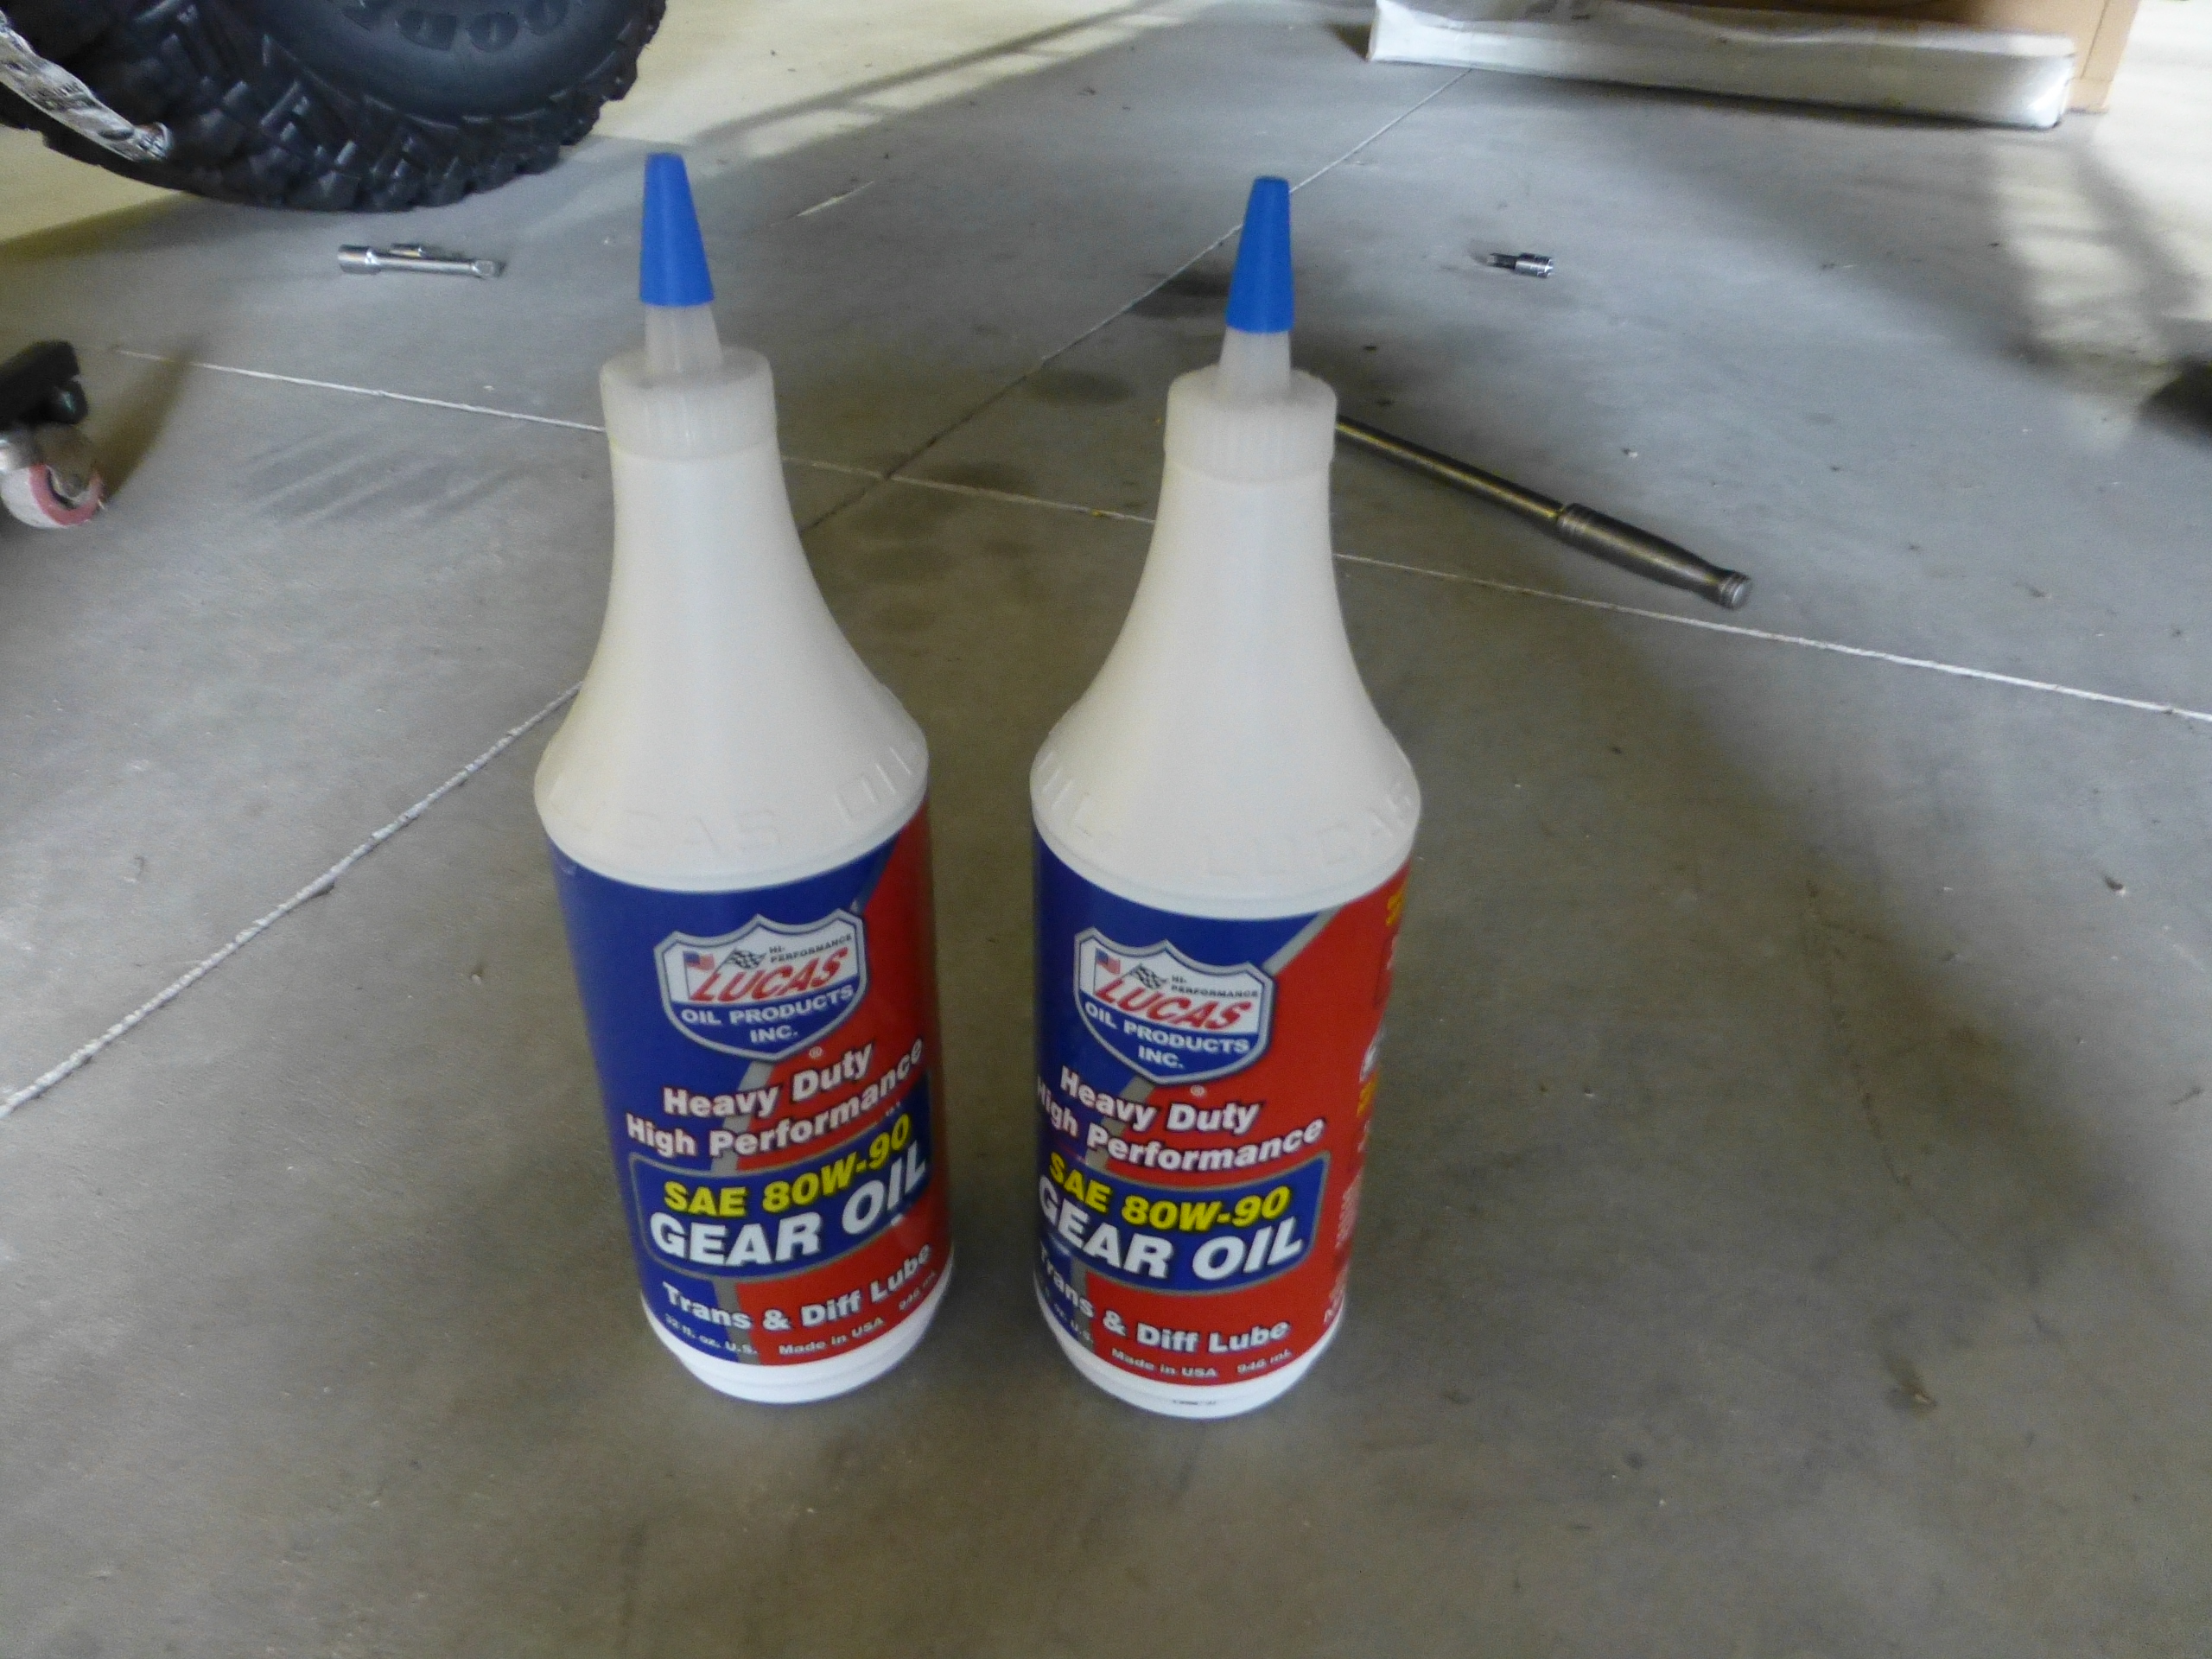
With all of the internal parts installed into the housing we were ready to reinstall the axle and new suspension components under the Jeep. When we finally had the axle back under the Jeep we went ahead and put the new gear oil in so it would be ready for the break in process.

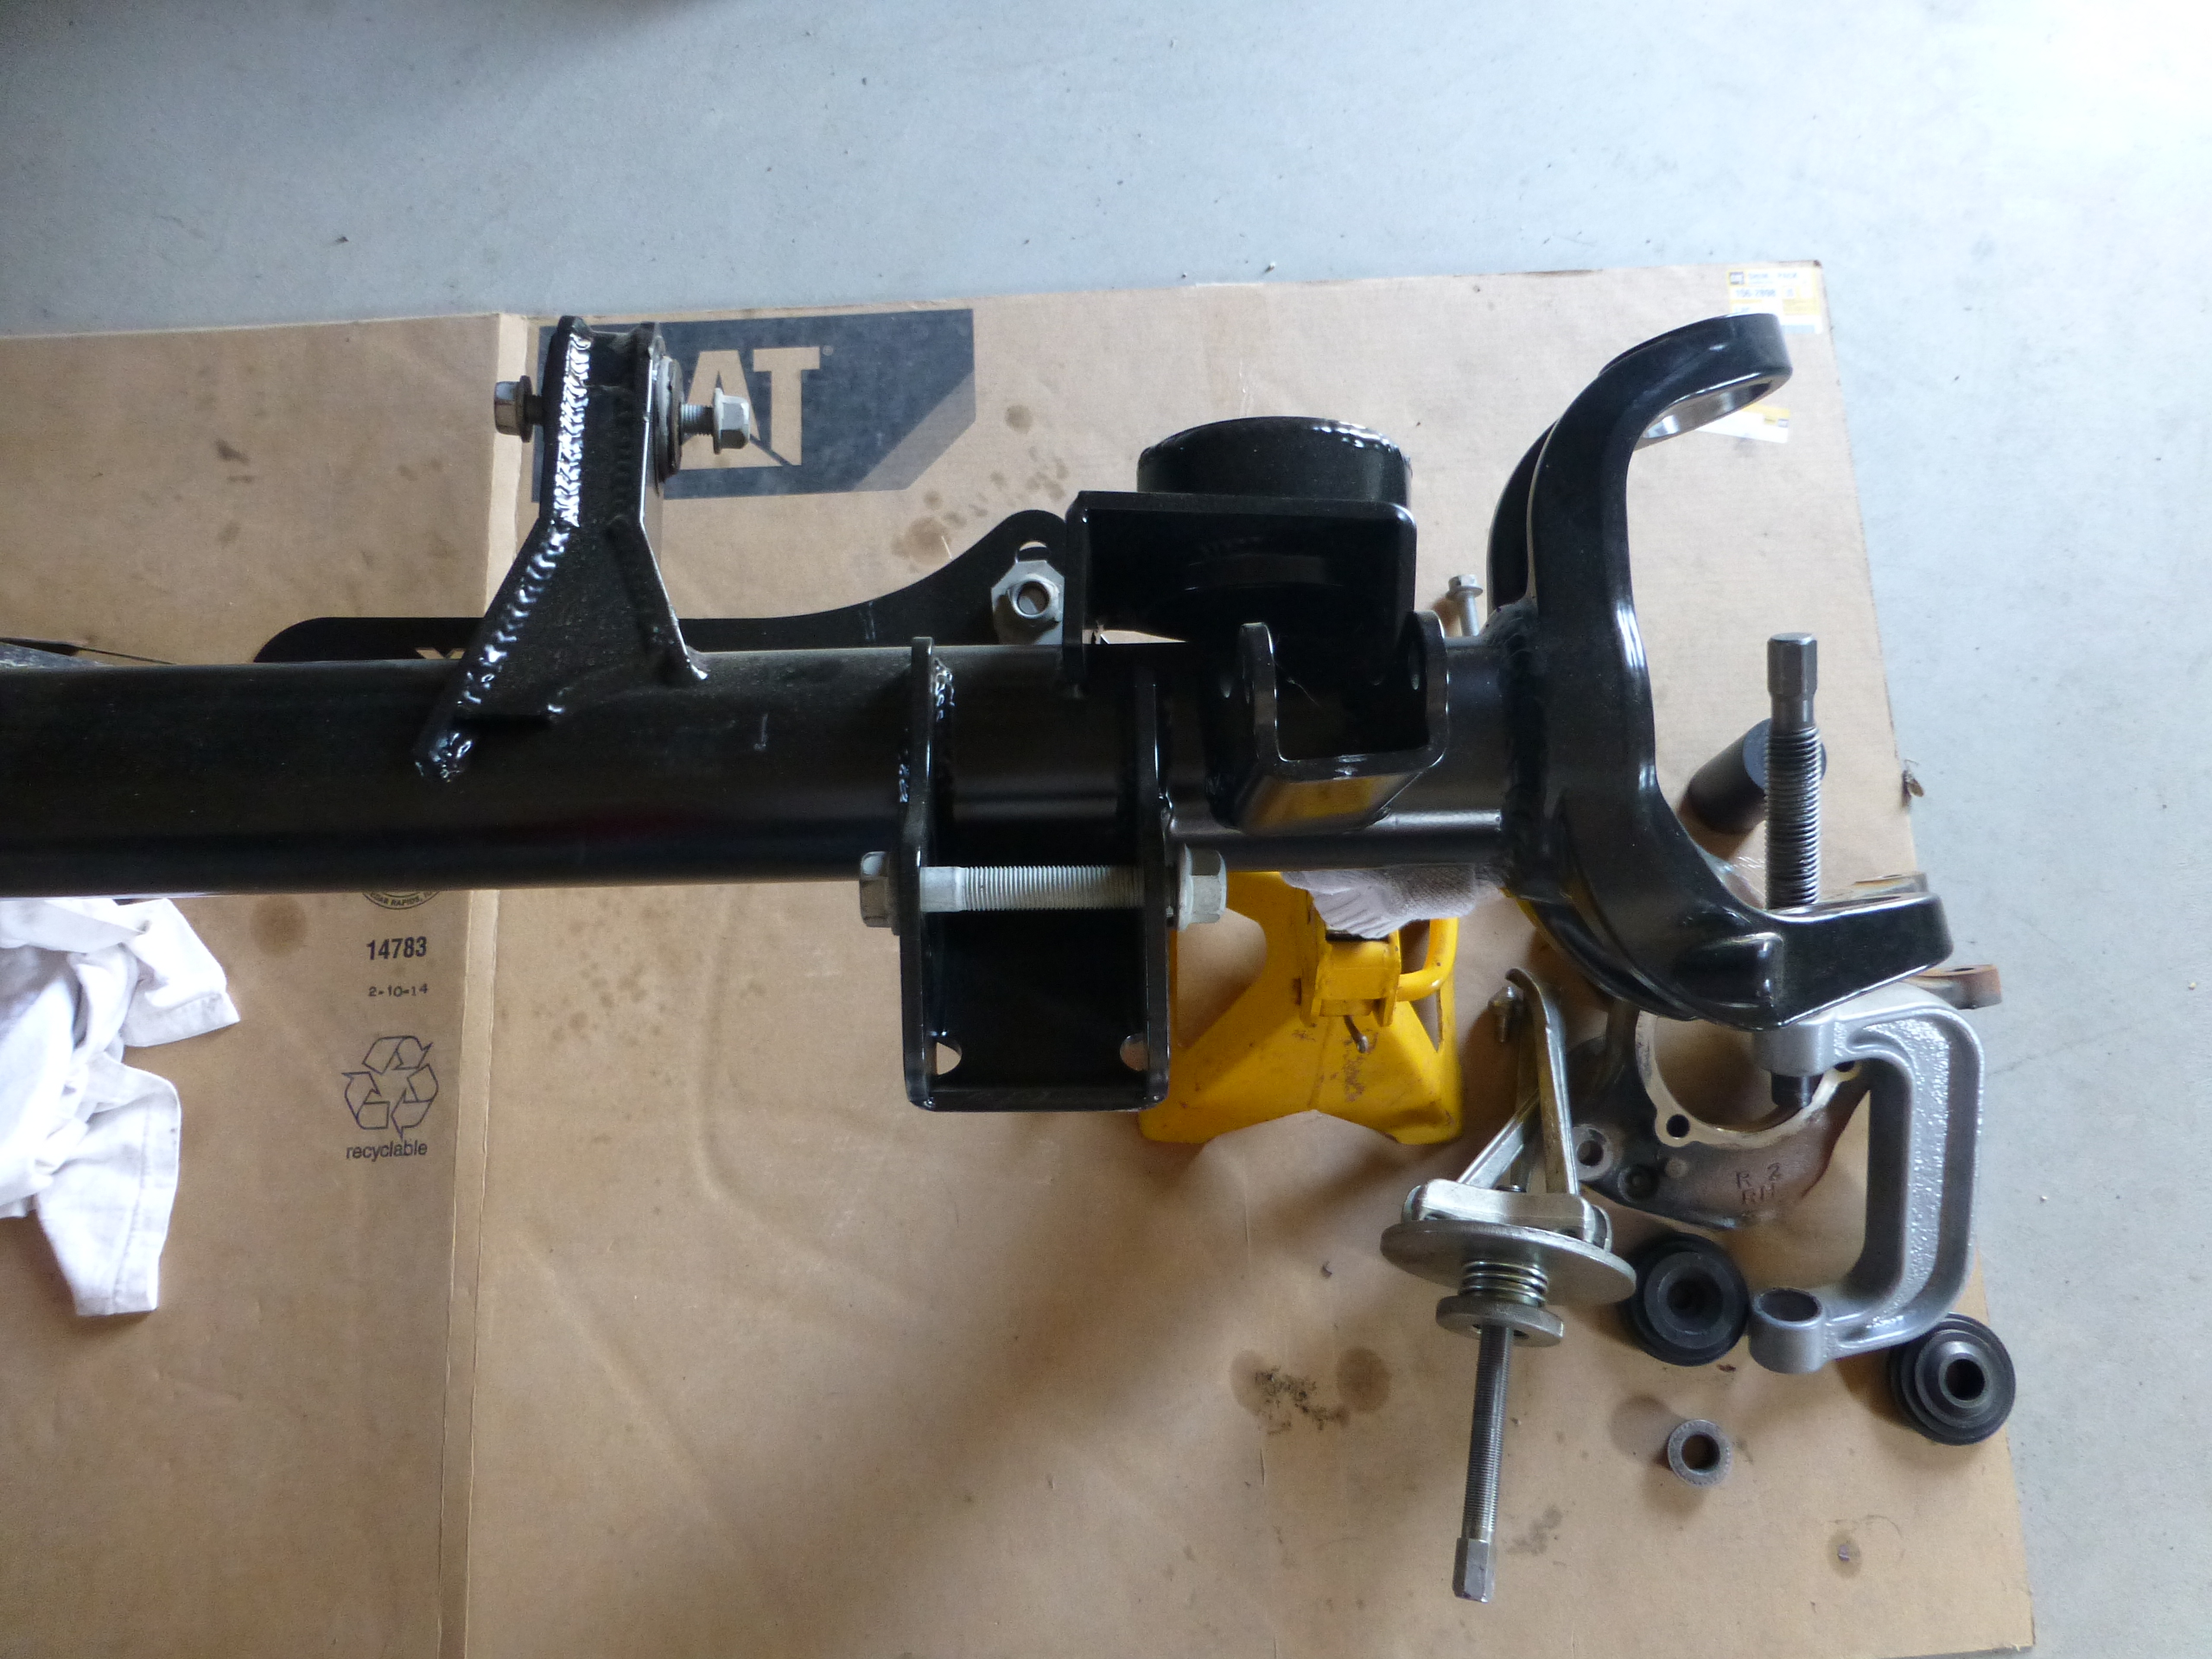
Teraflex Rear Suspension:
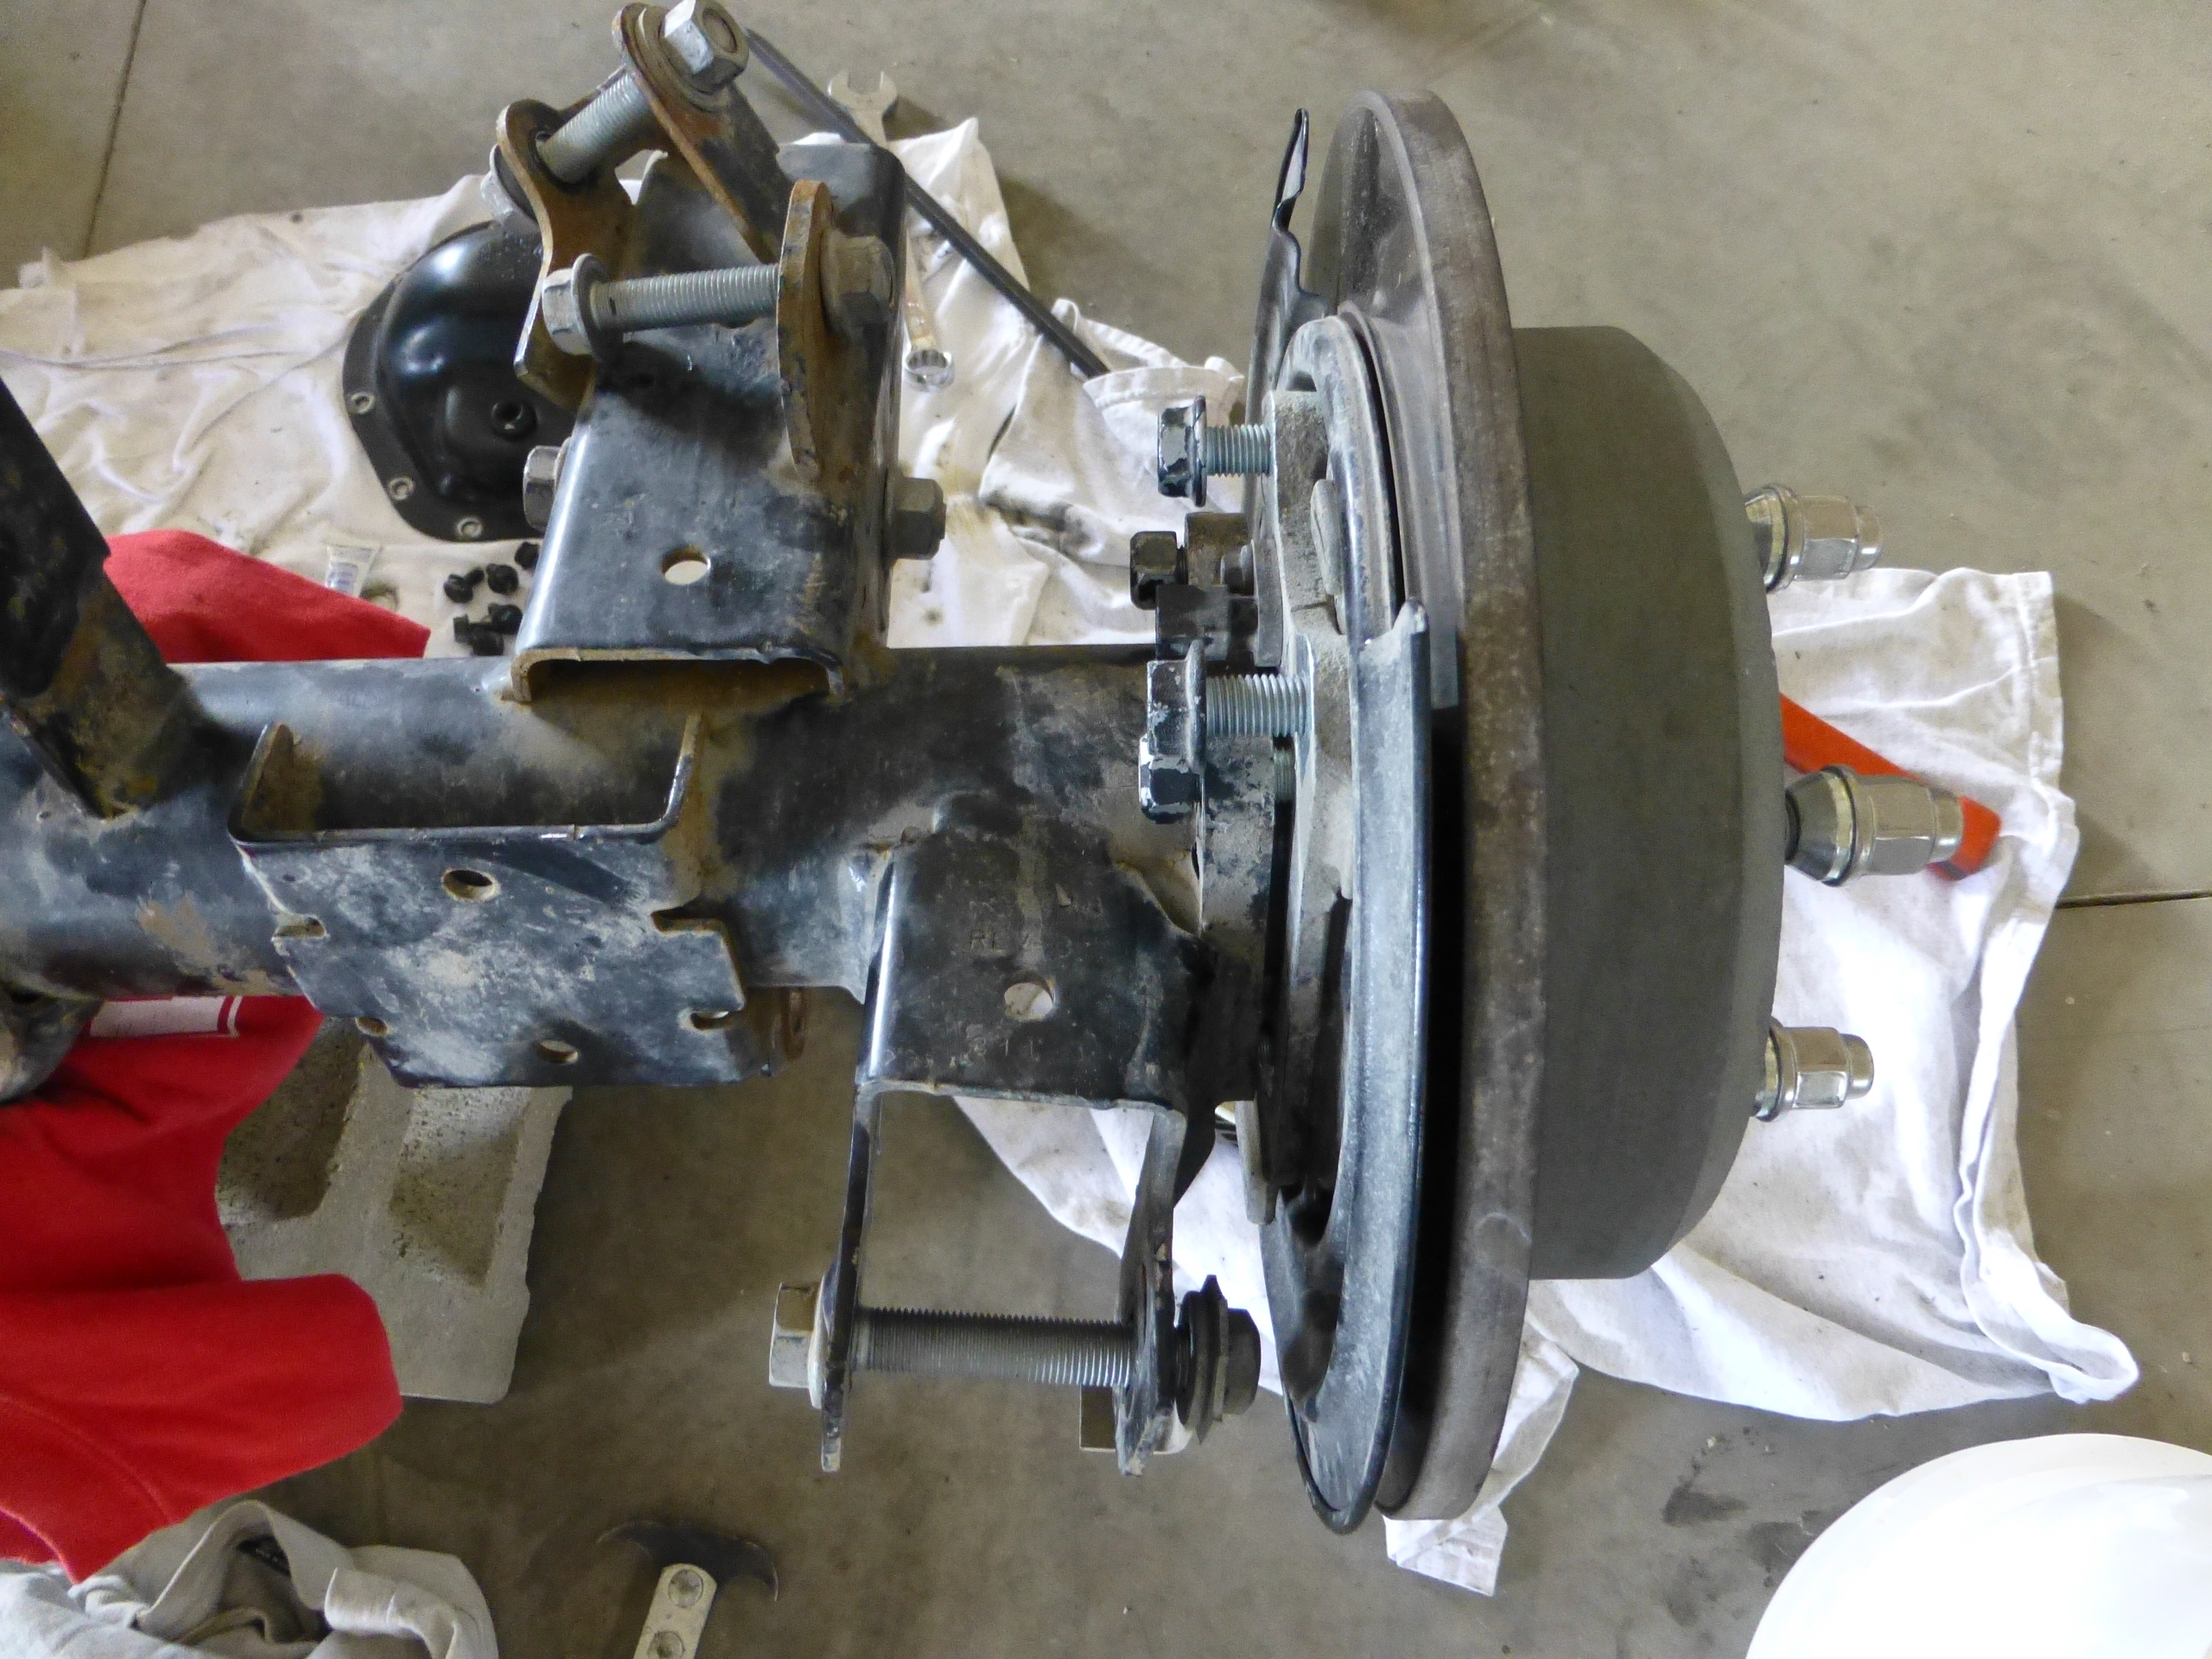
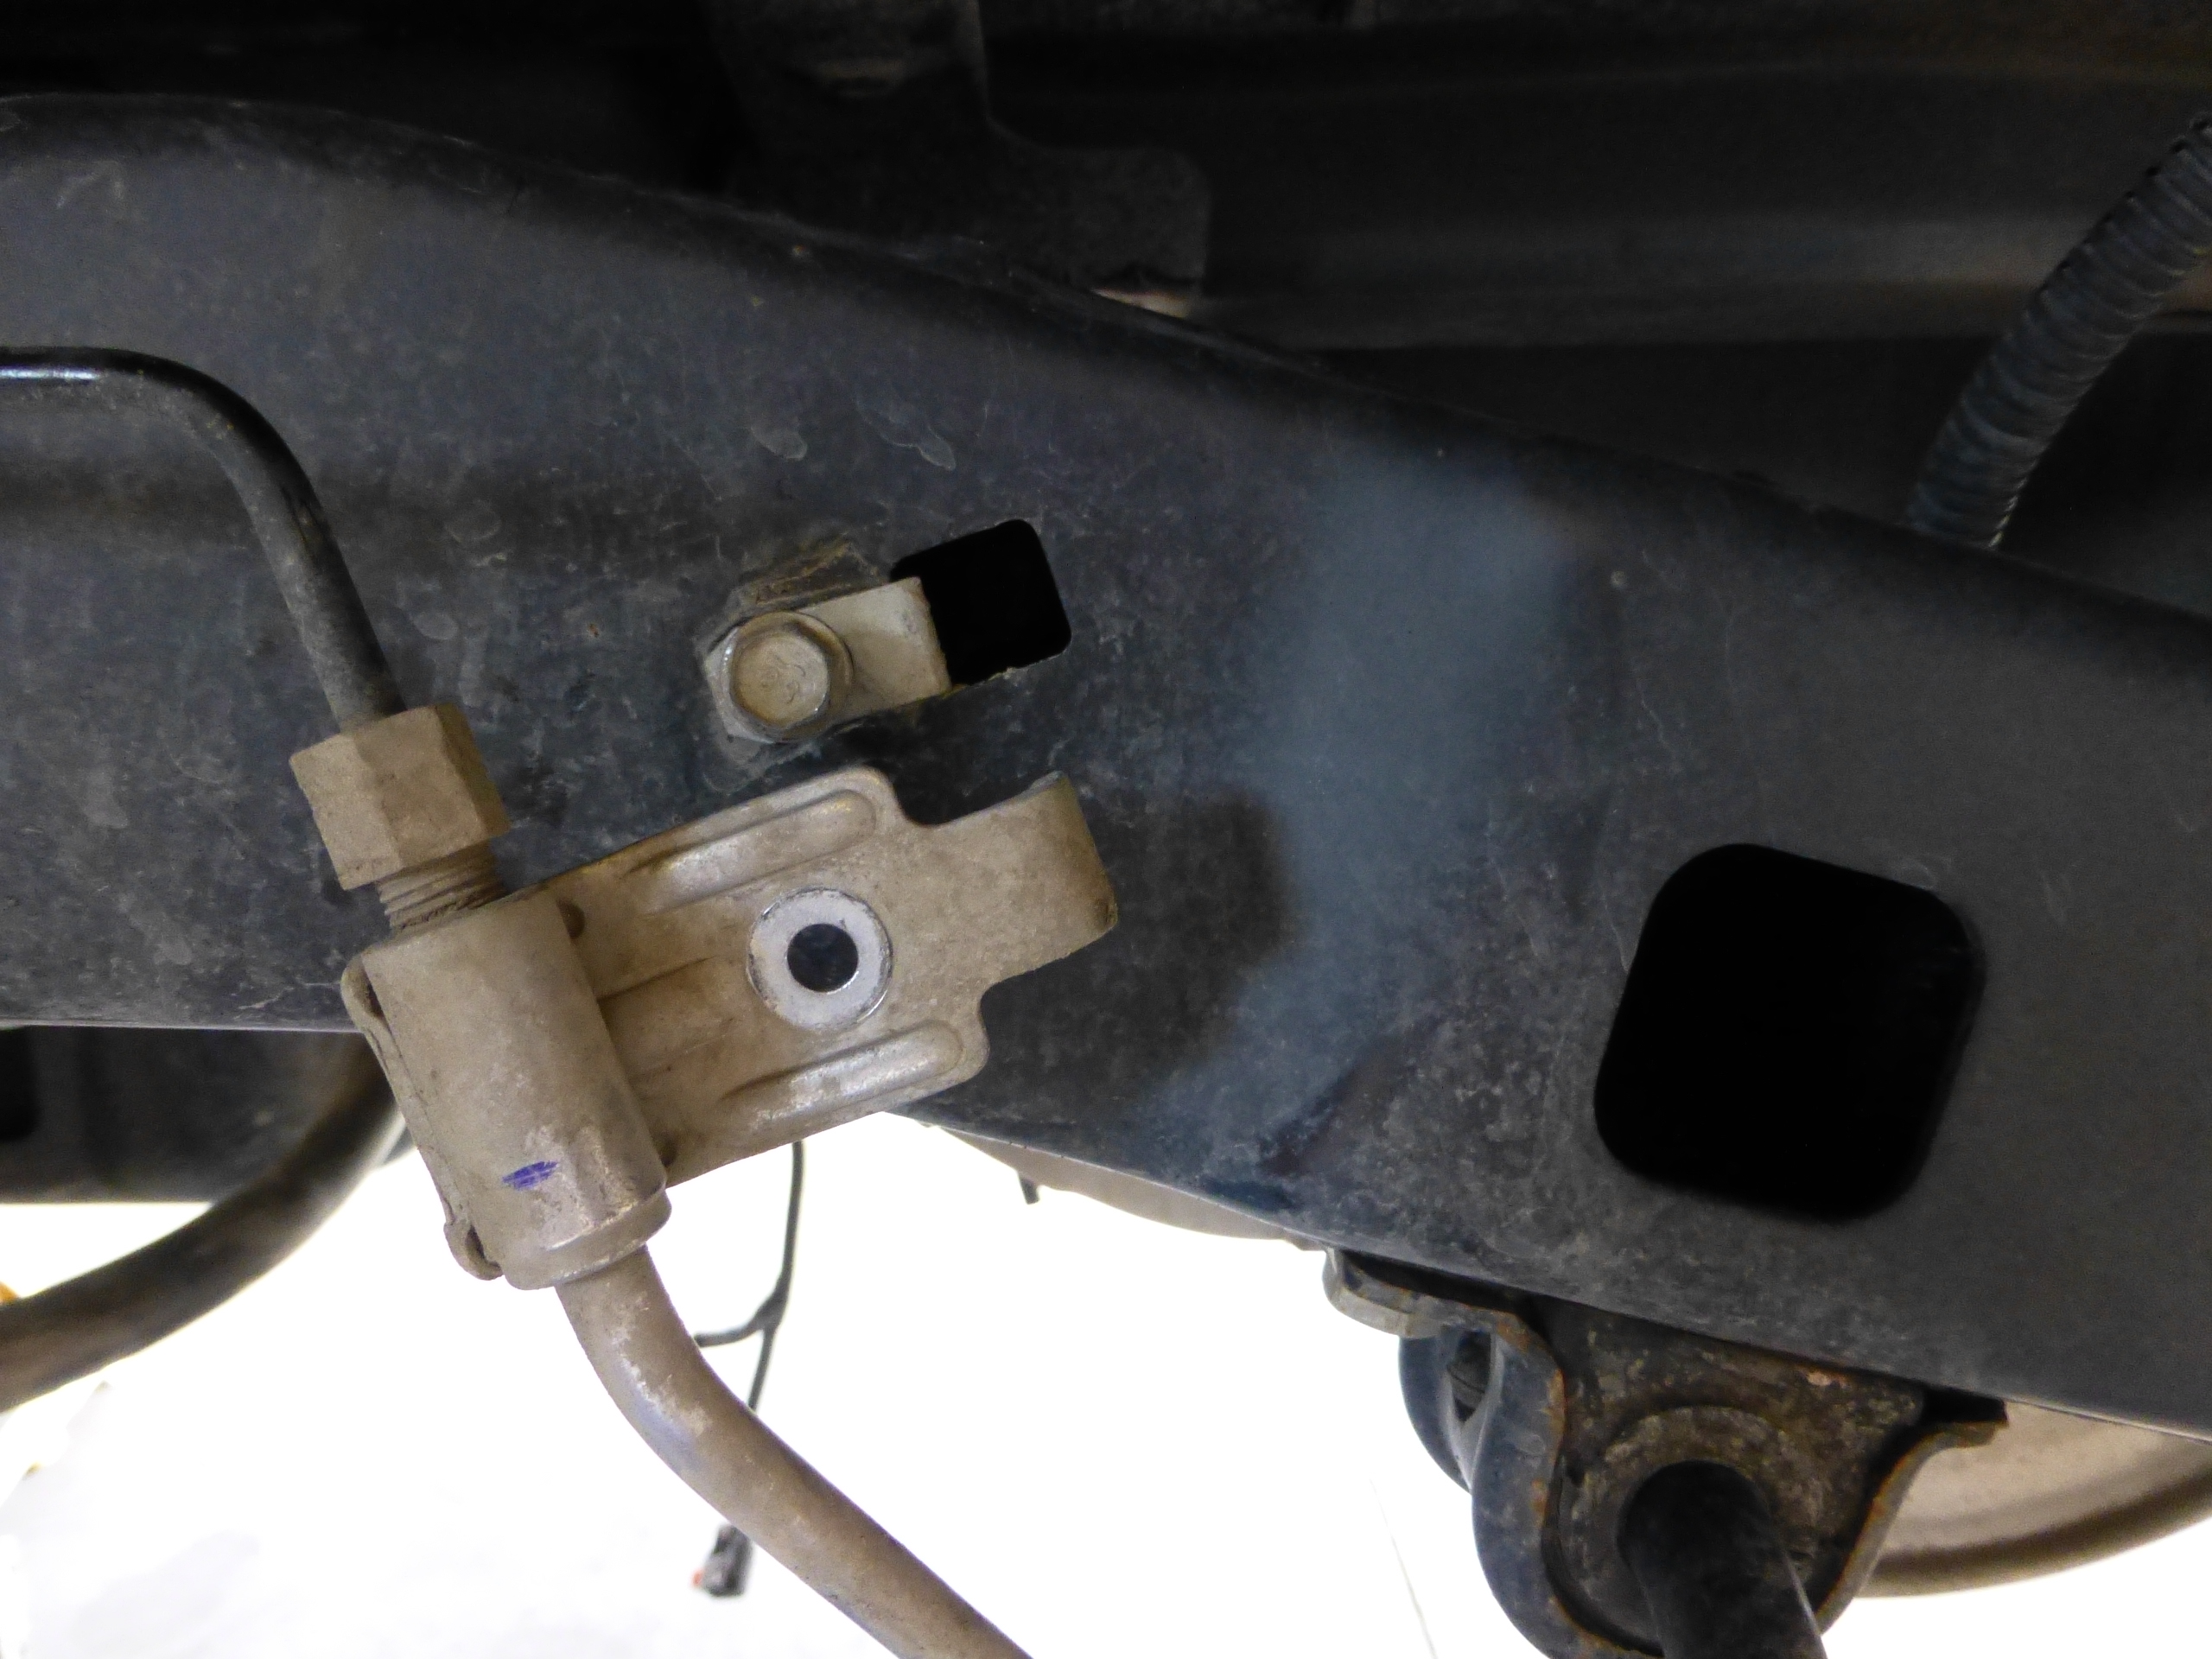
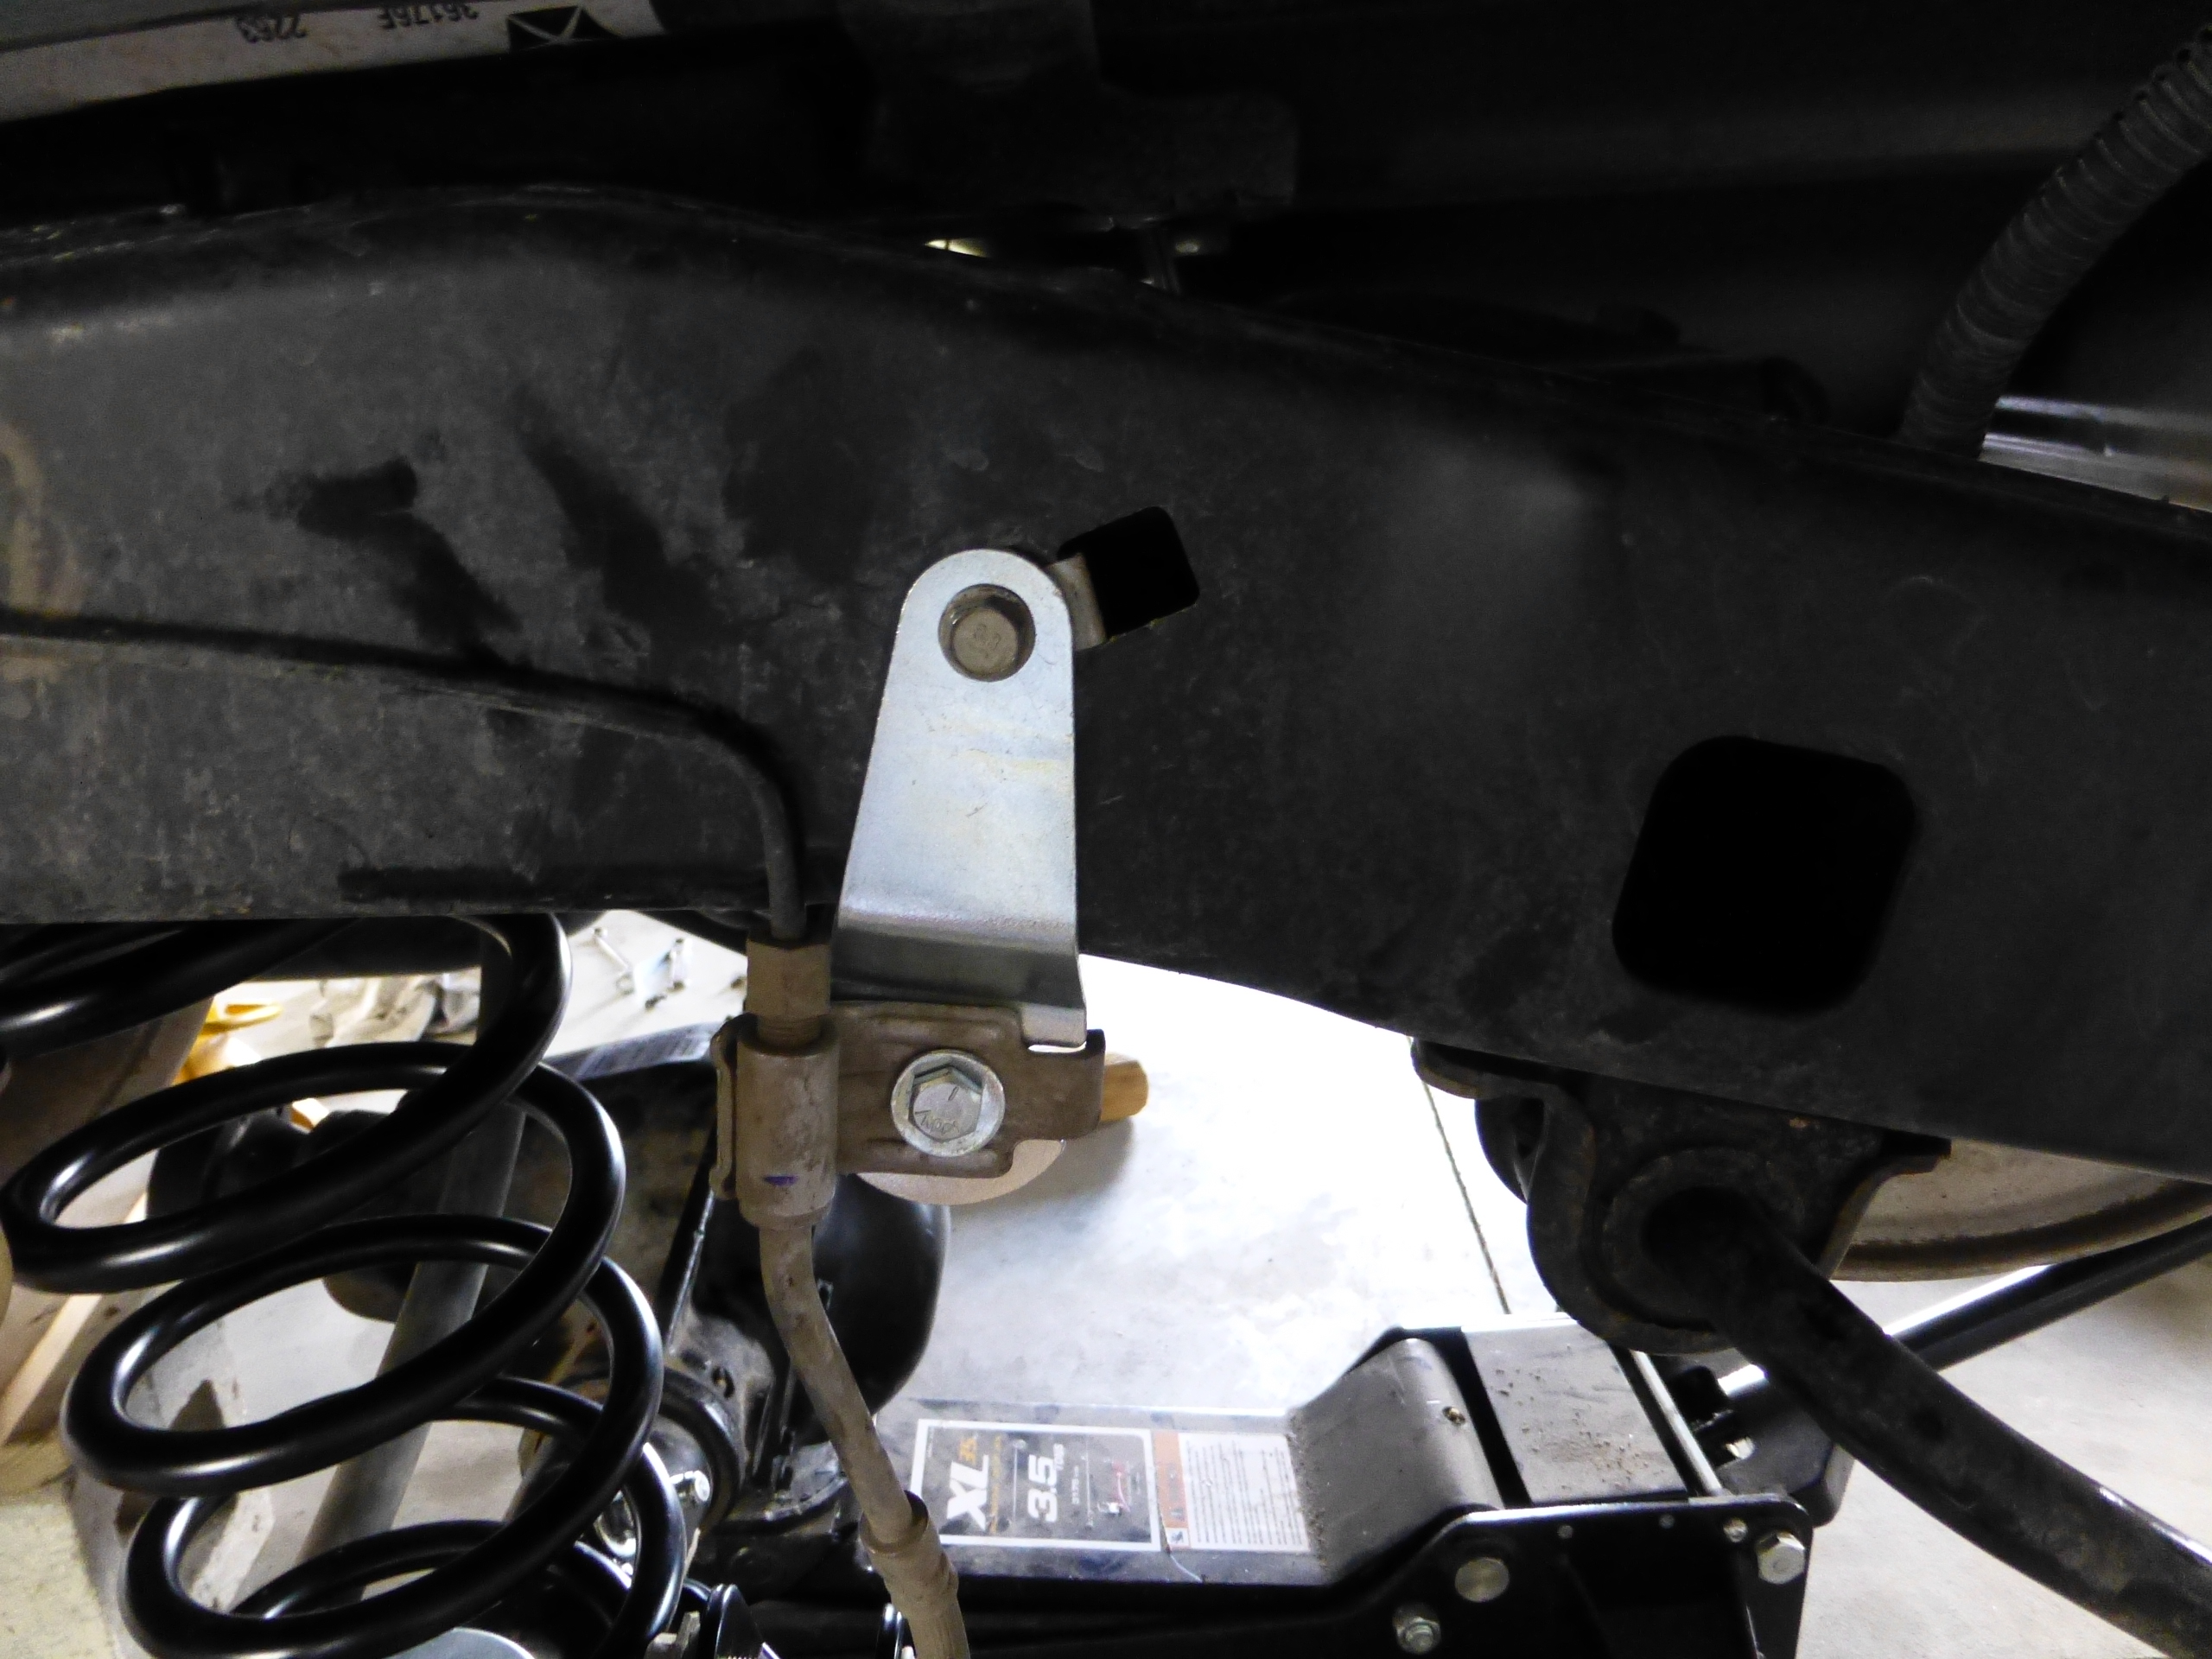
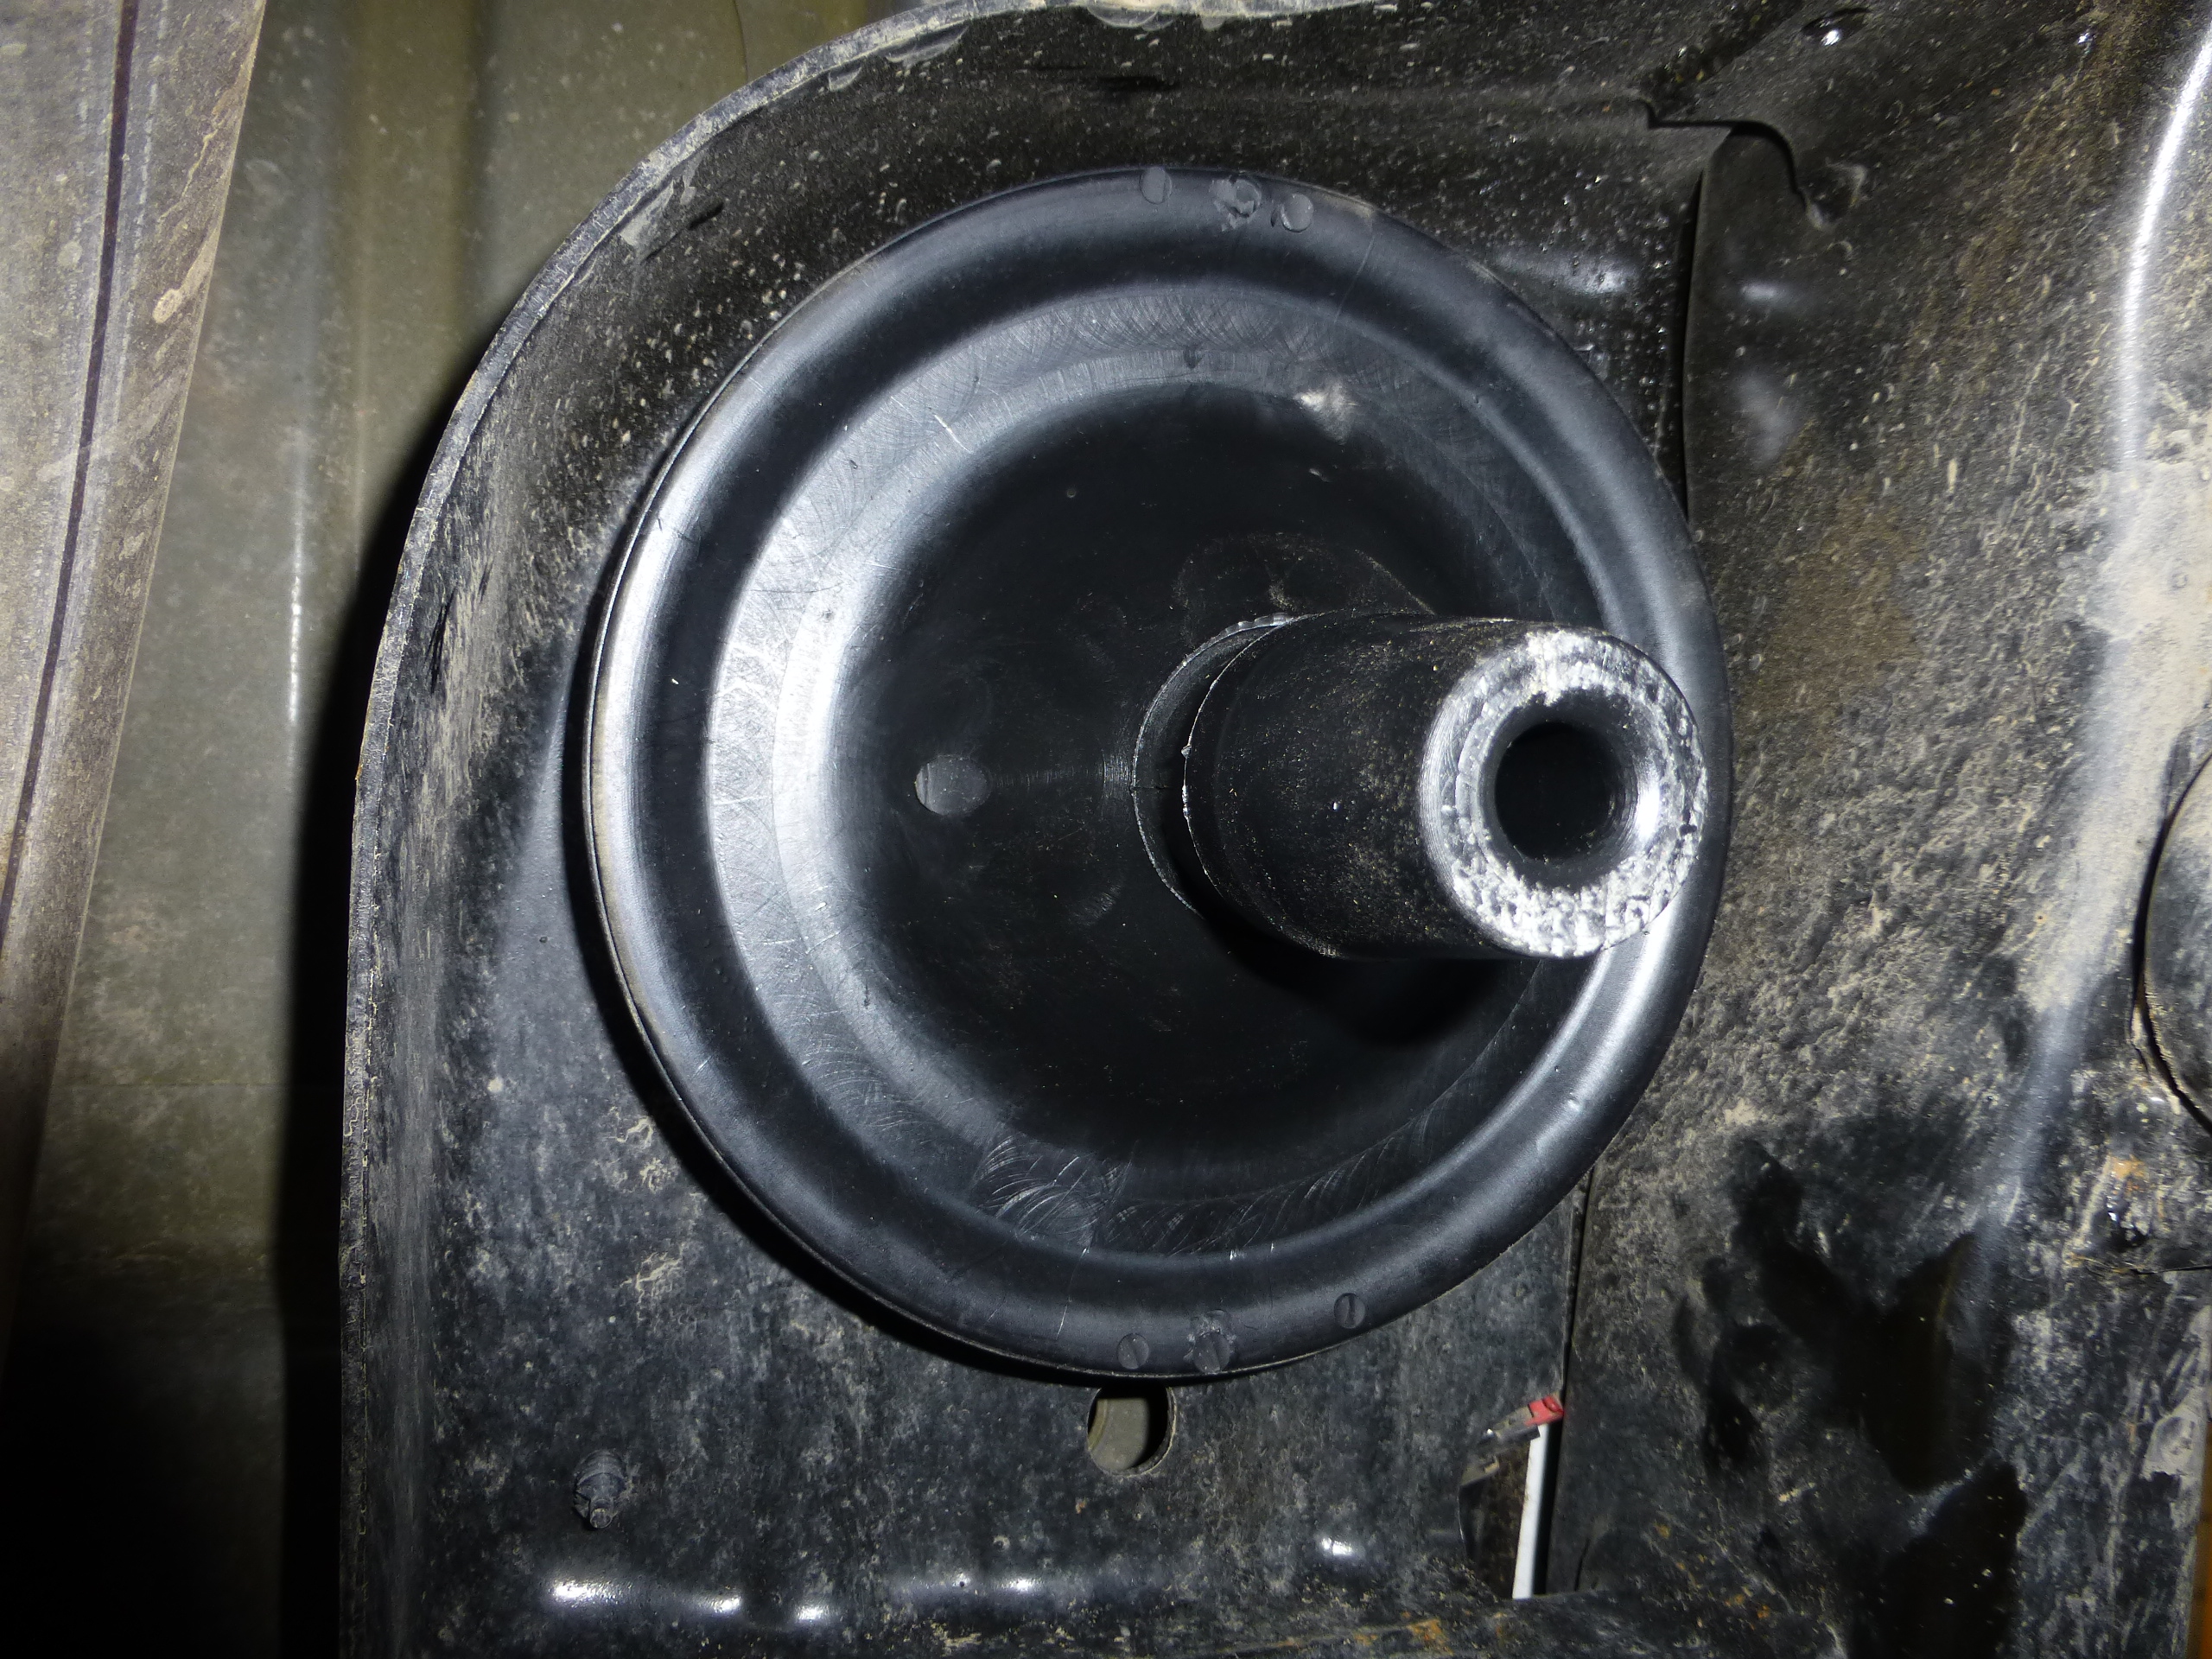
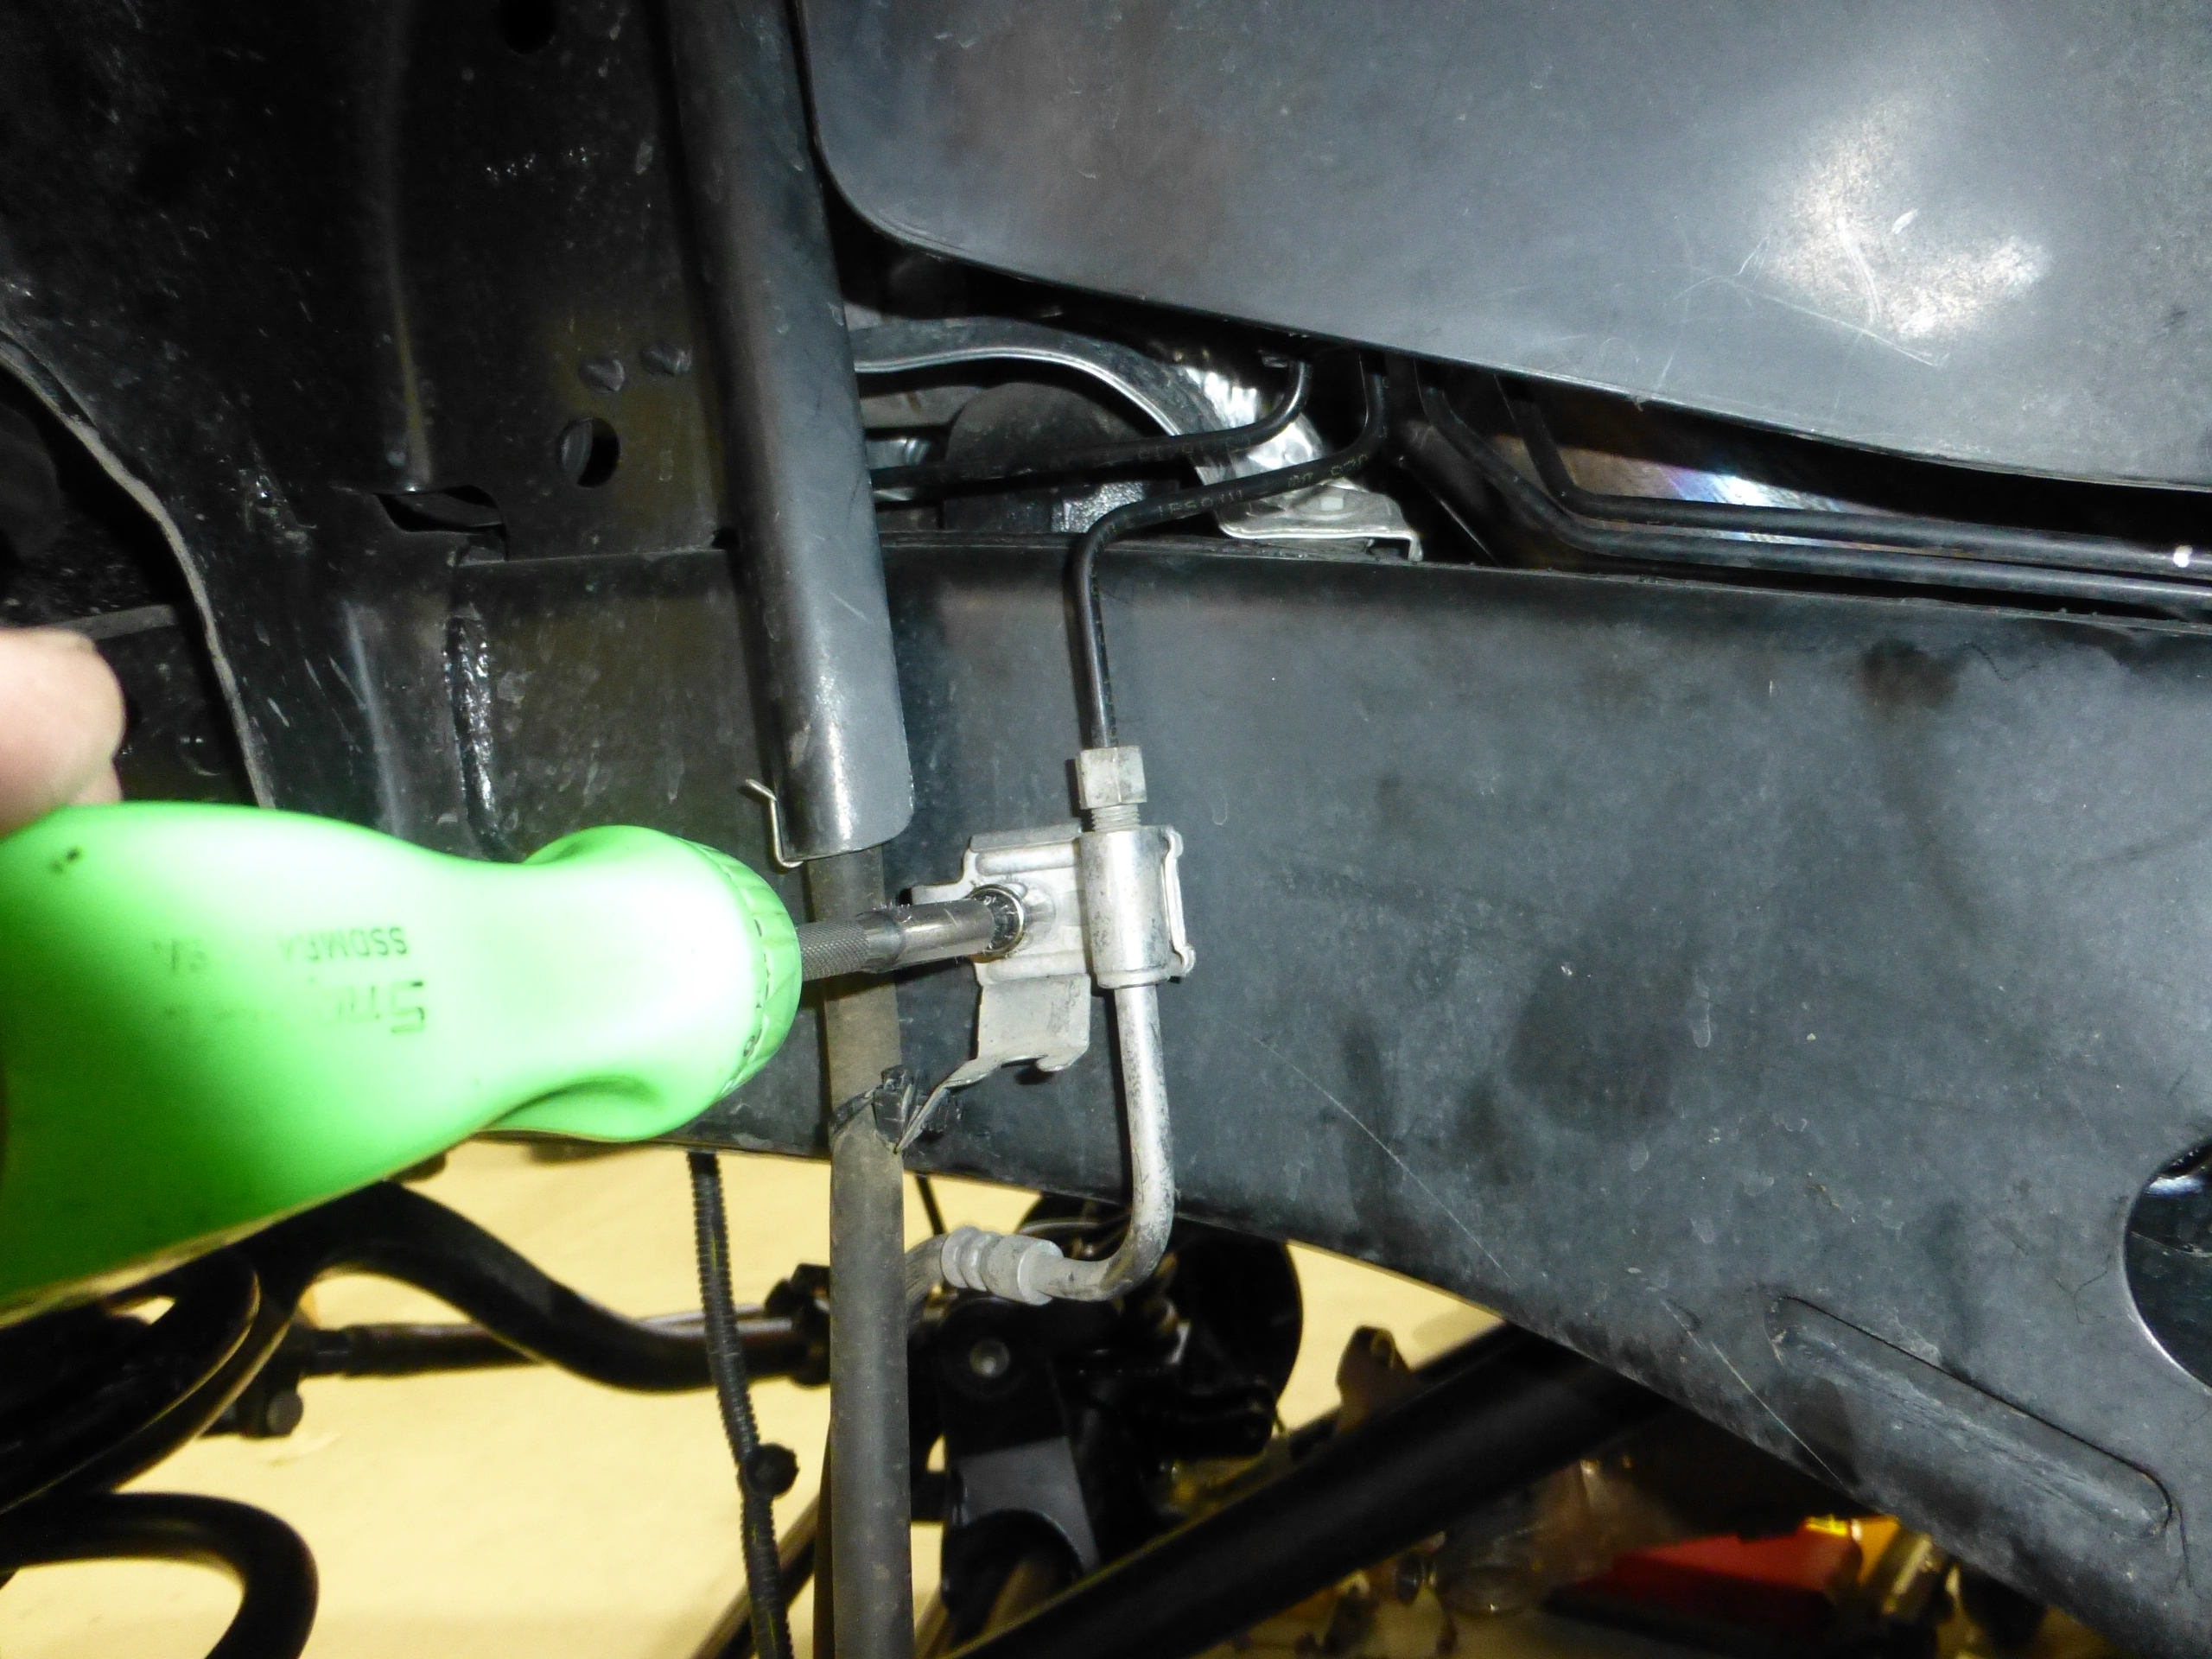
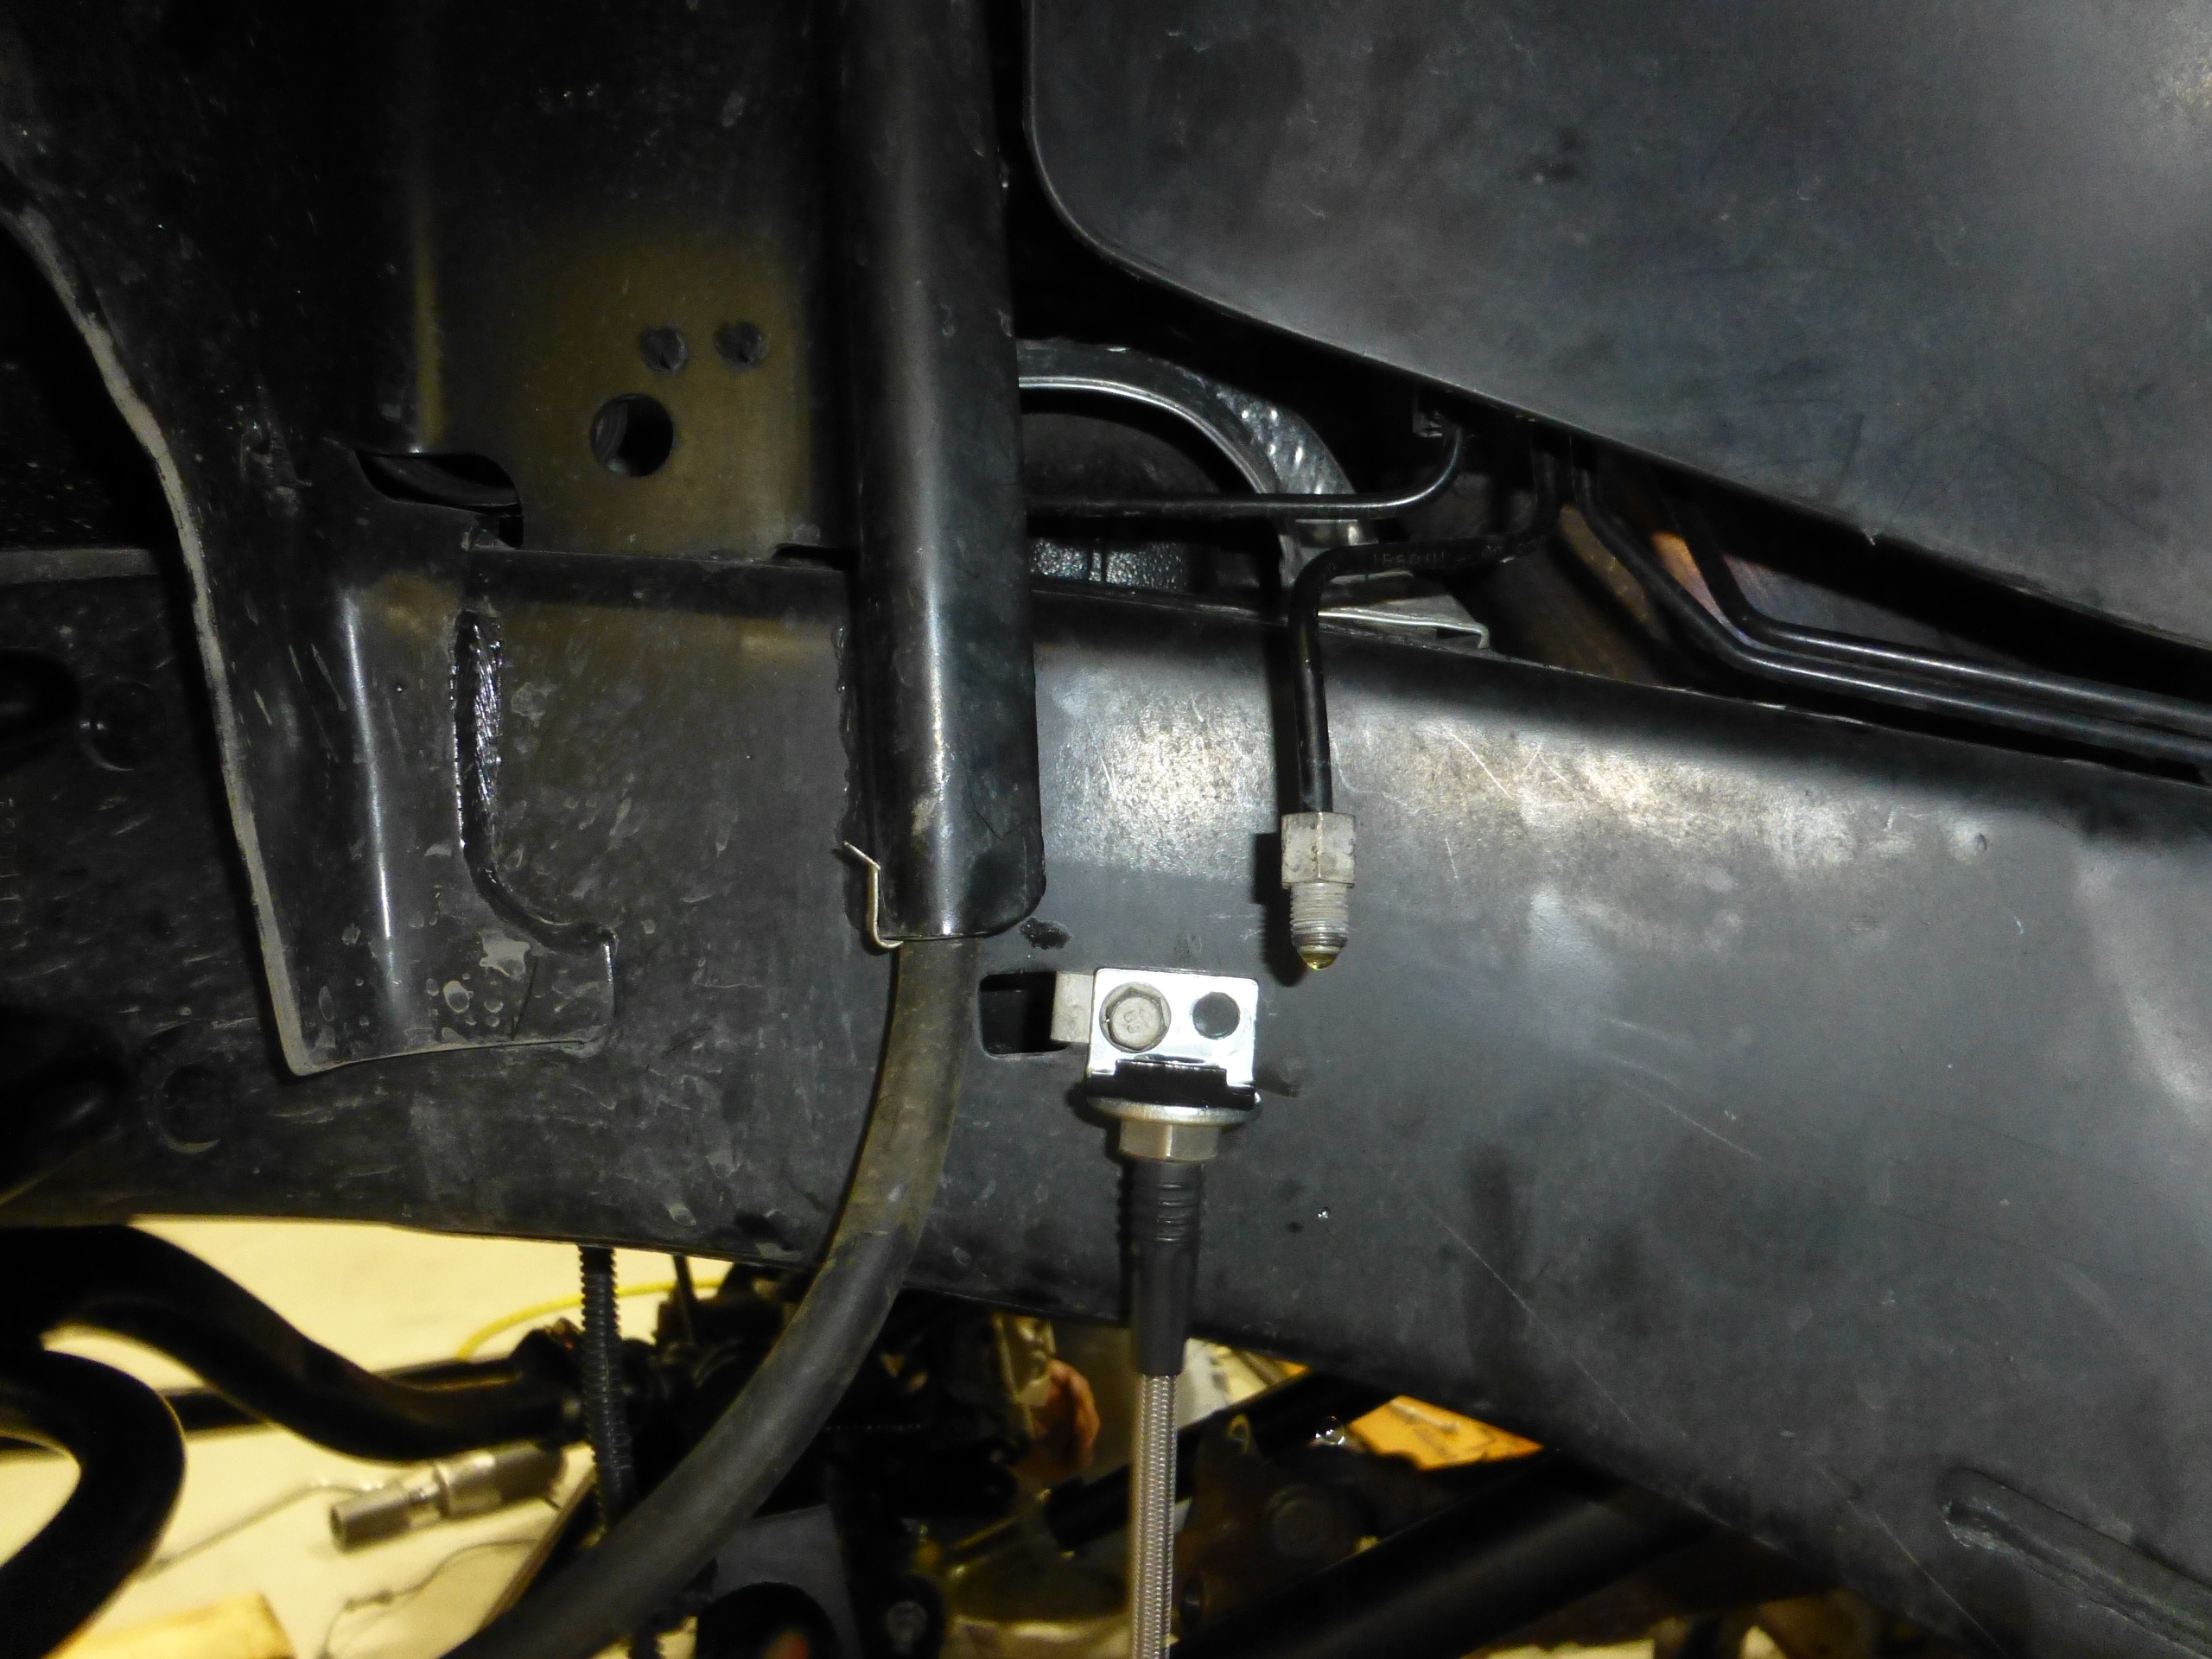
With the rear axle ready to go back under the Jeep we needed to get the new suspension components from Teraflex installed to go with it. We started by relocating the rear brake line slightly with the new relocation brackets included in the suspension kit. The new bracket bolts to the factory mount in the frame and we simply moved the old mount to the bottom of the new bracket. The bracket bends inward so the line doesn’t rub on the tires after being relocated so make sure it is facing the right direction.

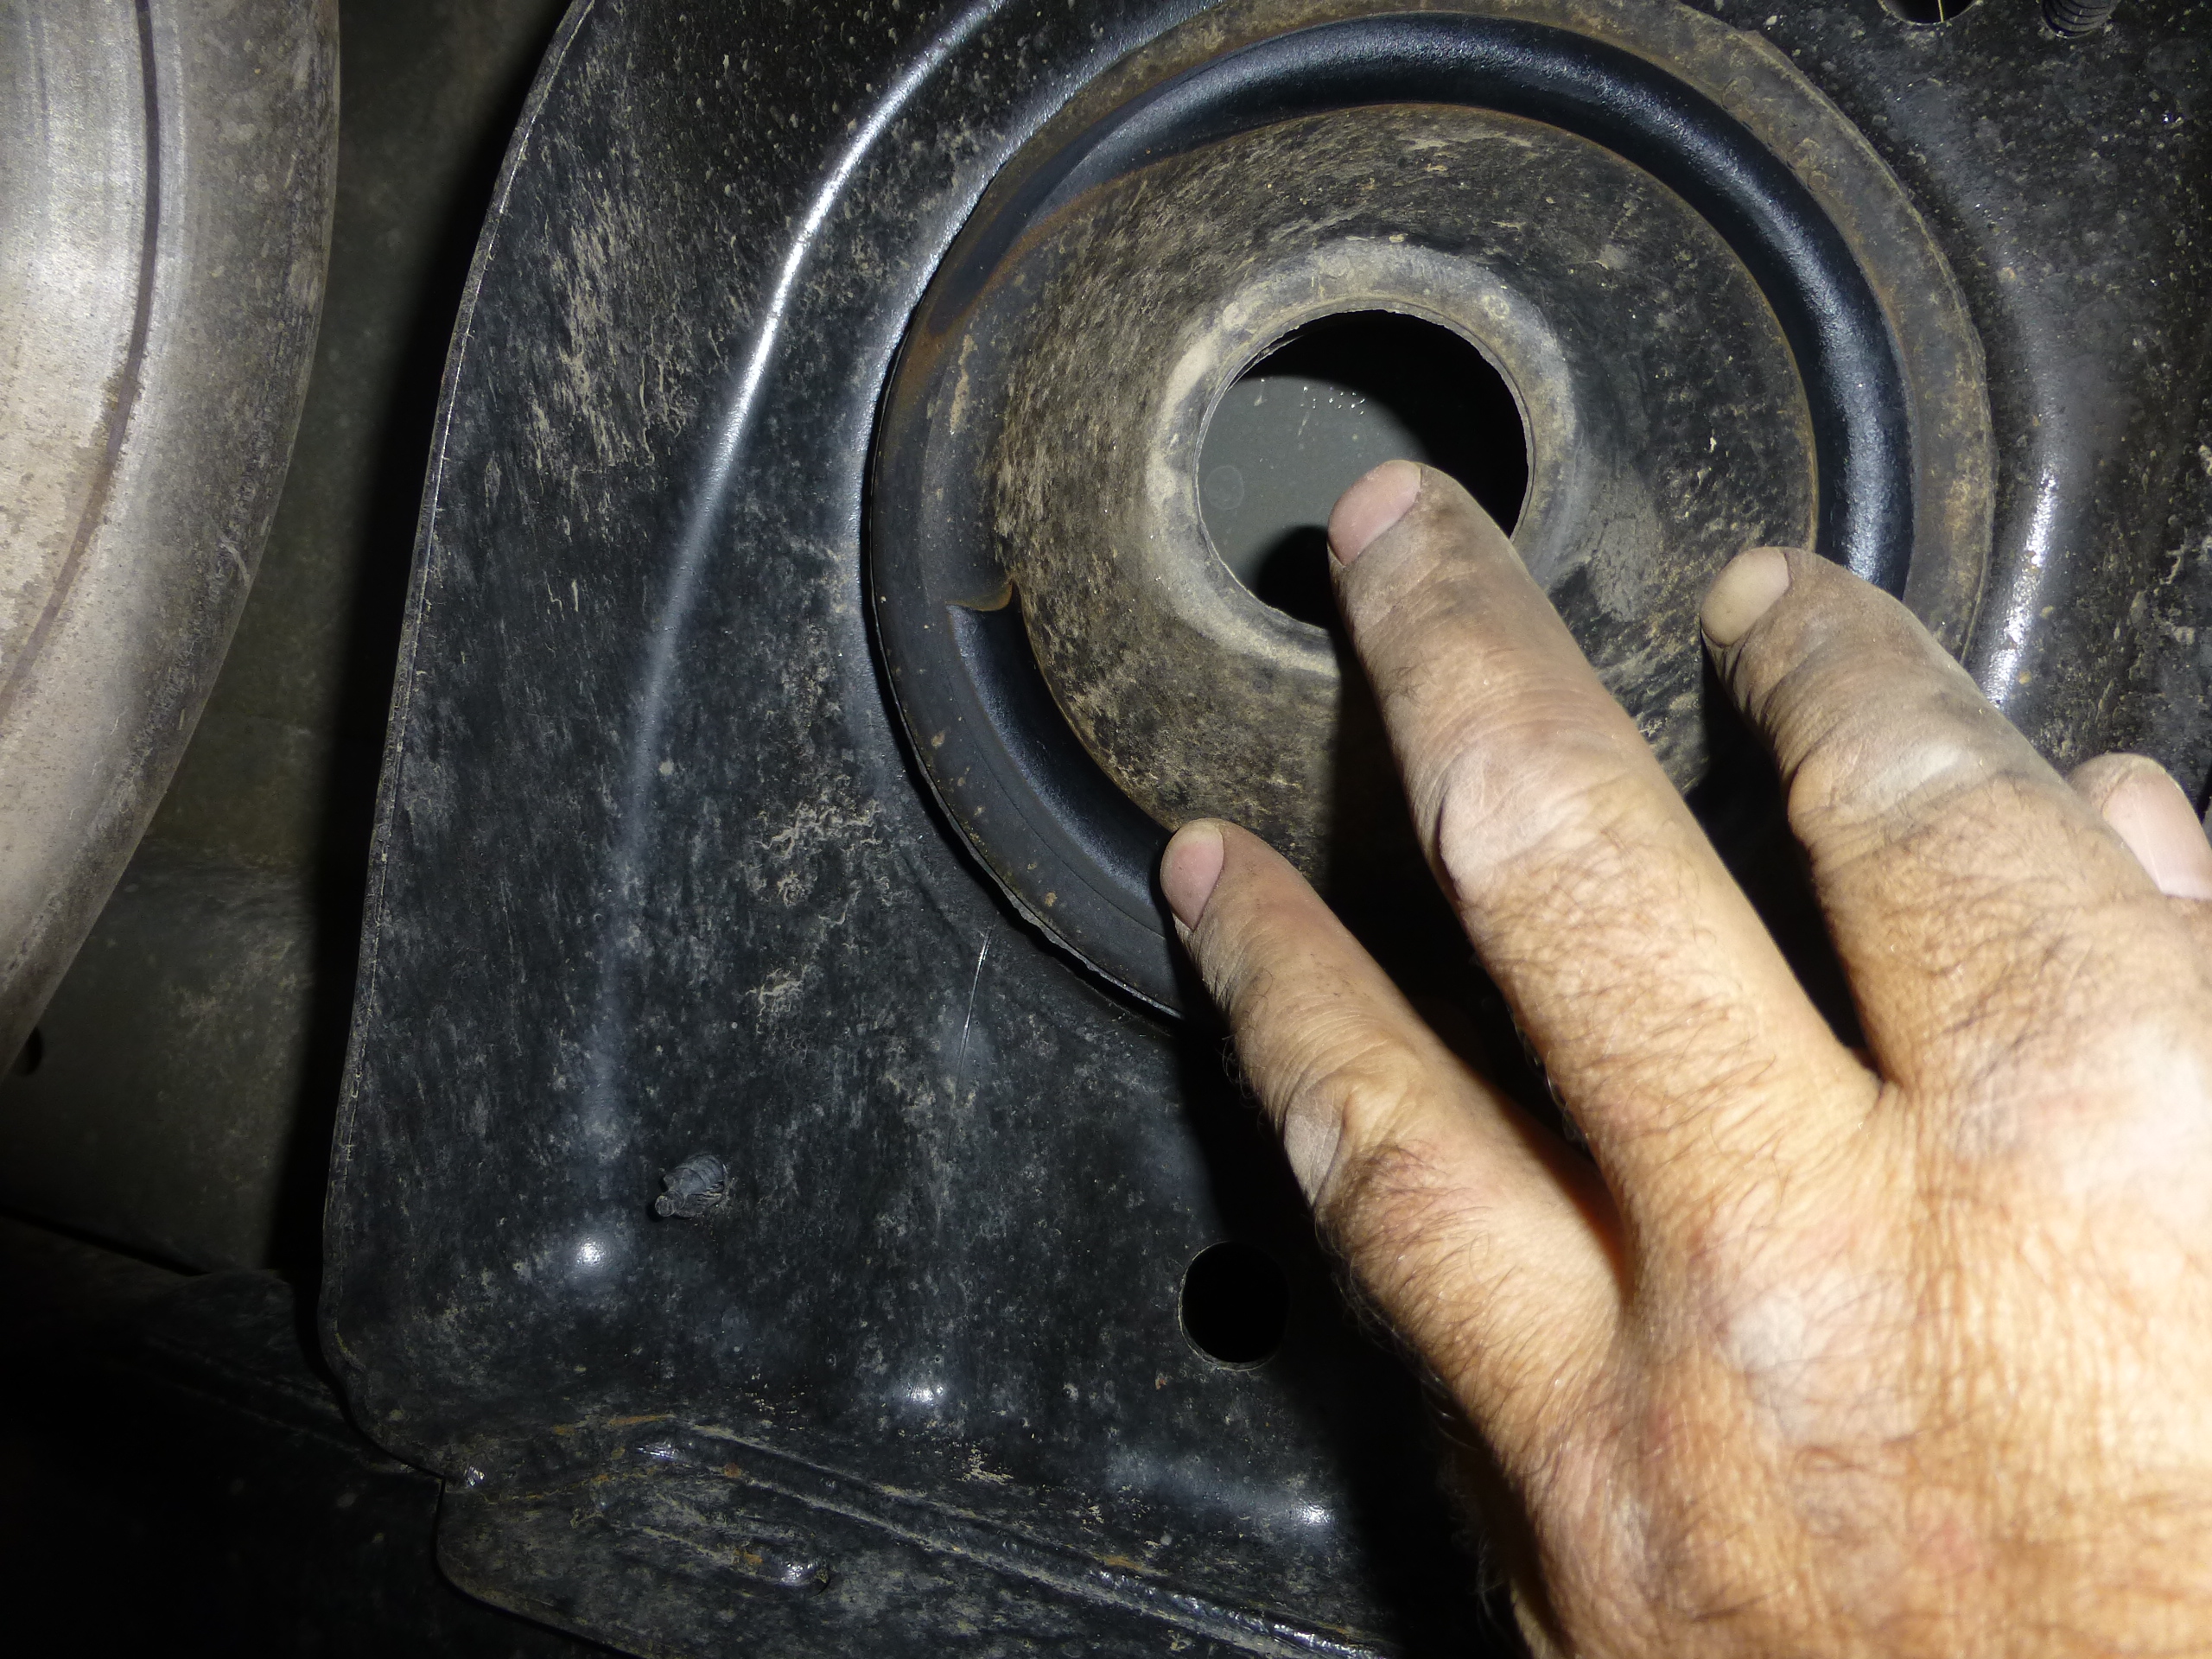
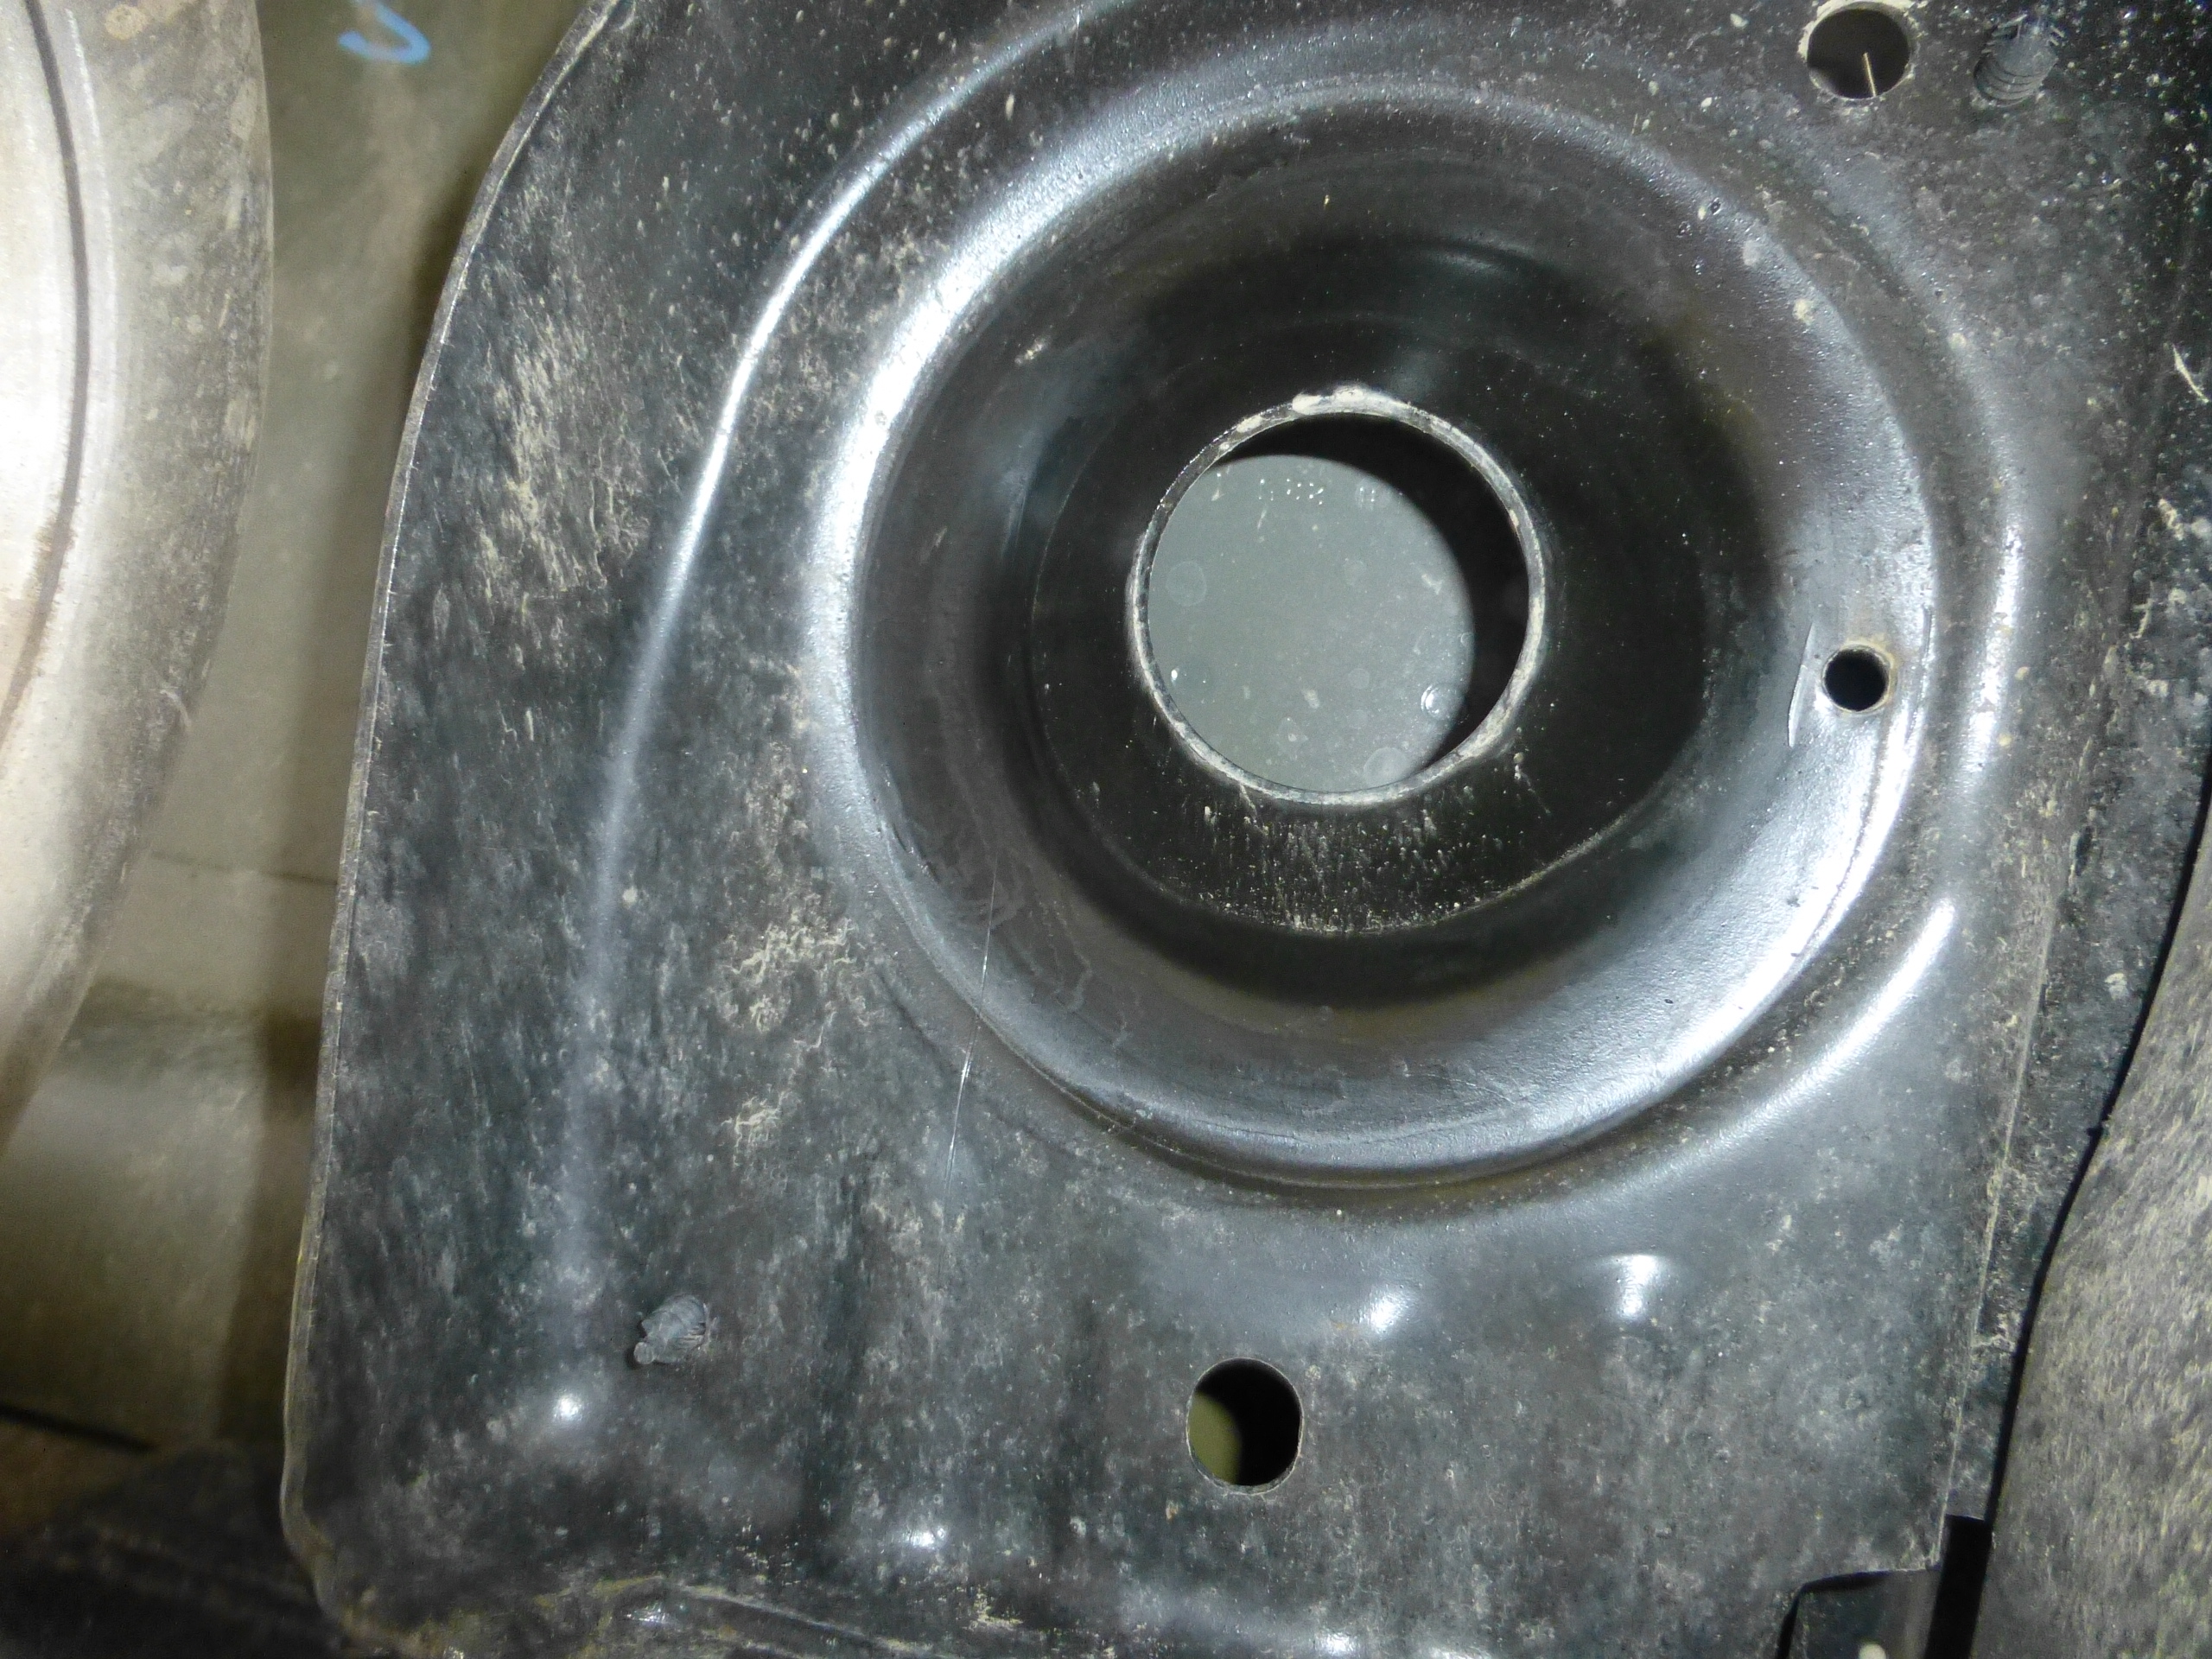
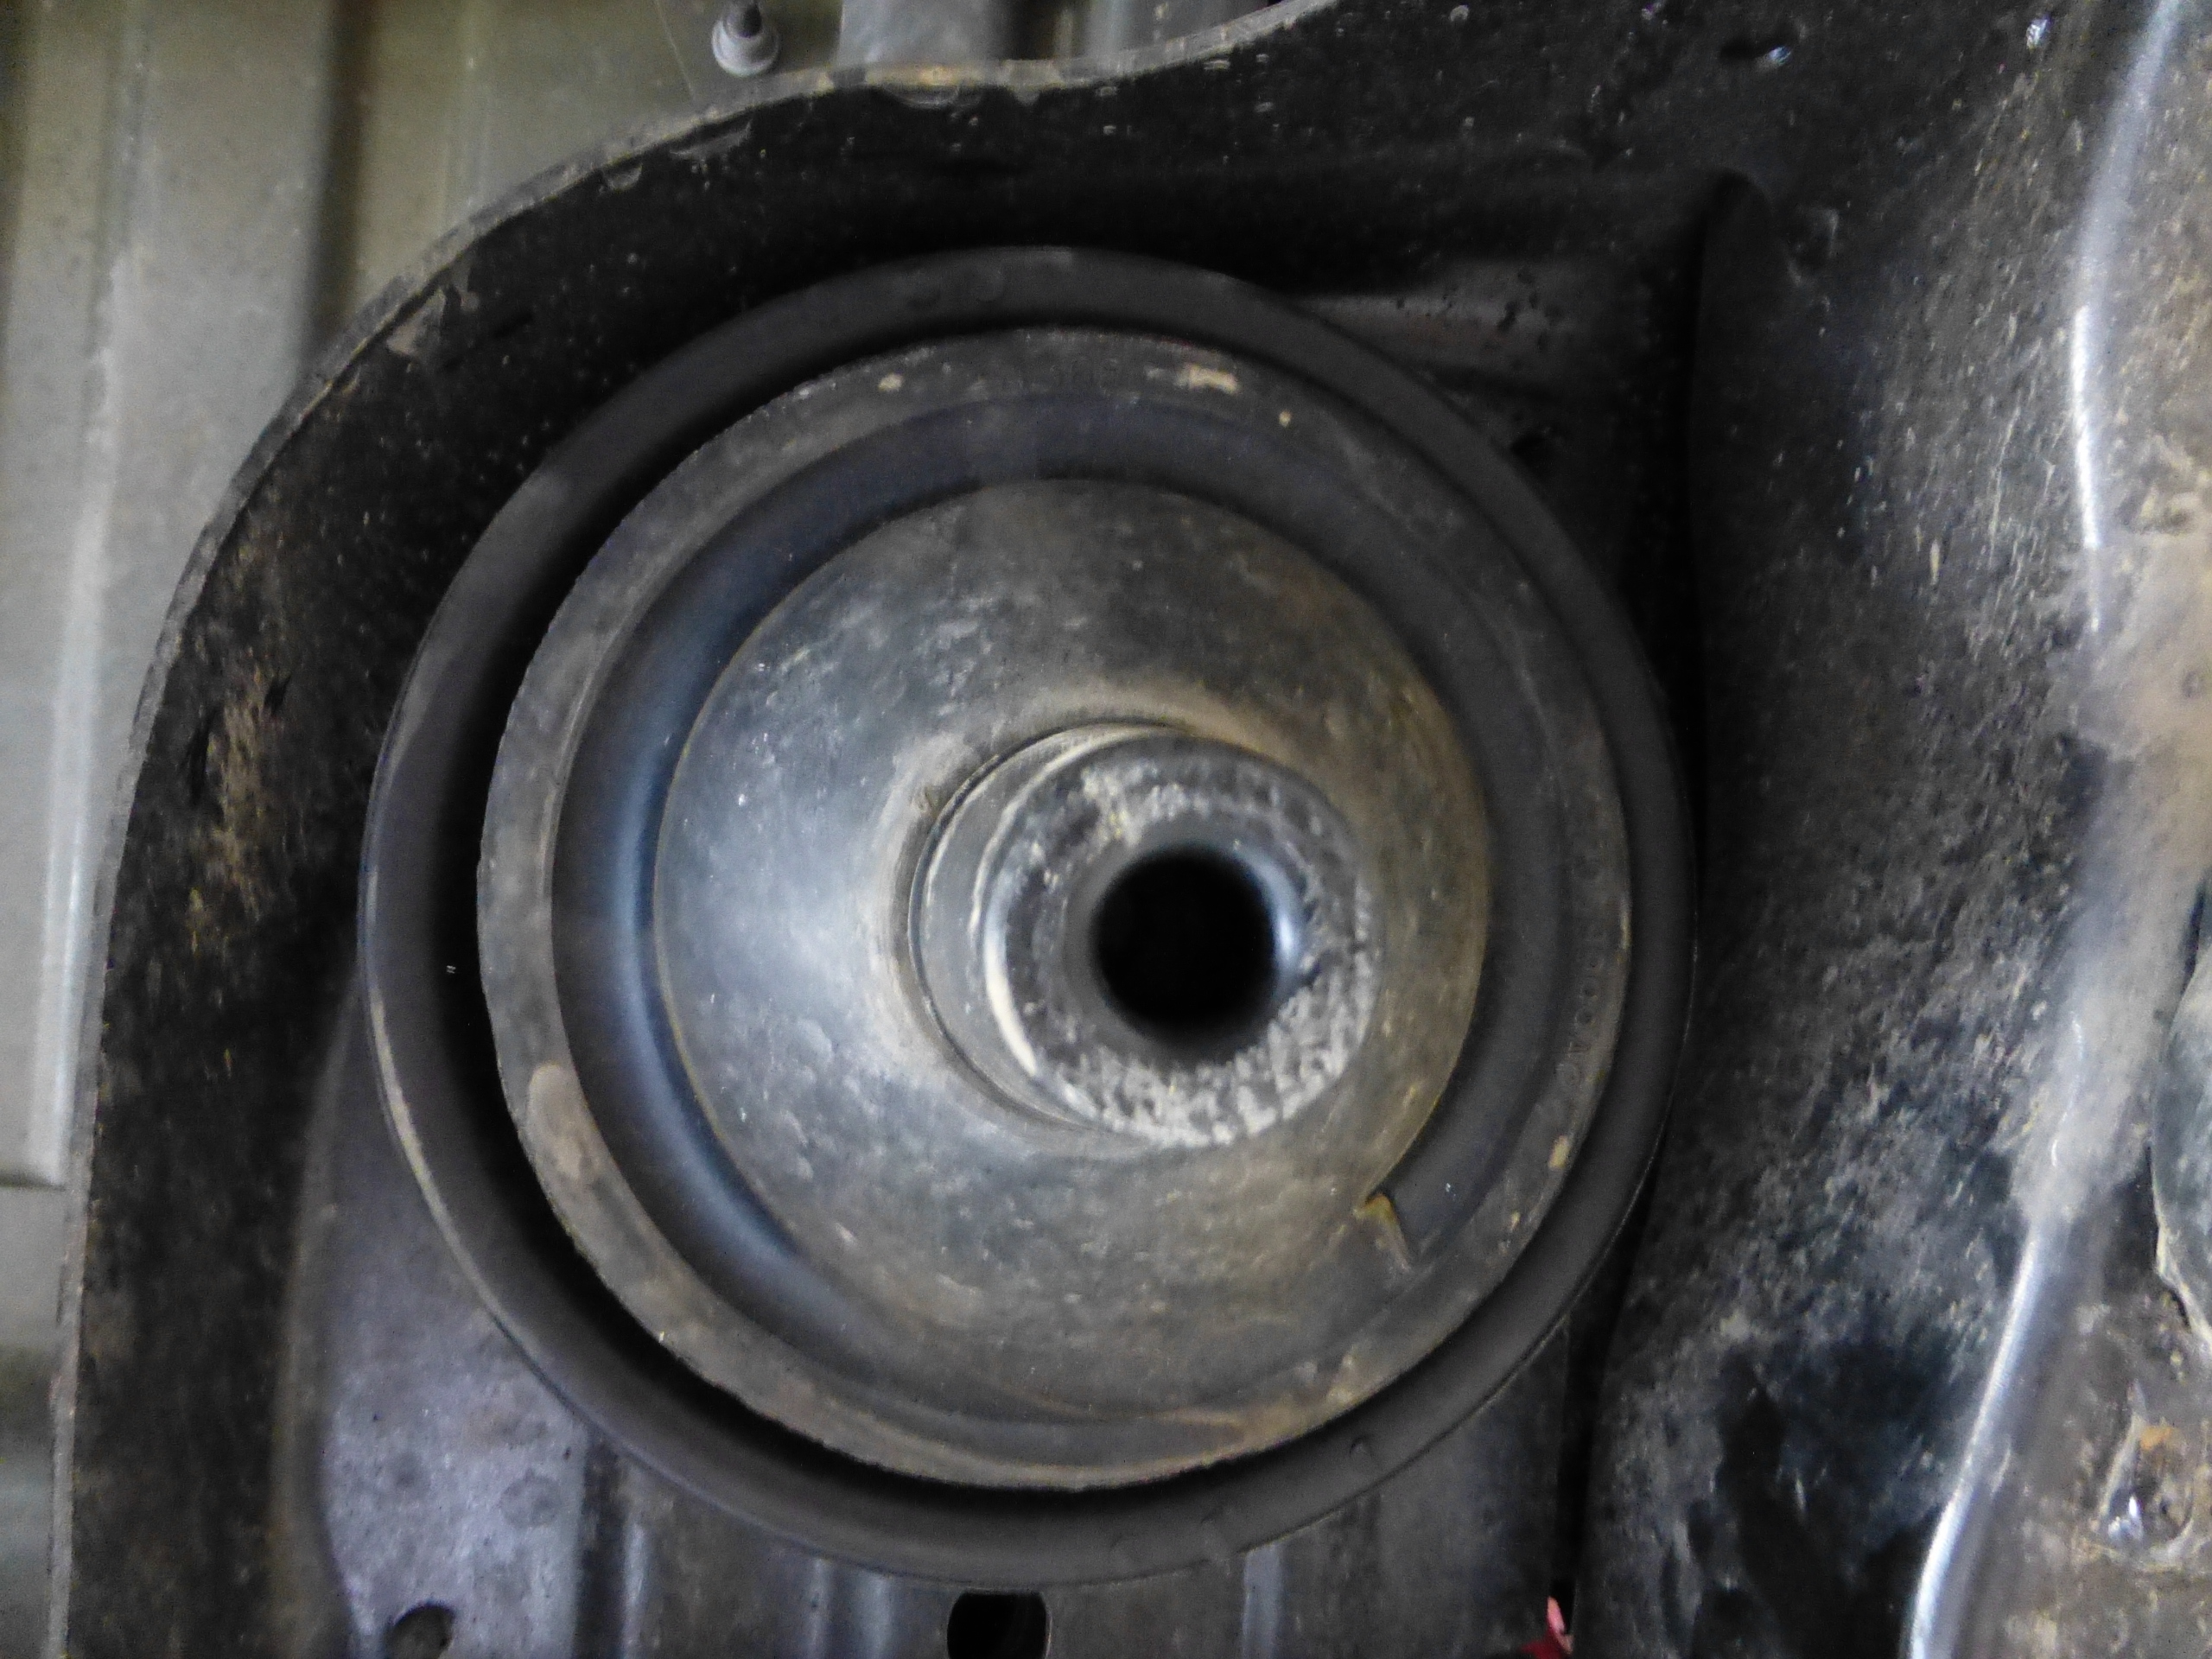
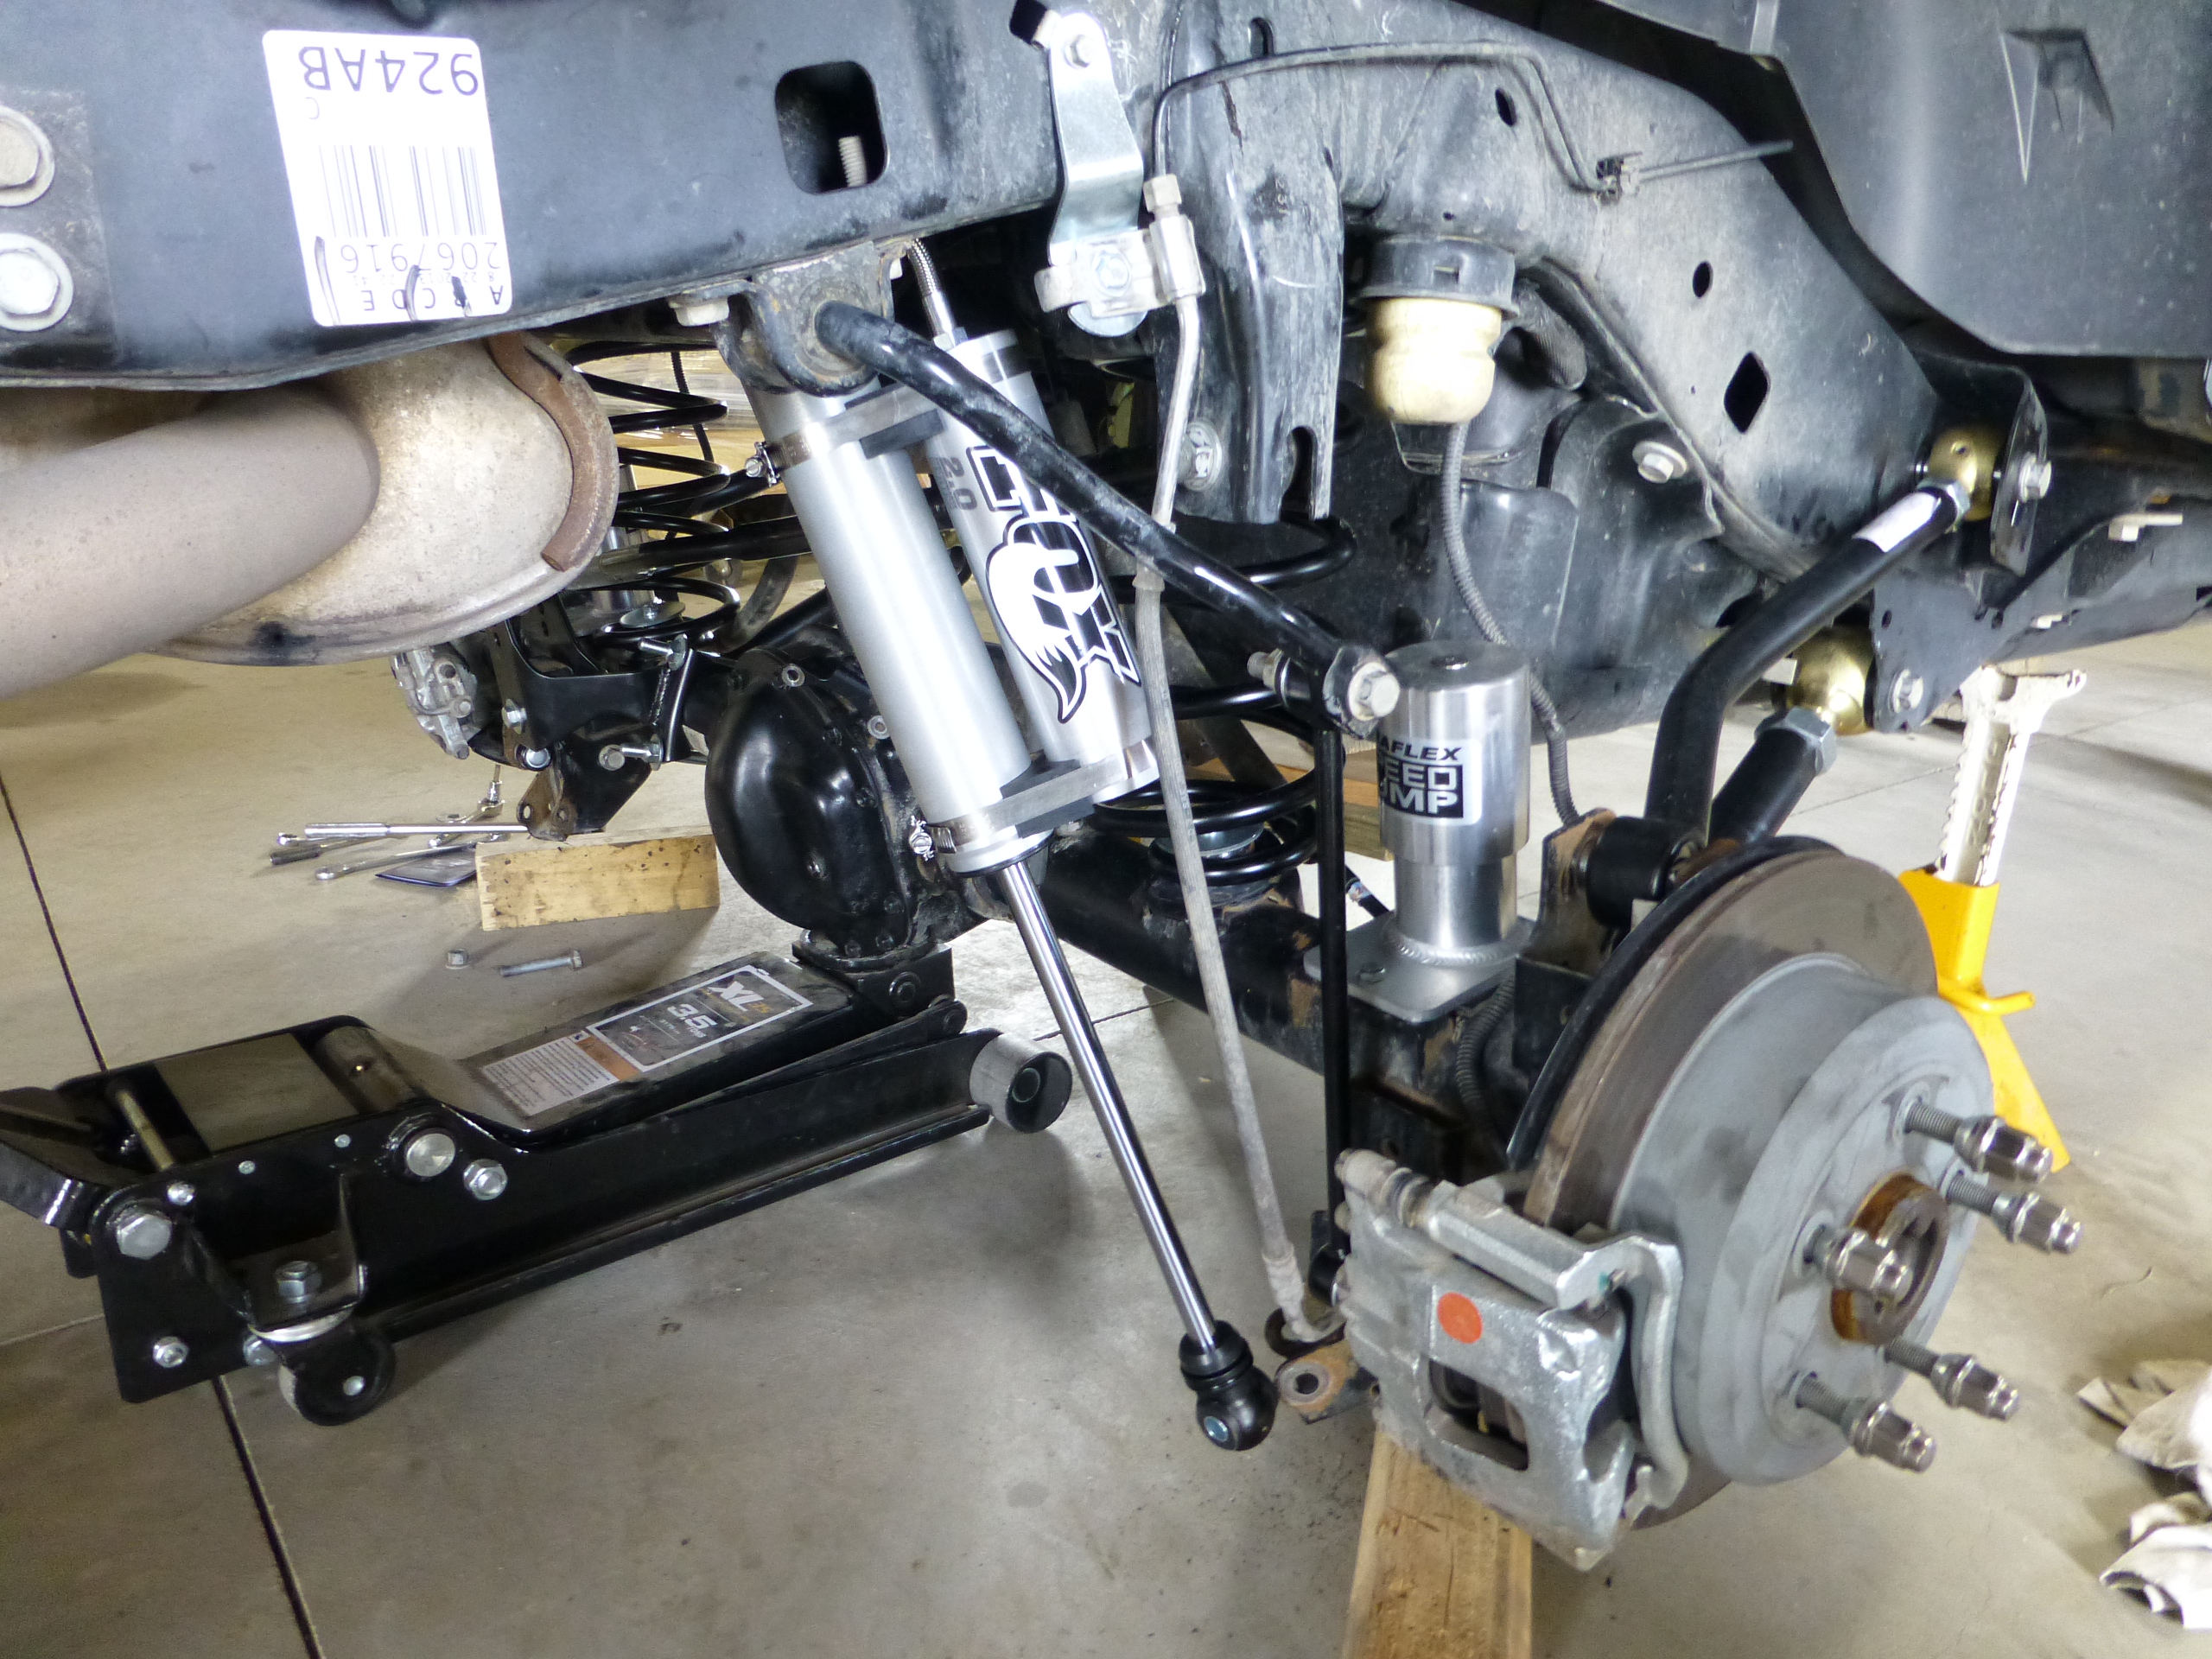
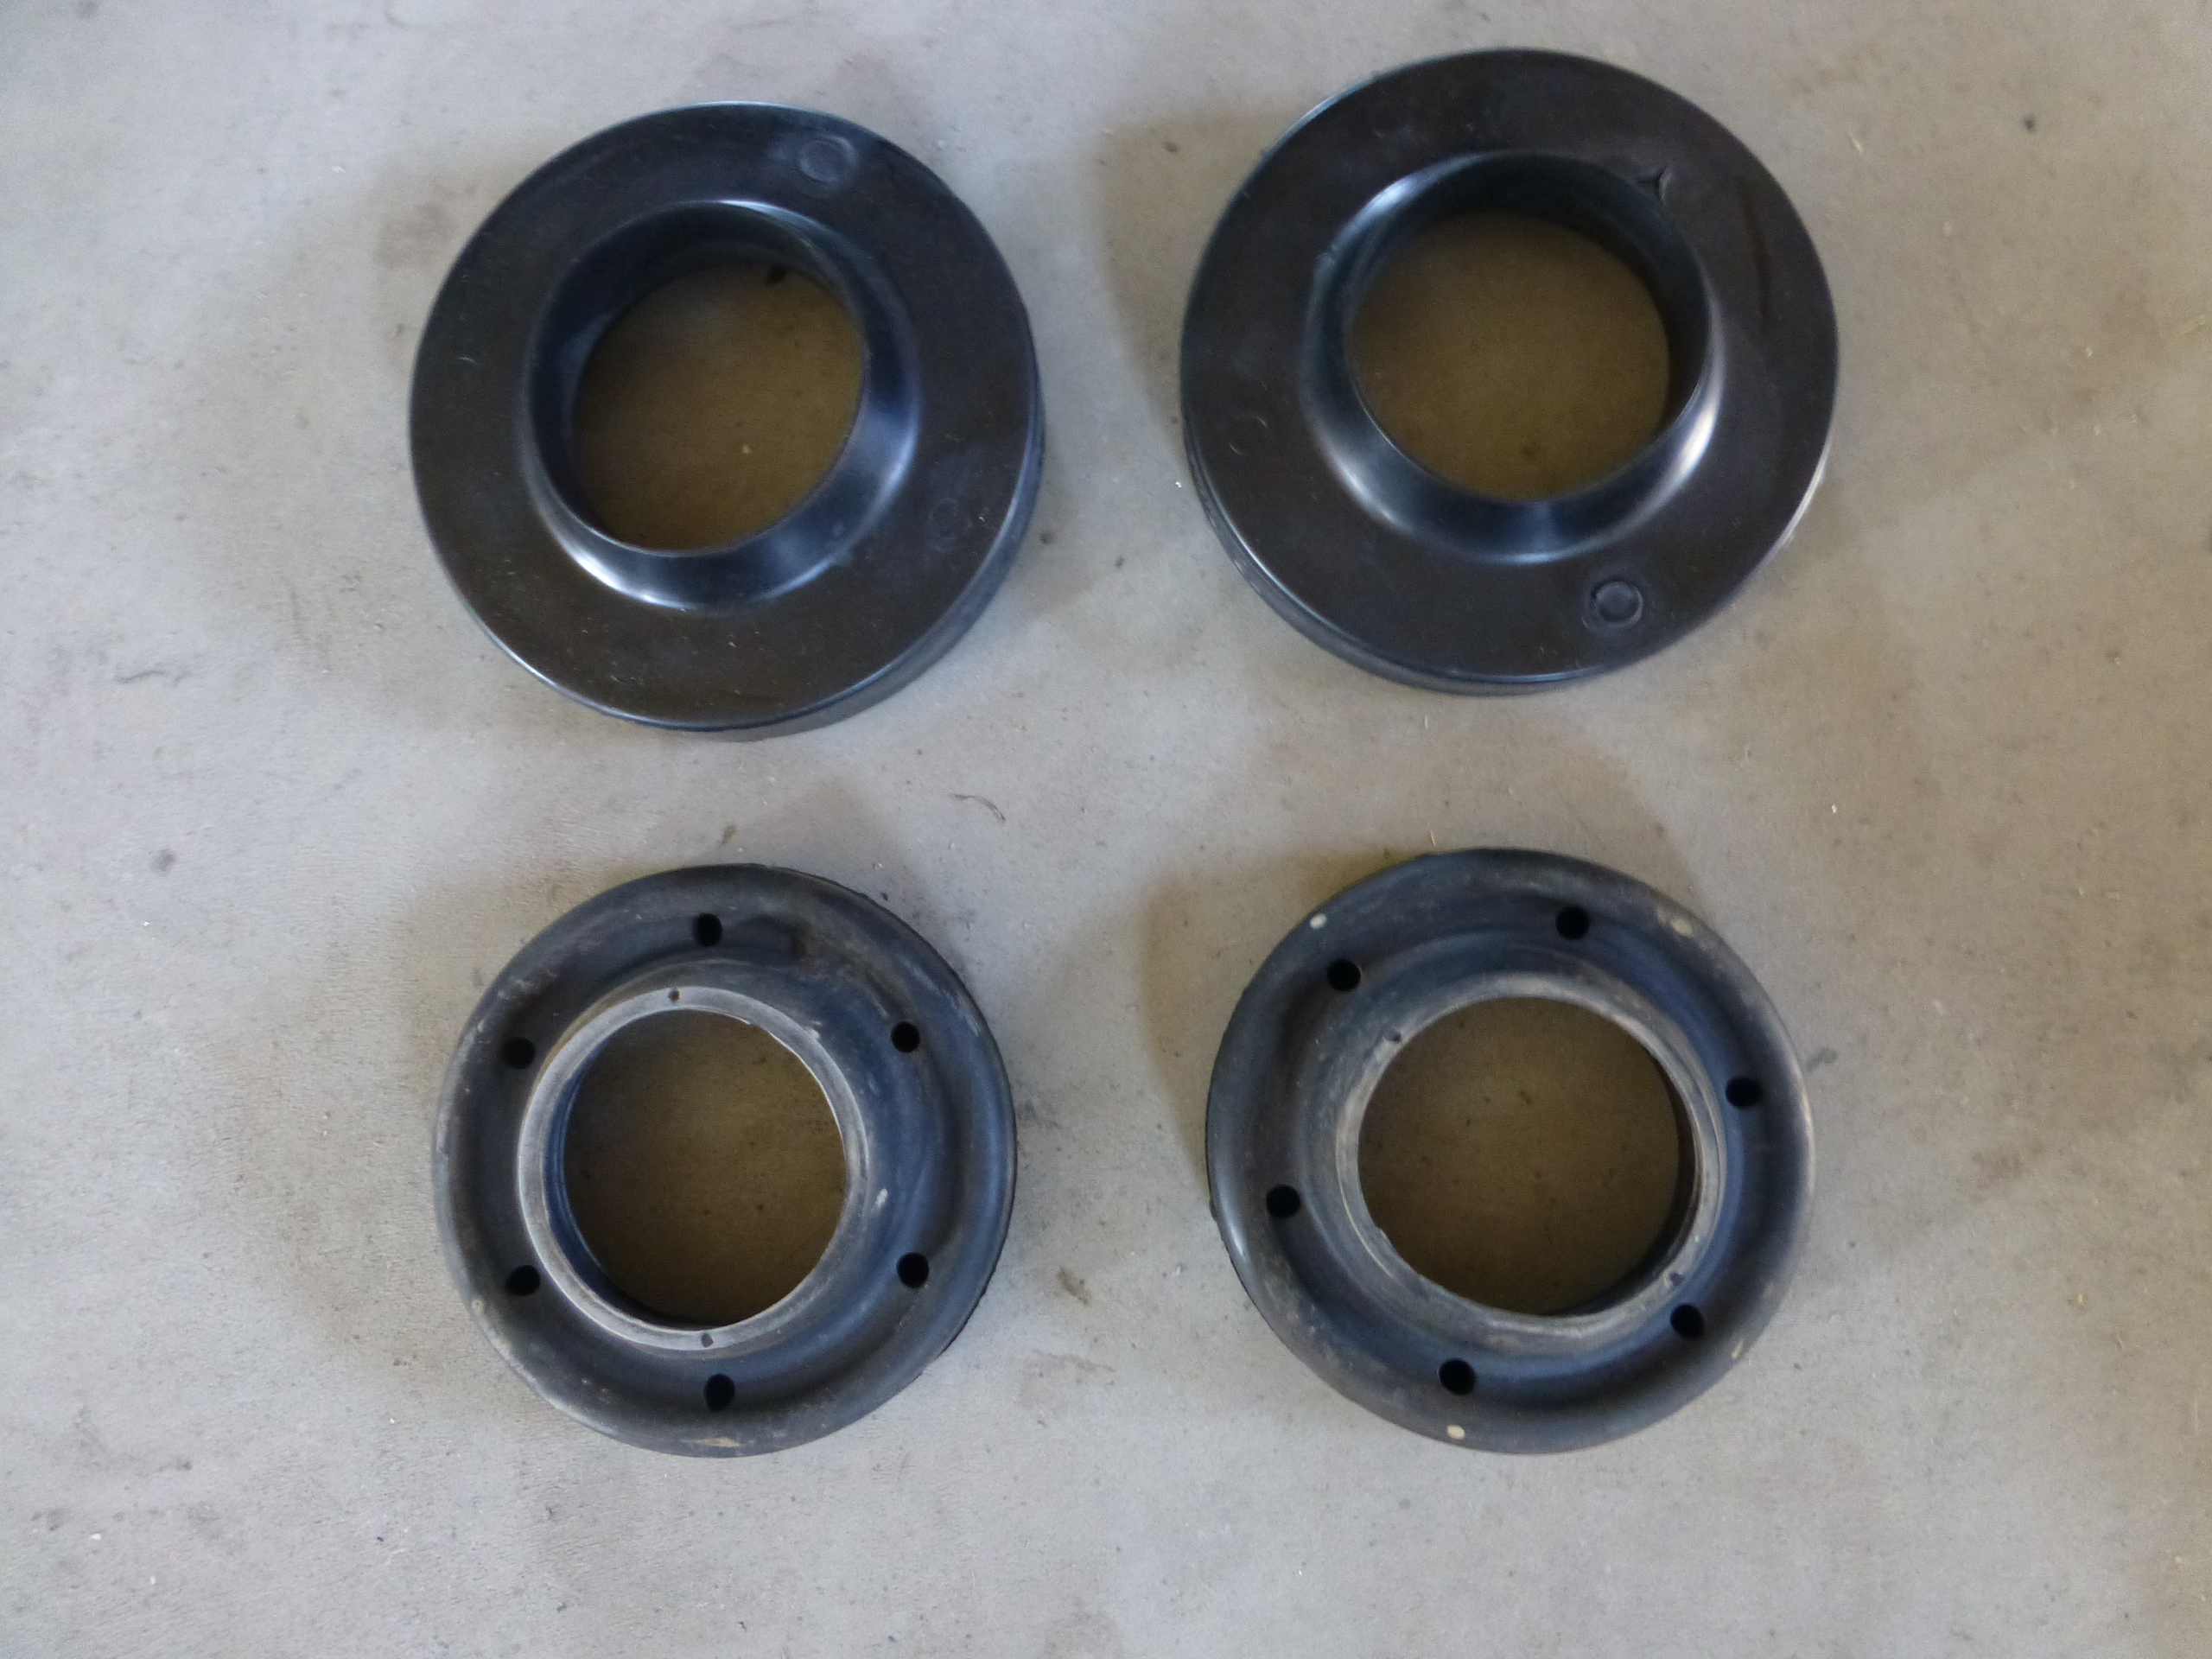
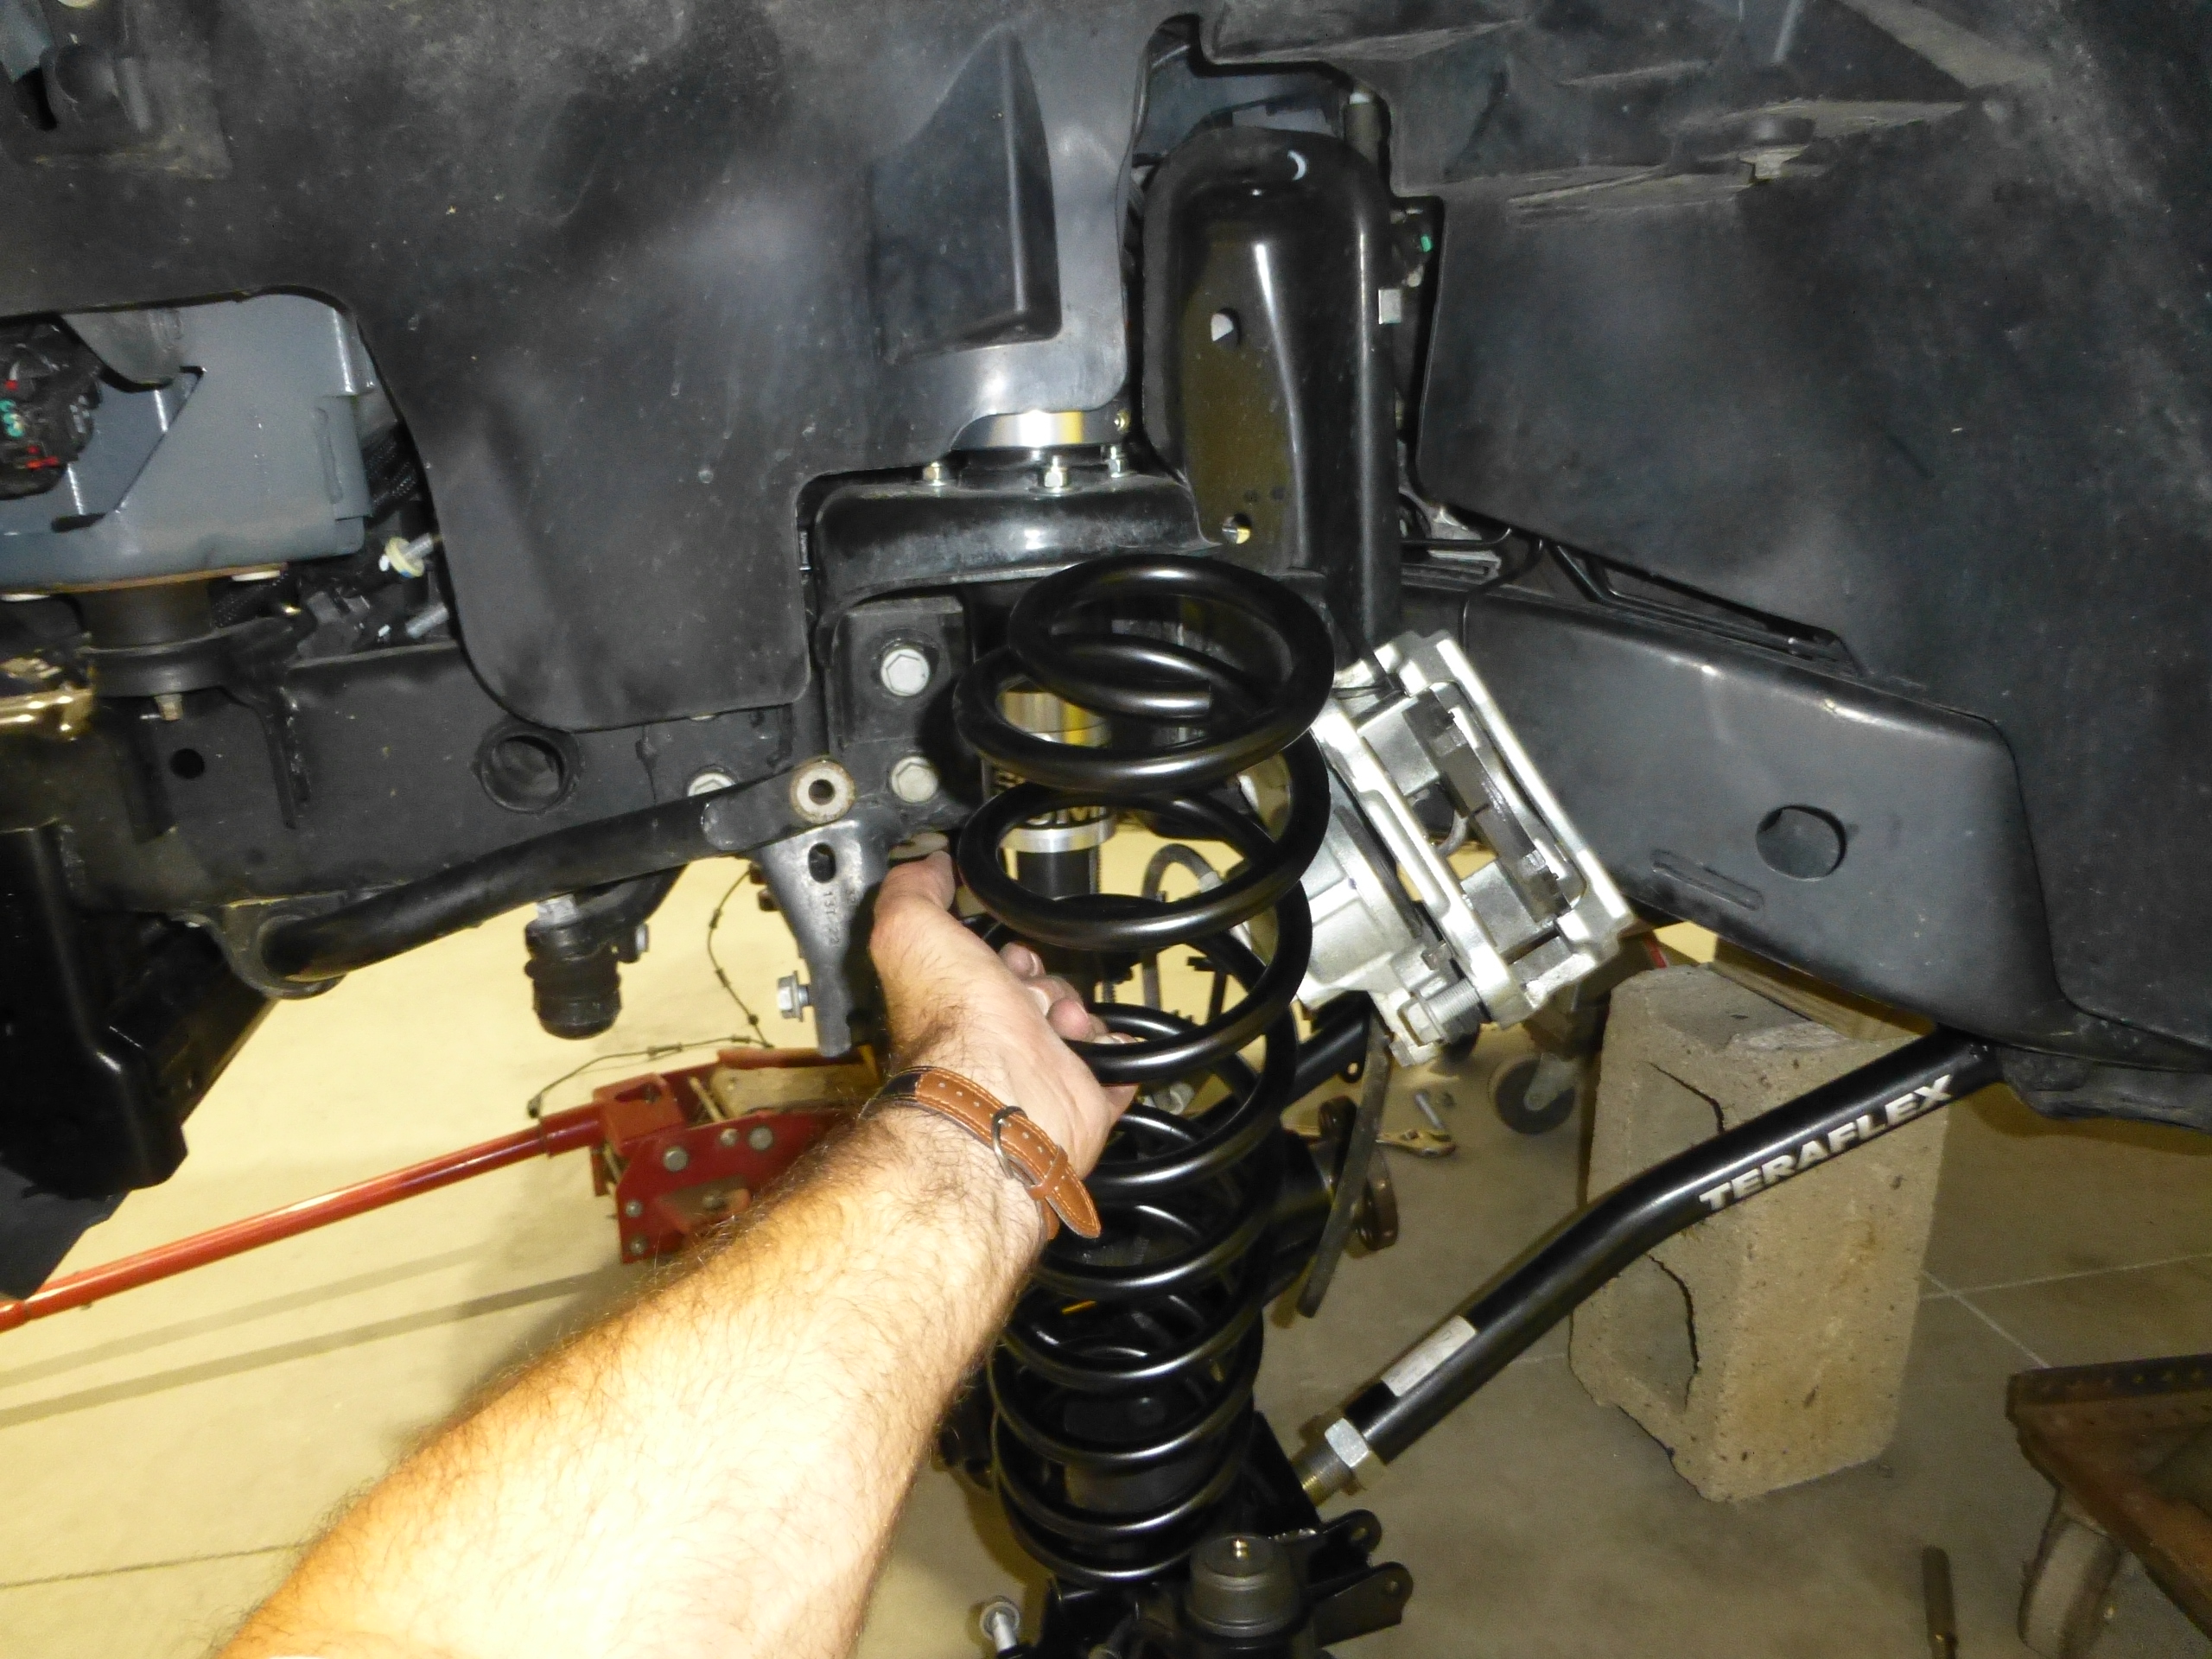
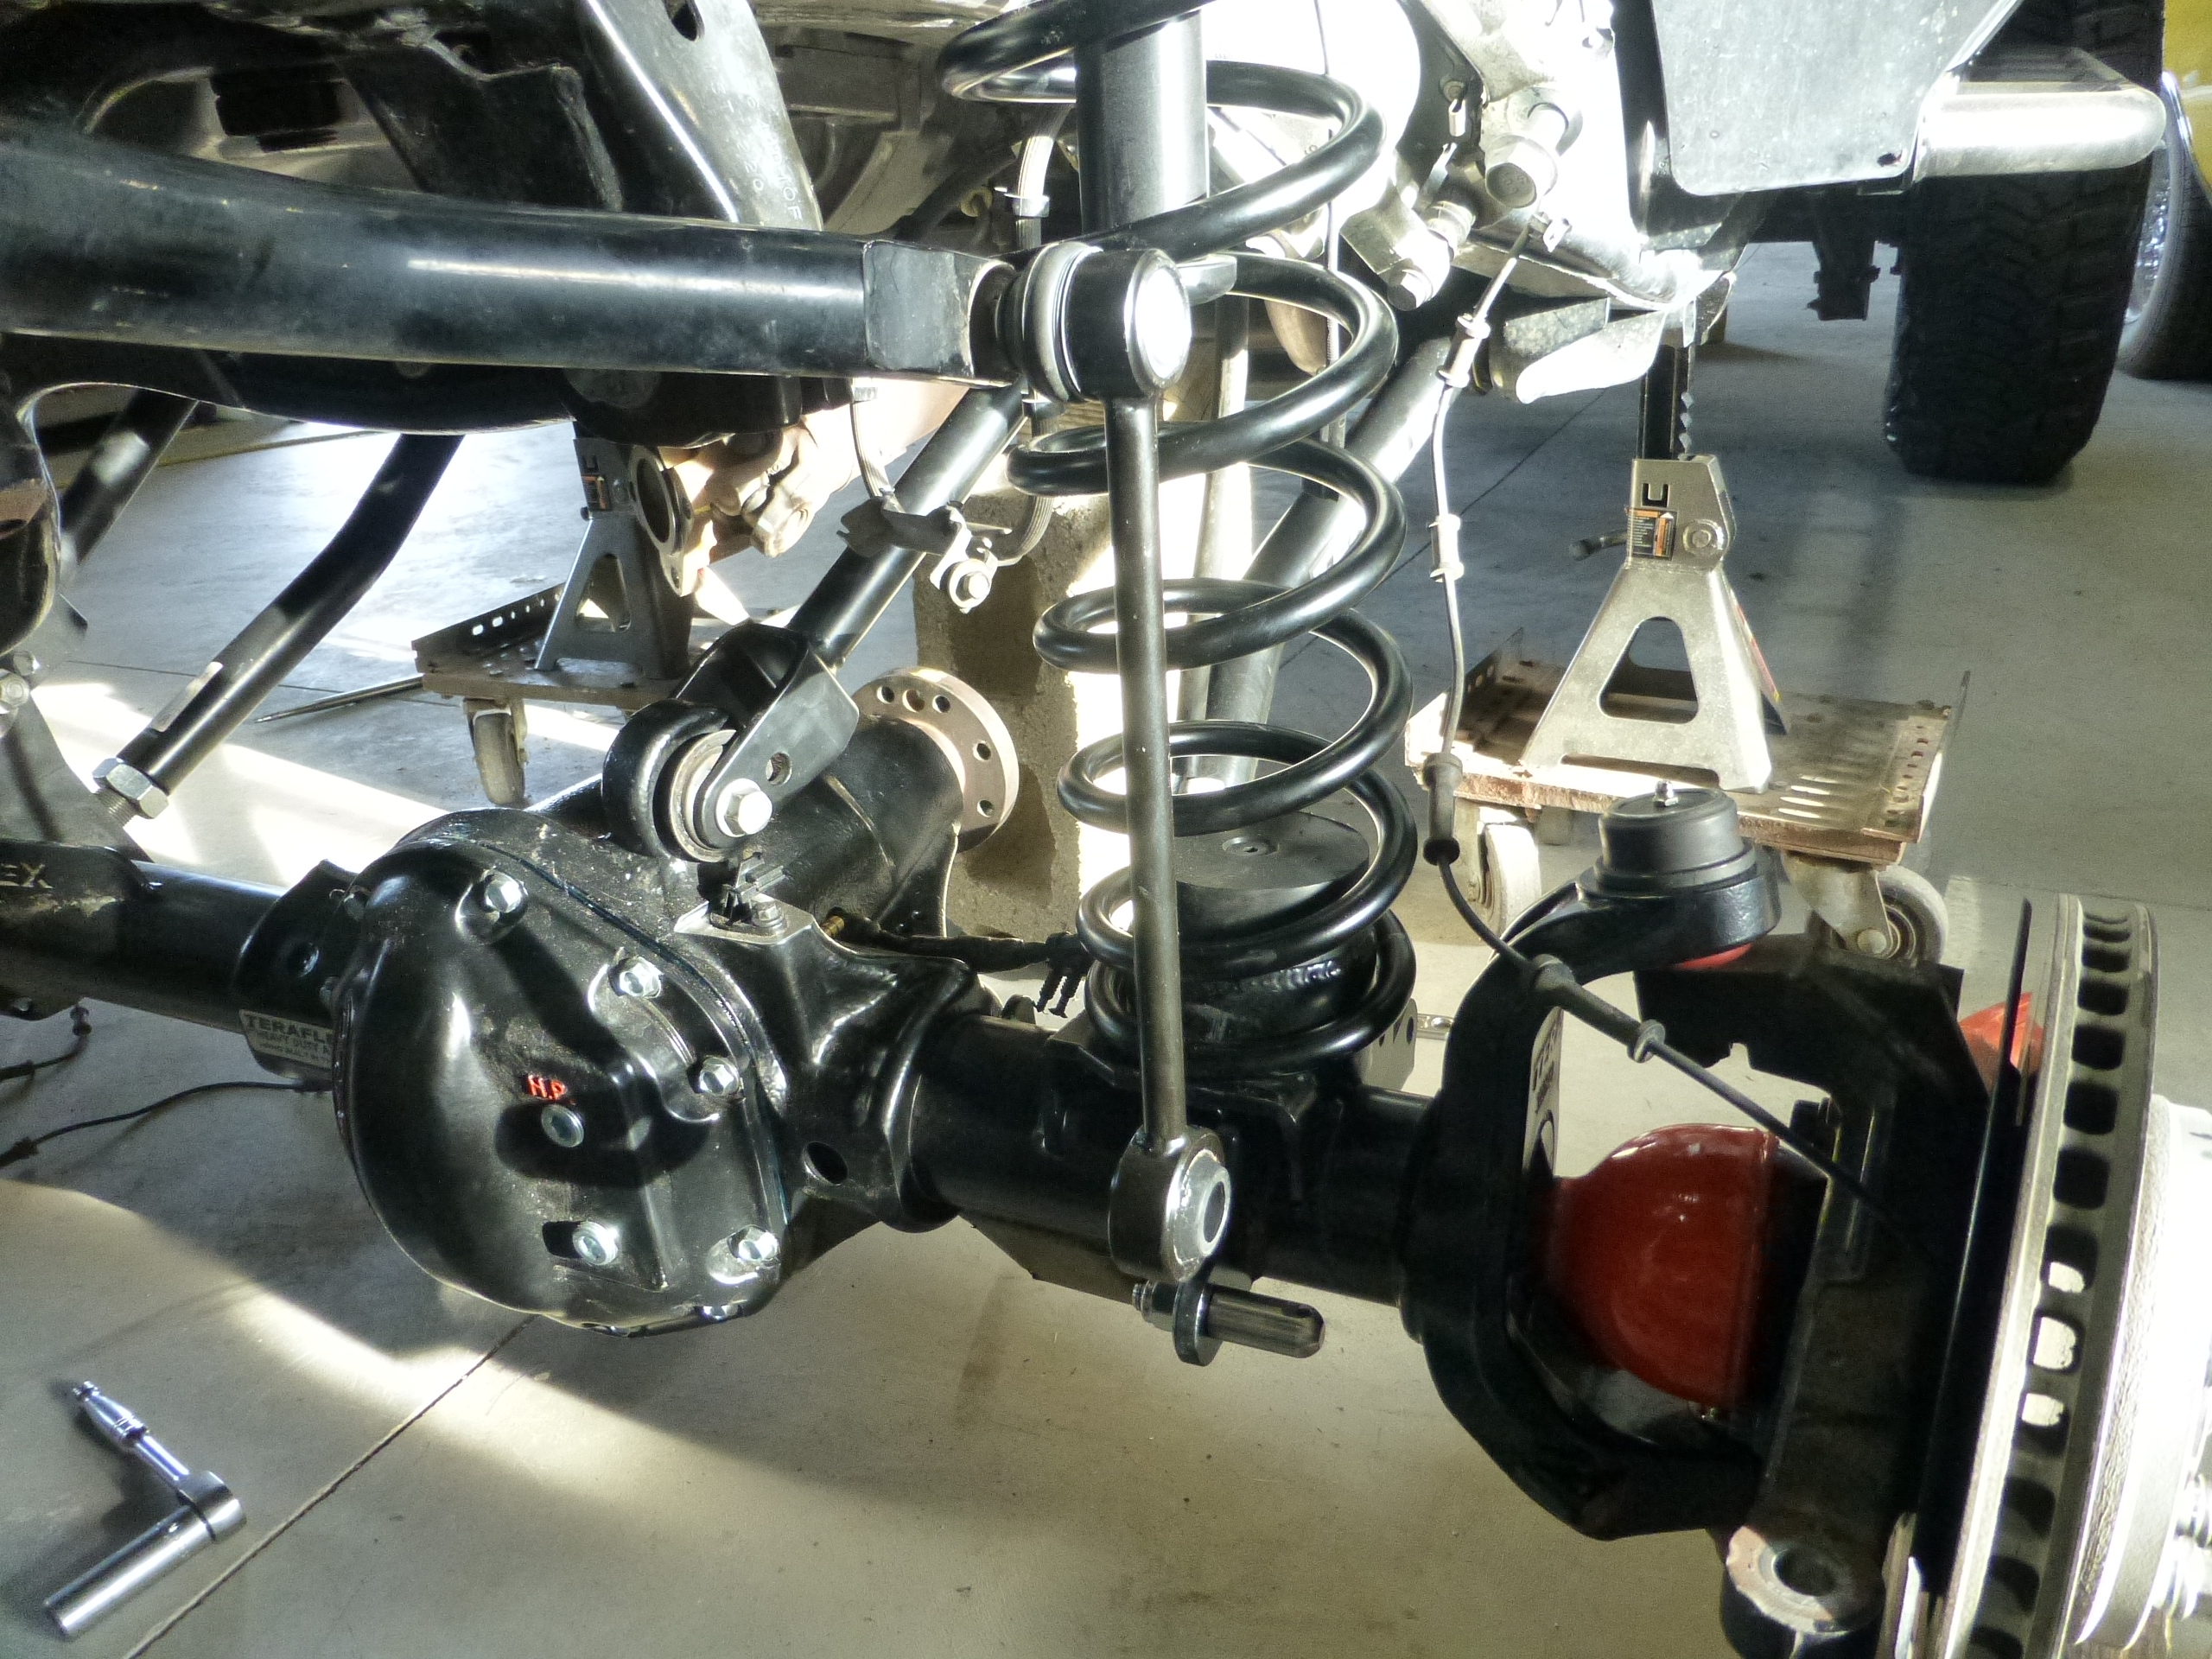
The next parts to go in where the upper spring guide spacers and the factory spring isolator installed over the top of that. Lubing the guide spacer with a little grease helps with the install. The factory isolator has to be reinstalled or the ride height will be about a half an inch short and it also helps with noise dampening. While we were working in that area we also removed the bracket that holds the parking brake cables.
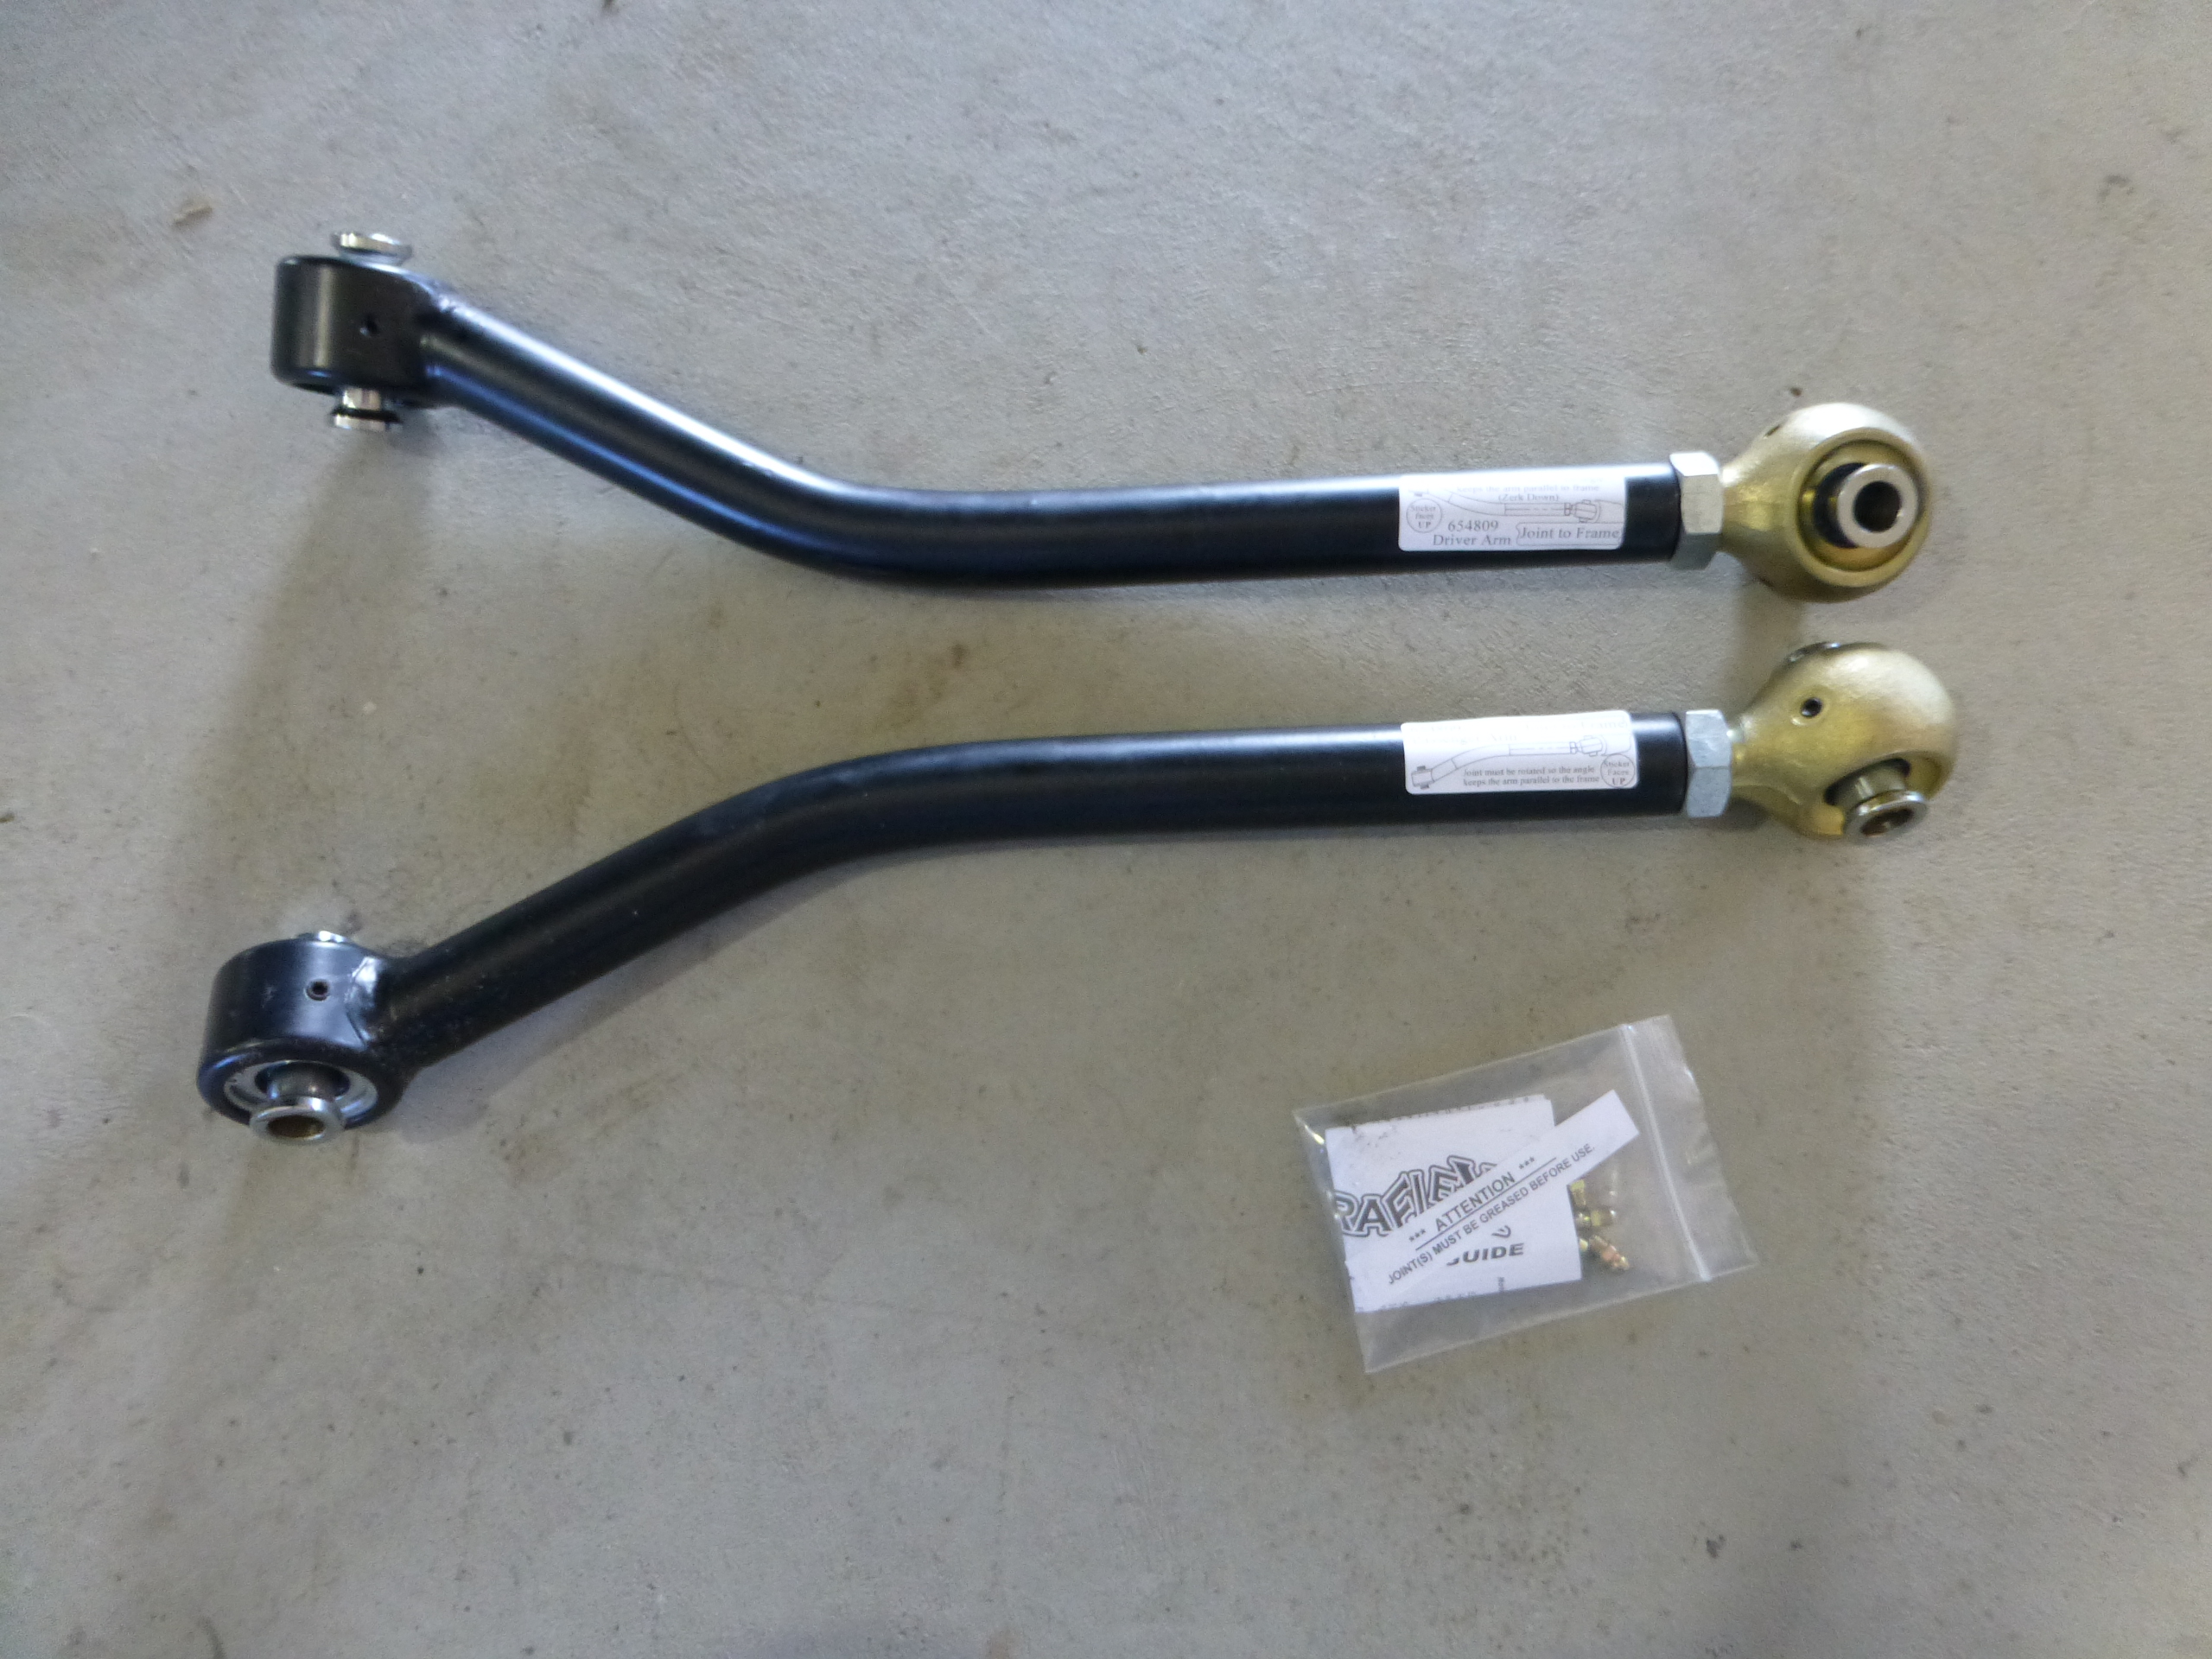
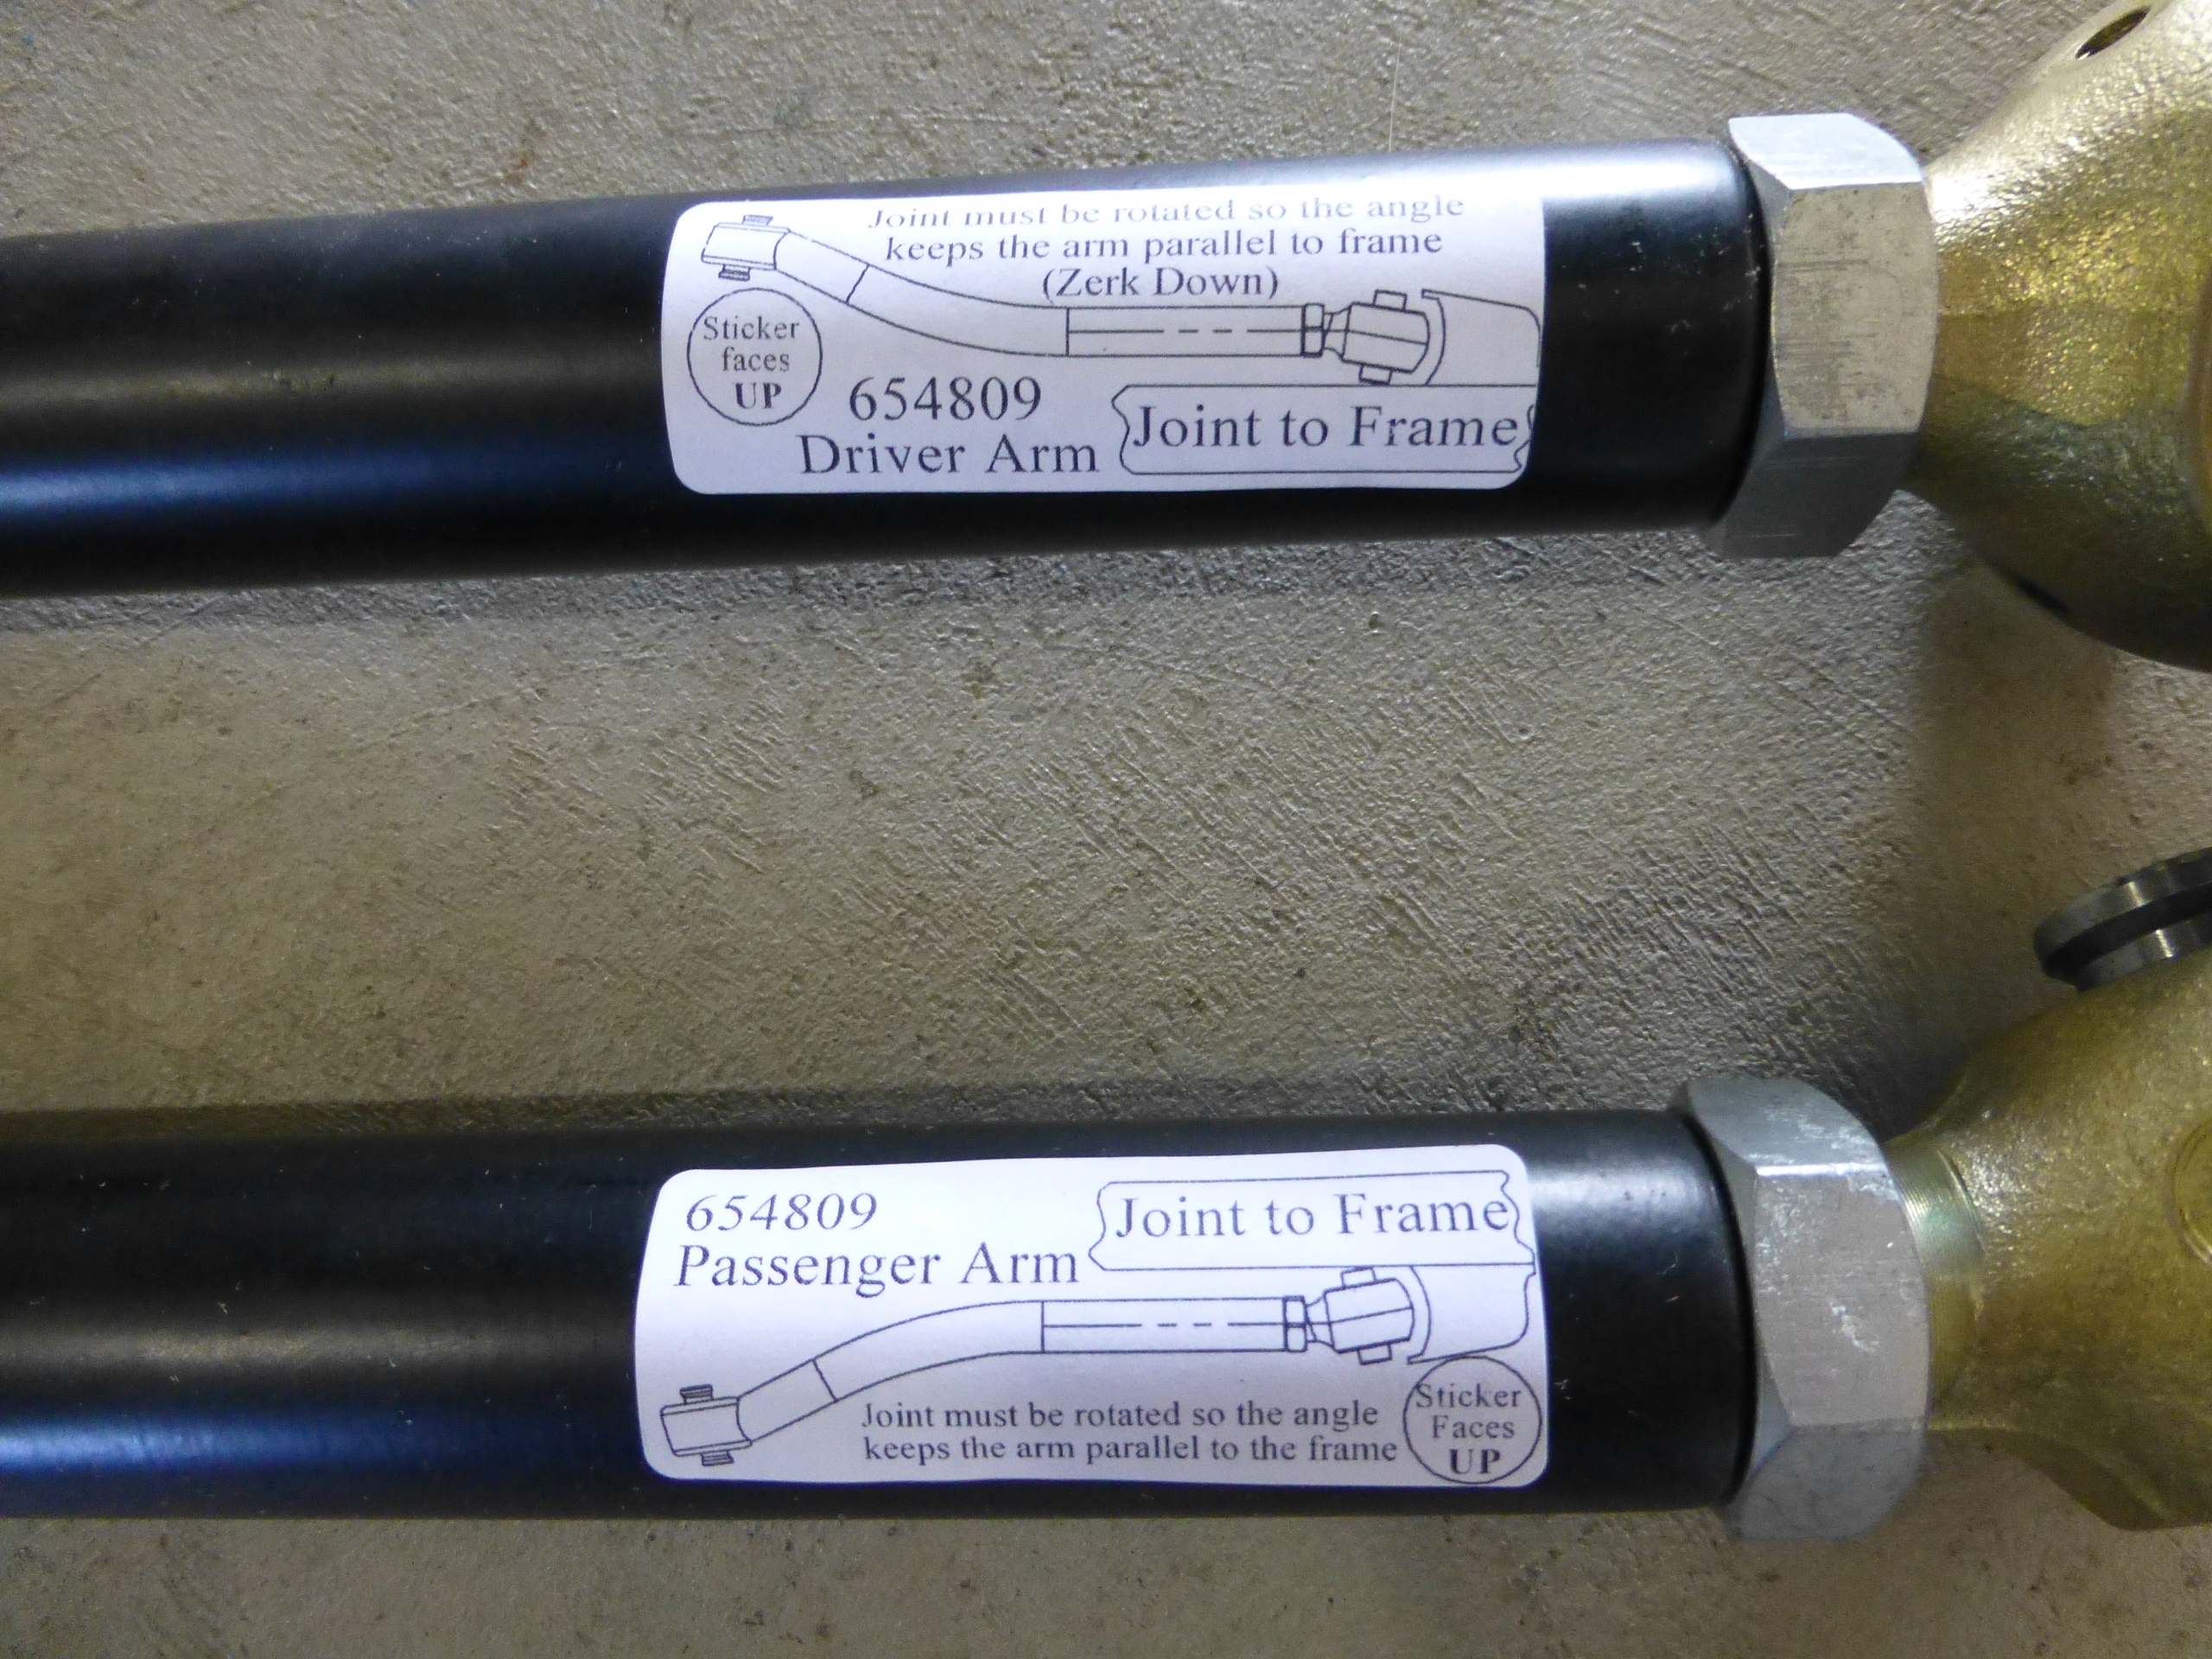
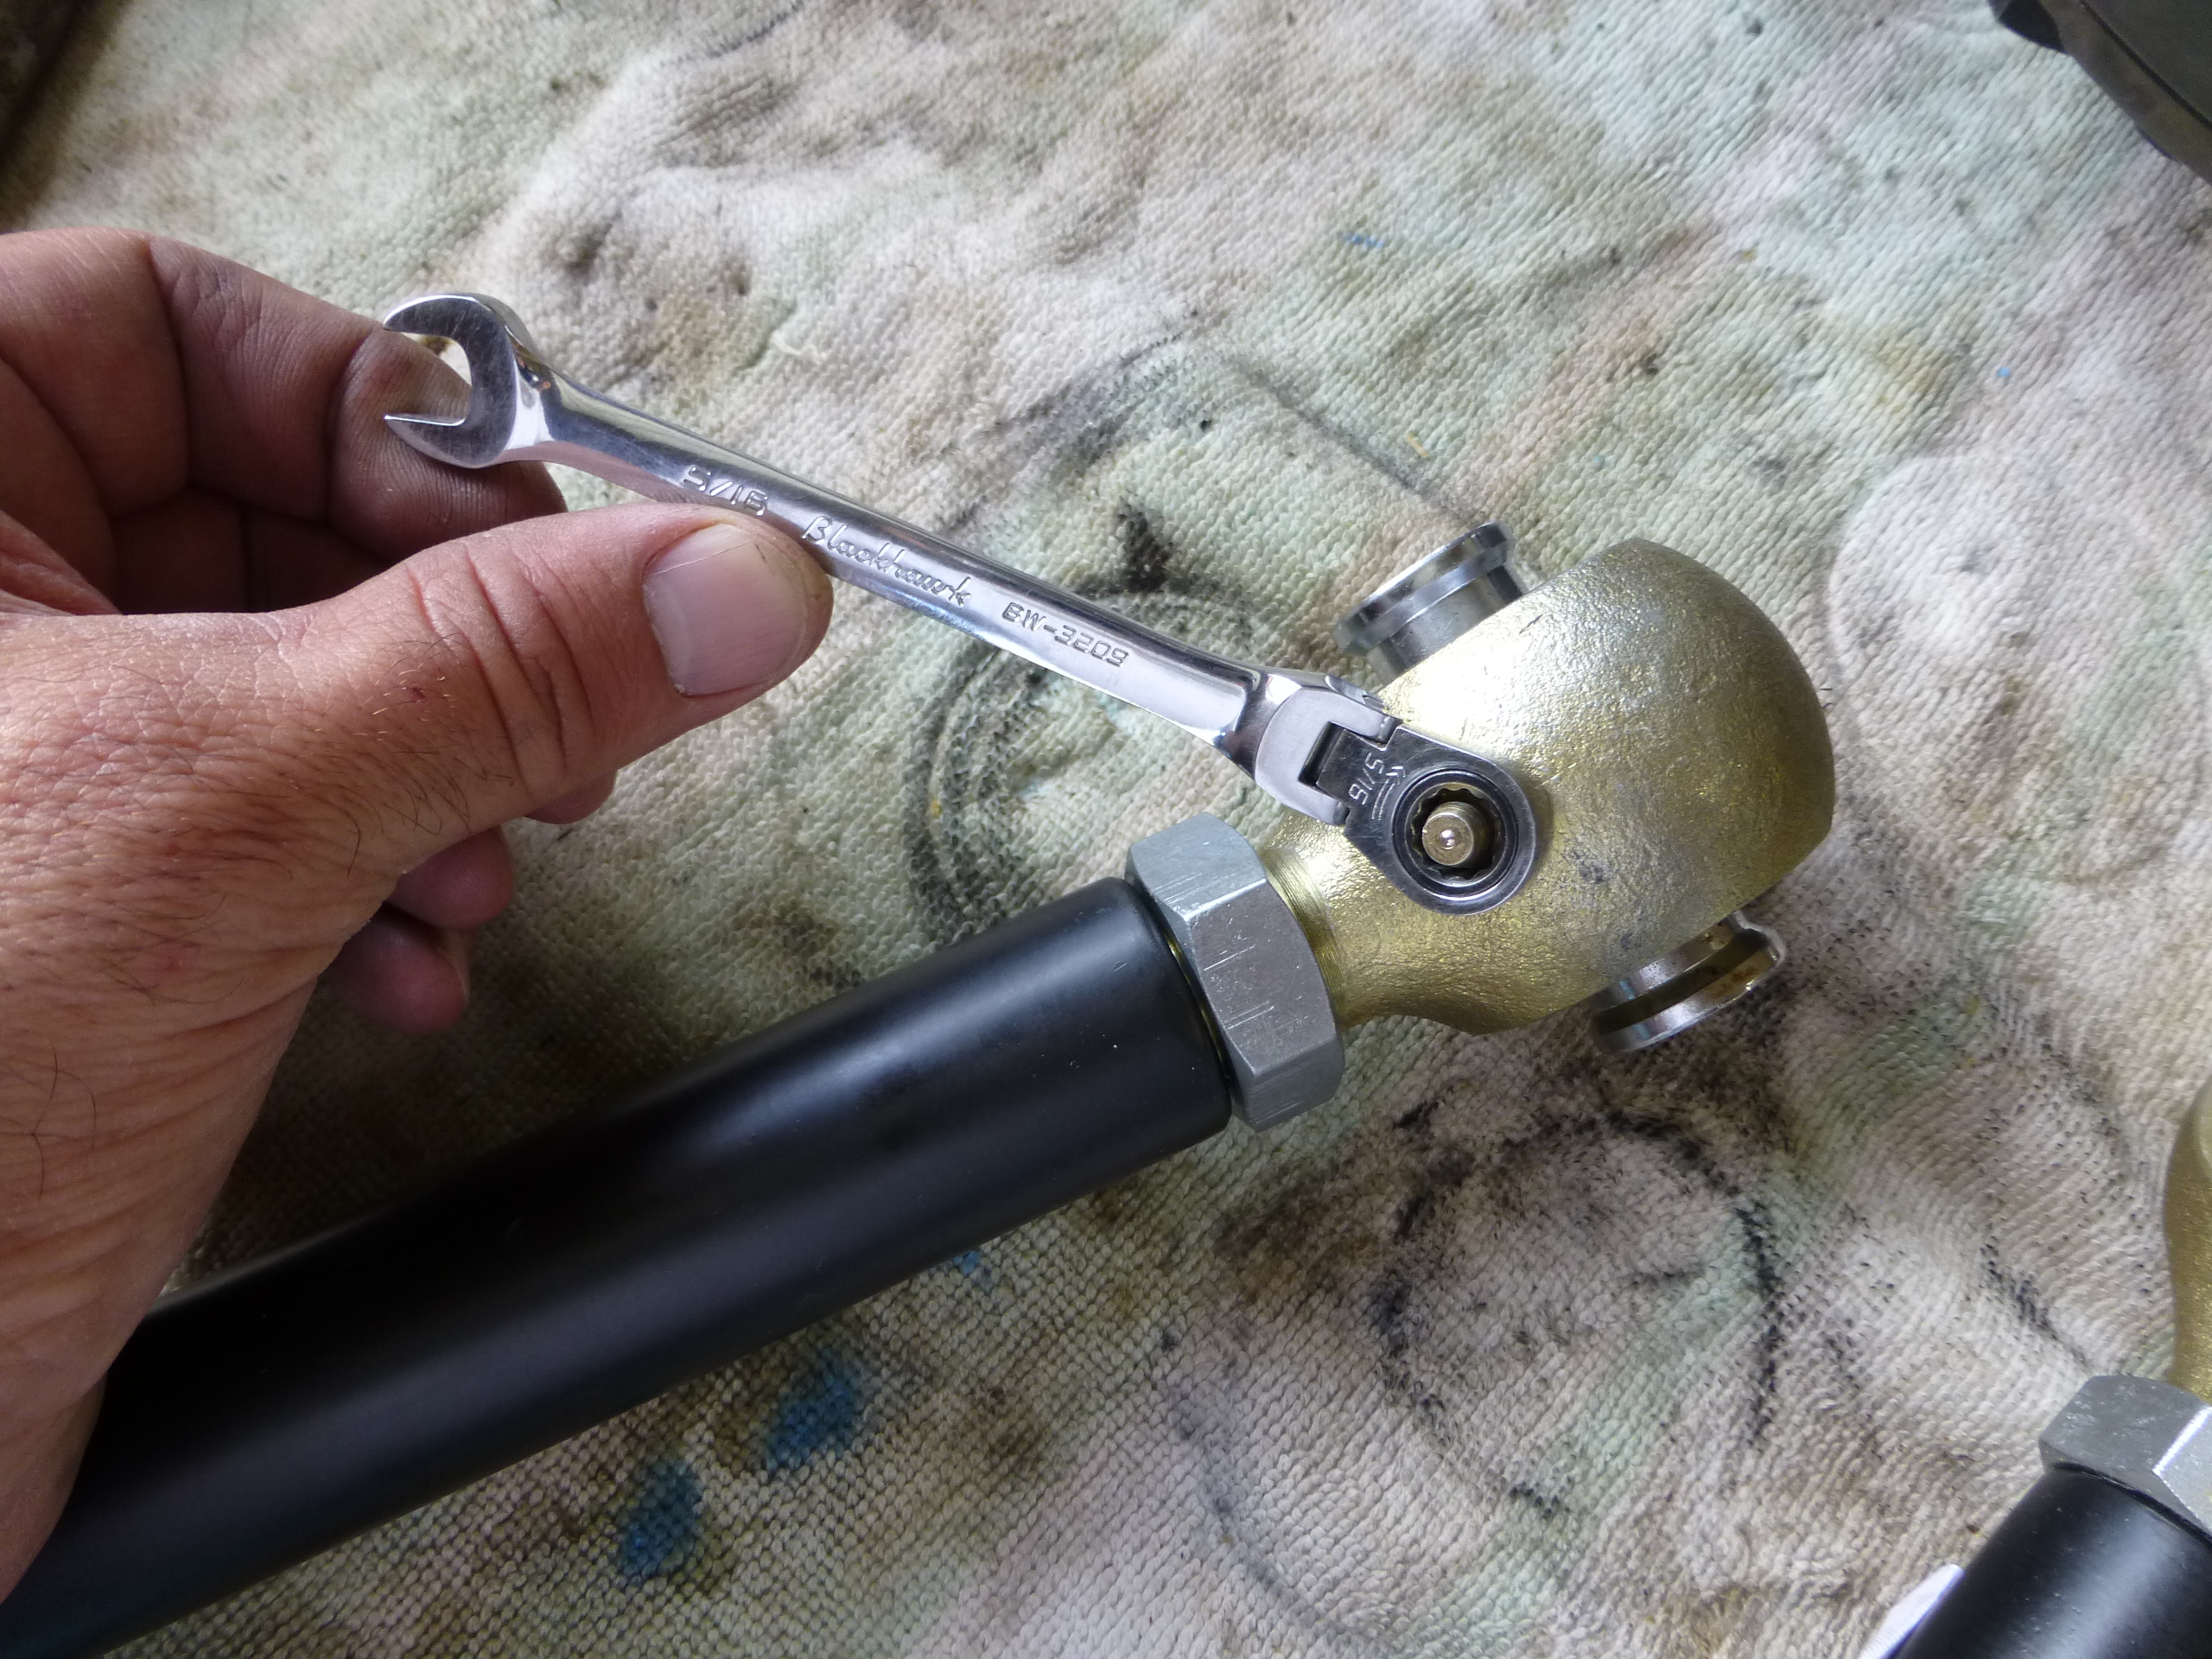
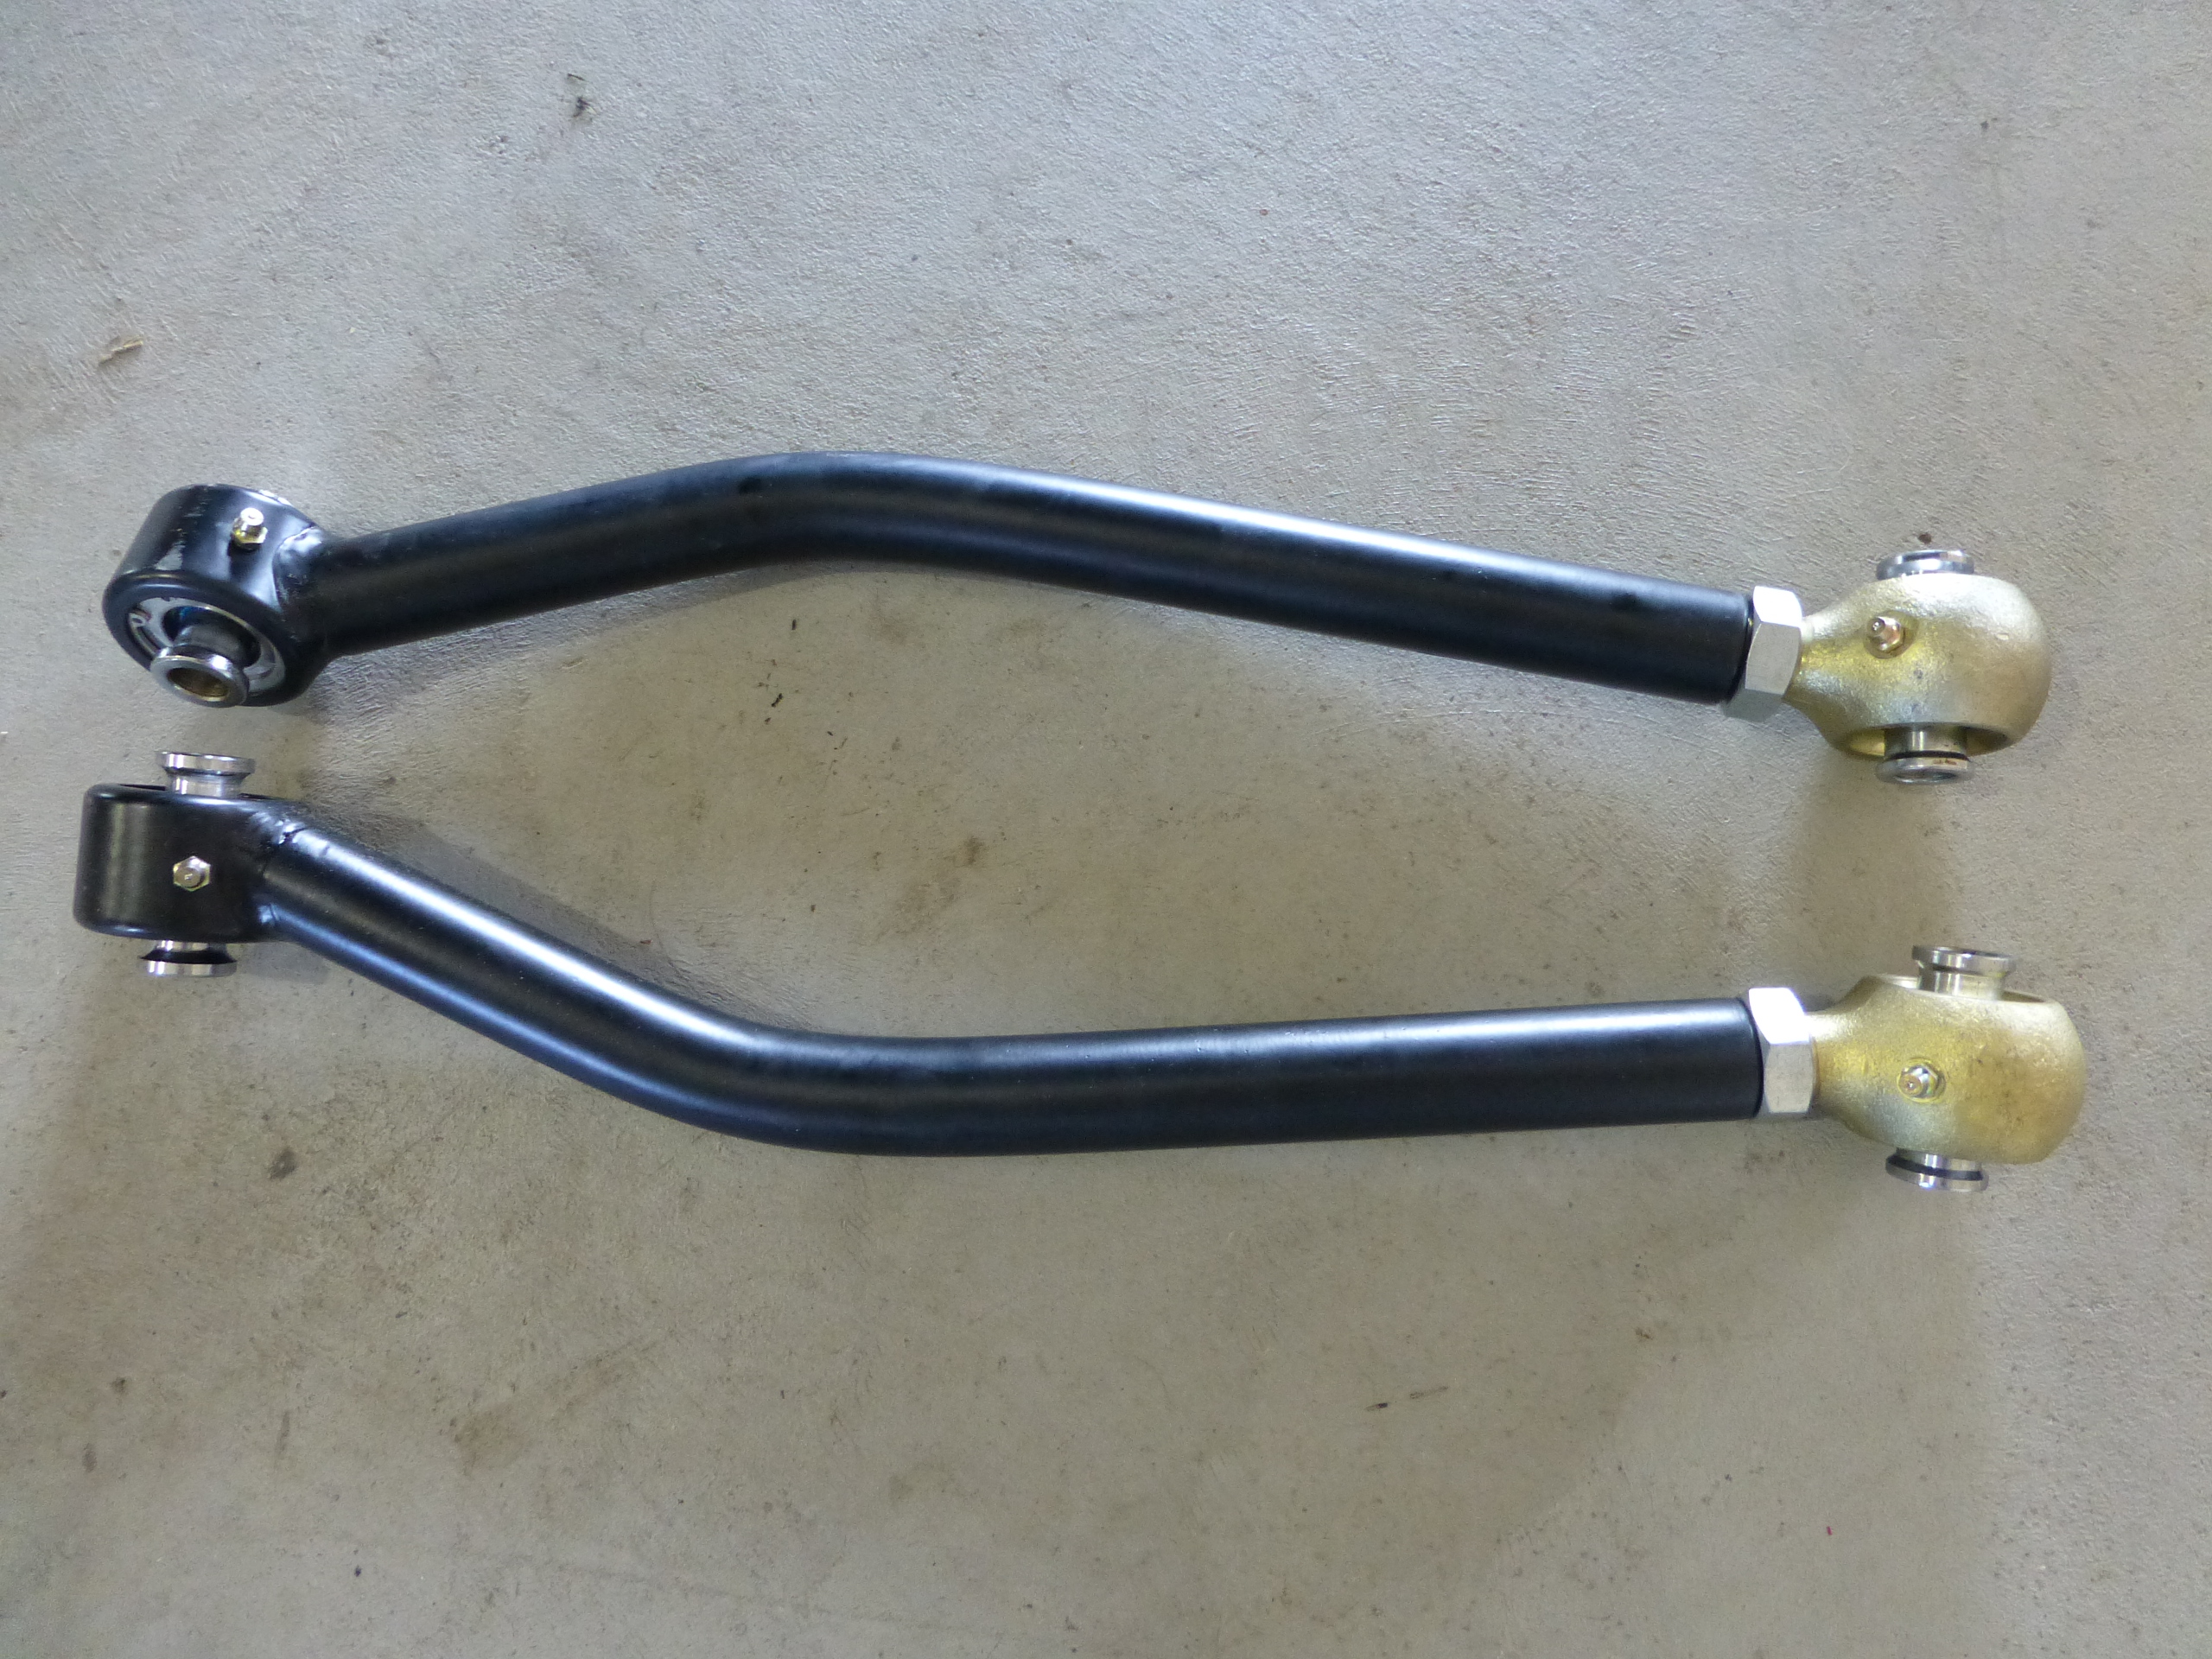
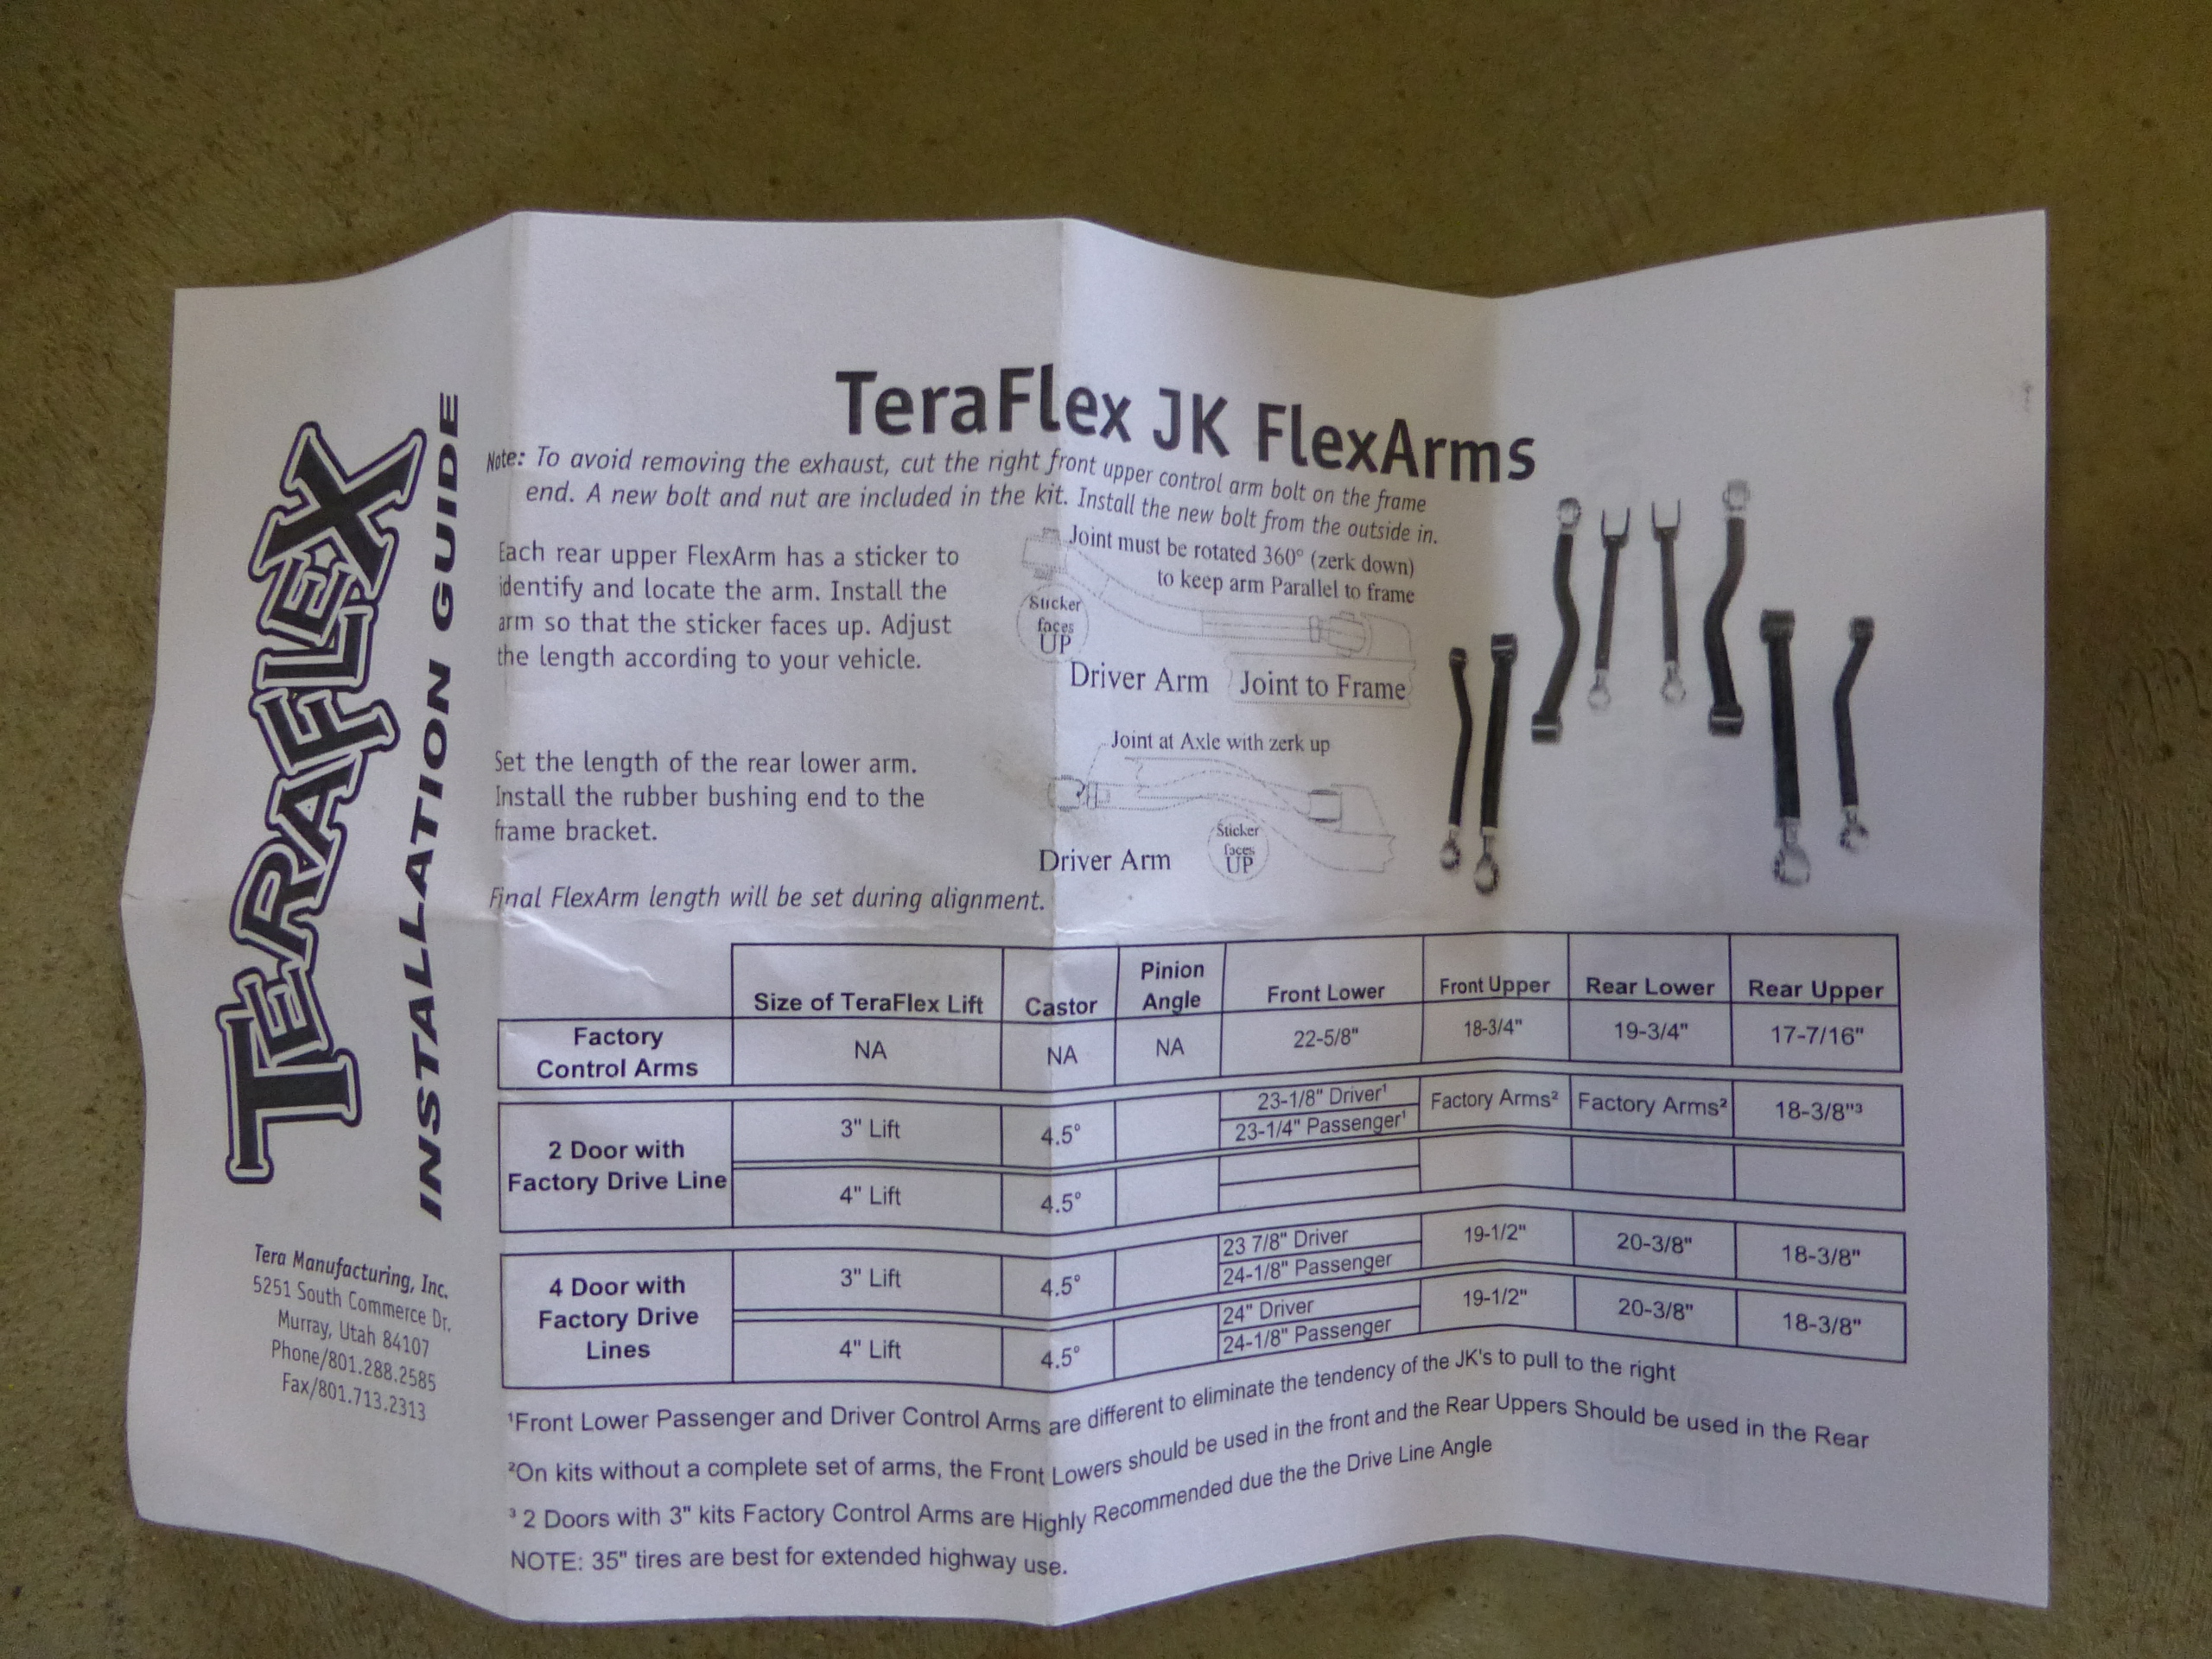
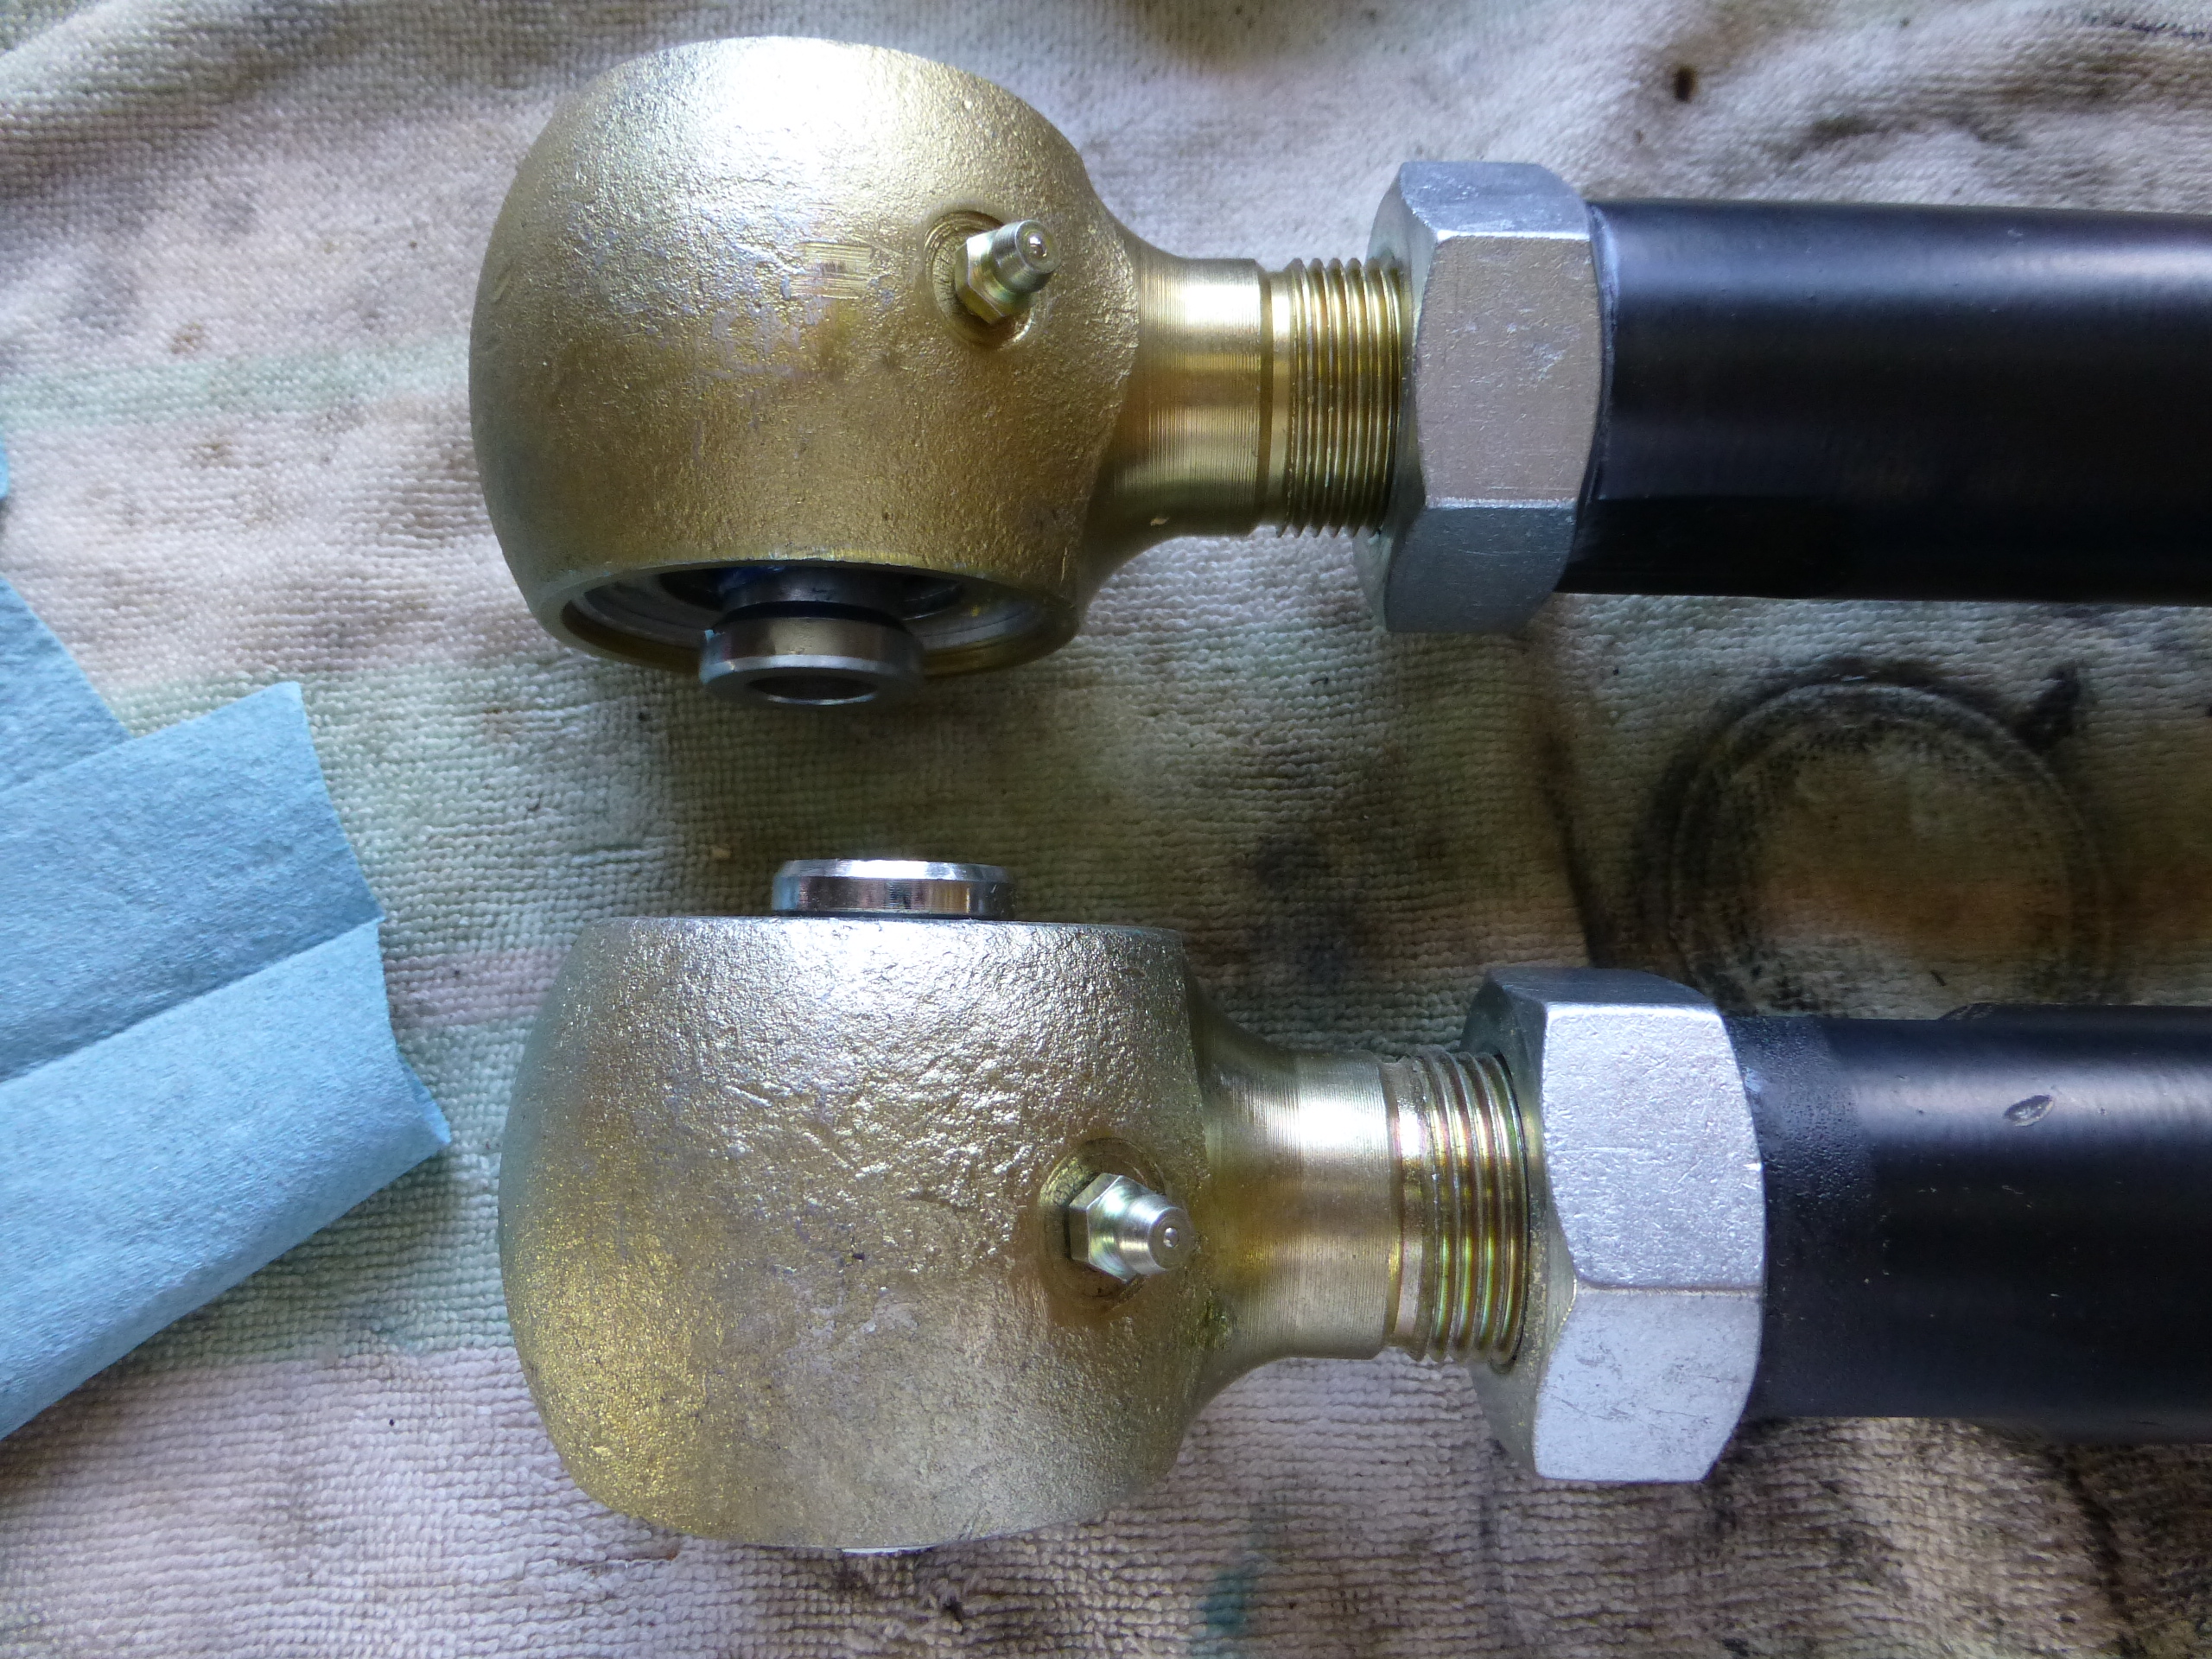
The Teraflex upper Flexarms were the next items to be installed. After installing the grease zerks and setting the length using the included chart, we mounted the Flexarms to the frame (Teraflex includes a chart to assist in setting the length depending on the model and size of lift as well as driveline info). Next we moved to the lowers and repeated the process that we used to set the correct length on the uppers. They even include a decal on the Flexarms to show the proper way to install the uppers so they are parallel with the frame. We made sure to grease the Flexarms before we installed them so we didn’t overlook it.
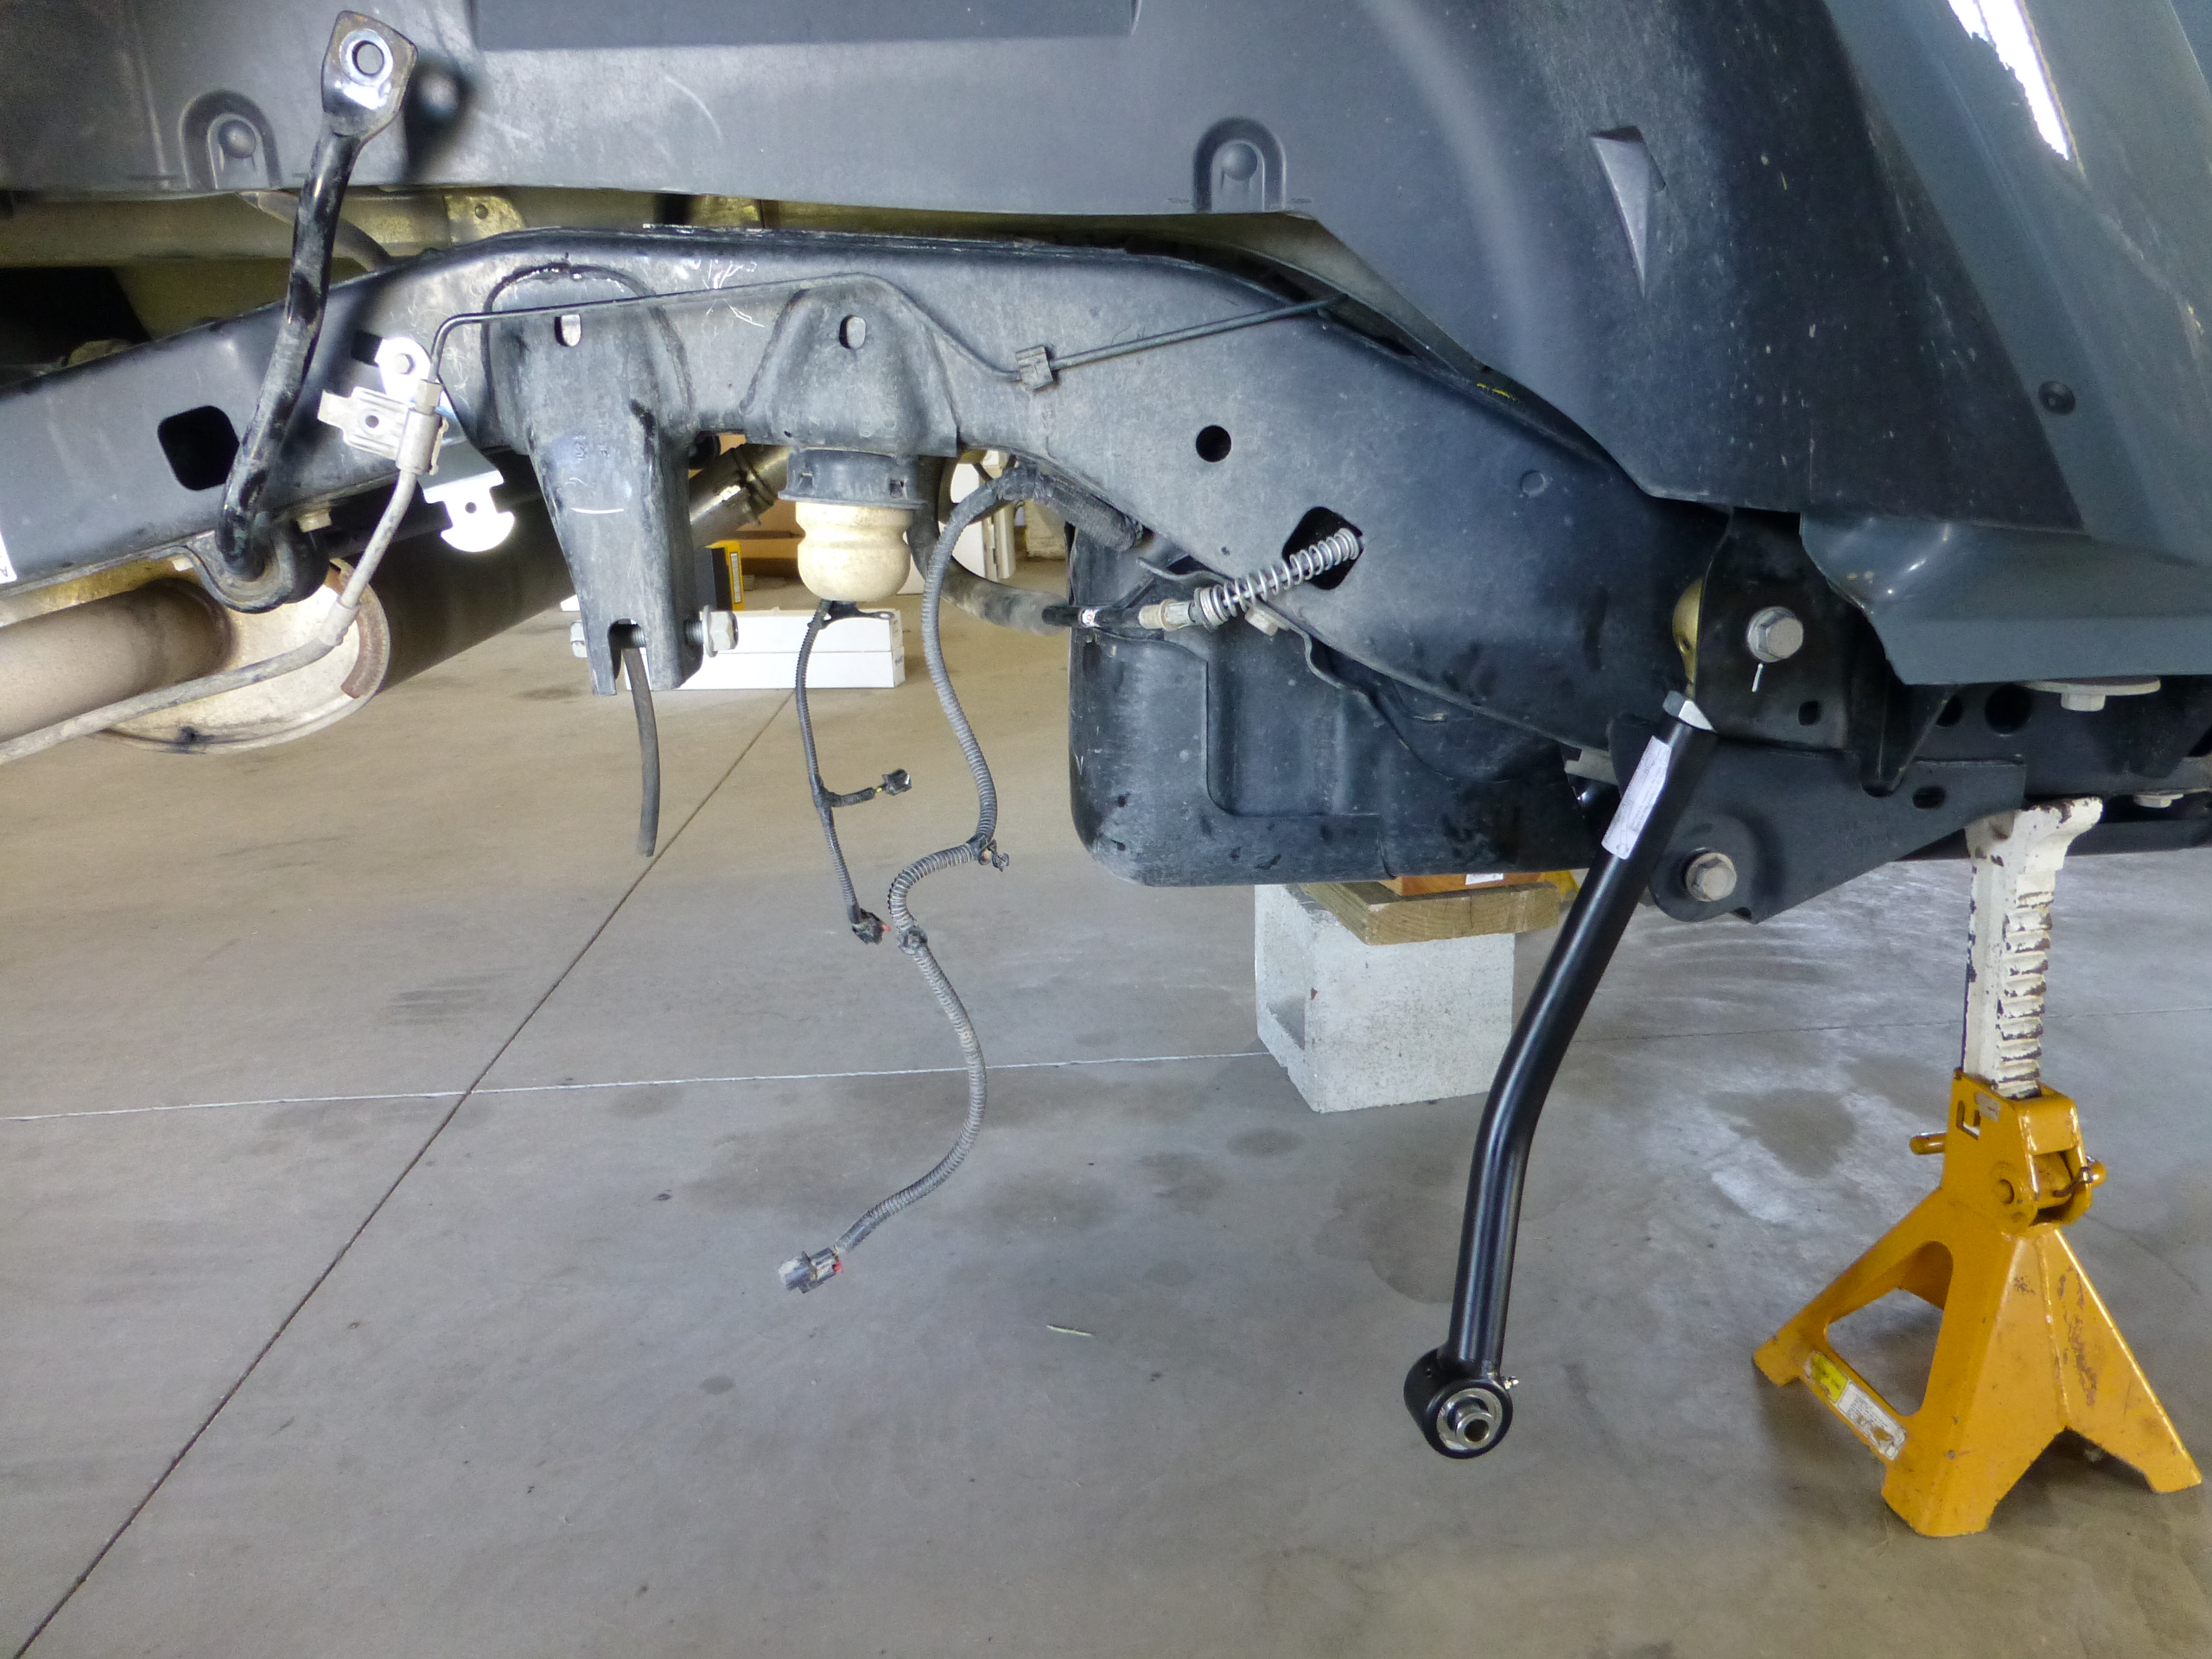

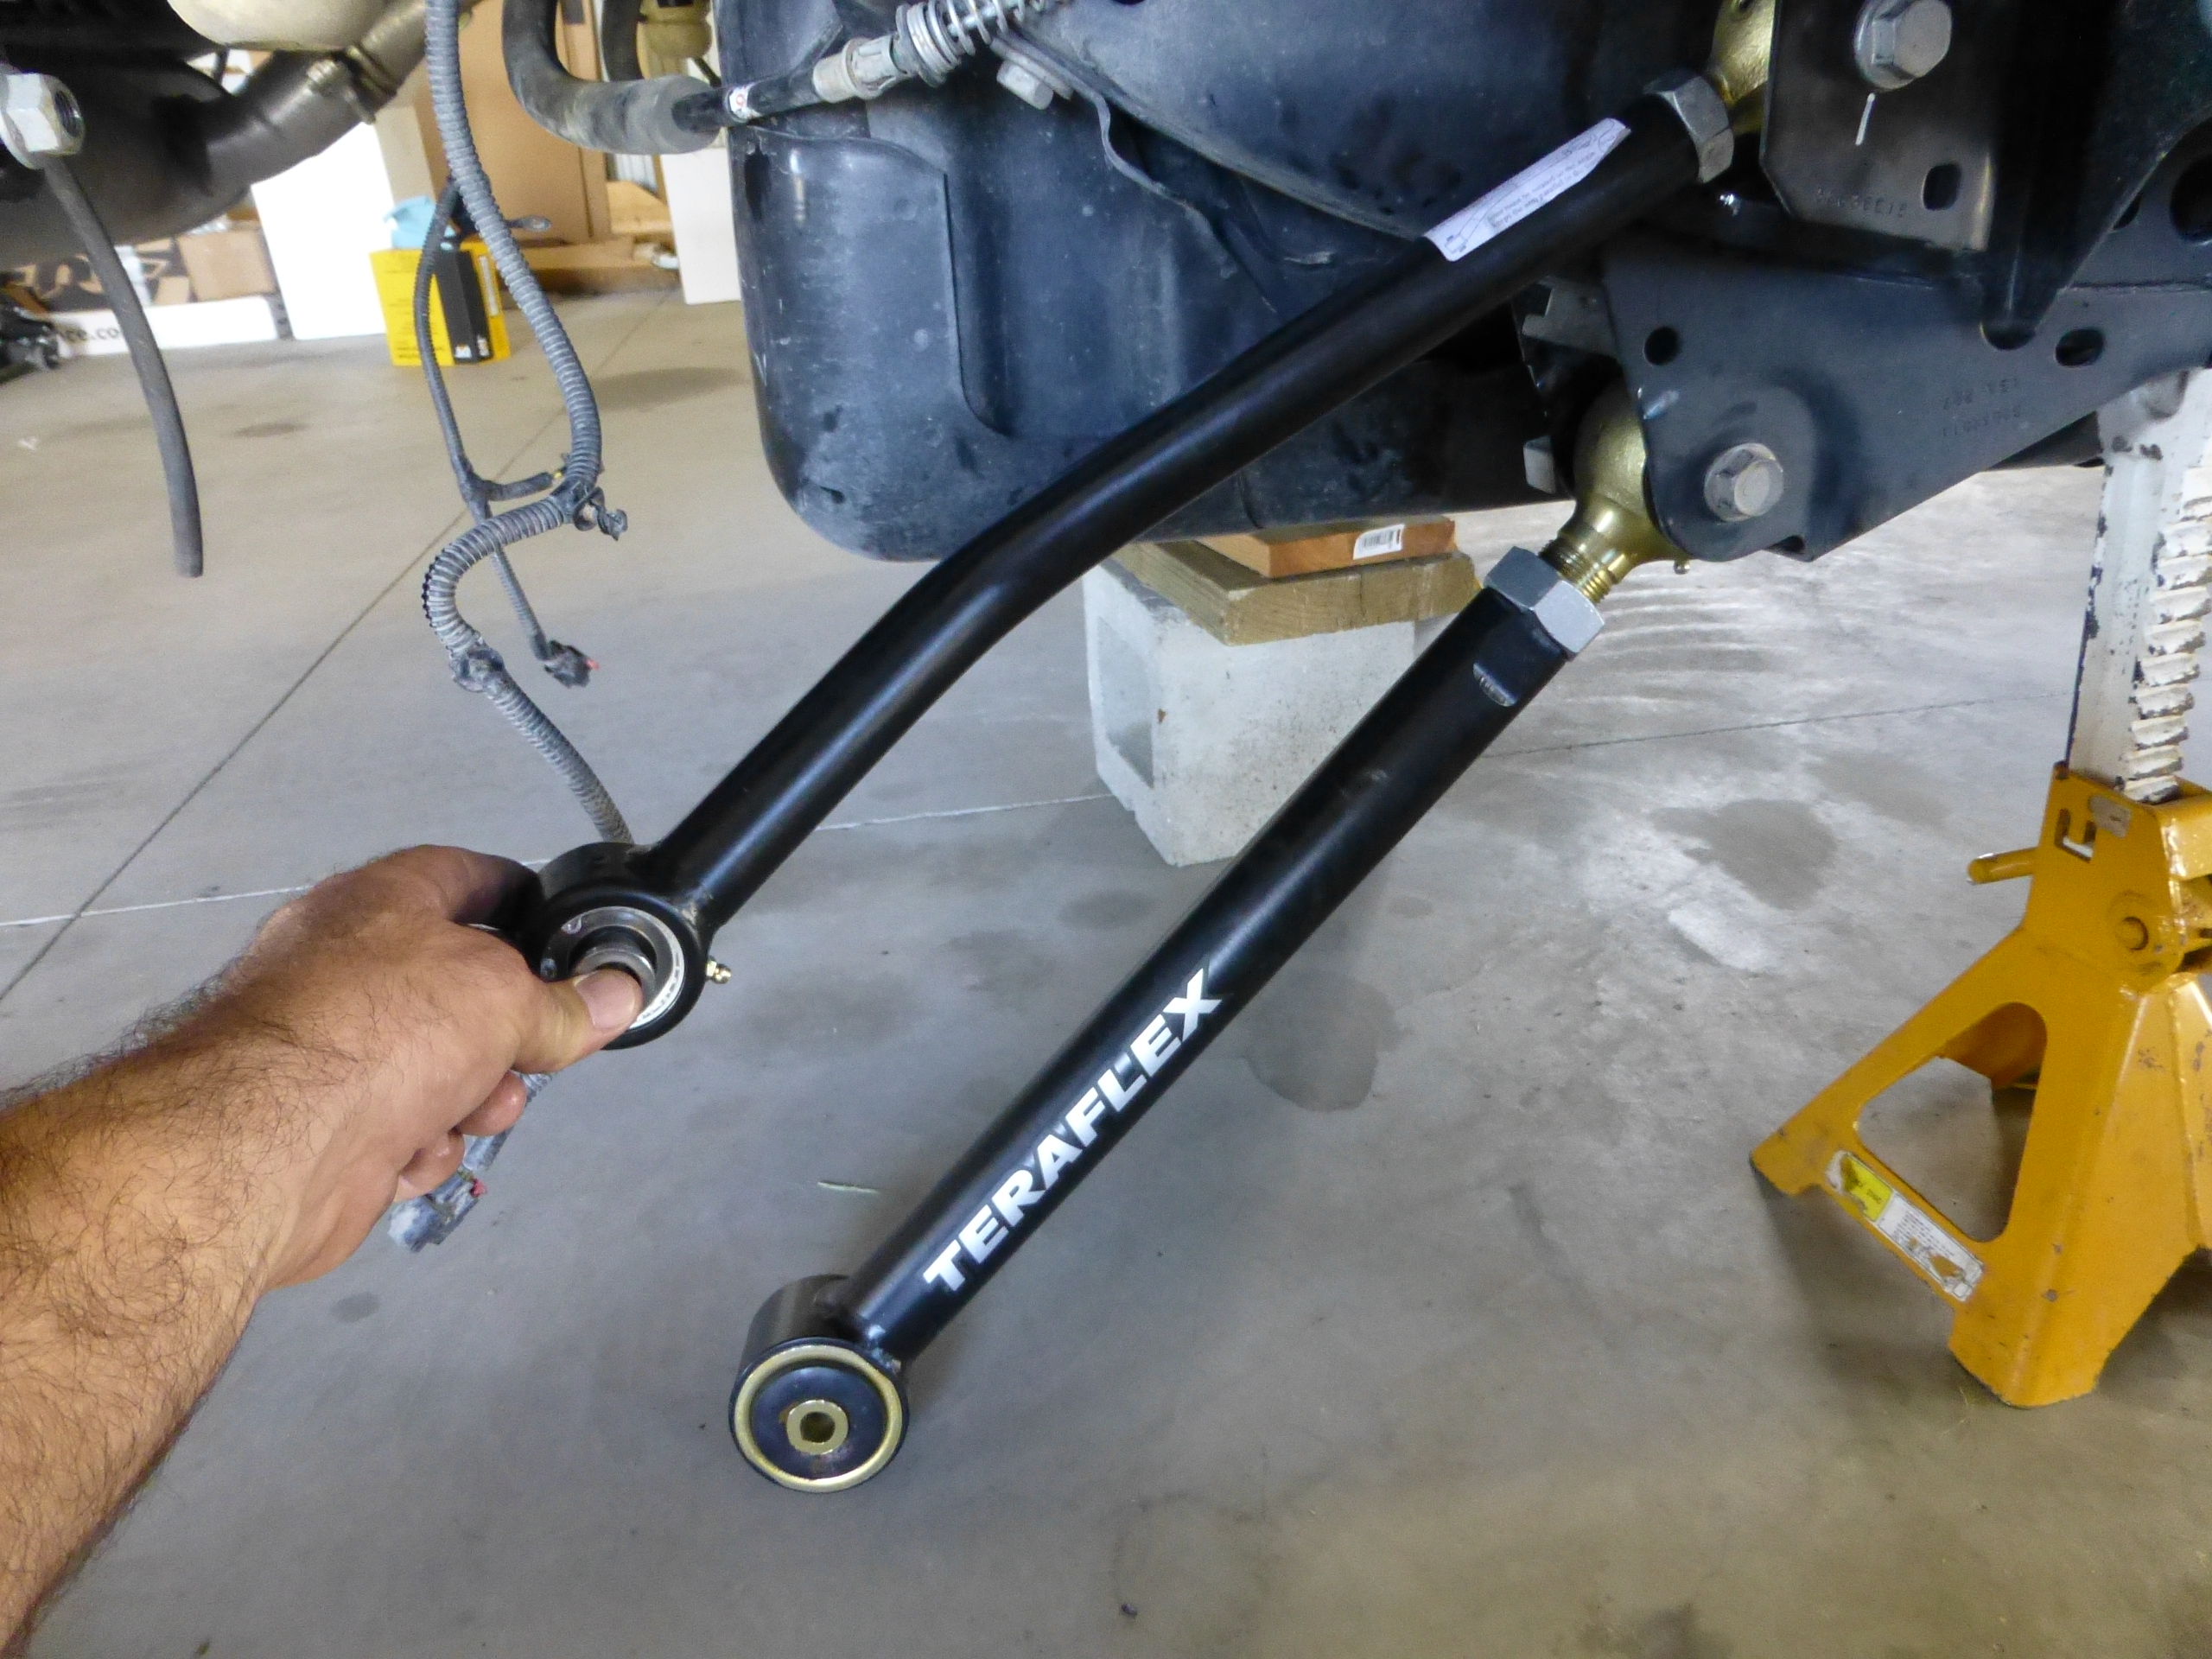
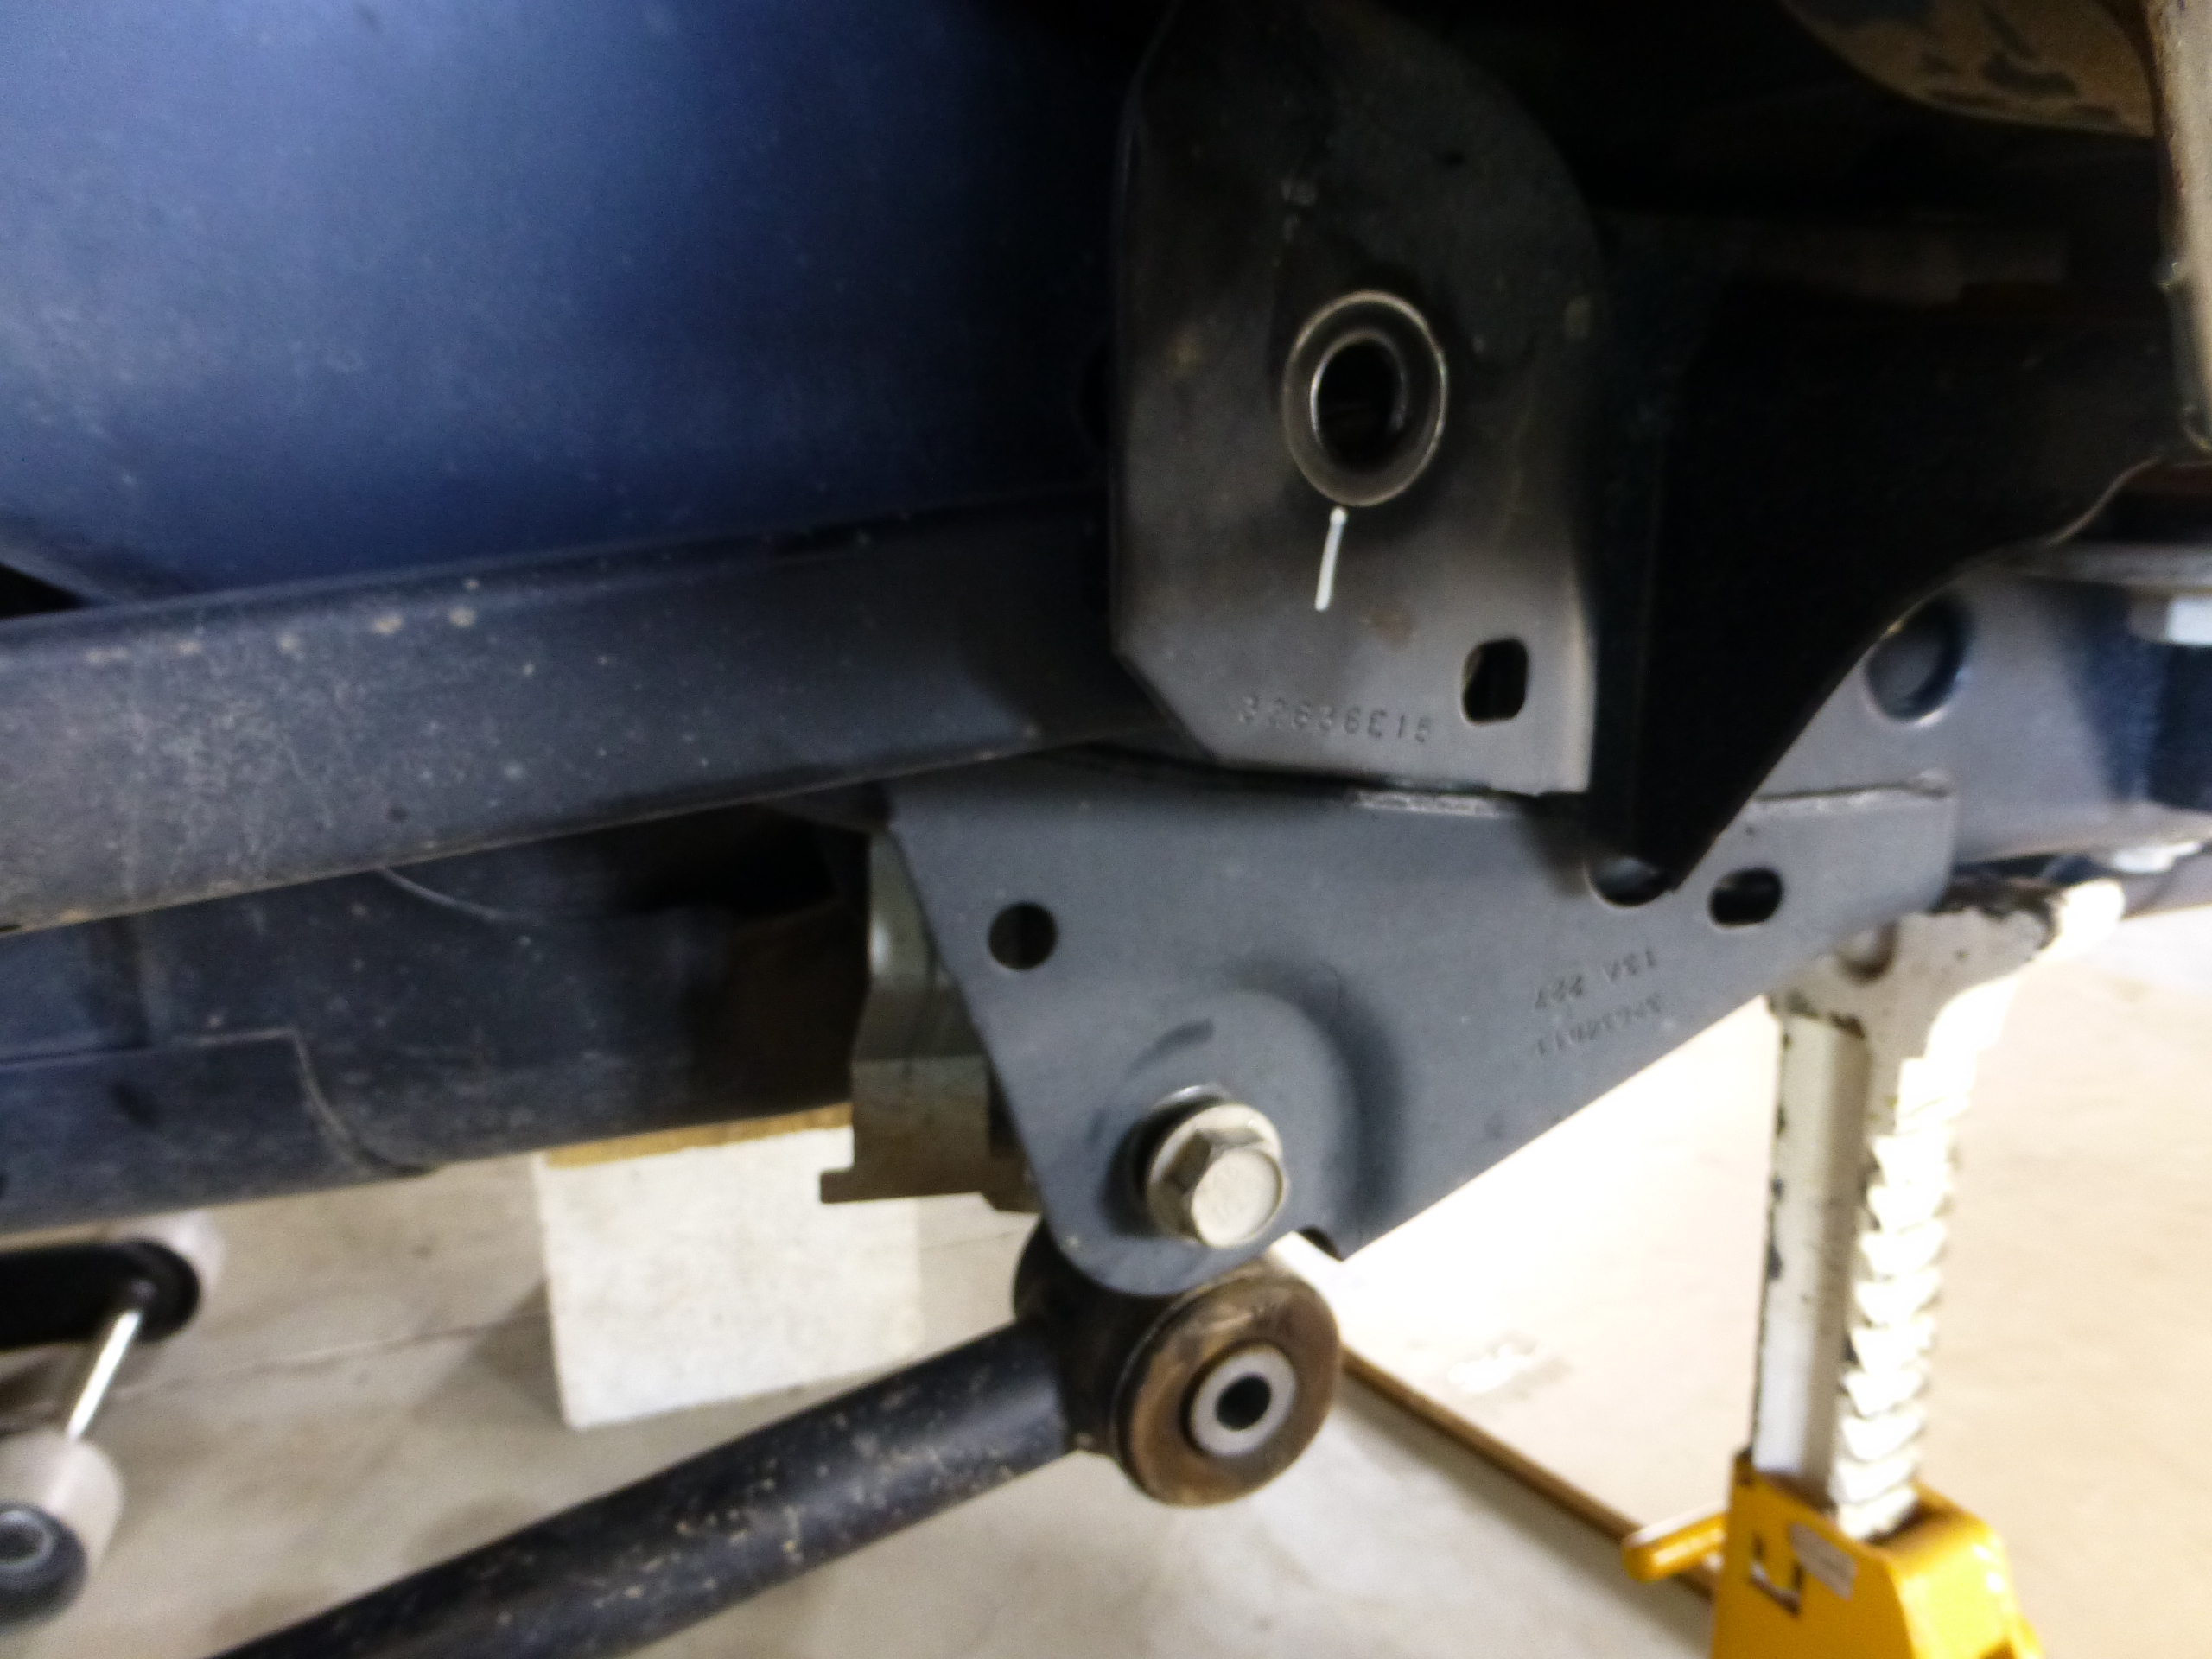
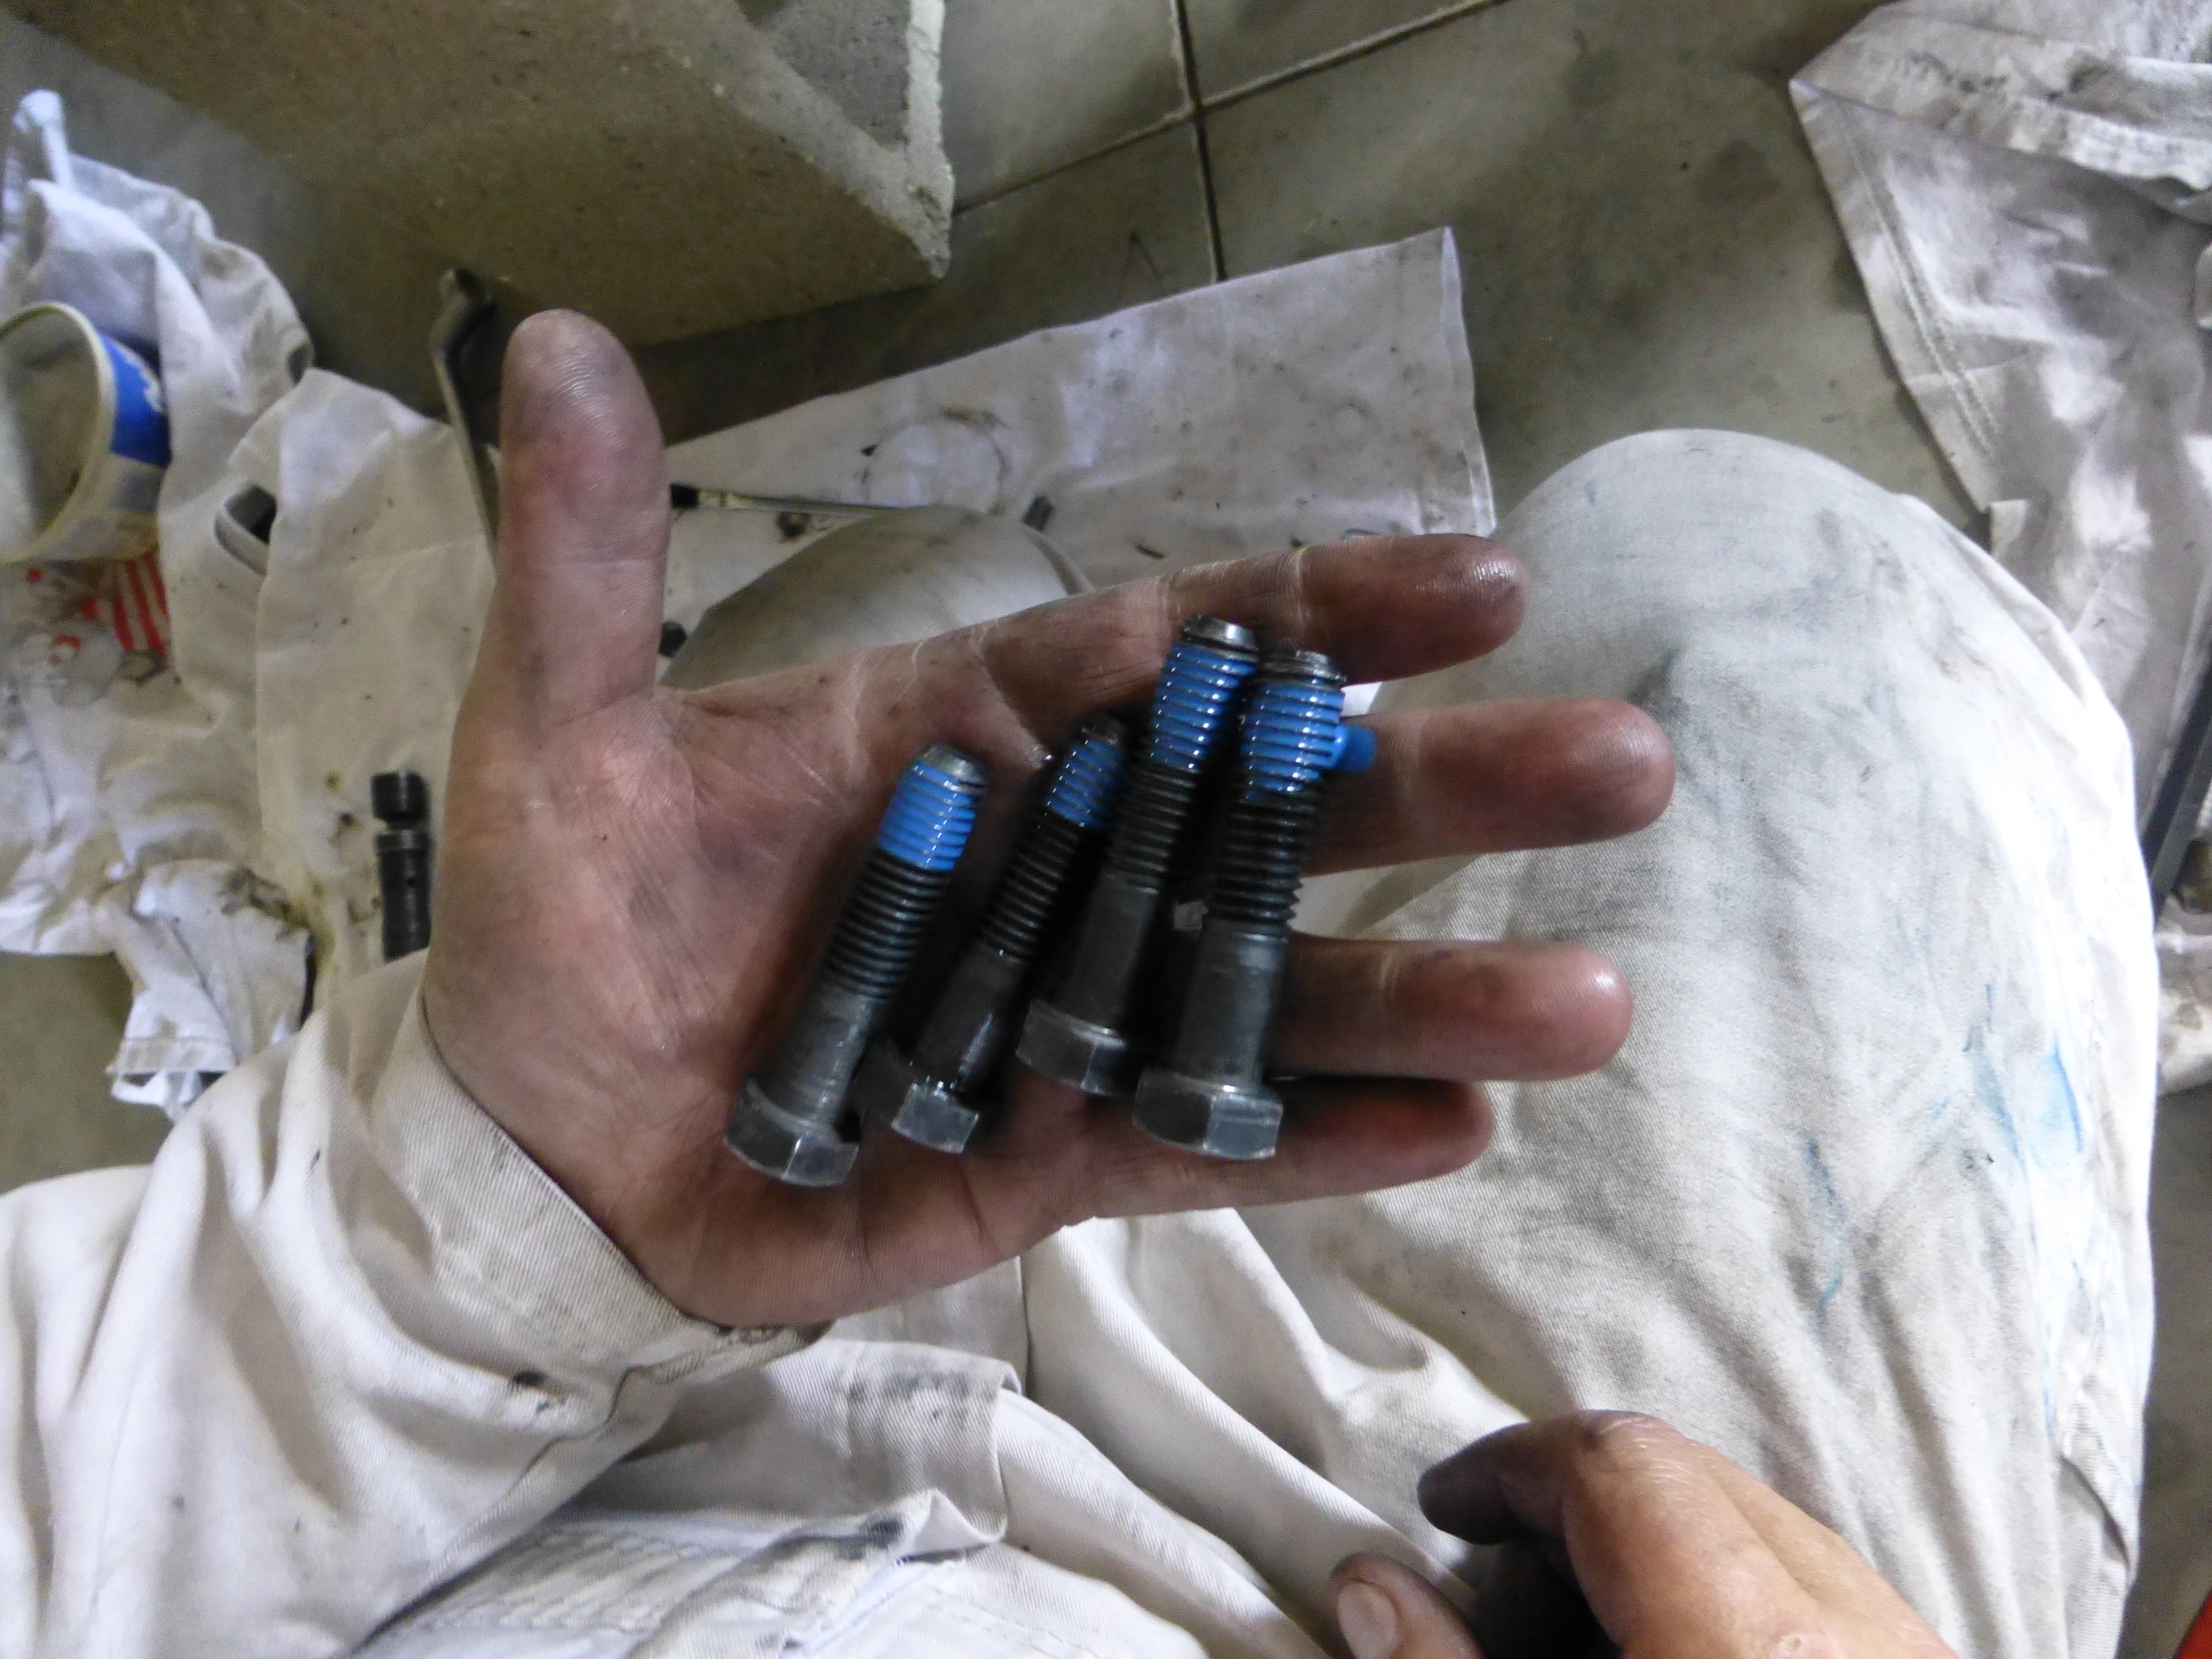
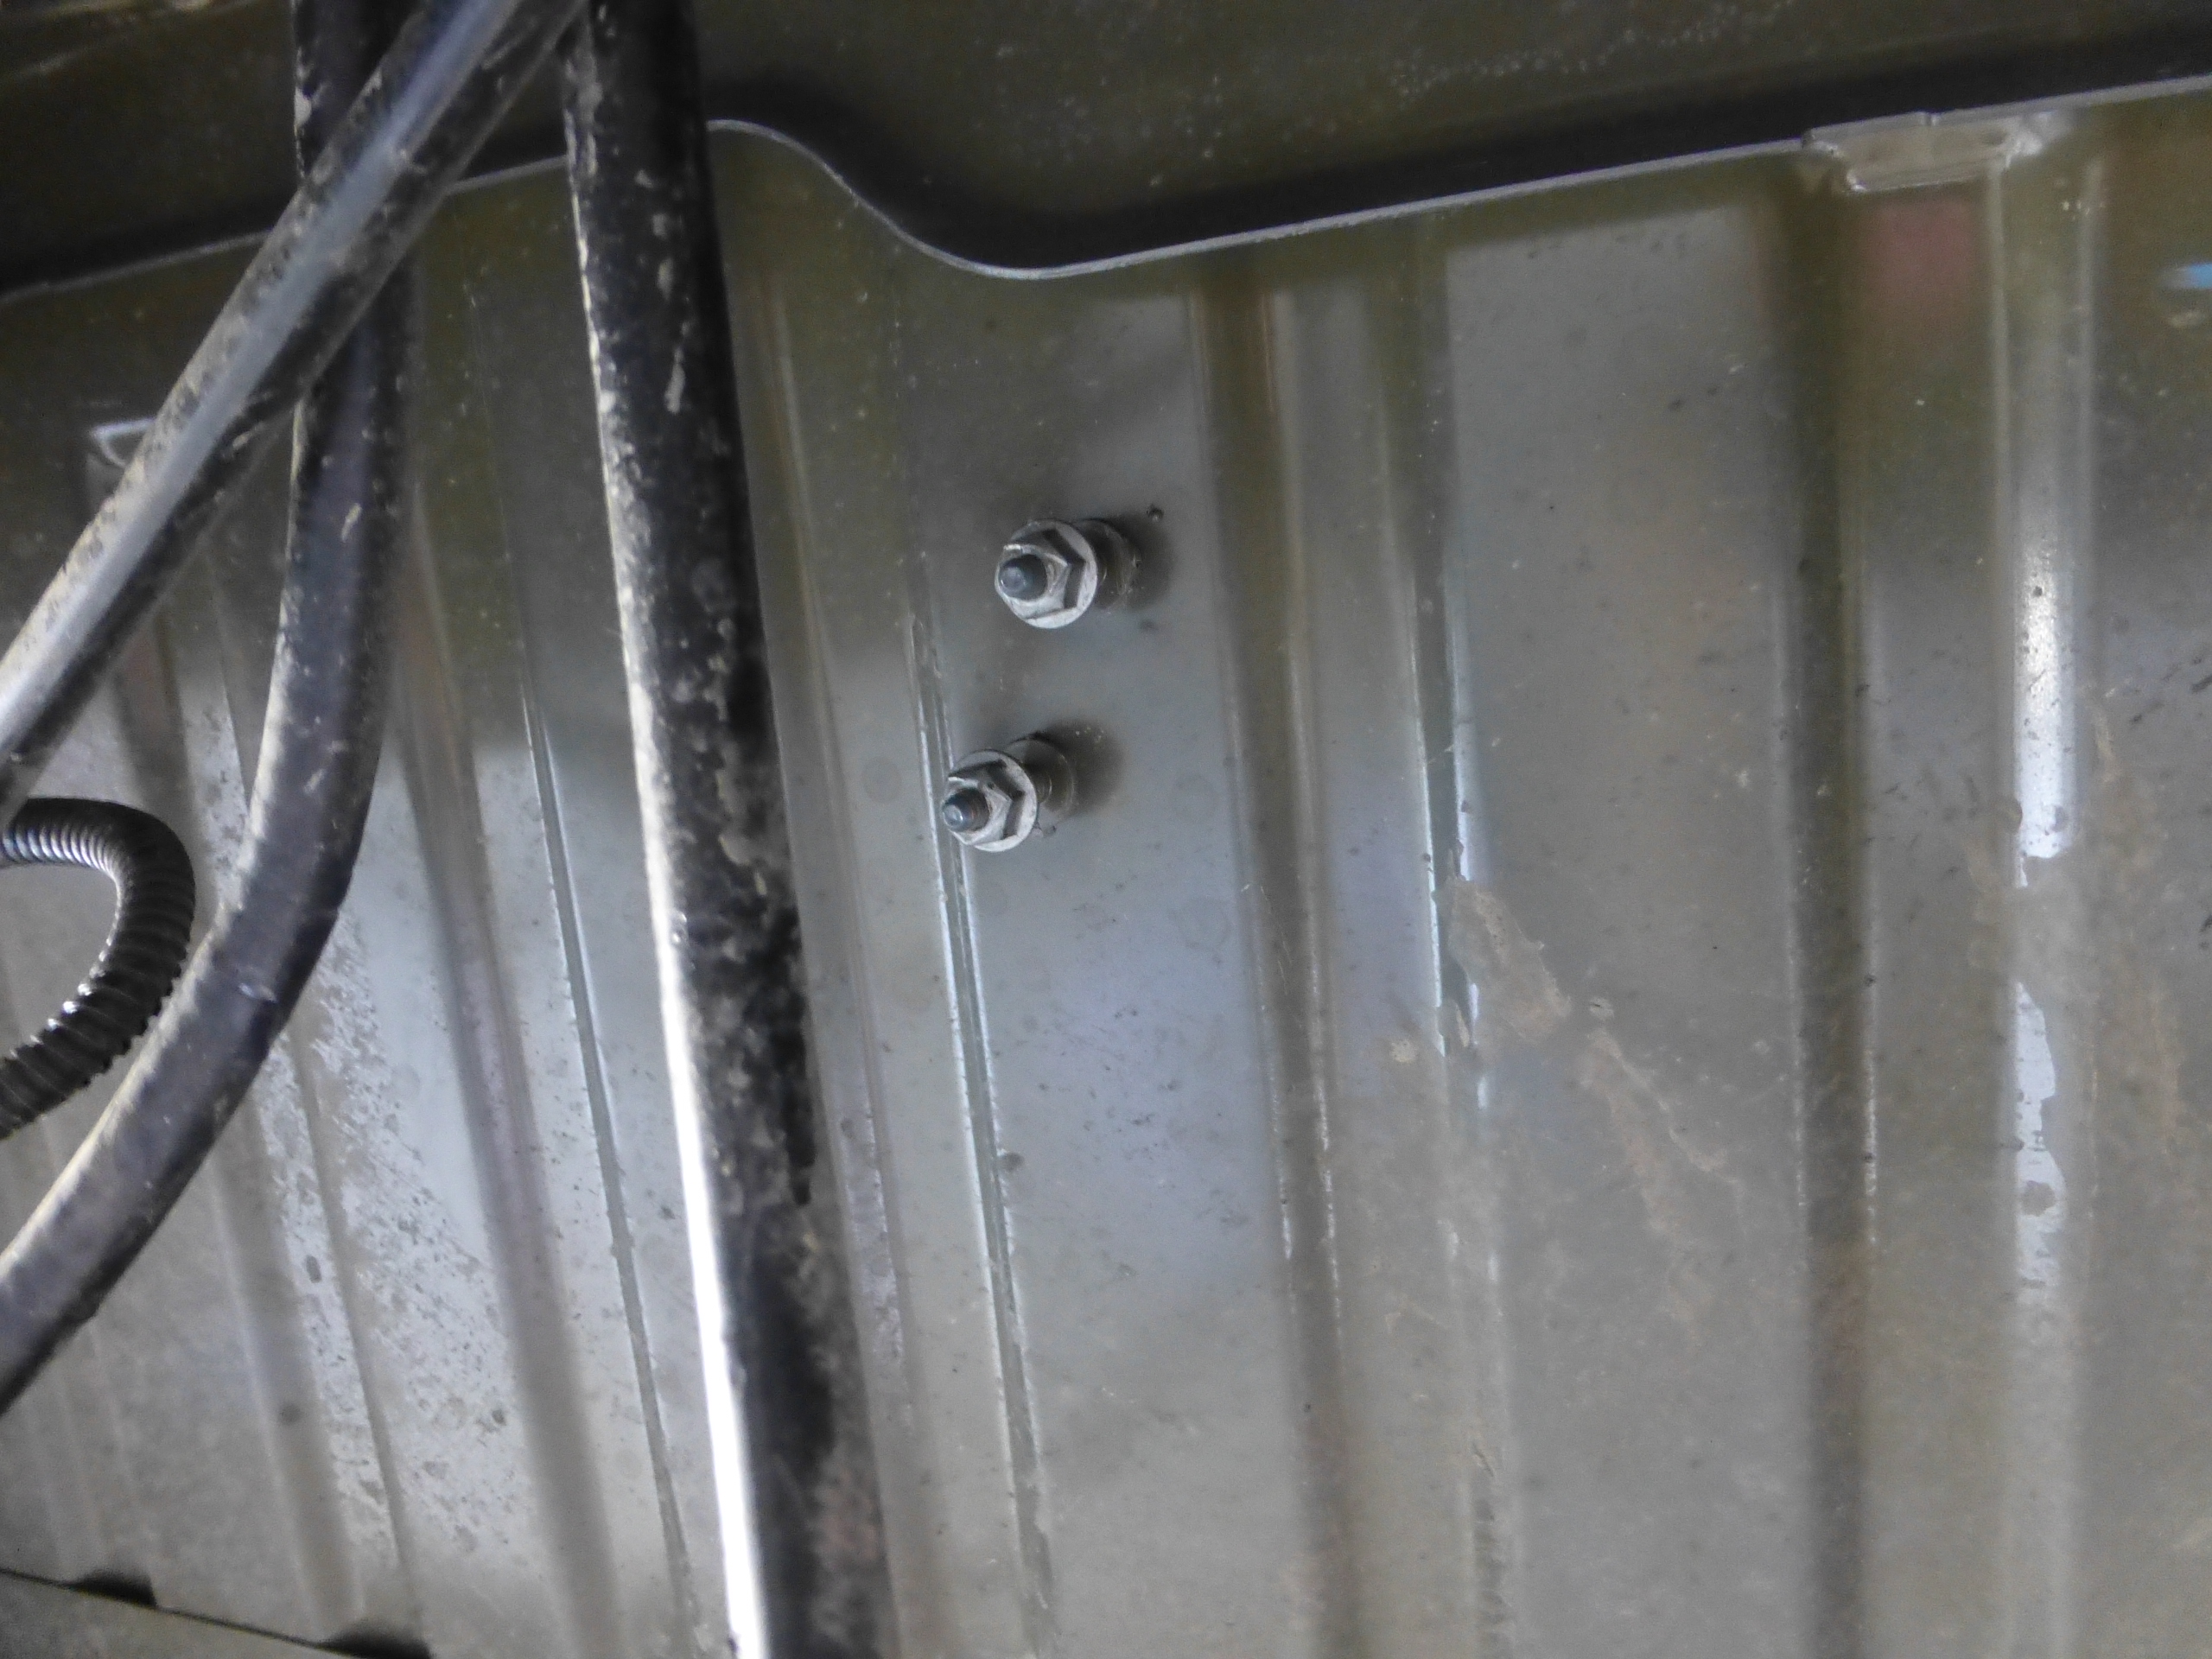
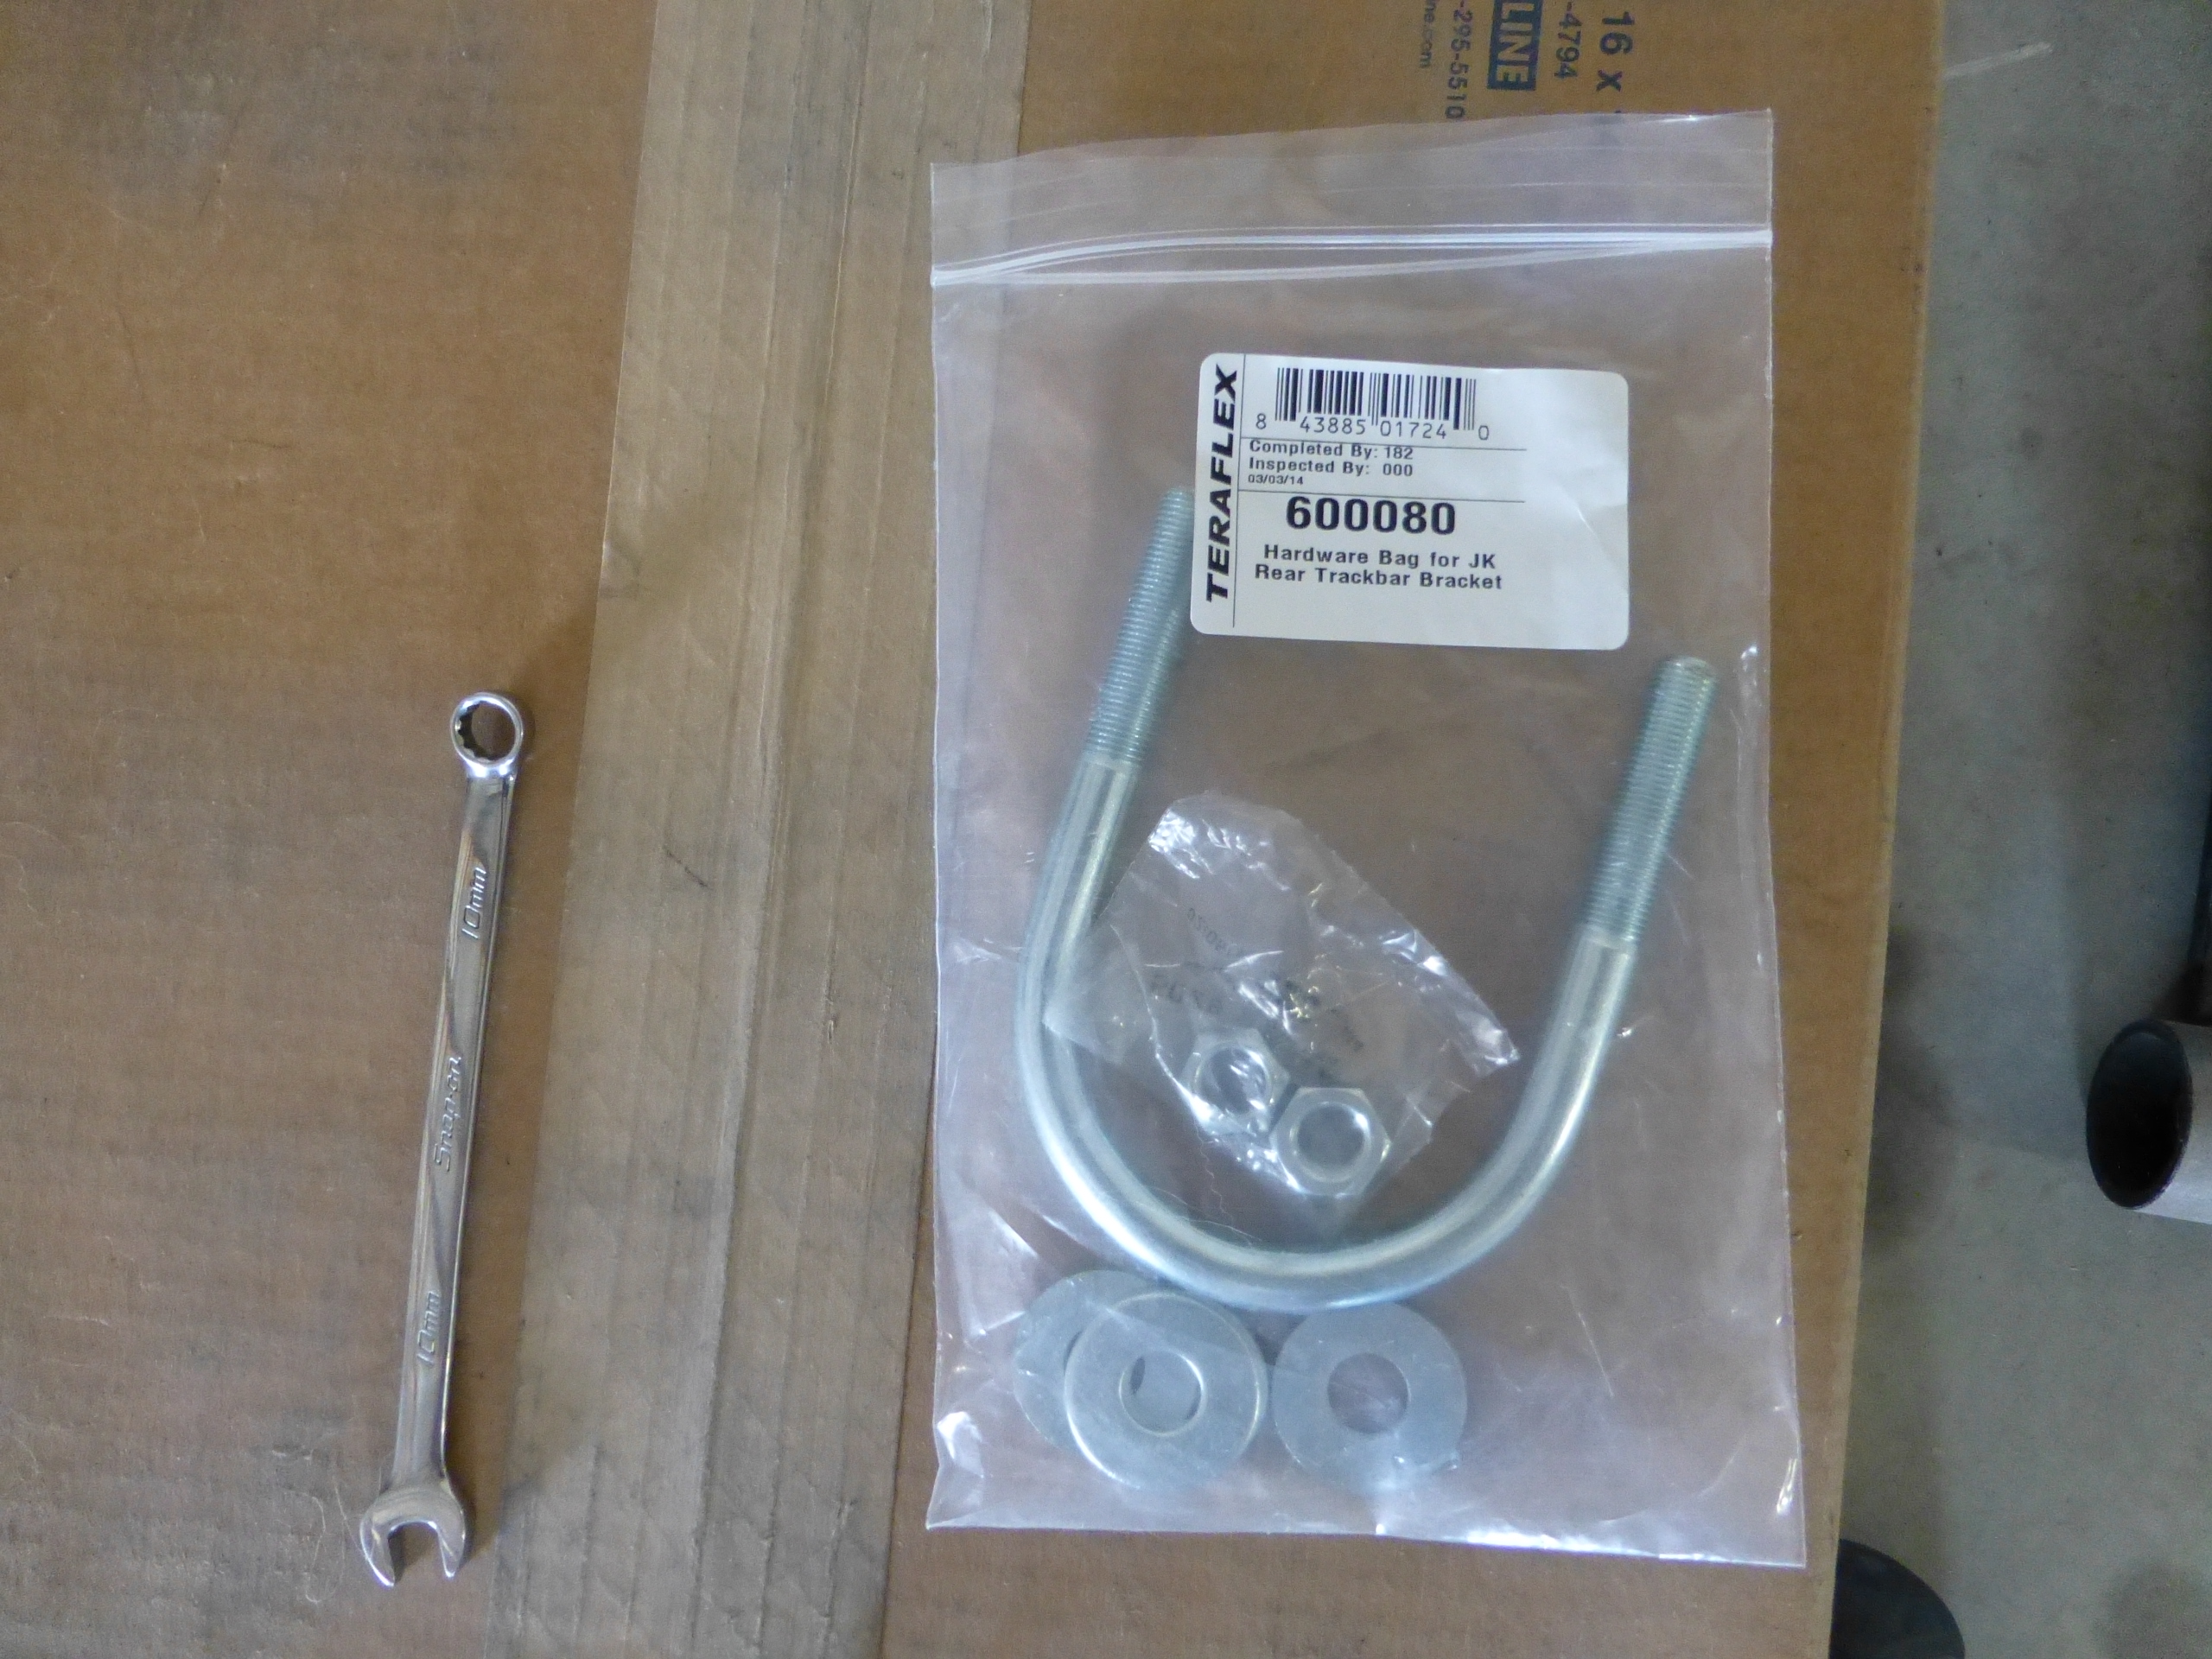
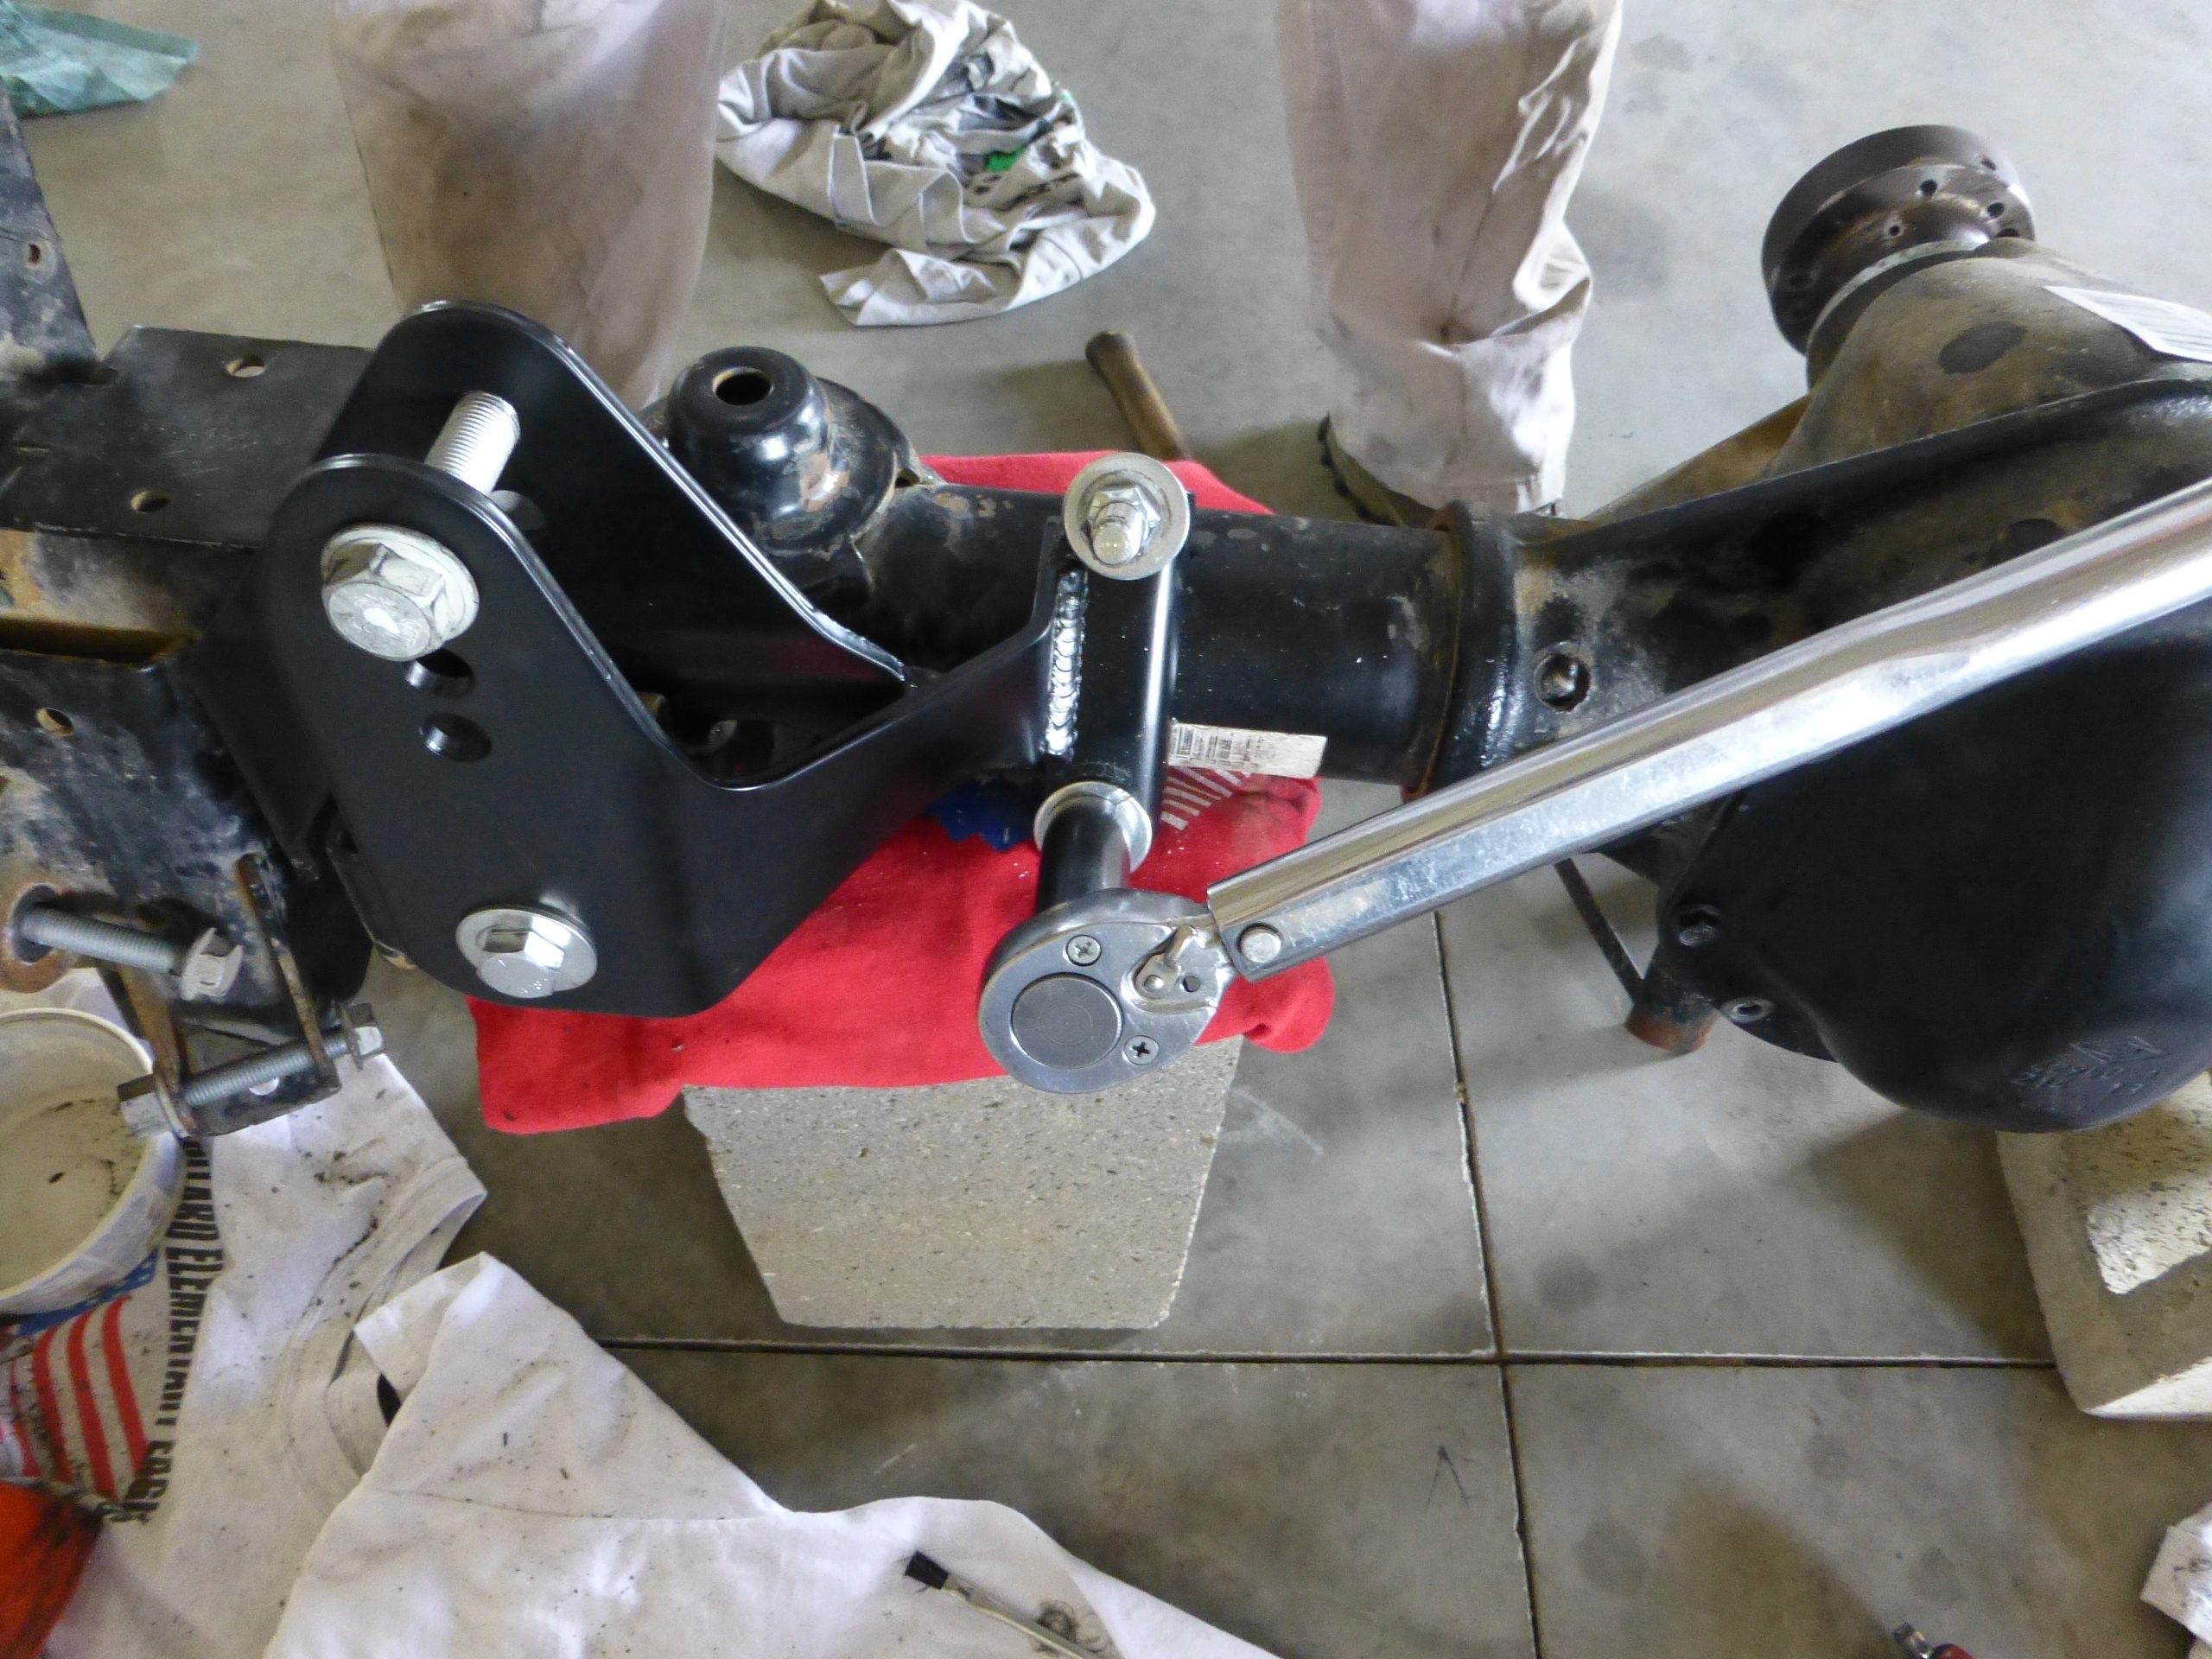
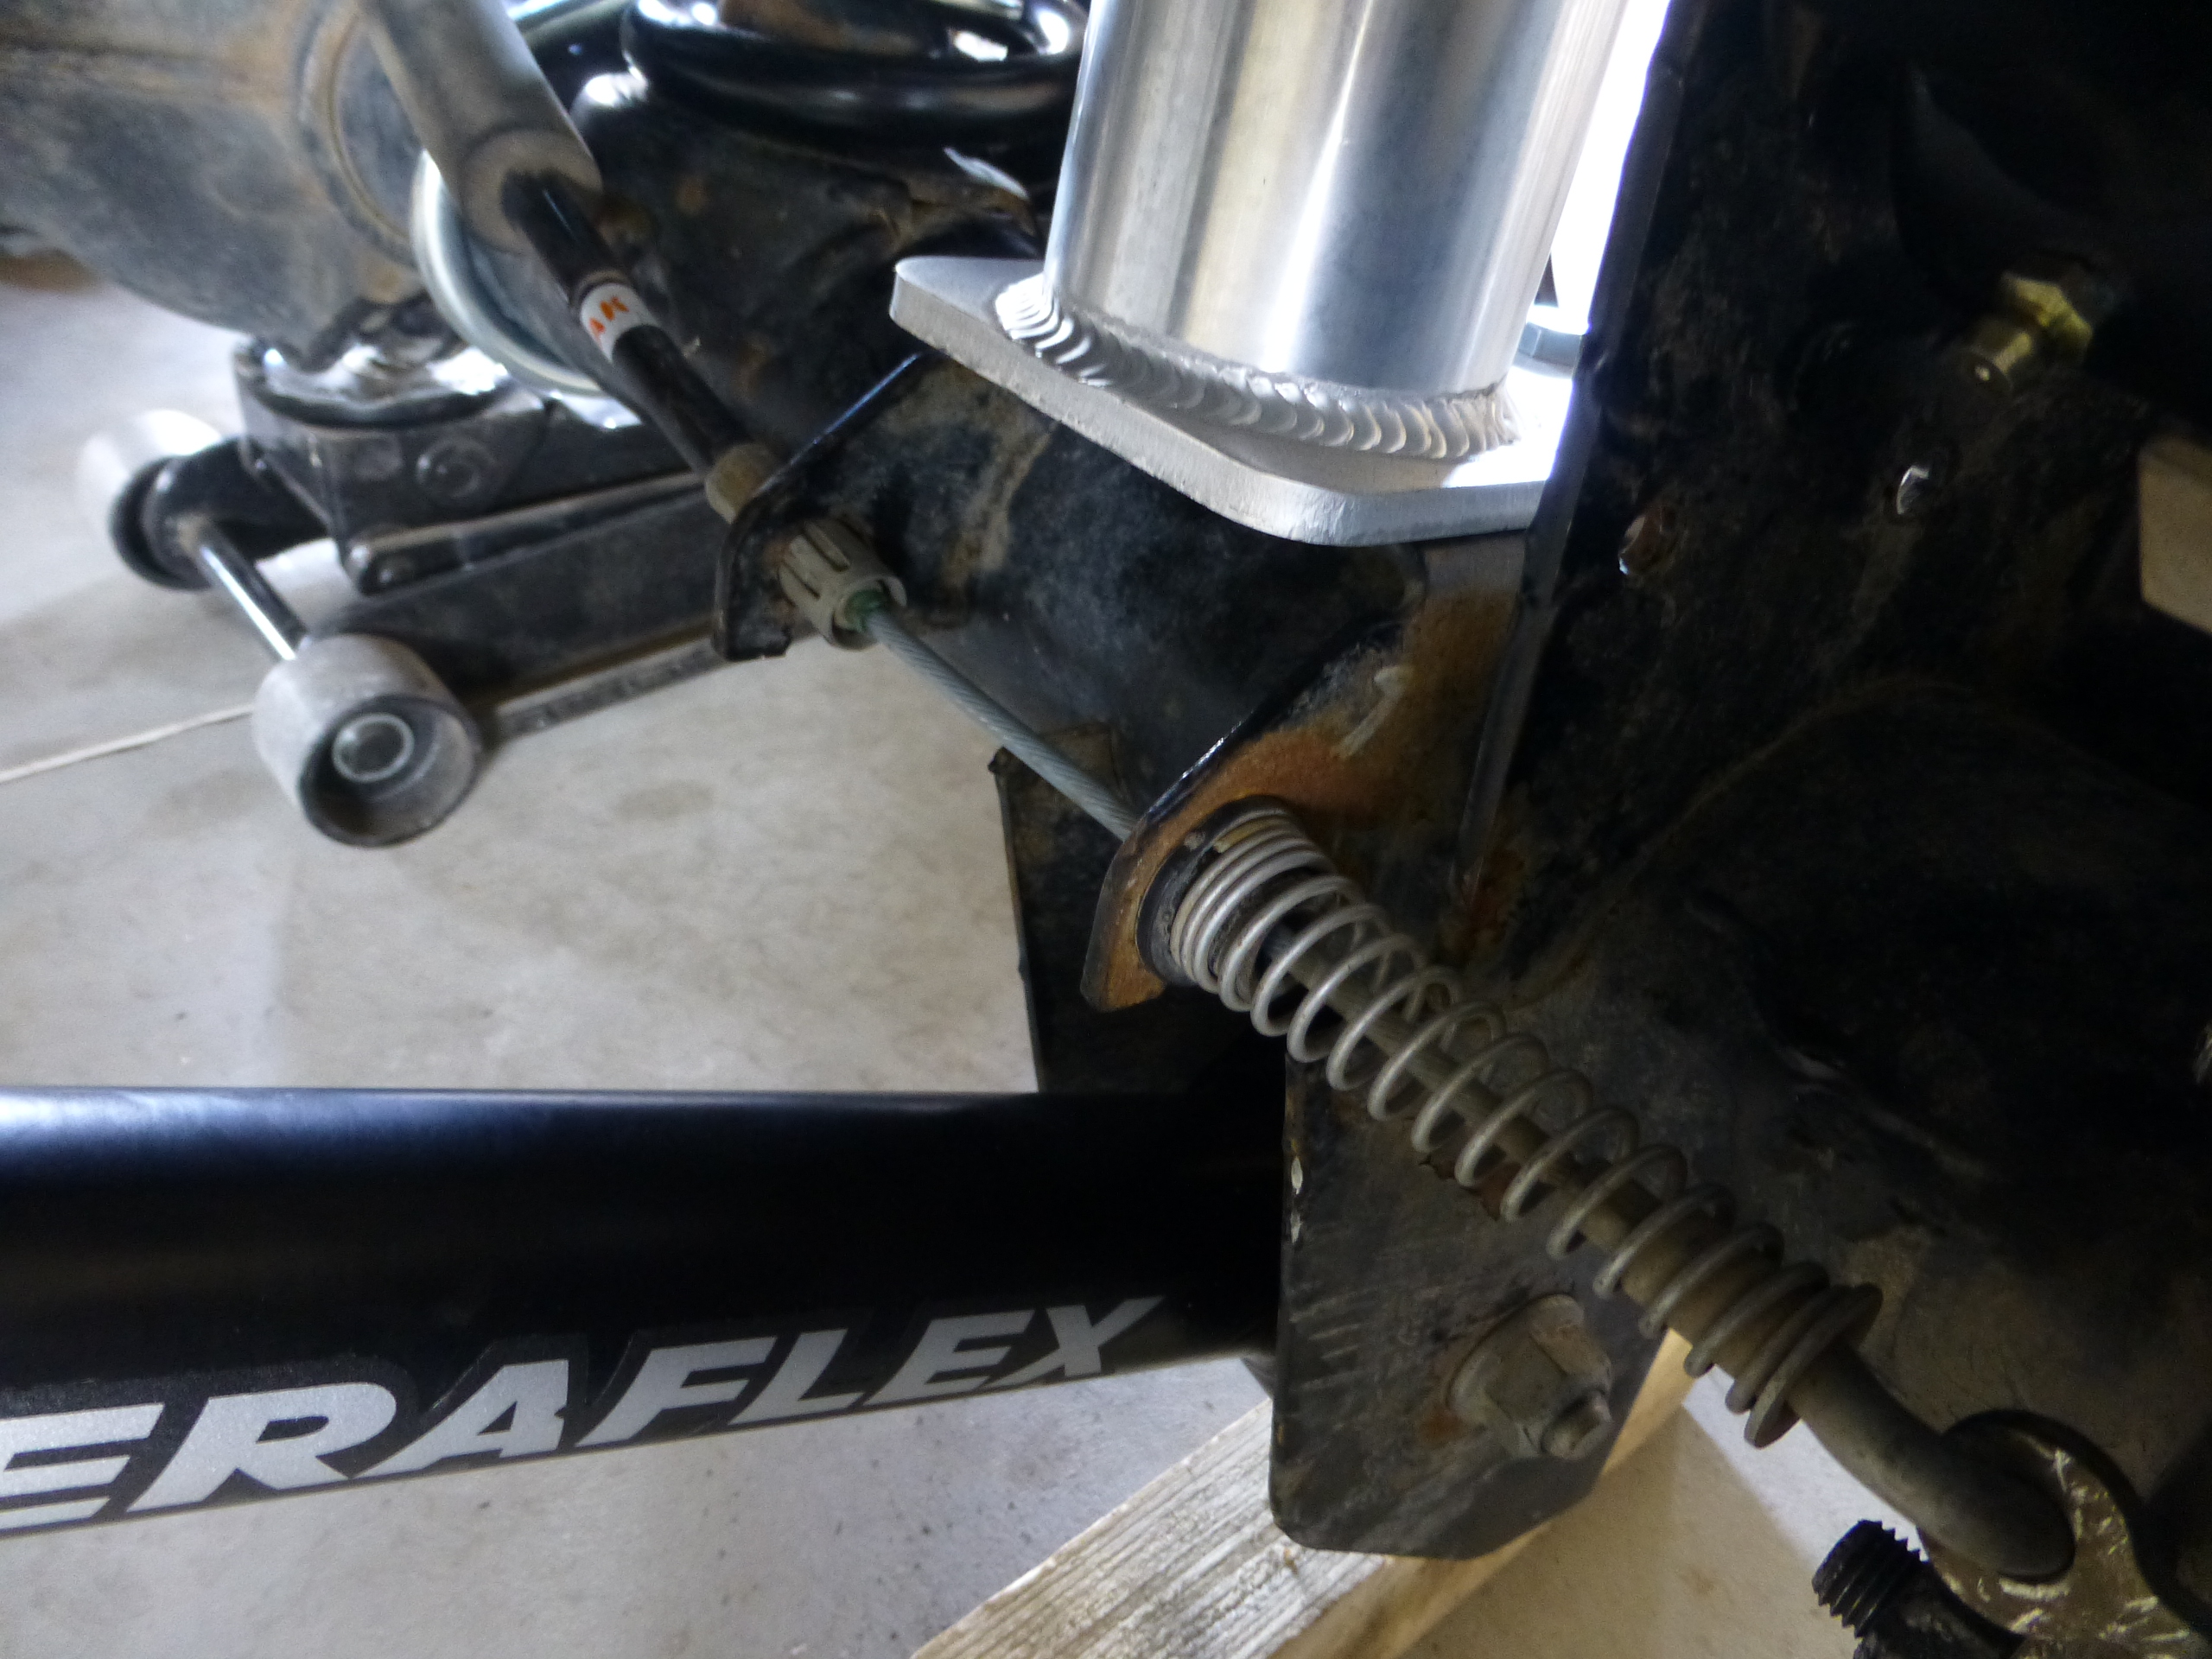
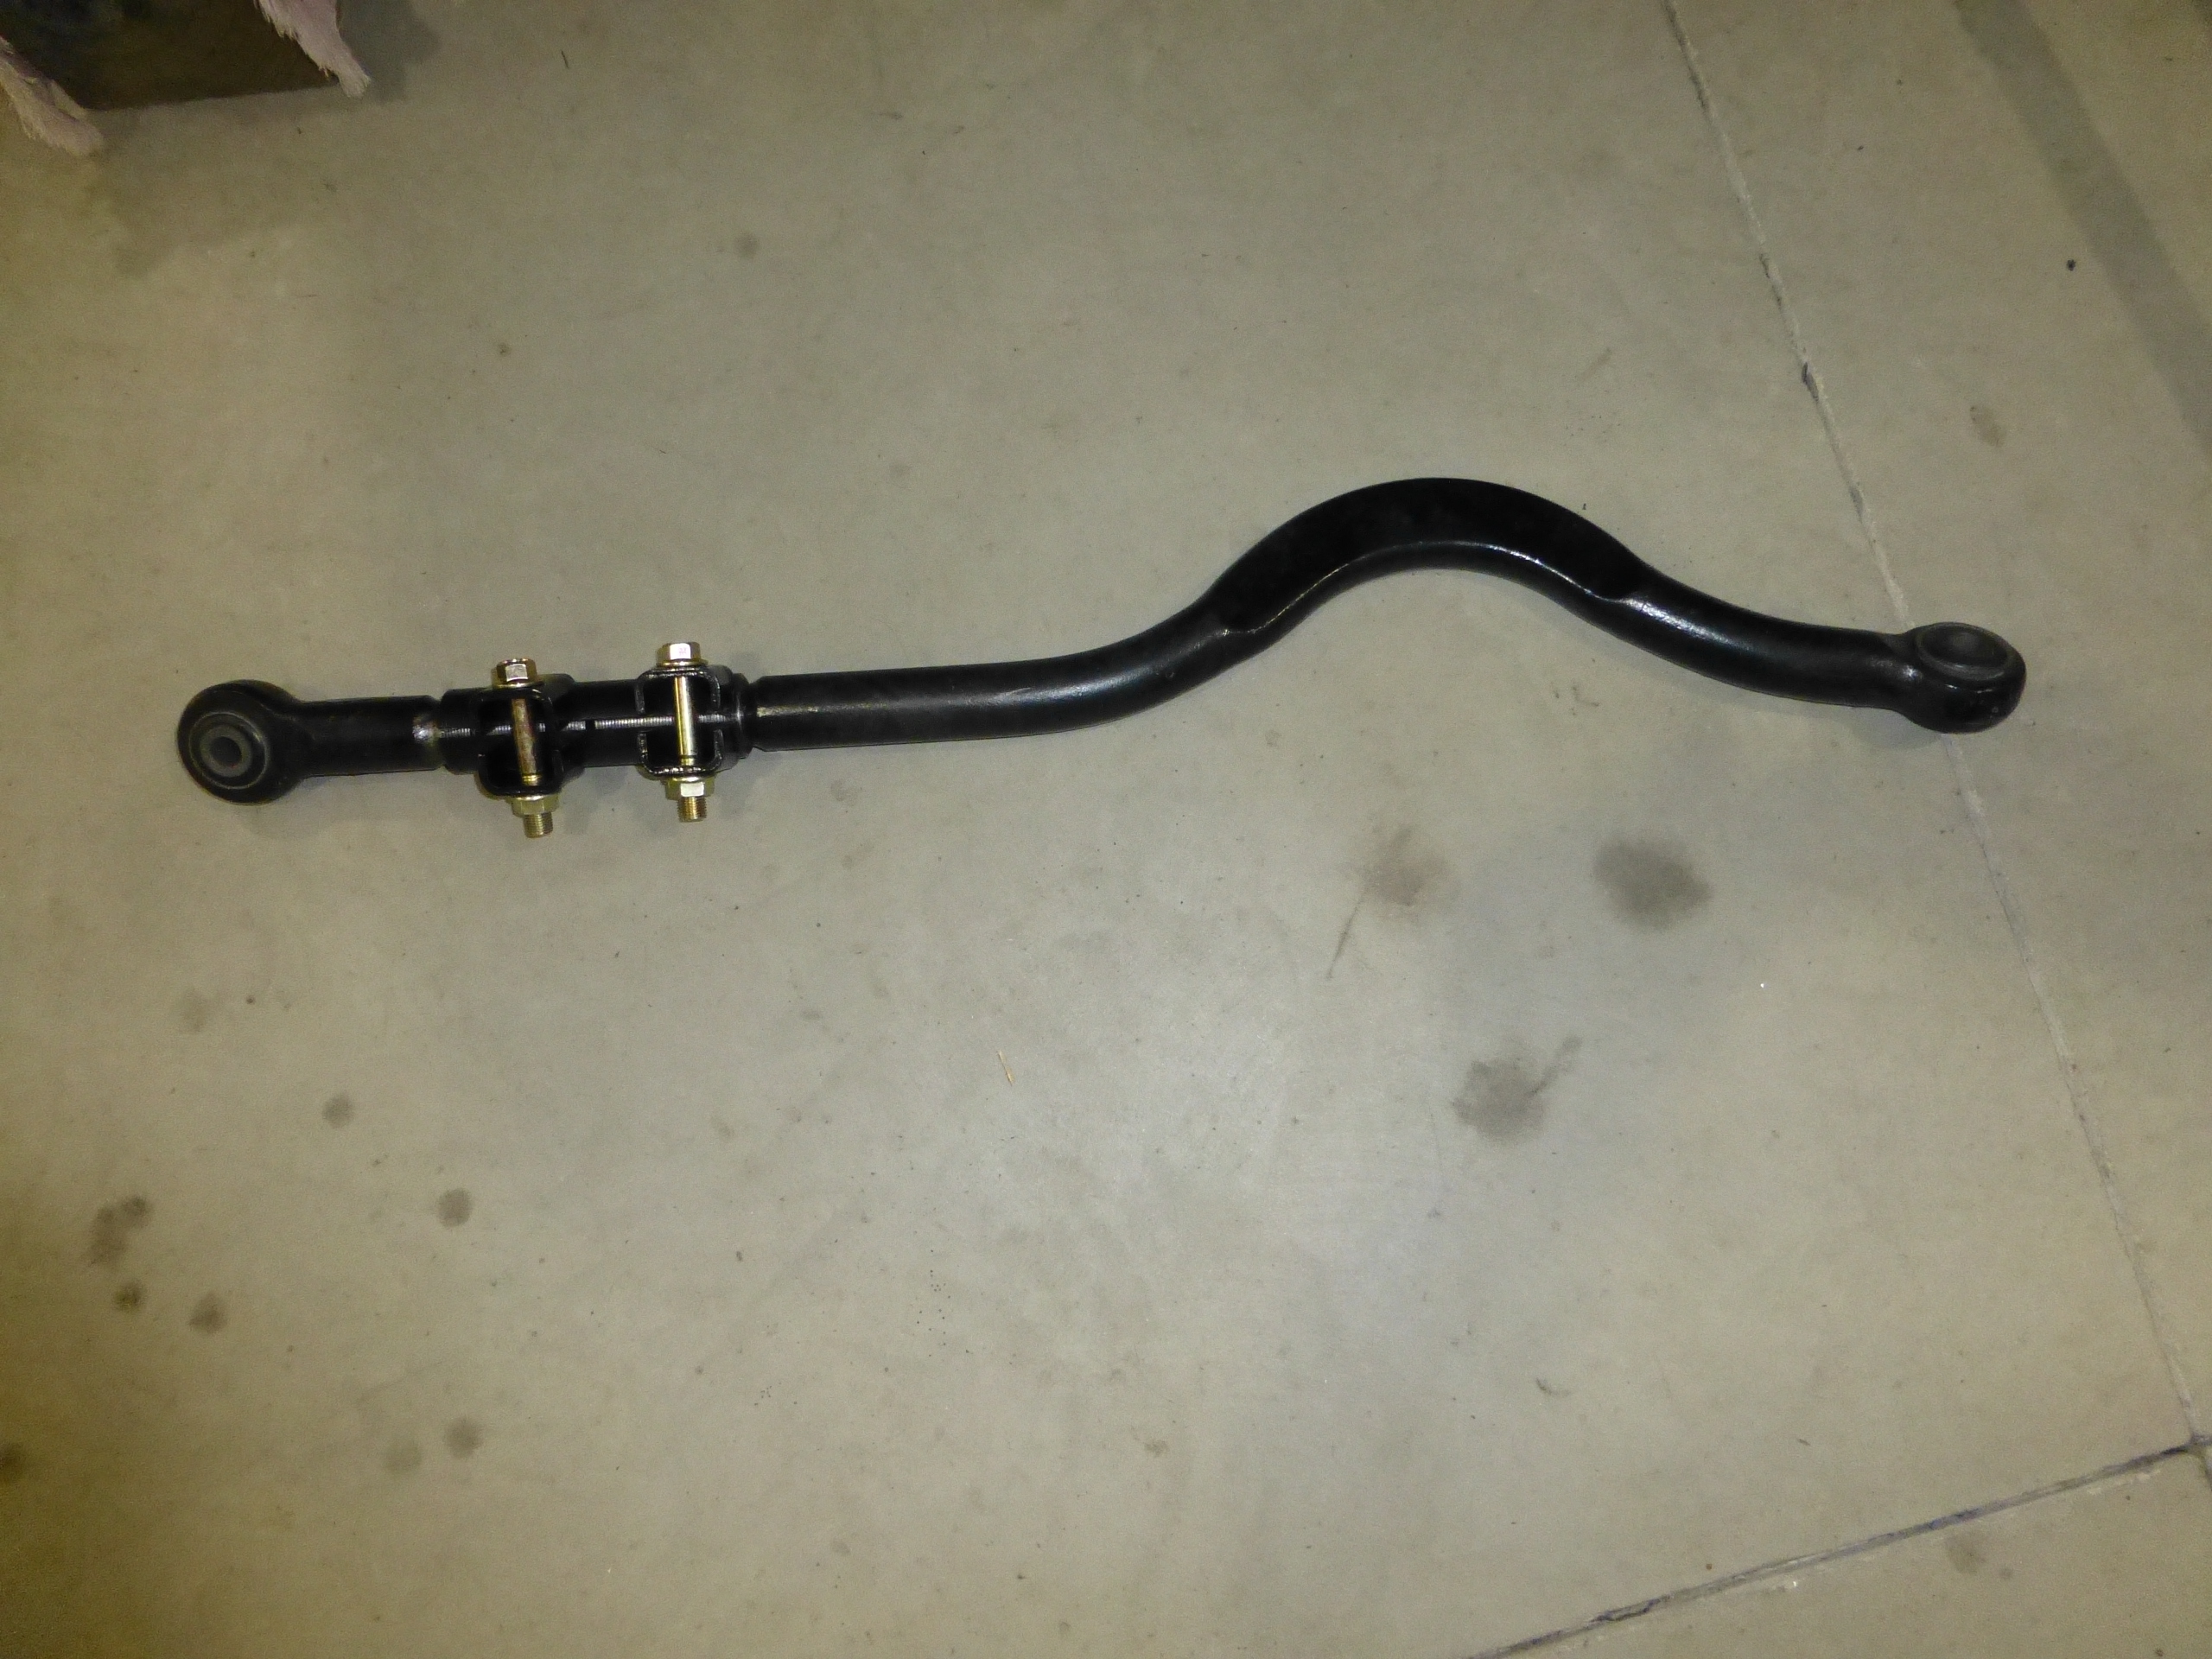
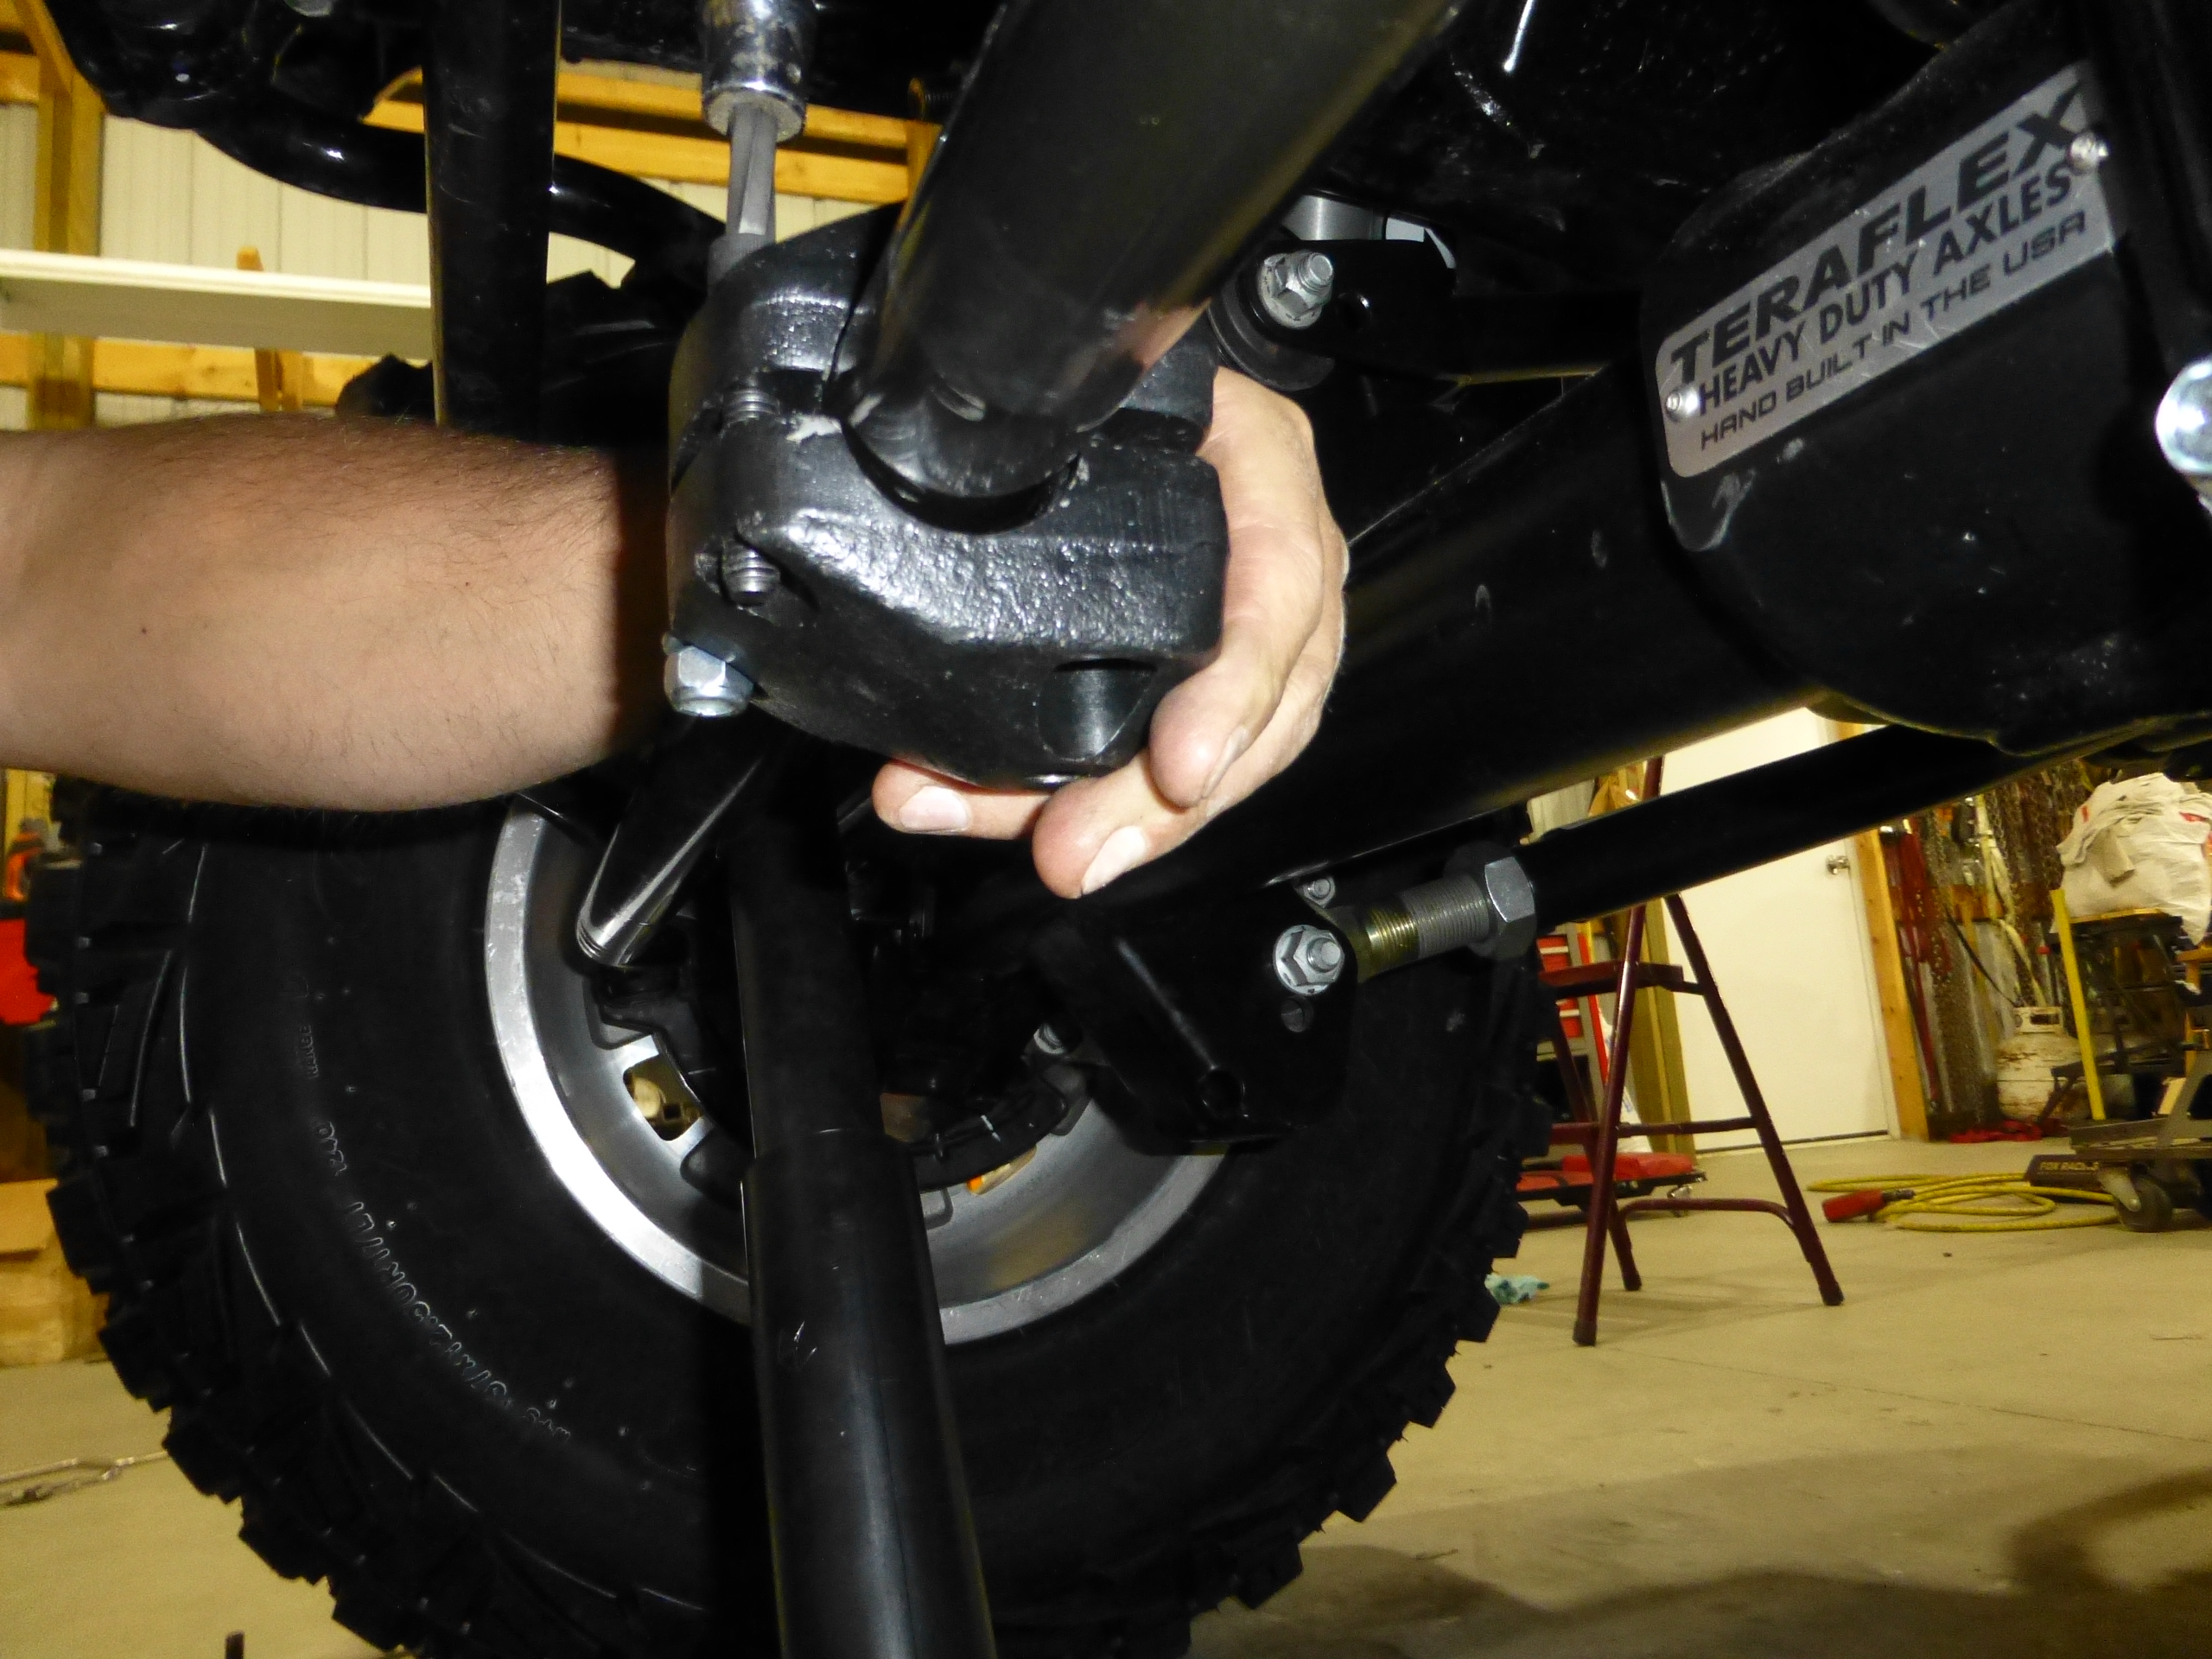
We mounted the new rear track bar bracket next by removing the lower control arm bolt, put the bracket into place and reinstalled the control arm bolt. We installed the supplied sleeve and bolt into the factory track bar location and installed the supplied u-bolt and nuts around the axle tube. All nuts and bolts were tightened to torque specs provided in the instructions.
With the new rear track bar installed the rear axle was ready to go back under the Jeep so we positioned it and connected the control arms prepping it for the new coil springs.

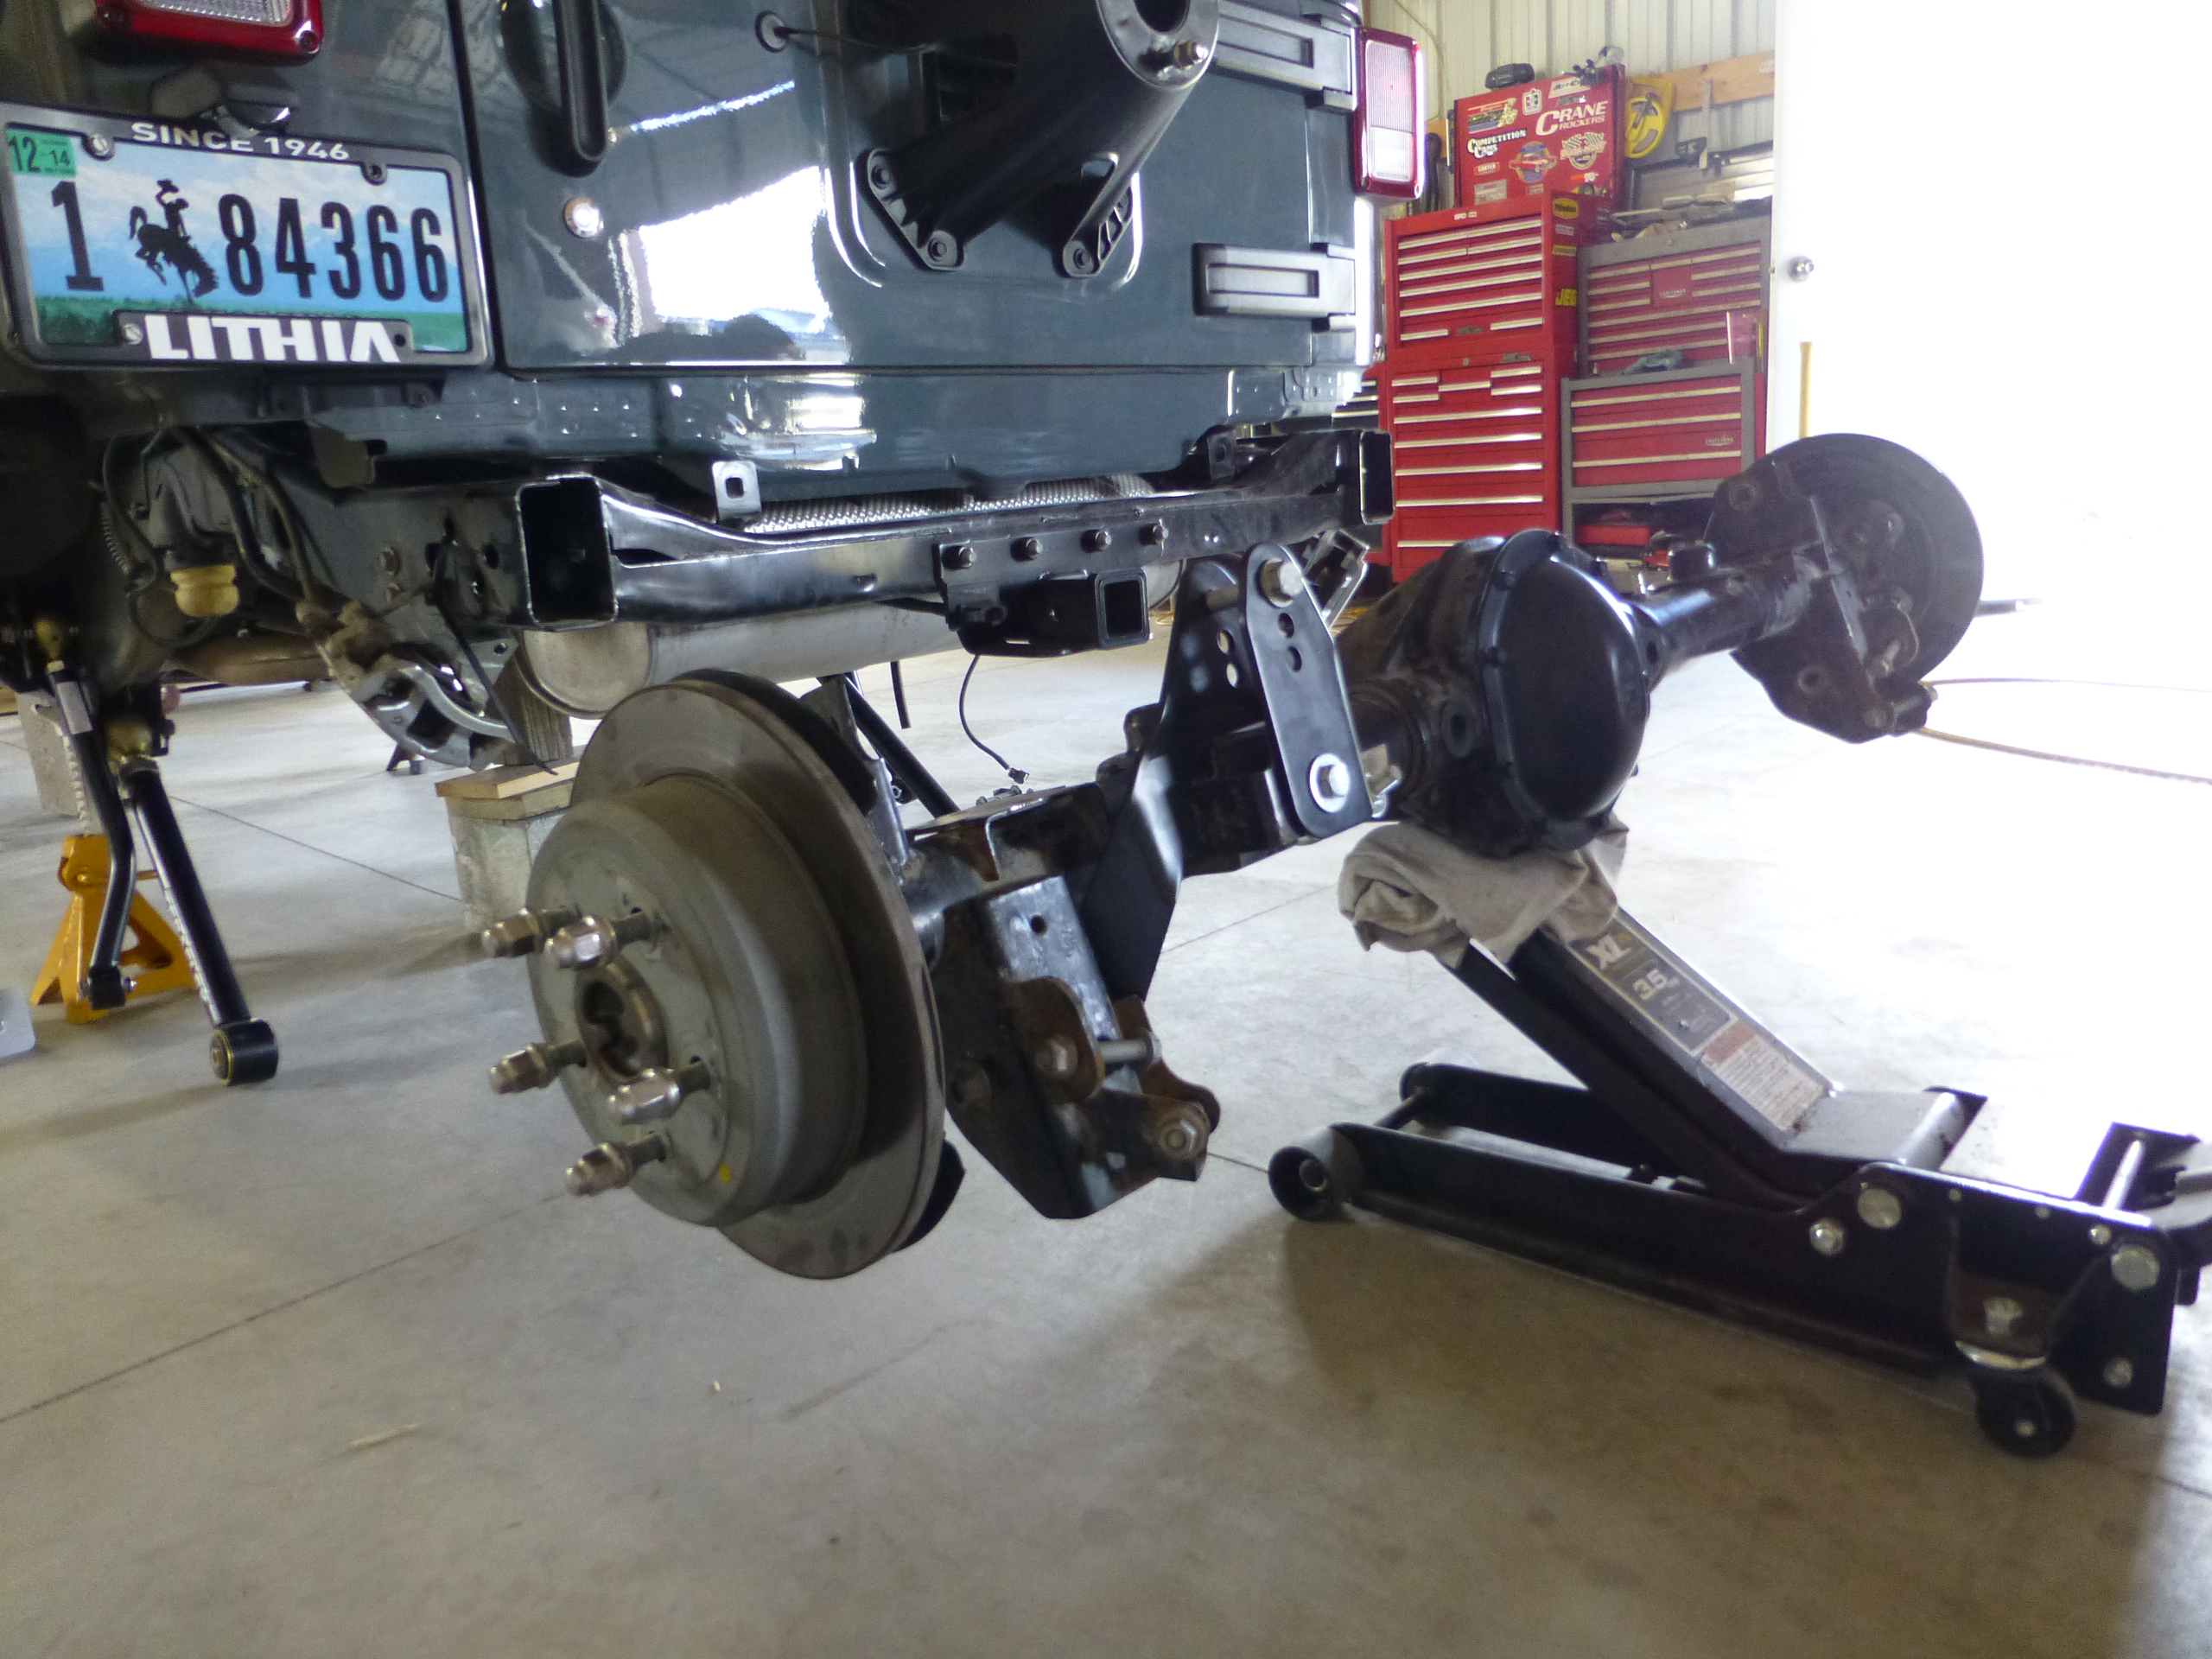

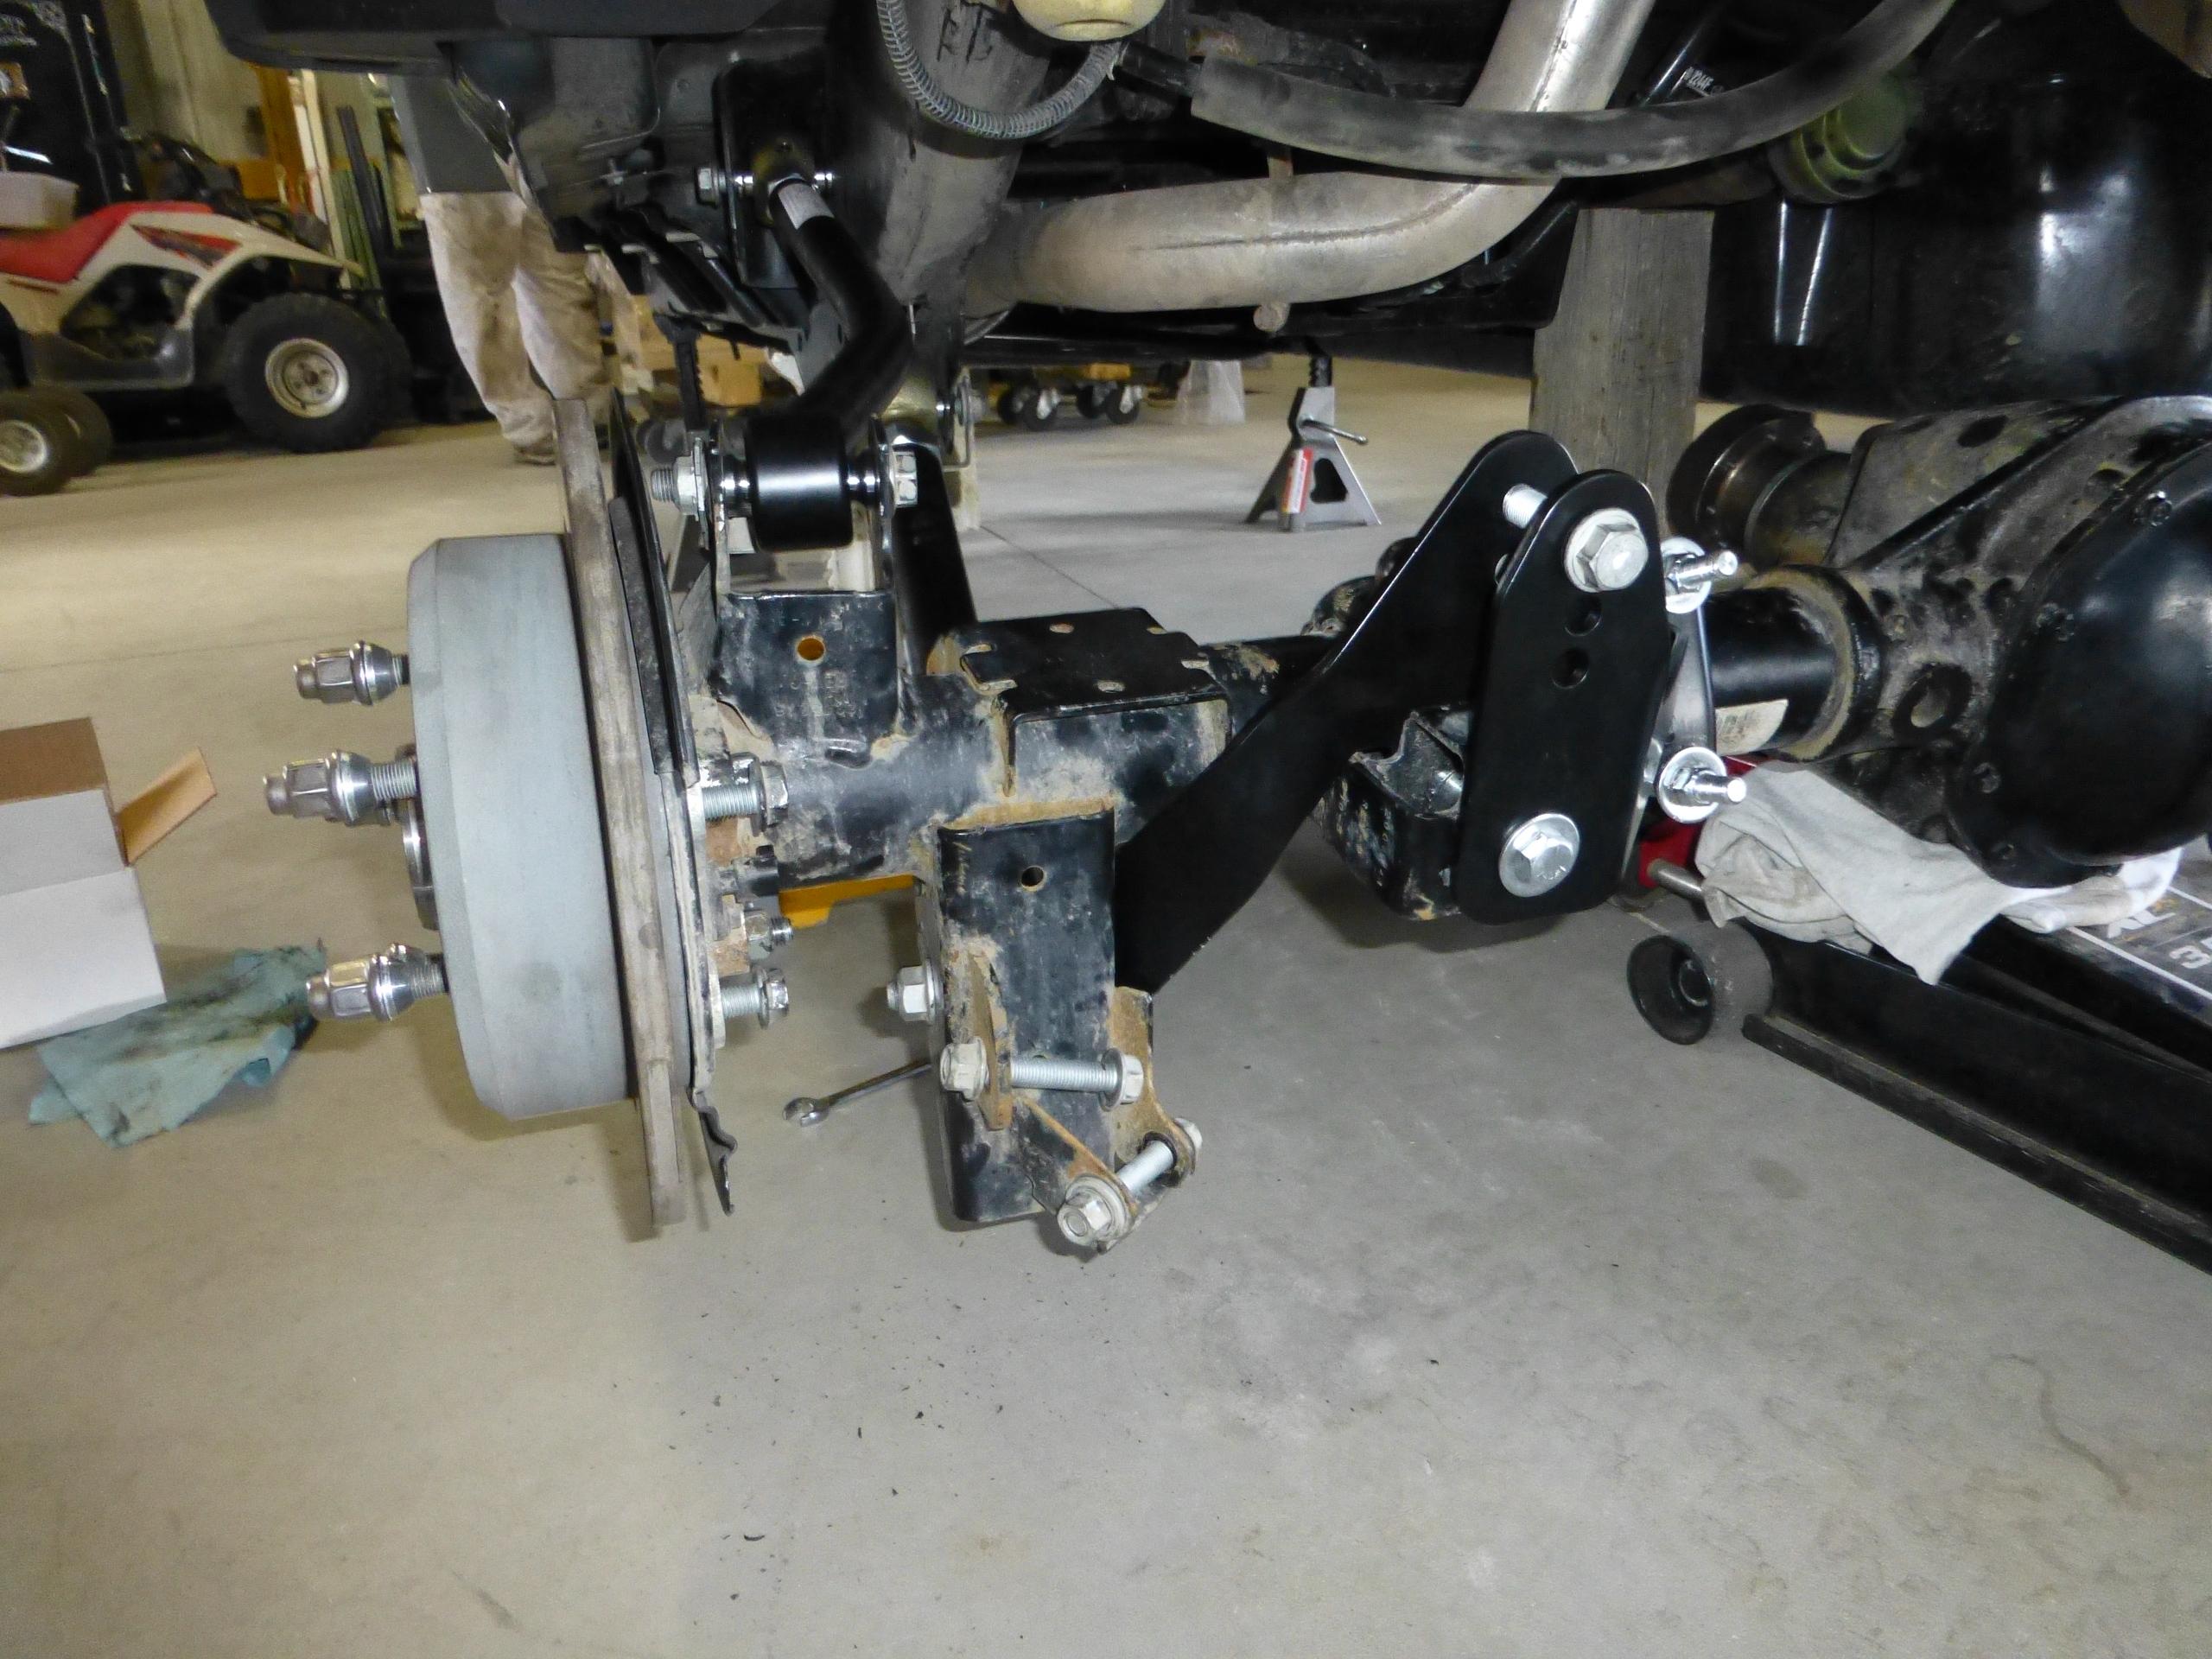
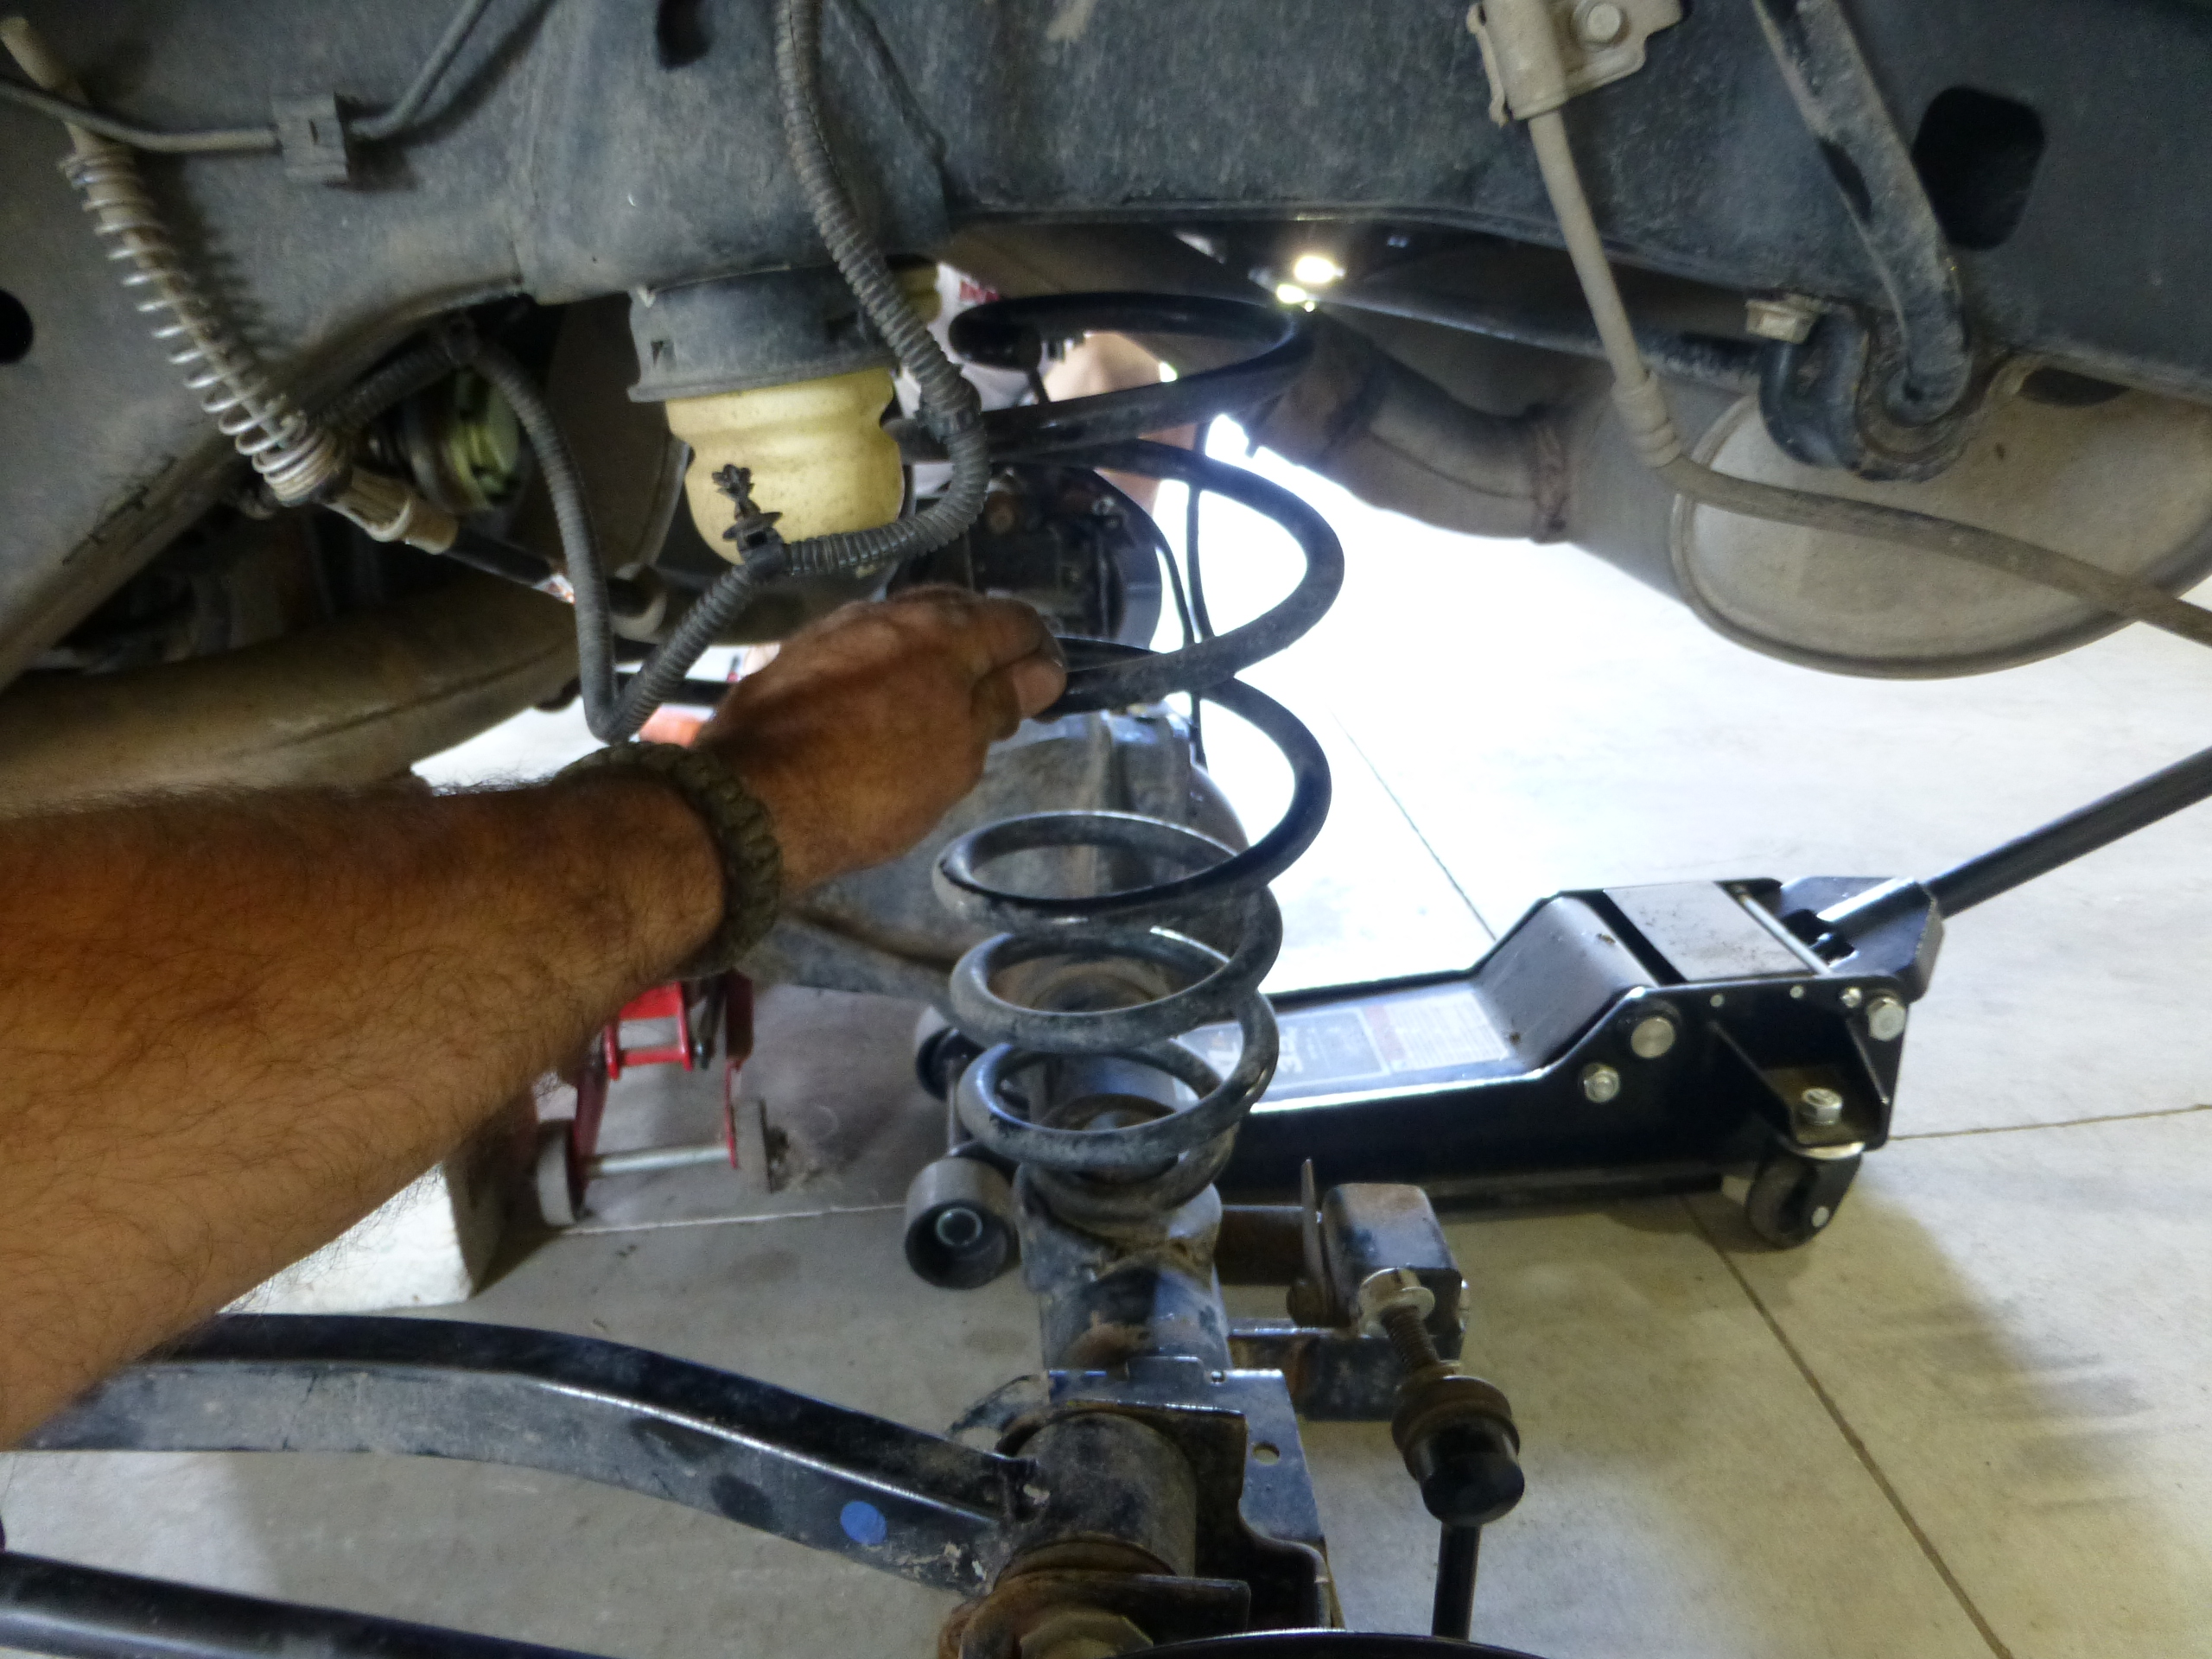
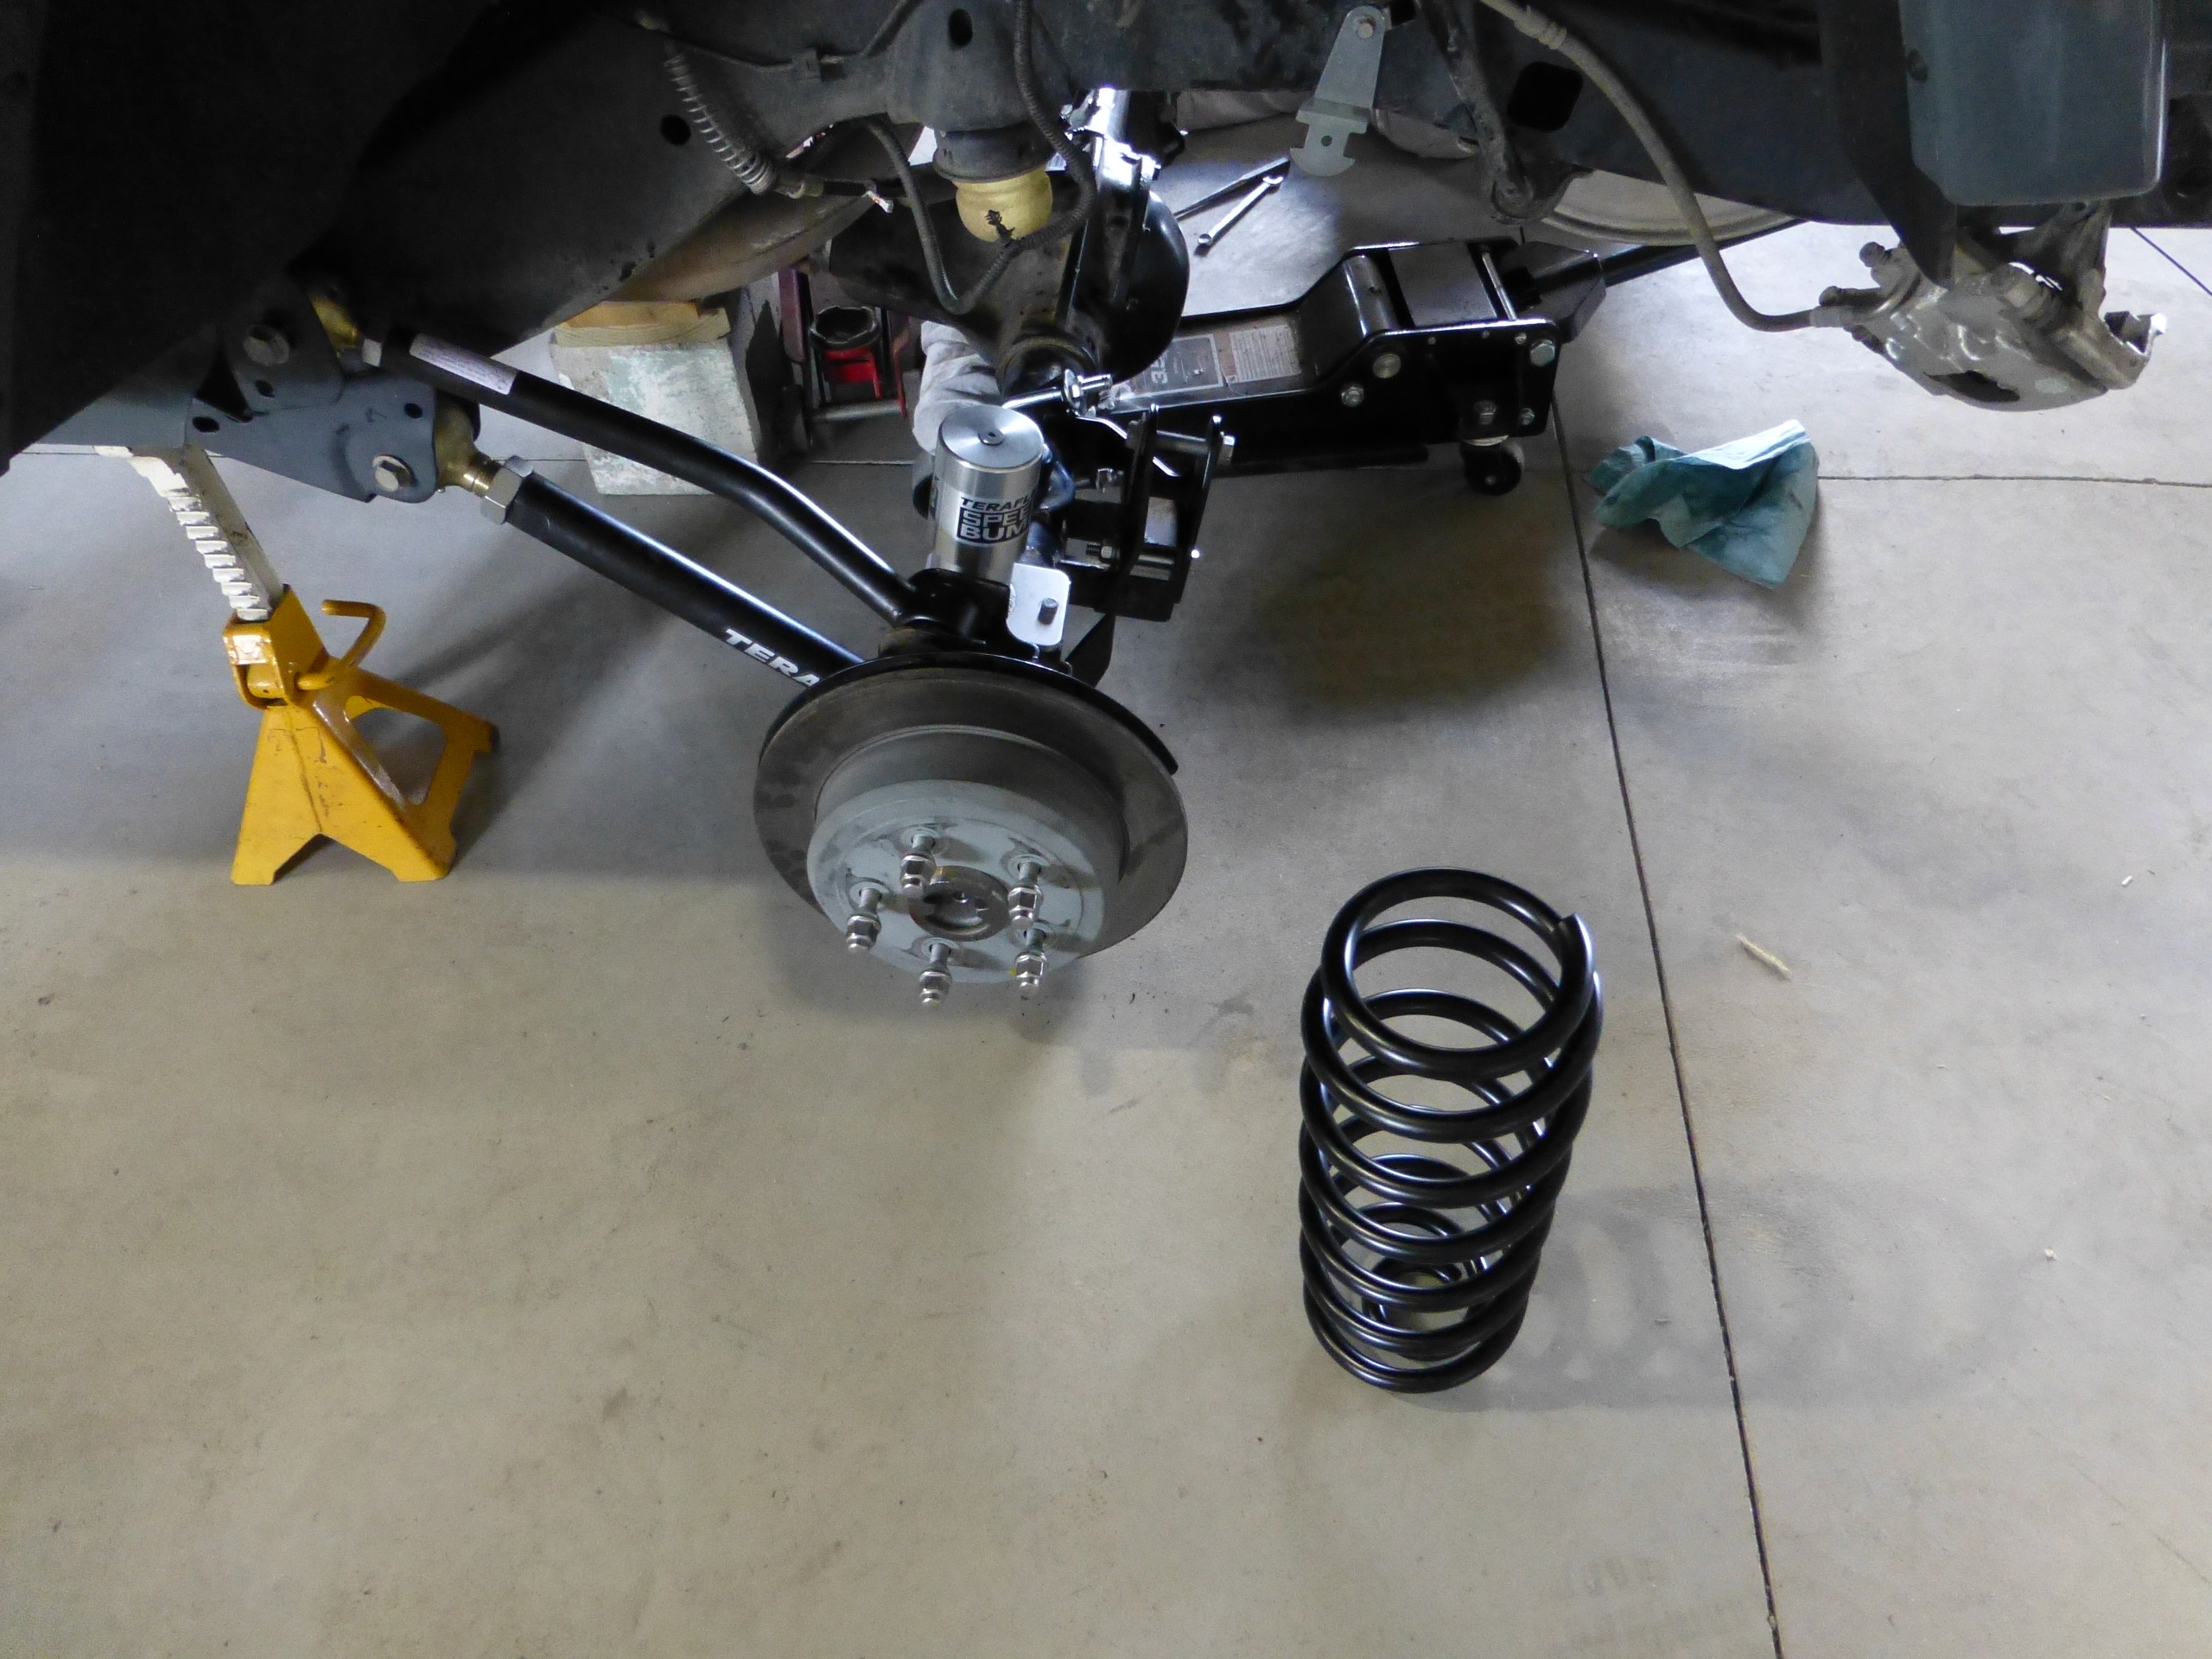
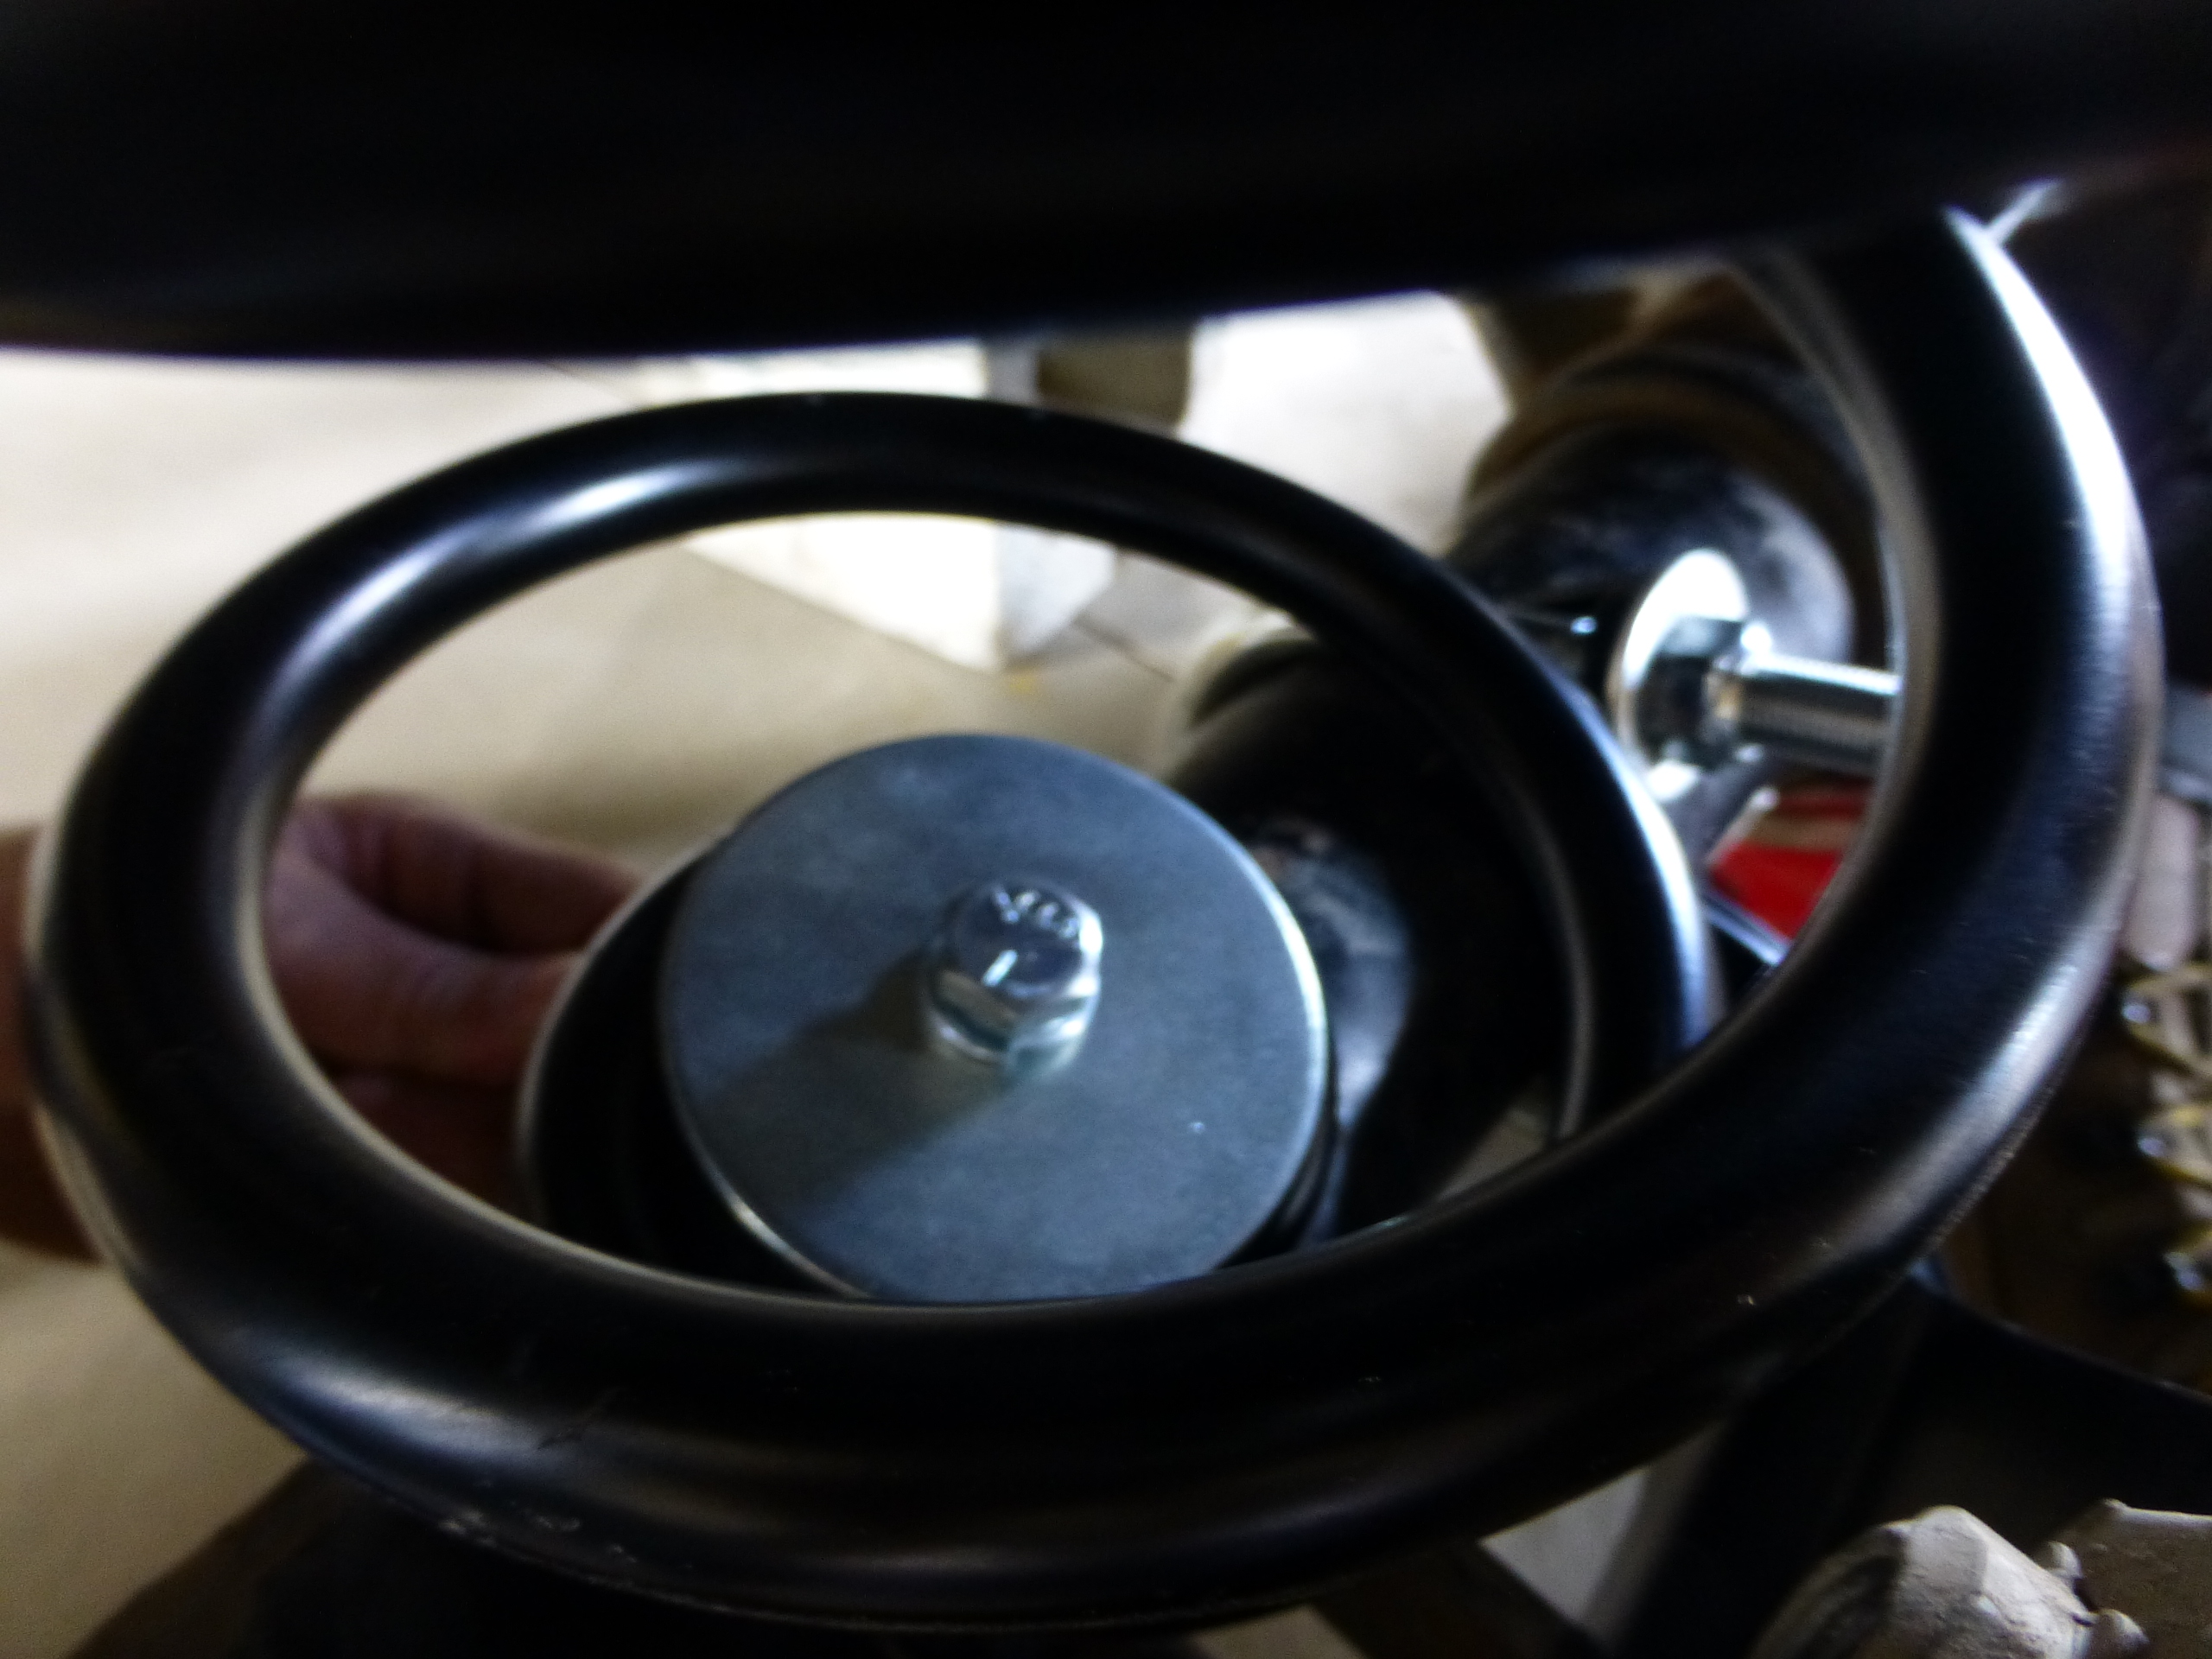
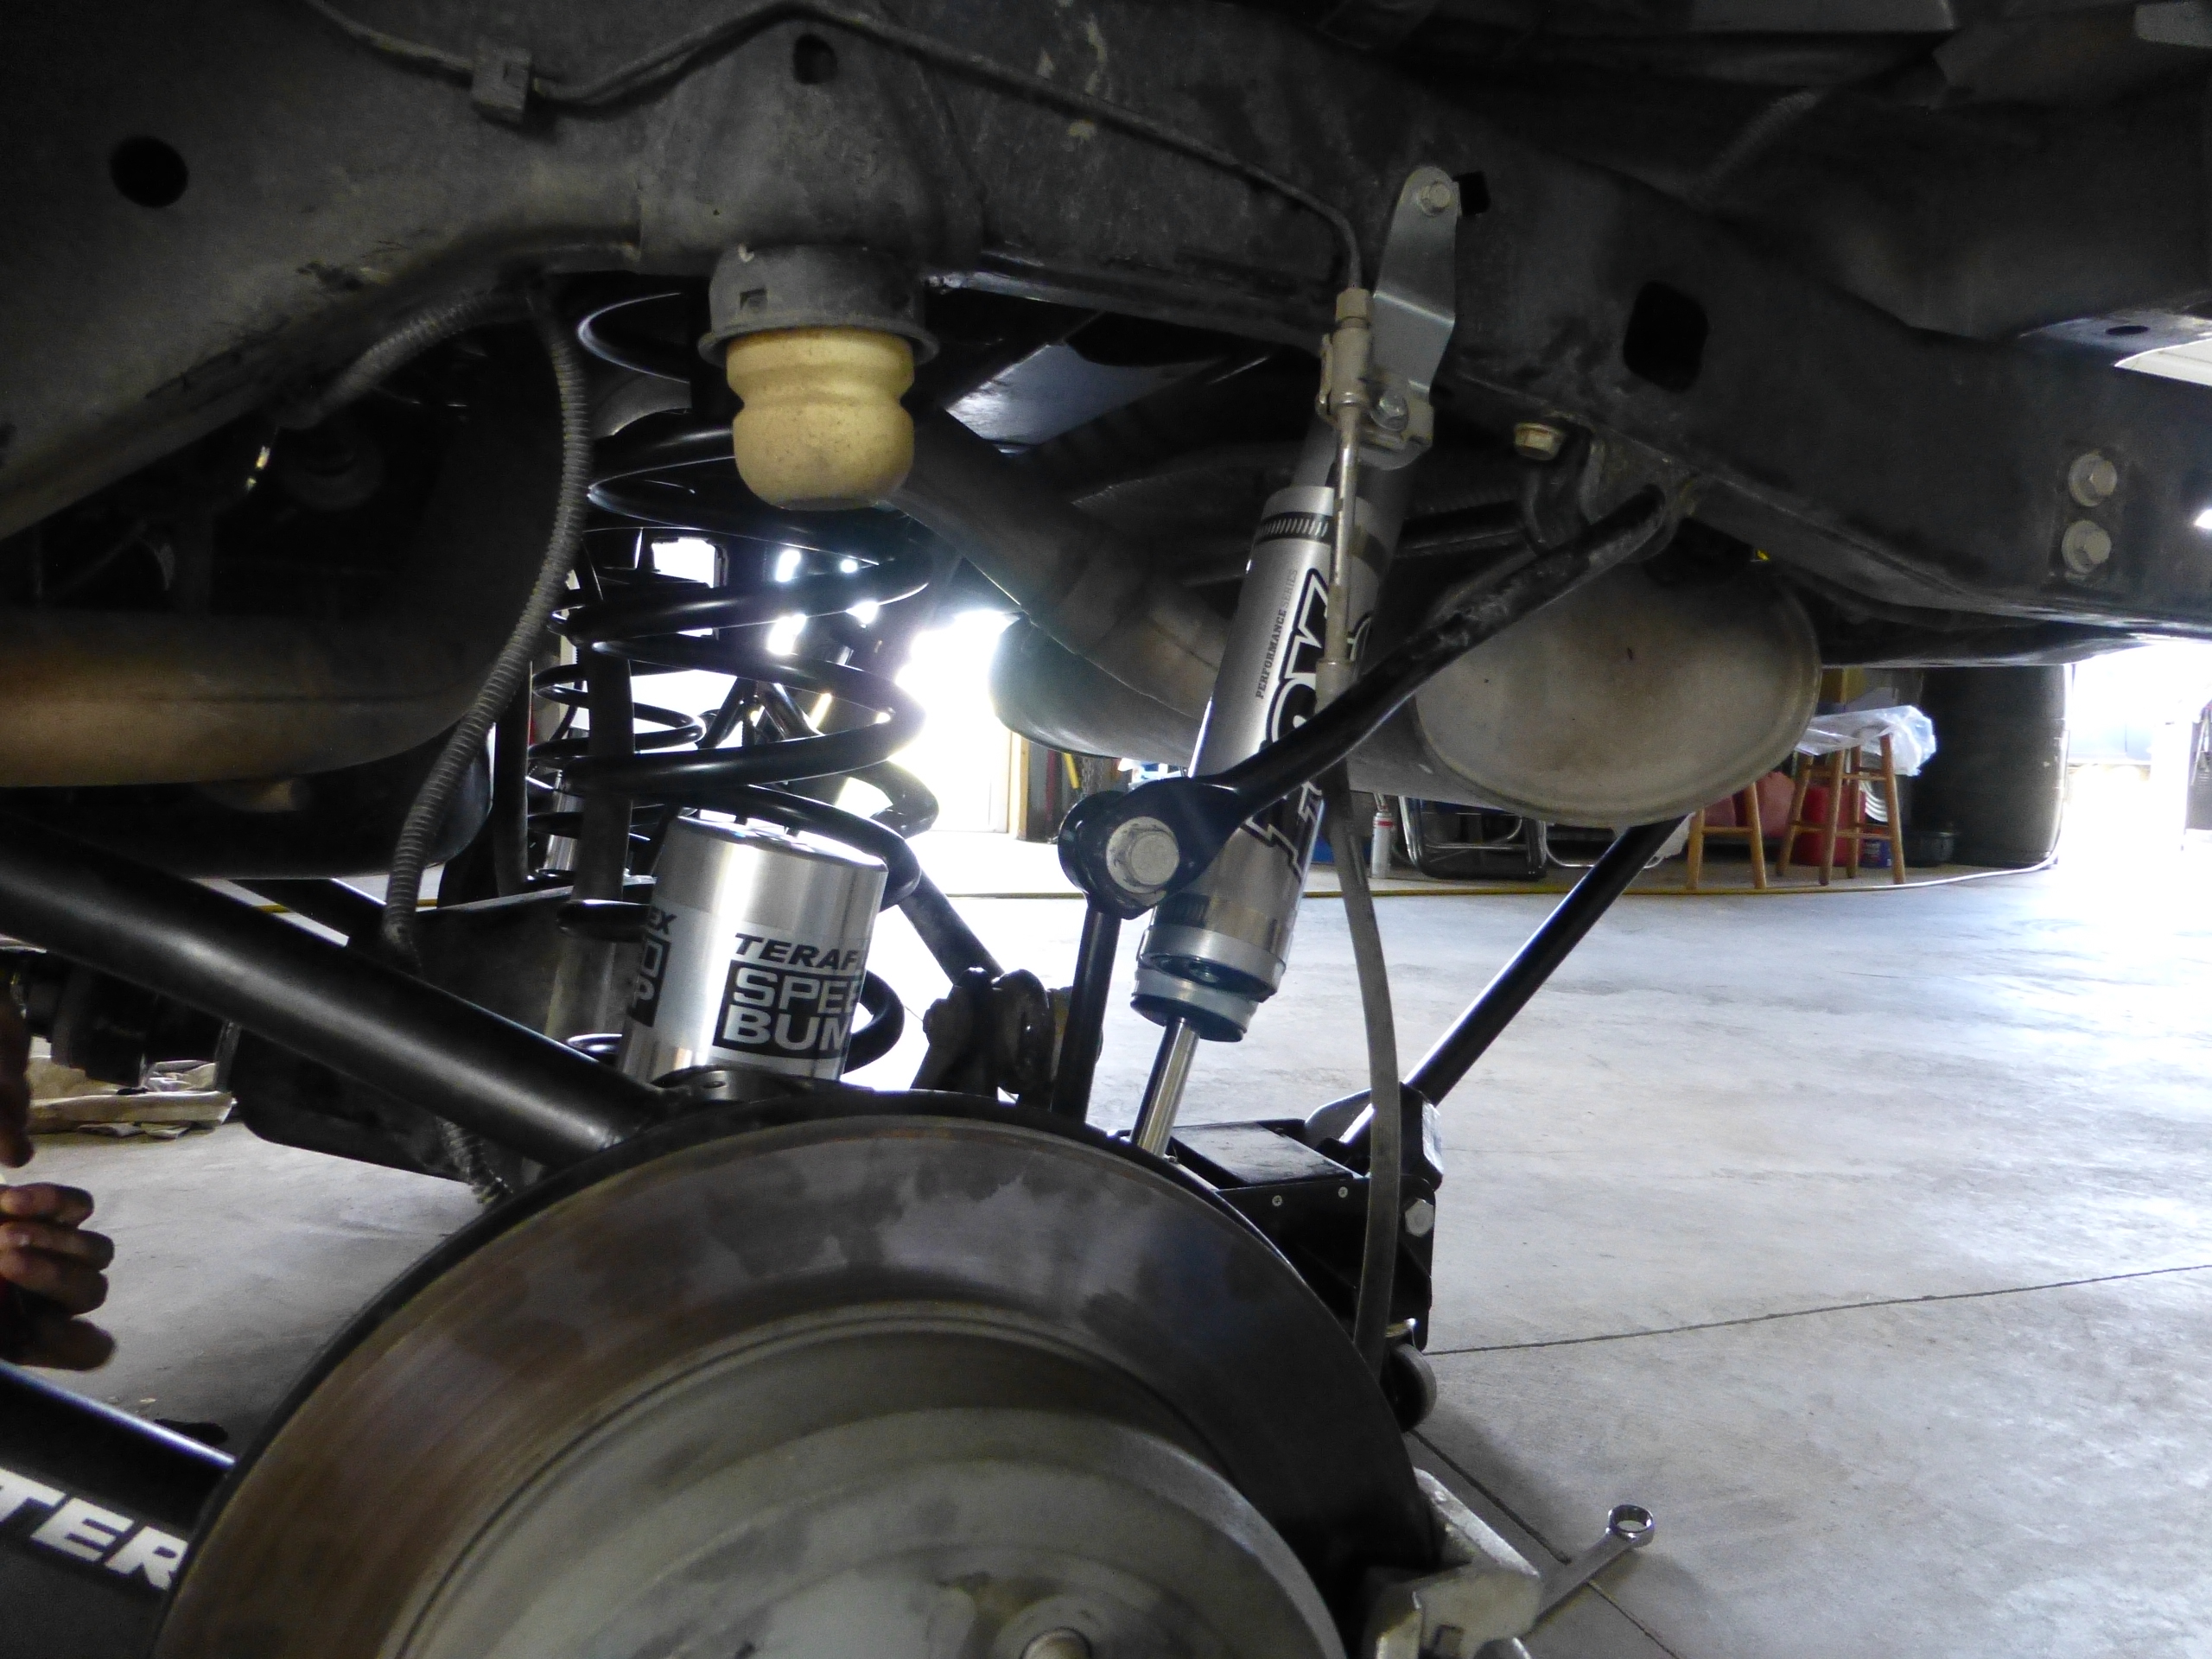
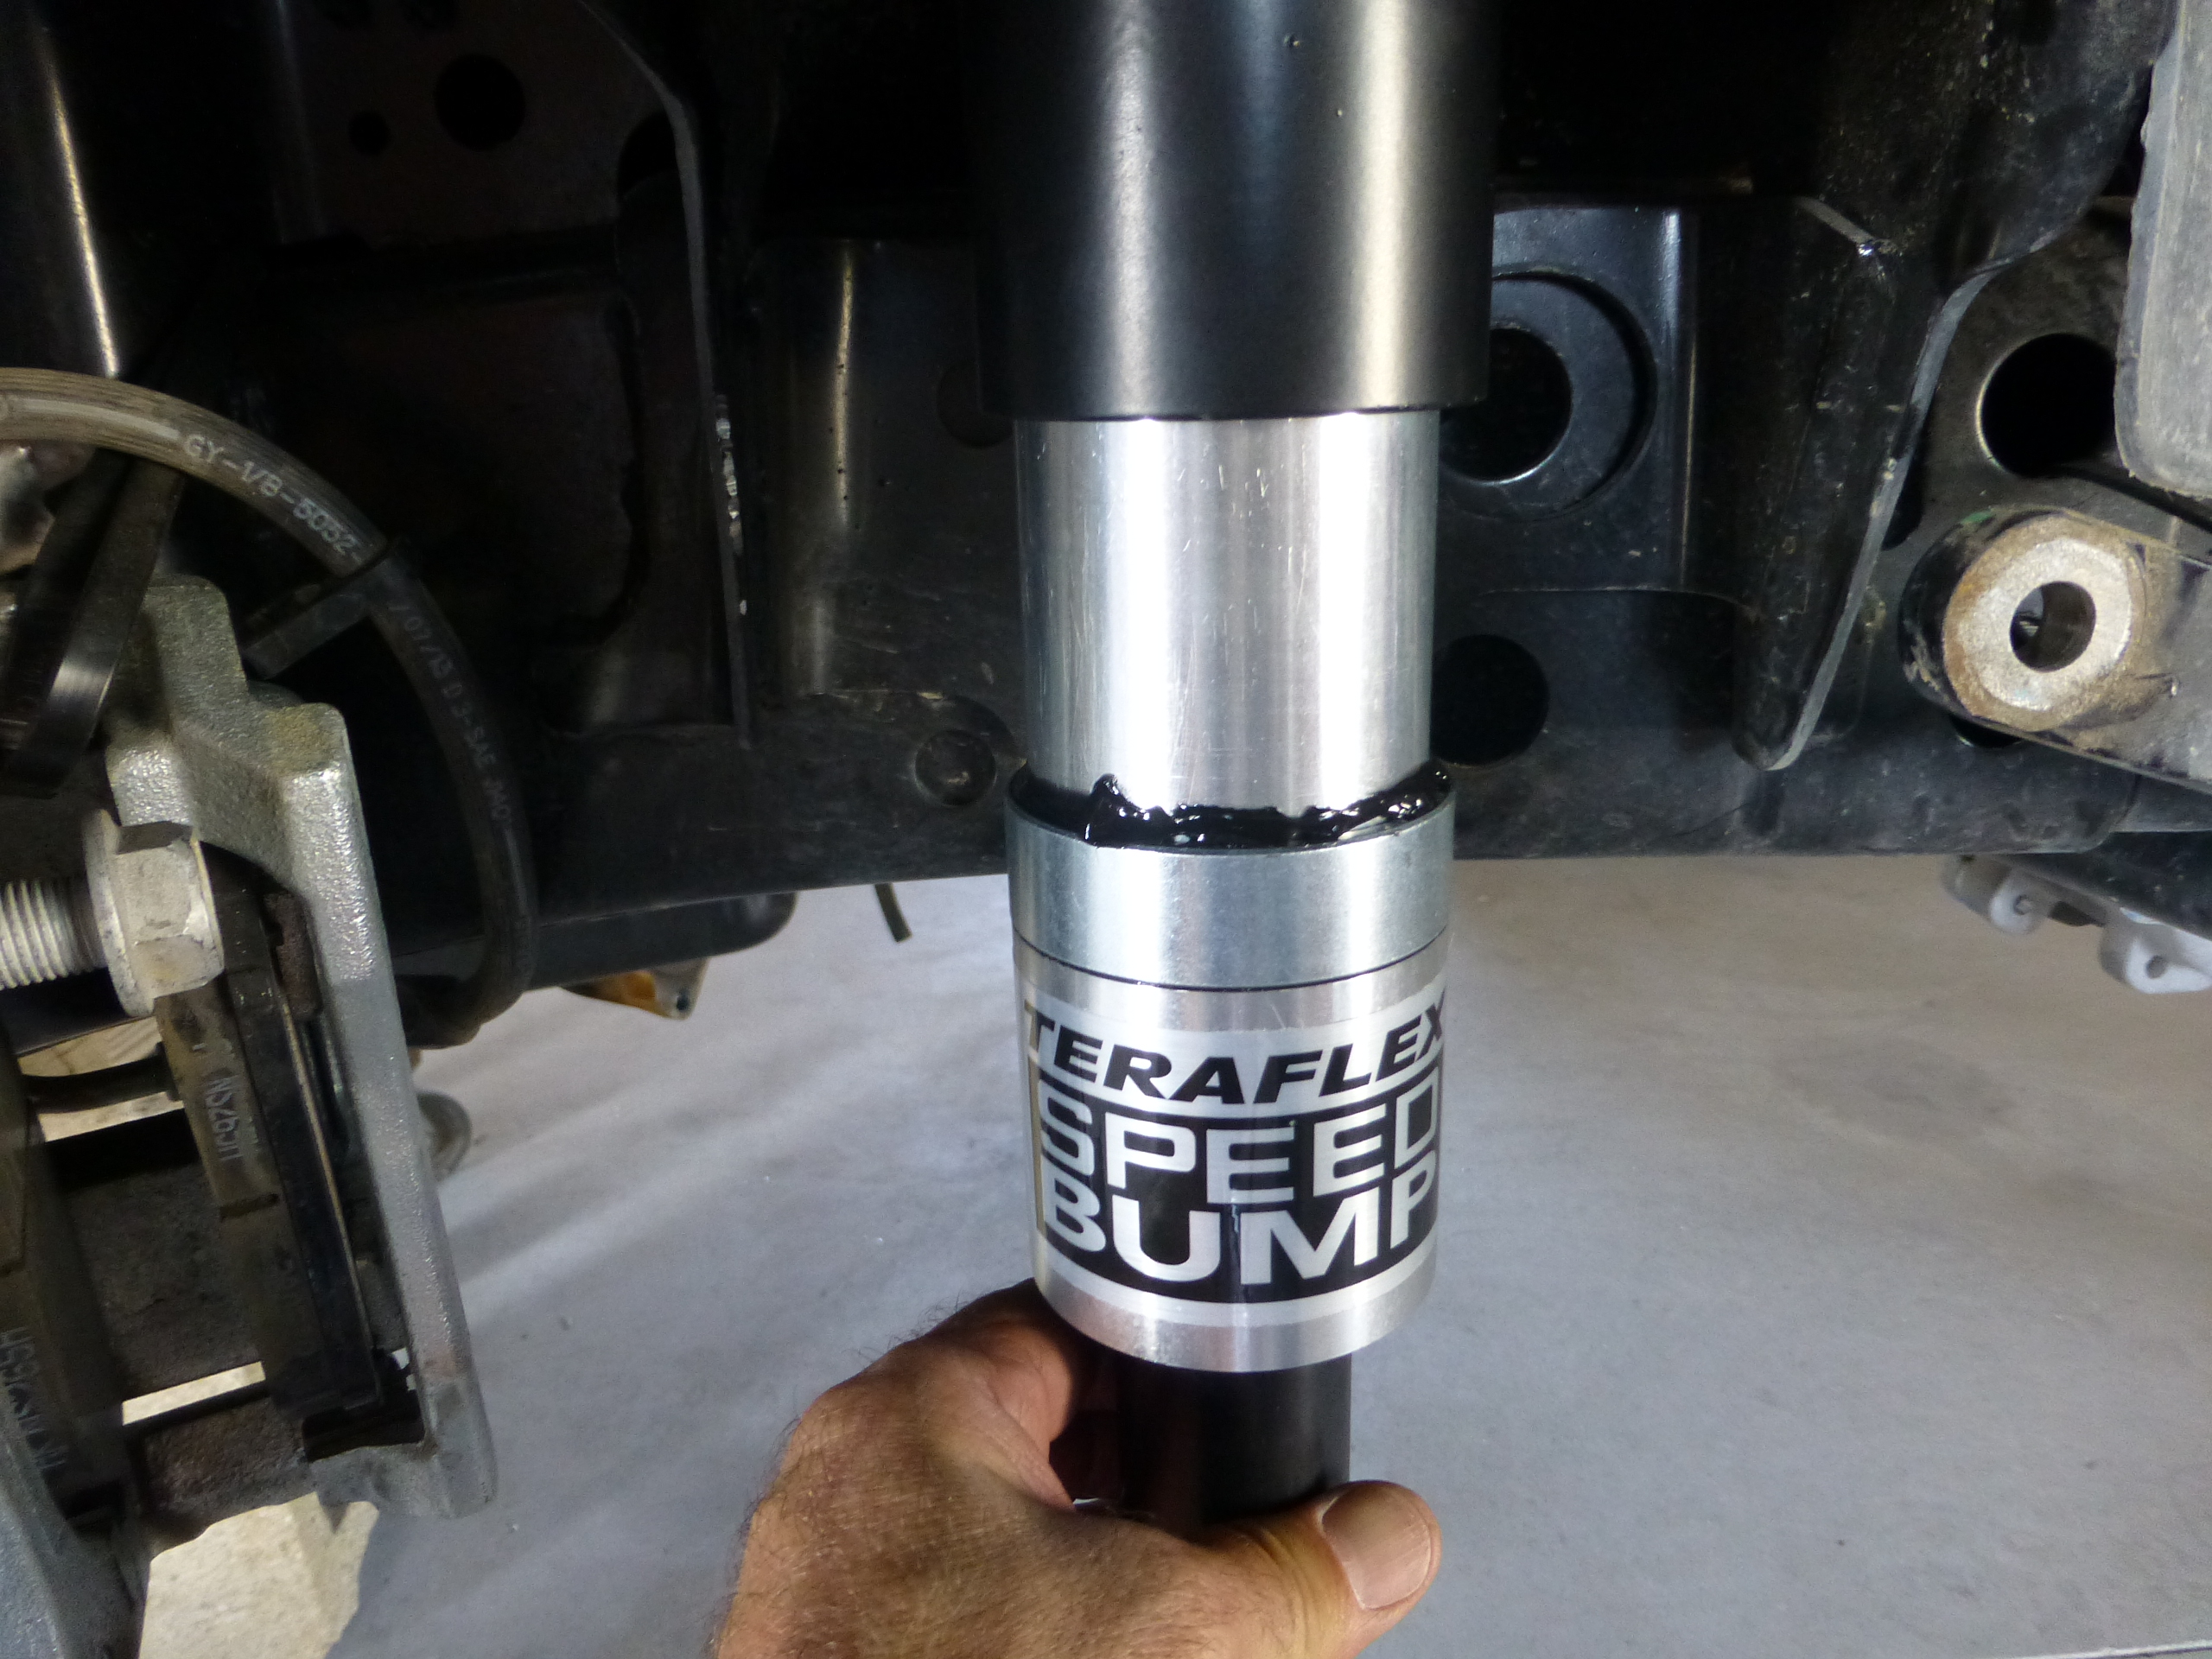
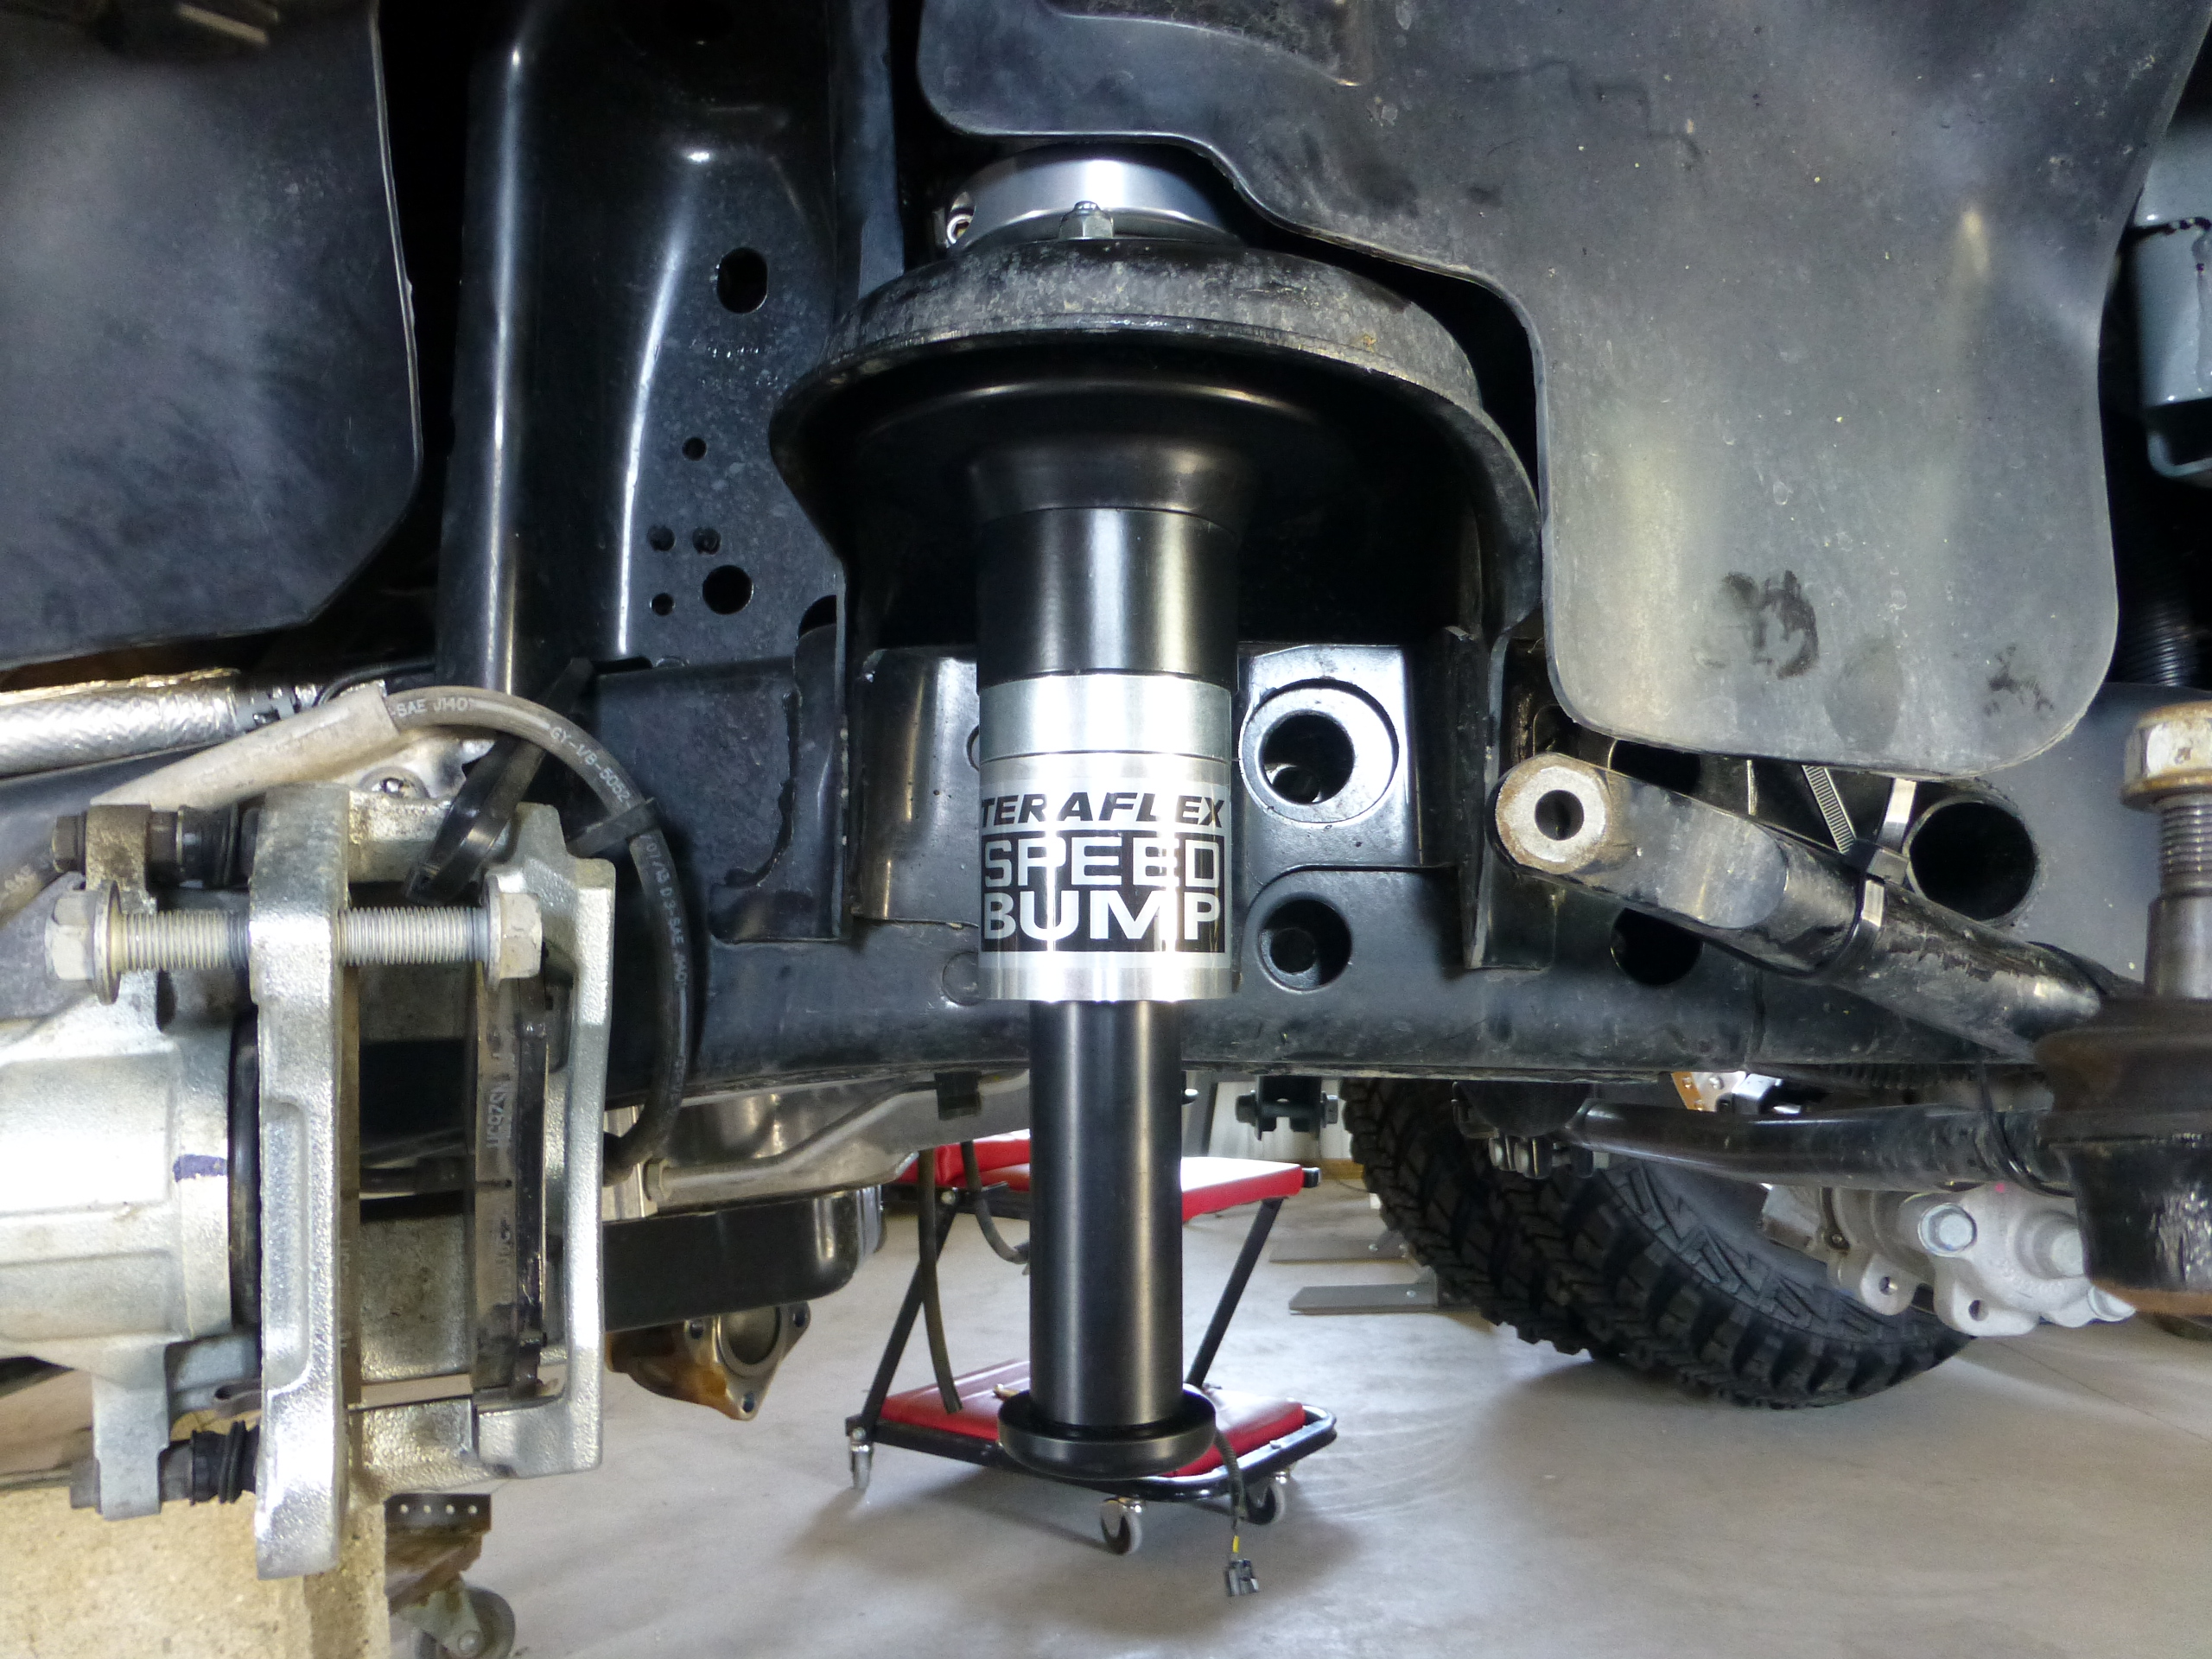
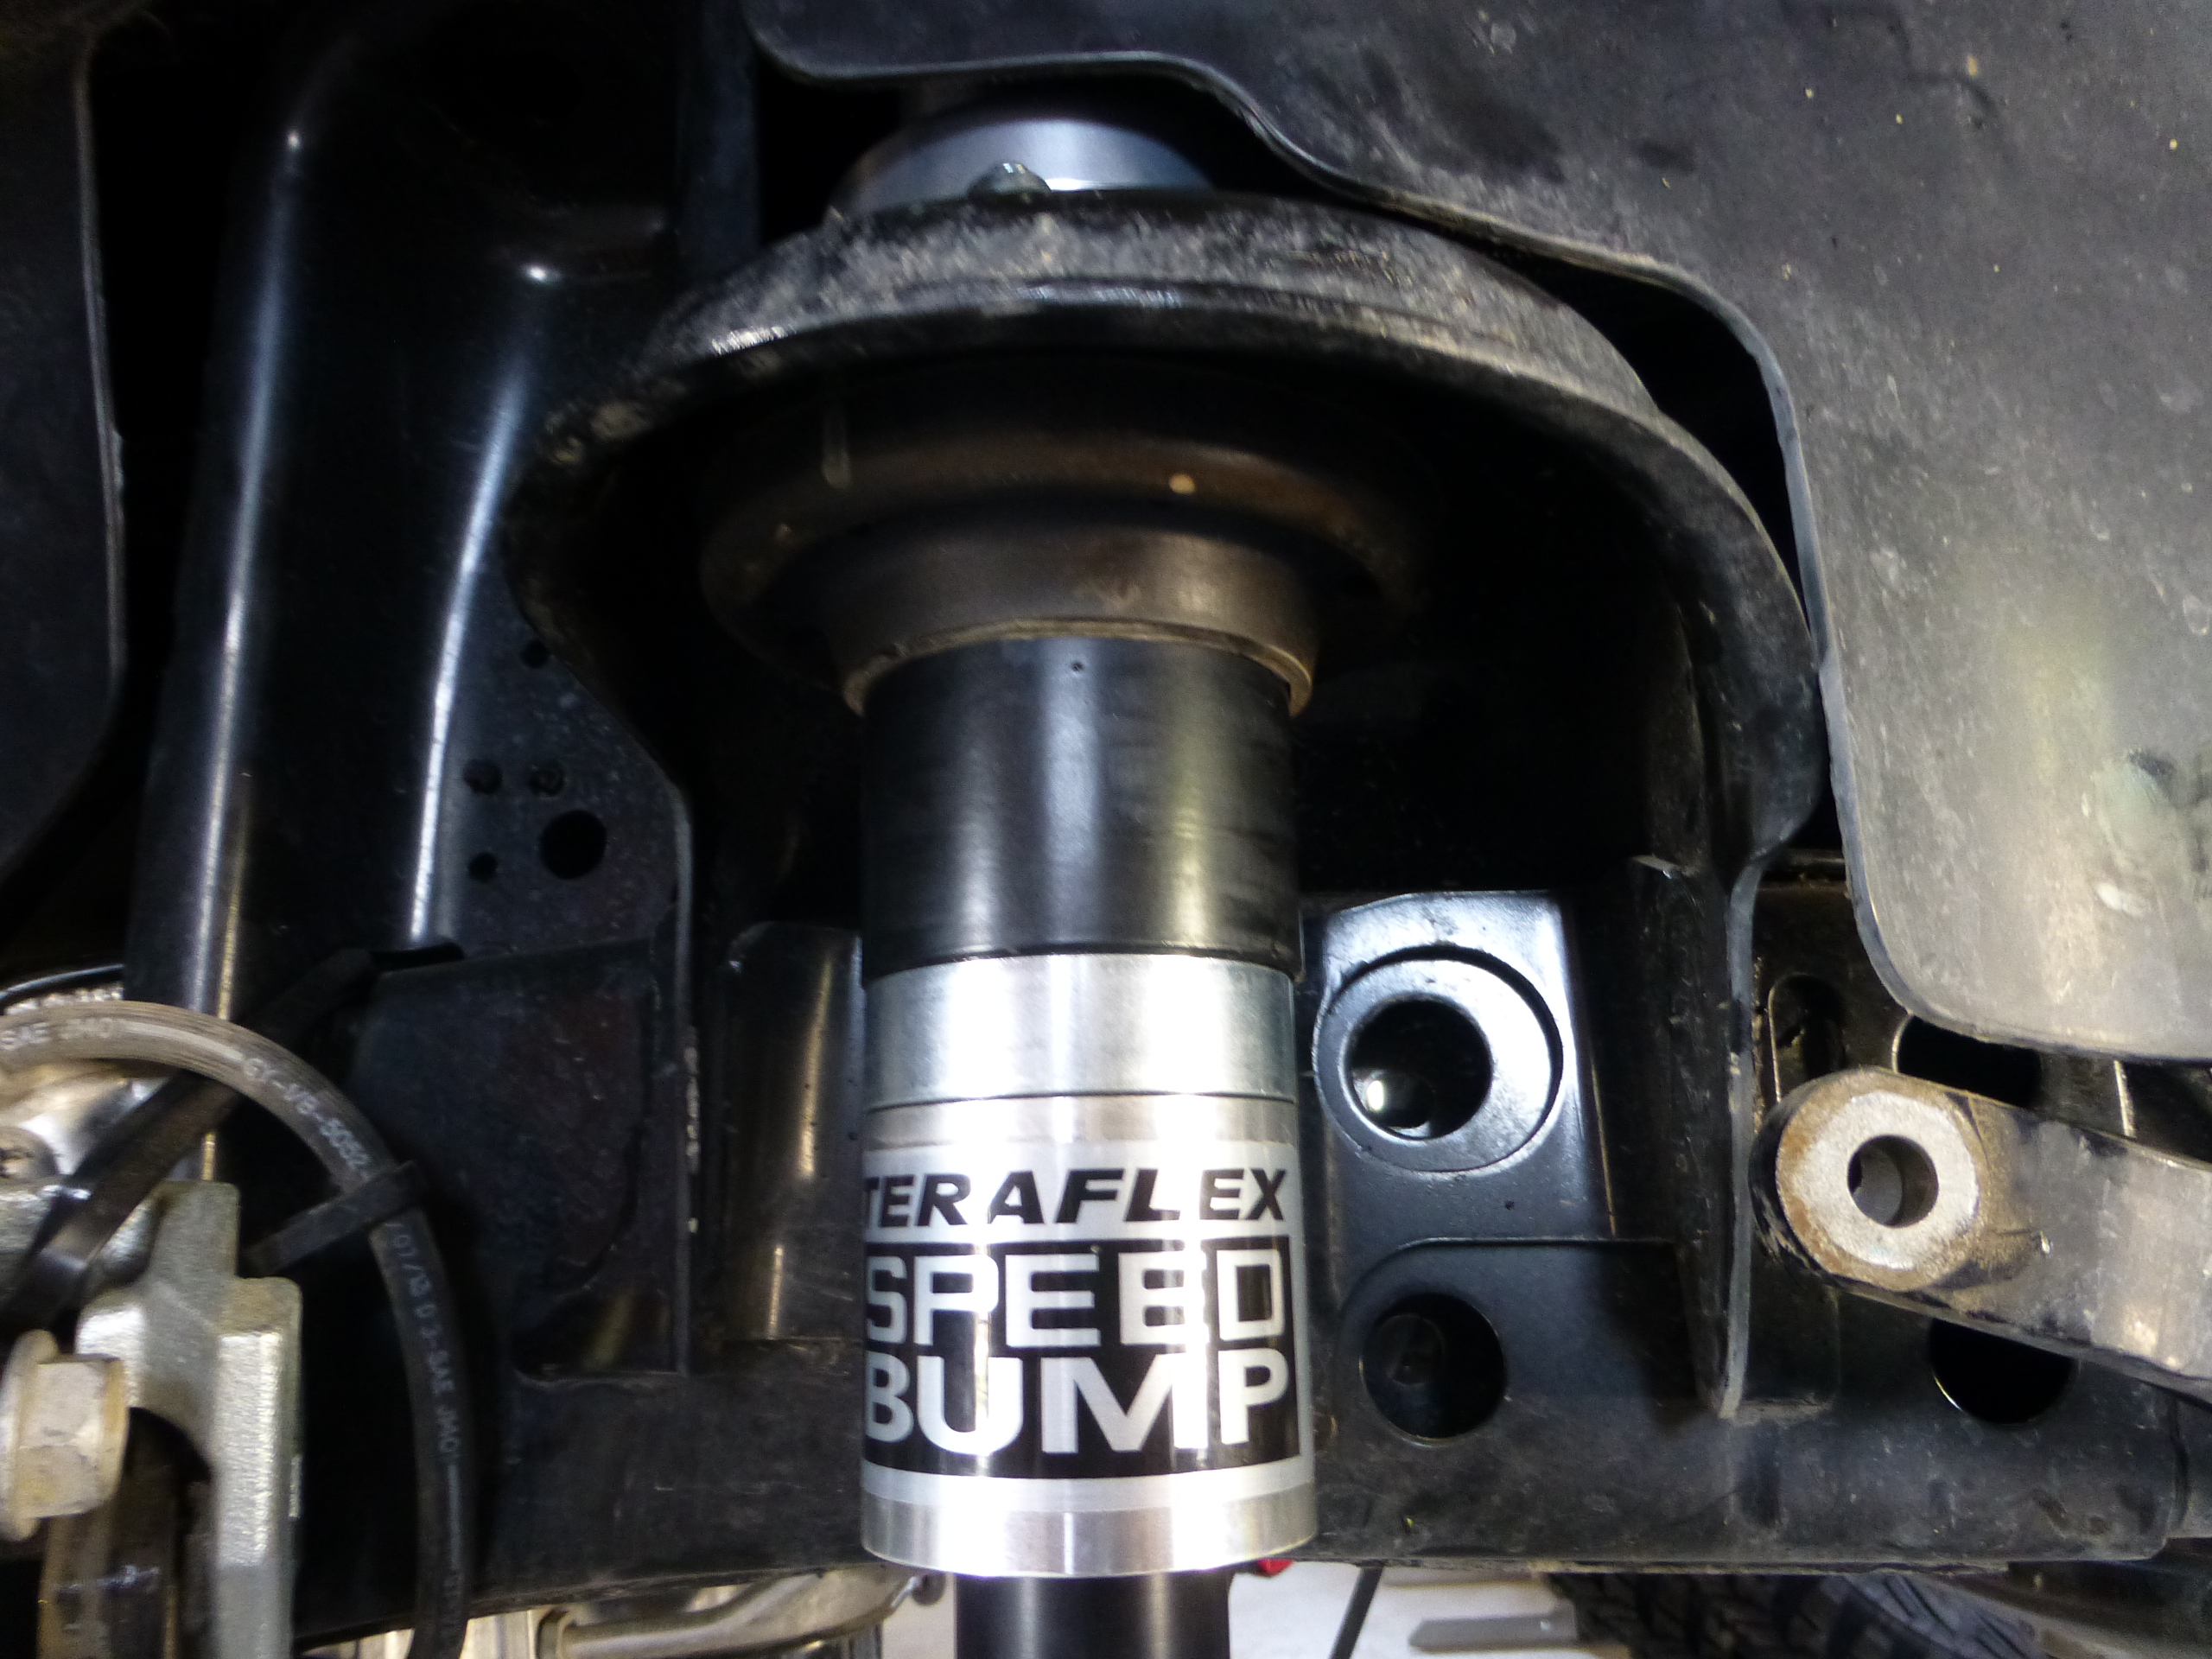
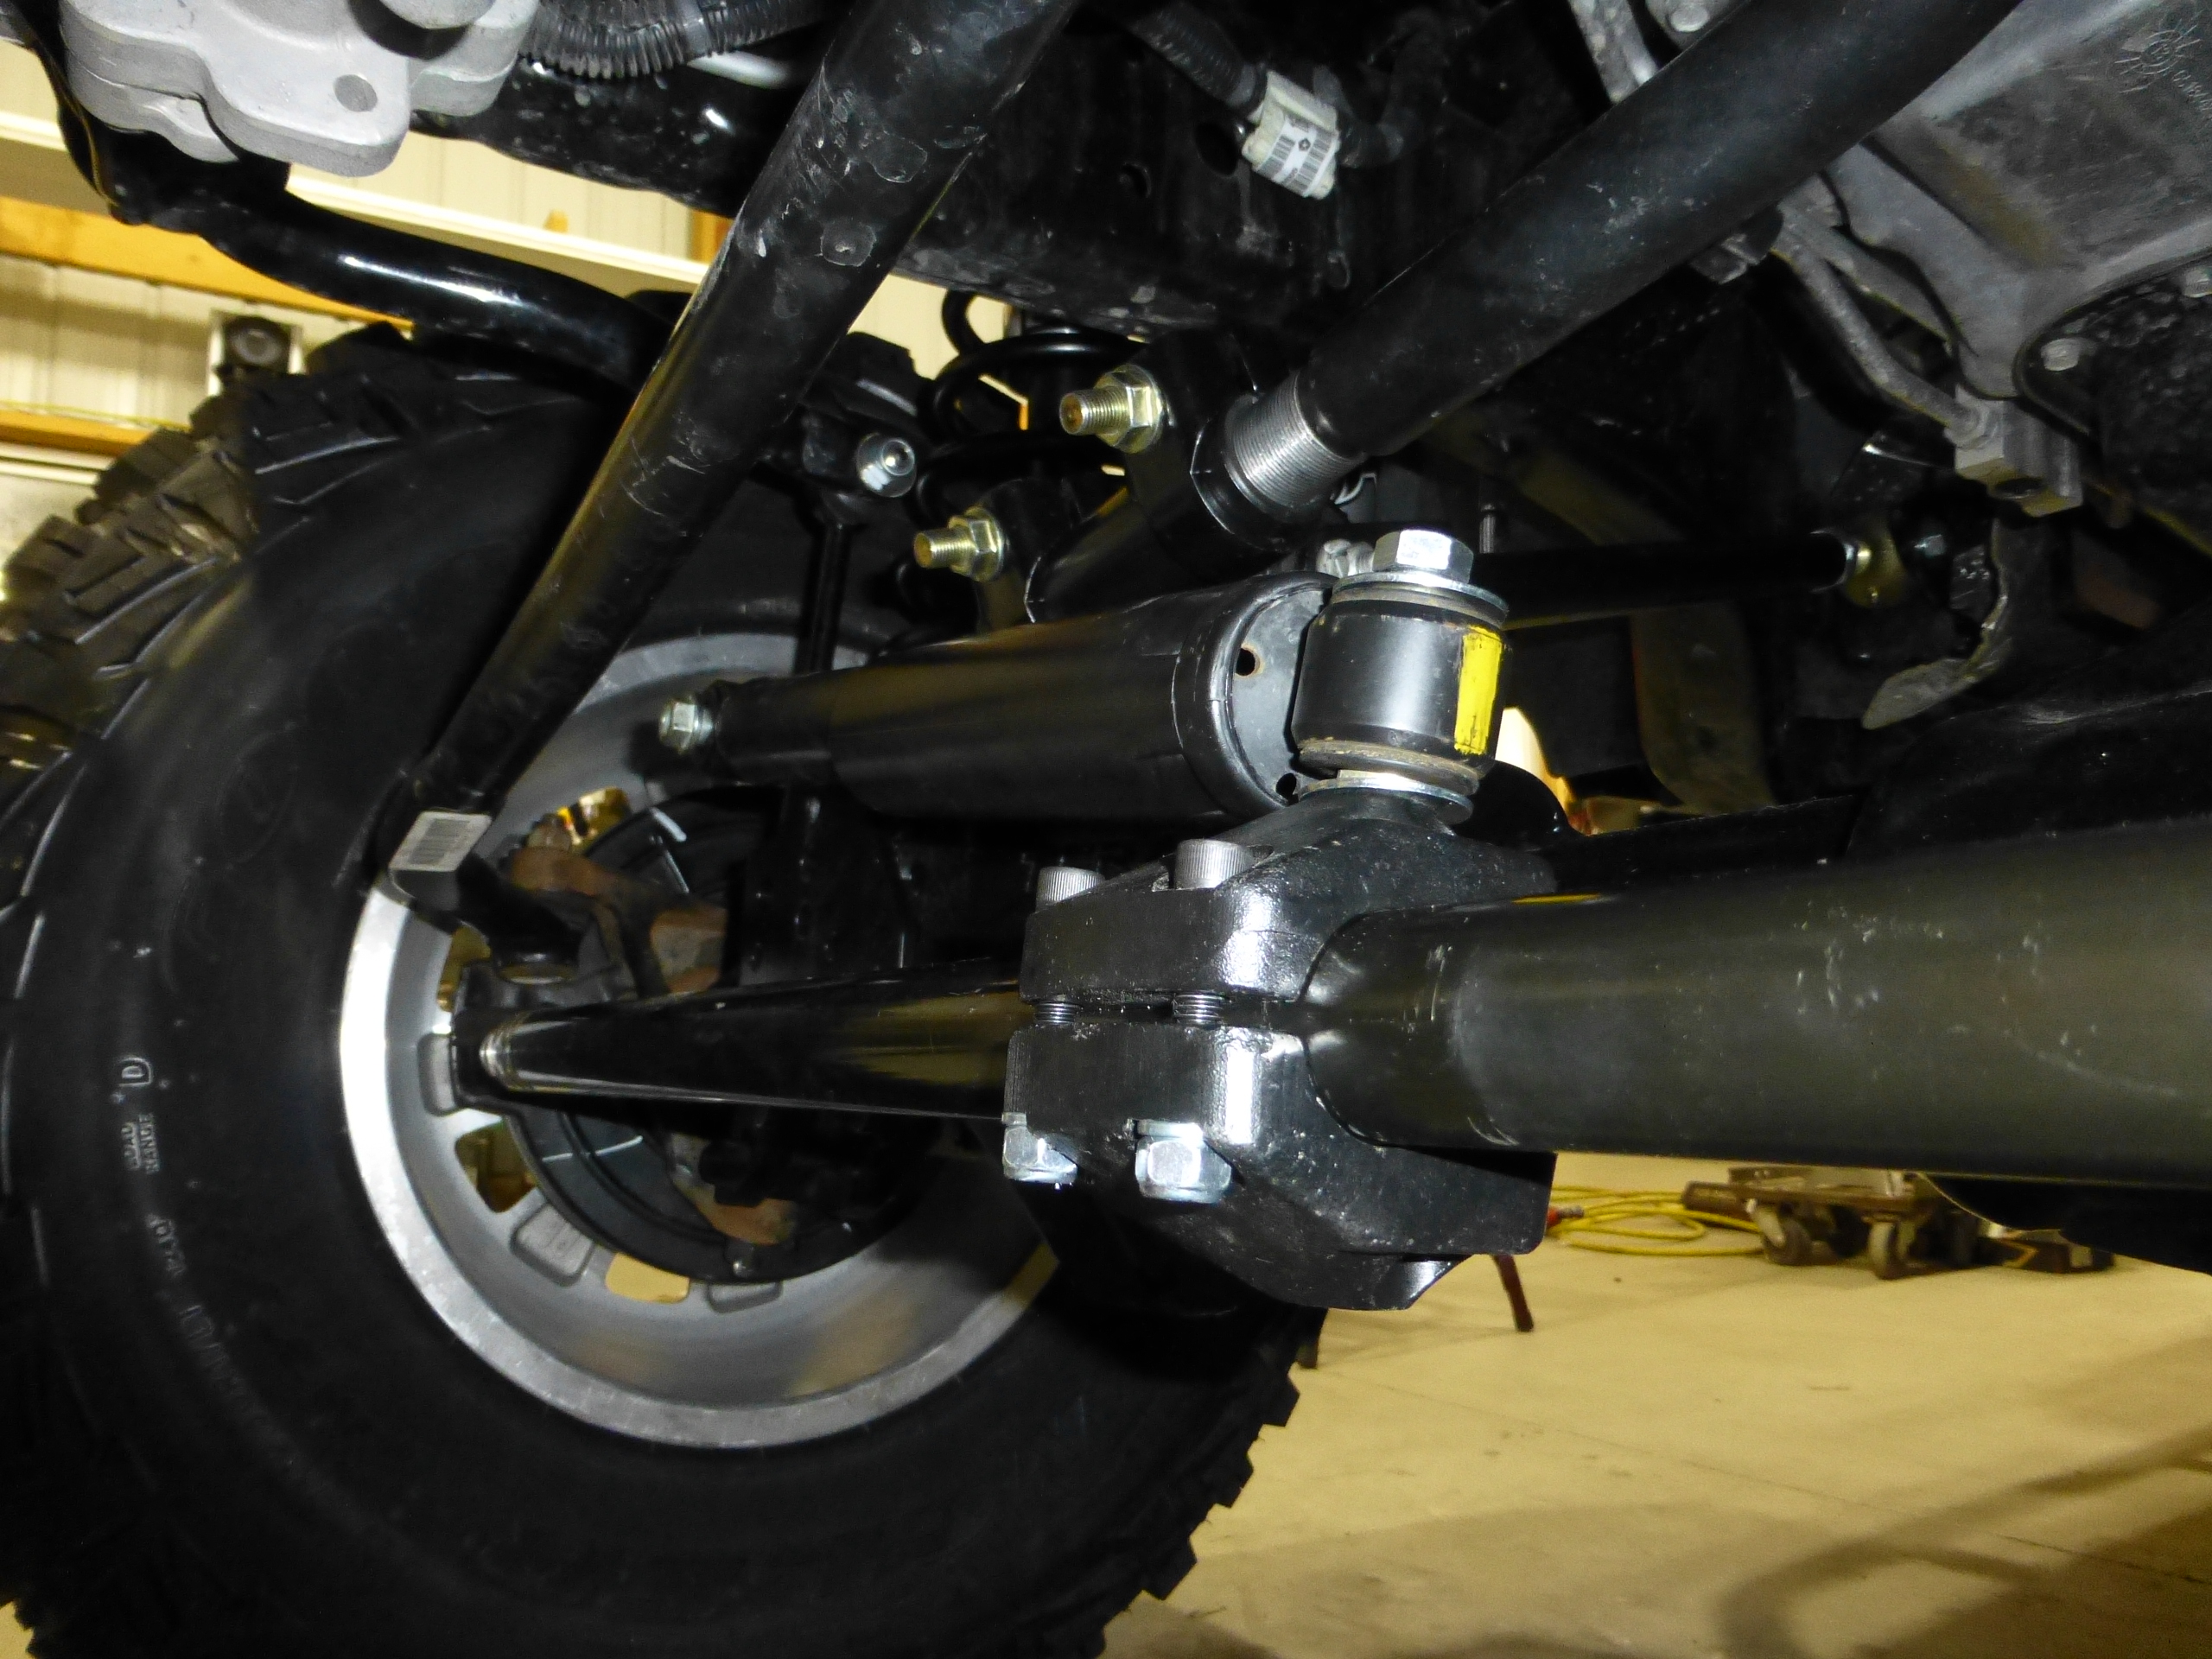
Before we installed the new springs we went ahead and installed the Teraflex Speed Bumps. The rear was pretty easy with the simple installation of a couple of bolts. With those in place we installed the new coil springs by making sure the axle was lowered enough to slide the top of them over the spring guide and onto the isolators and secured the bottom of the spring to the axle with the supplied bolt and washer.
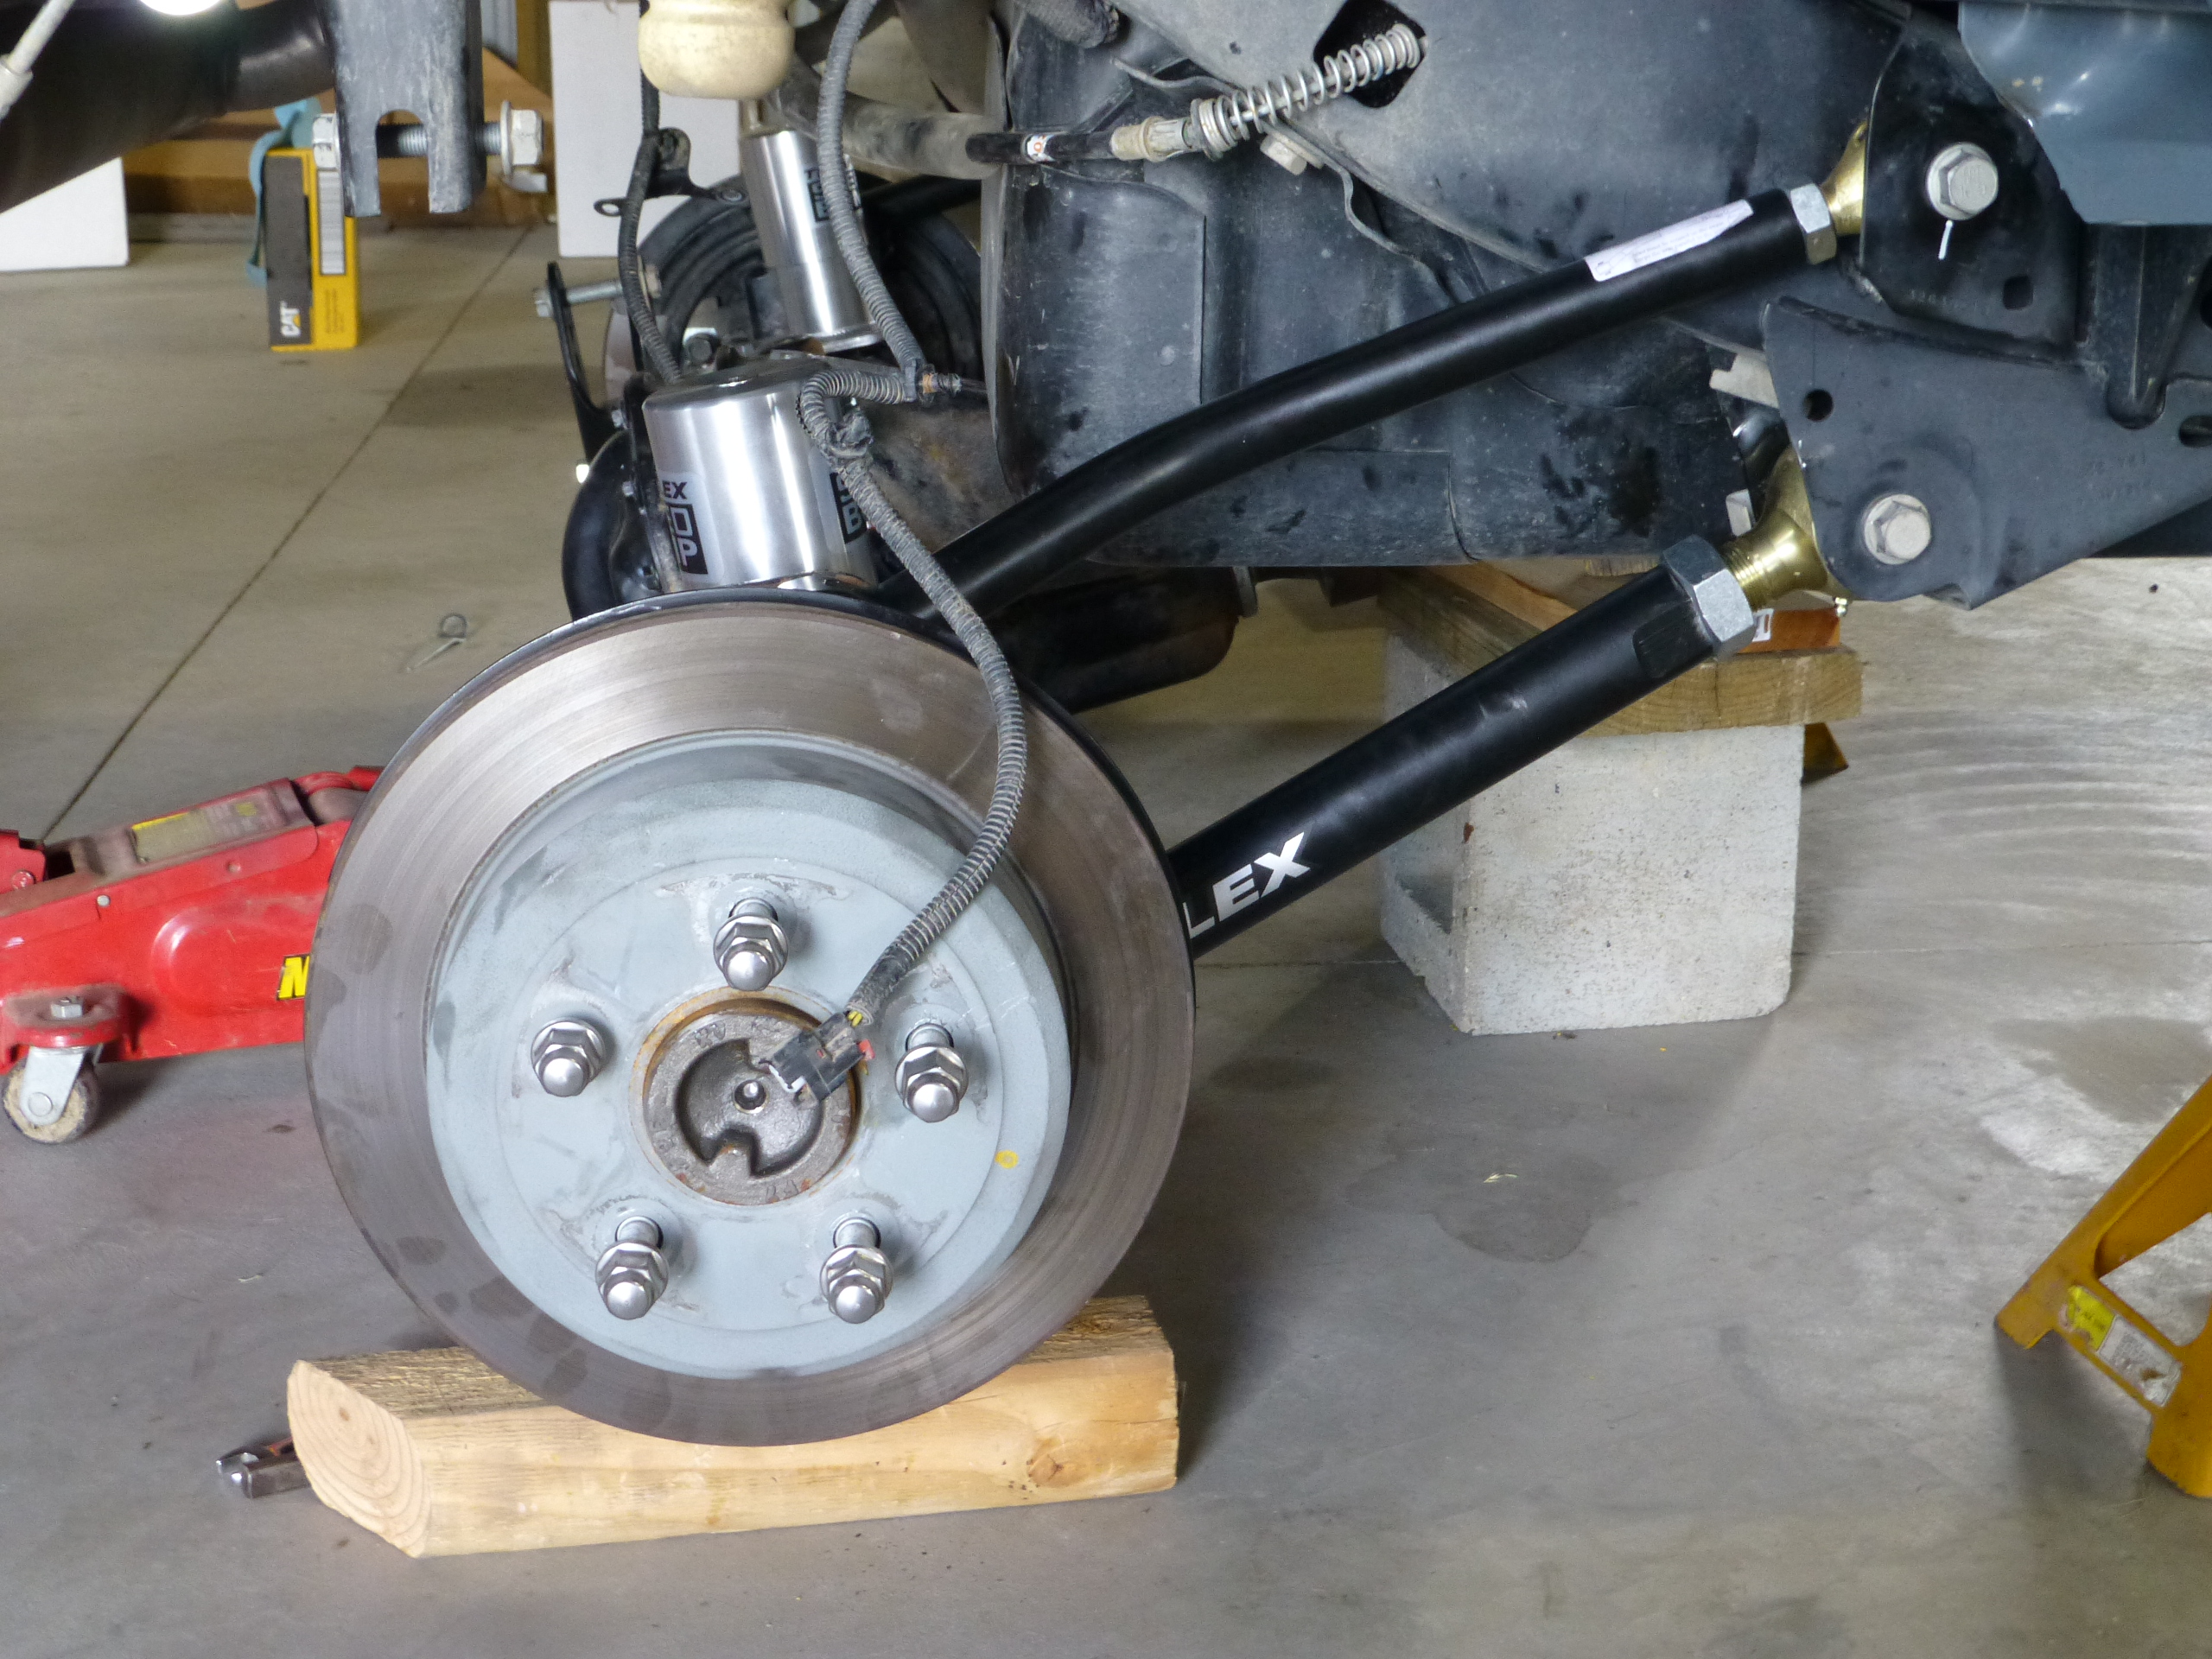

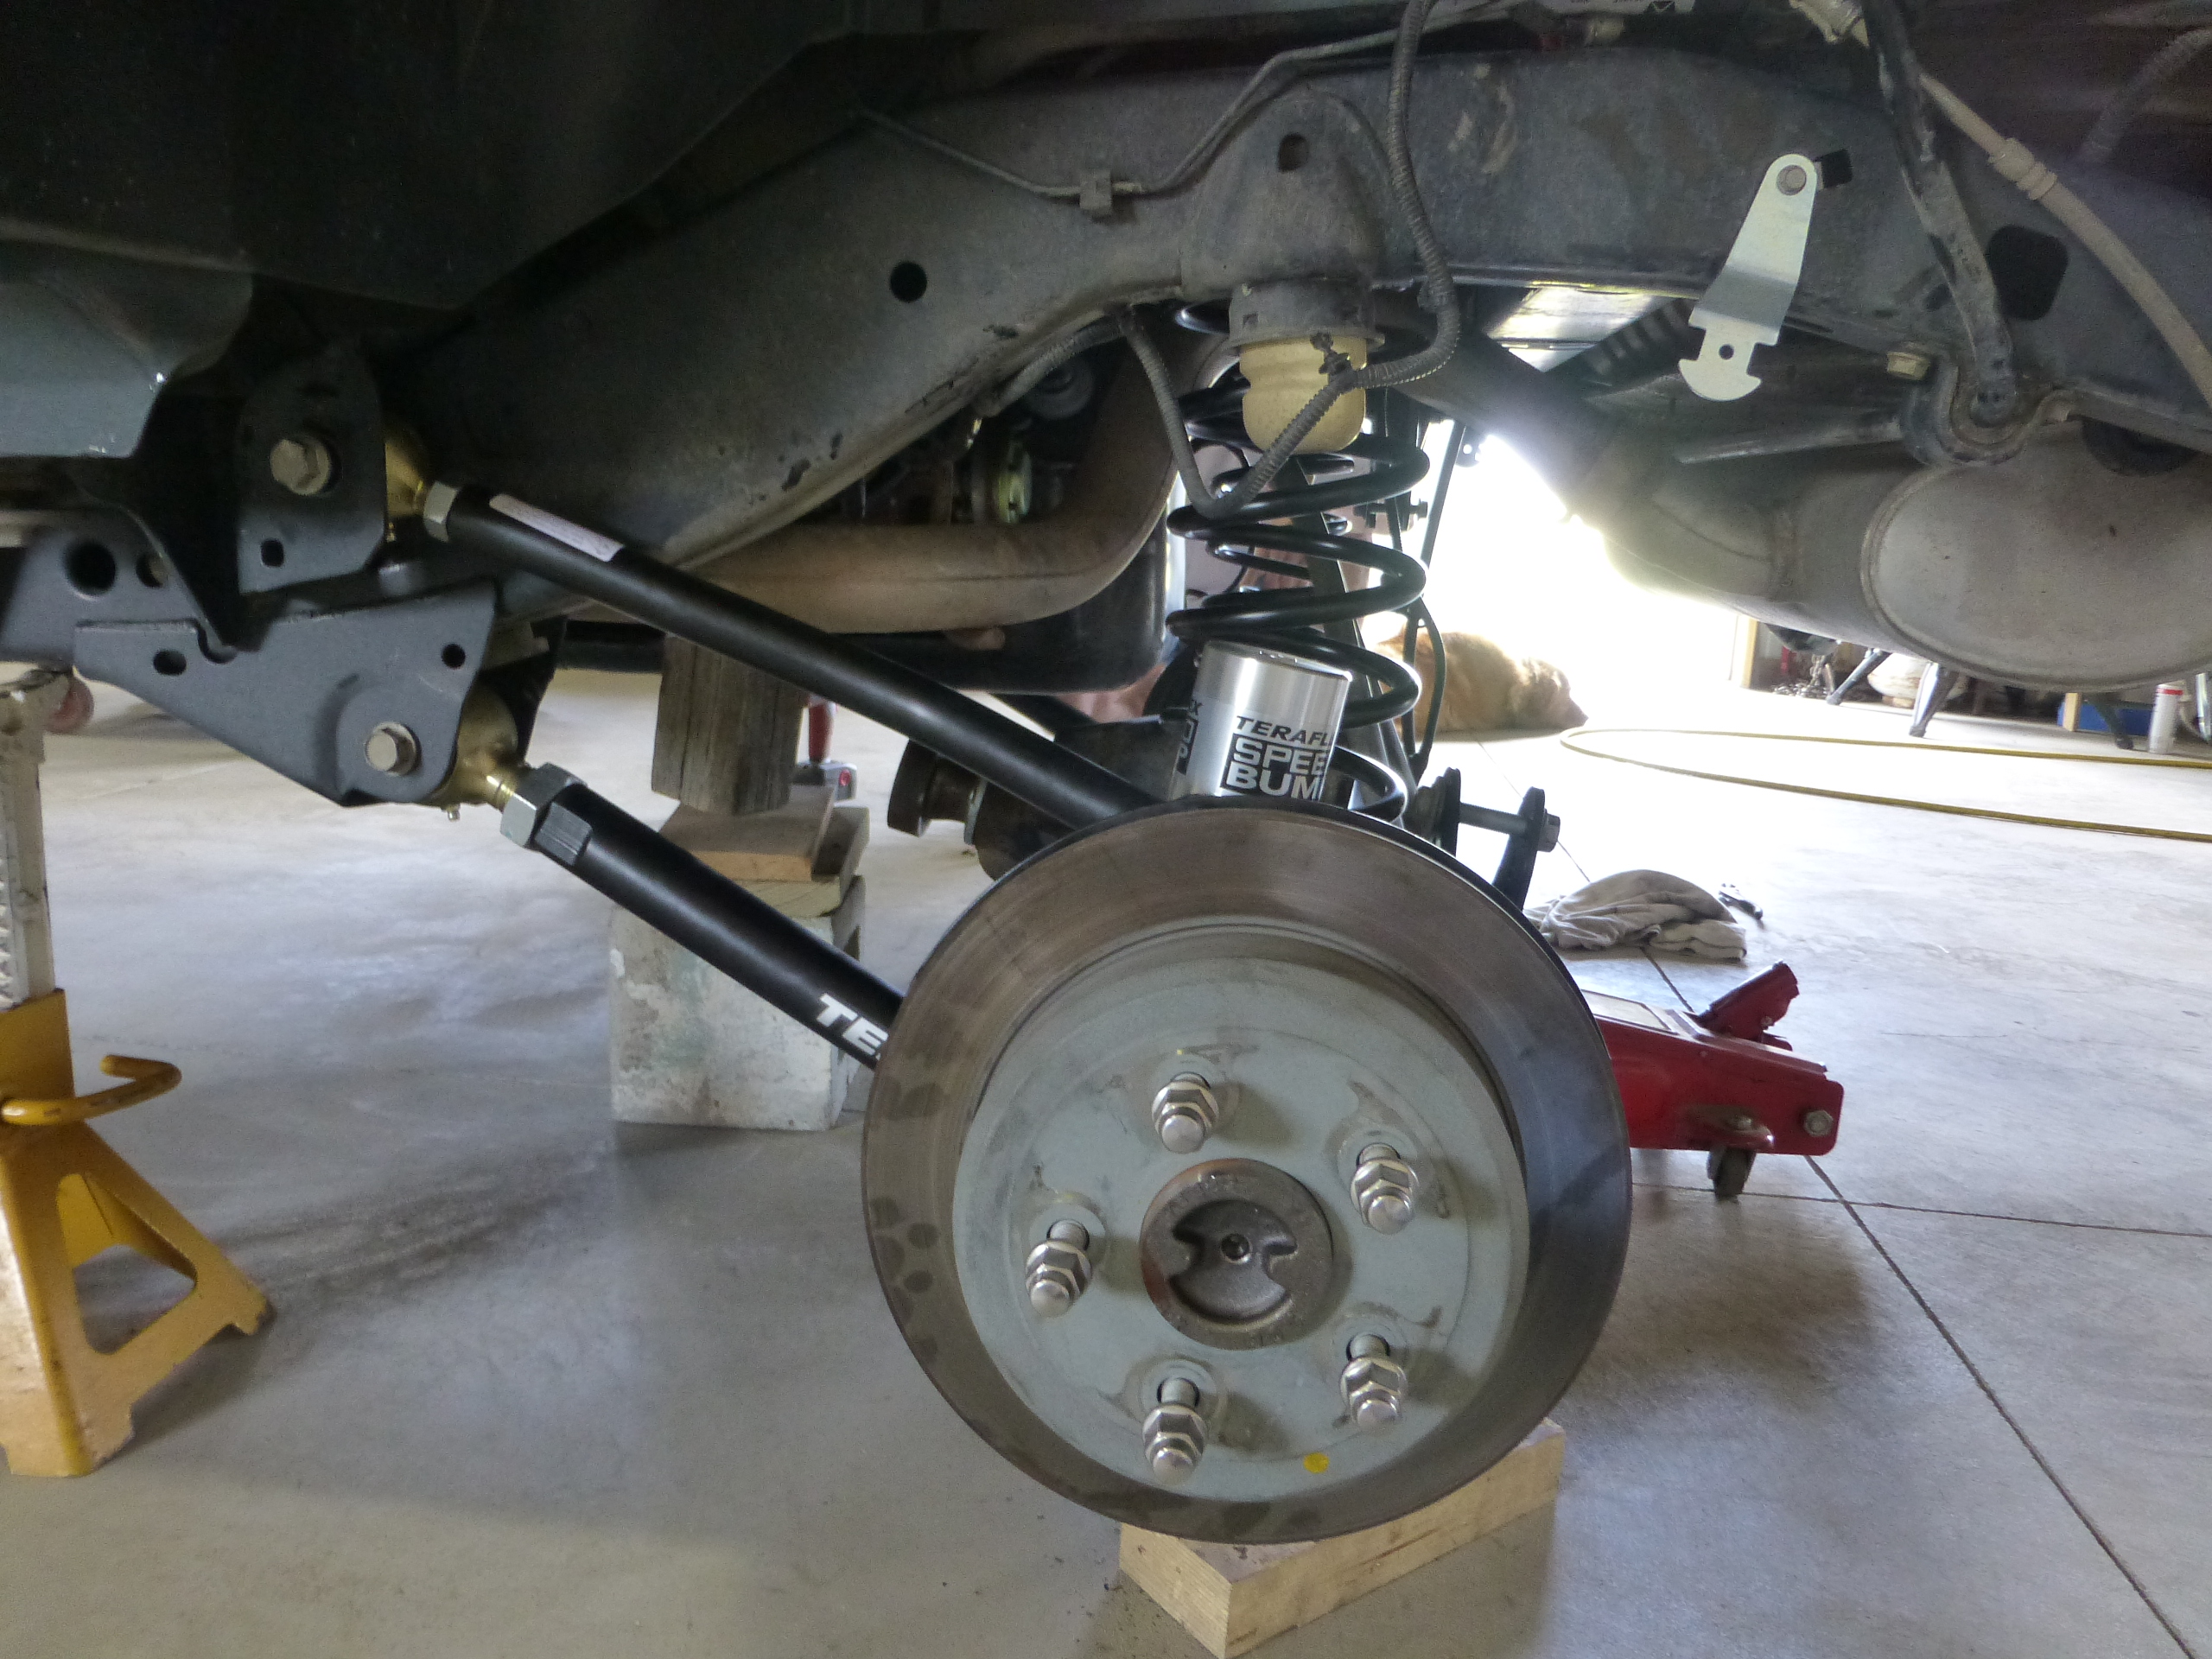
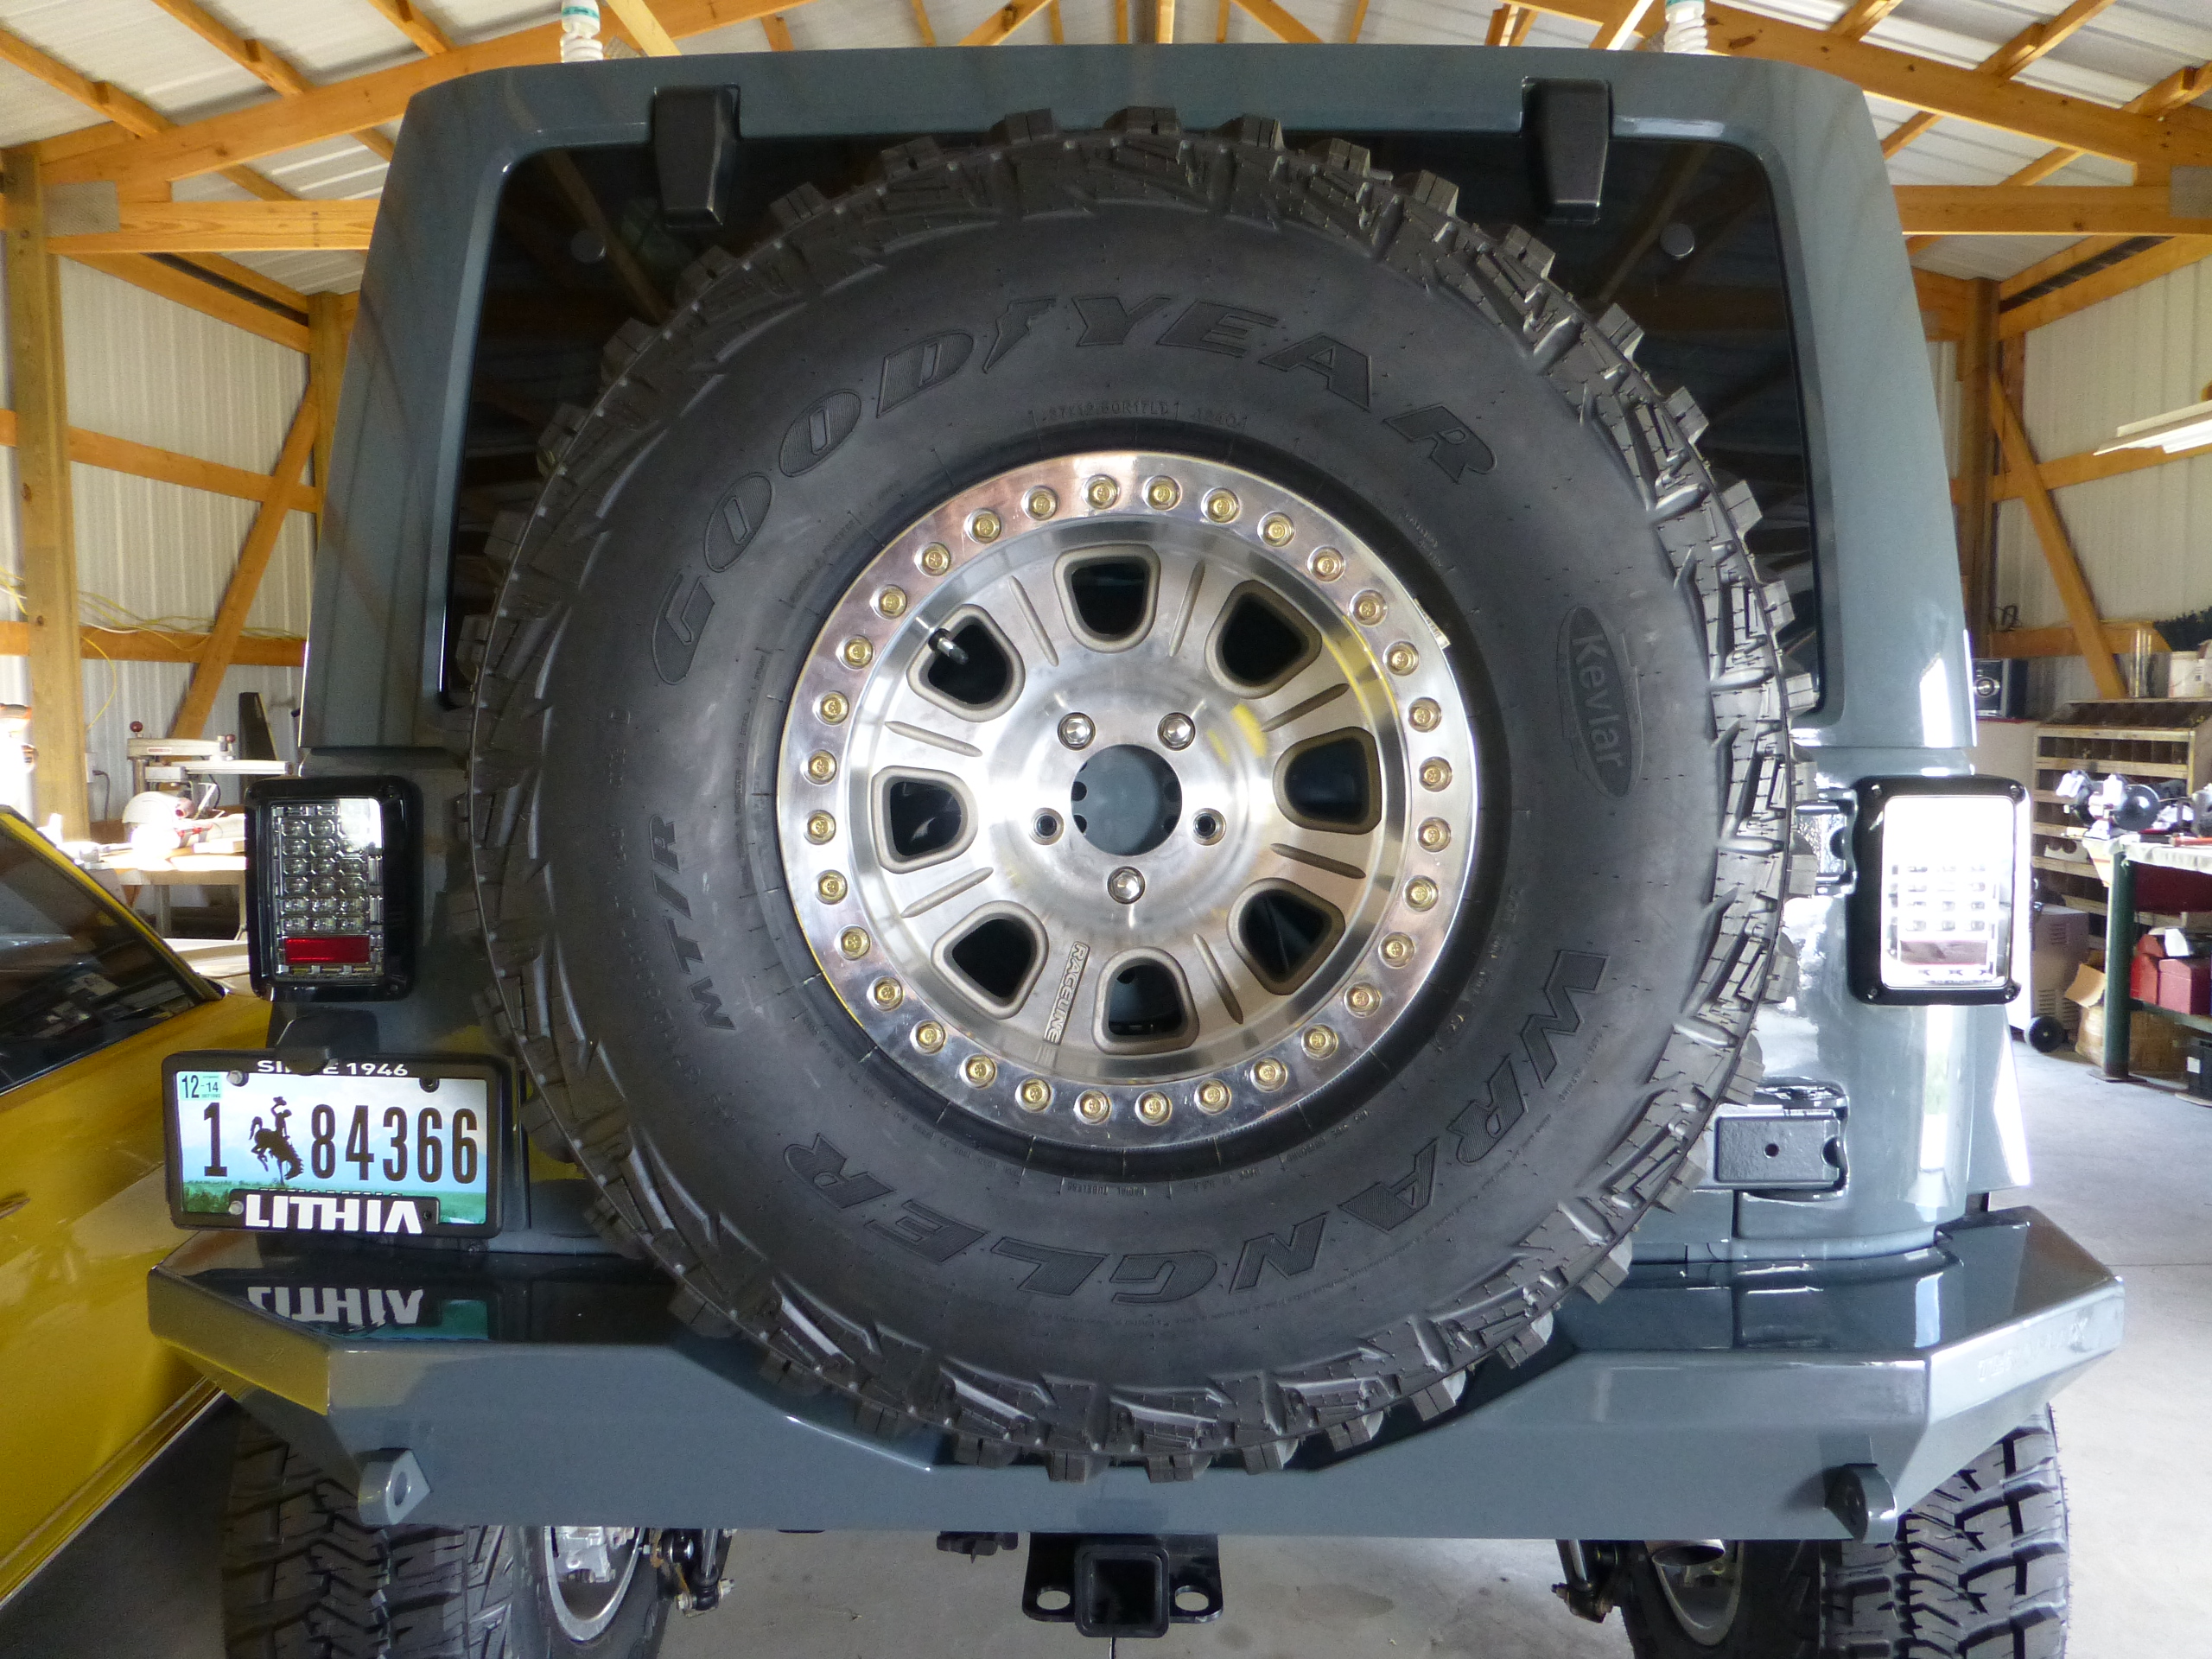
Once the rear coil springs were installed it was a matter of connecting the parking brake cables, the track bar, rear sway bar end links, connected the drive line and finally the rear shocks. With all of those components in place the rear suspension was done, all we needed to do to get it back on the ground and off the jack stands. The new bead locks wrapped in 37” Goodyear MTR Wranglers made for a nice way to wrap up the rear end.


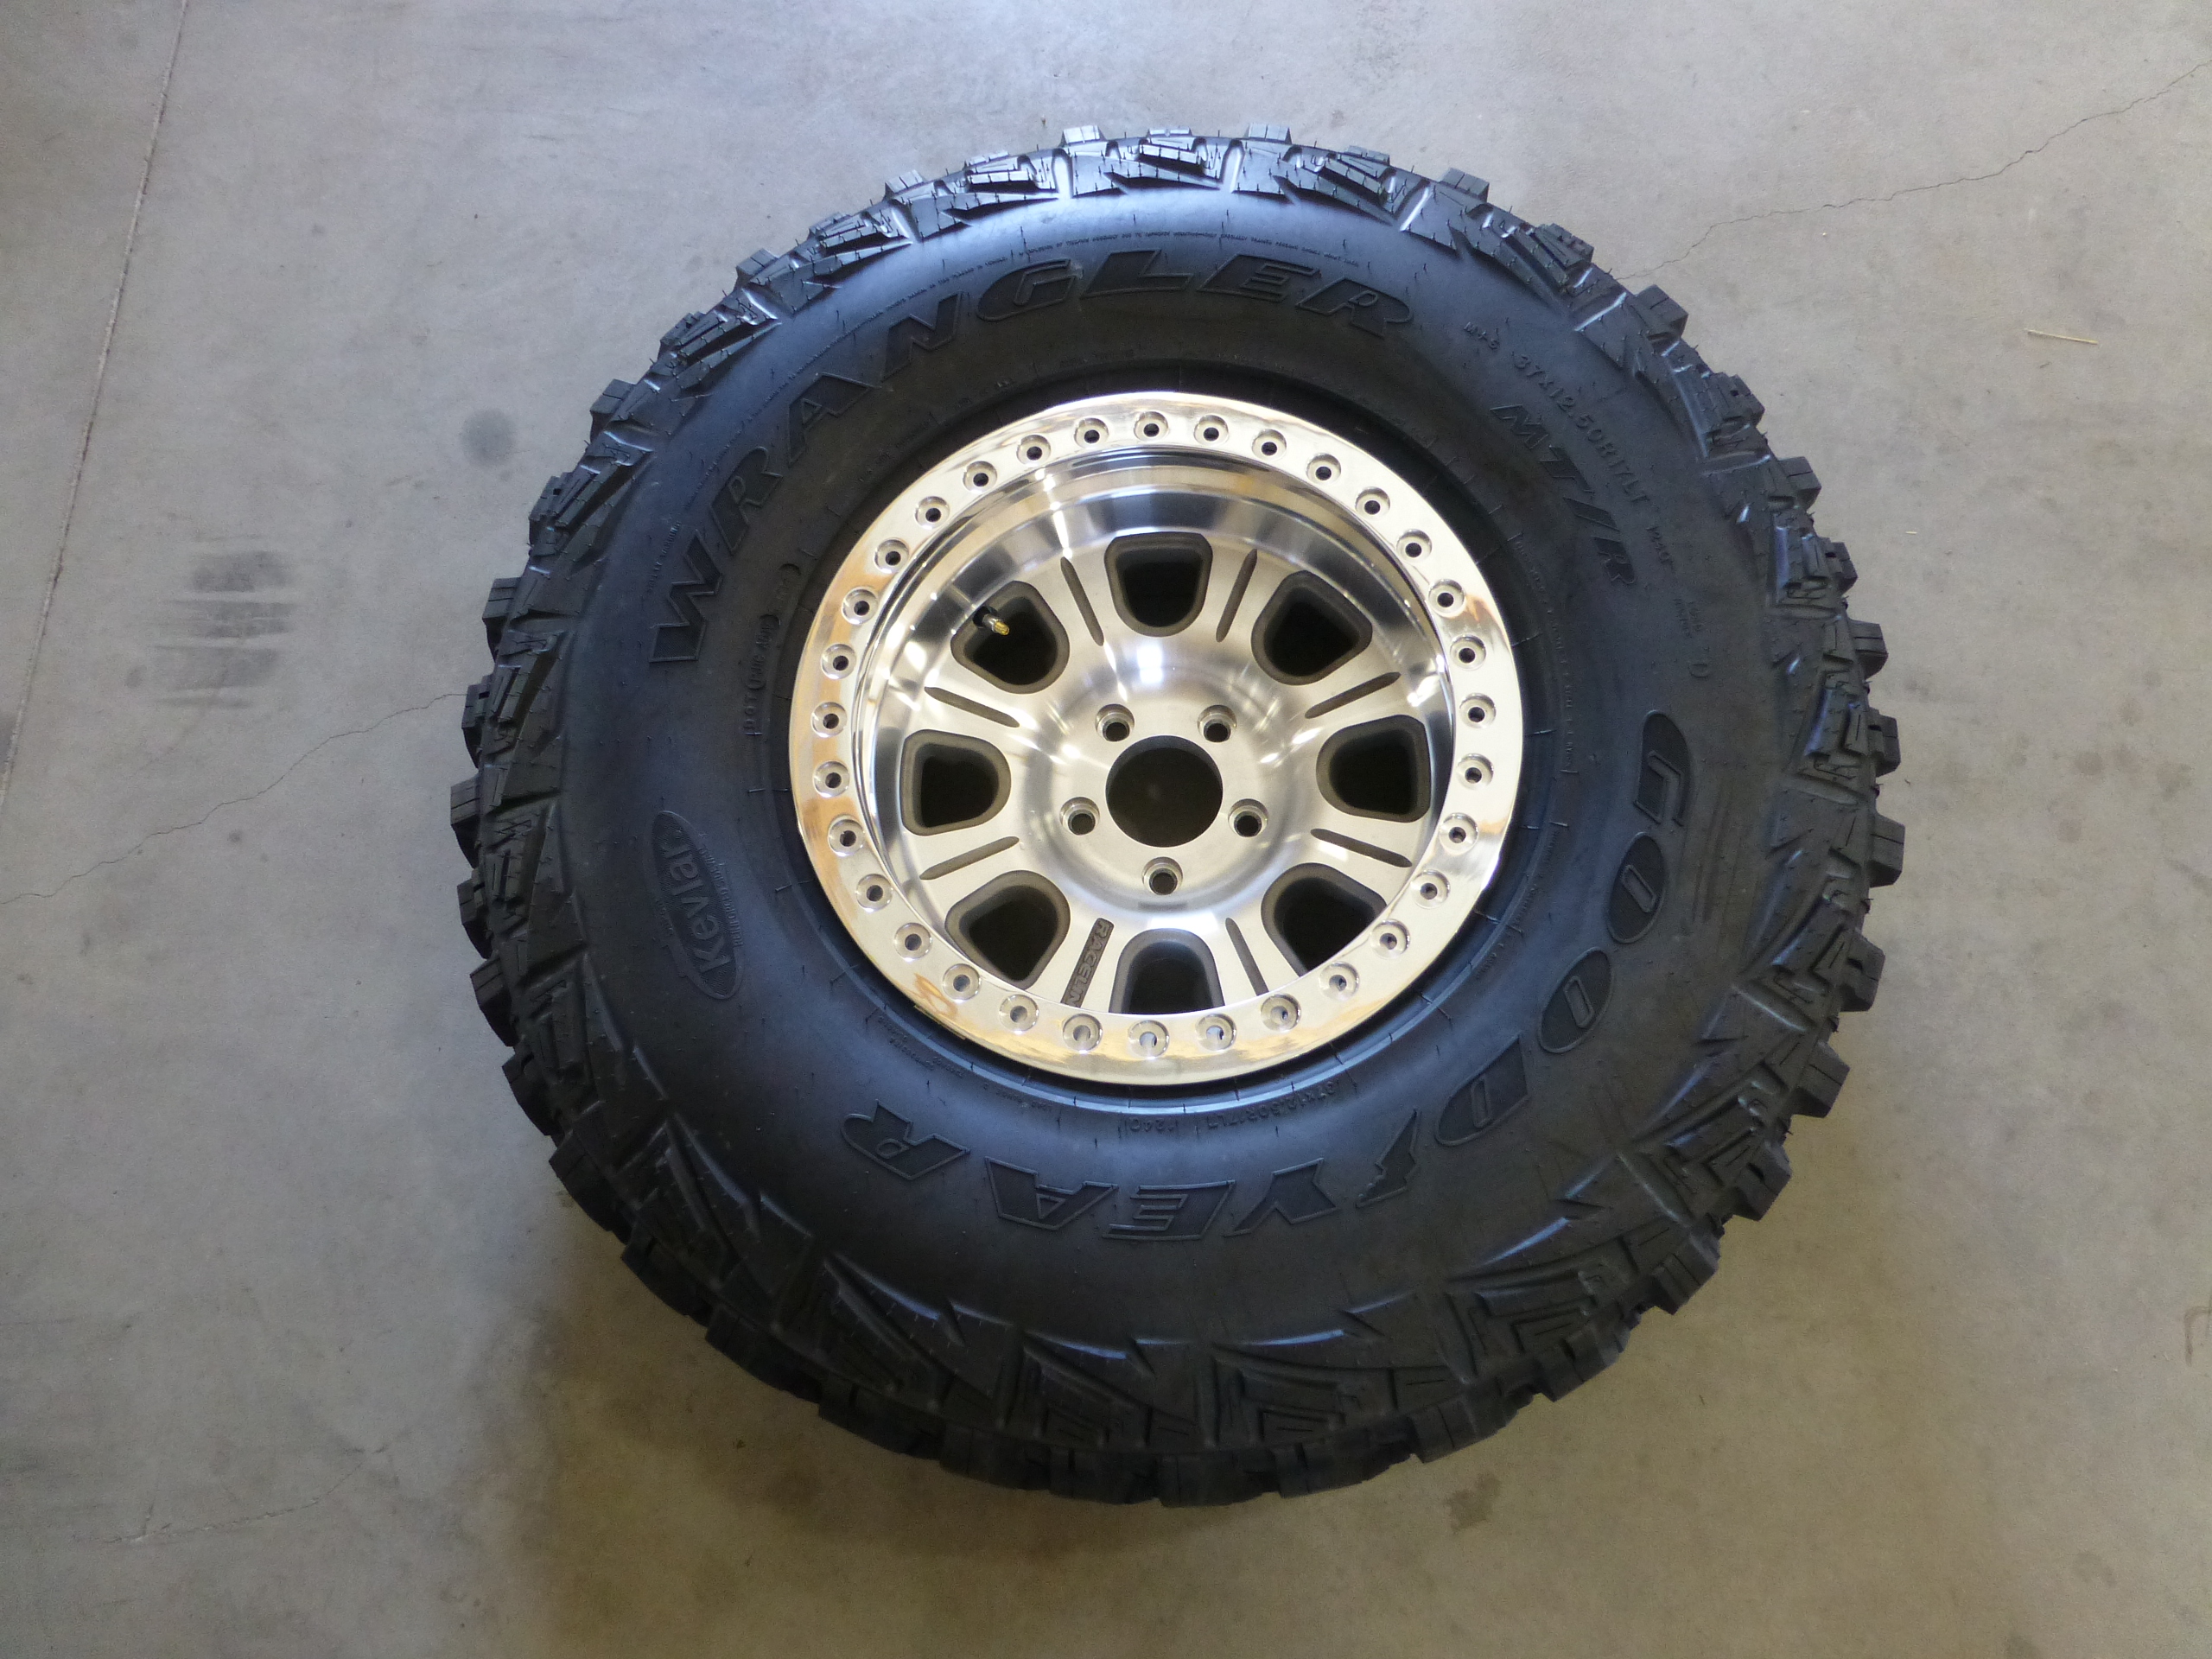
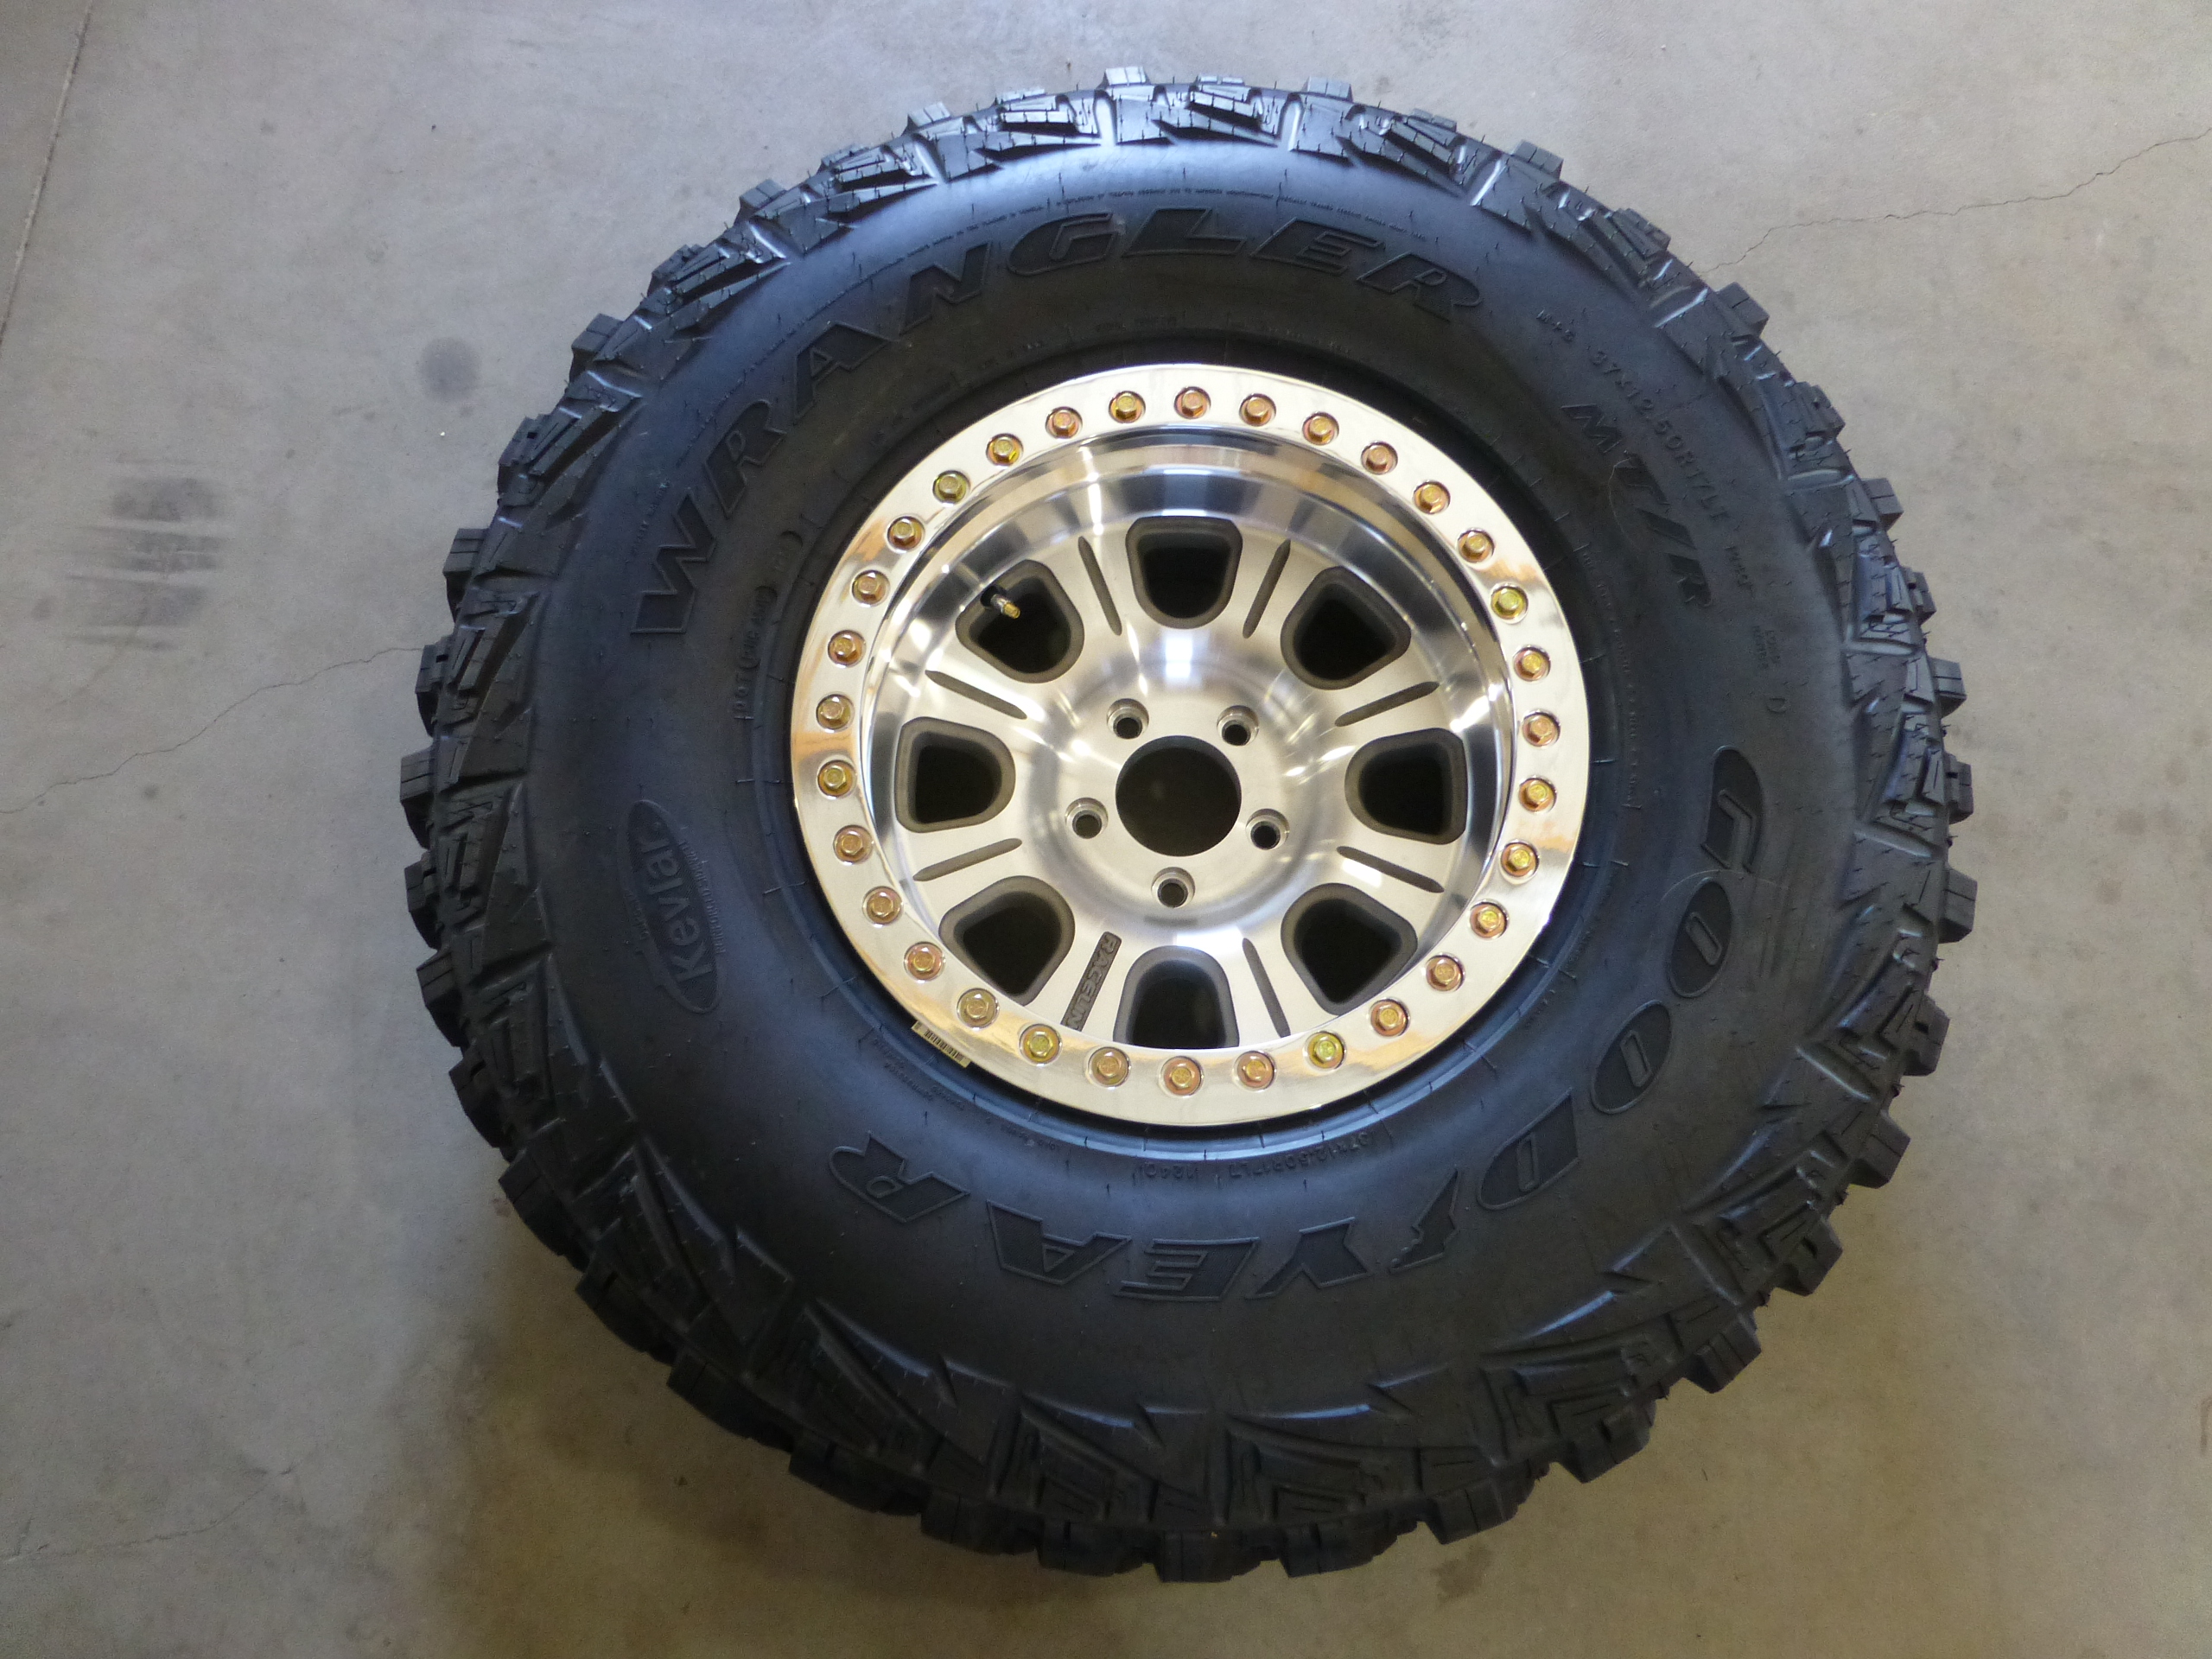
Raceline and Goodyear:
The Raceline bead locks and Goodyear MTR Wrangler tires were the final stage of the rear and would also be used on the front to compliment the new suspension from Teraflex. The Raceline bead locks have a specific pattern for the installation of the lock rings and they come with instructions to help ensure that pattern is done correctly. We installed the lock rings on the wheels and tires, aired them up and stuffed them under the Jeep.


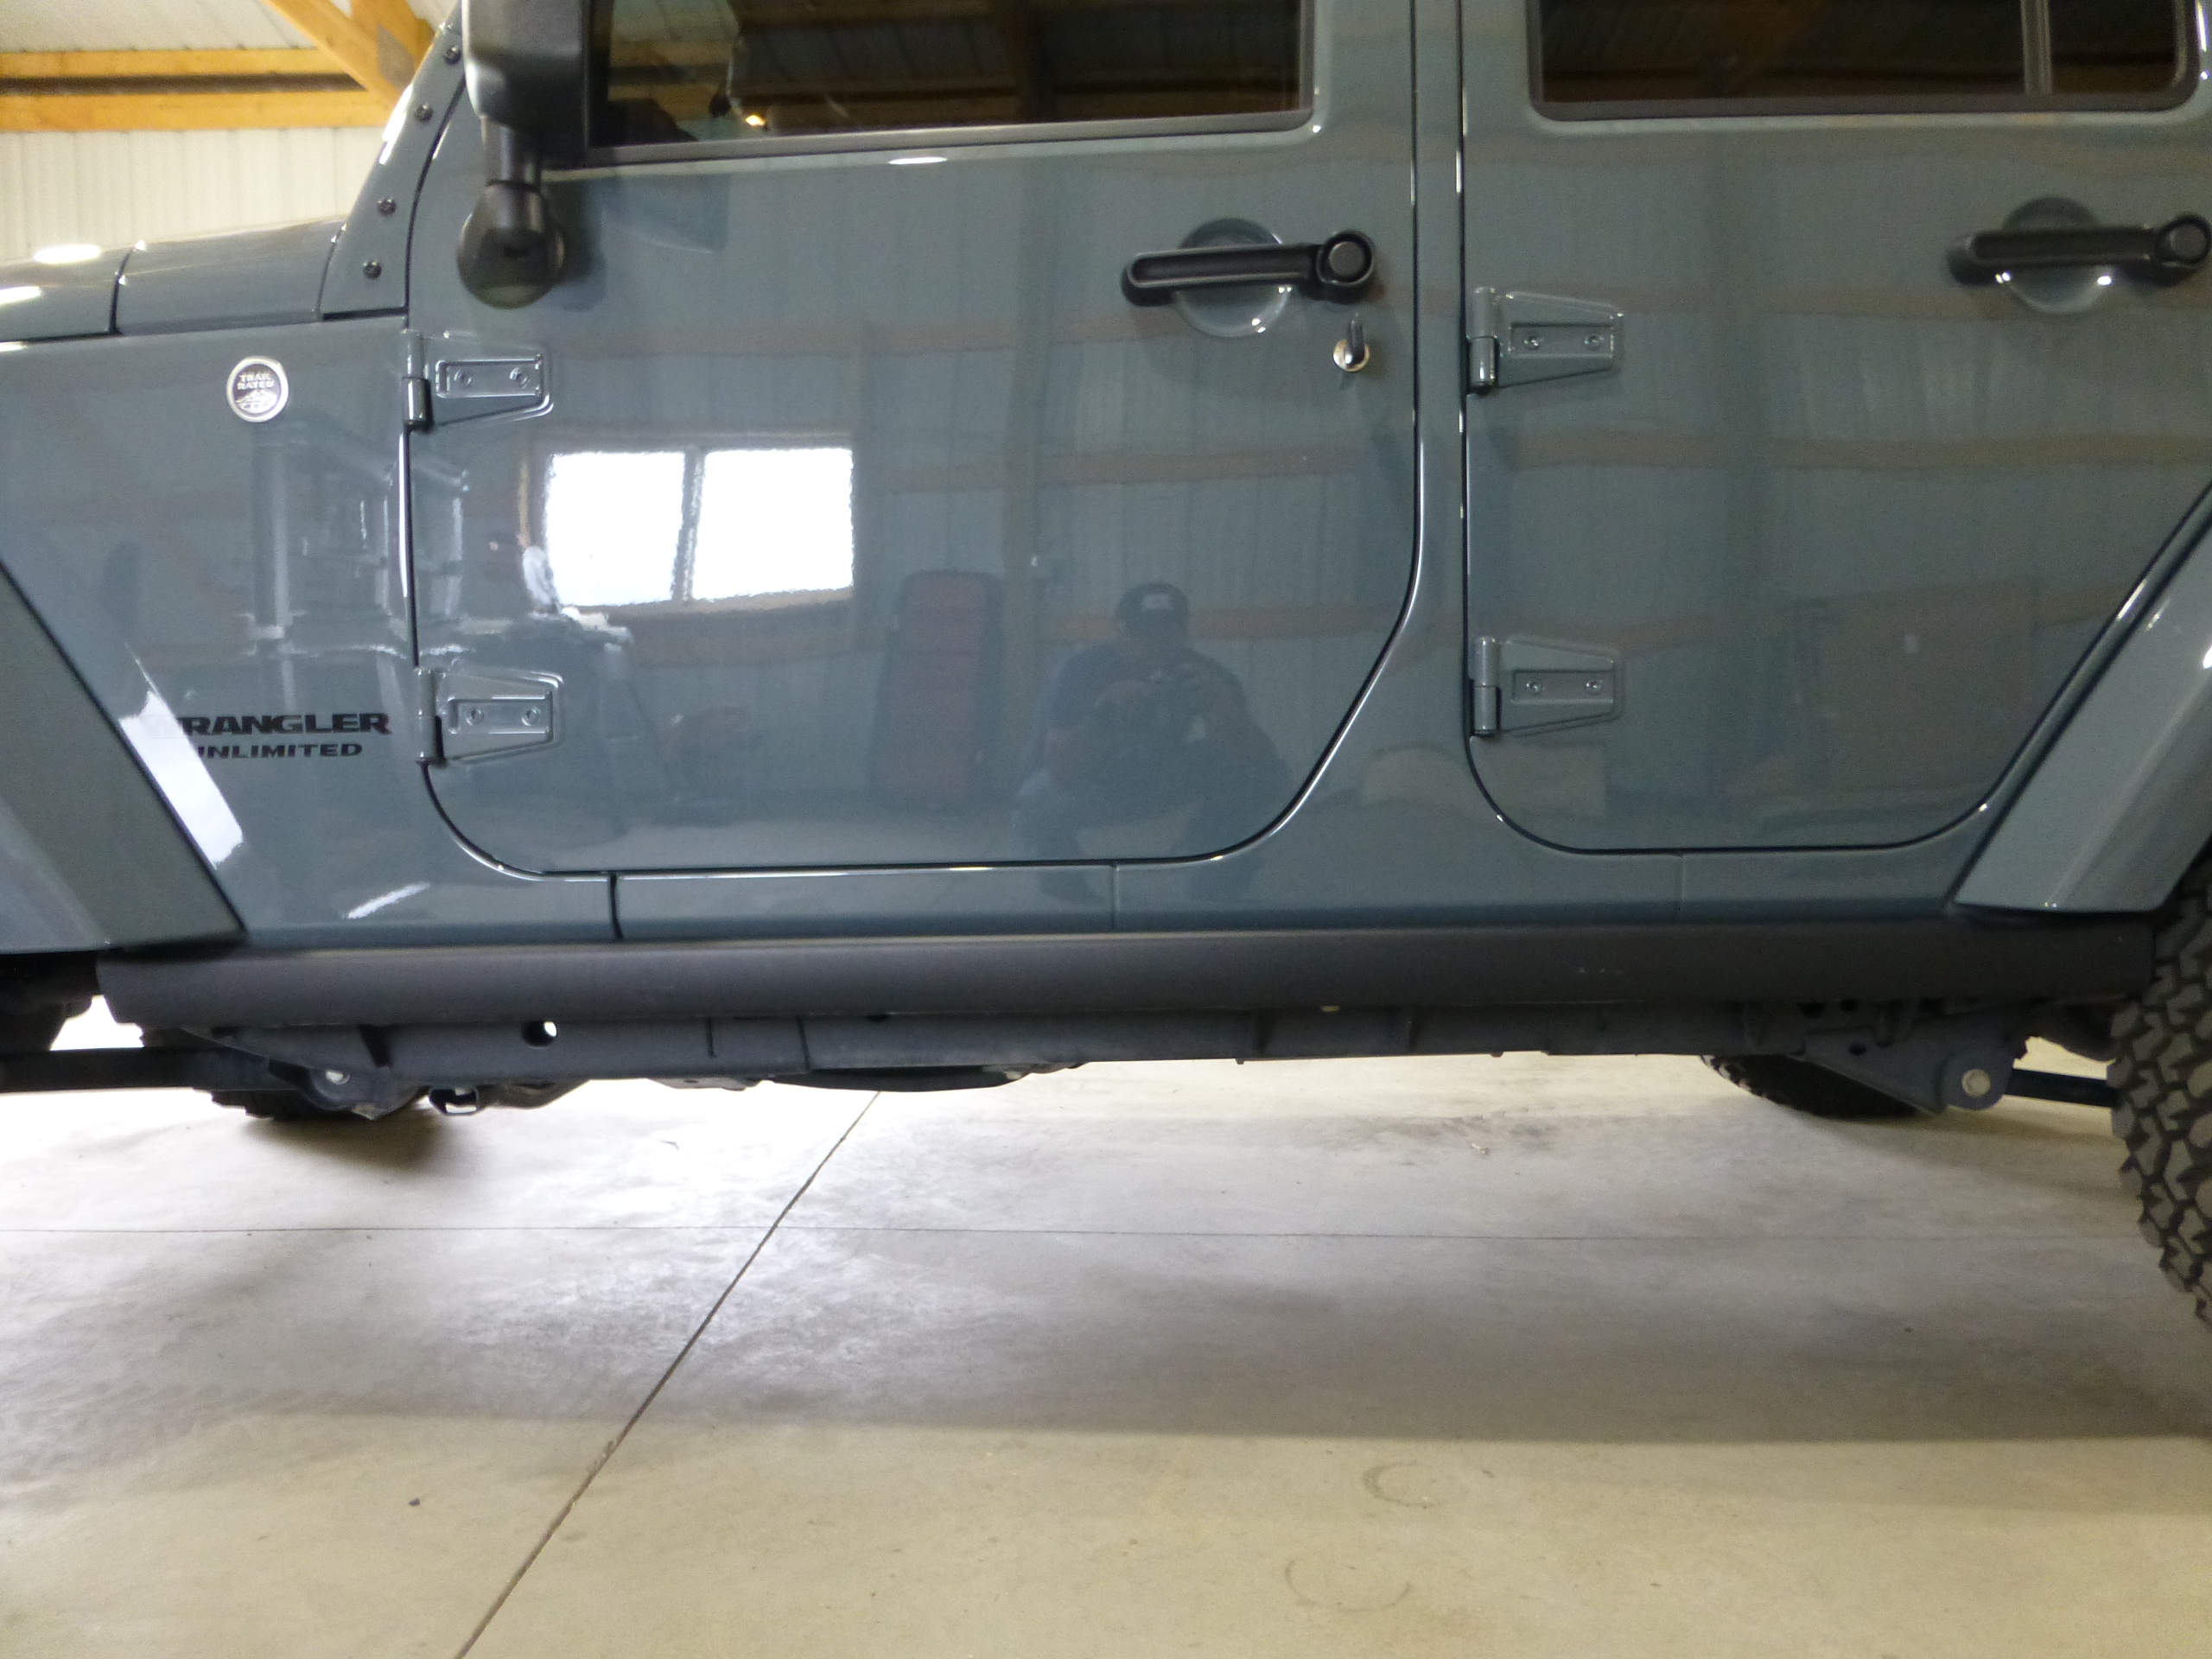
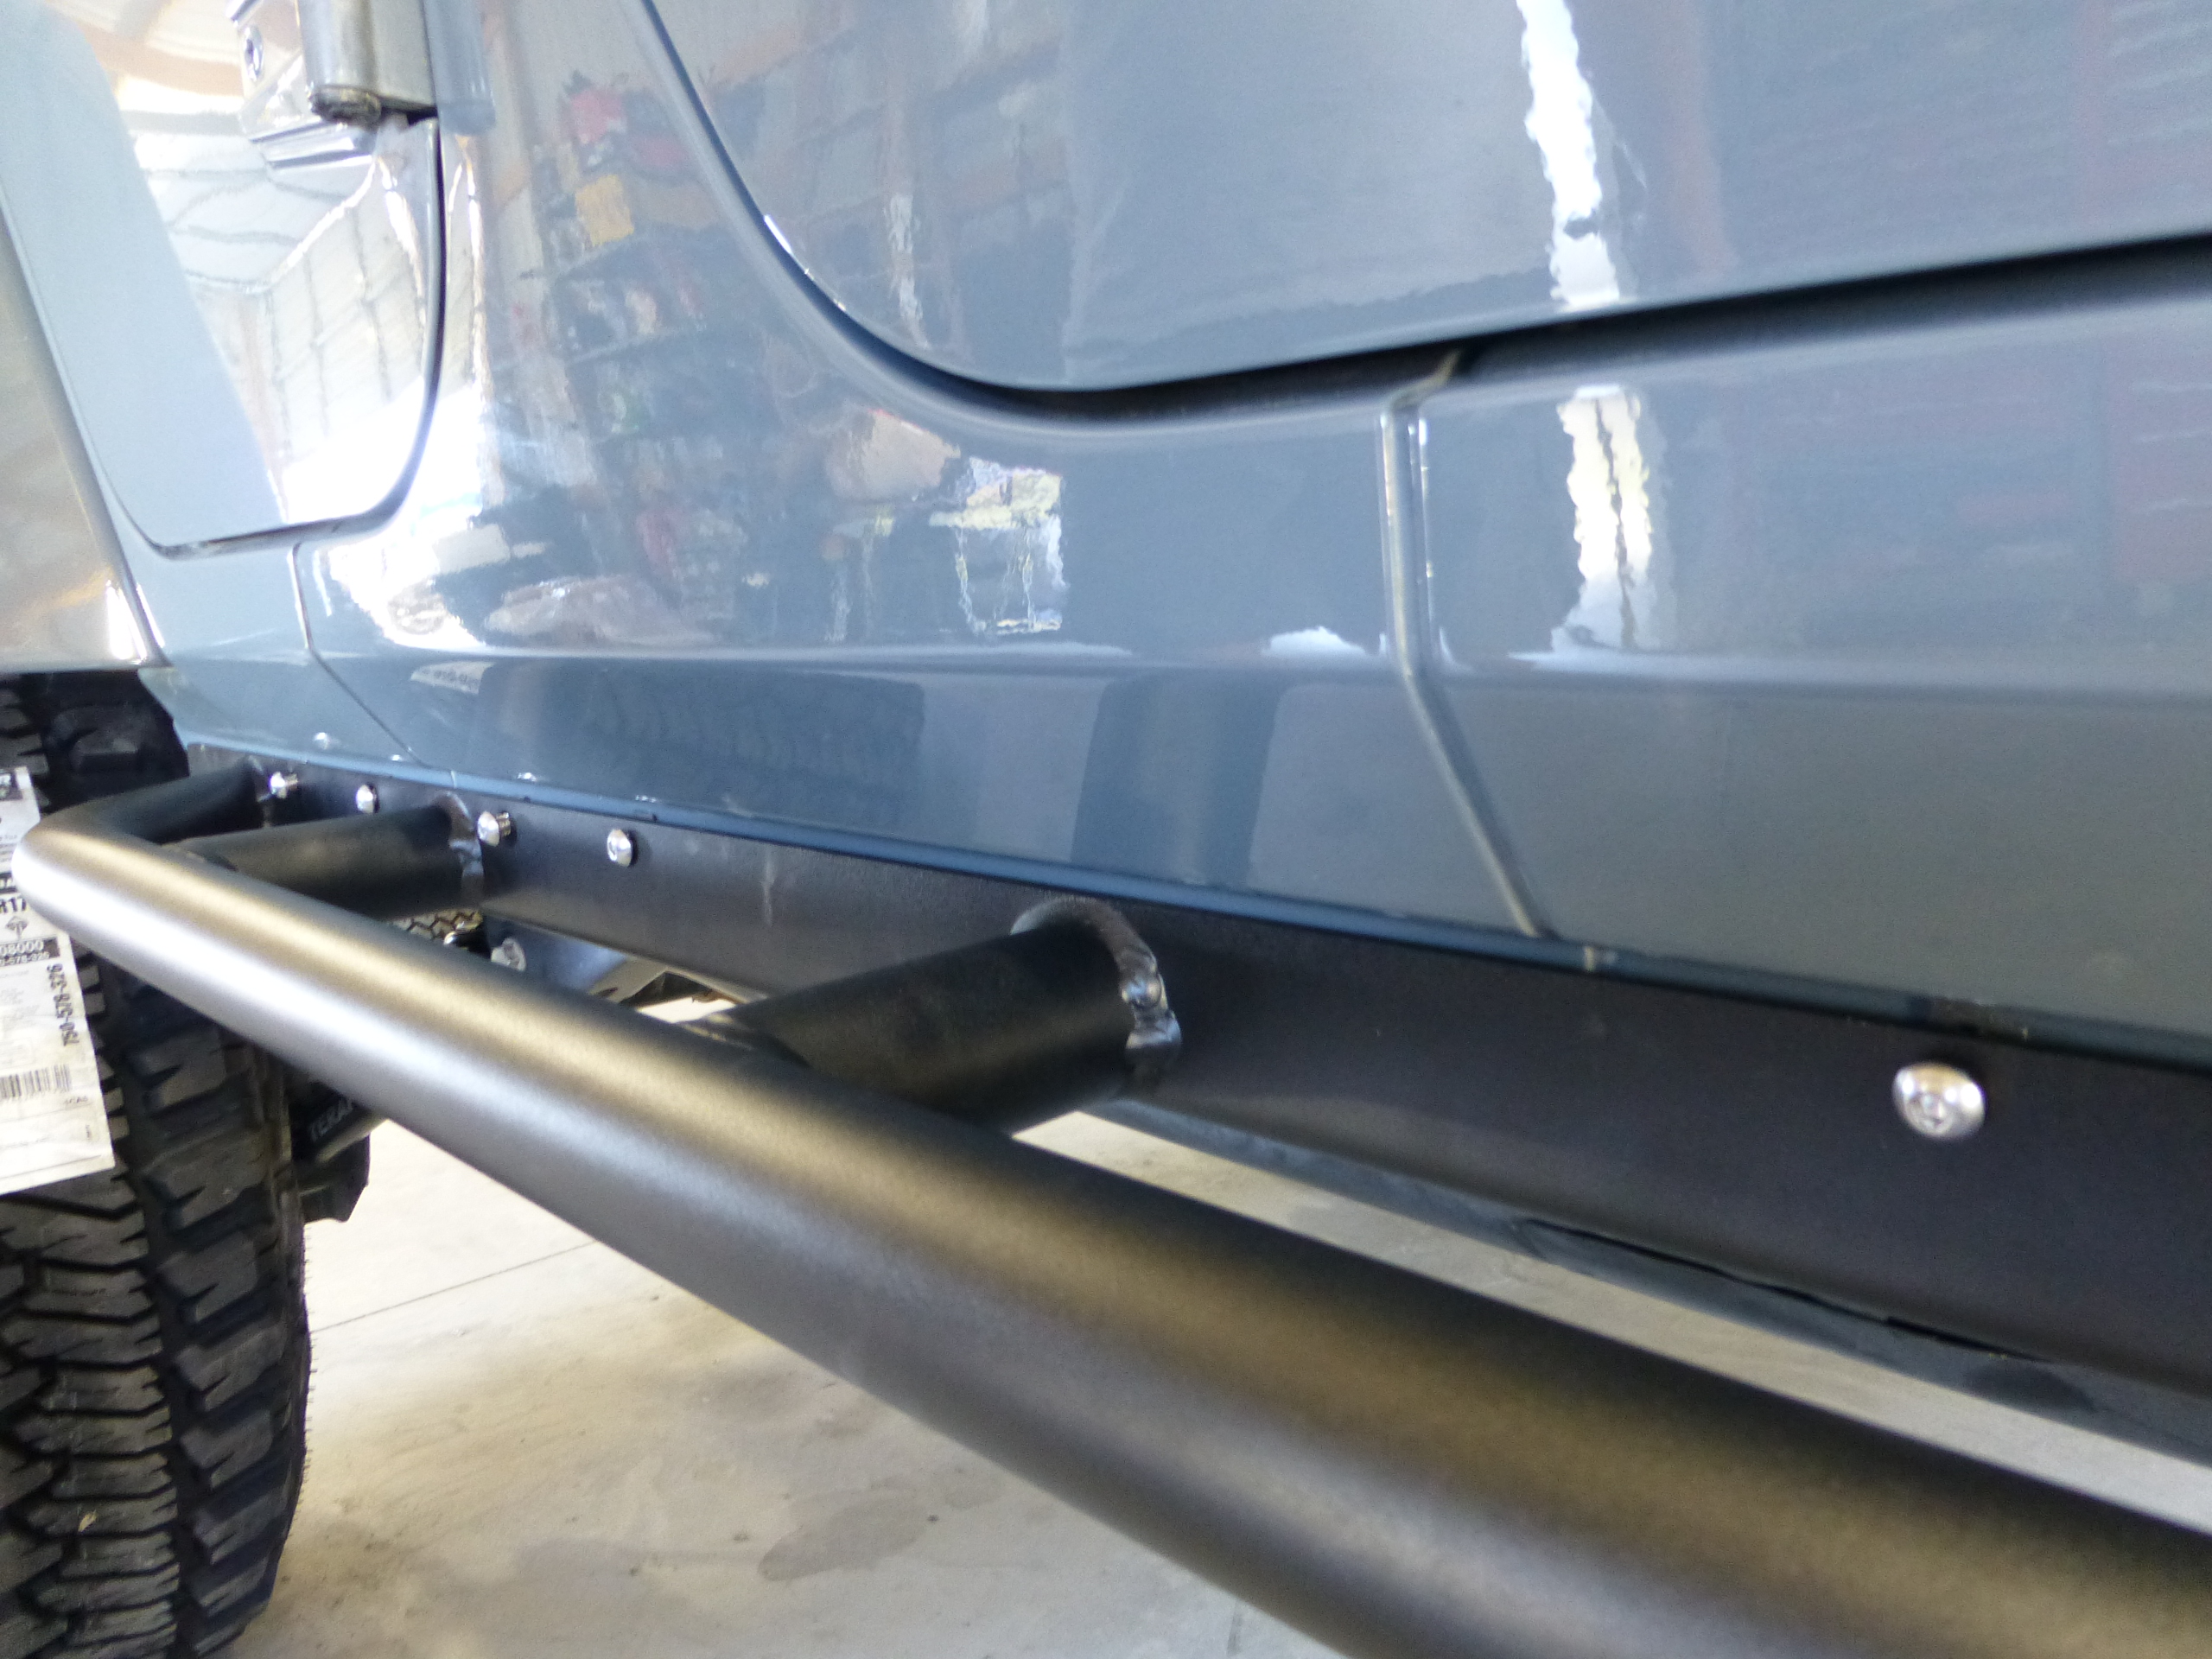
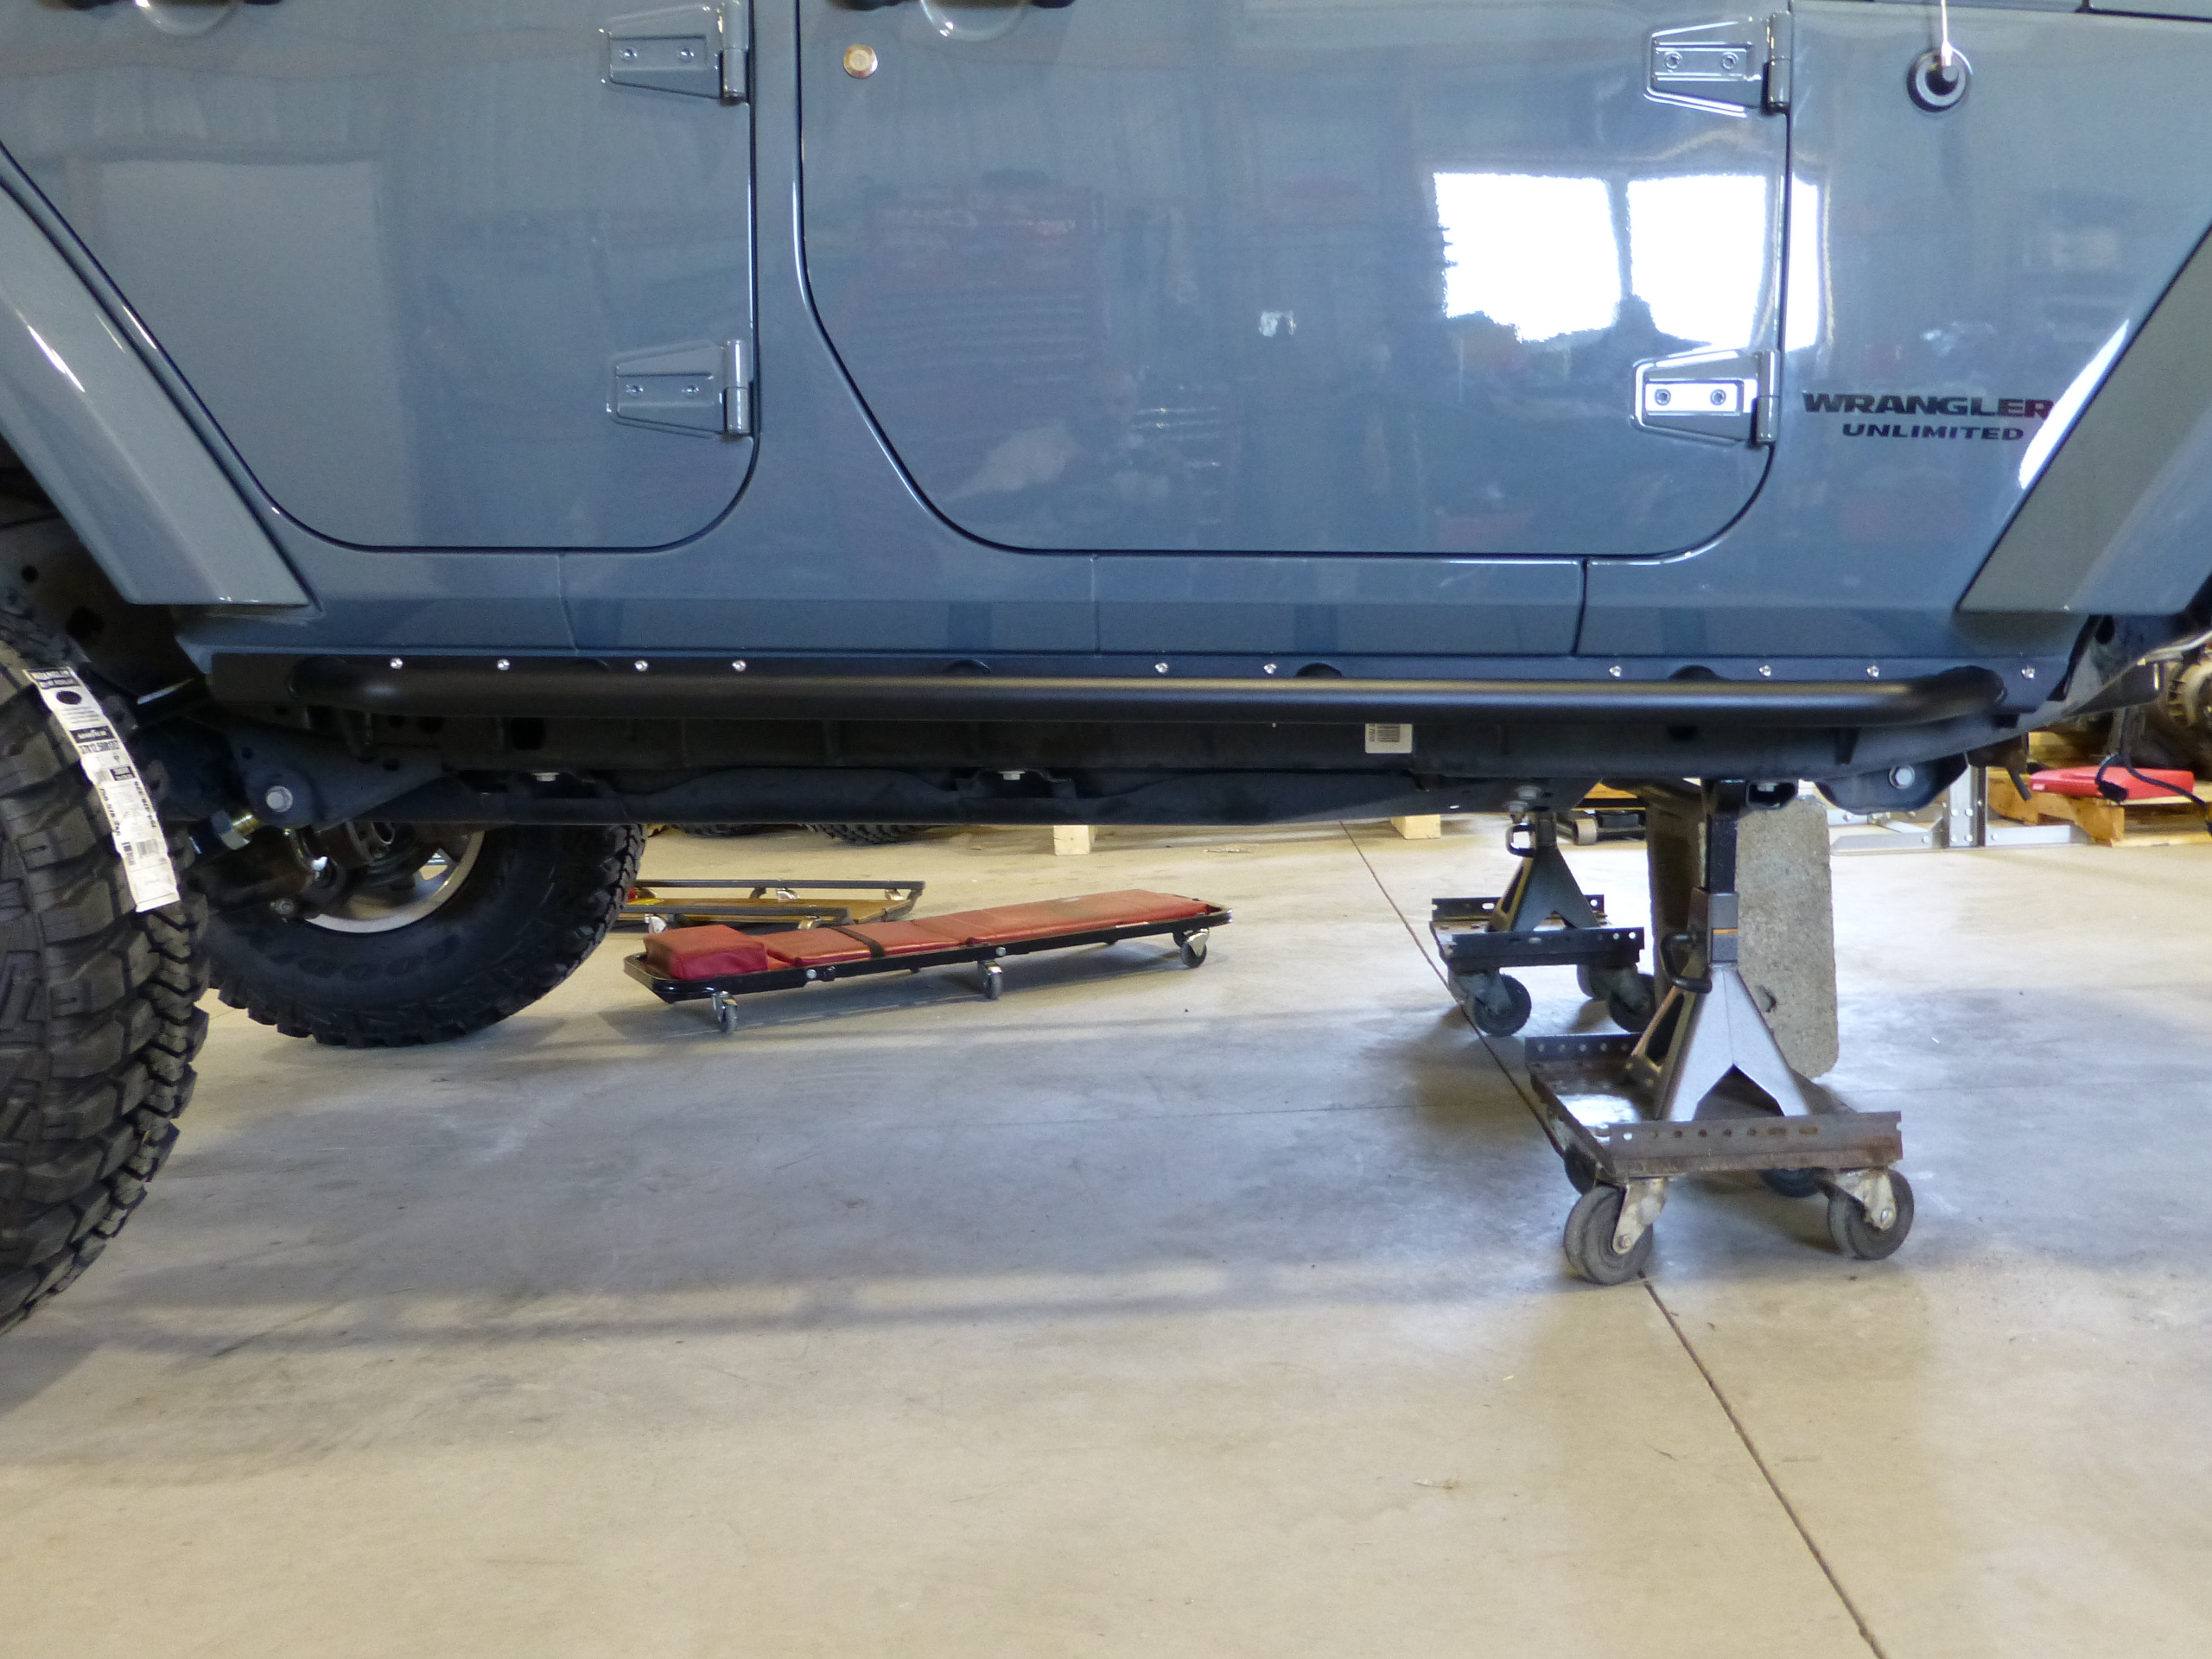
OR-Fab Rock Sliders:
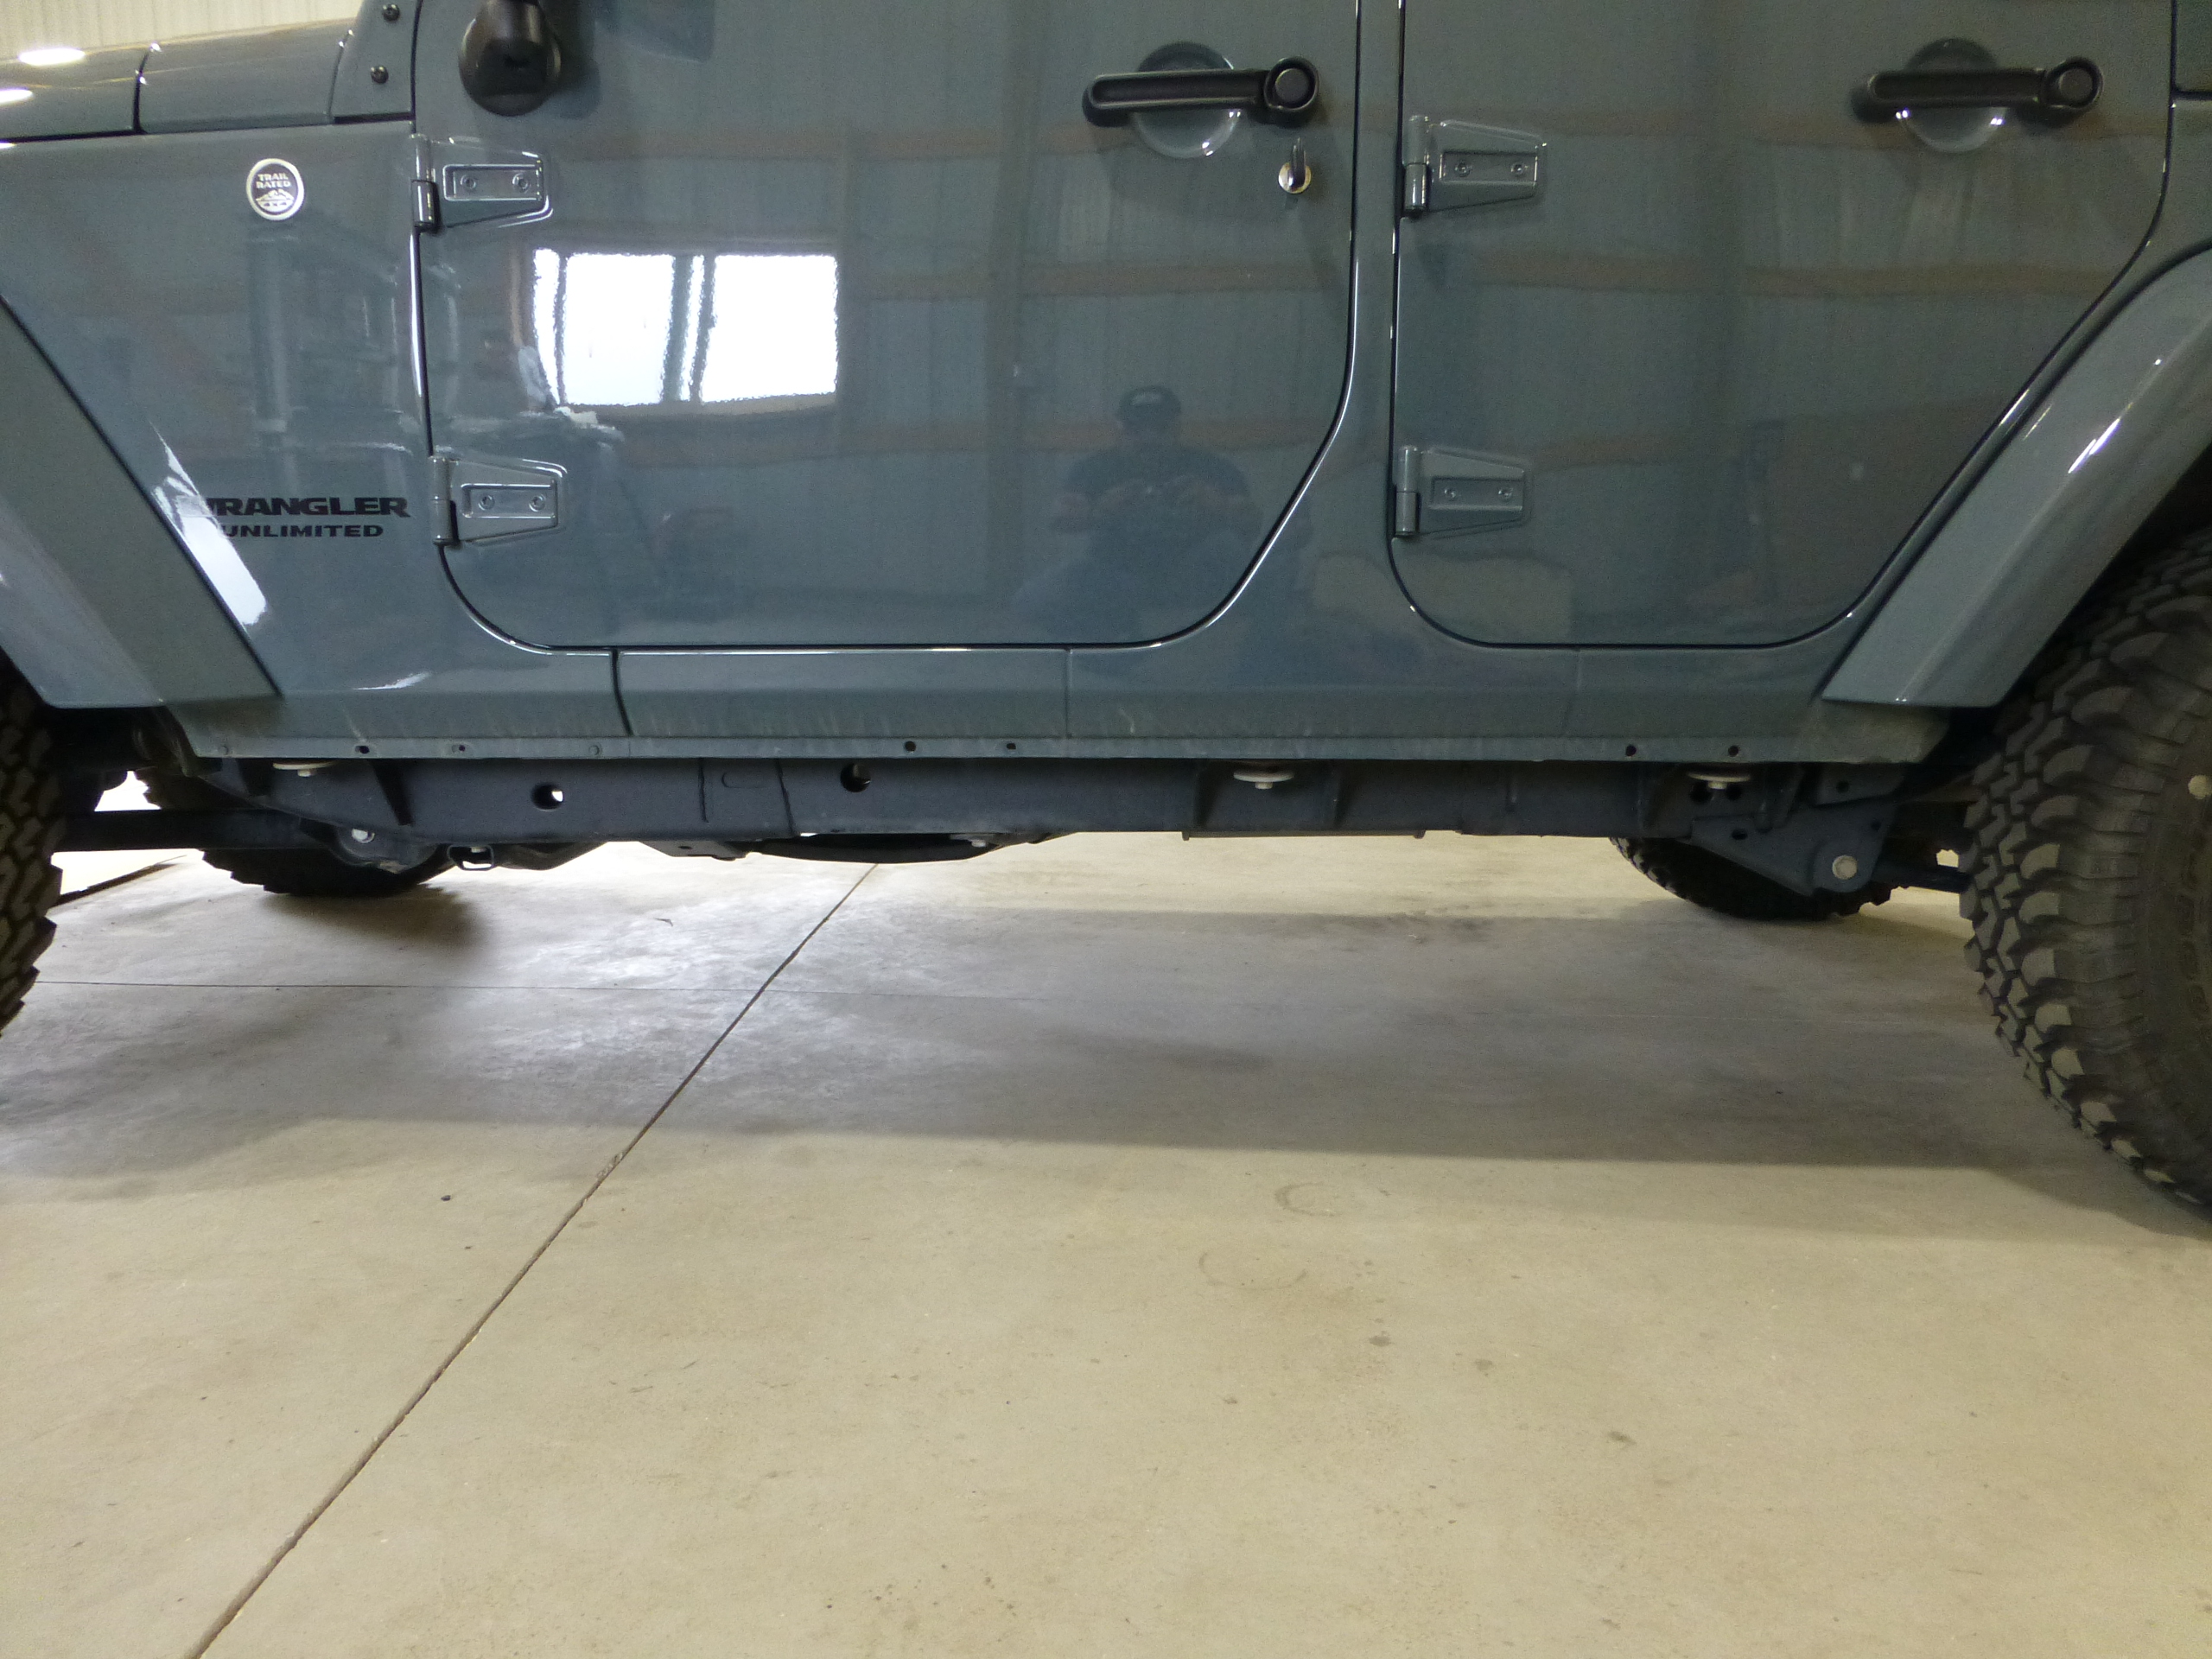
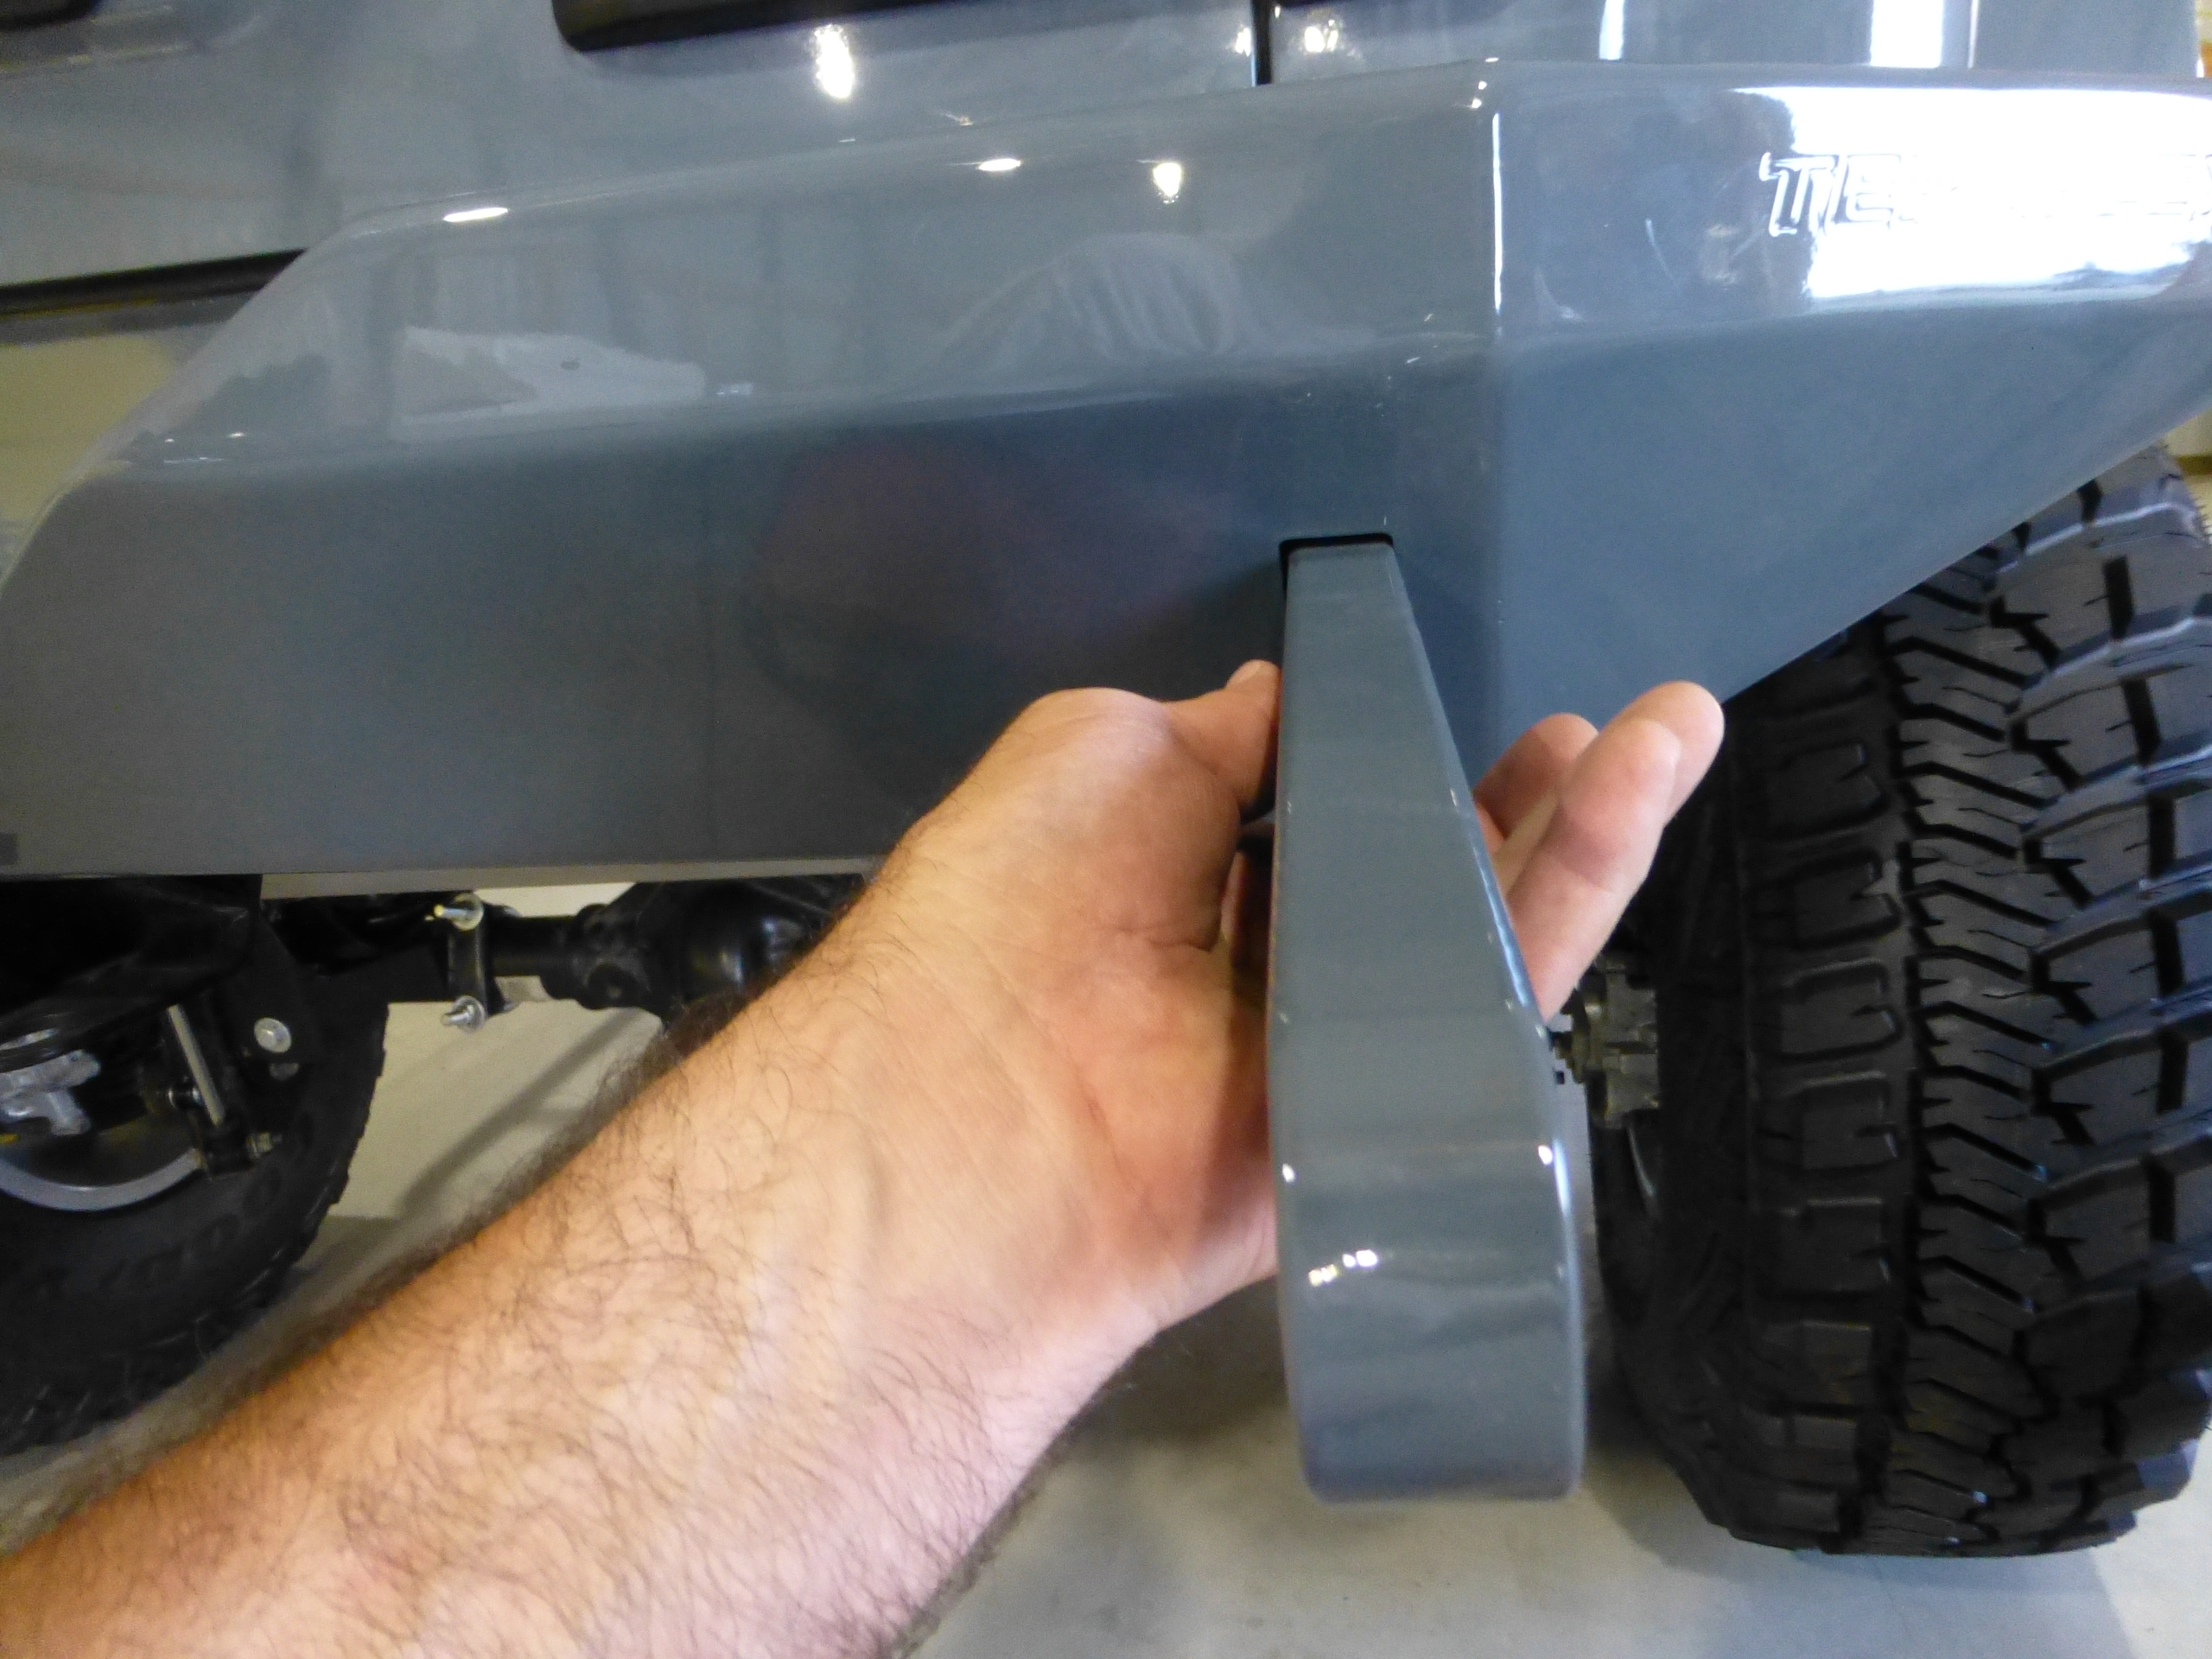
With the rear suspension done and the back half of the Jeep sitting on the wheels and tires we went ahead and installed the “Rock Sliders” from OR-Fab. The installation was quick and simple, just a matter of removing the factory rails, installing a few mounting clips and grinding off a couple of factory nuts on the rocker panels. OR-Fab included instructions and all of the necessary hardware to complete the job. Once the nuts were ground off and the clips were in, the sliders quickly went into place. We tightened all of the bolts to firmly secure the new rock sliders. We also have a more detailed review and more info that will also be posted to show each step of the installation of the OR-Fab “Rock Sliders” elsewhere on our website.

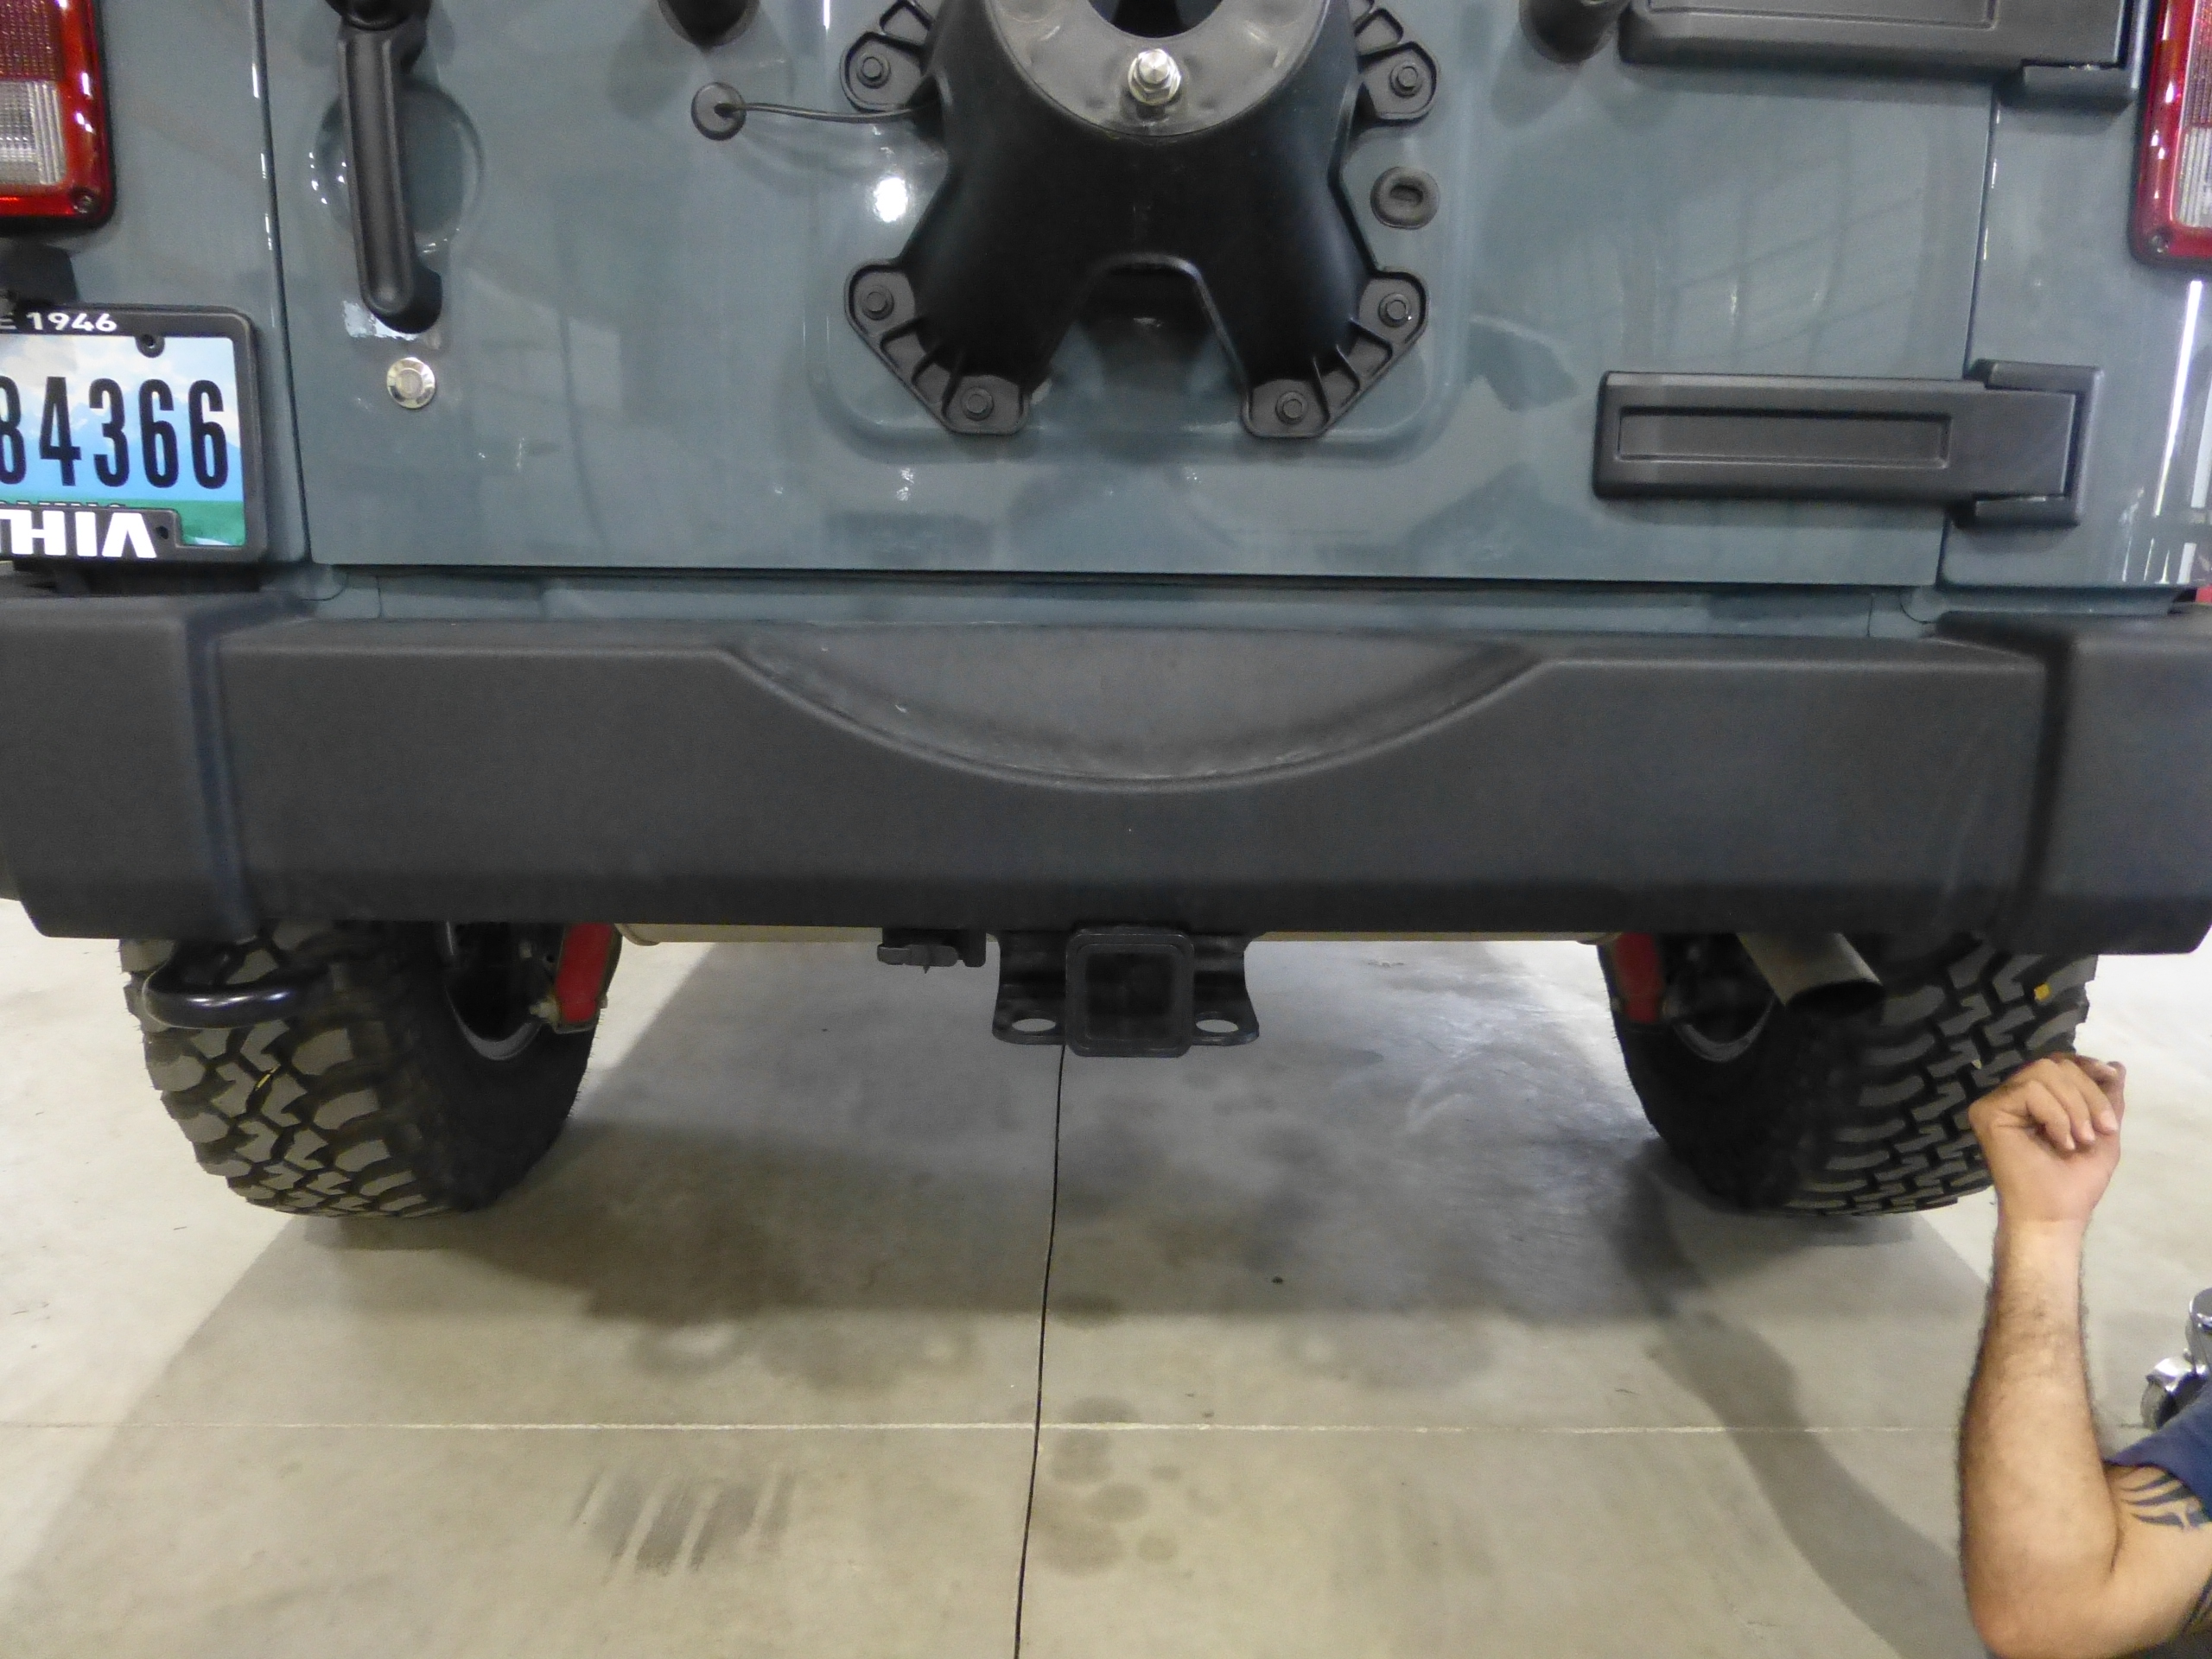
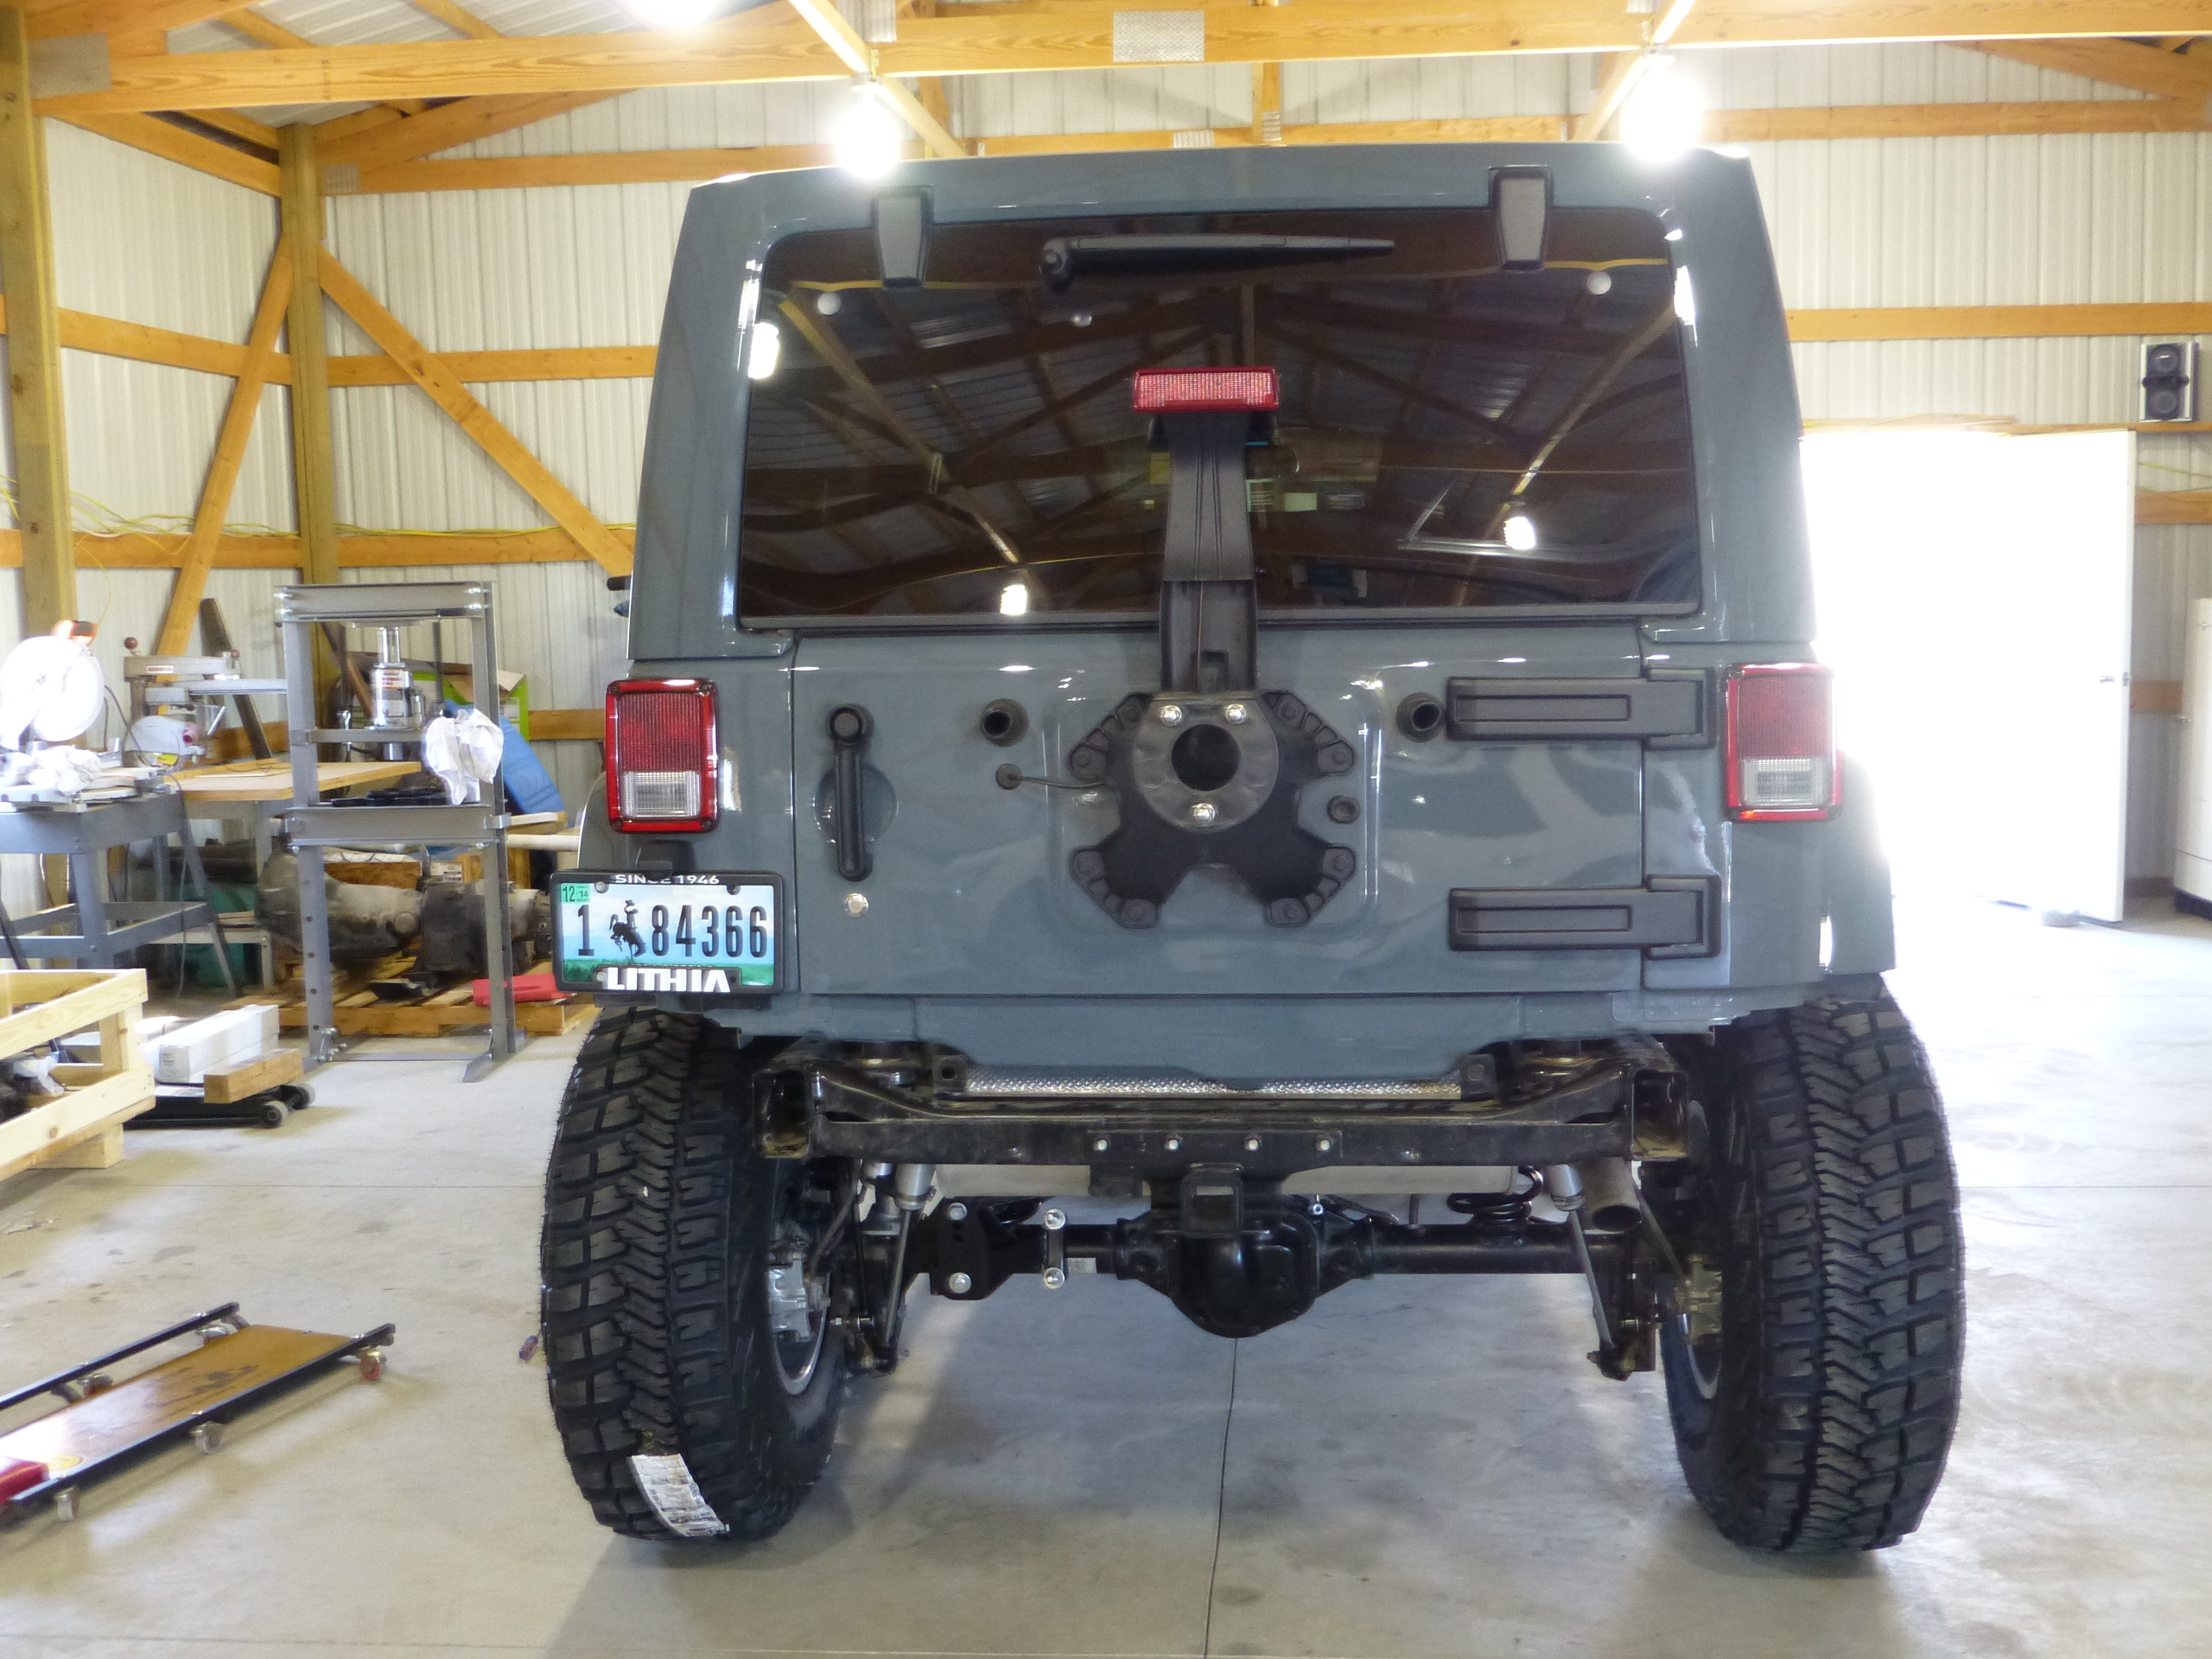
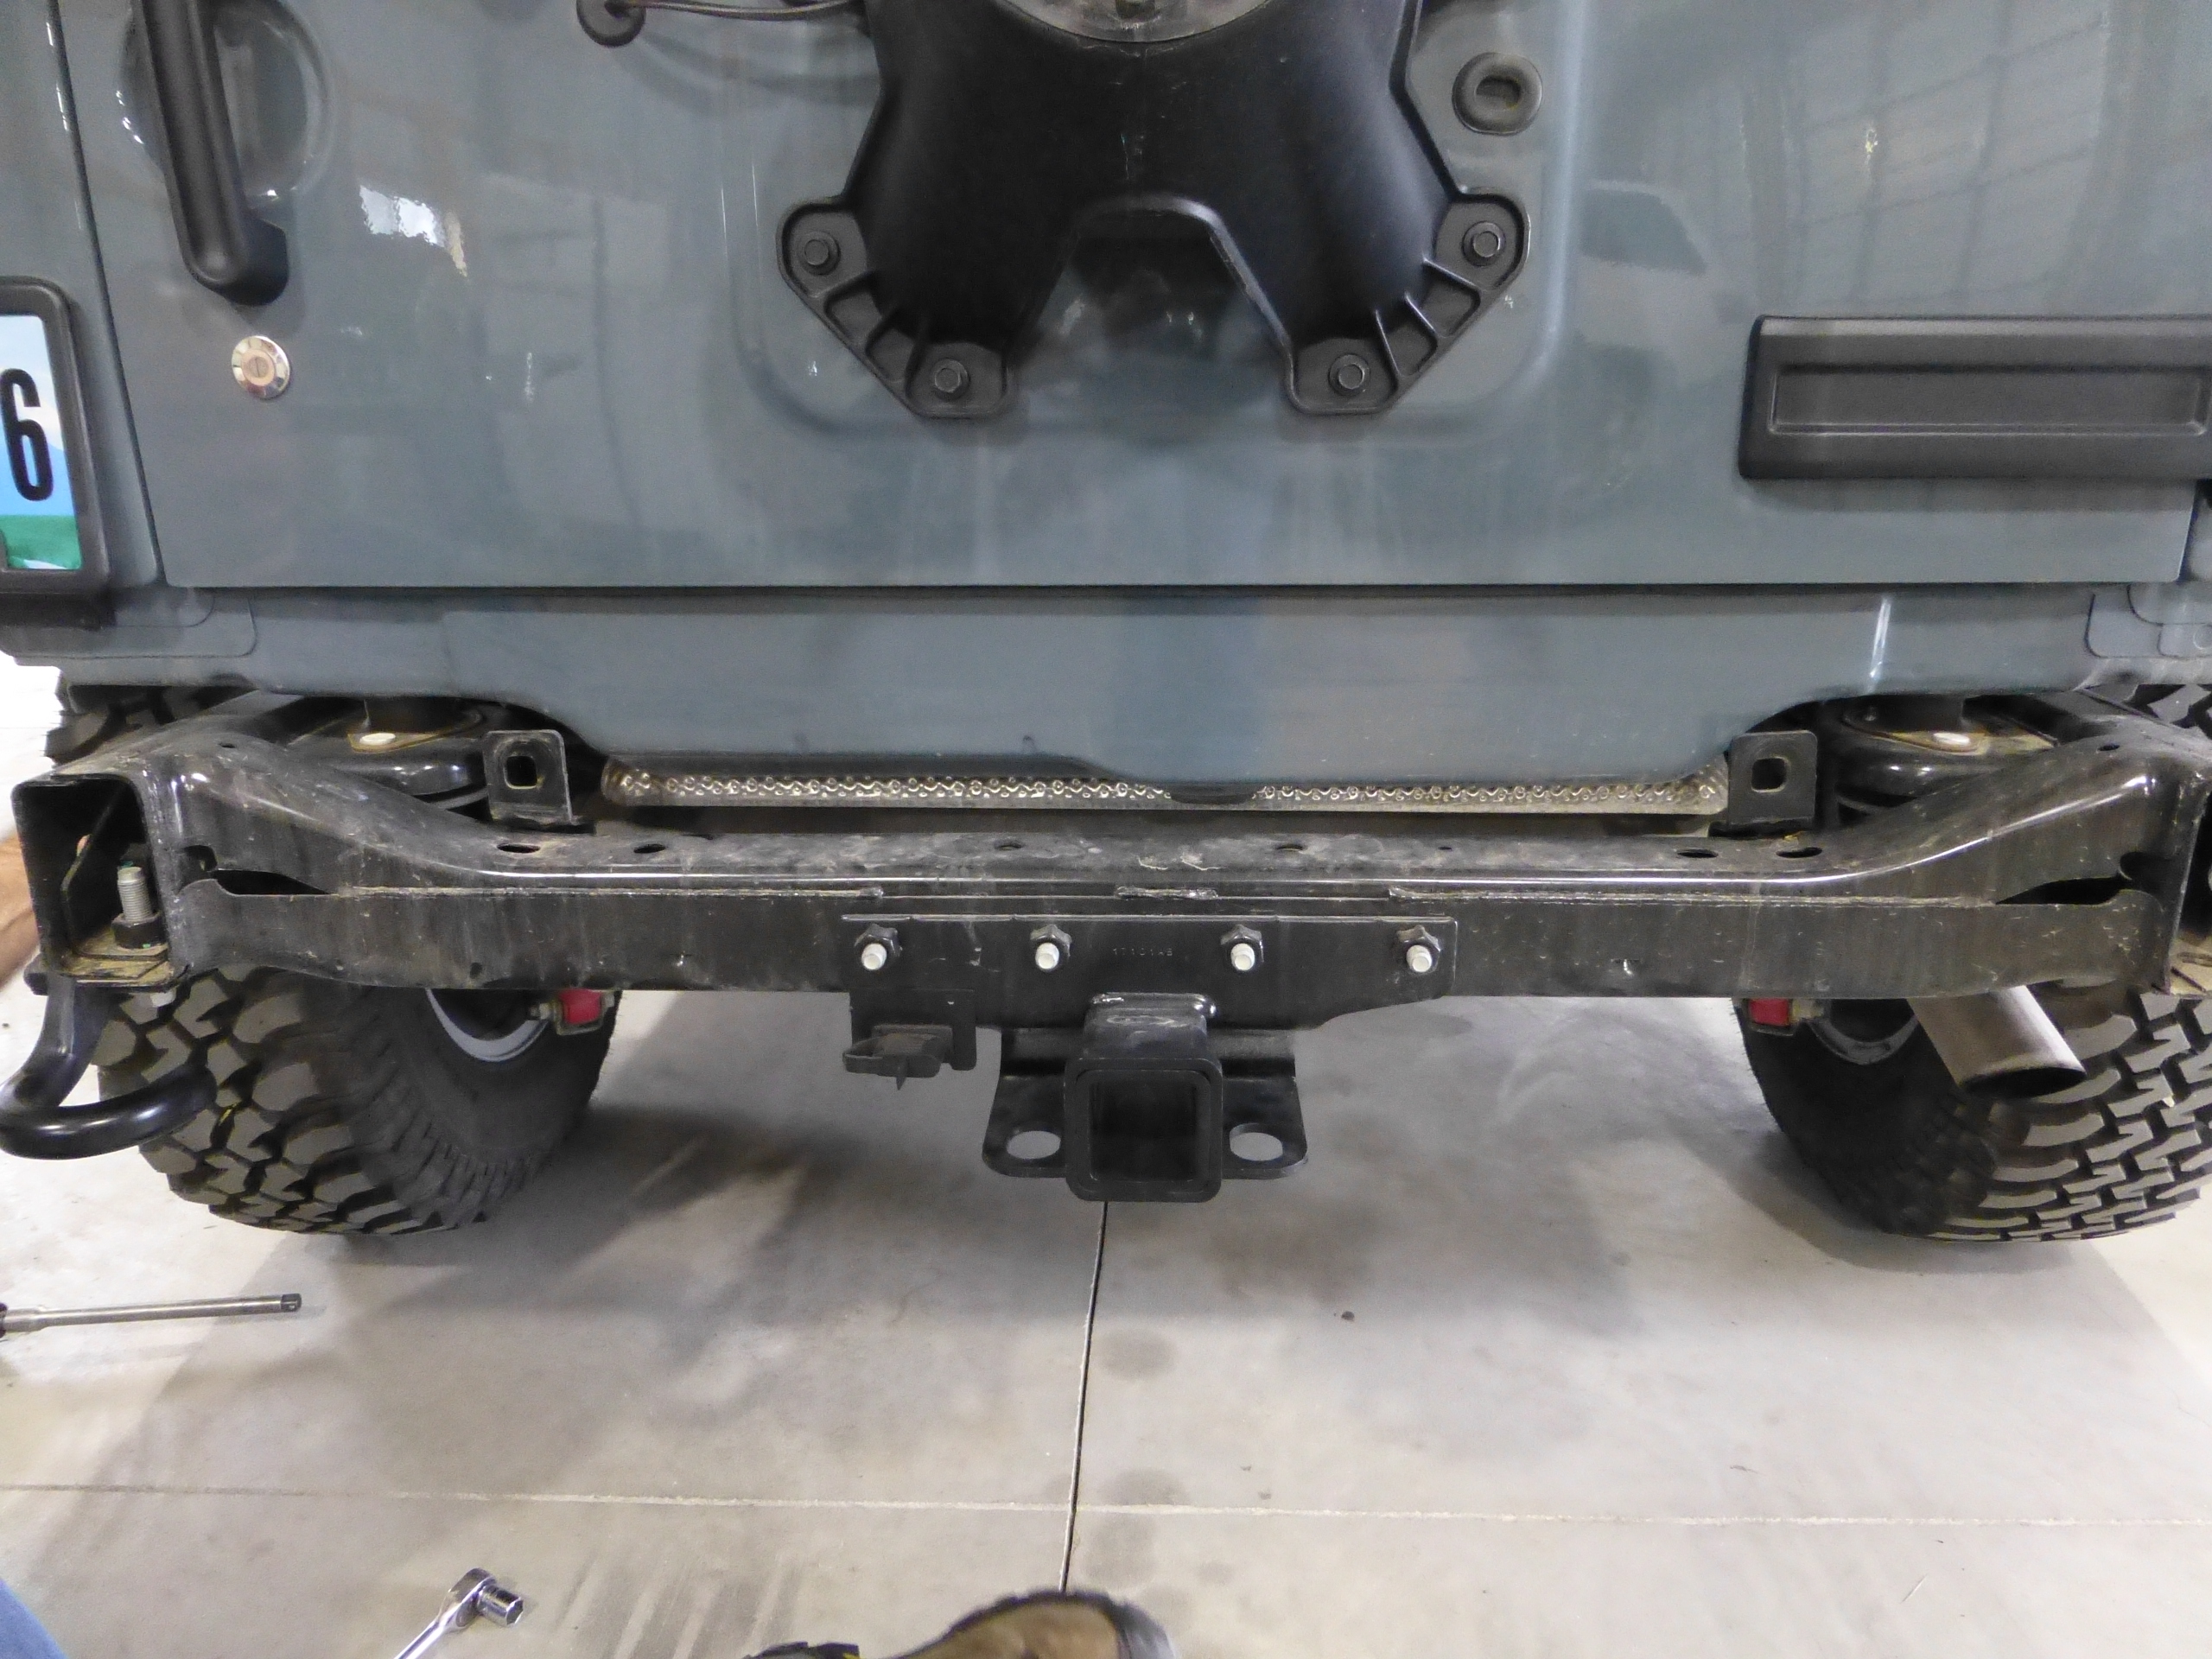
Teraflex Rock Guard Outback Rear Bumper and HD Hinged Carrier:
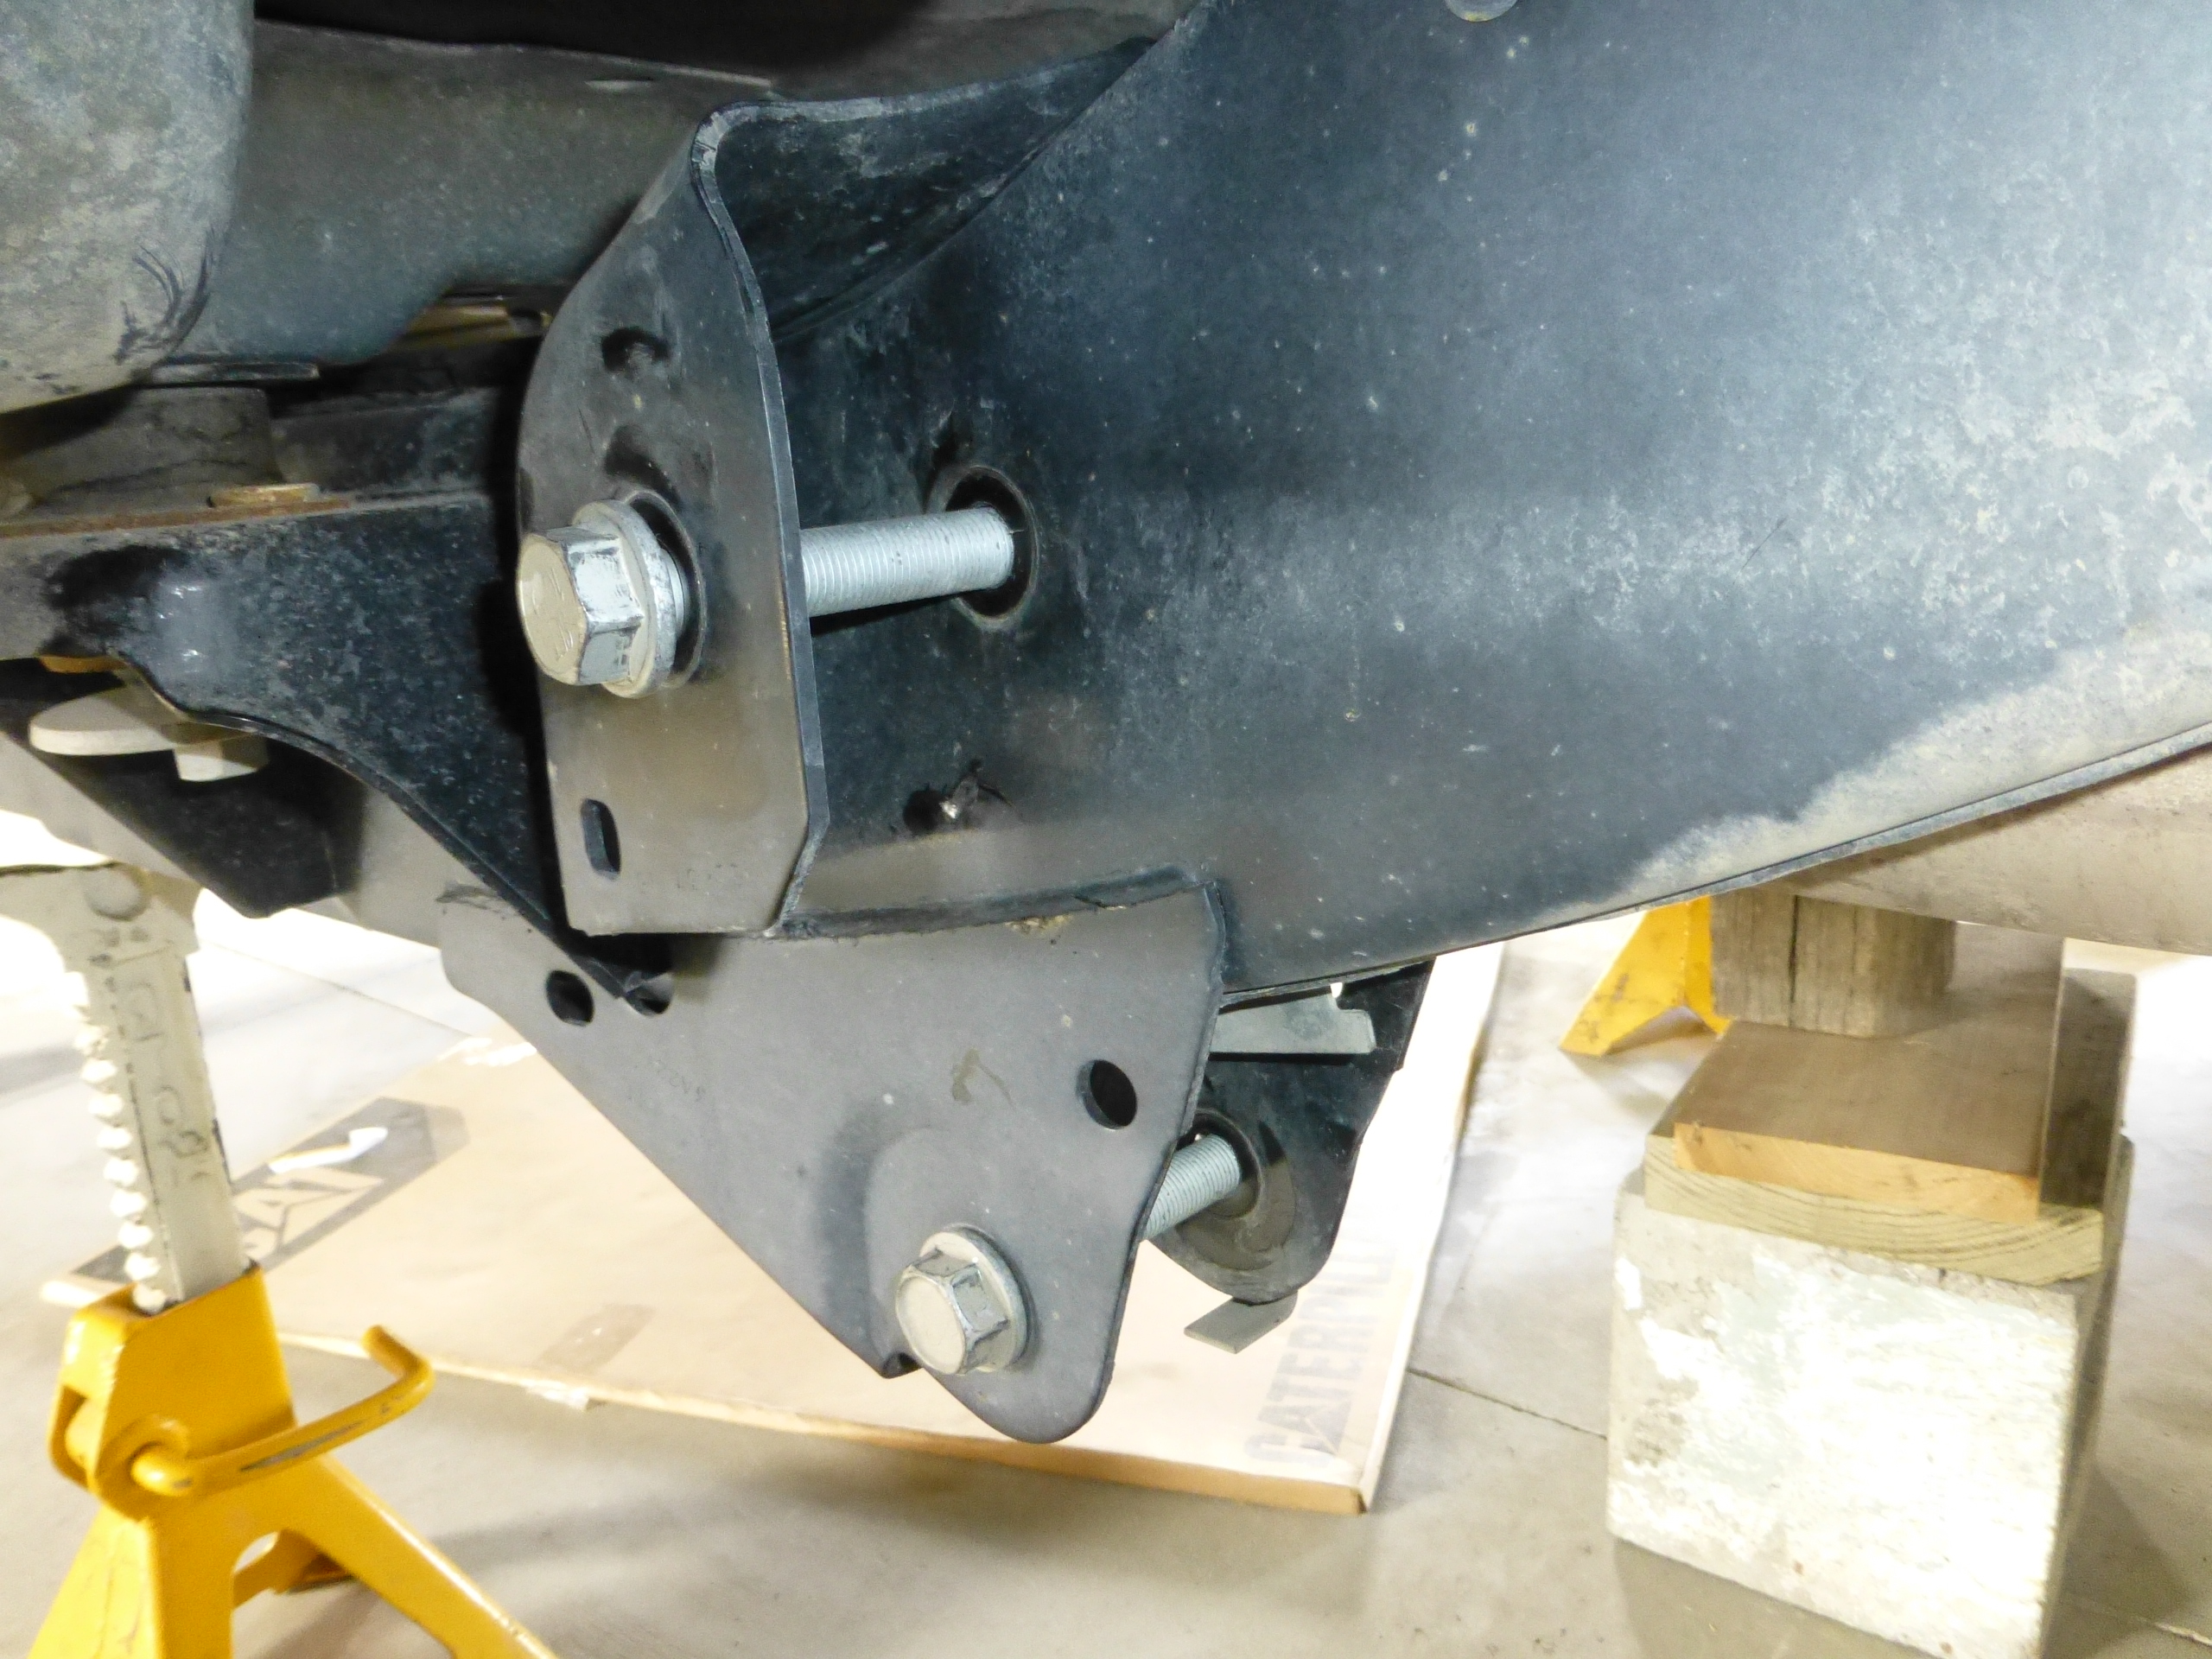
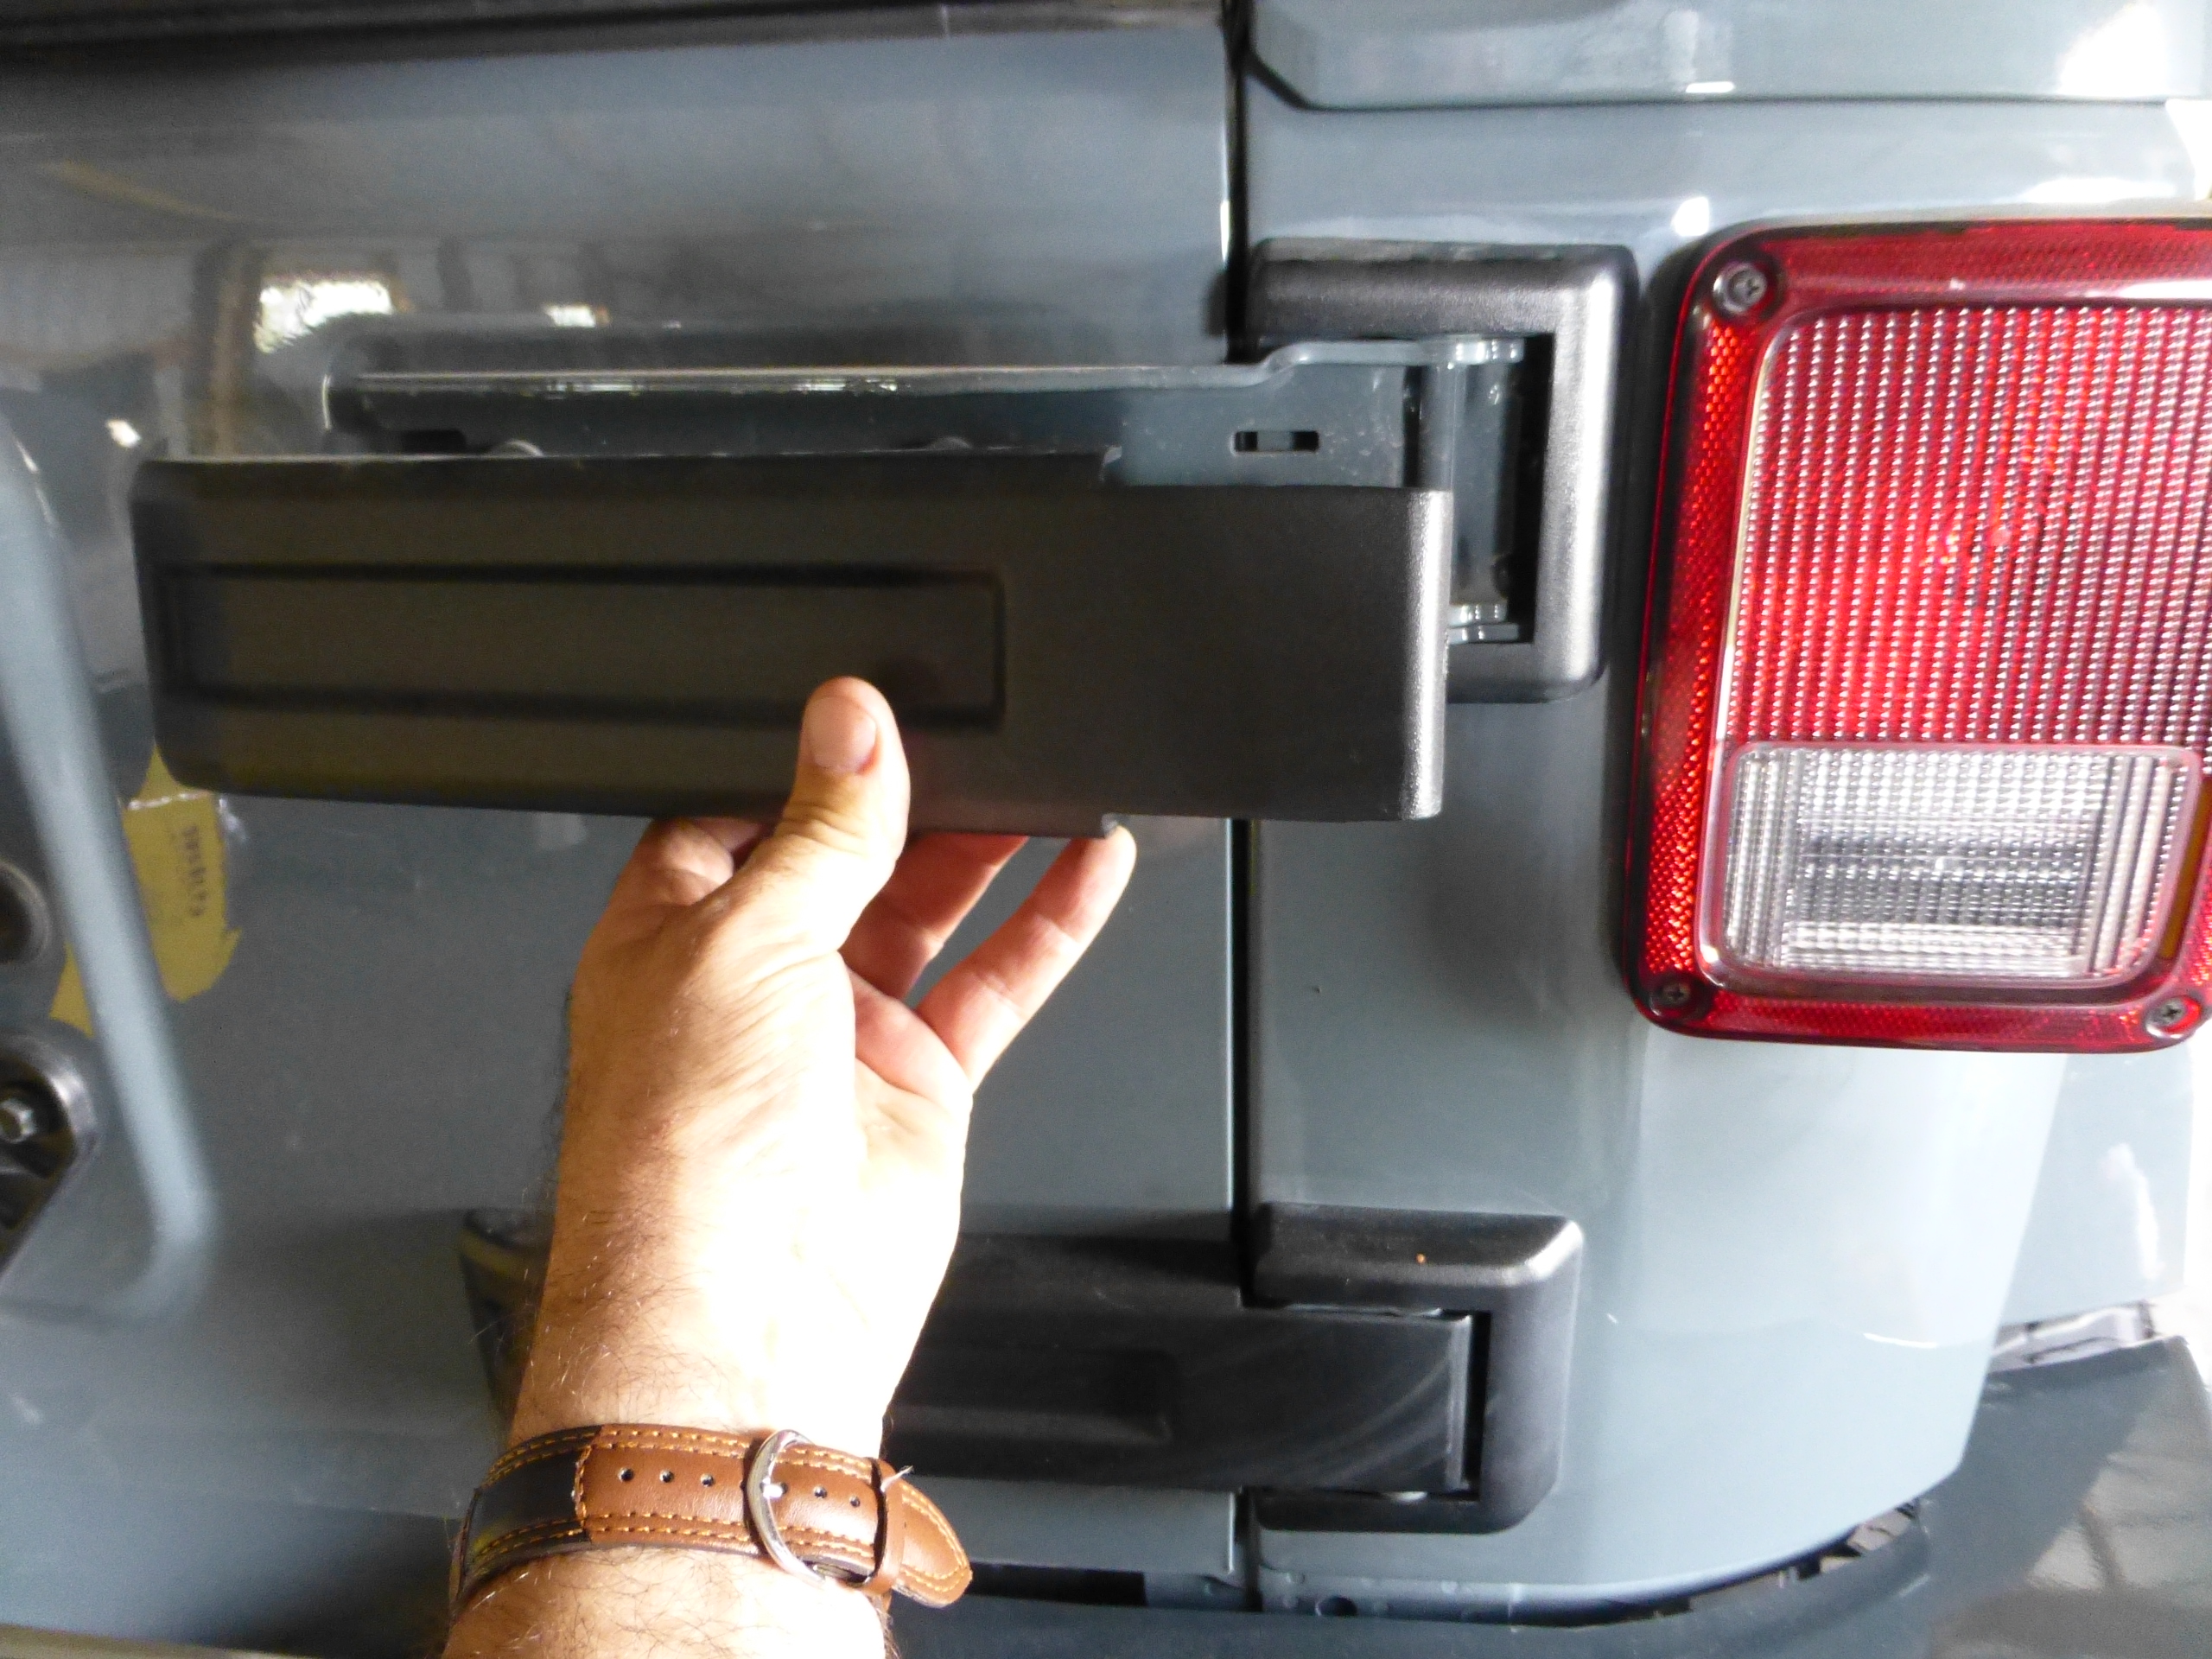
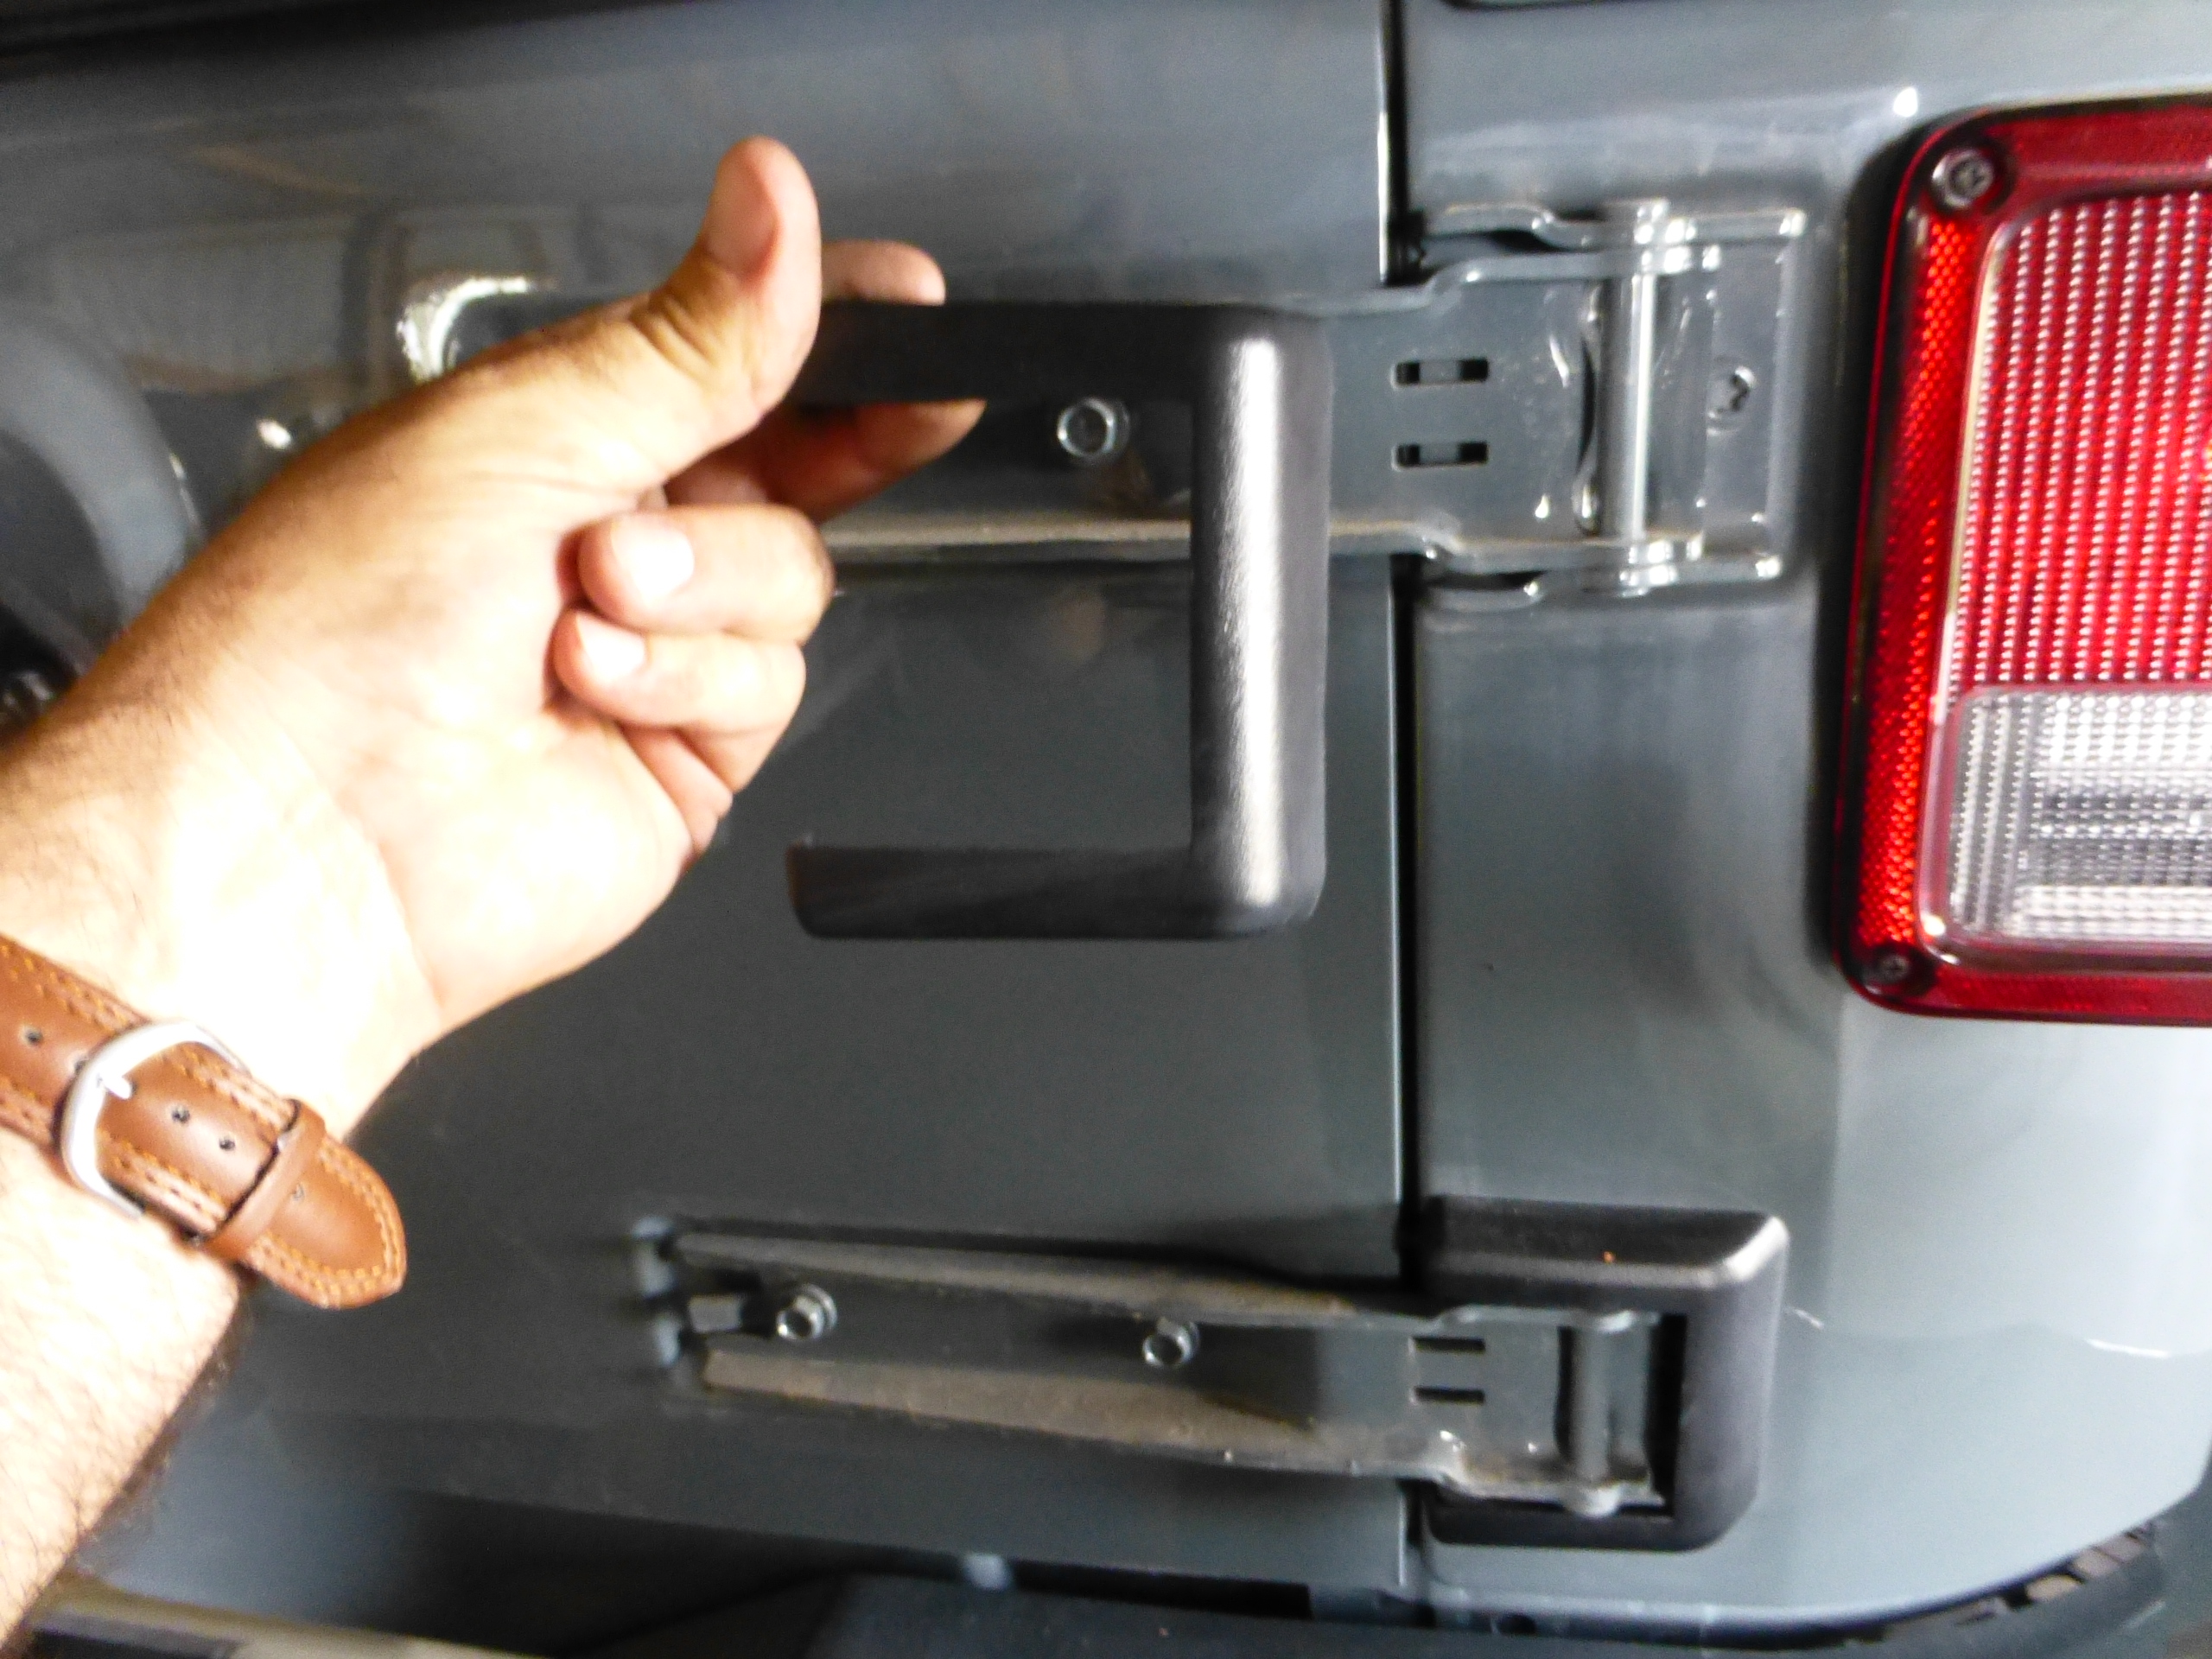
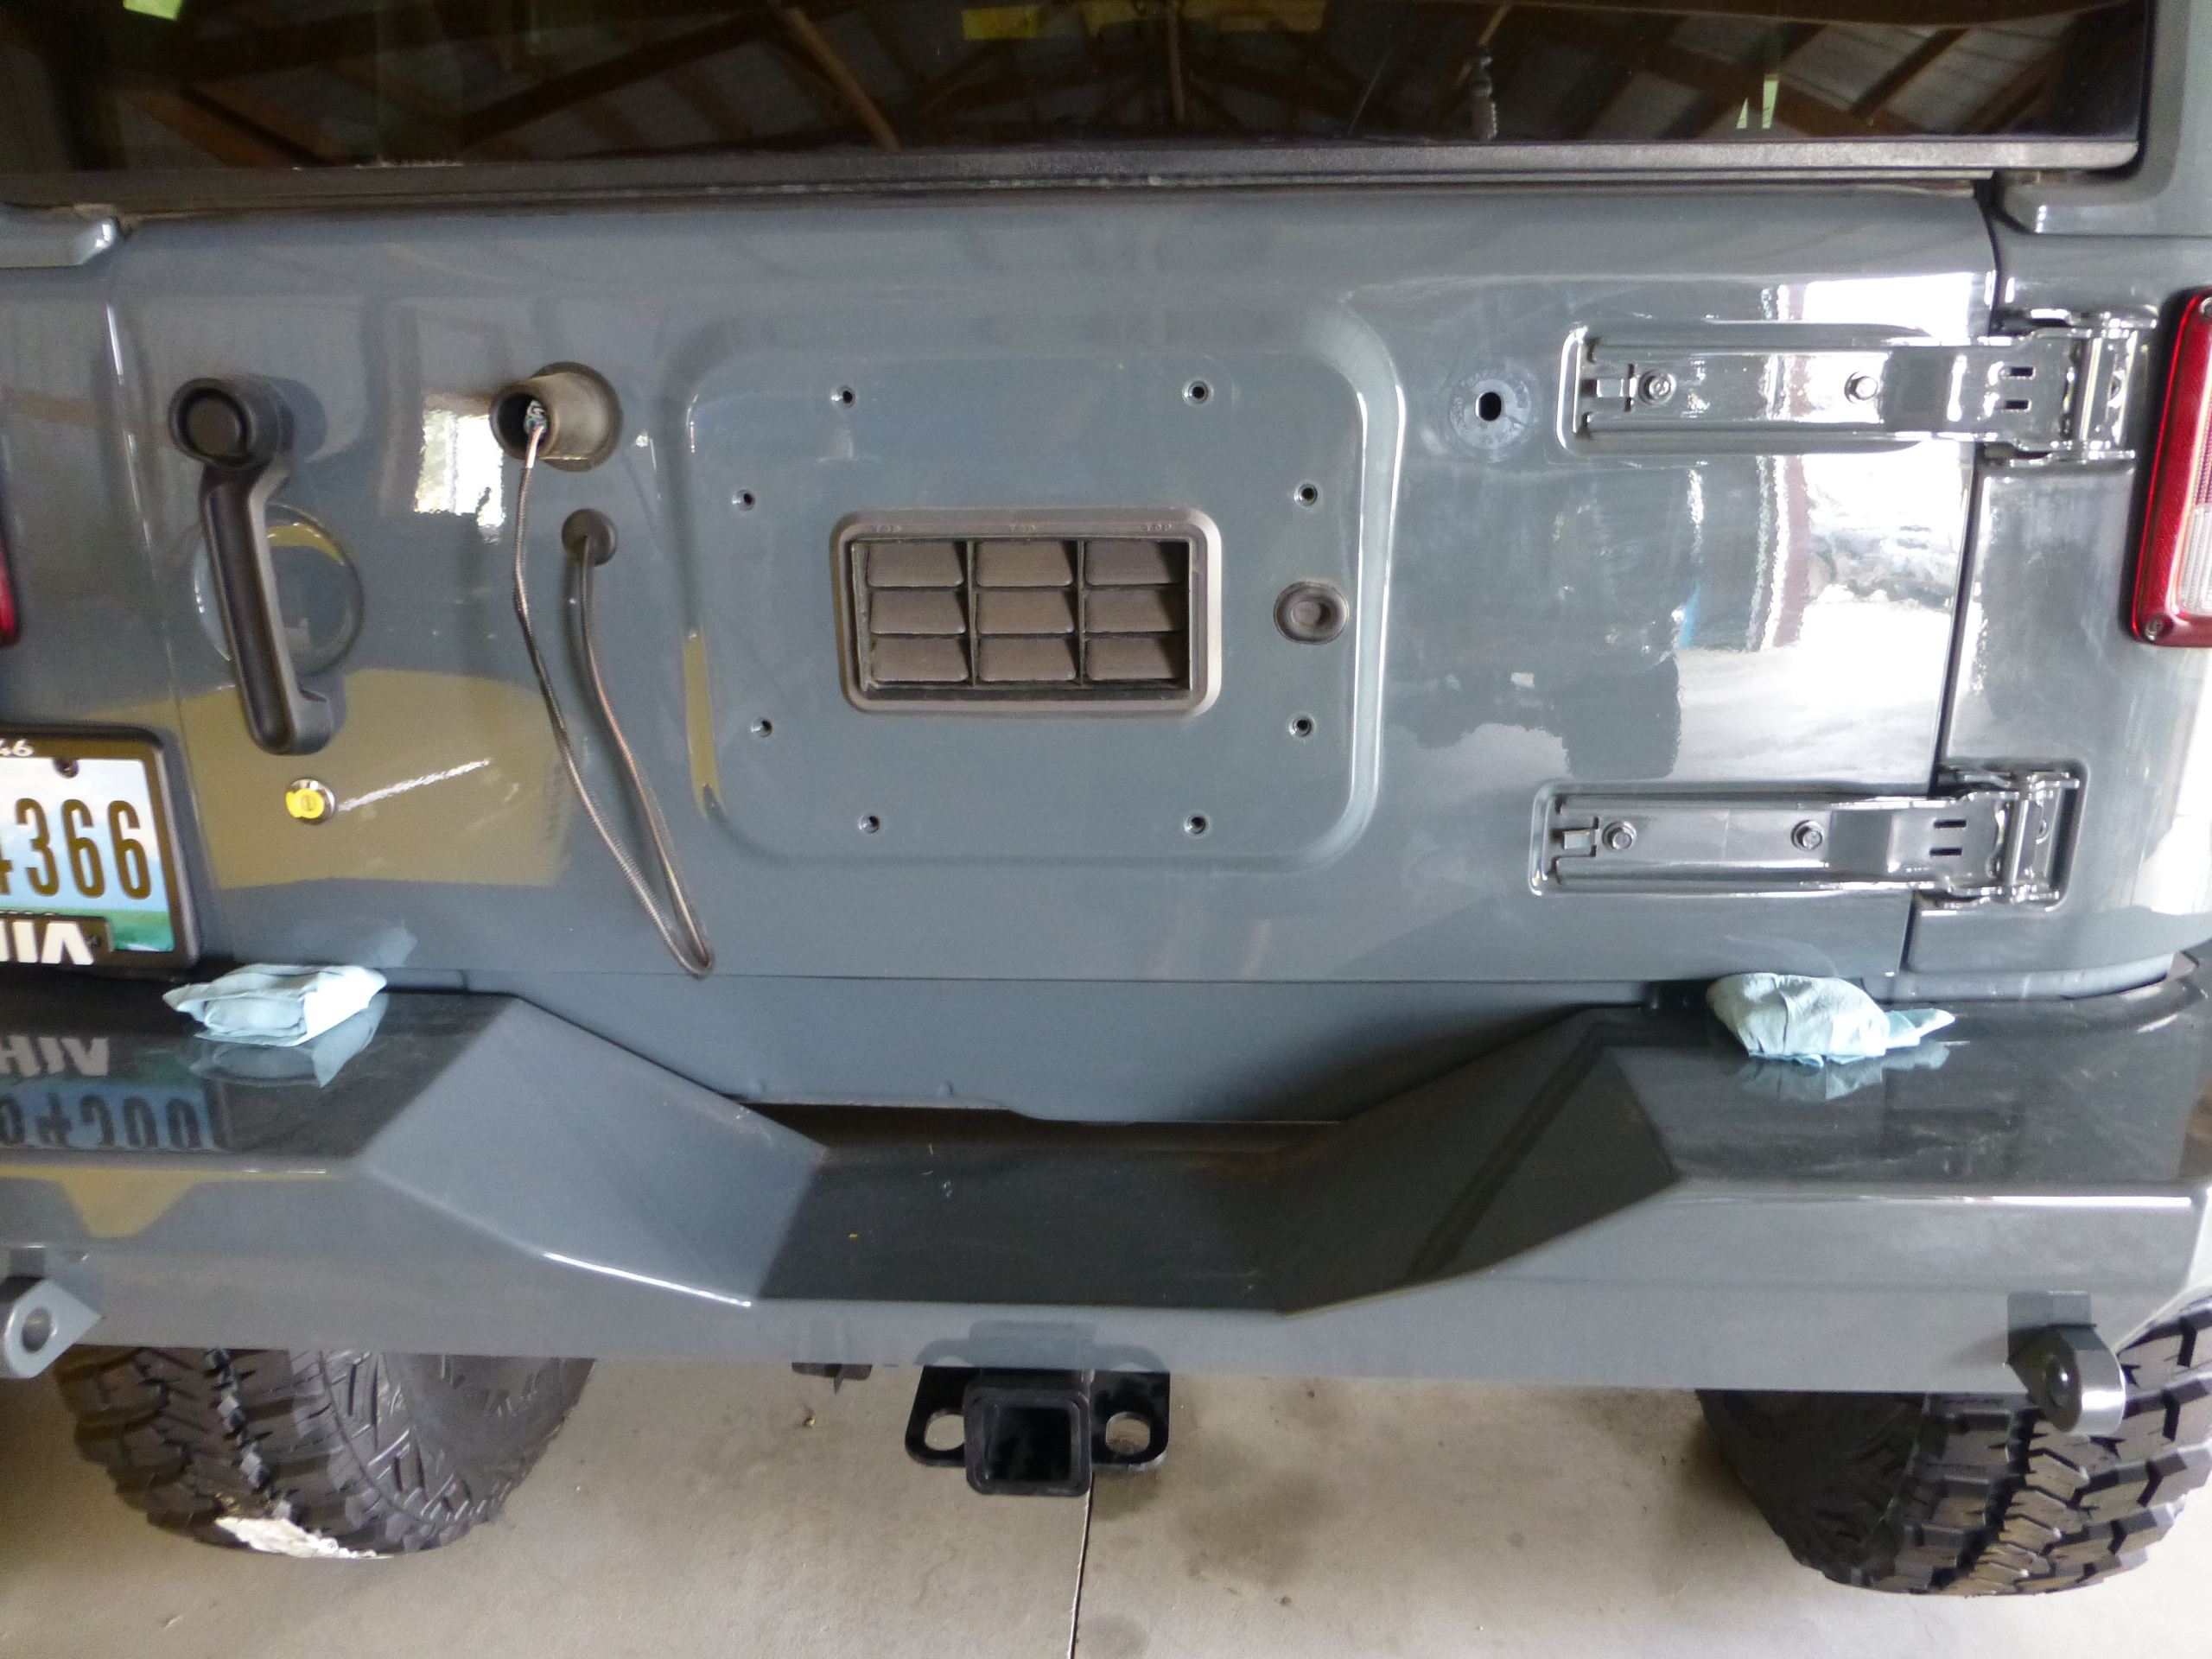
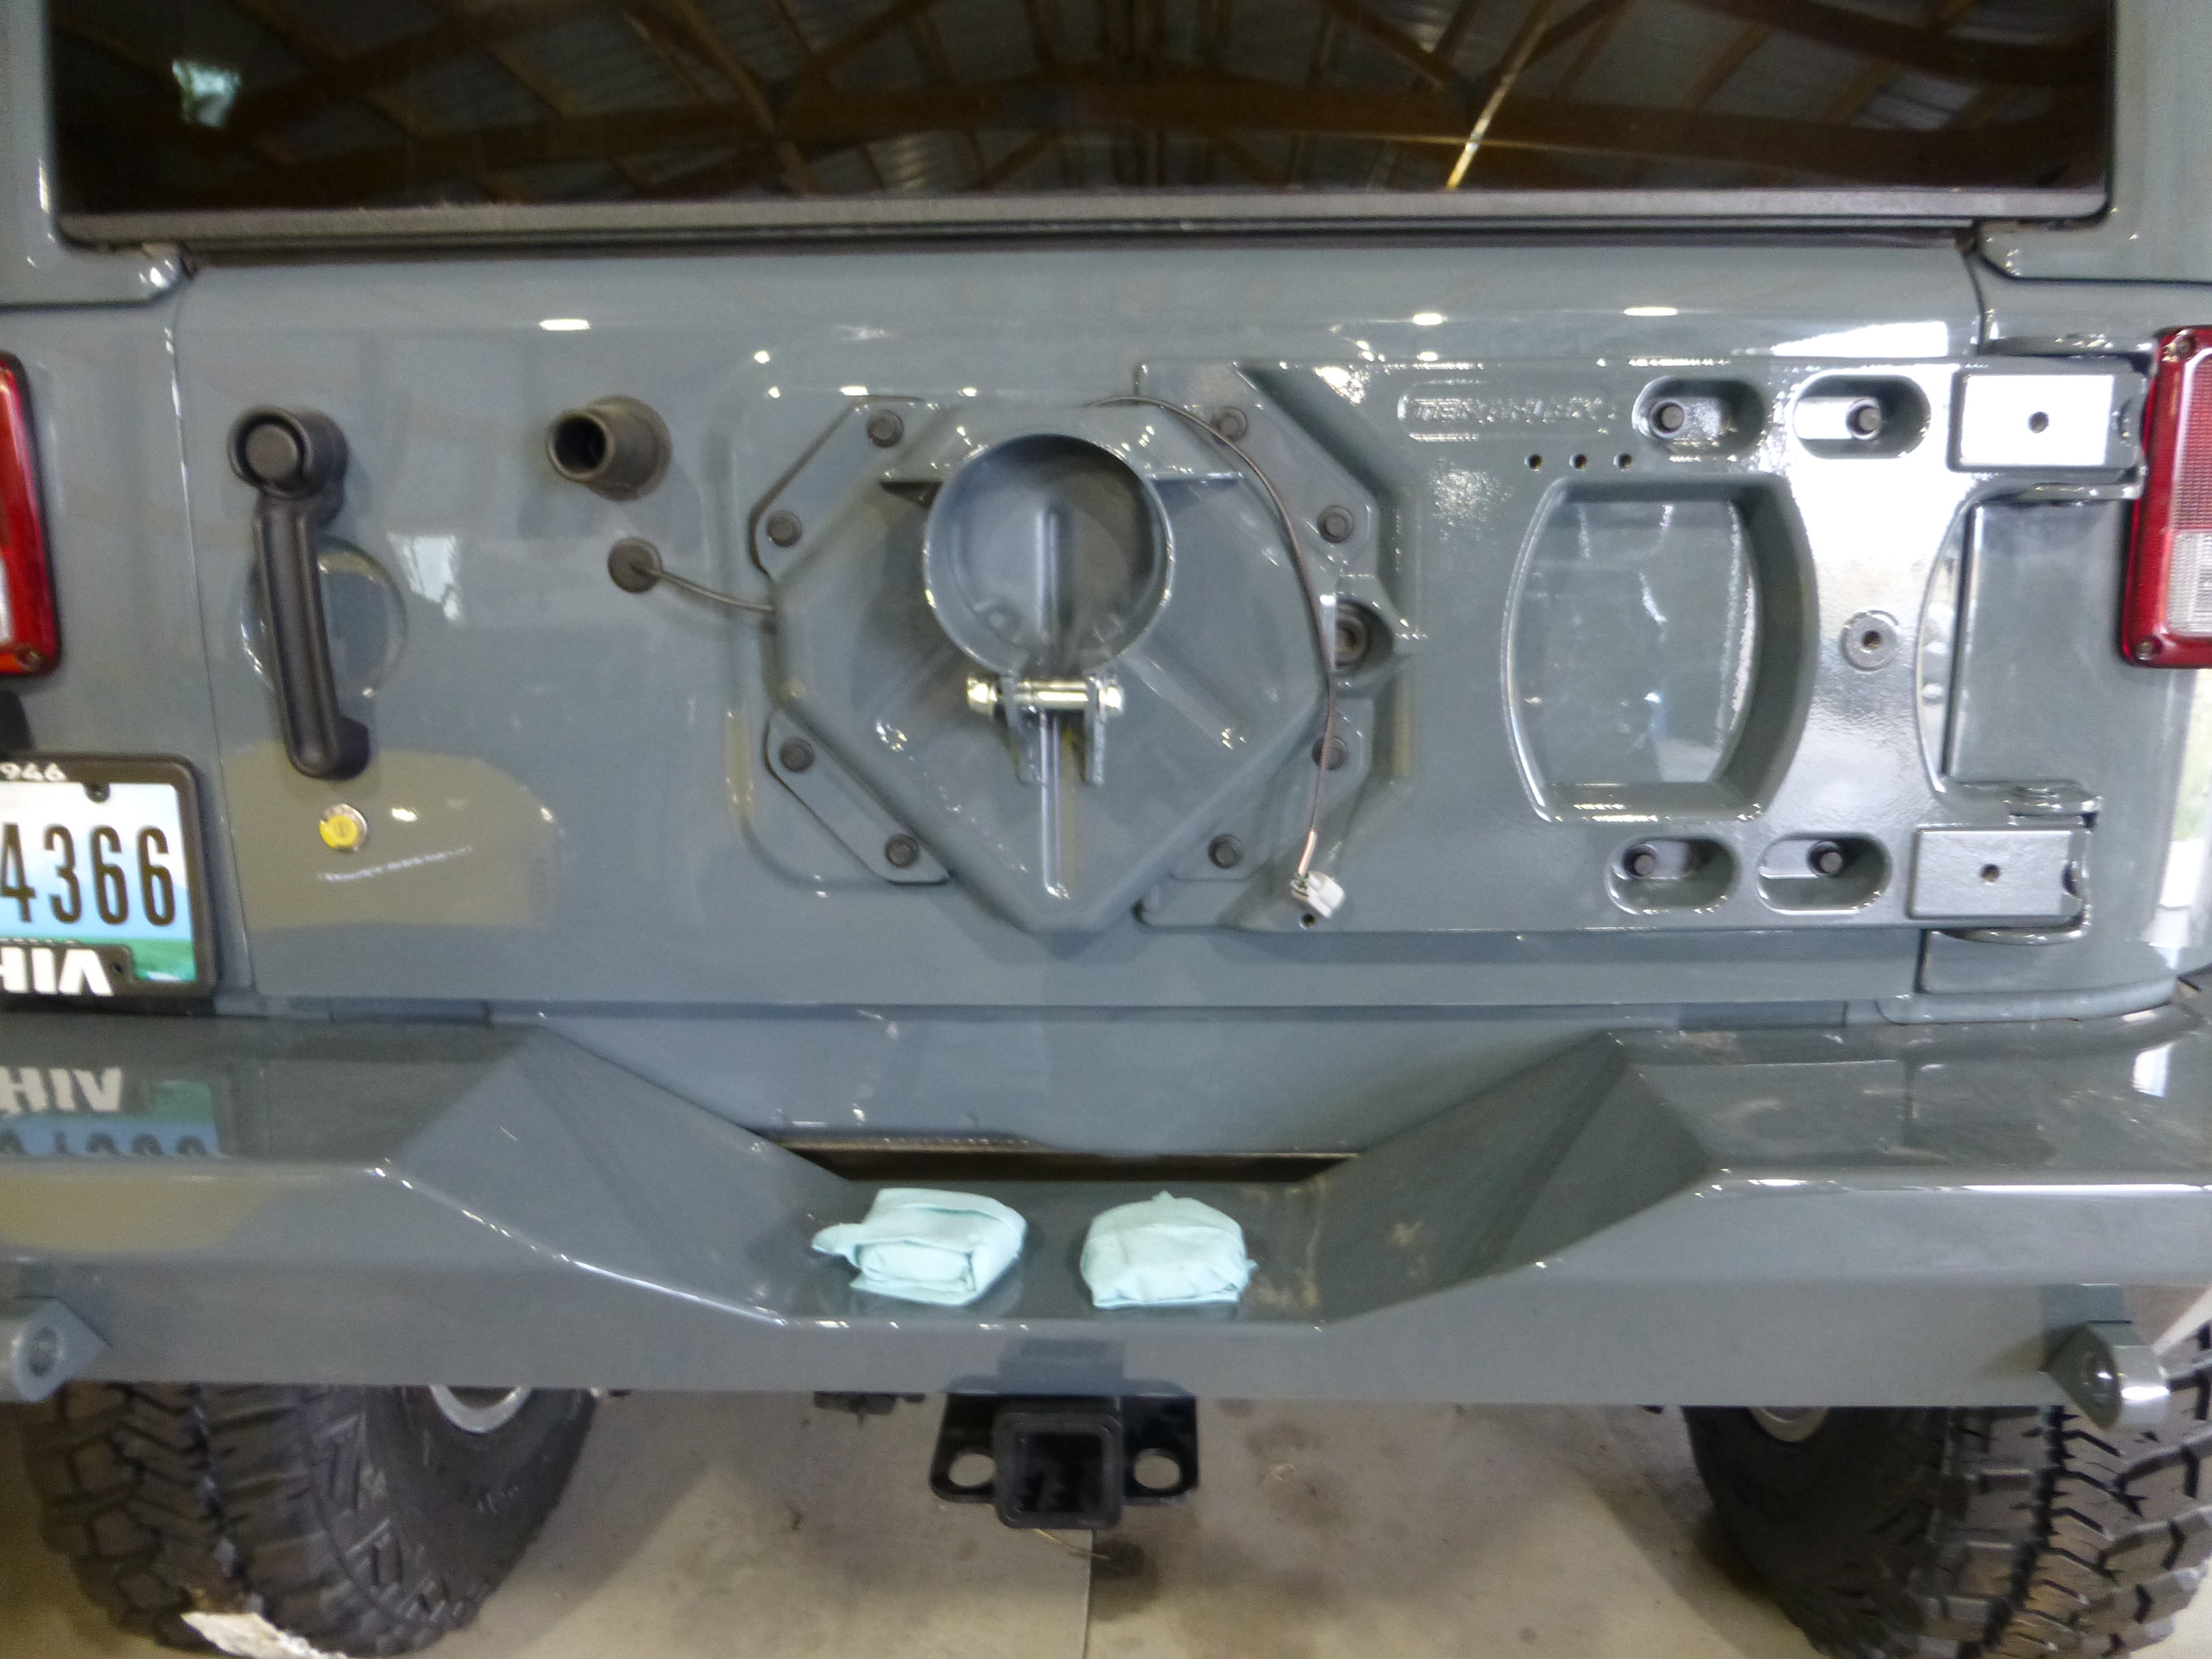
In order to wrap up the back half of the build there were a few more parts that we needed to get installed so we could move to the front of the Jeep. We started with the Teraflex rear bumper since we had the stock bumper removed, we also would need something to support the tailgate when we went to install the new Teraflex “HD Hinged Carrier”. Basically we held the bumper up and utilized the two thick bars that are used for clevises, the bumper mounts to them and bolts the whole unit to the frame rails. It was an extremely easy, bolt on mount that we literally had done in a matter of minutes.

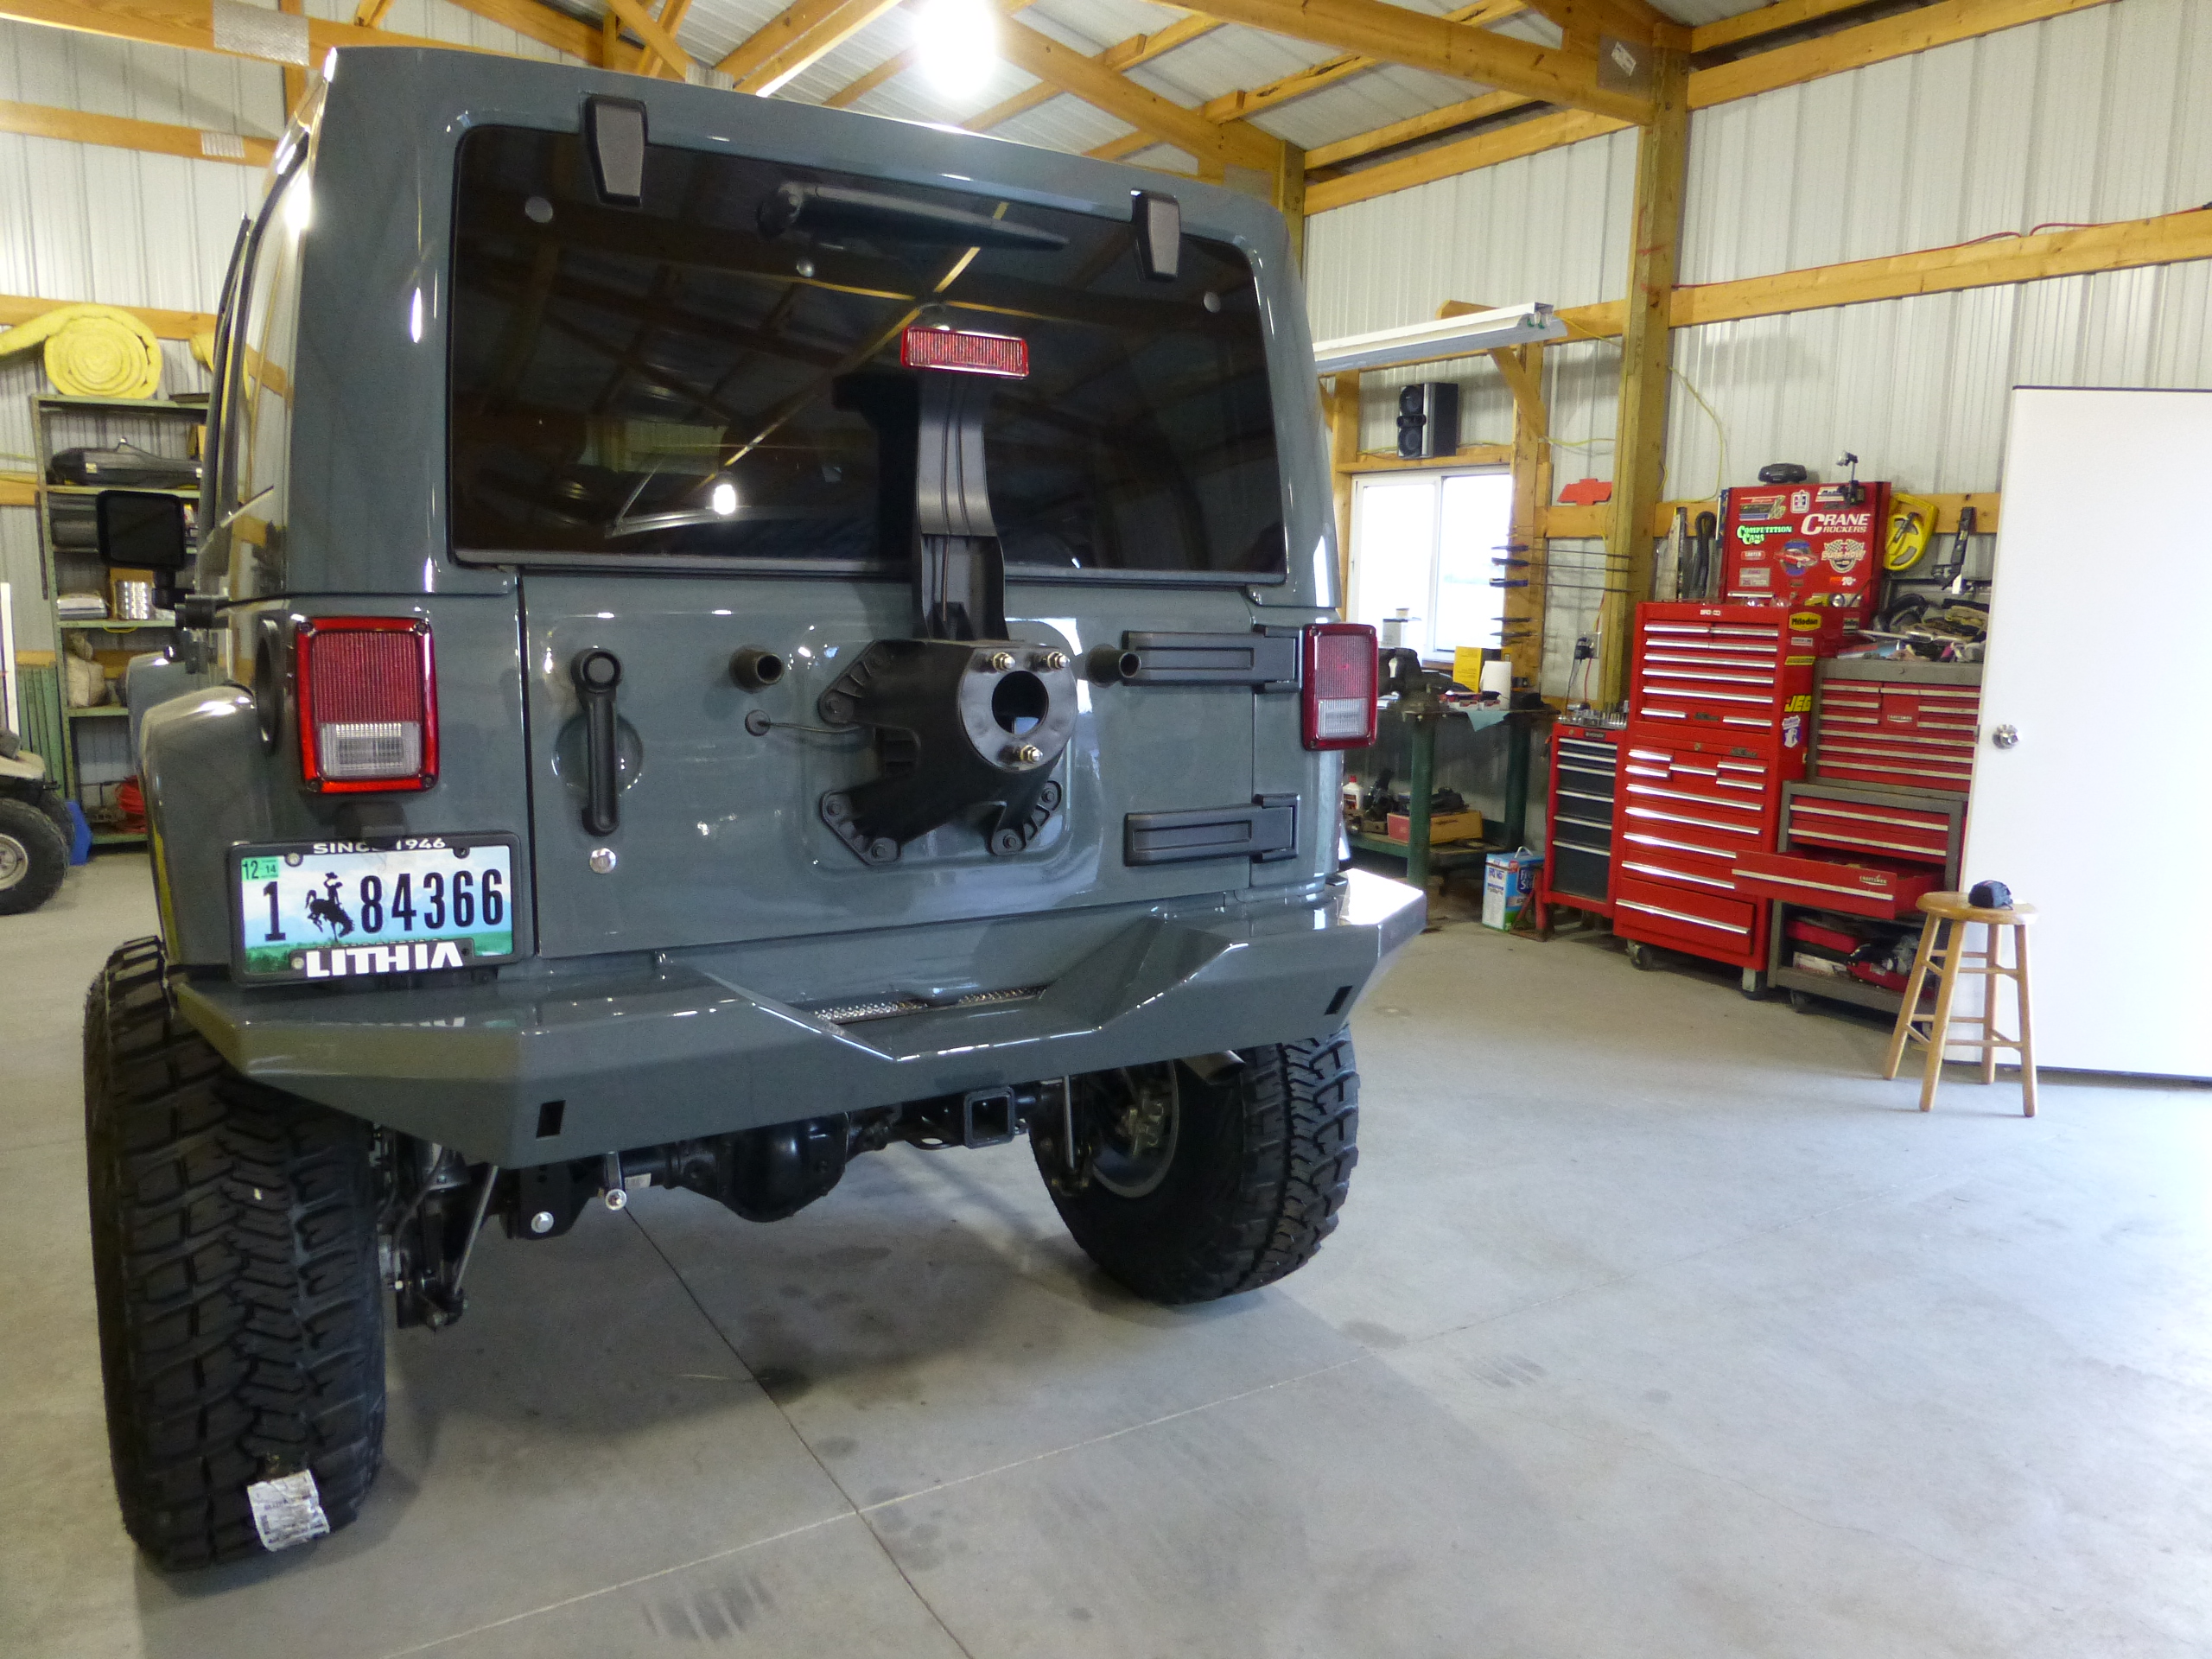
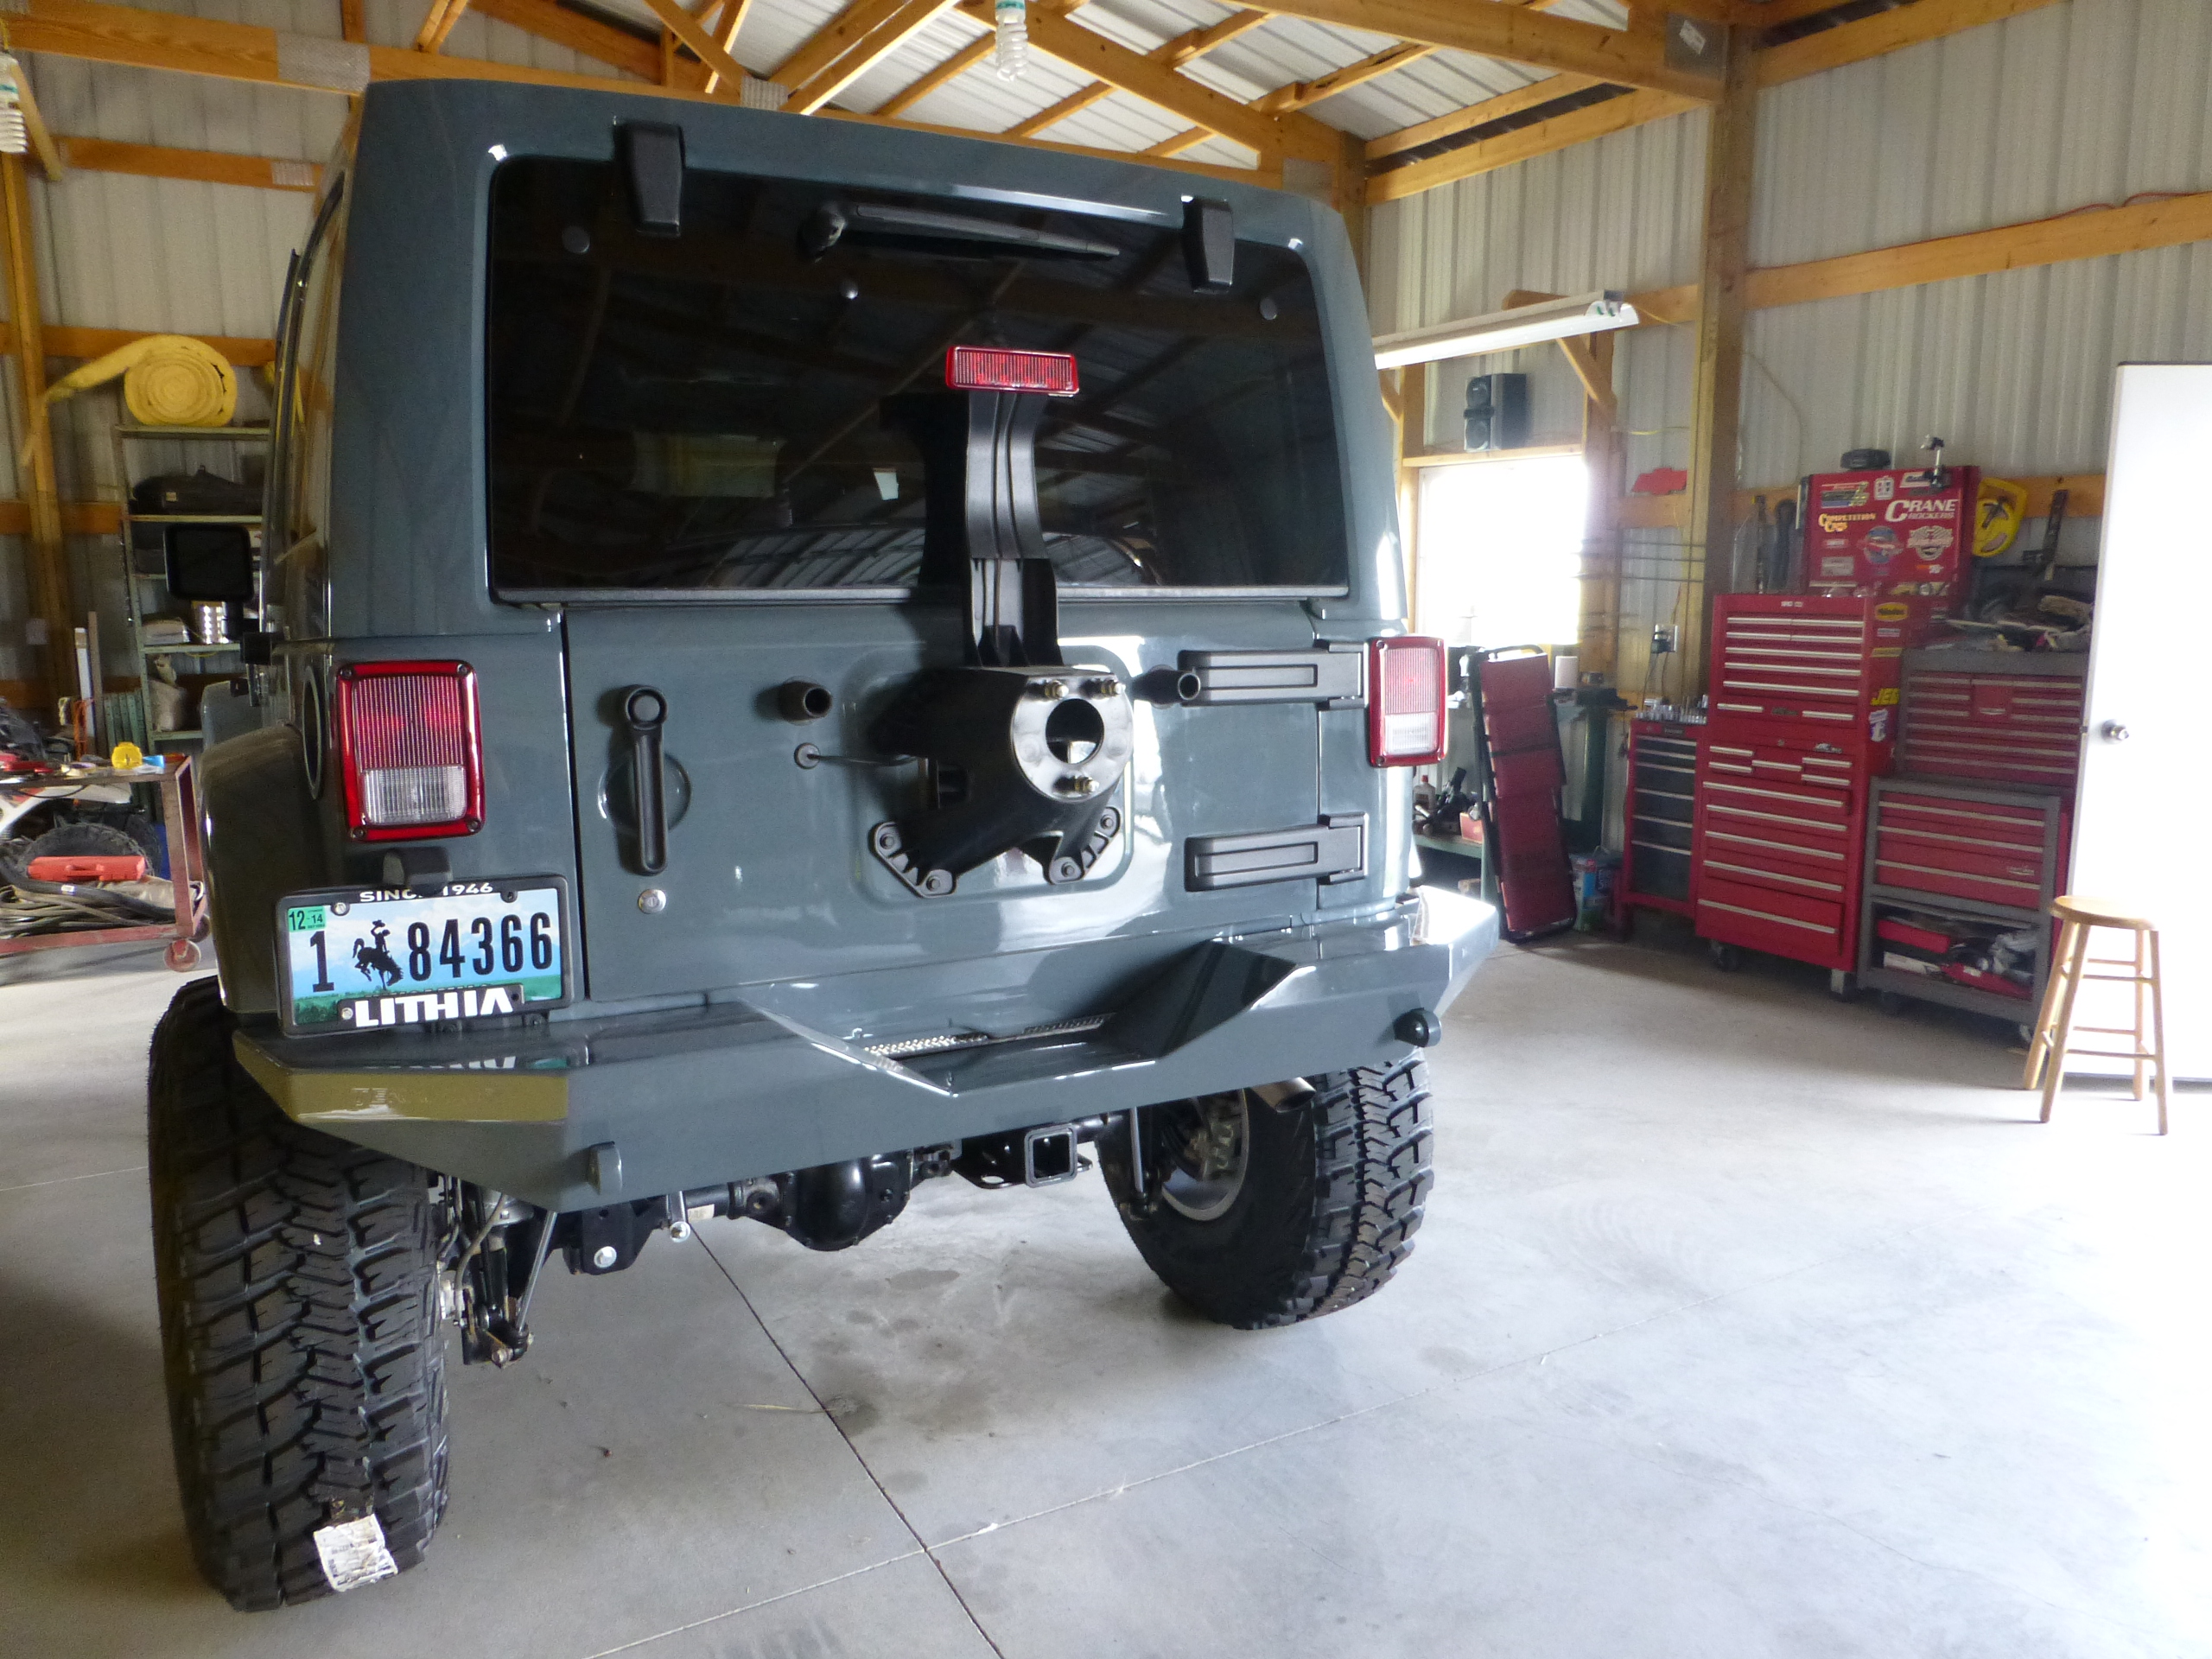
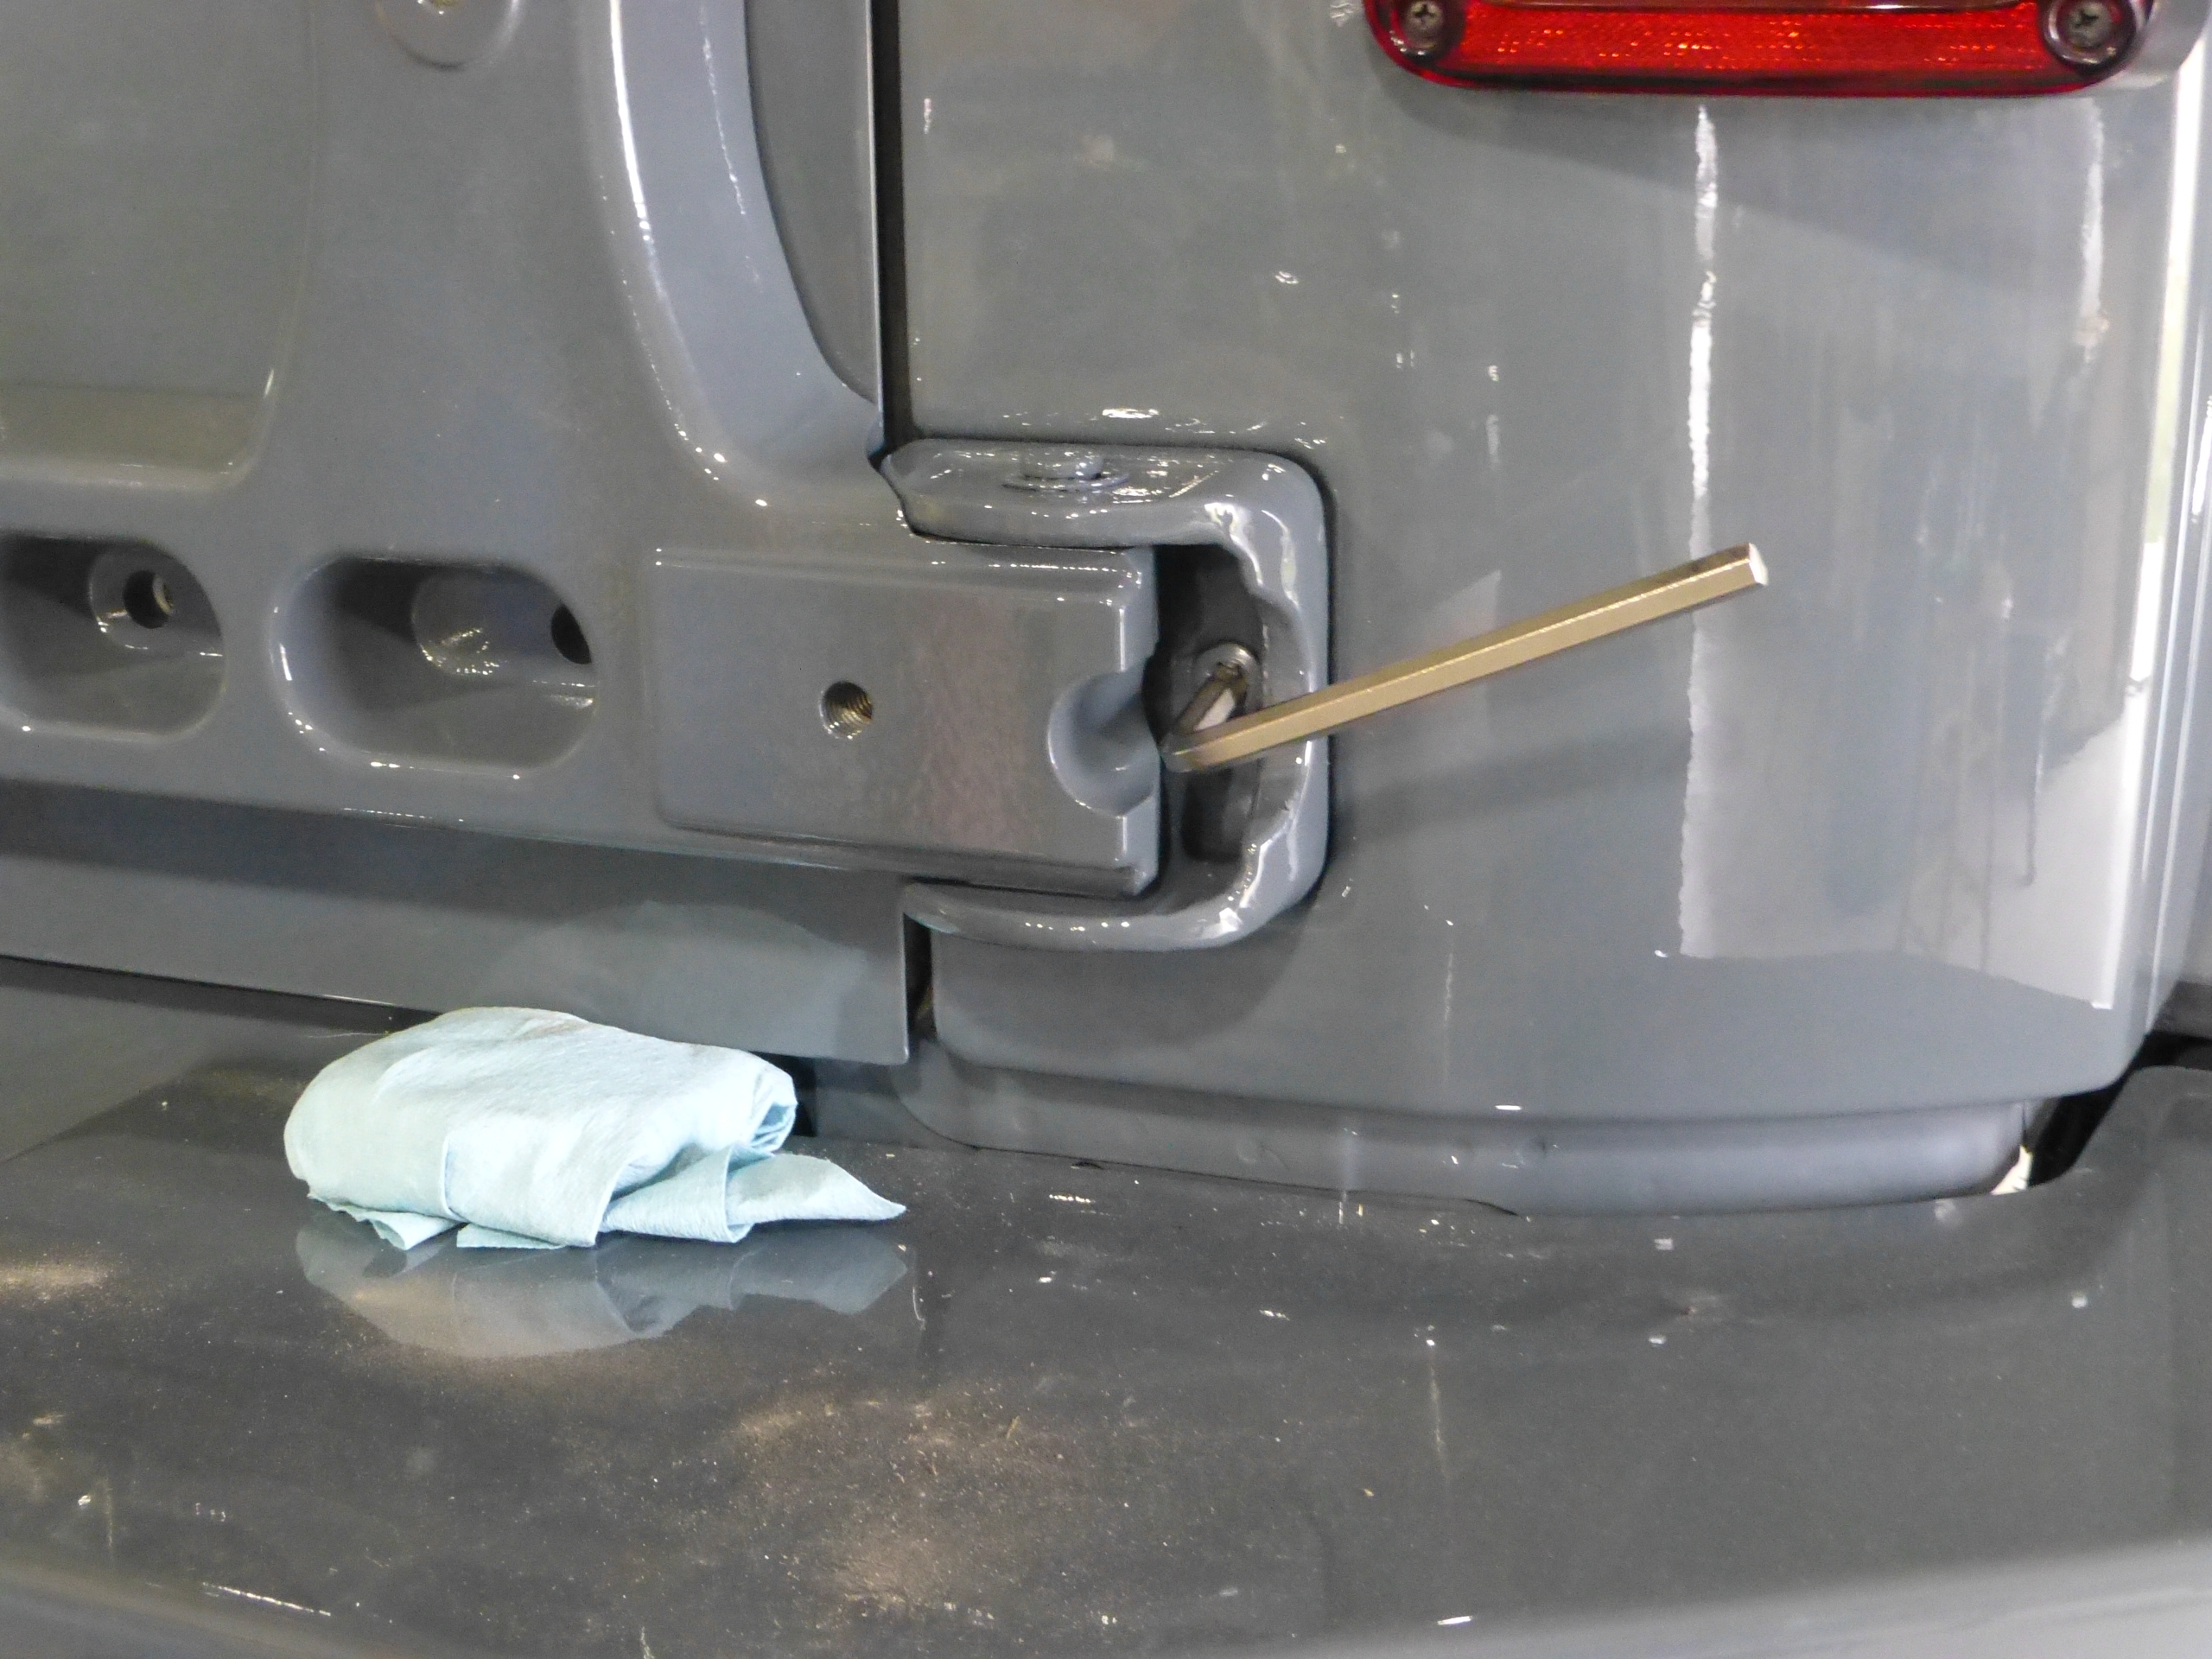
Now that we had the rear bumper mounted in place we were able to use it to support the rear gate while we removed the hinges to mount the new “HD Hinged Carrier” from Teraflex. In order for the carrier to go on, there were a few more parts that had to come off first. We removed the factory spare tire carrier as well as the plastic pieces that cover the original factory hinges. The gate also needs to be supported at this point so we used a couple spacers wrapped in shop towels to protect the paint on the bumper and keep the gate aligned.
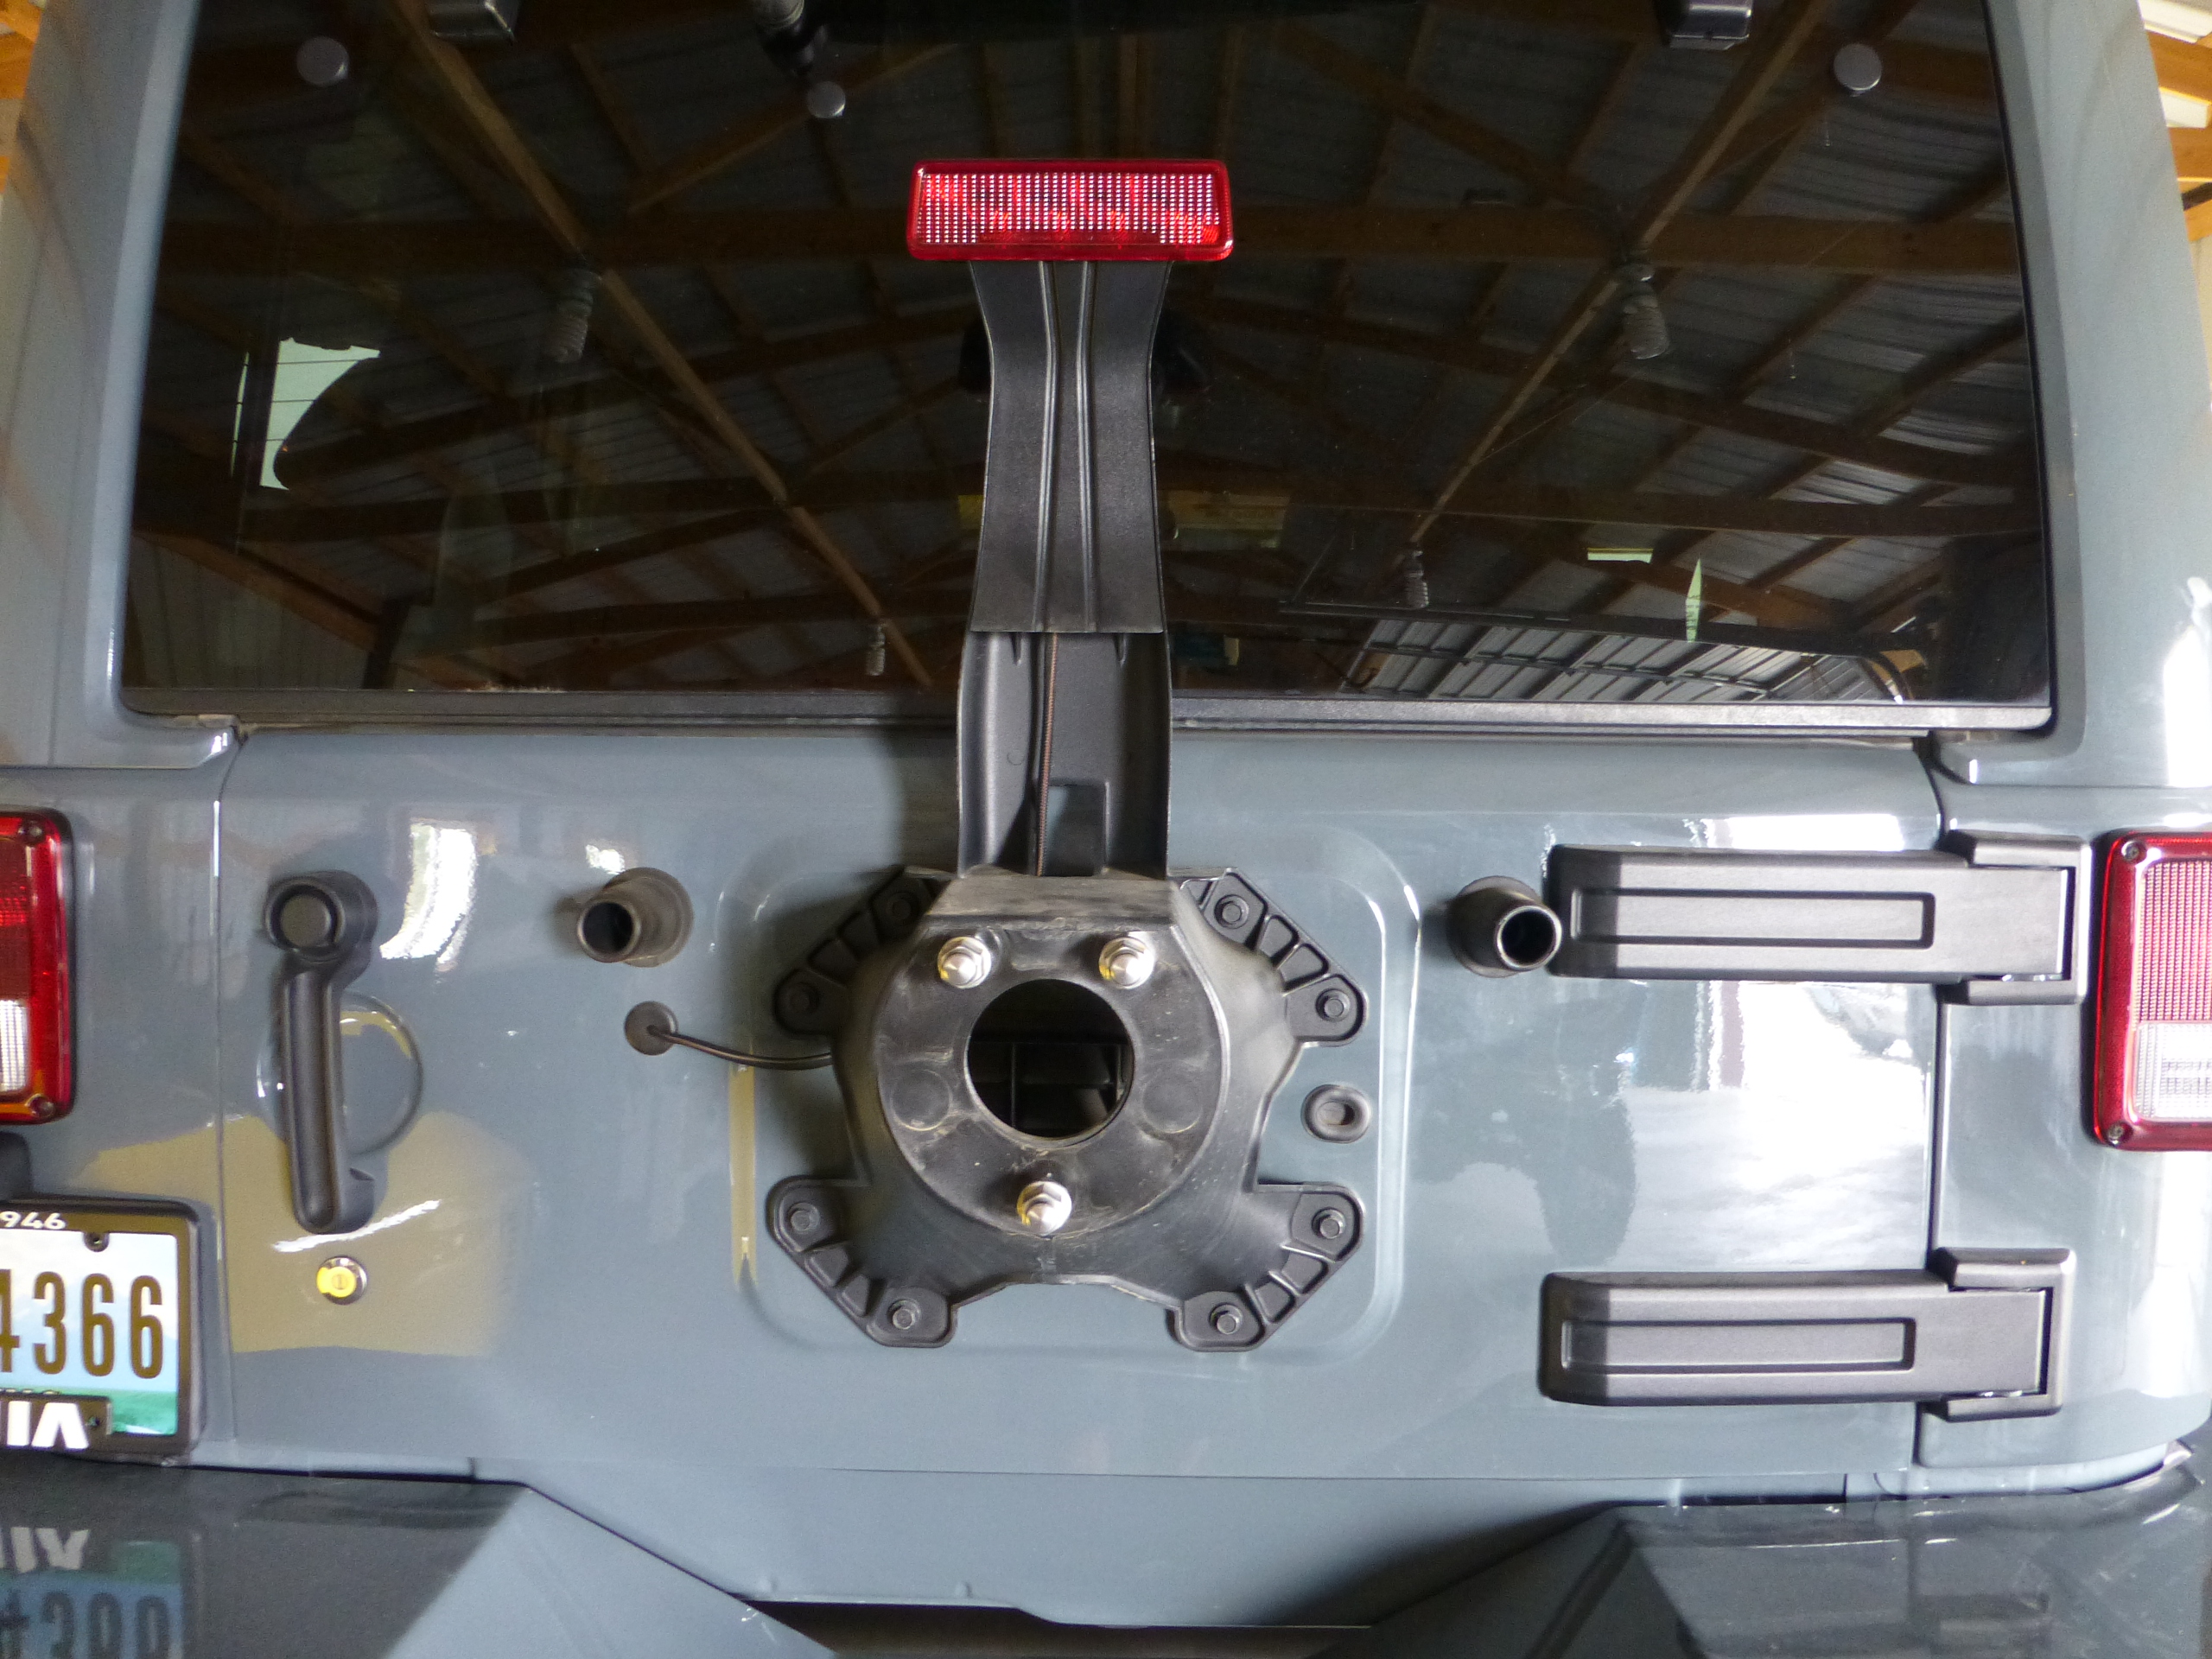
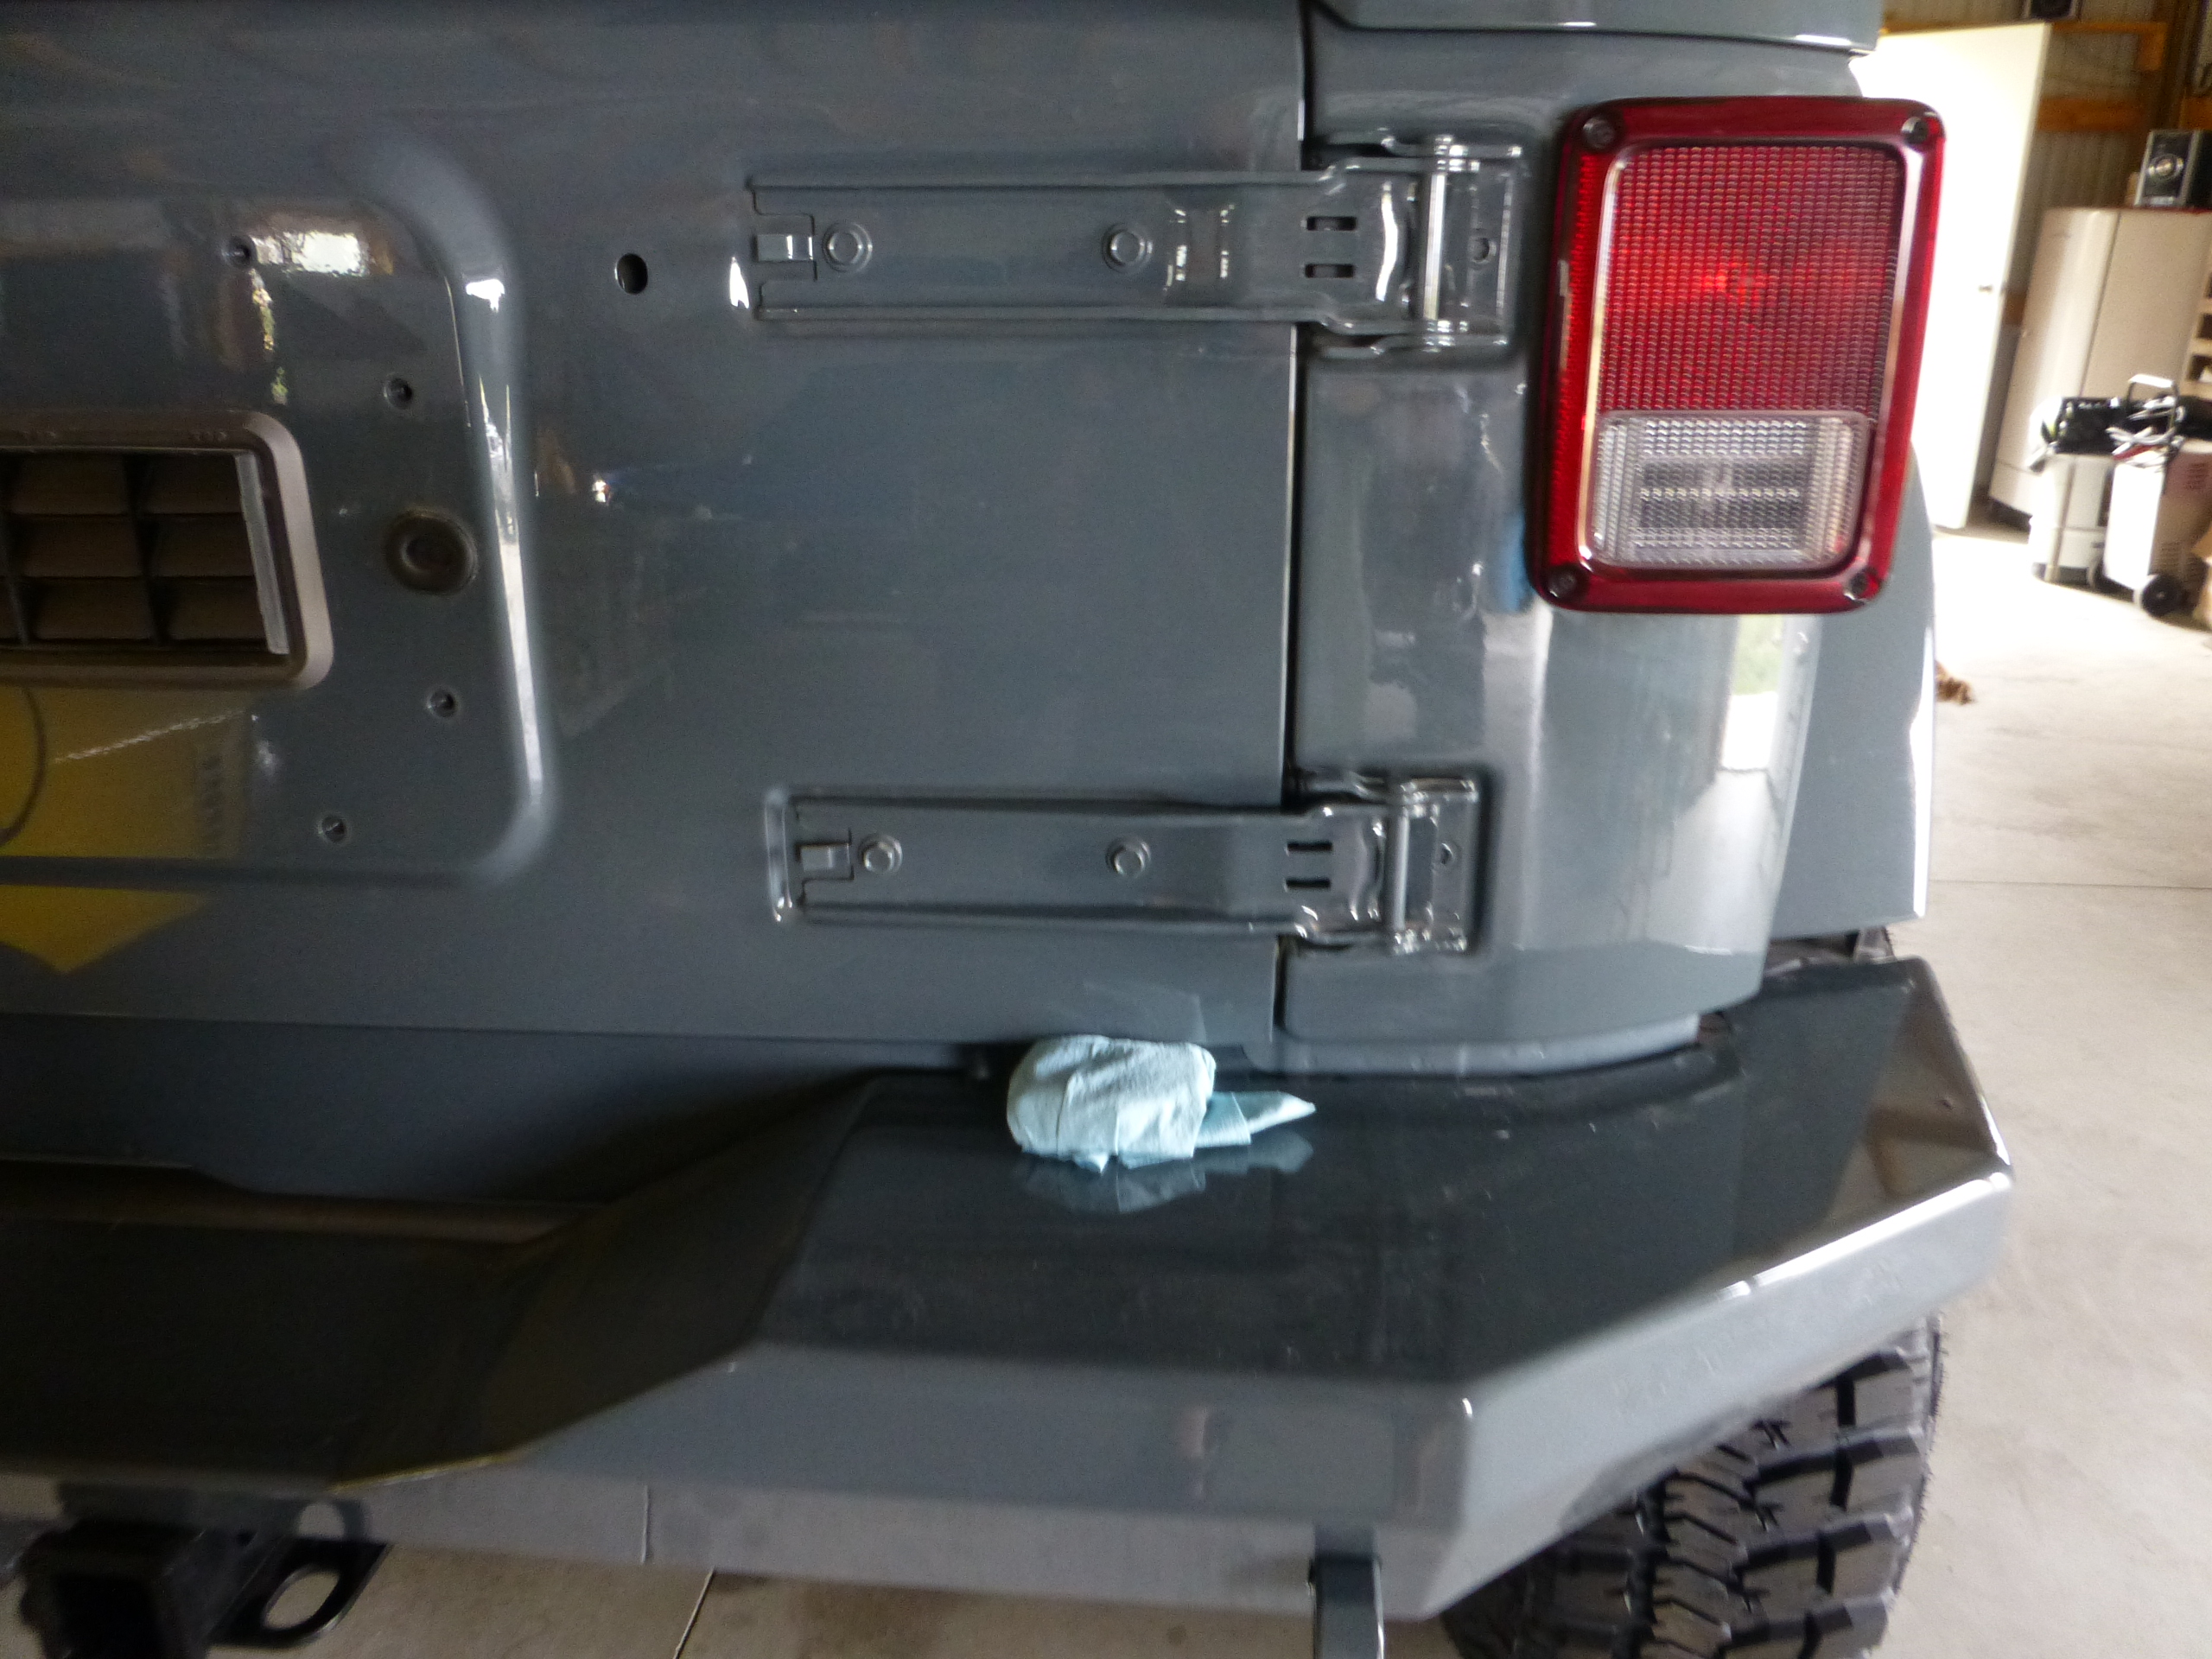
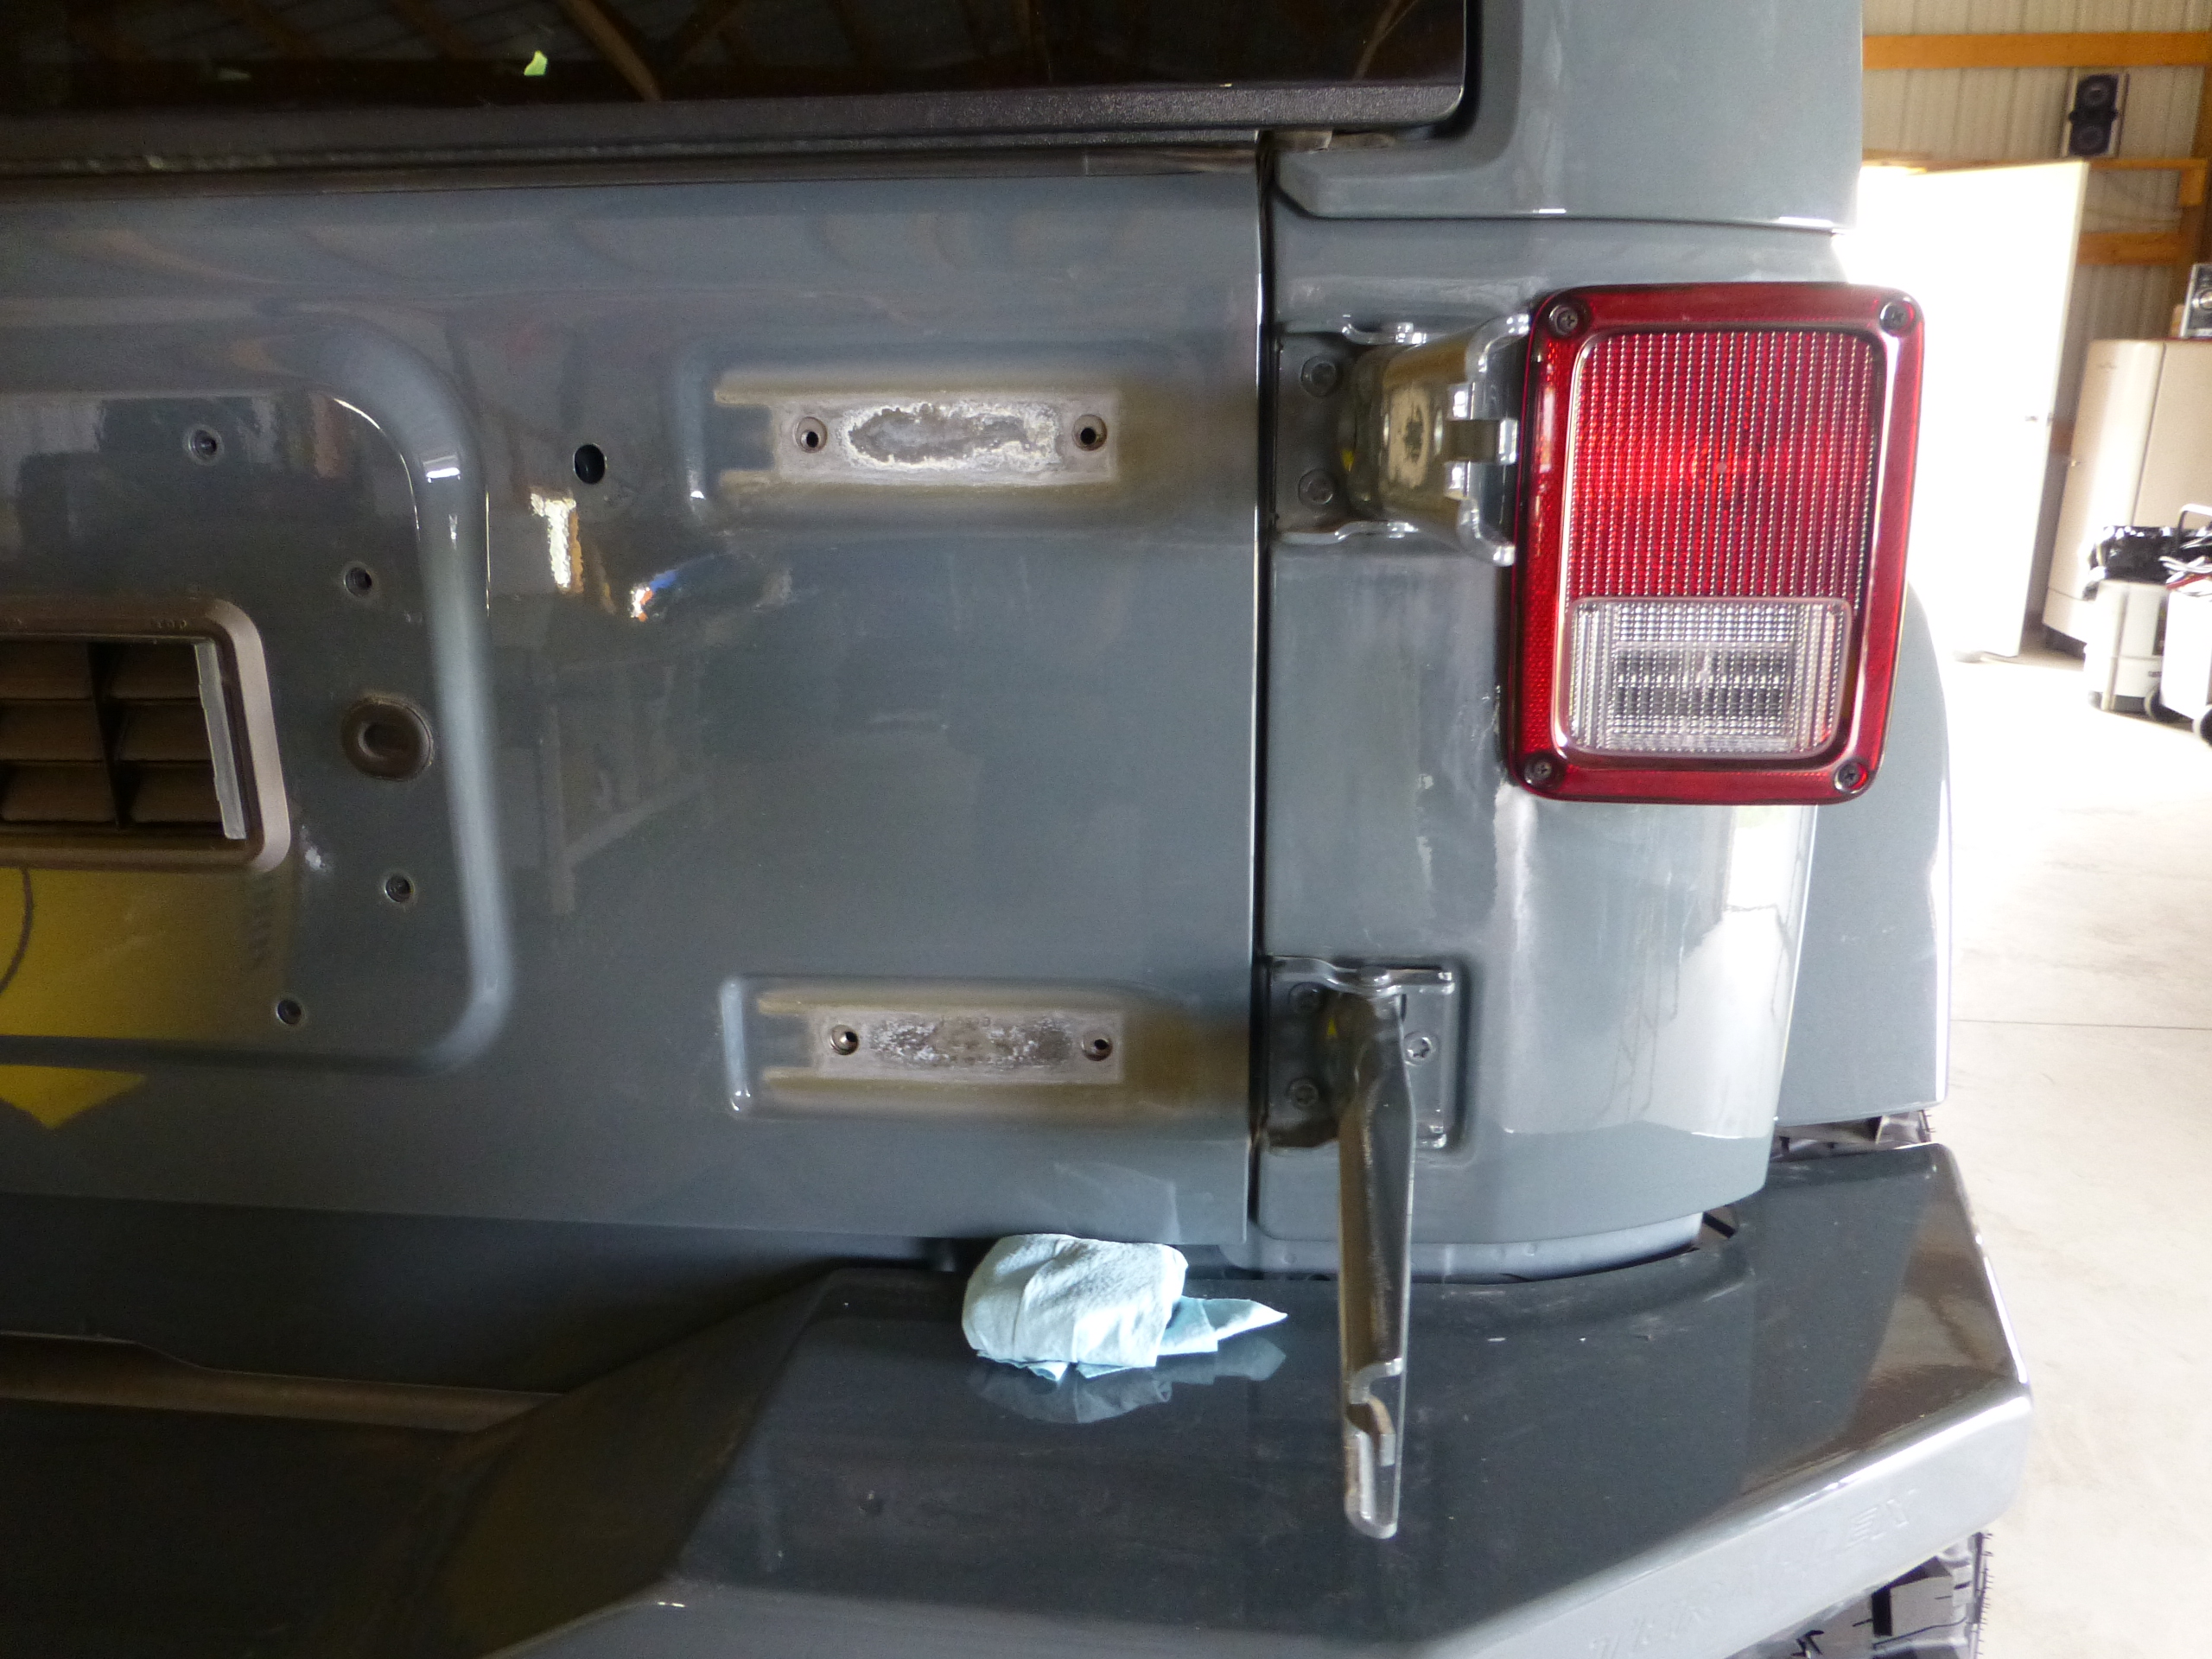
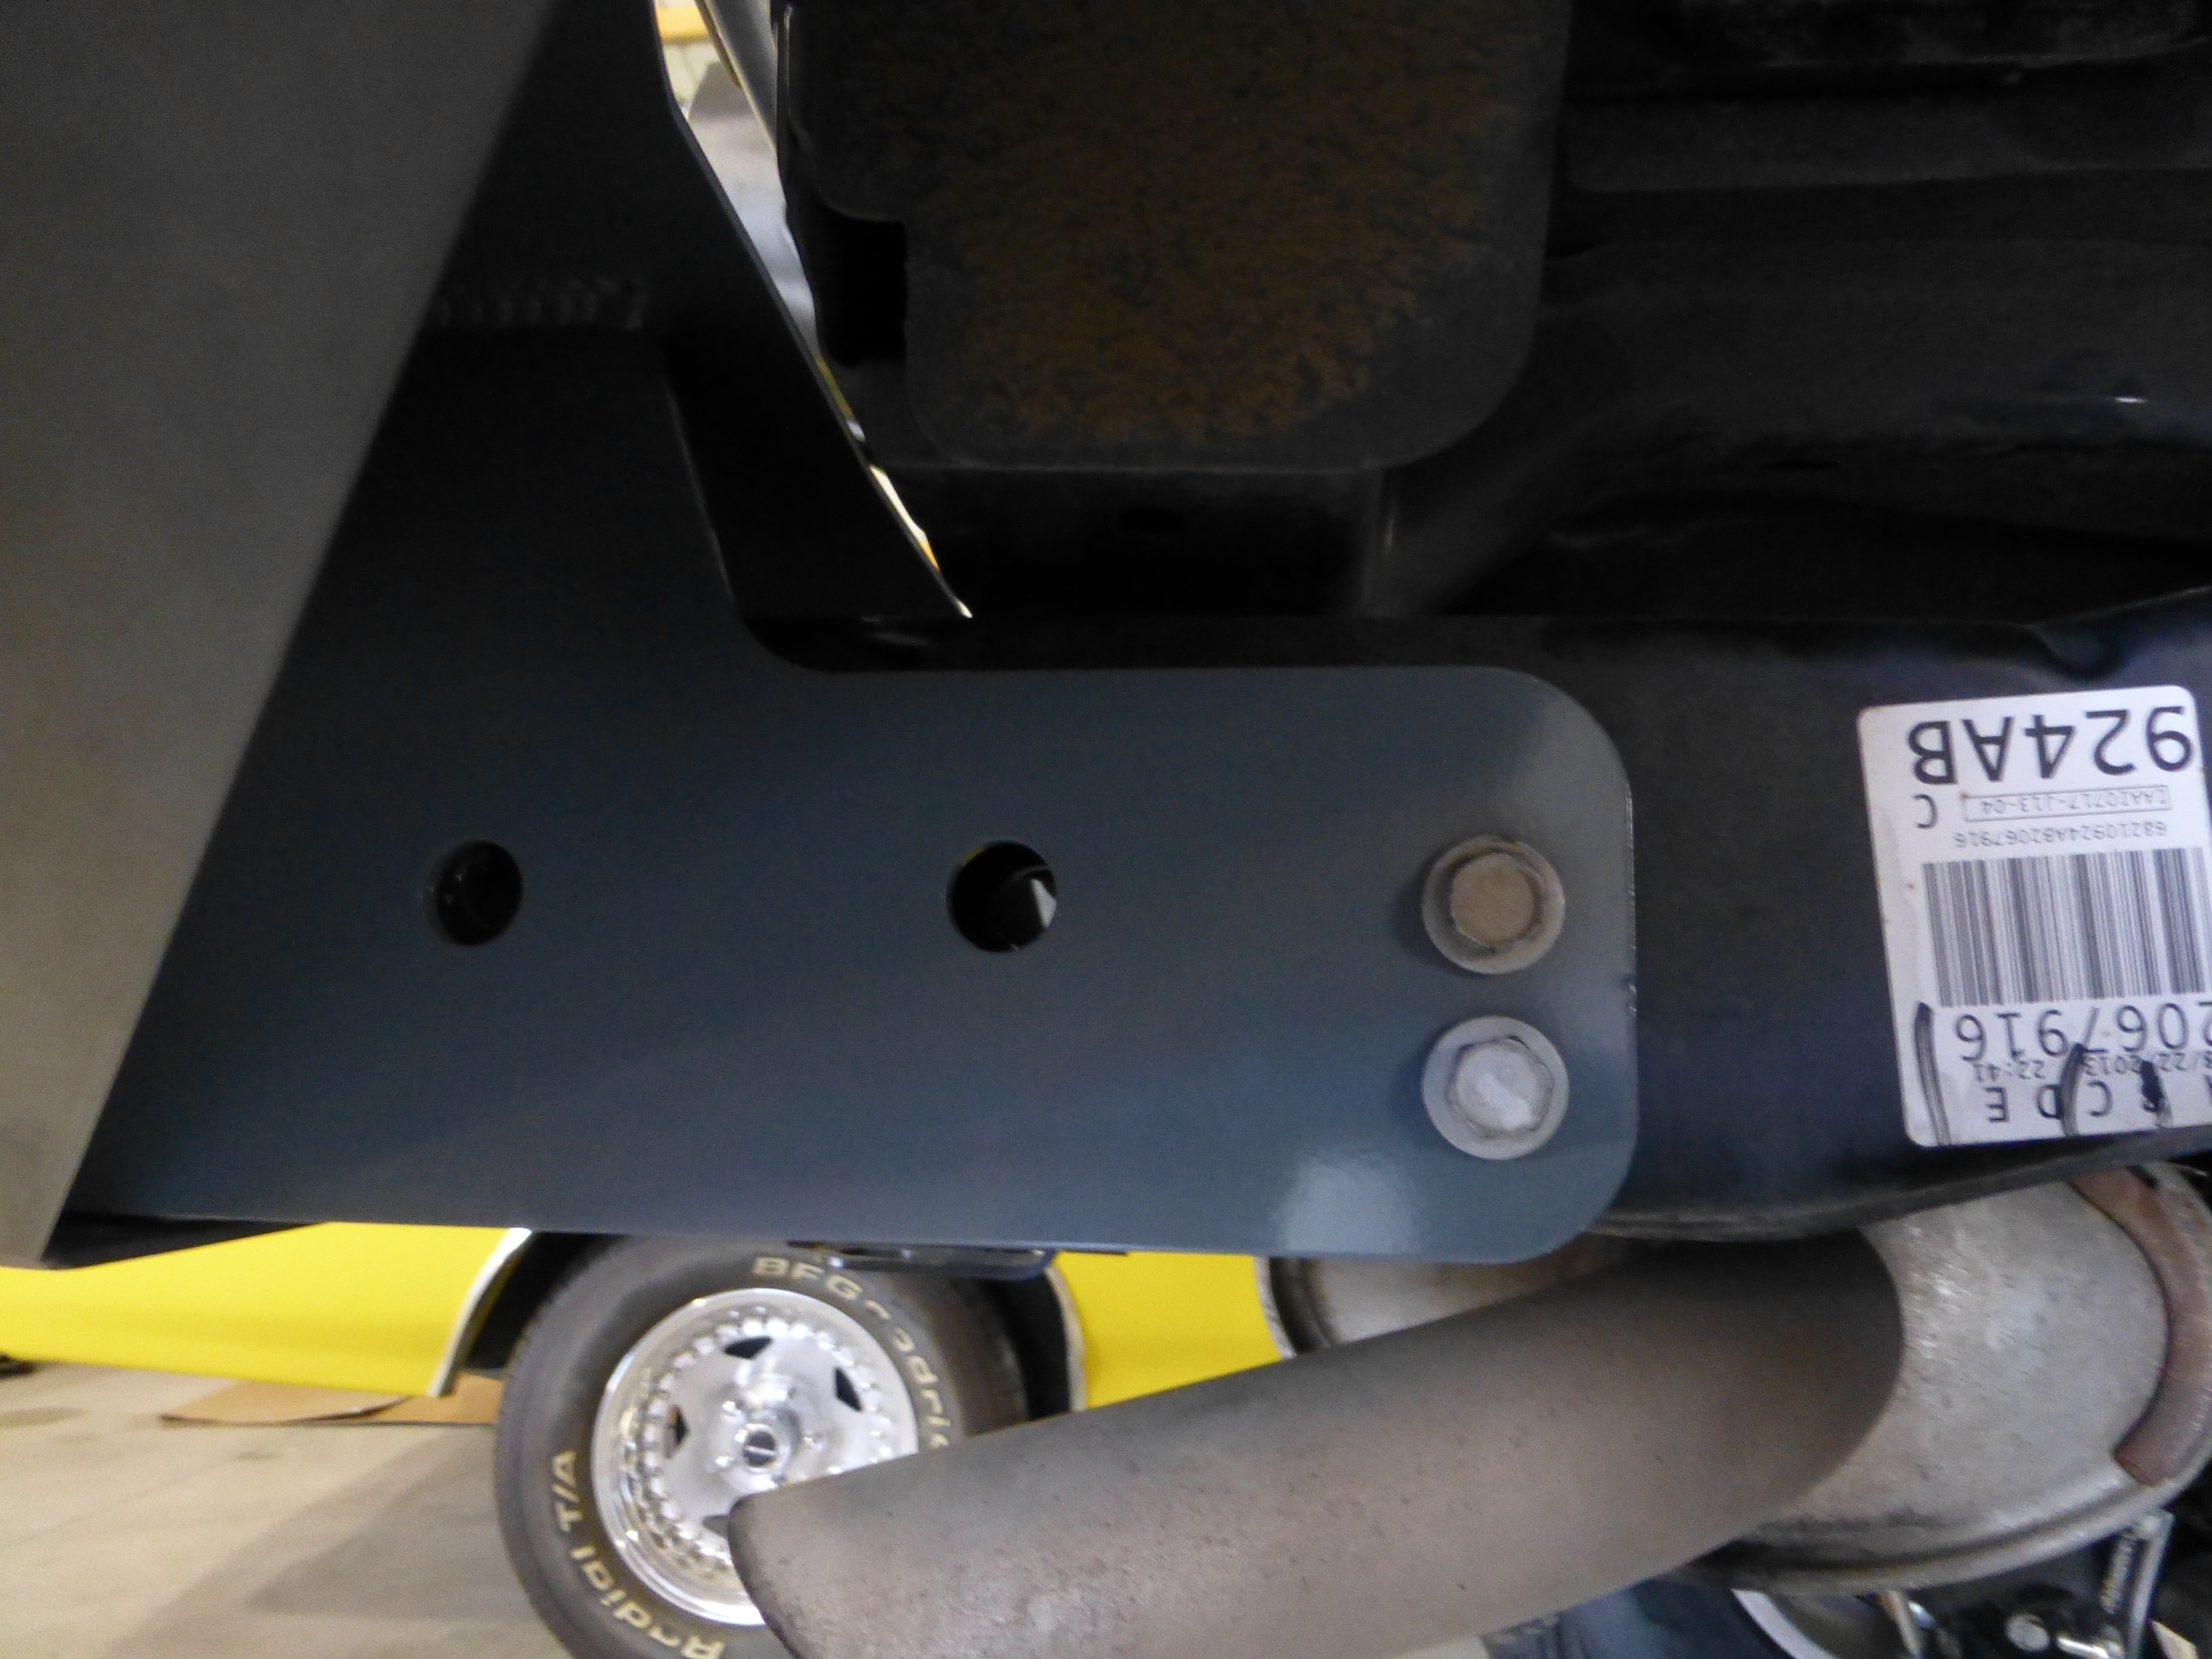
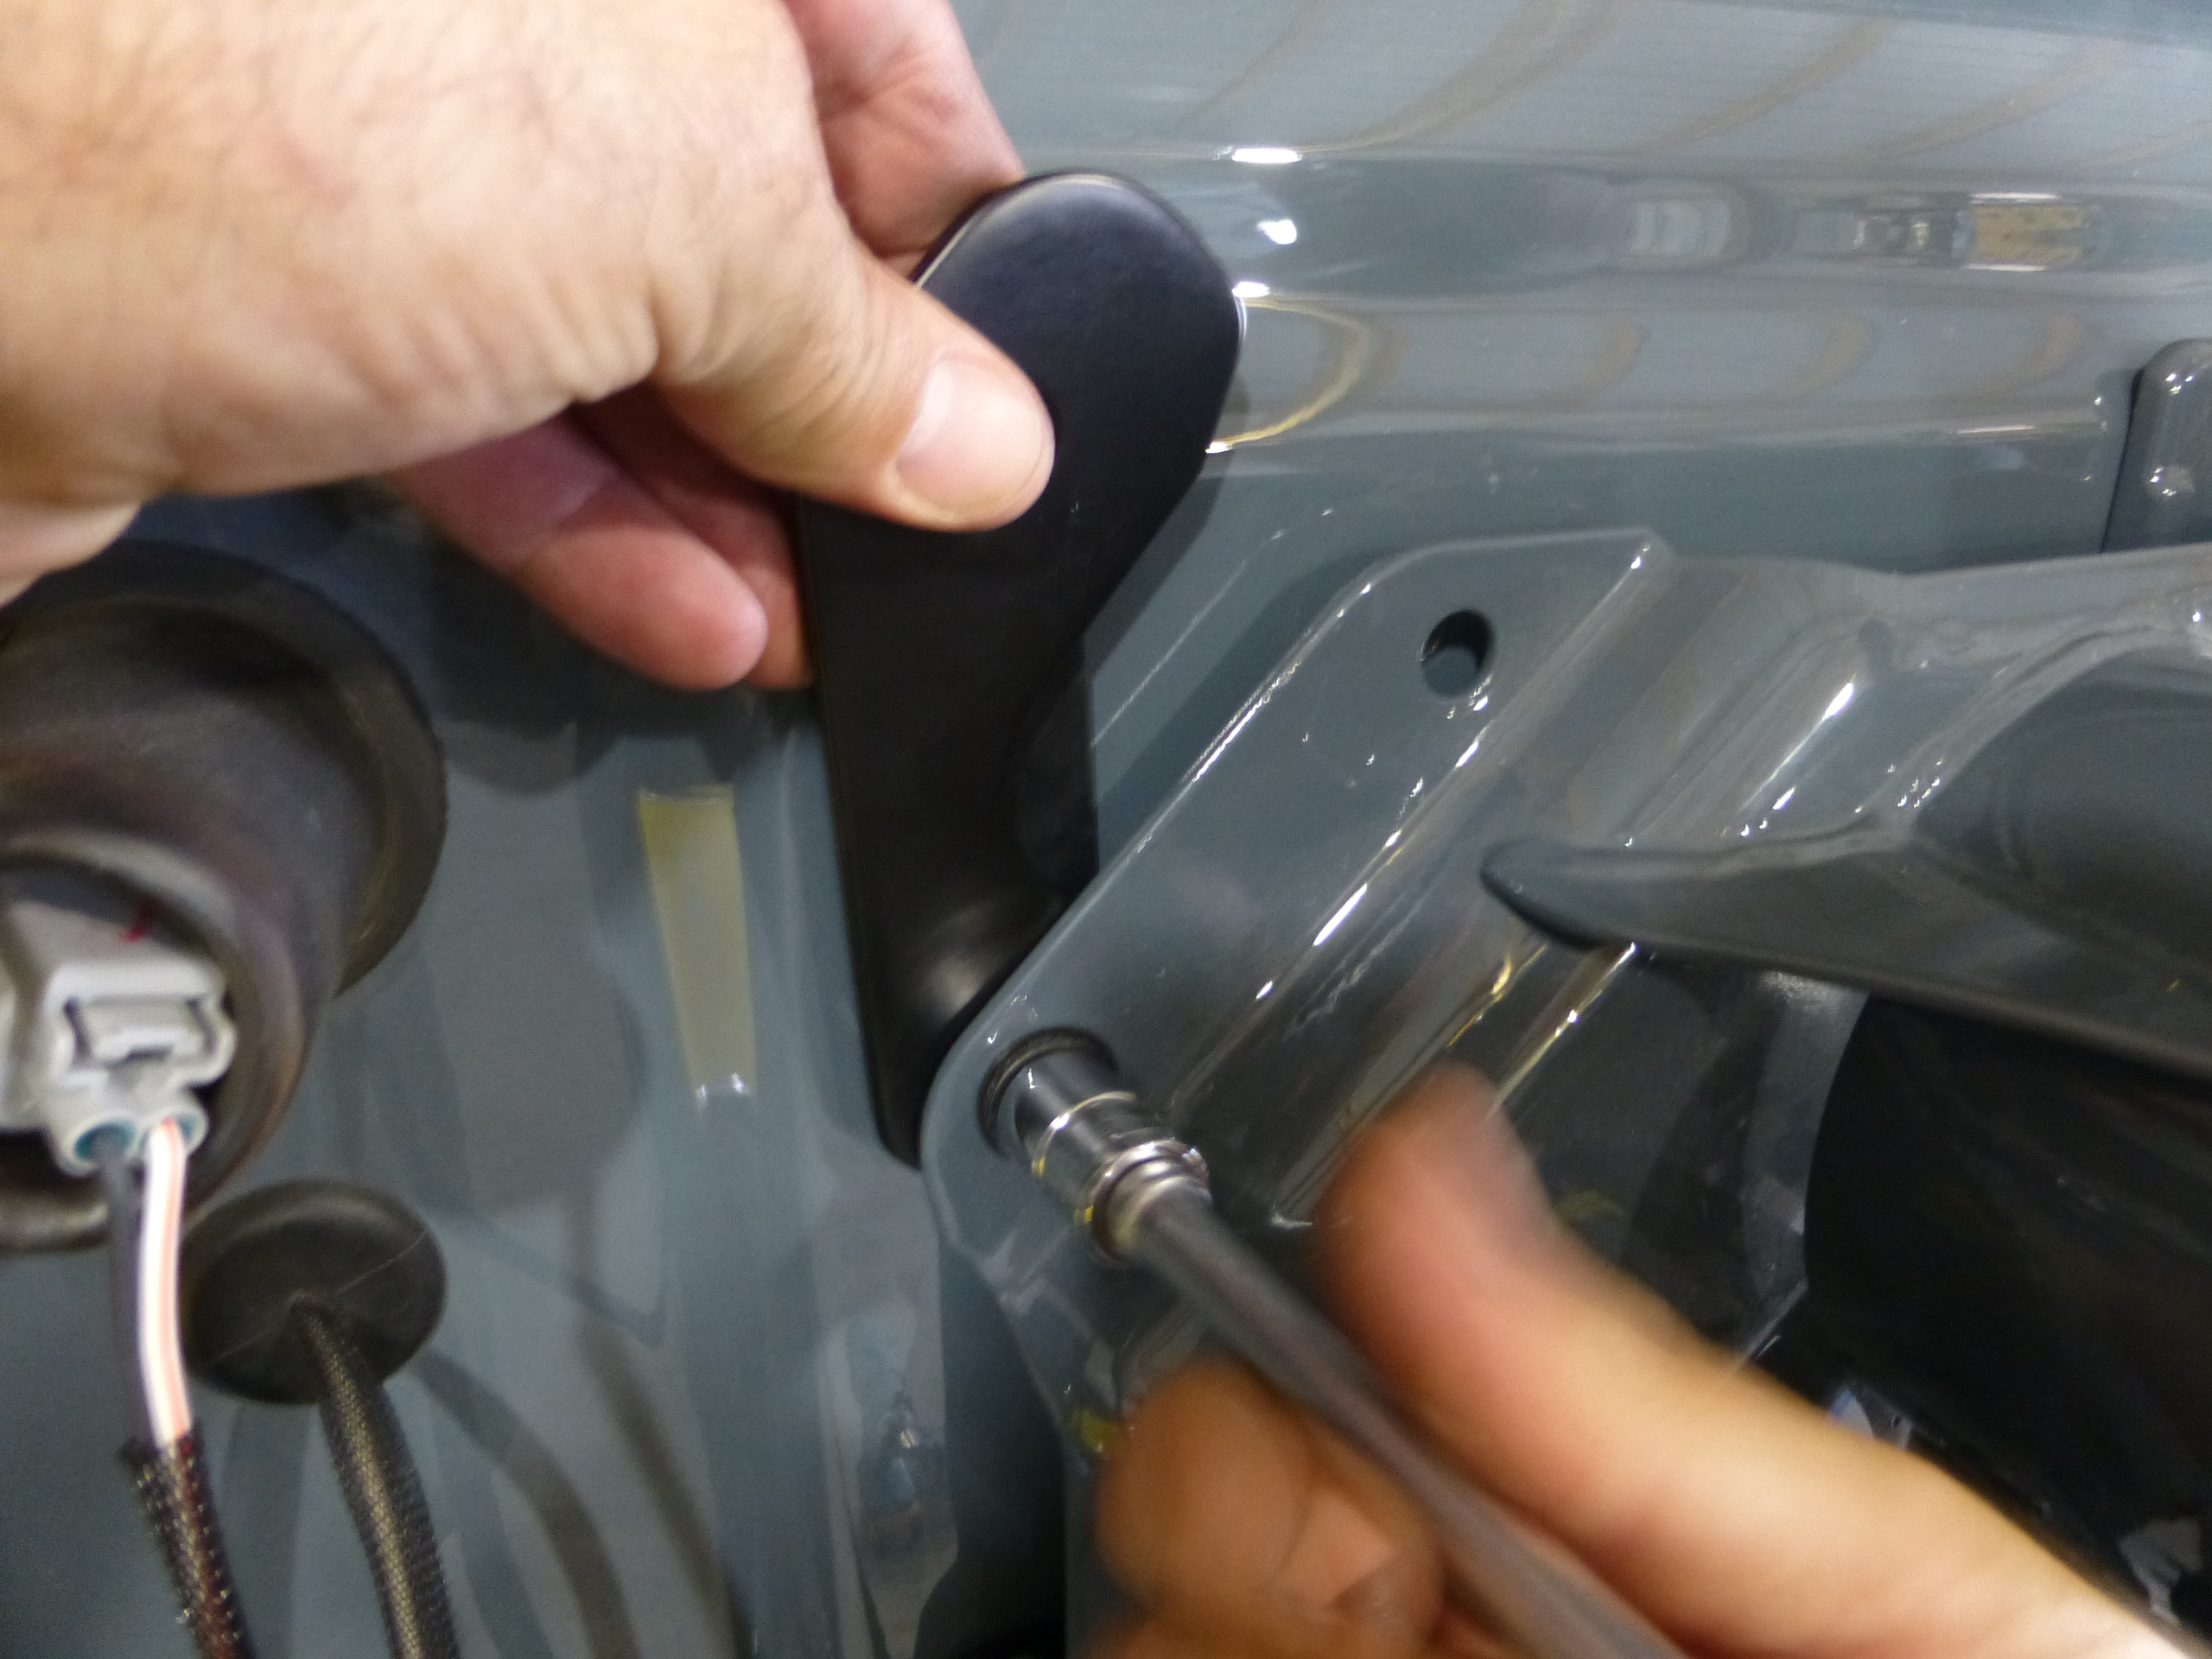
The hinges had to be removed so we pulled them off saving the original bolts for the outer portion of the hinge for reuse on the new carrier. Once the old hinges were off and out of the way we mounted the new carrier to the fender portion first. Teraflex includes a torx wrench to assist in the install since it is a pretty tight fit to try and get into in order to tighten the bolts. With the outer portion in place we aligned the holes to make sure we could bolt the carrier to the gate, we then locked down the outer hinges before bolting the carrier to the gate.

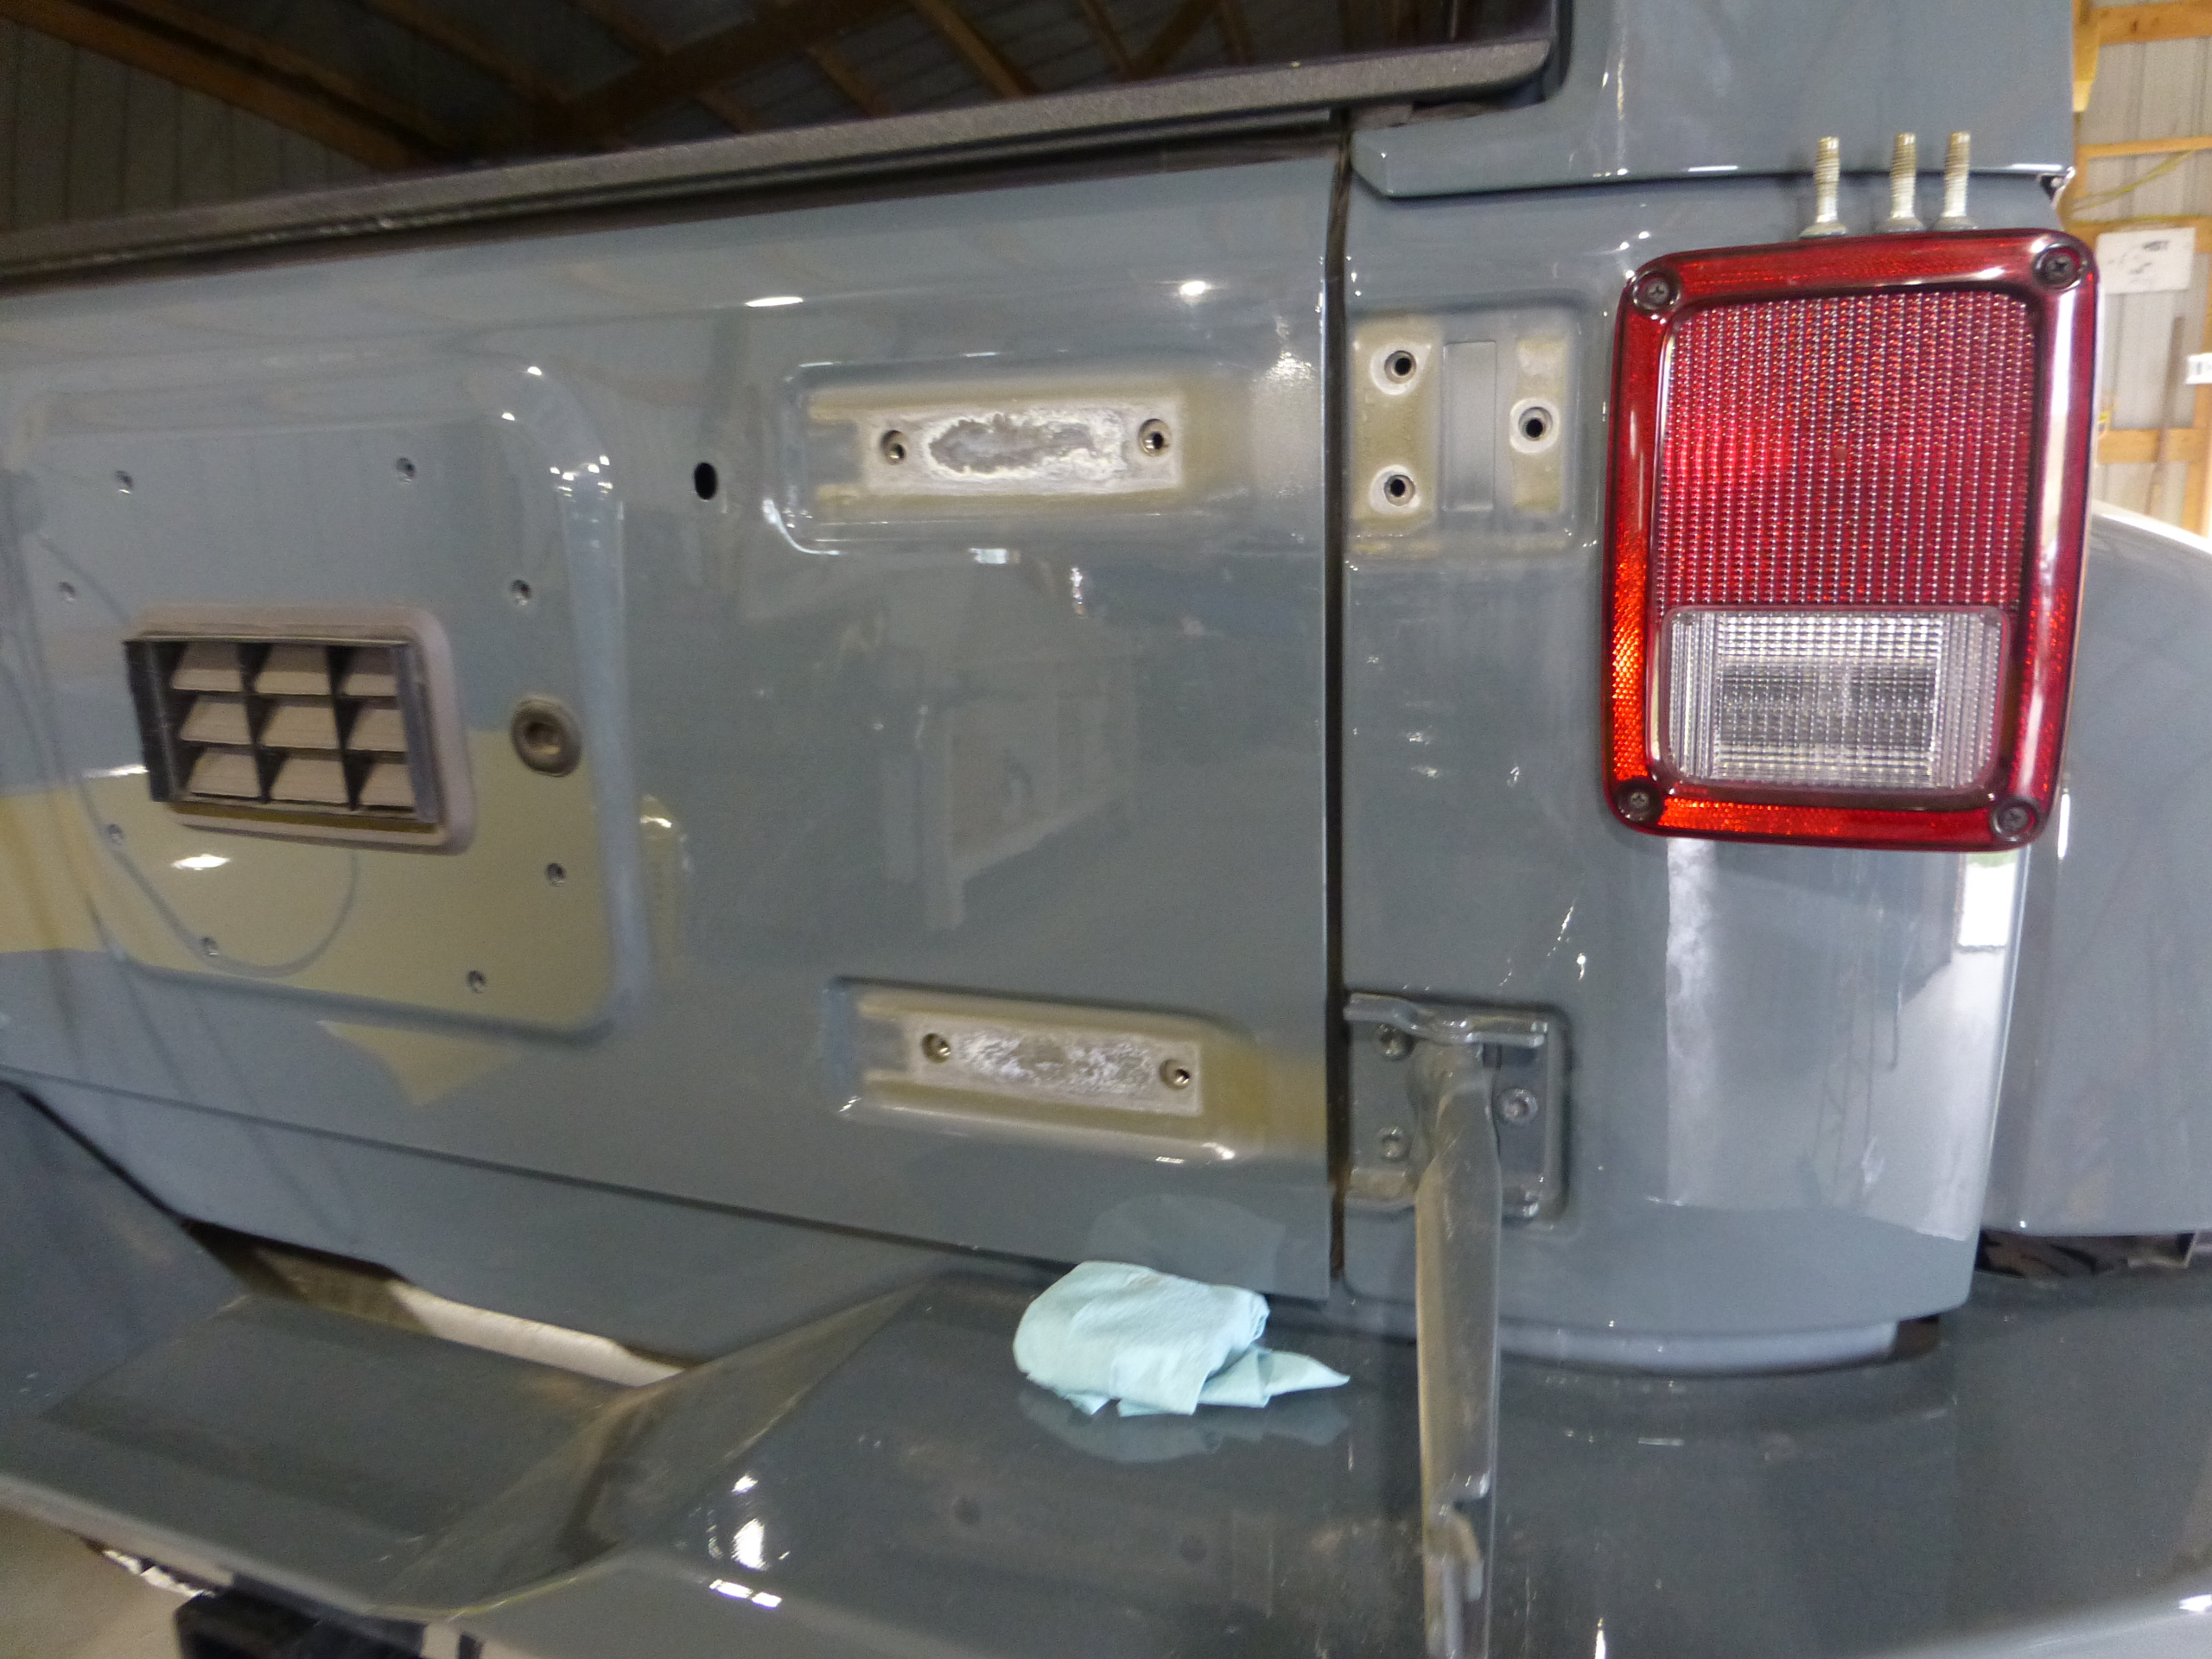

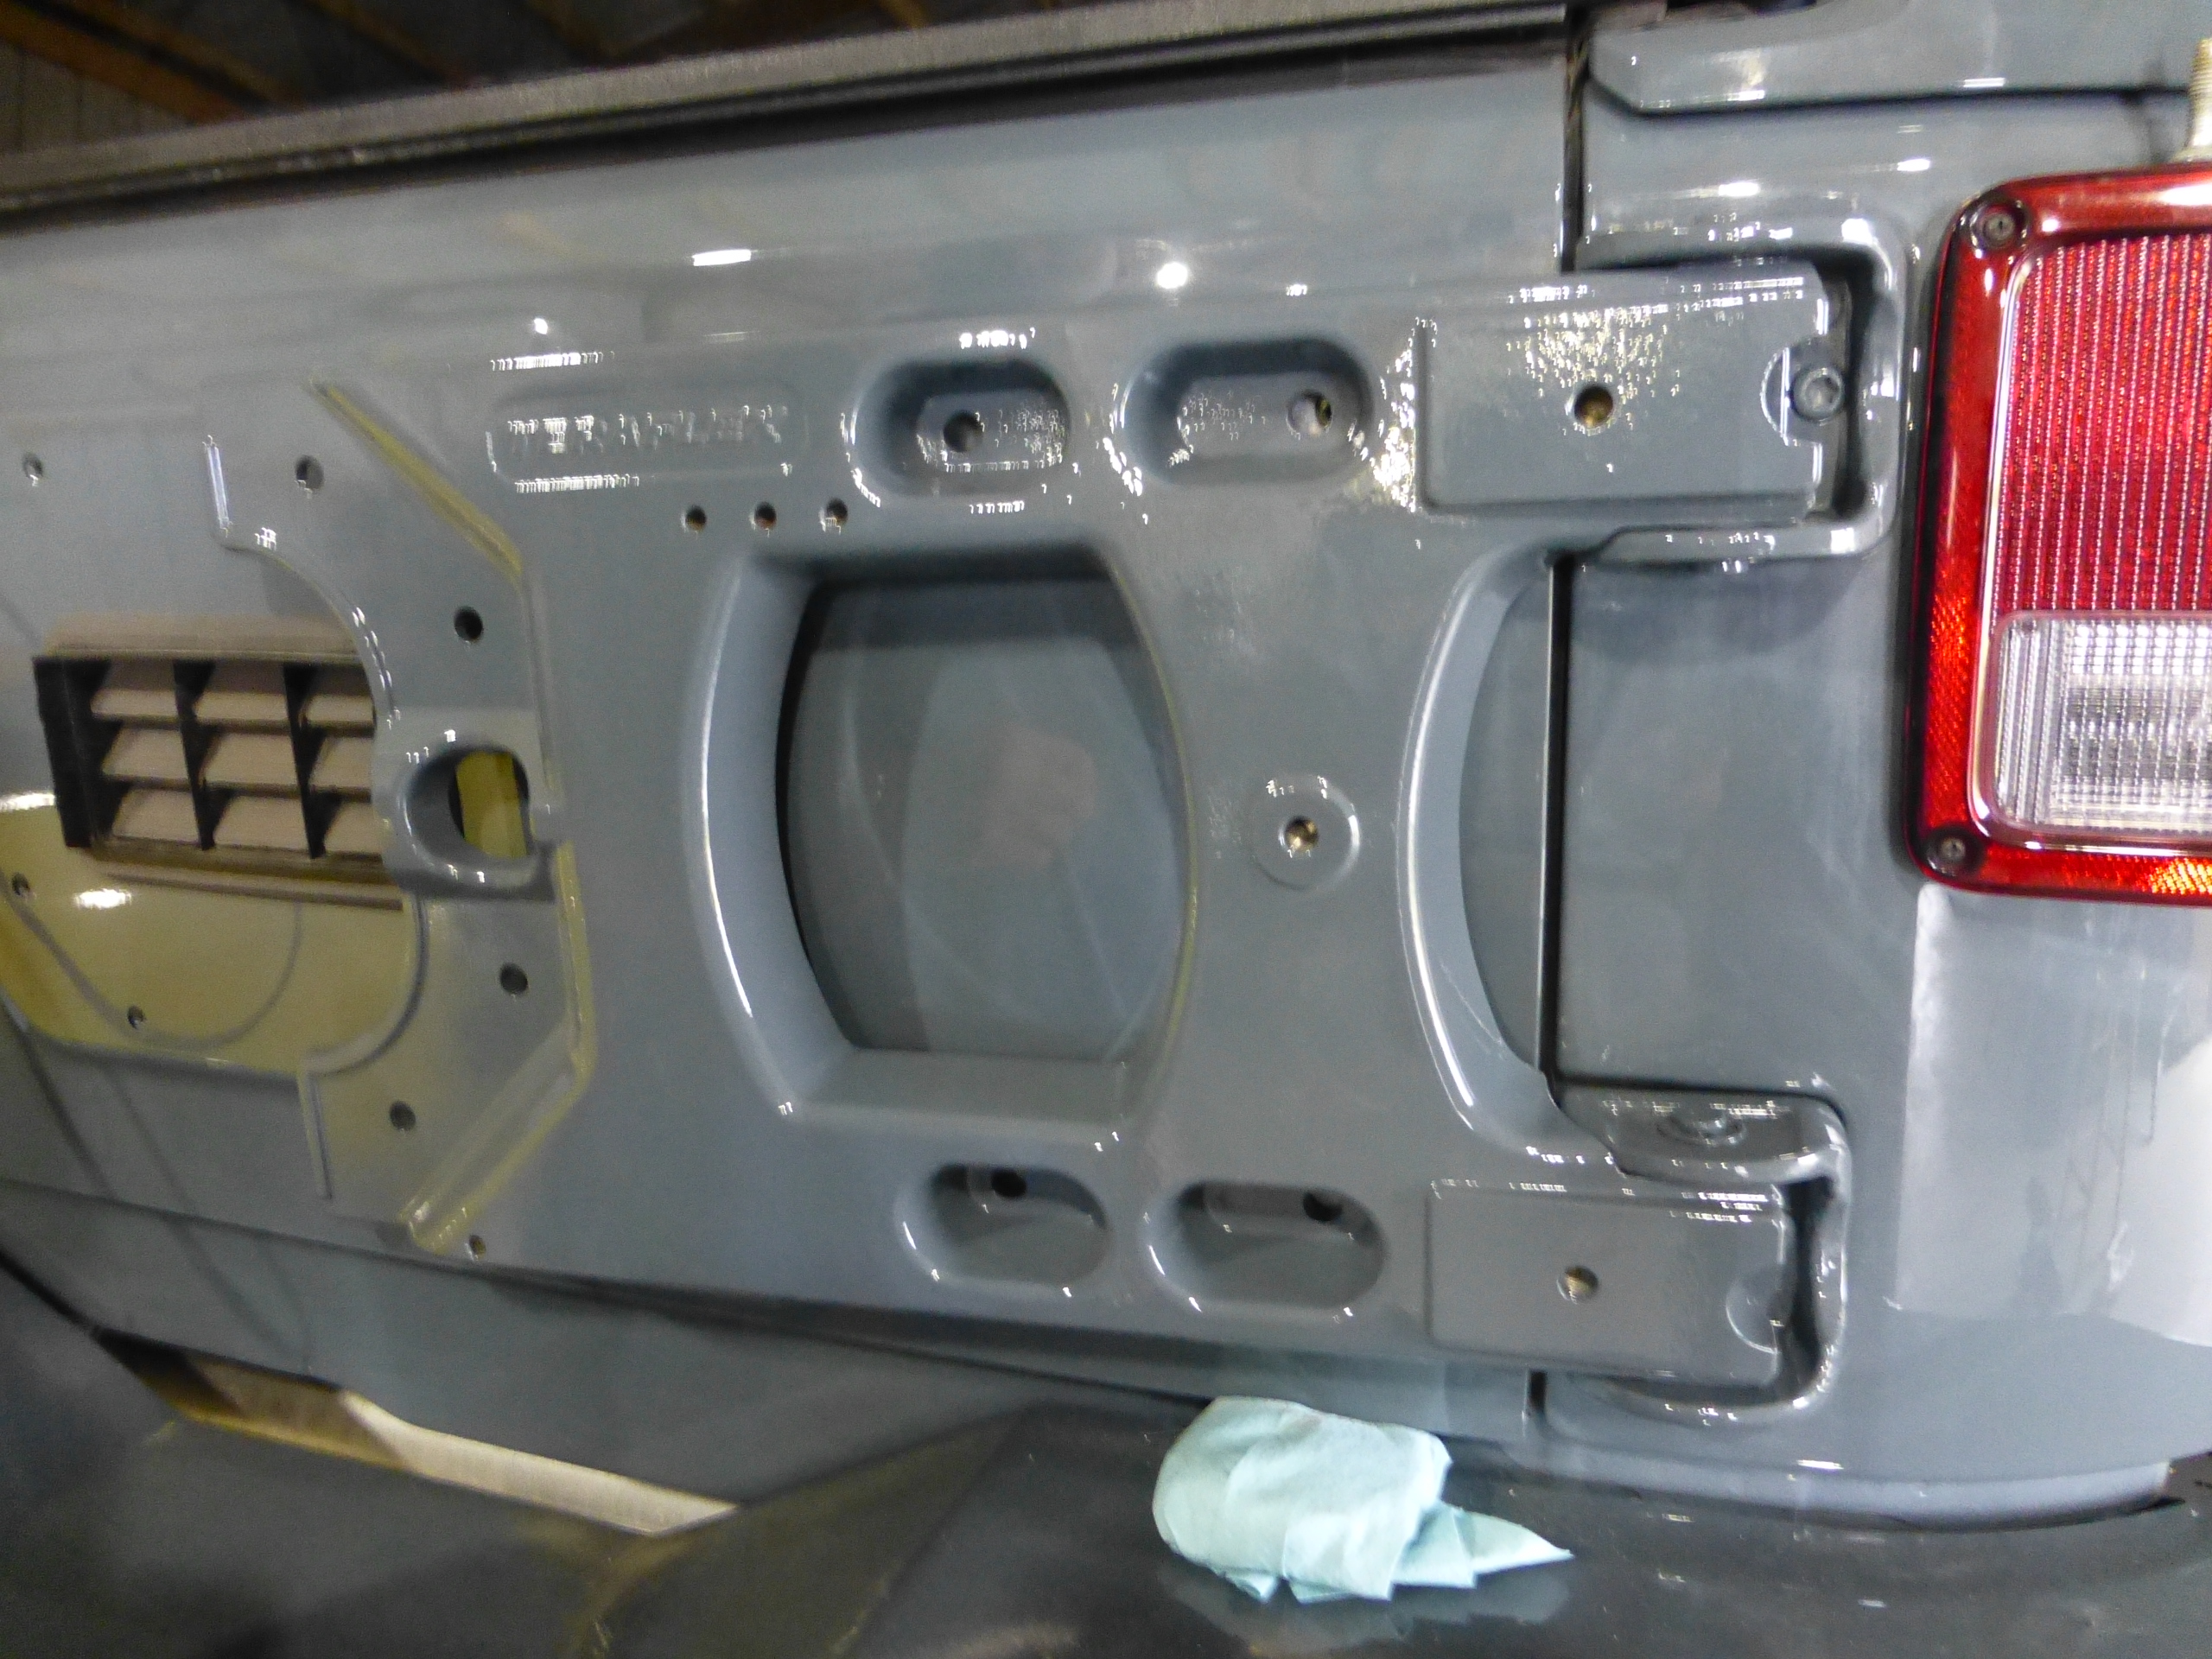

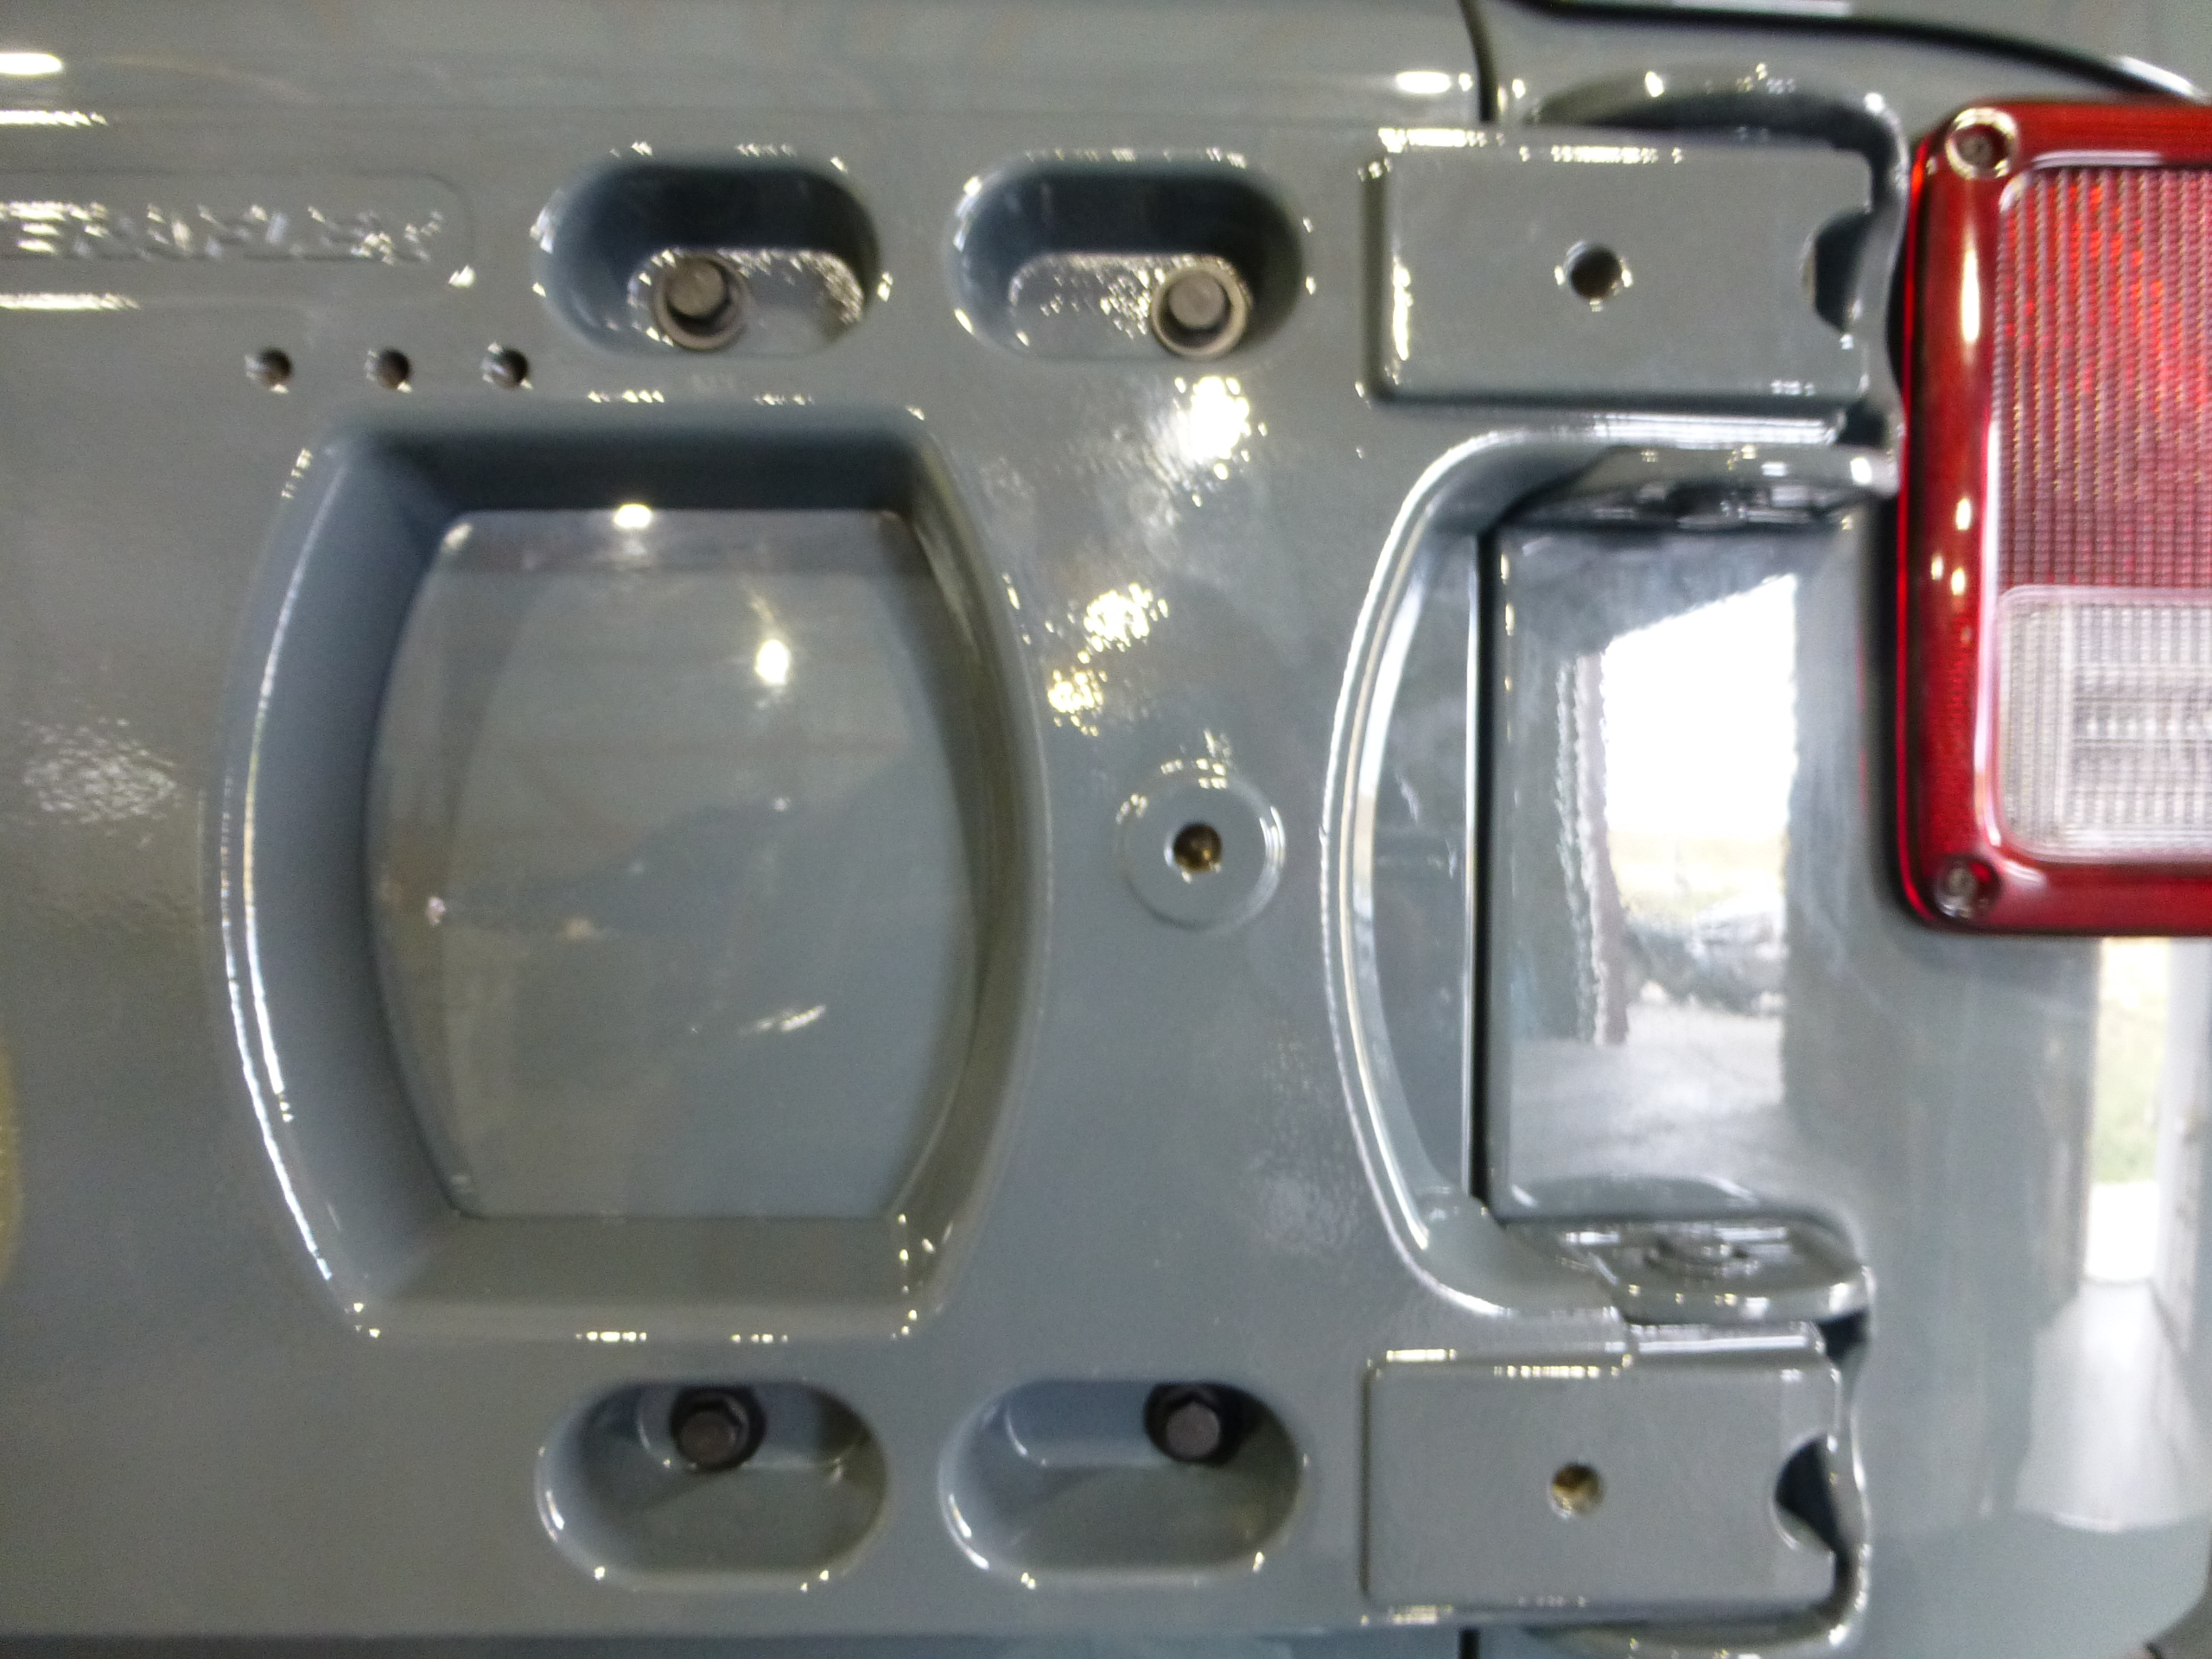
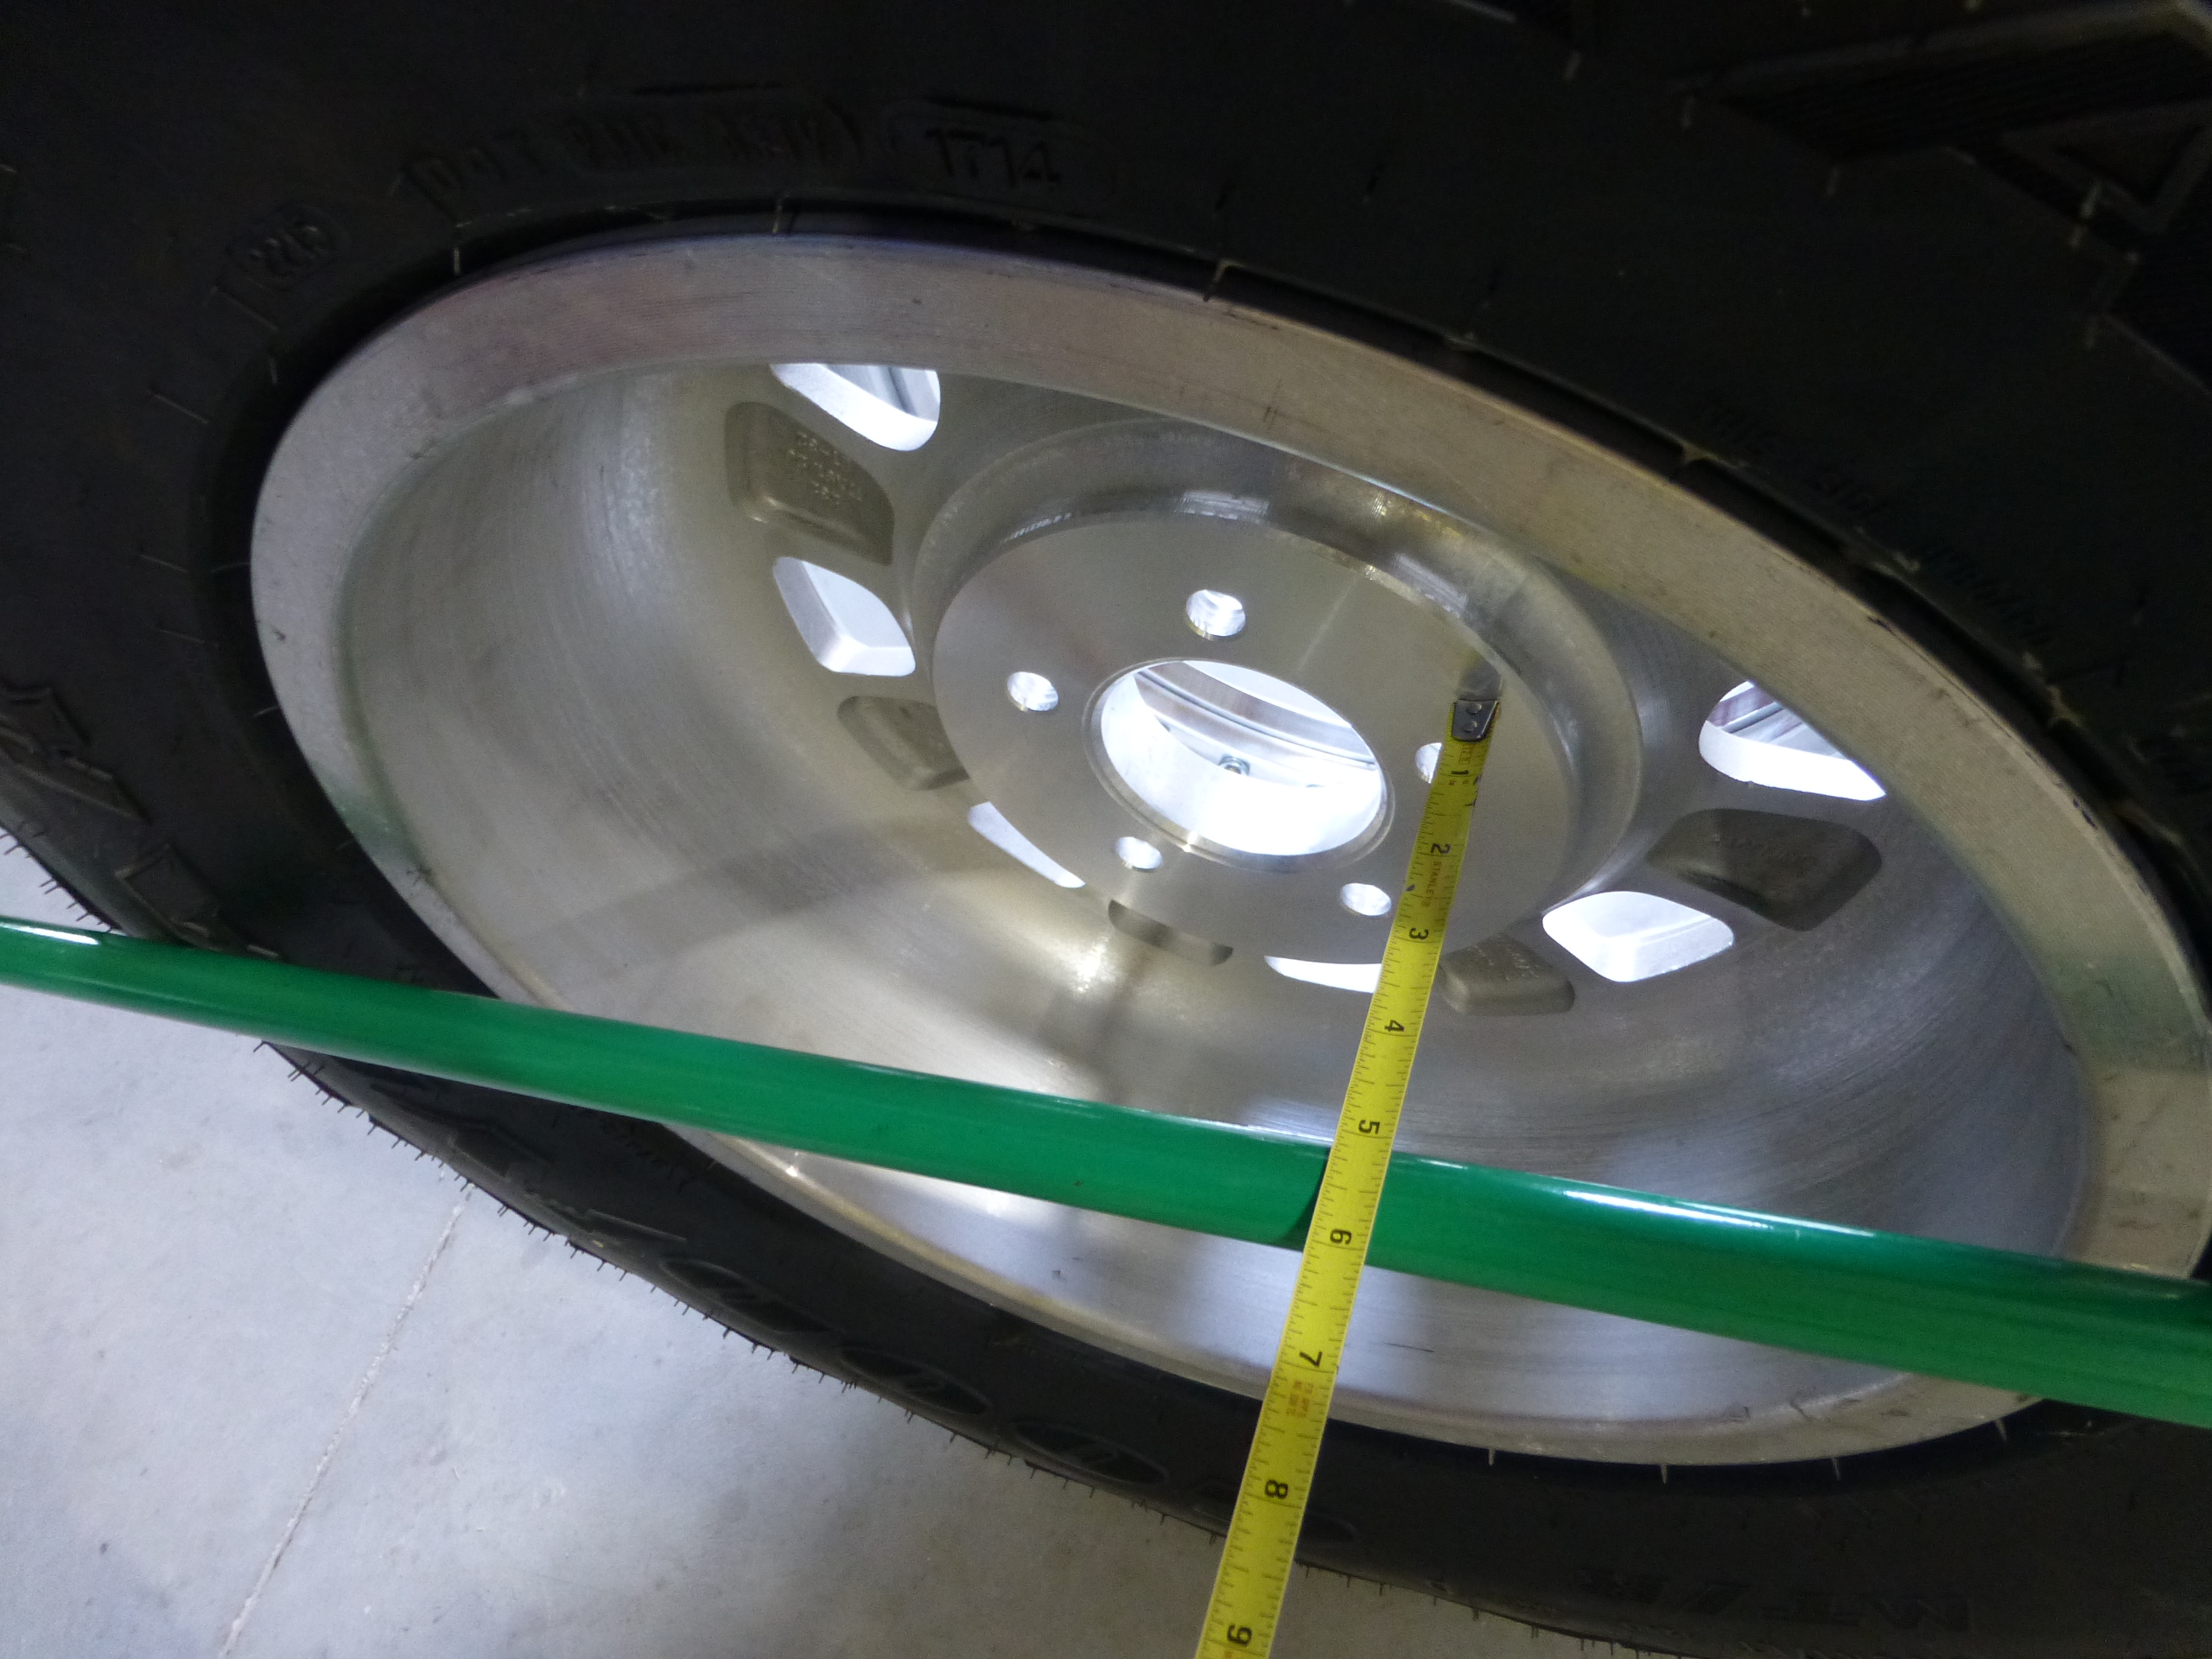
Once the base was bolted in place the actual mount for the tire needed to be bolted on so we used the supplied spacers, gaskets and bolts to install it. Before we could completely tighten it down we needed to find out how much back spacing we needed to keep the tire from rubbing the glass or any portion of the gate. With a simple measurement using a broom handle and a tape measure we found the depth we needed to account for, tightened the carrier down and finally mounted the spare tire to it. We left the wiring for the third brake light accessible so we could utilize the relocation bracket from Teraflex in order to keep the light.


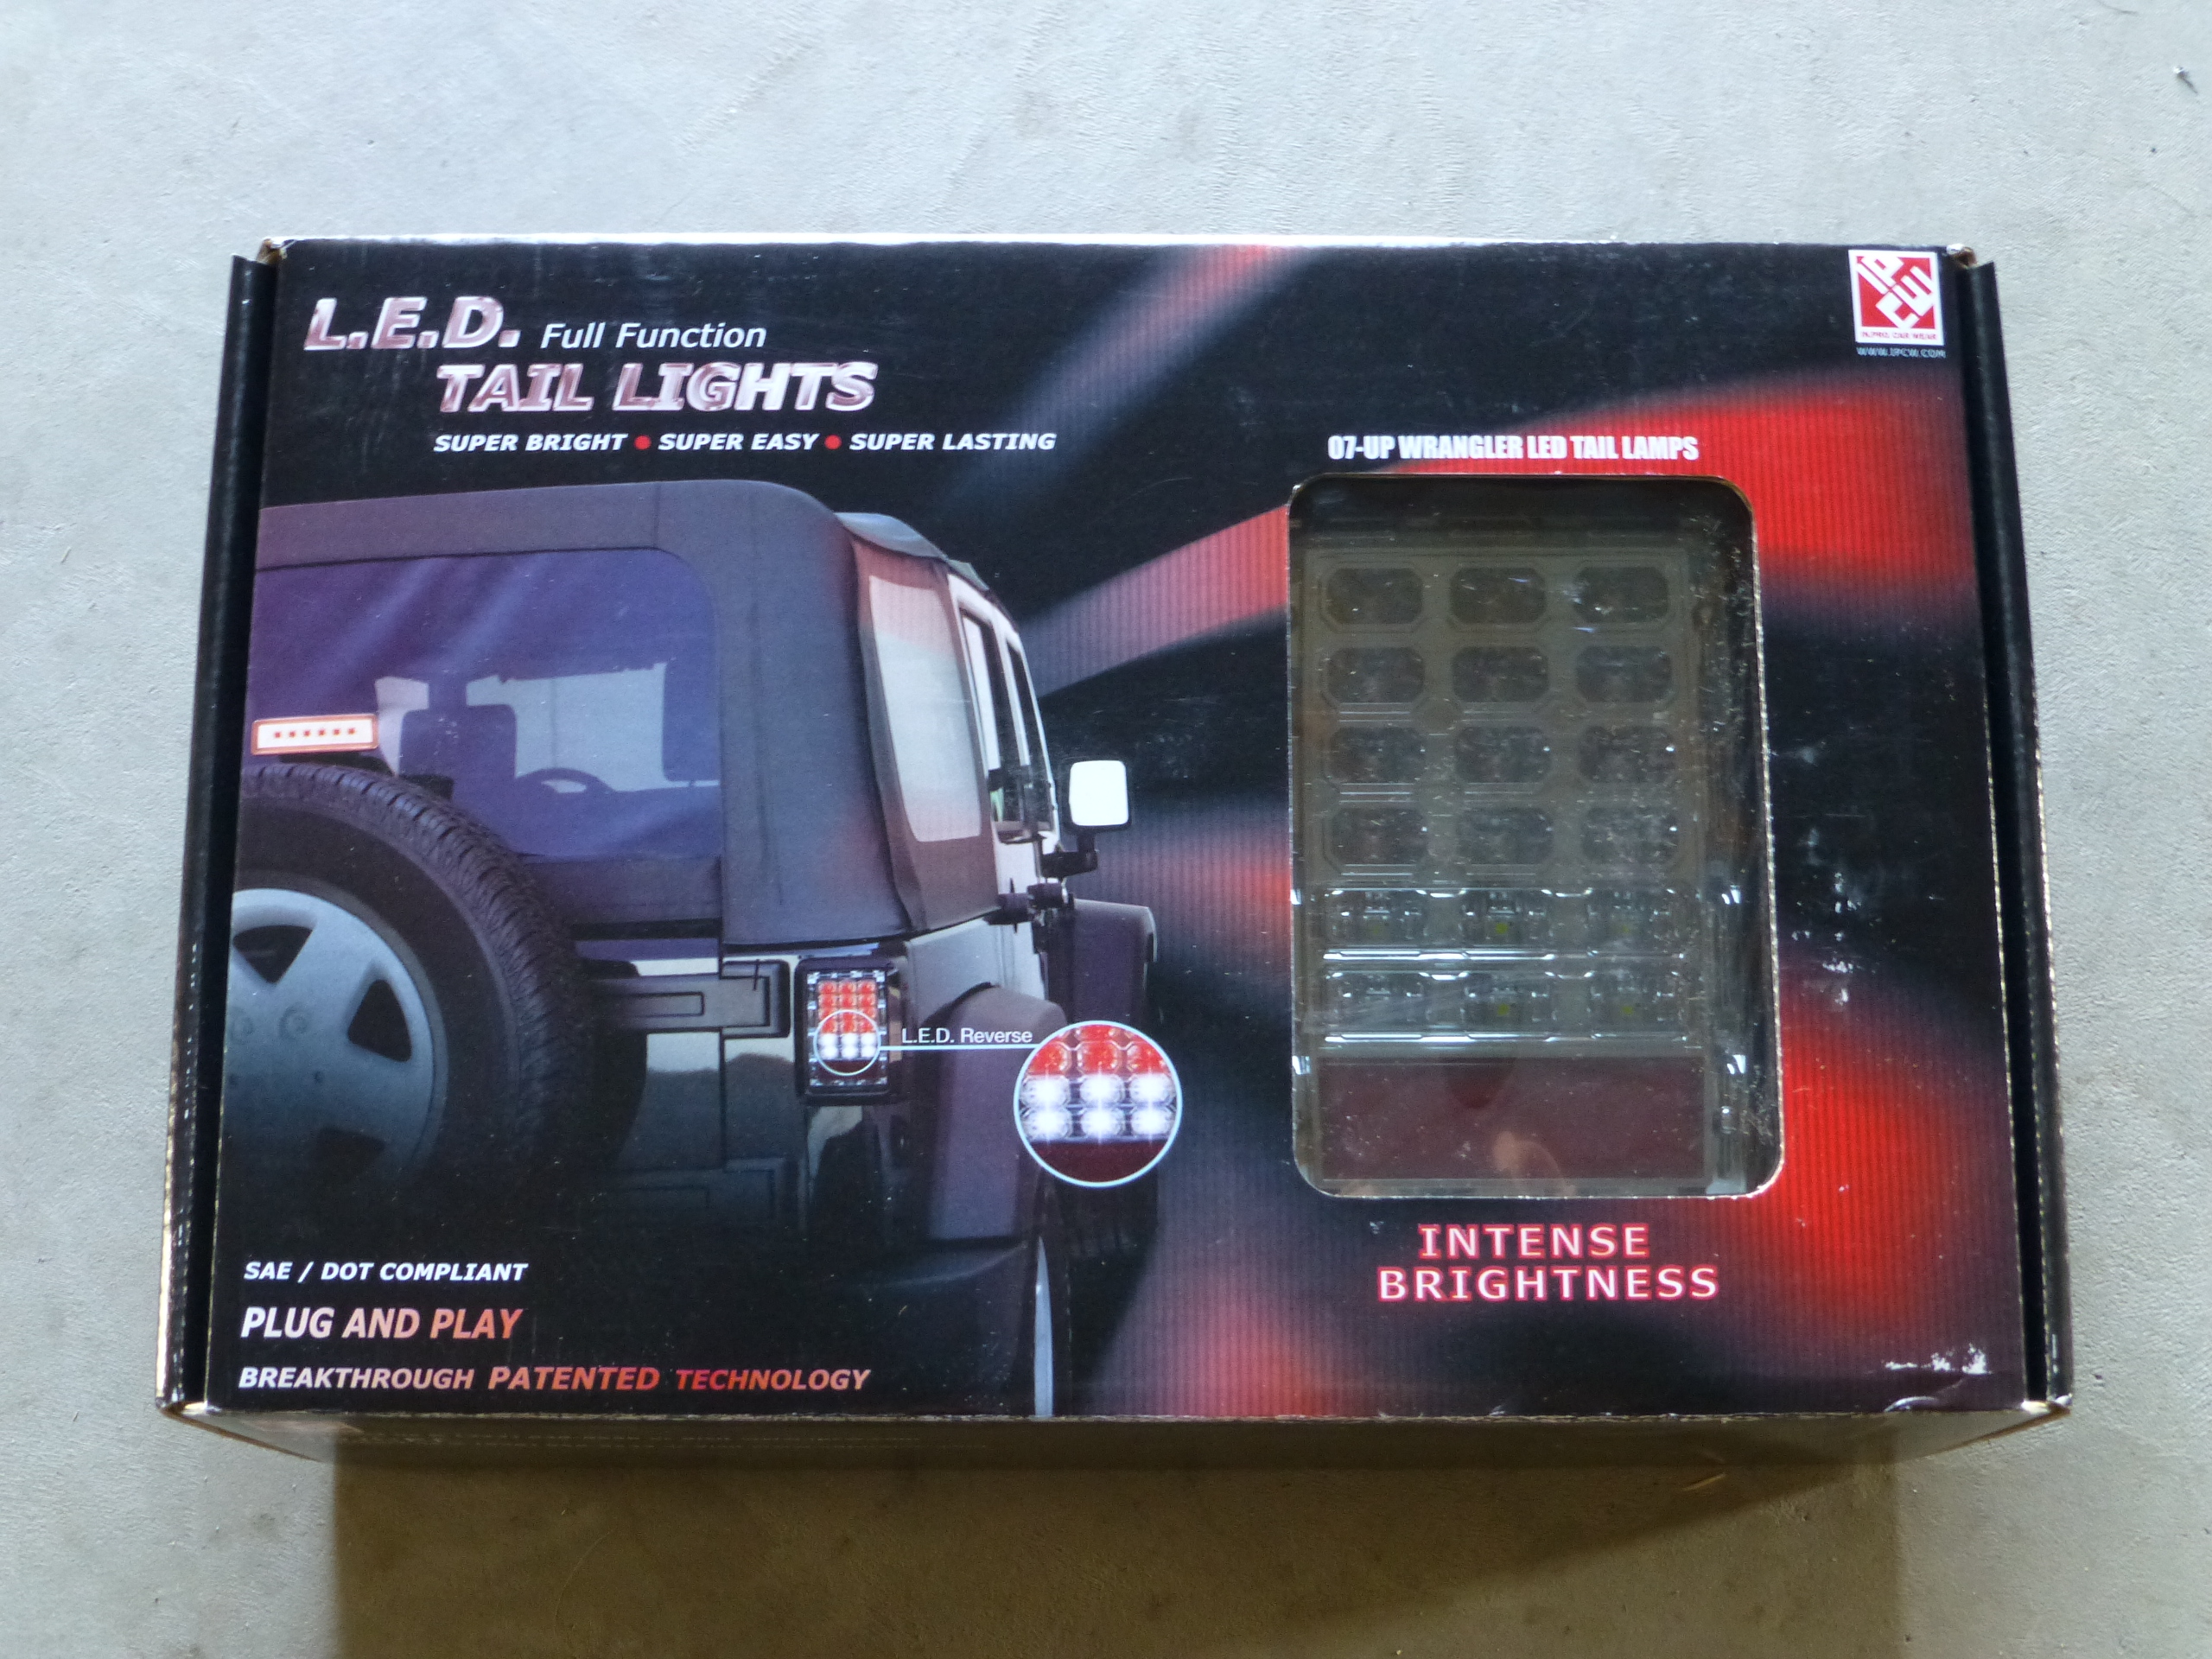
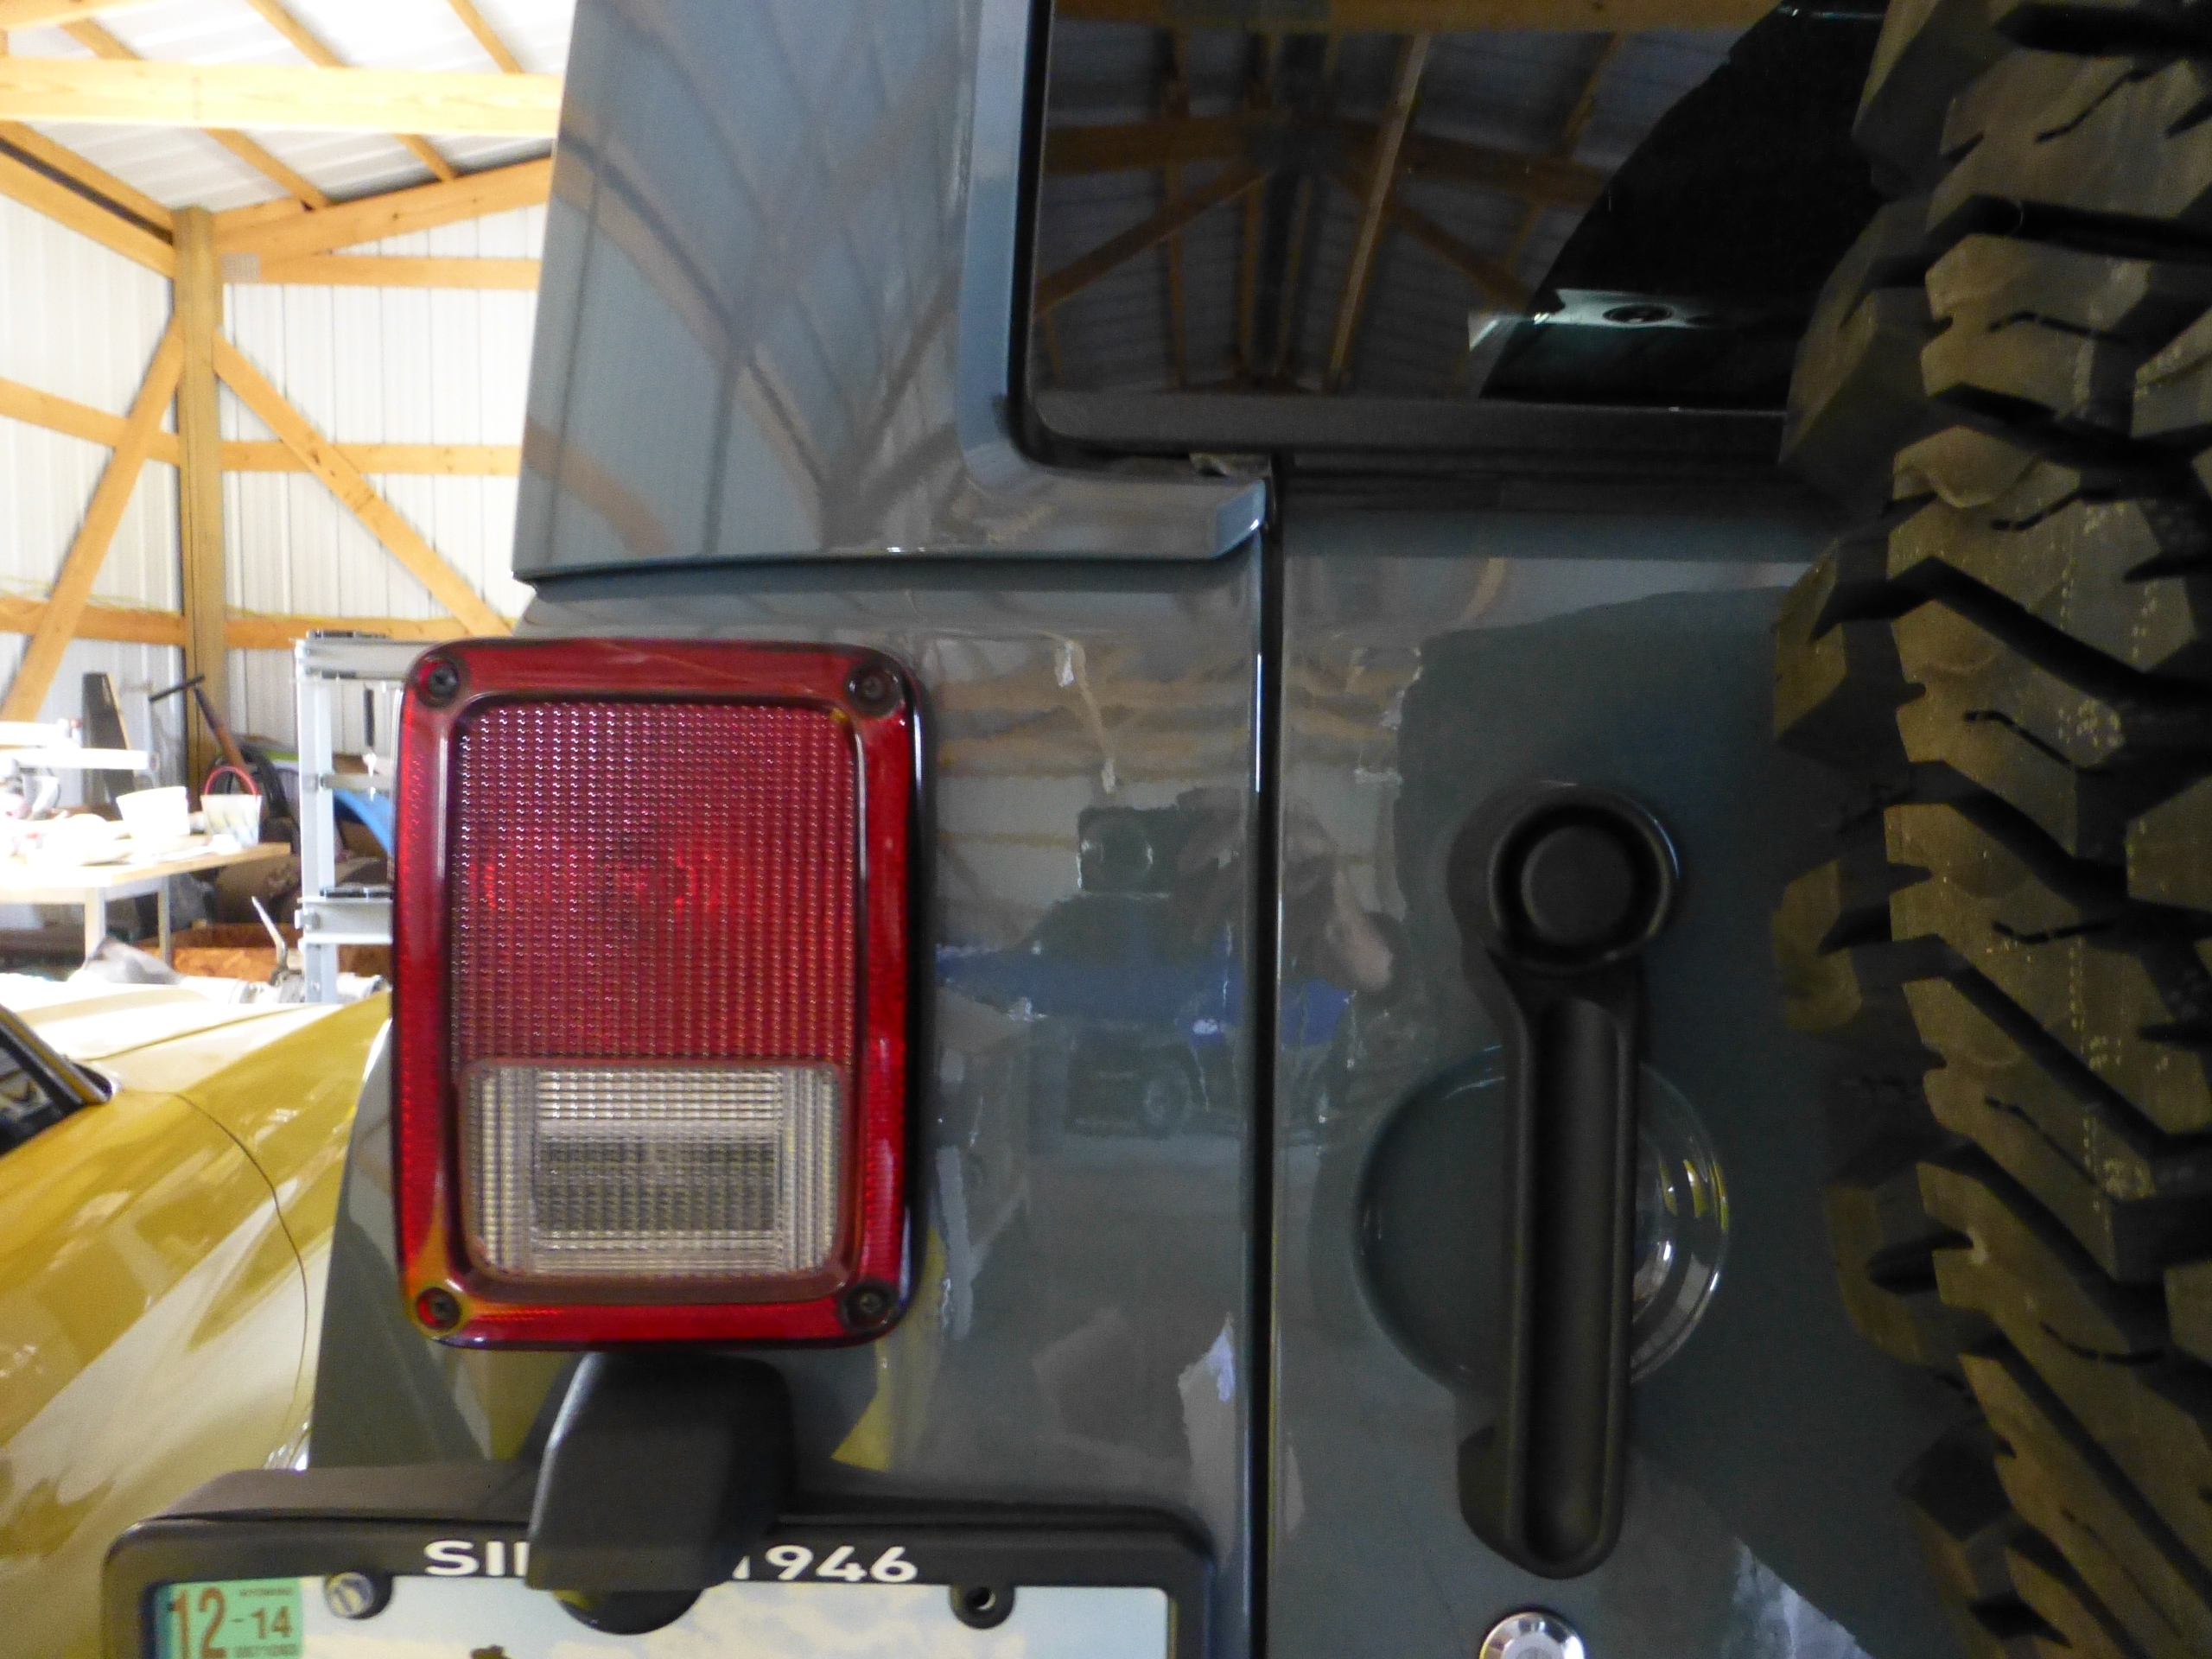
Quadratec’s Rear L.E.D. Taillights:
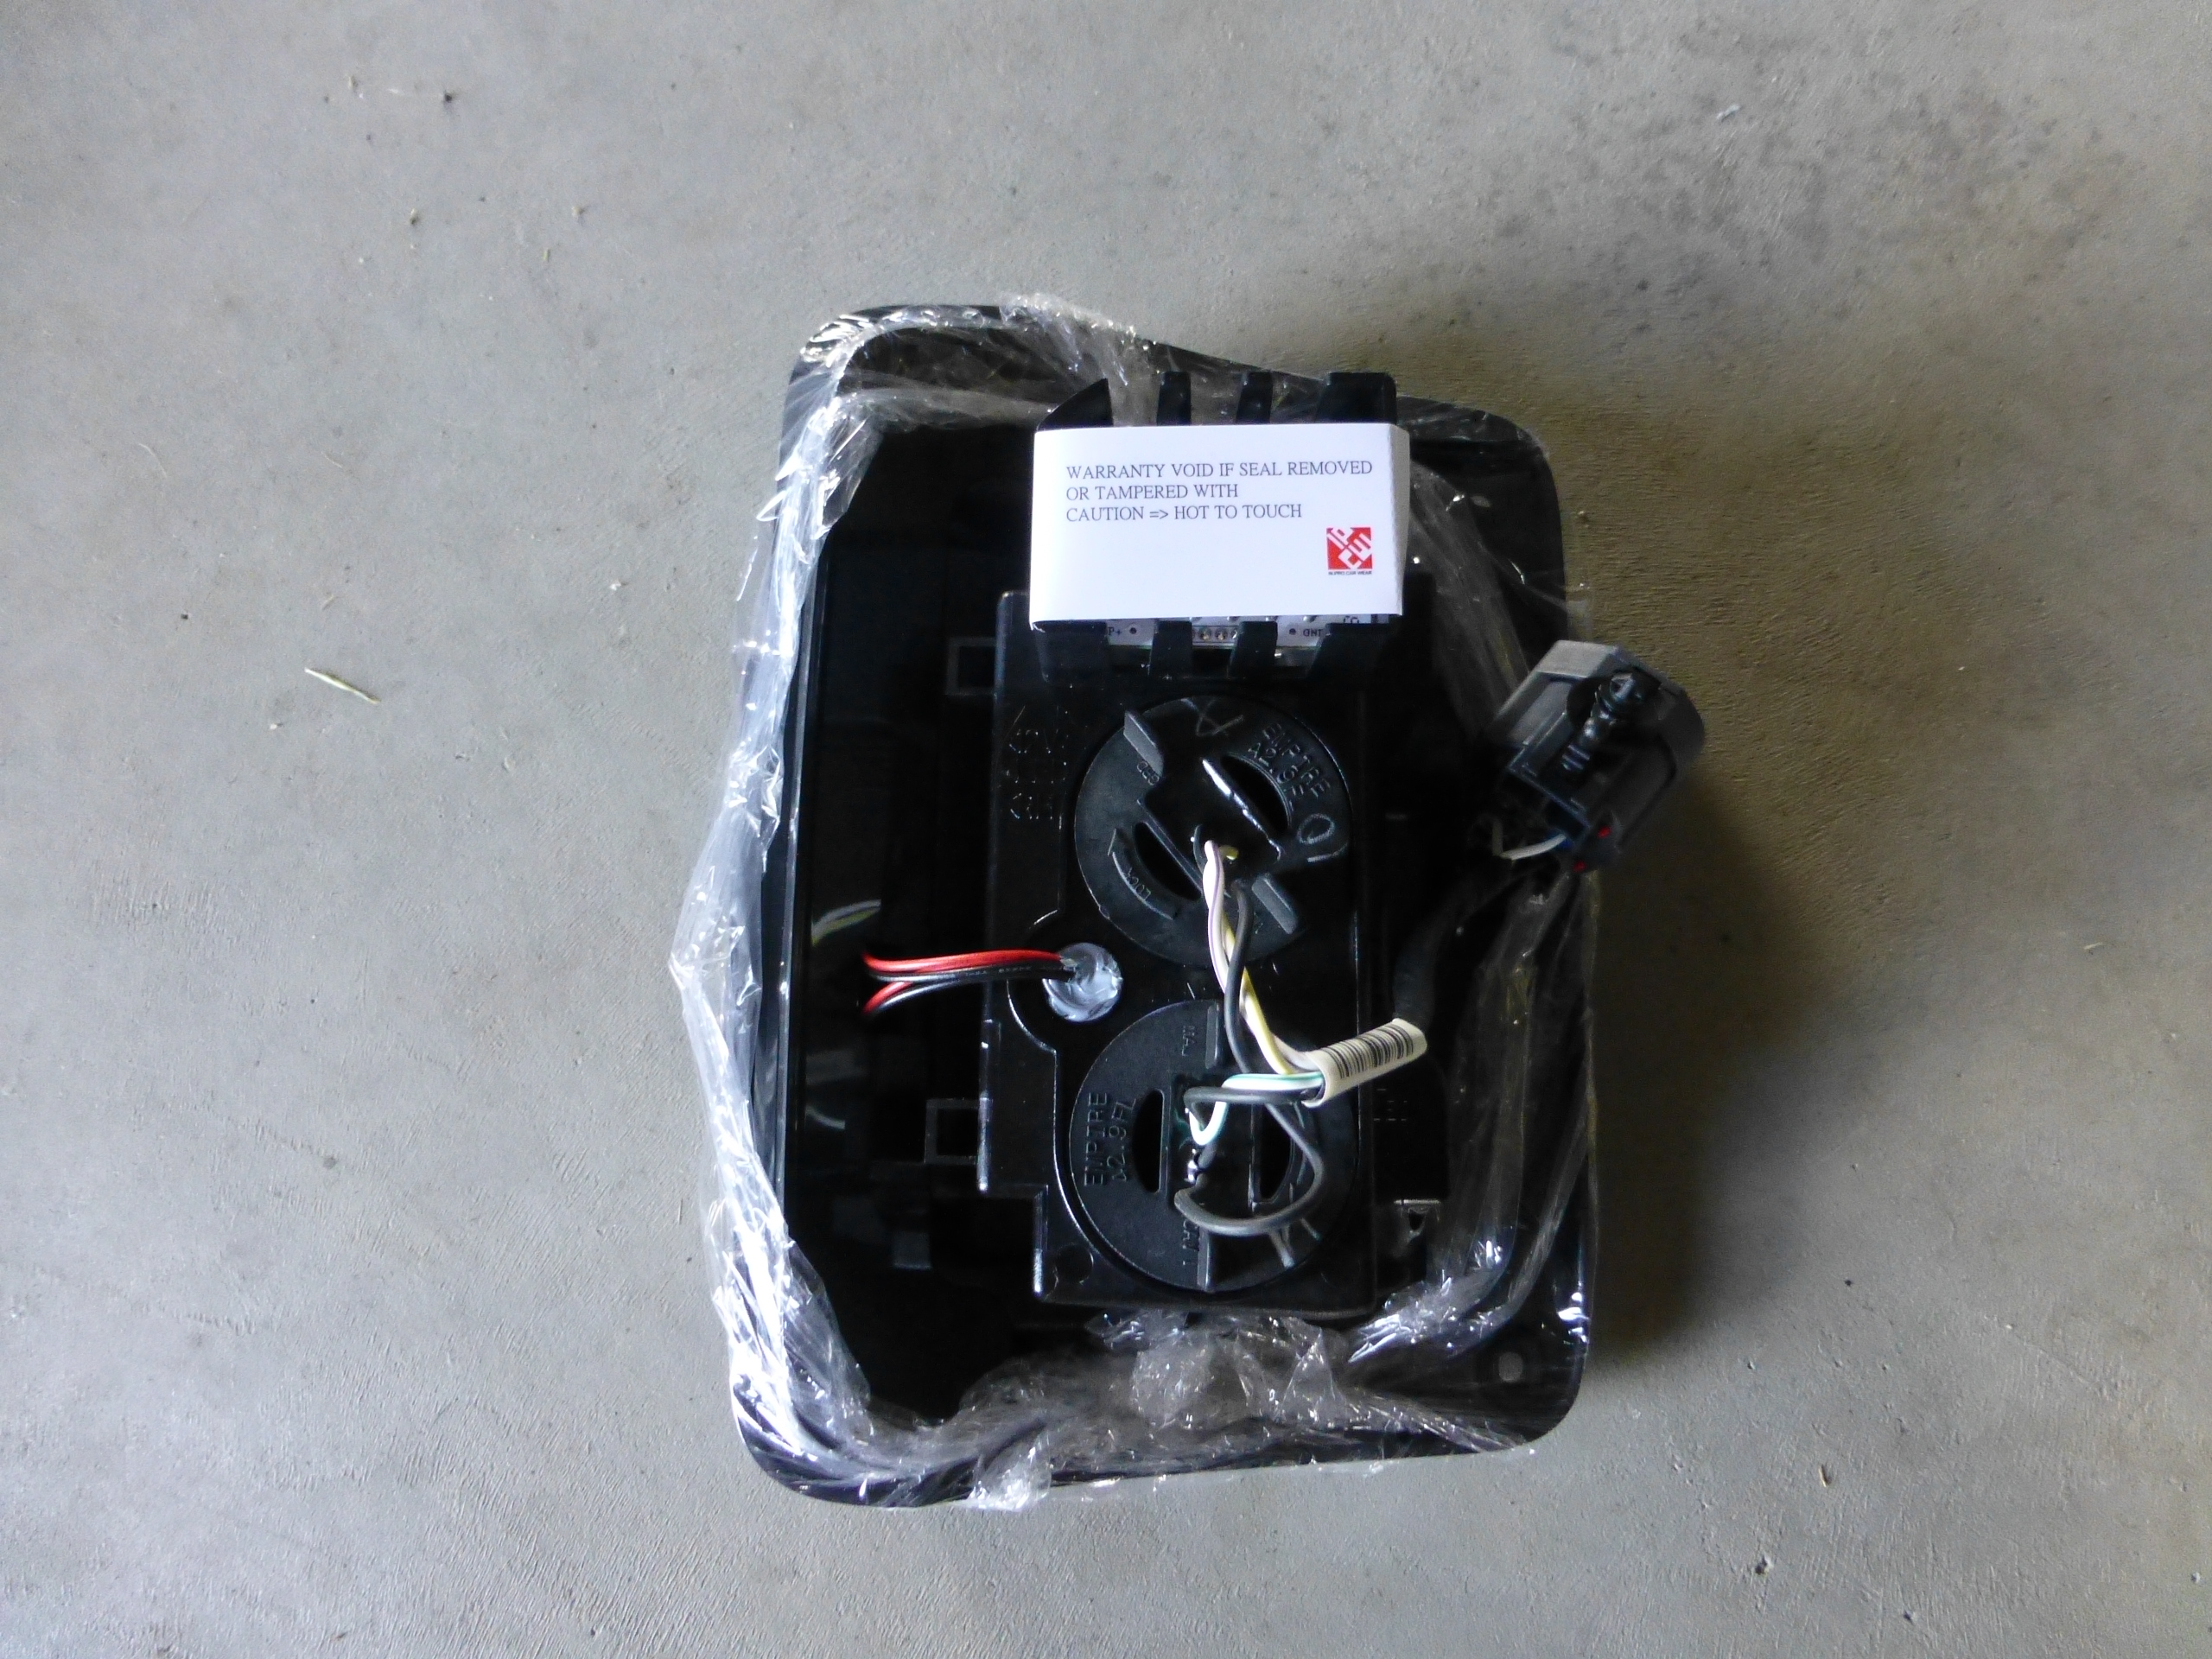
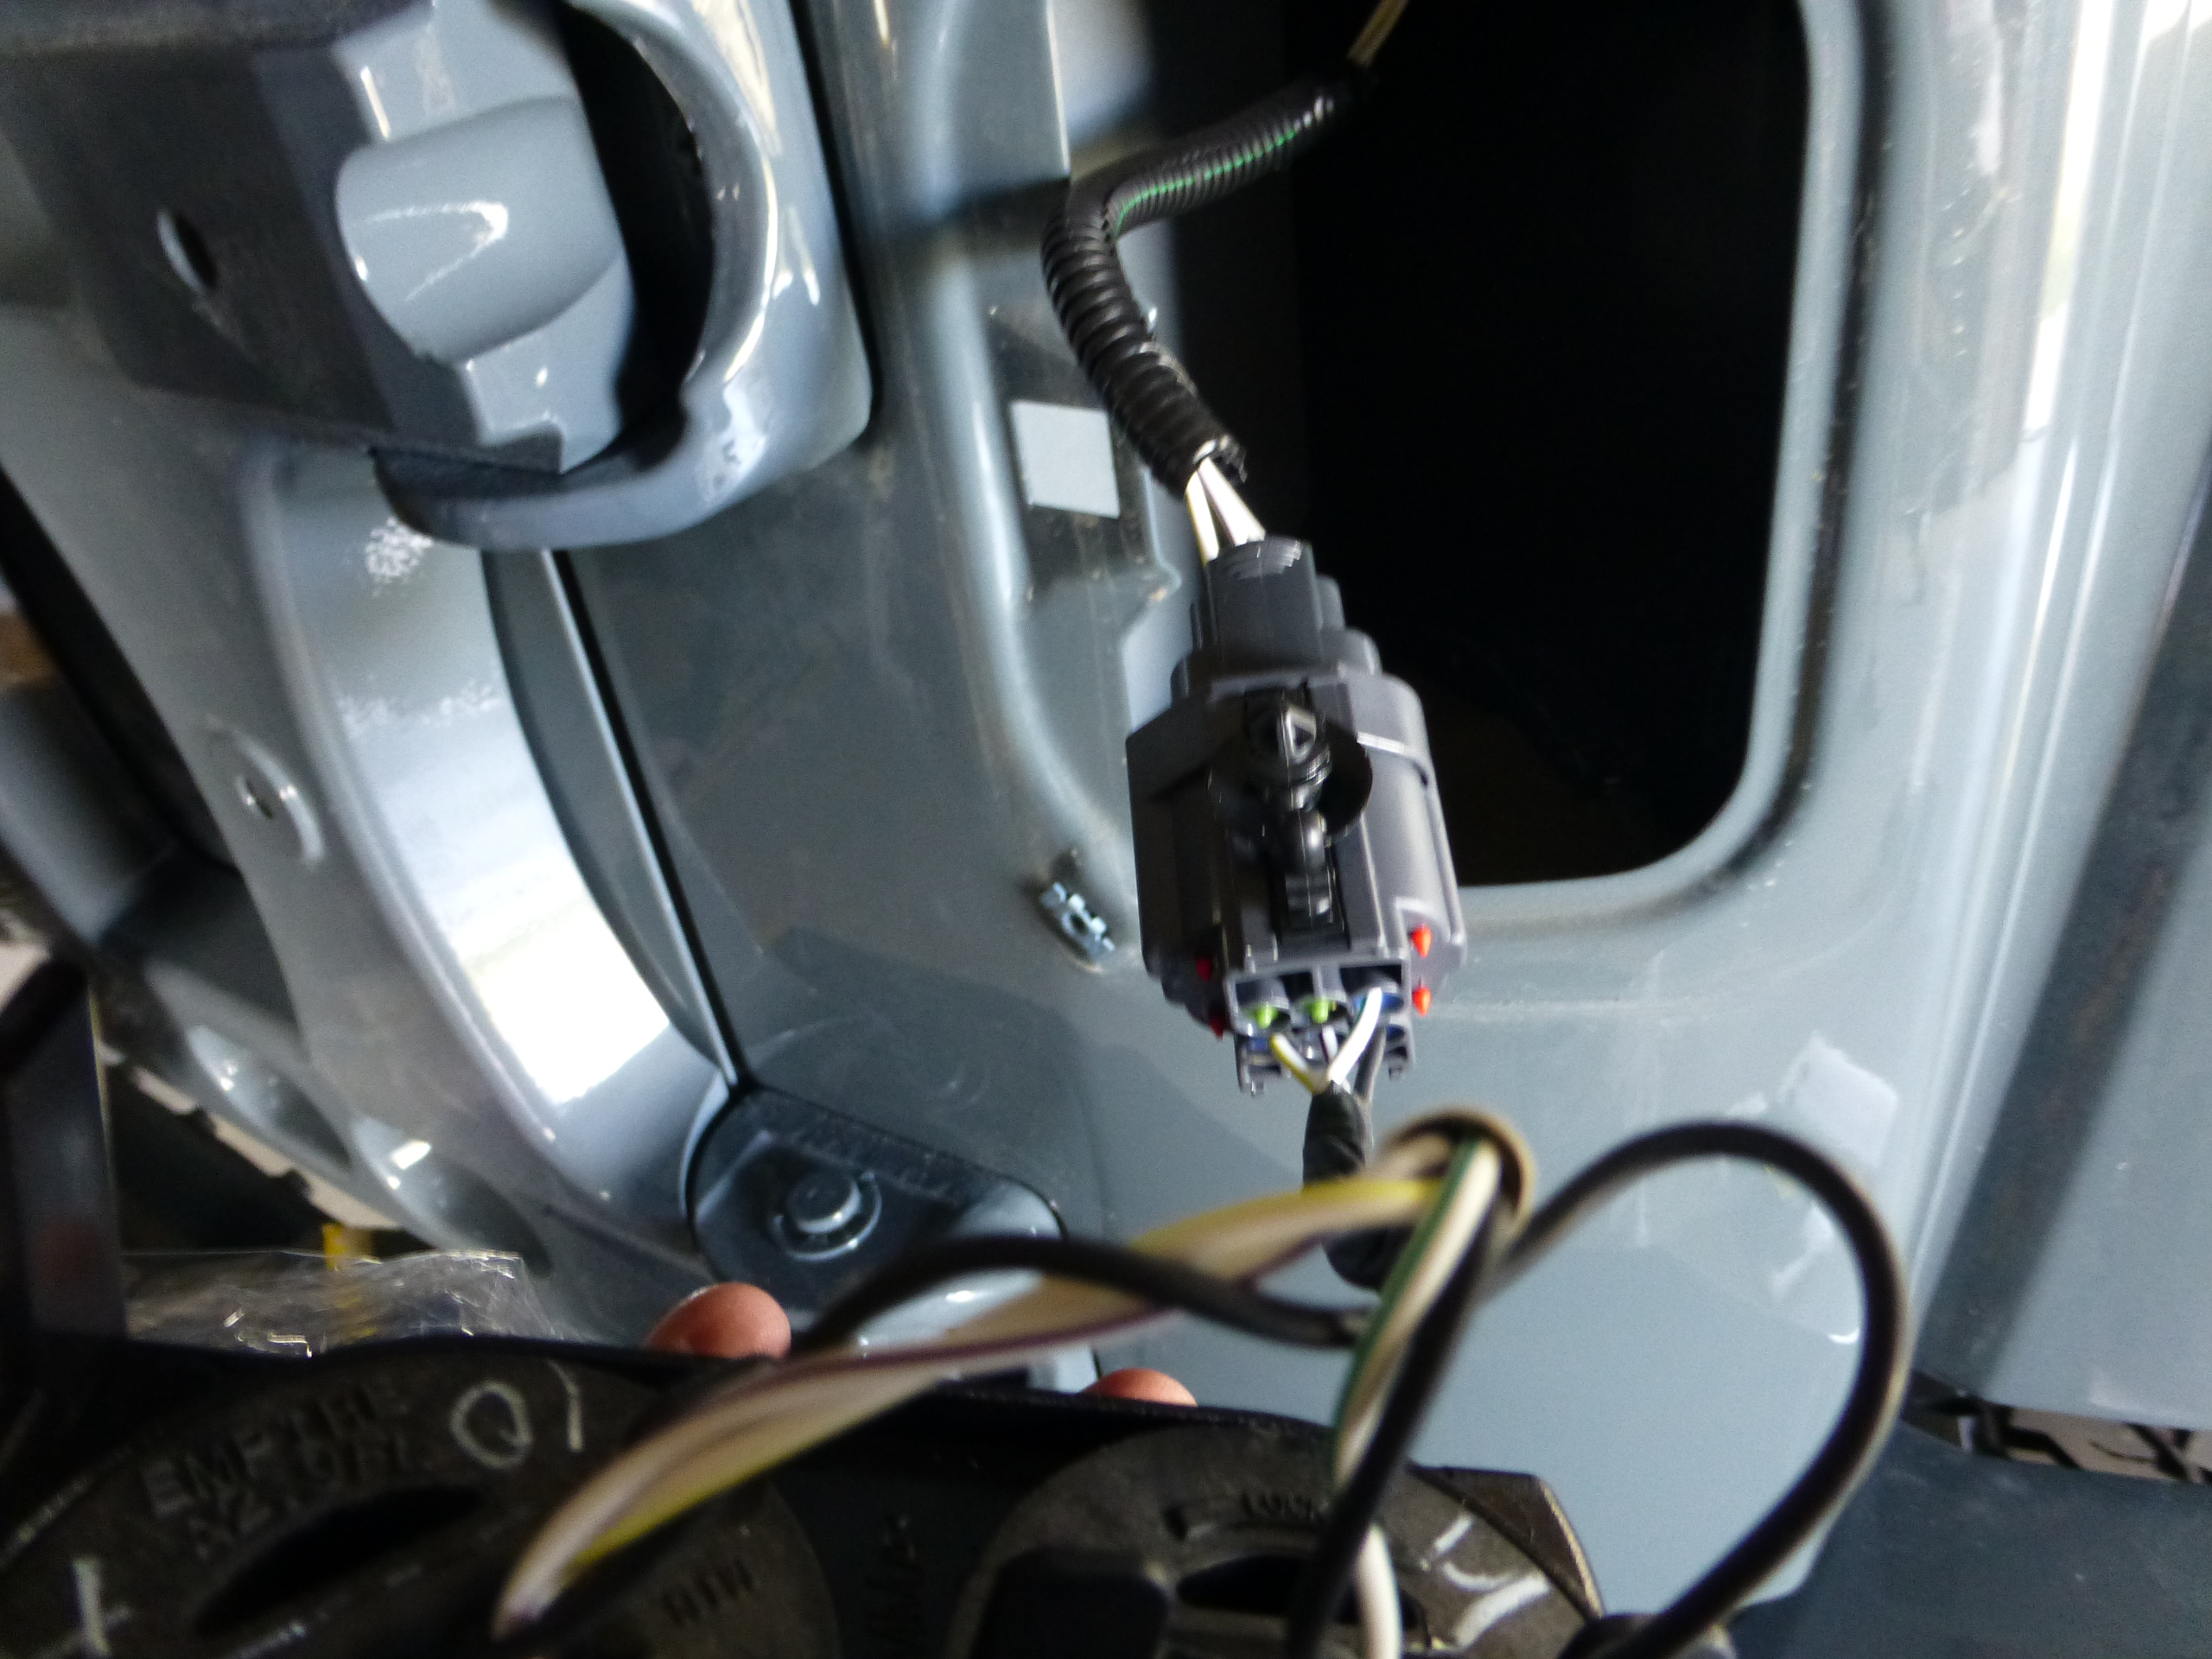
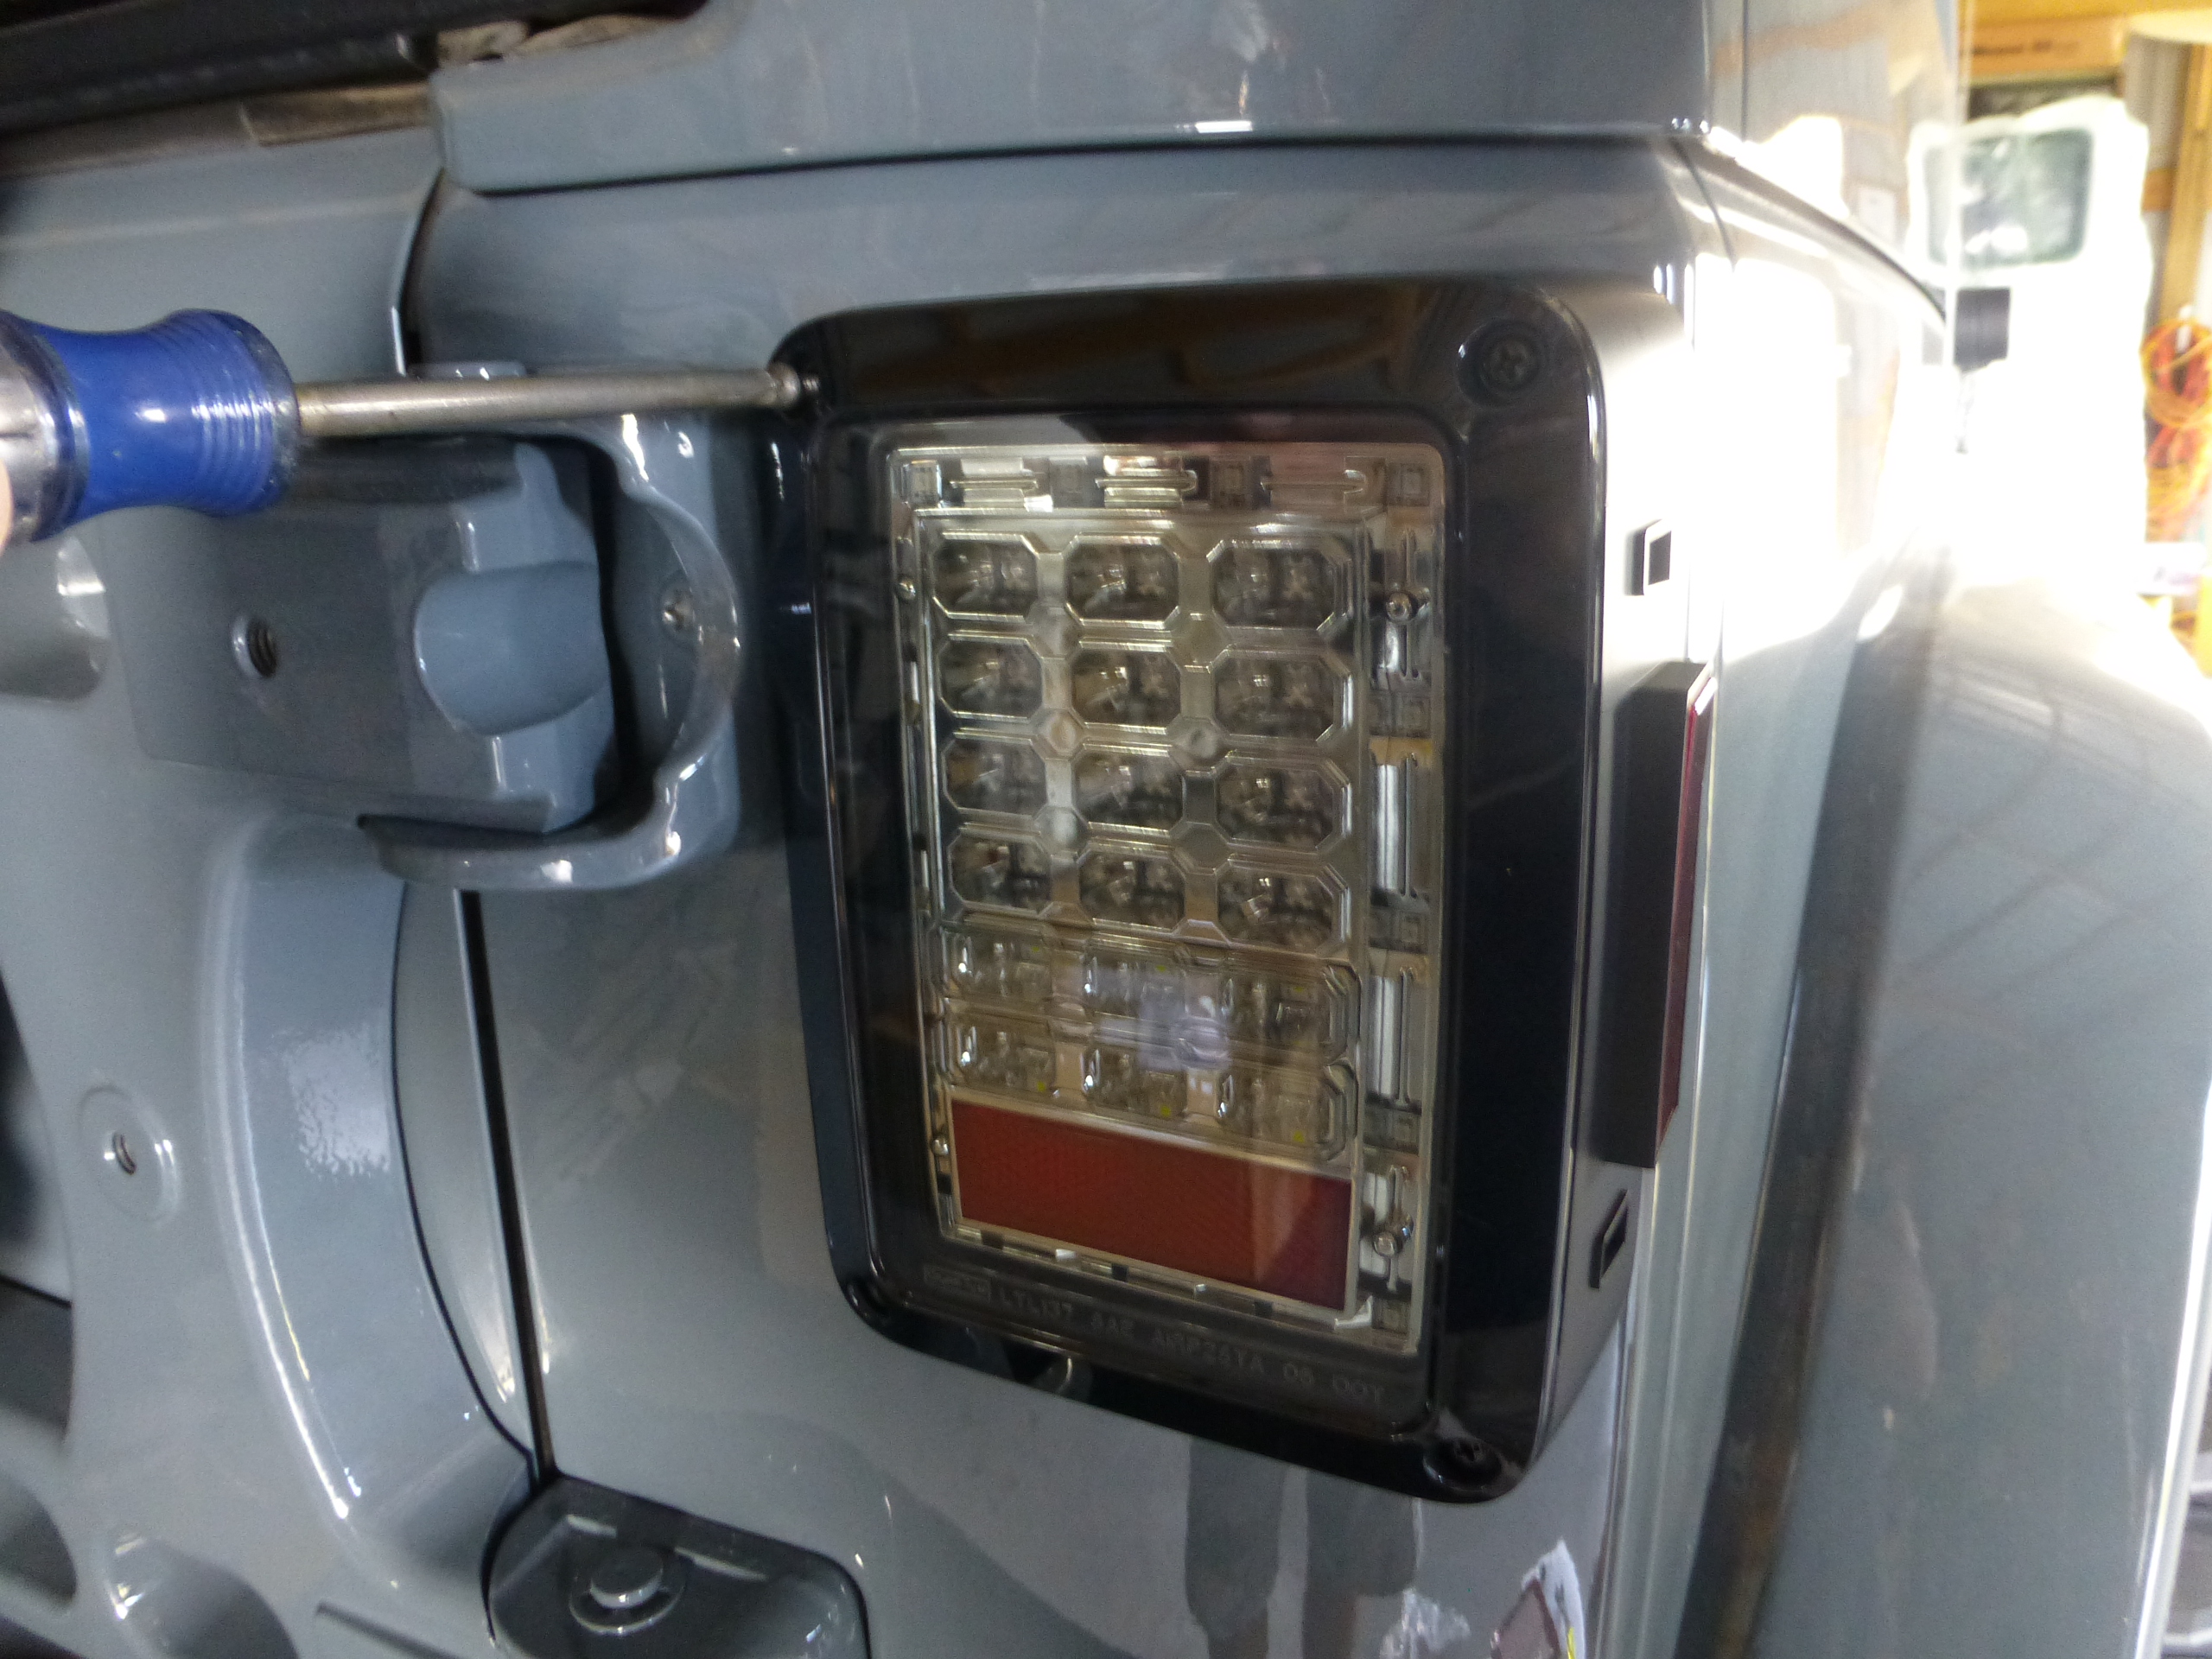
There was only one thing left to install on the rear portion of the Jeep before we could move forward. We dug out the L.E.D. lights from Quadratec and did a quick swap of those so we could move to the front of the Jeep. Basically all we needed to do was remove the stock lights and unplug the bulbs.
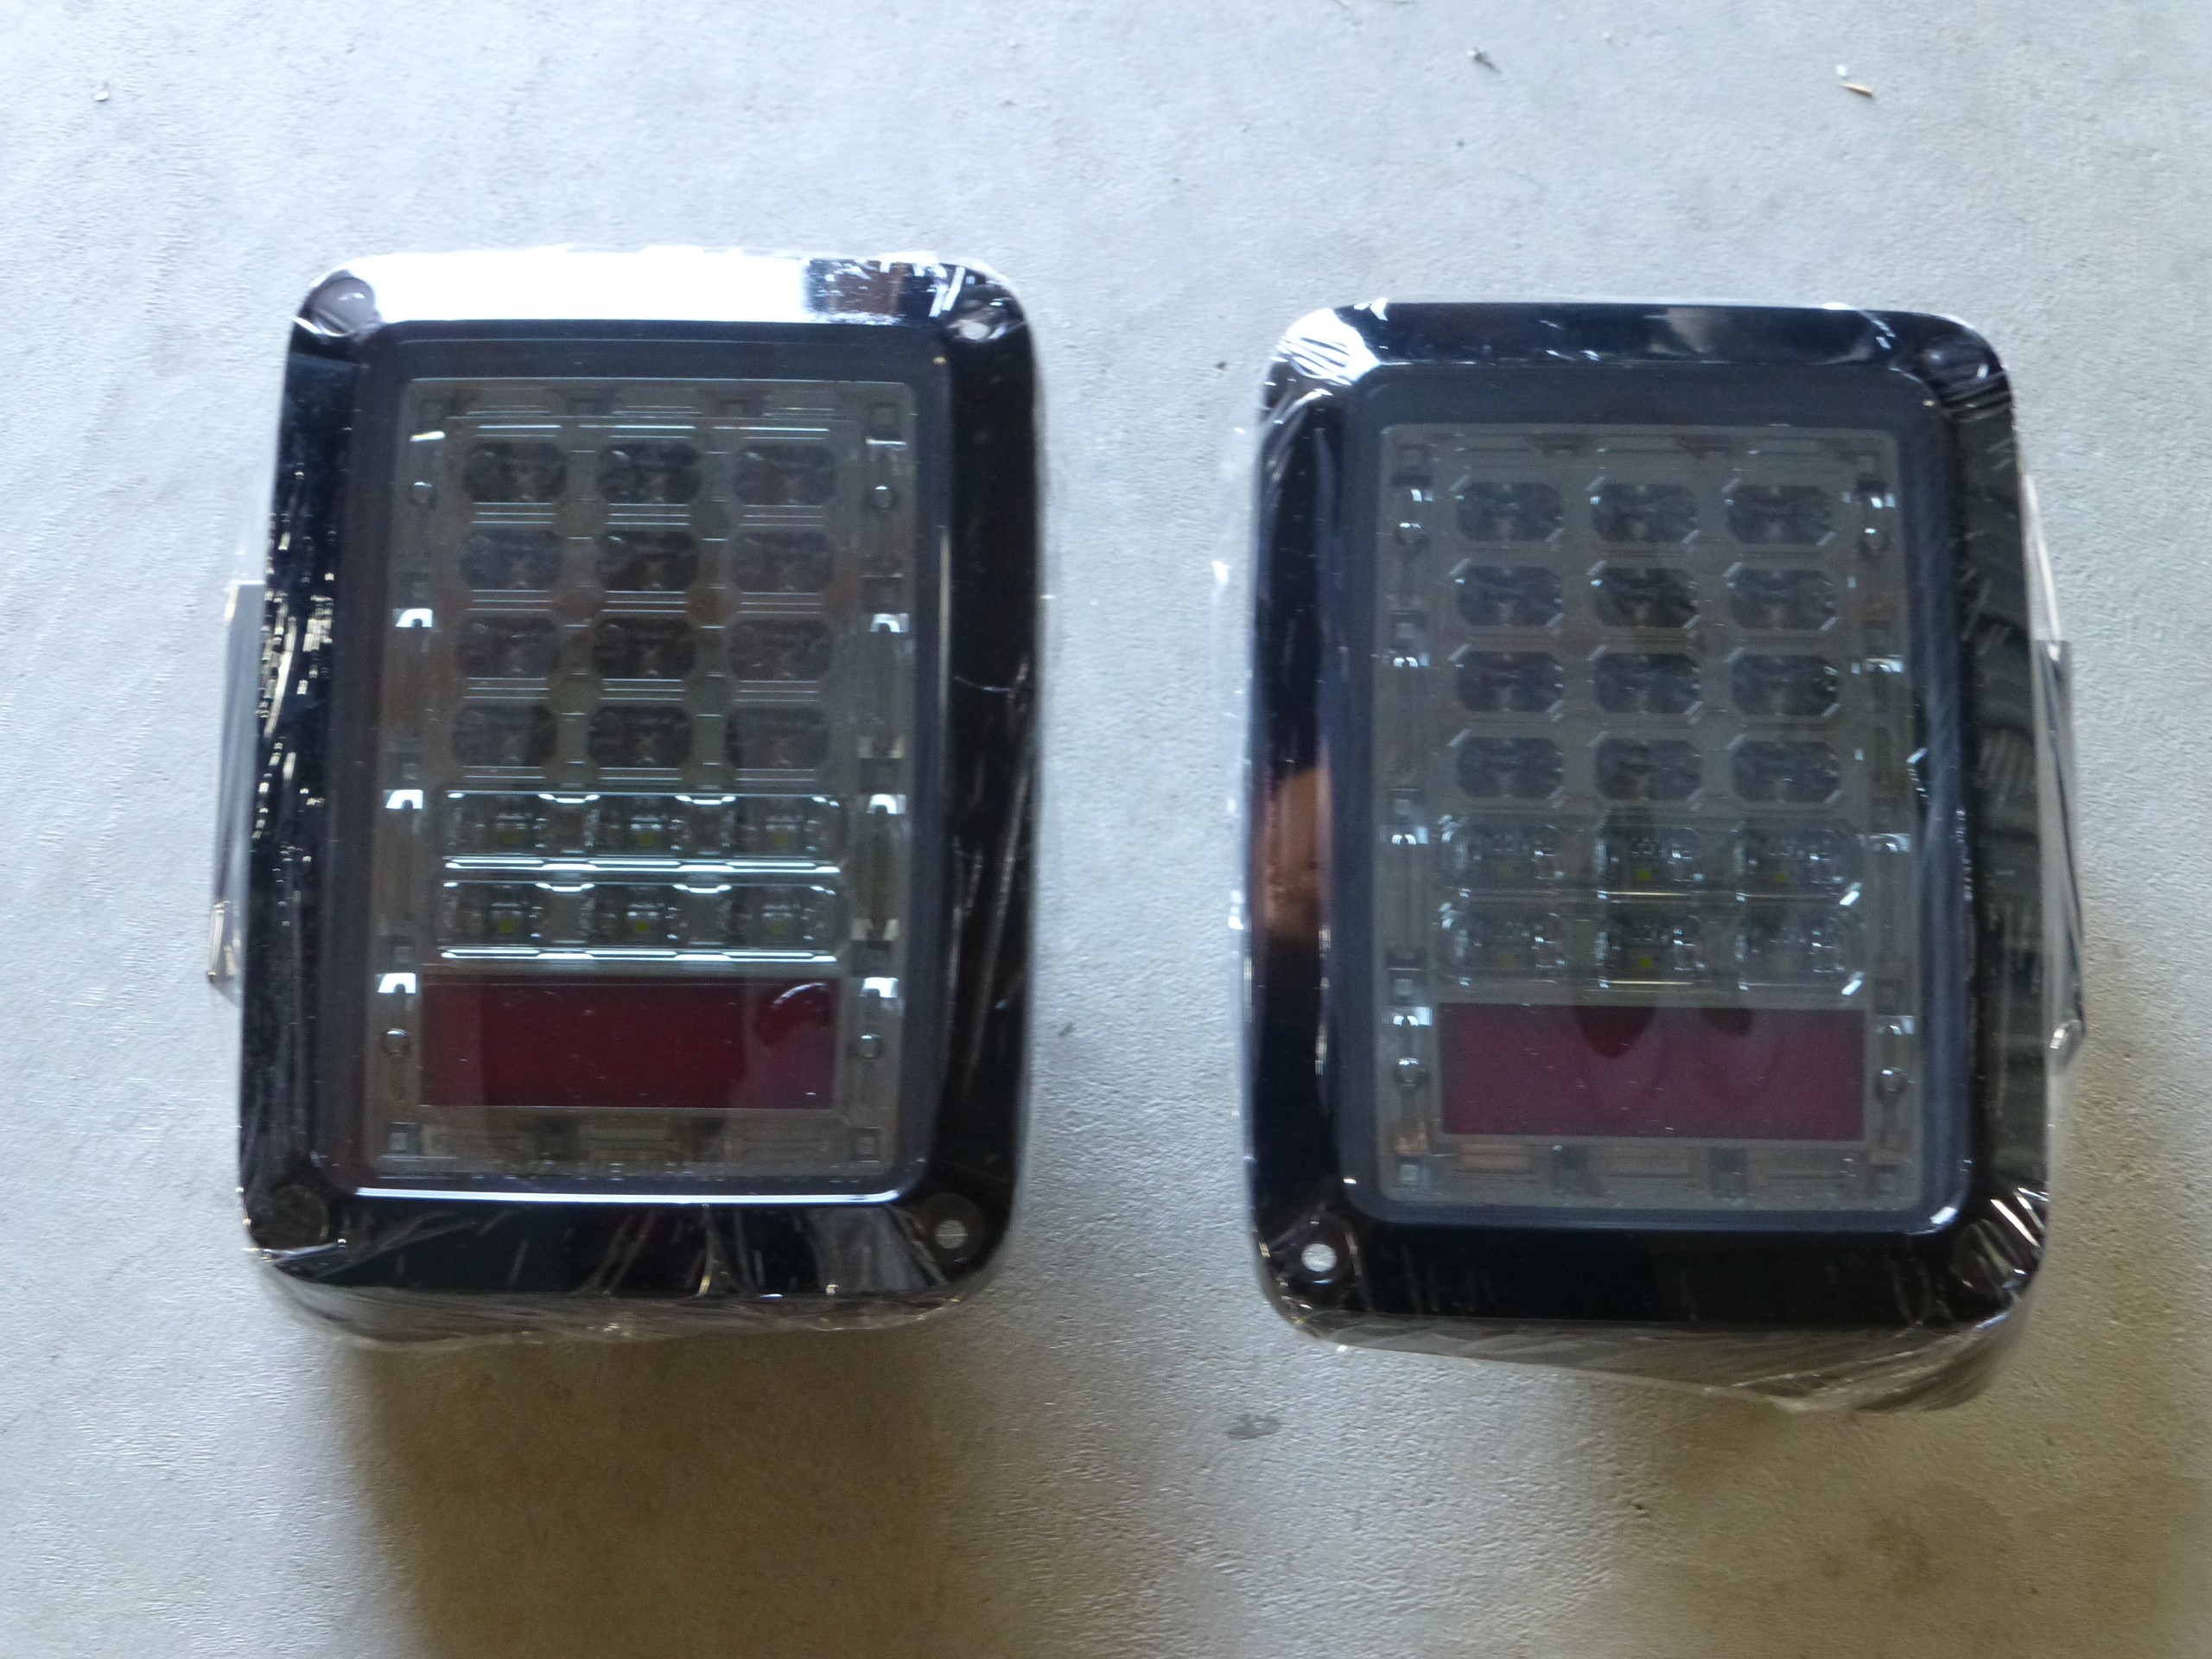


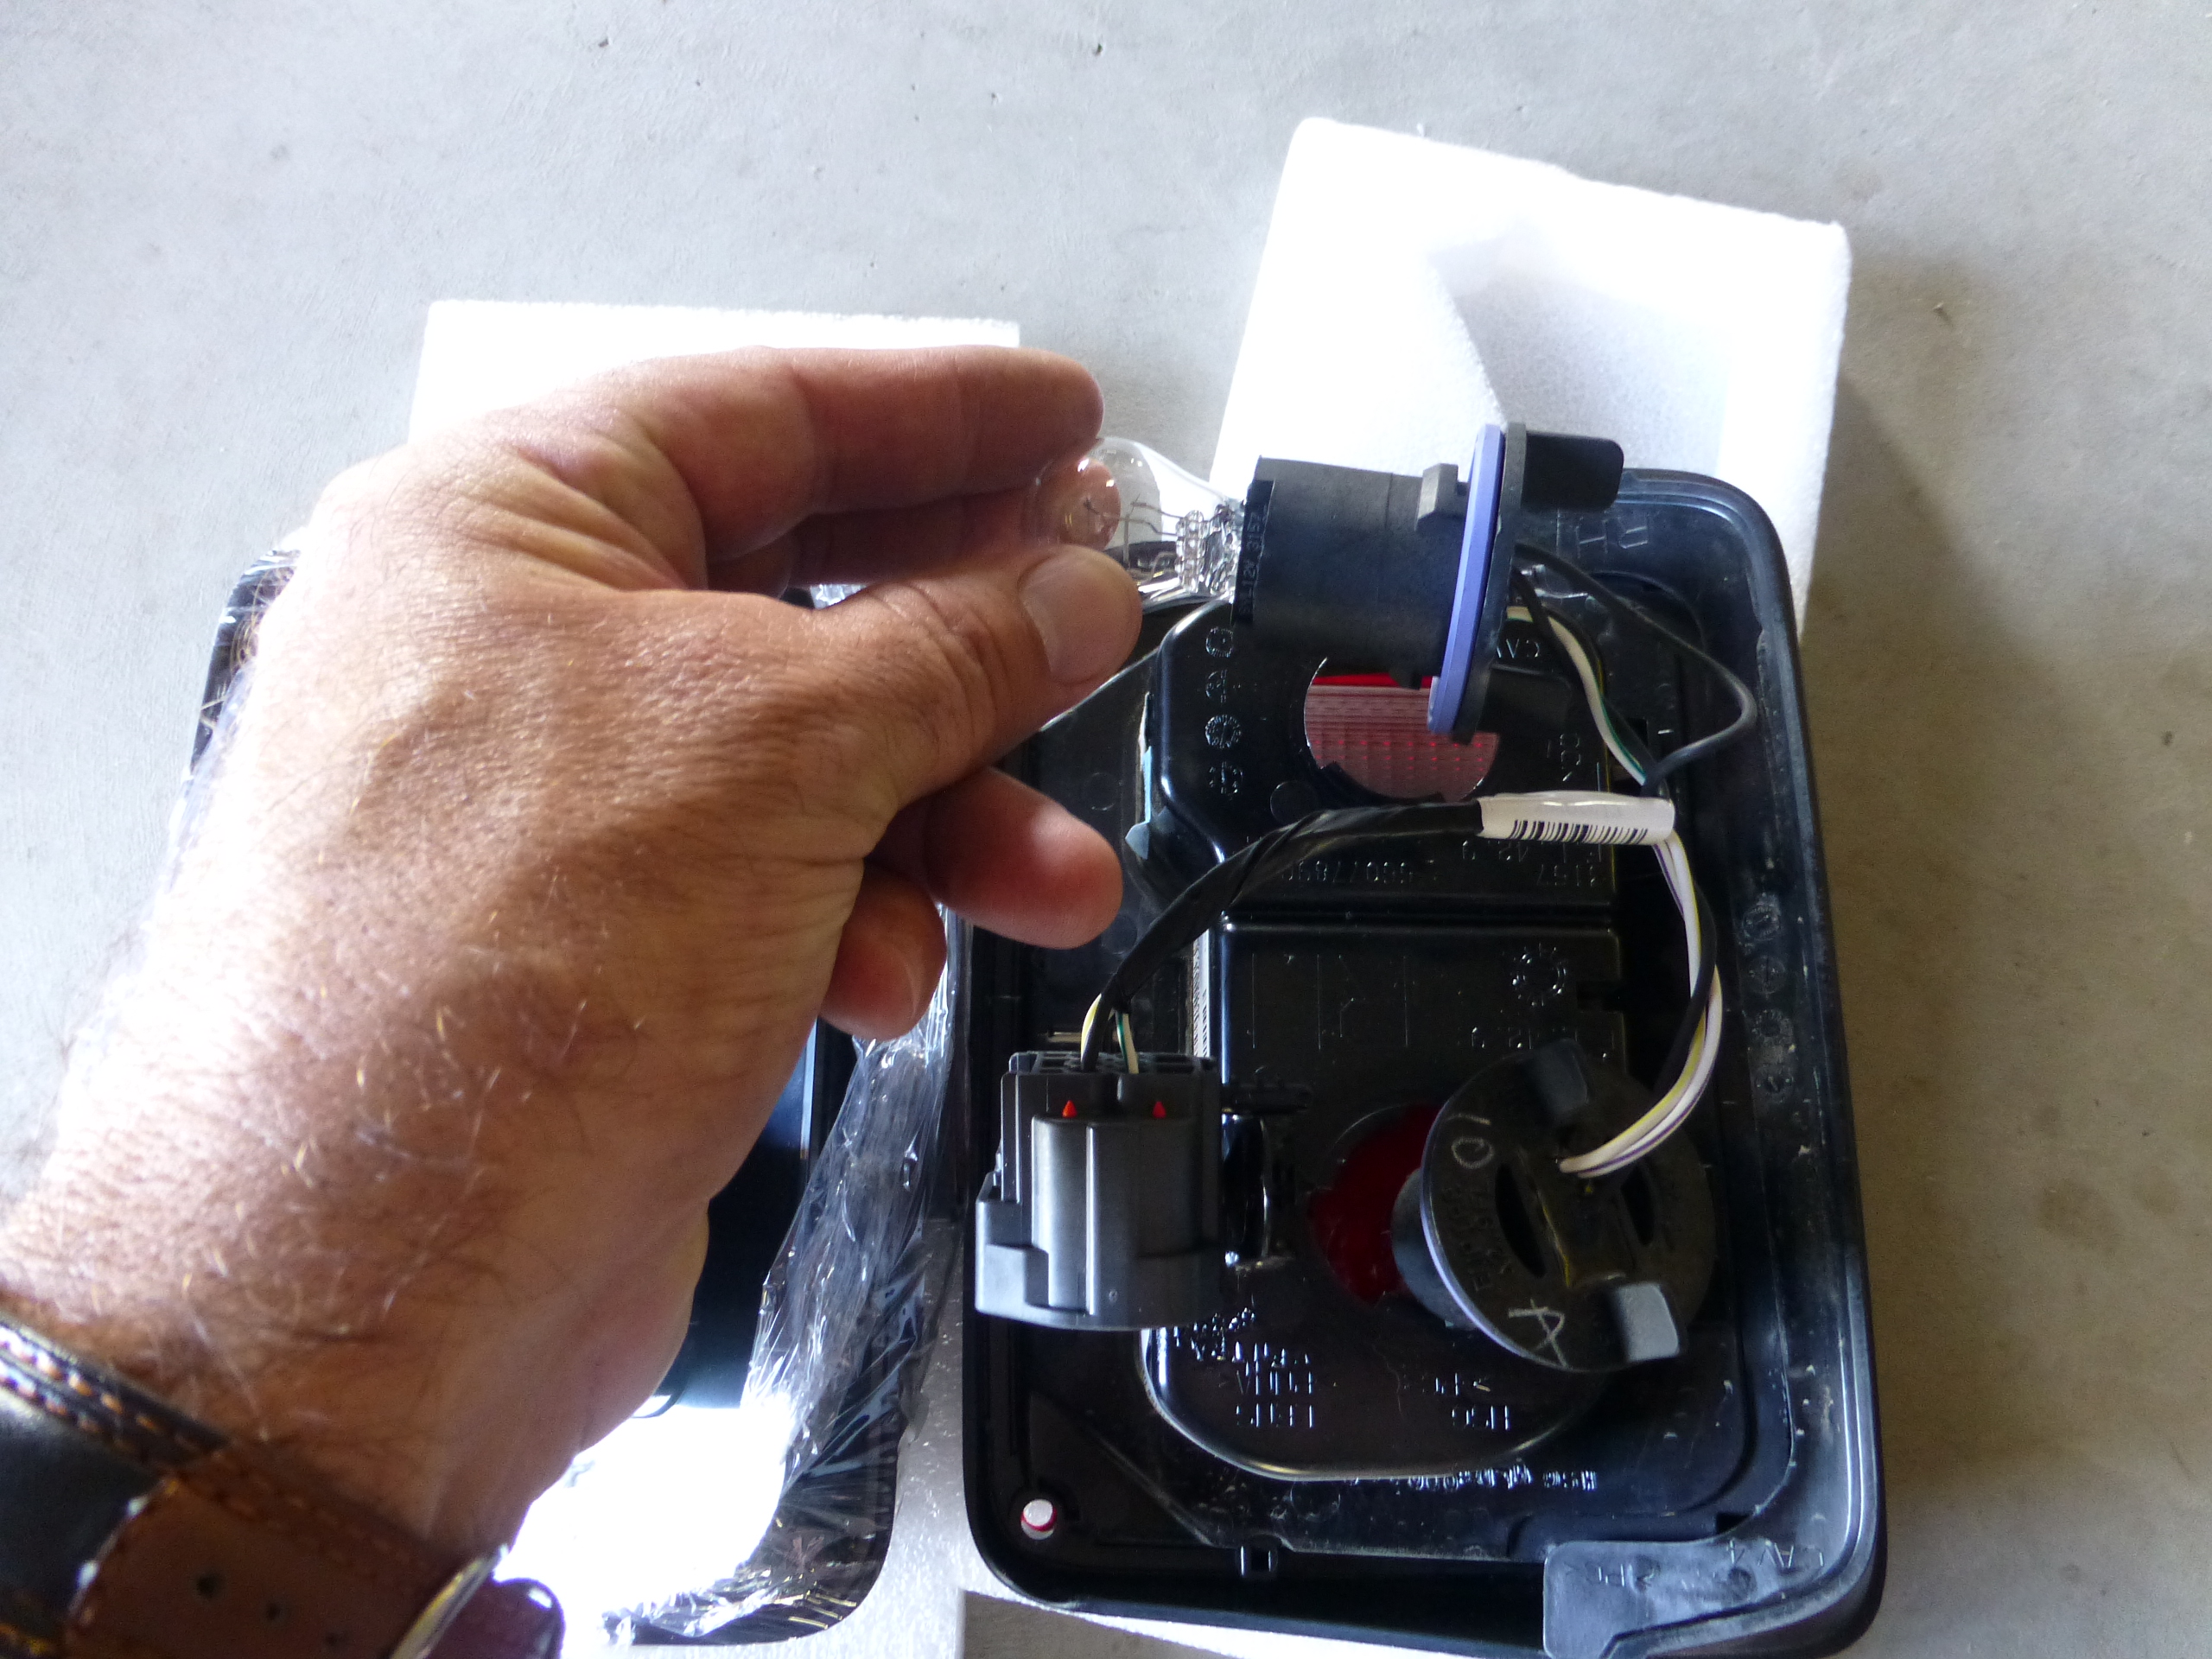
Once the bulbs are unplugged the new L.E.D. lights plug right into the socket that the bulbs came out of; they are clearly marked to ensure that you get the wires connected properly. From there it is just a matter of making the connections at the back of the light housing, connecting the factory plug and installing the light back into the Jeep. The same process was done on the other light and we have the new taillights from our friends at Quadratec installed and ready to go.


Truck-Lite LED Headlamps:
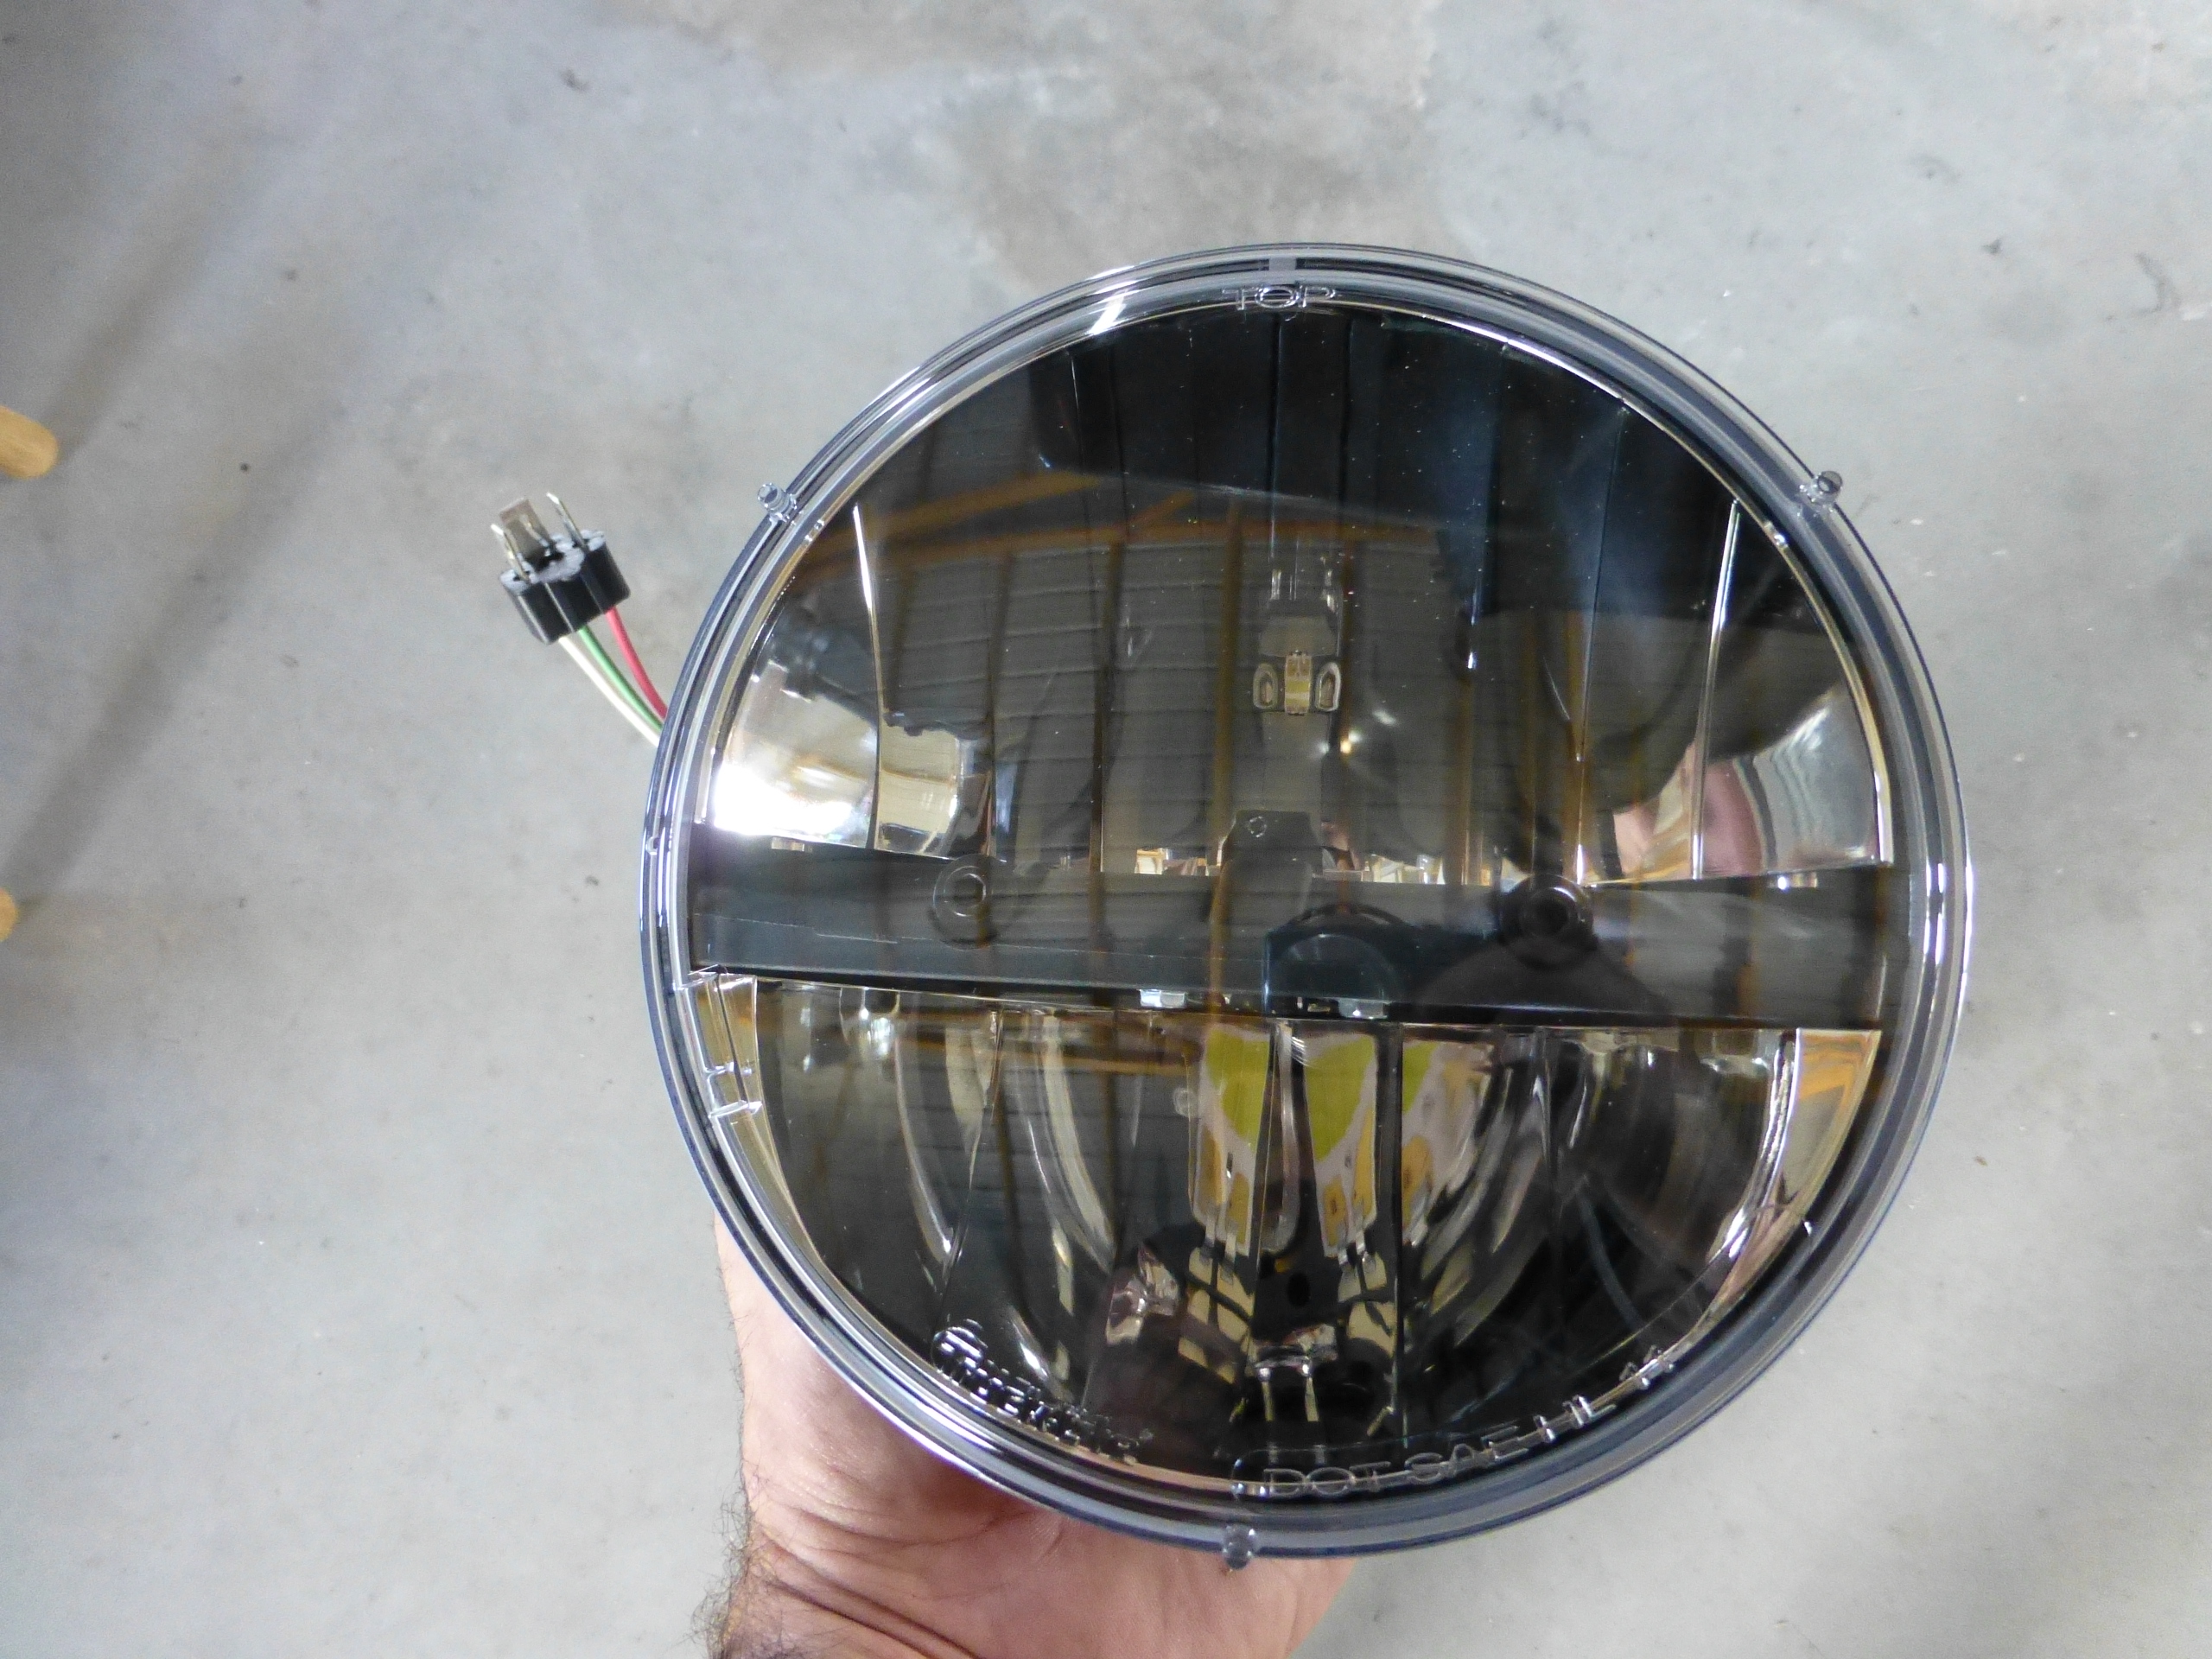
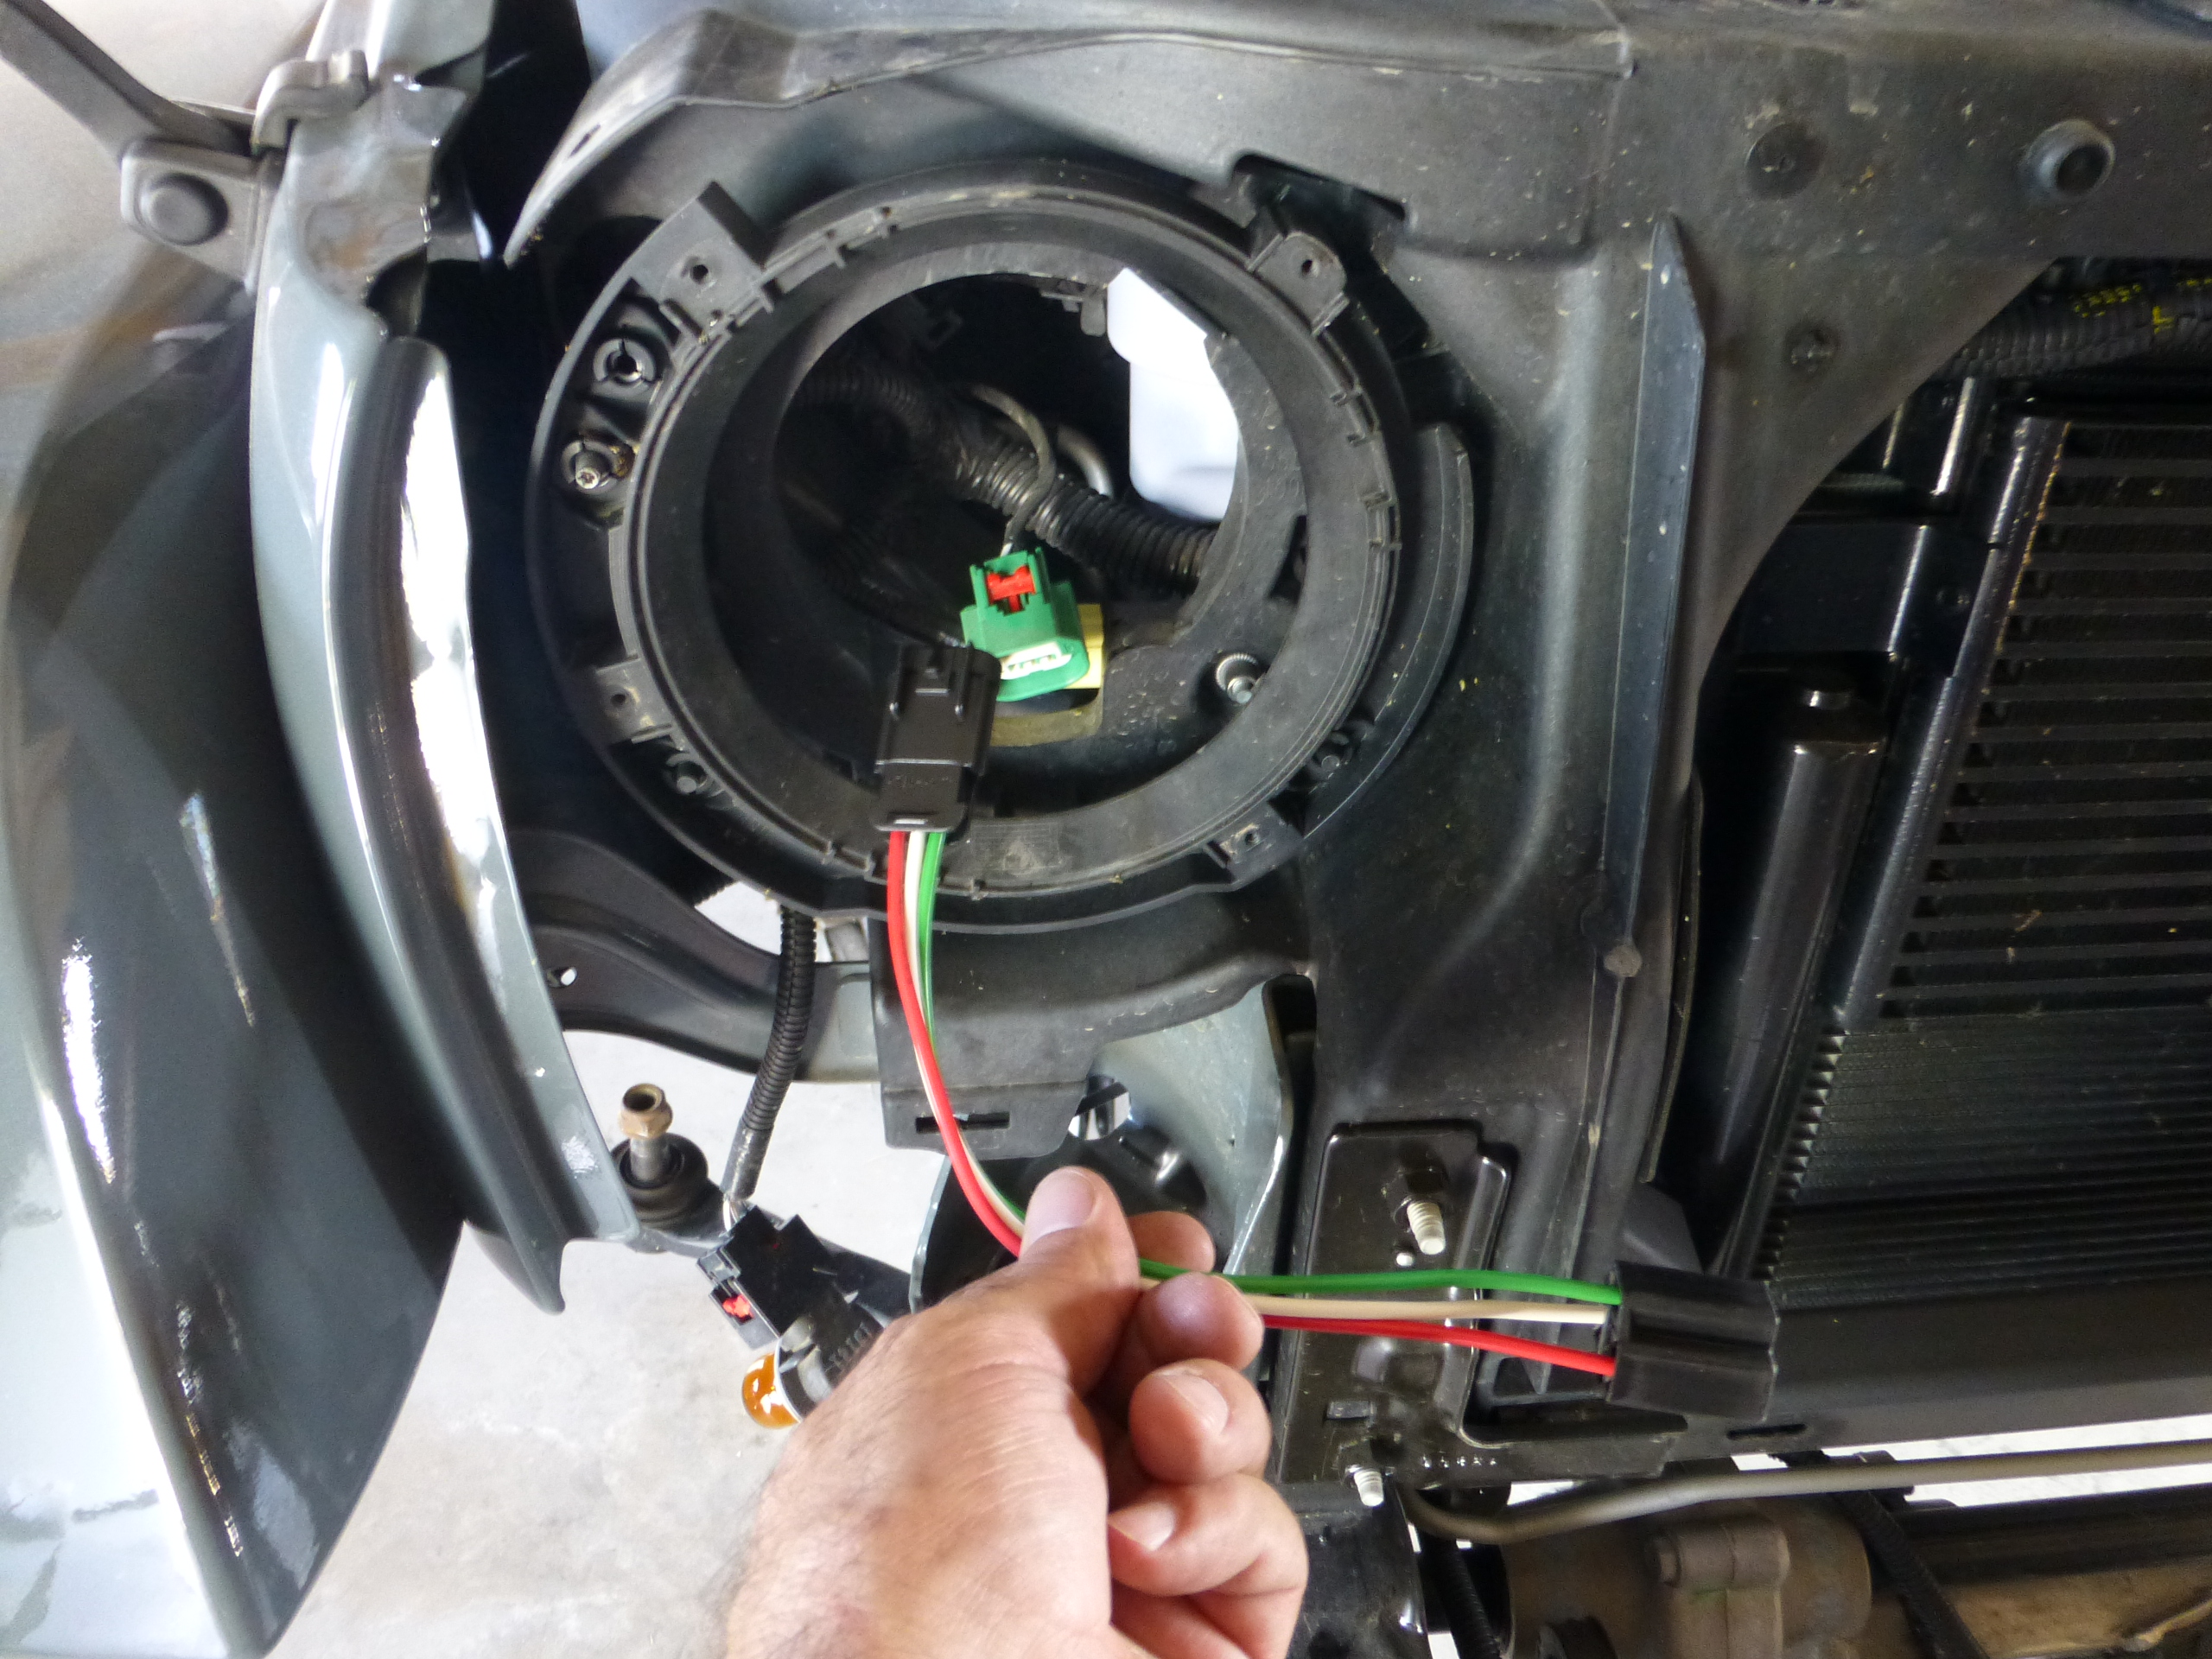
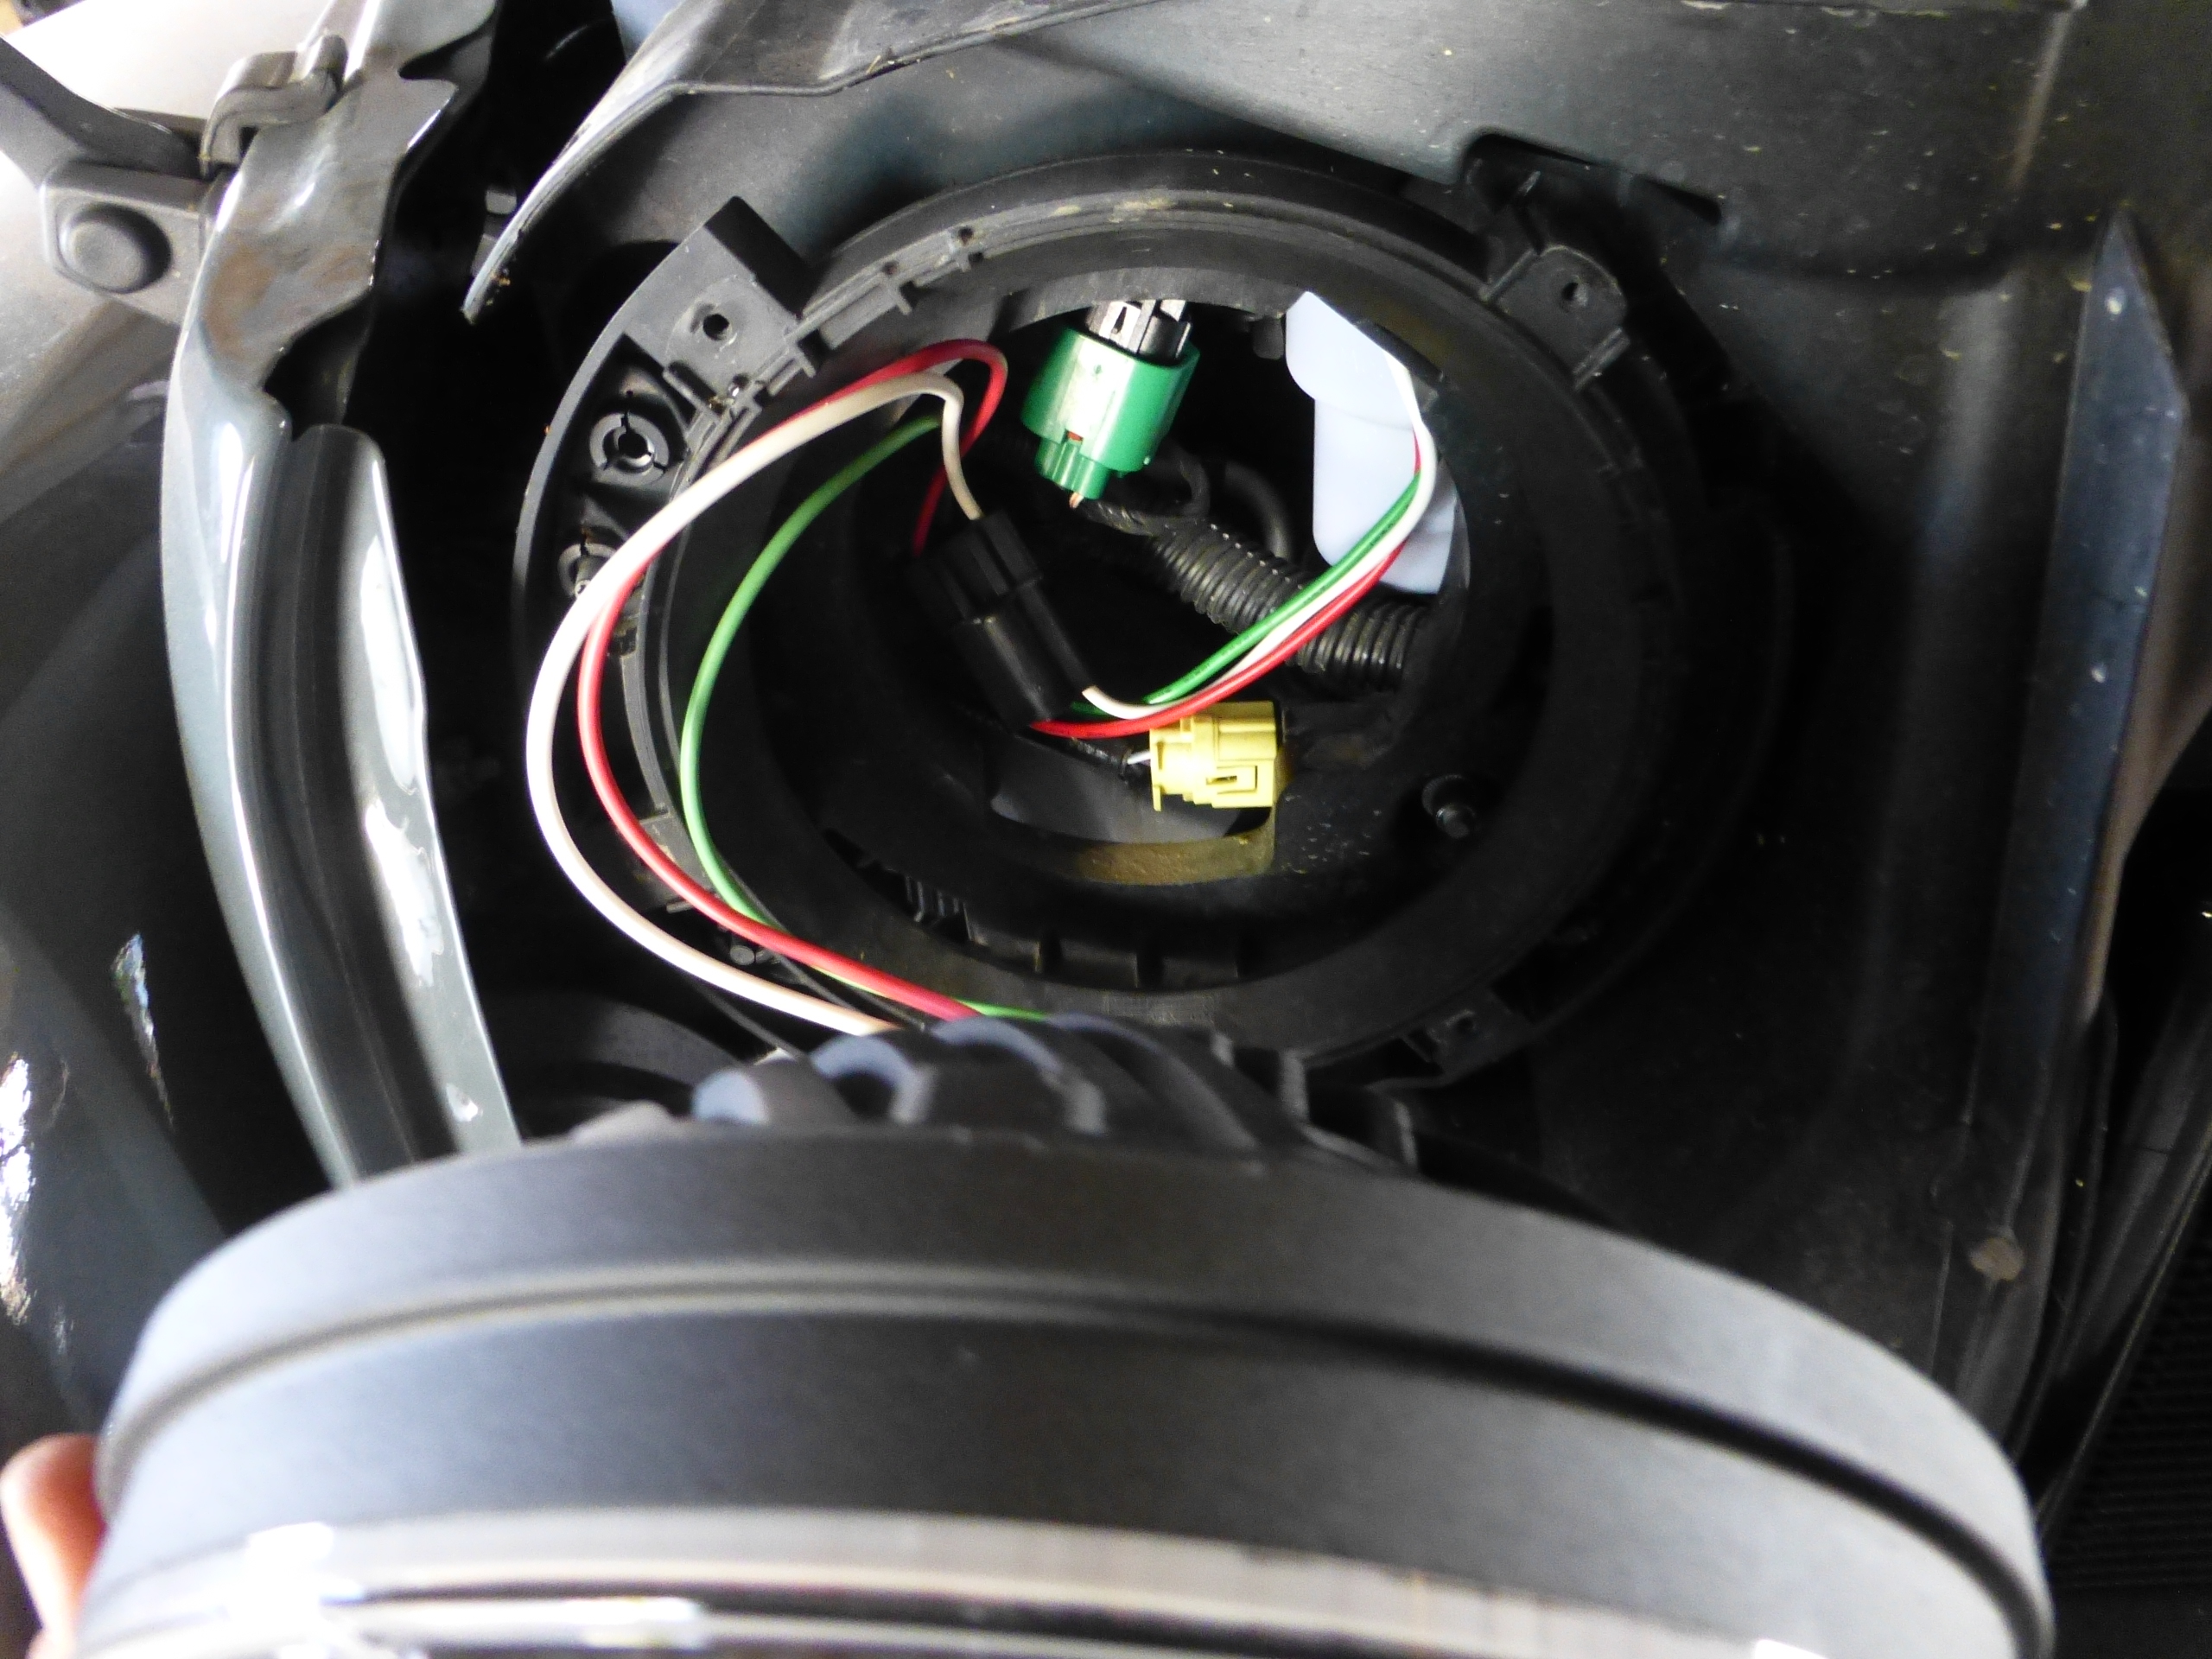
With the back half of the Jeep completed and sitting on the ground instead of jack stands it was starting to come together. Since we had just swapped out the rear tail lights with new LED’s from Quadratec; we figured there was no better place to start the front with than the Truck-Light Headlamps, also provided by Quadratec.
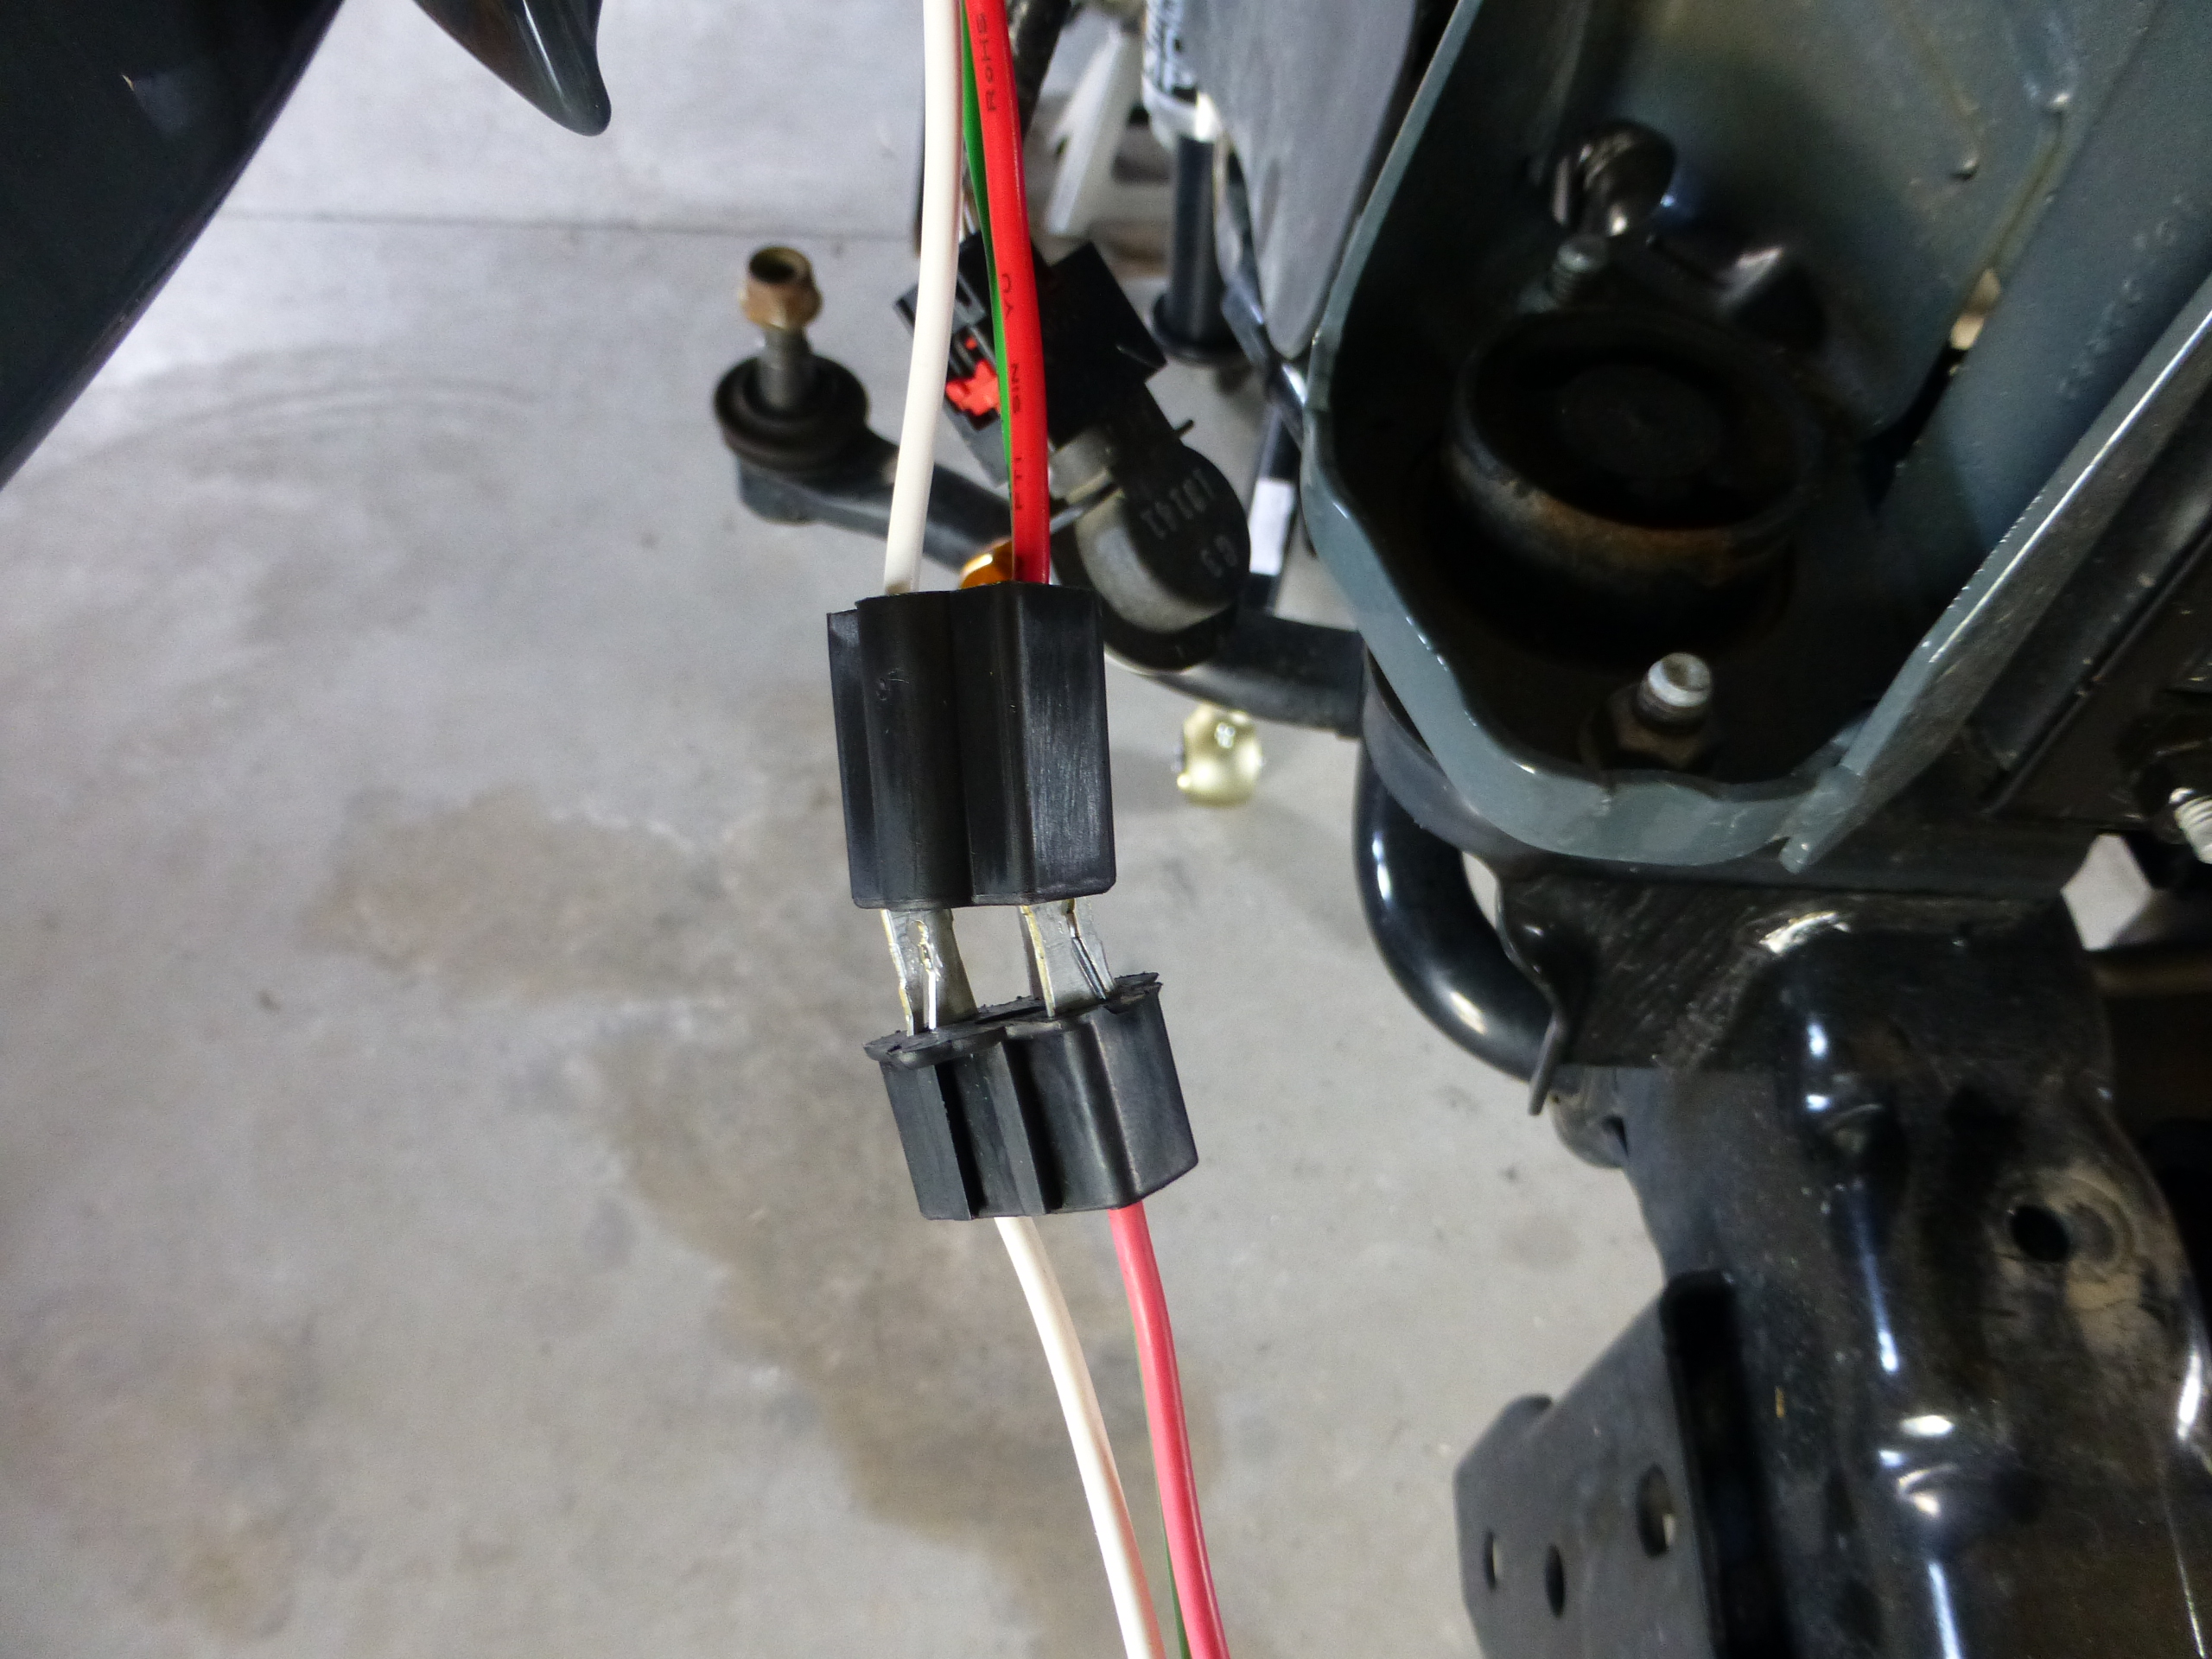
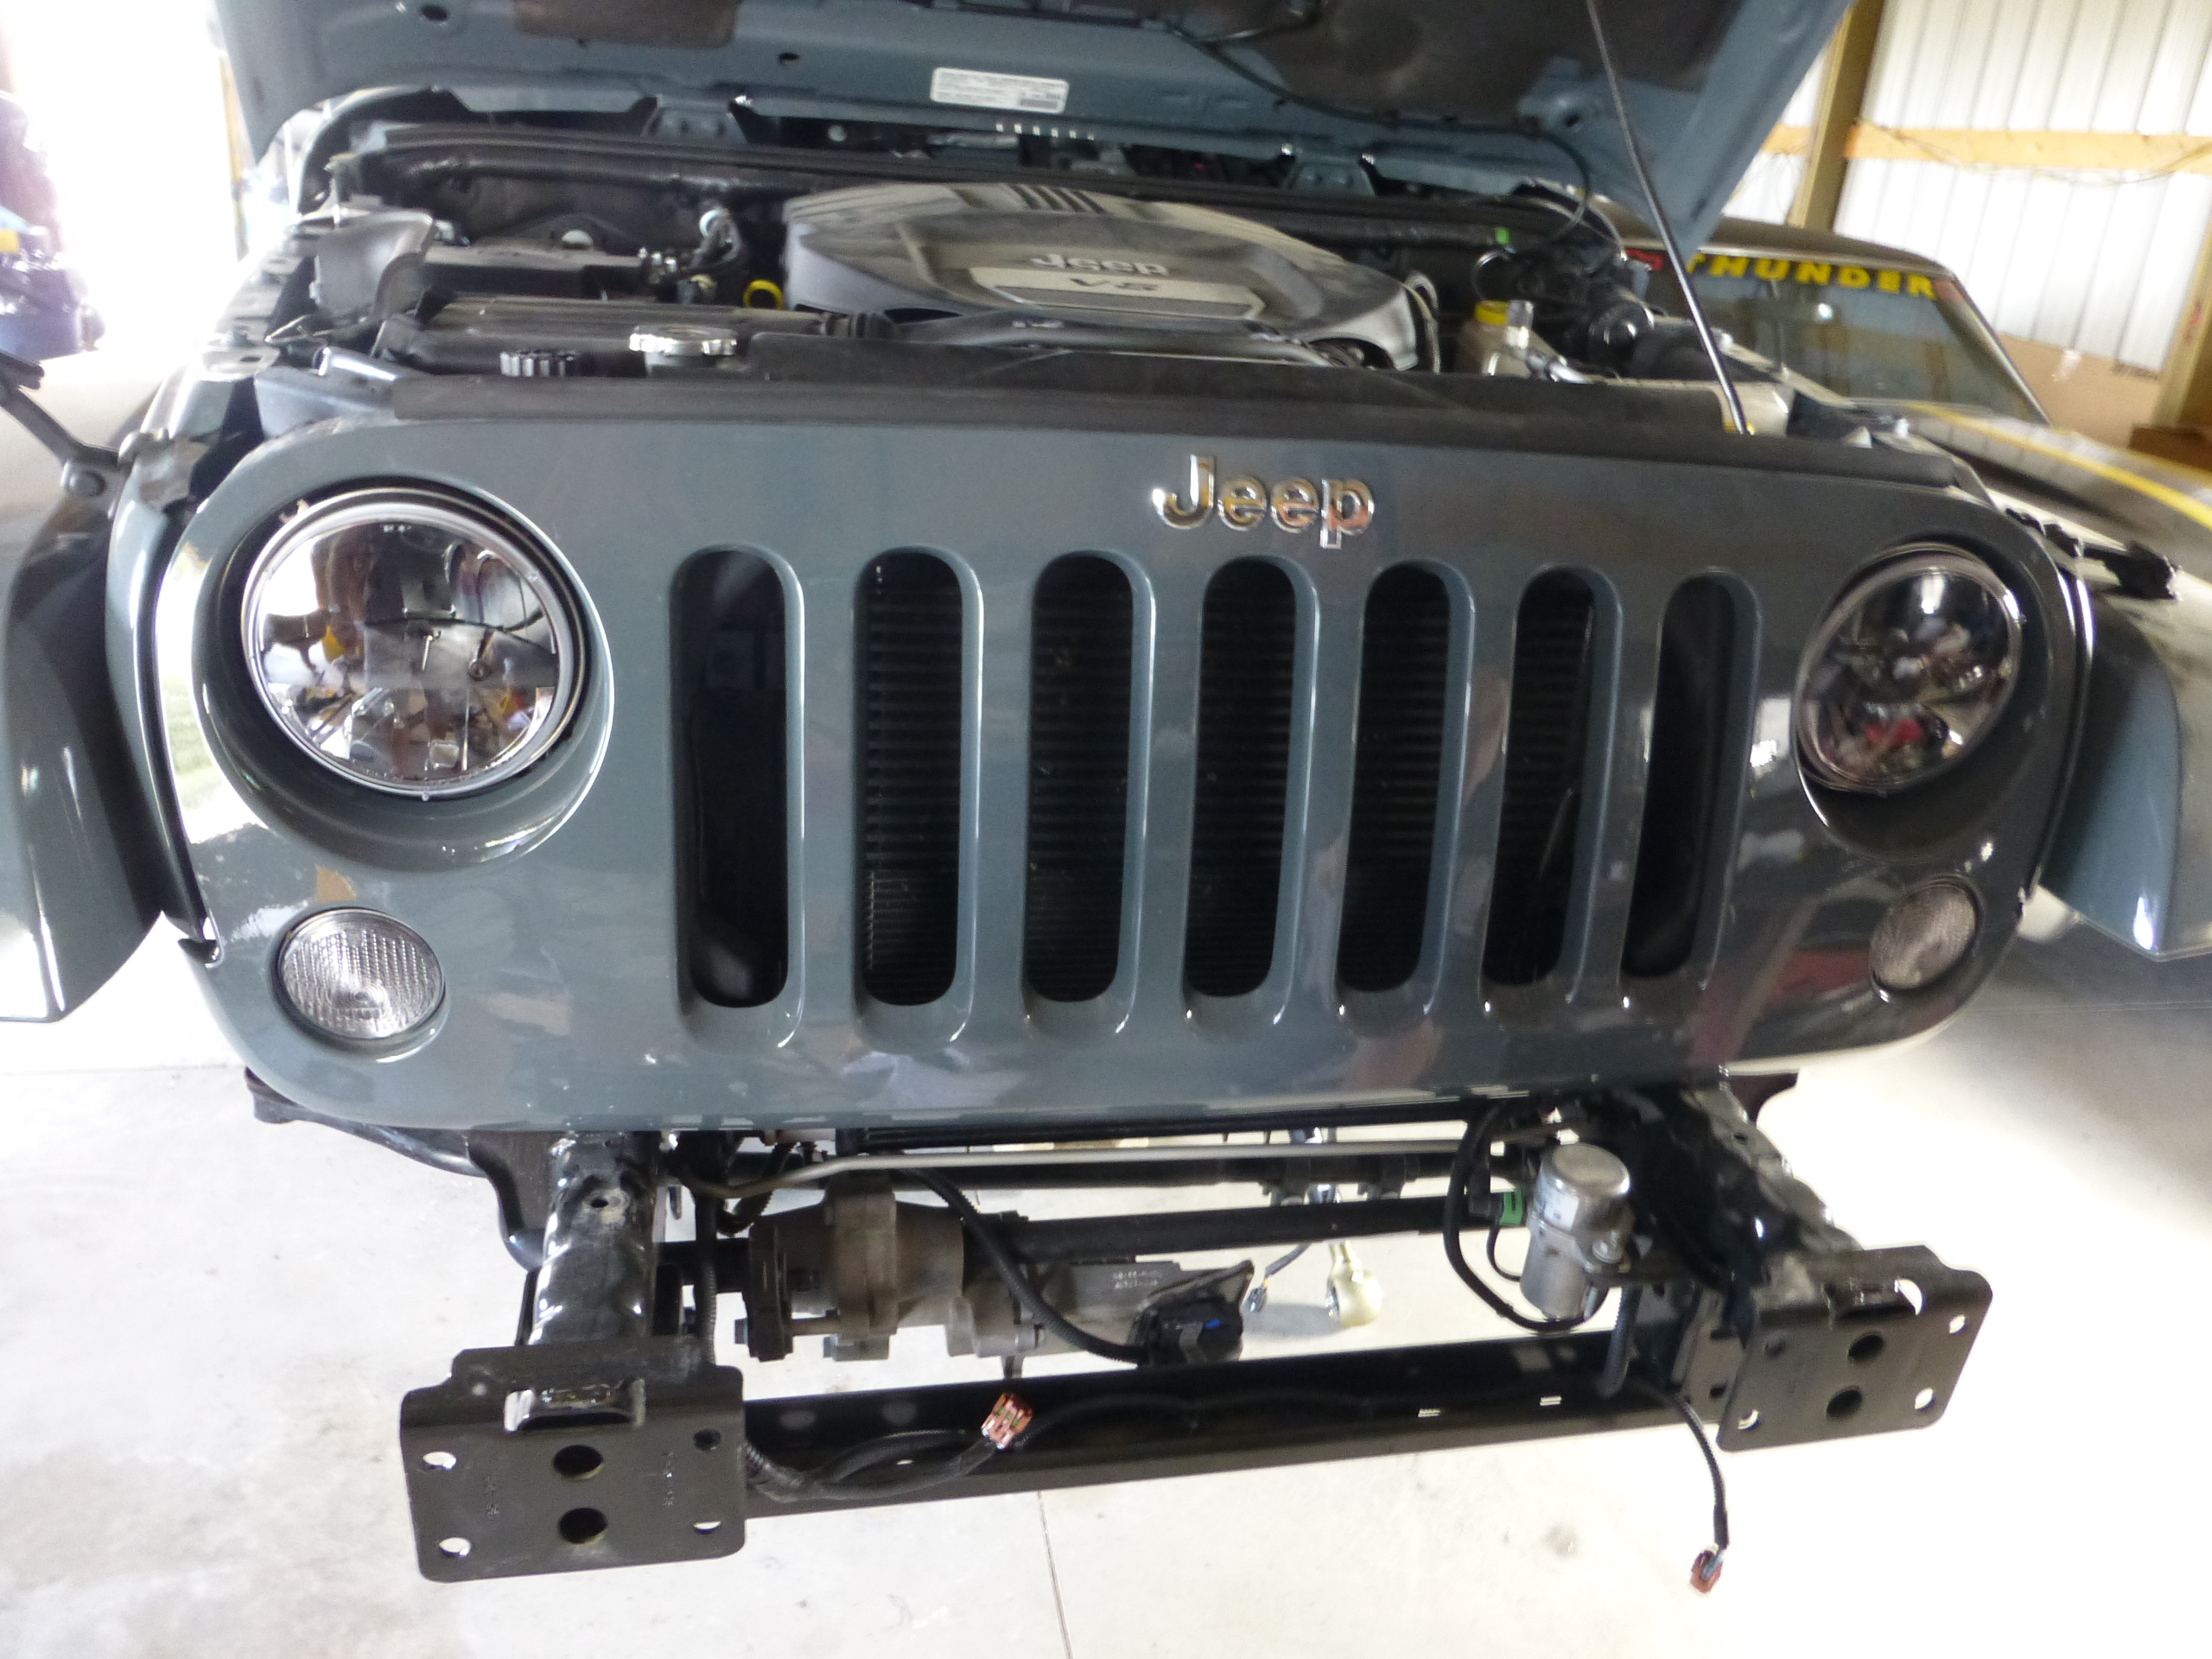
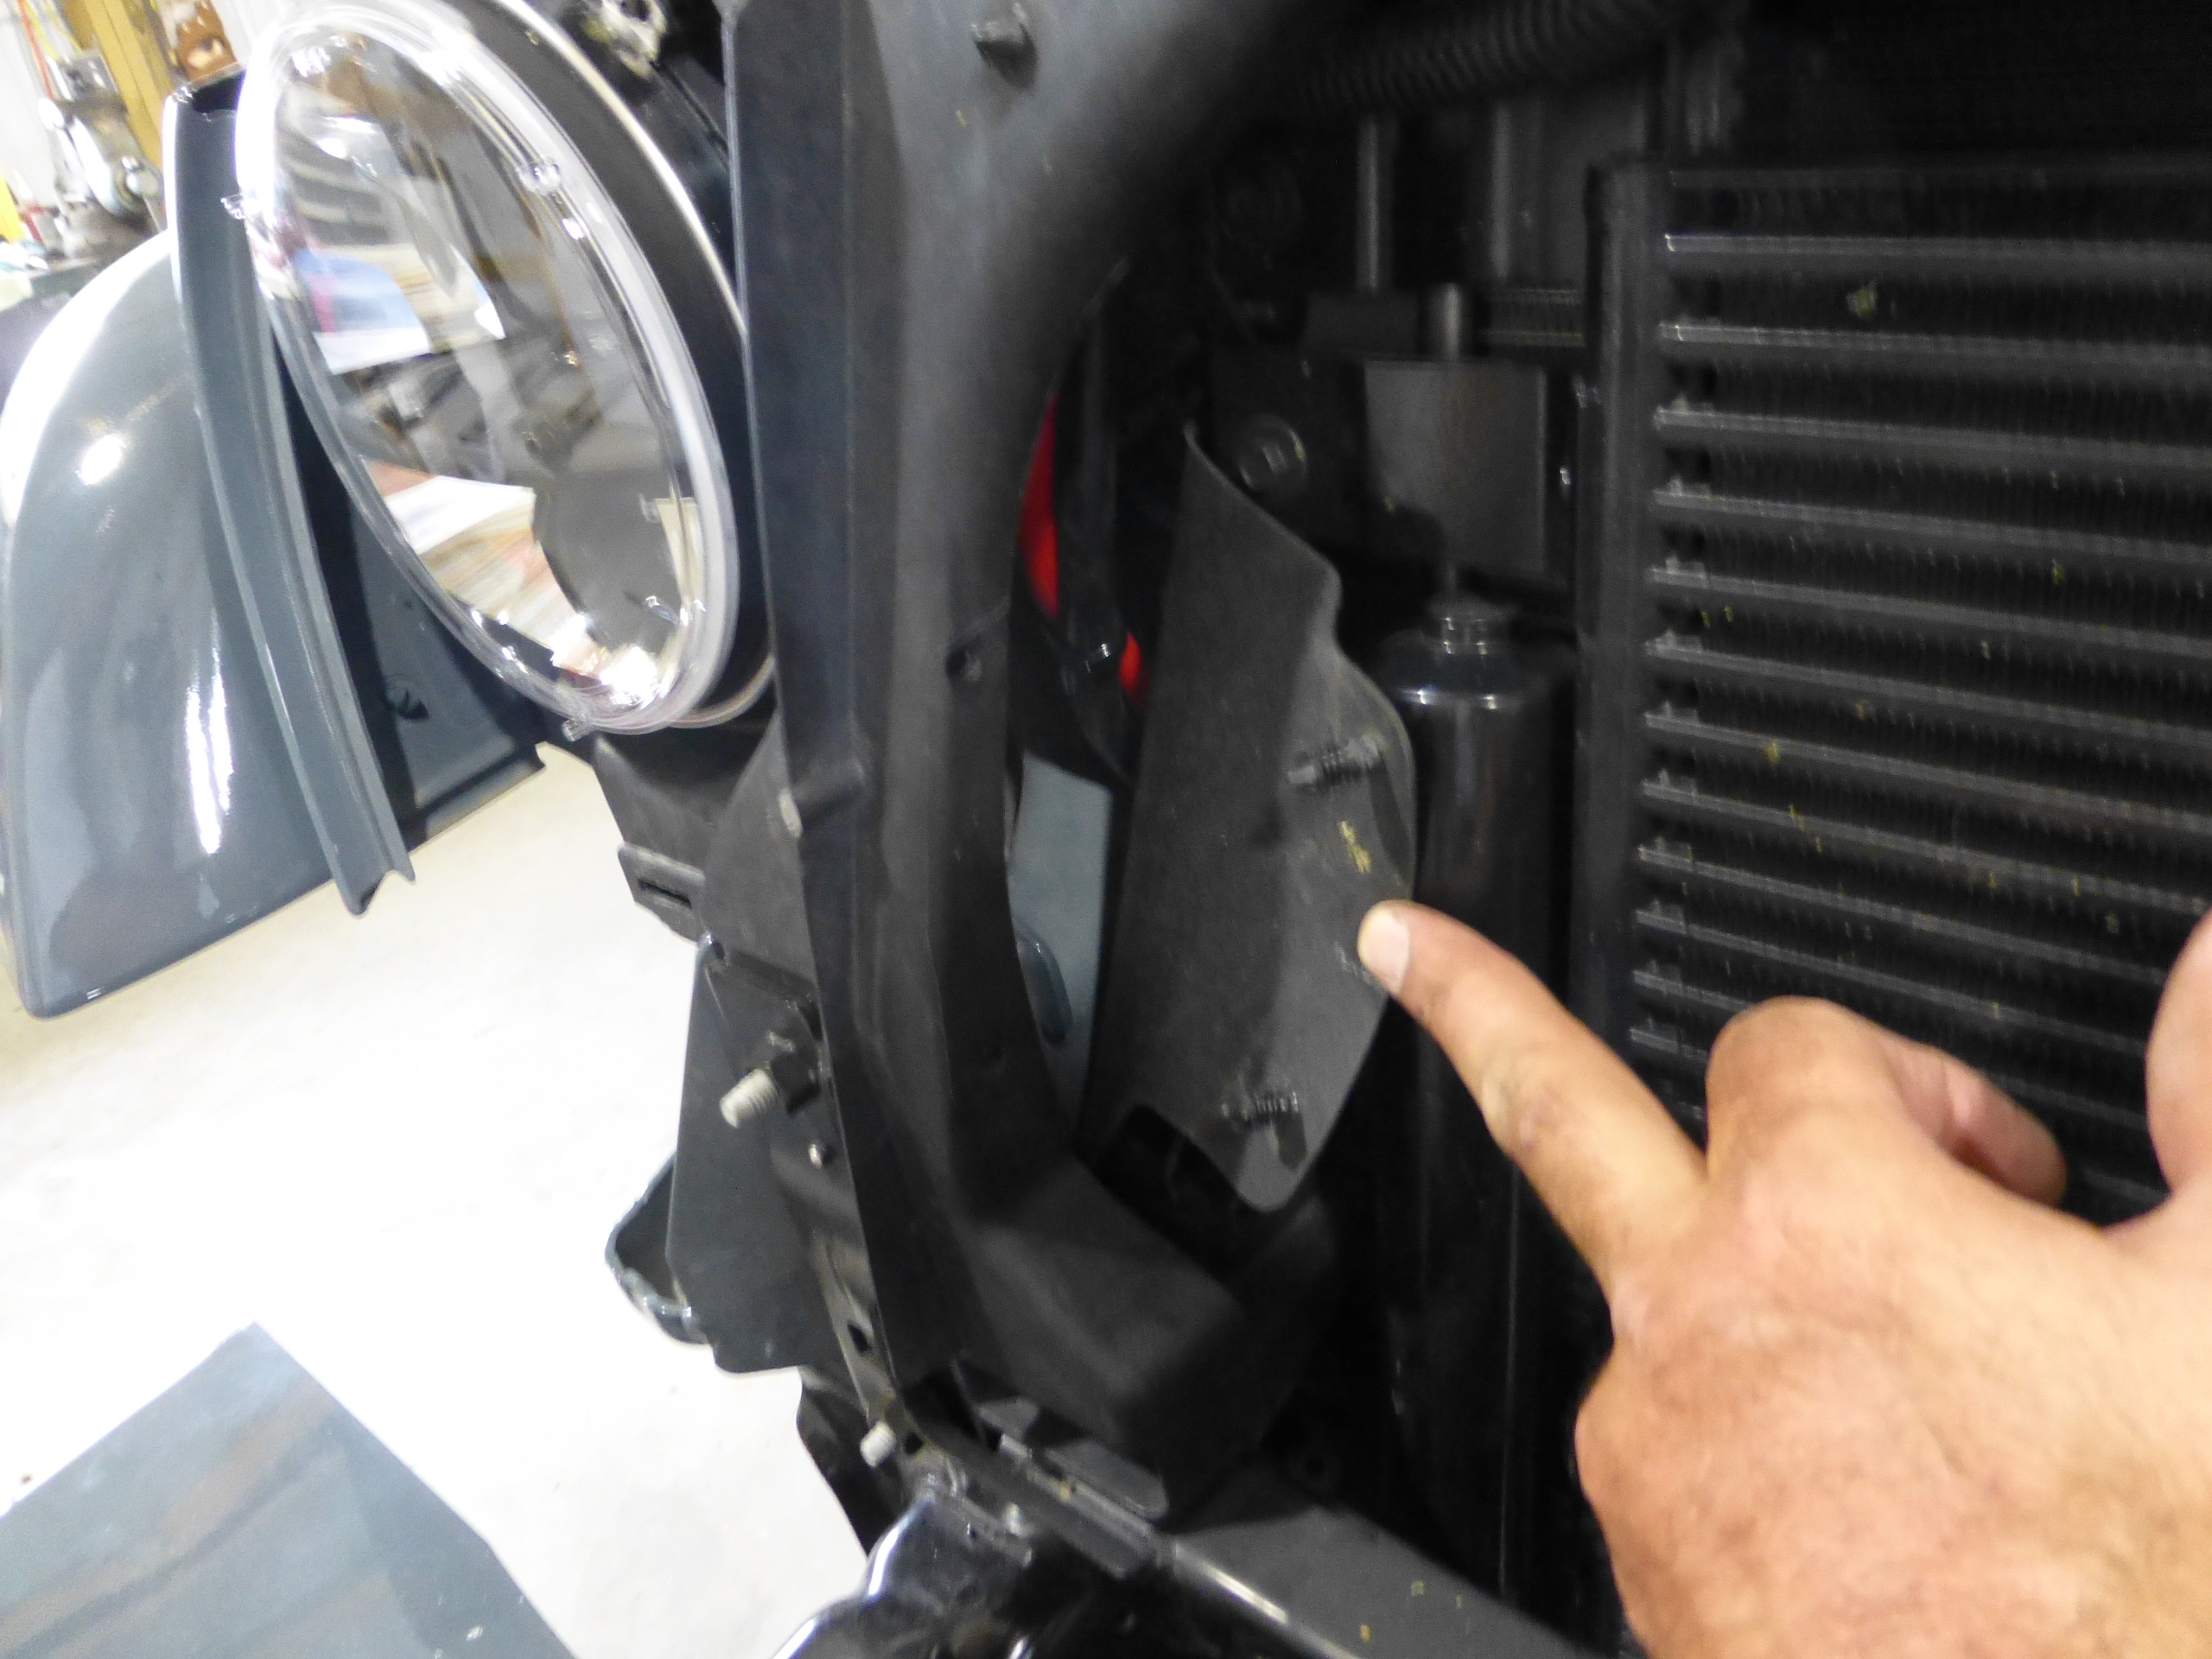
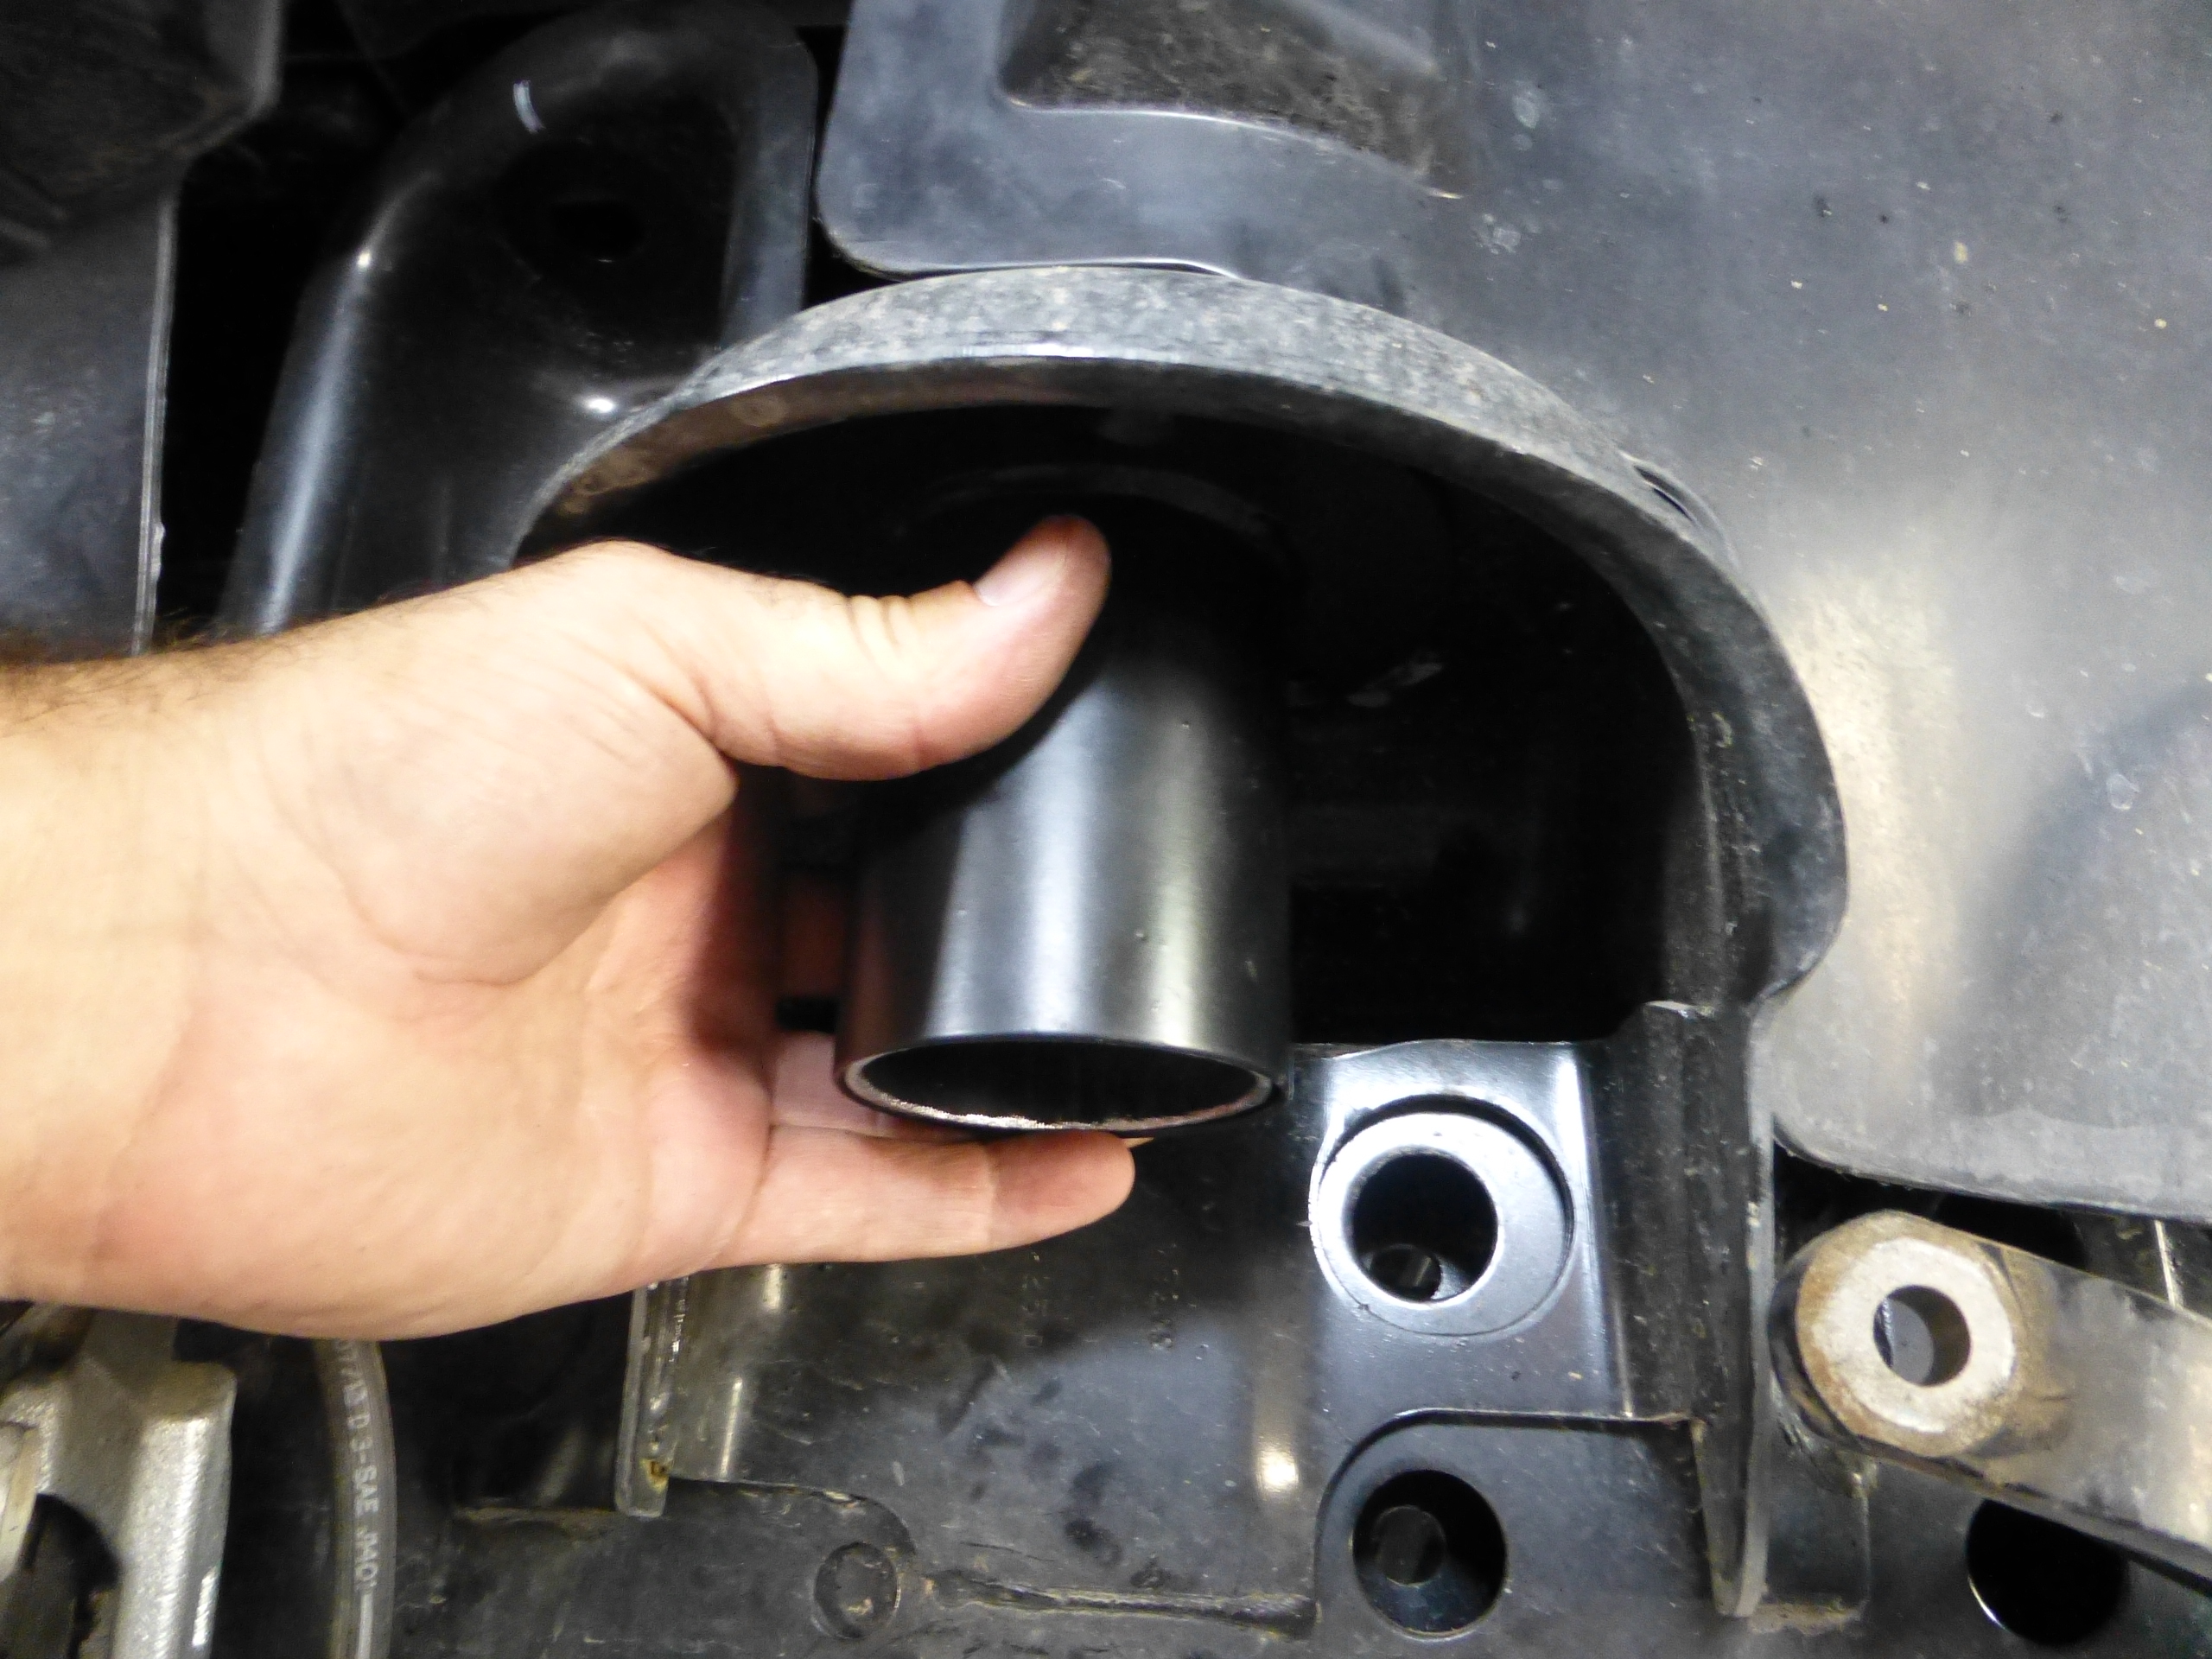
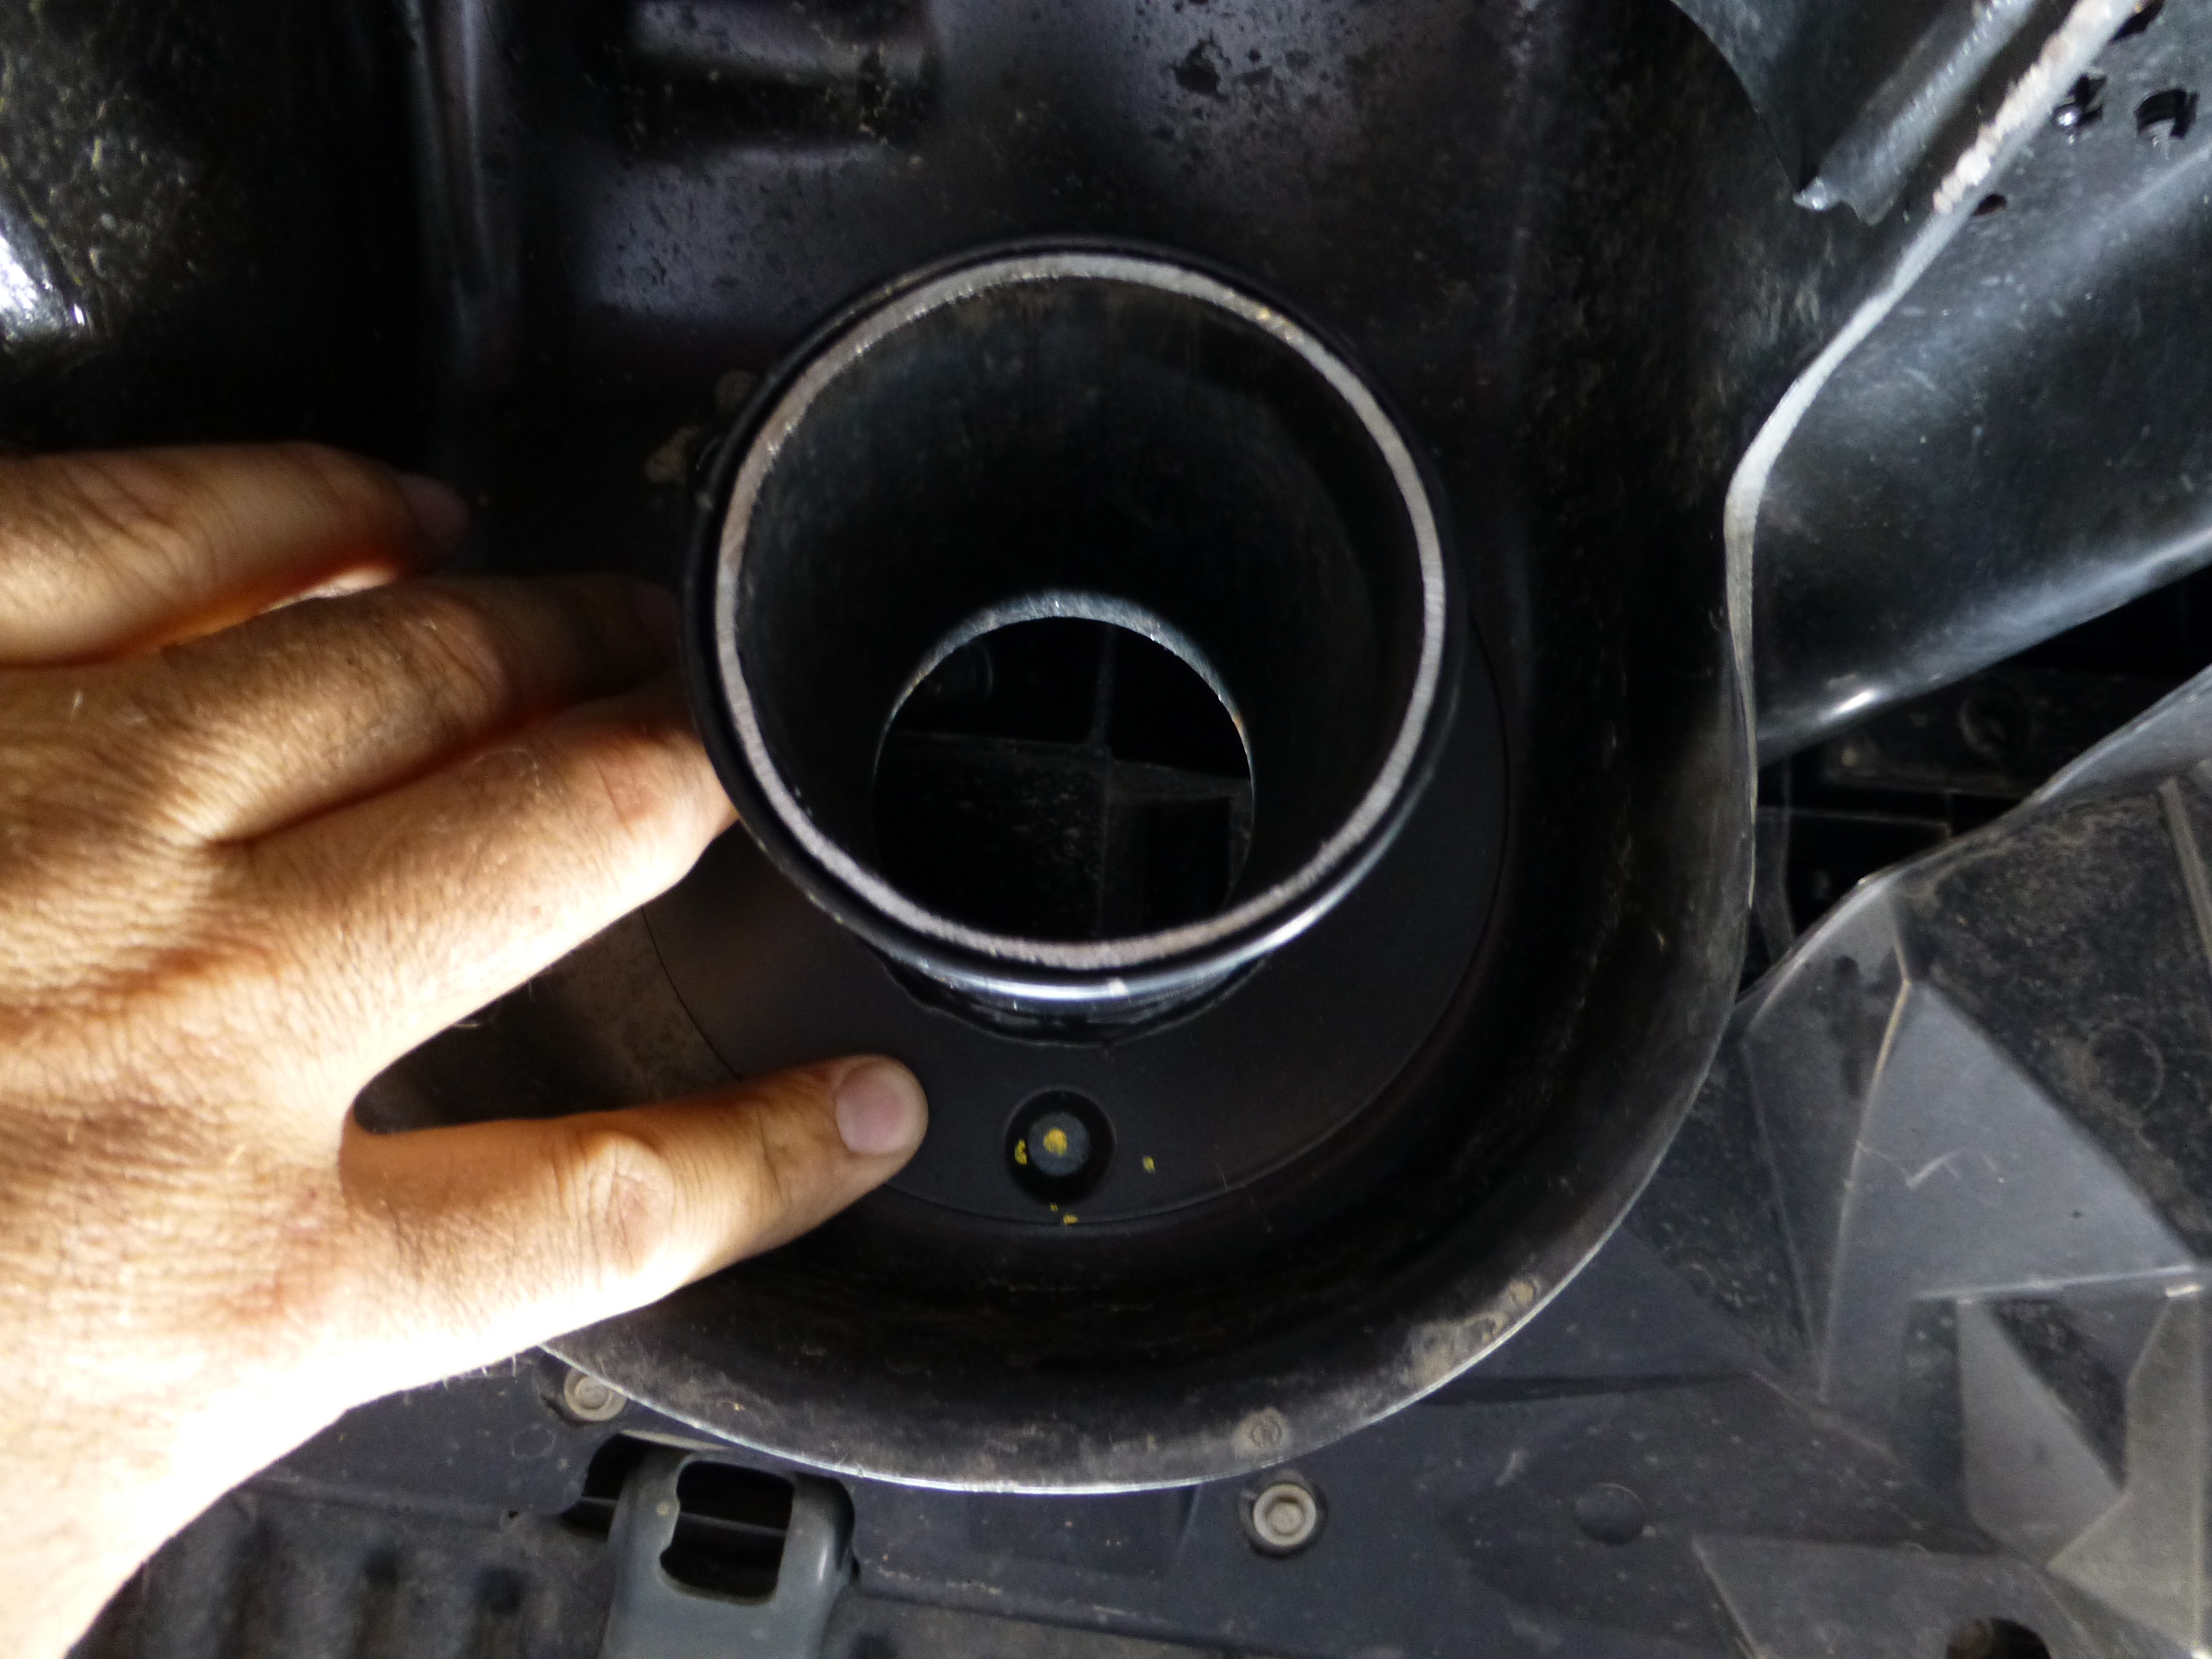
The installation was as cut and dry as the rear lights were. First we removed the grill by popping the retainer clips up and removed them so we could pull the grill off. From there it was a matter of removing the ring holding the factory head lights in place so we could unplug and install the new set.

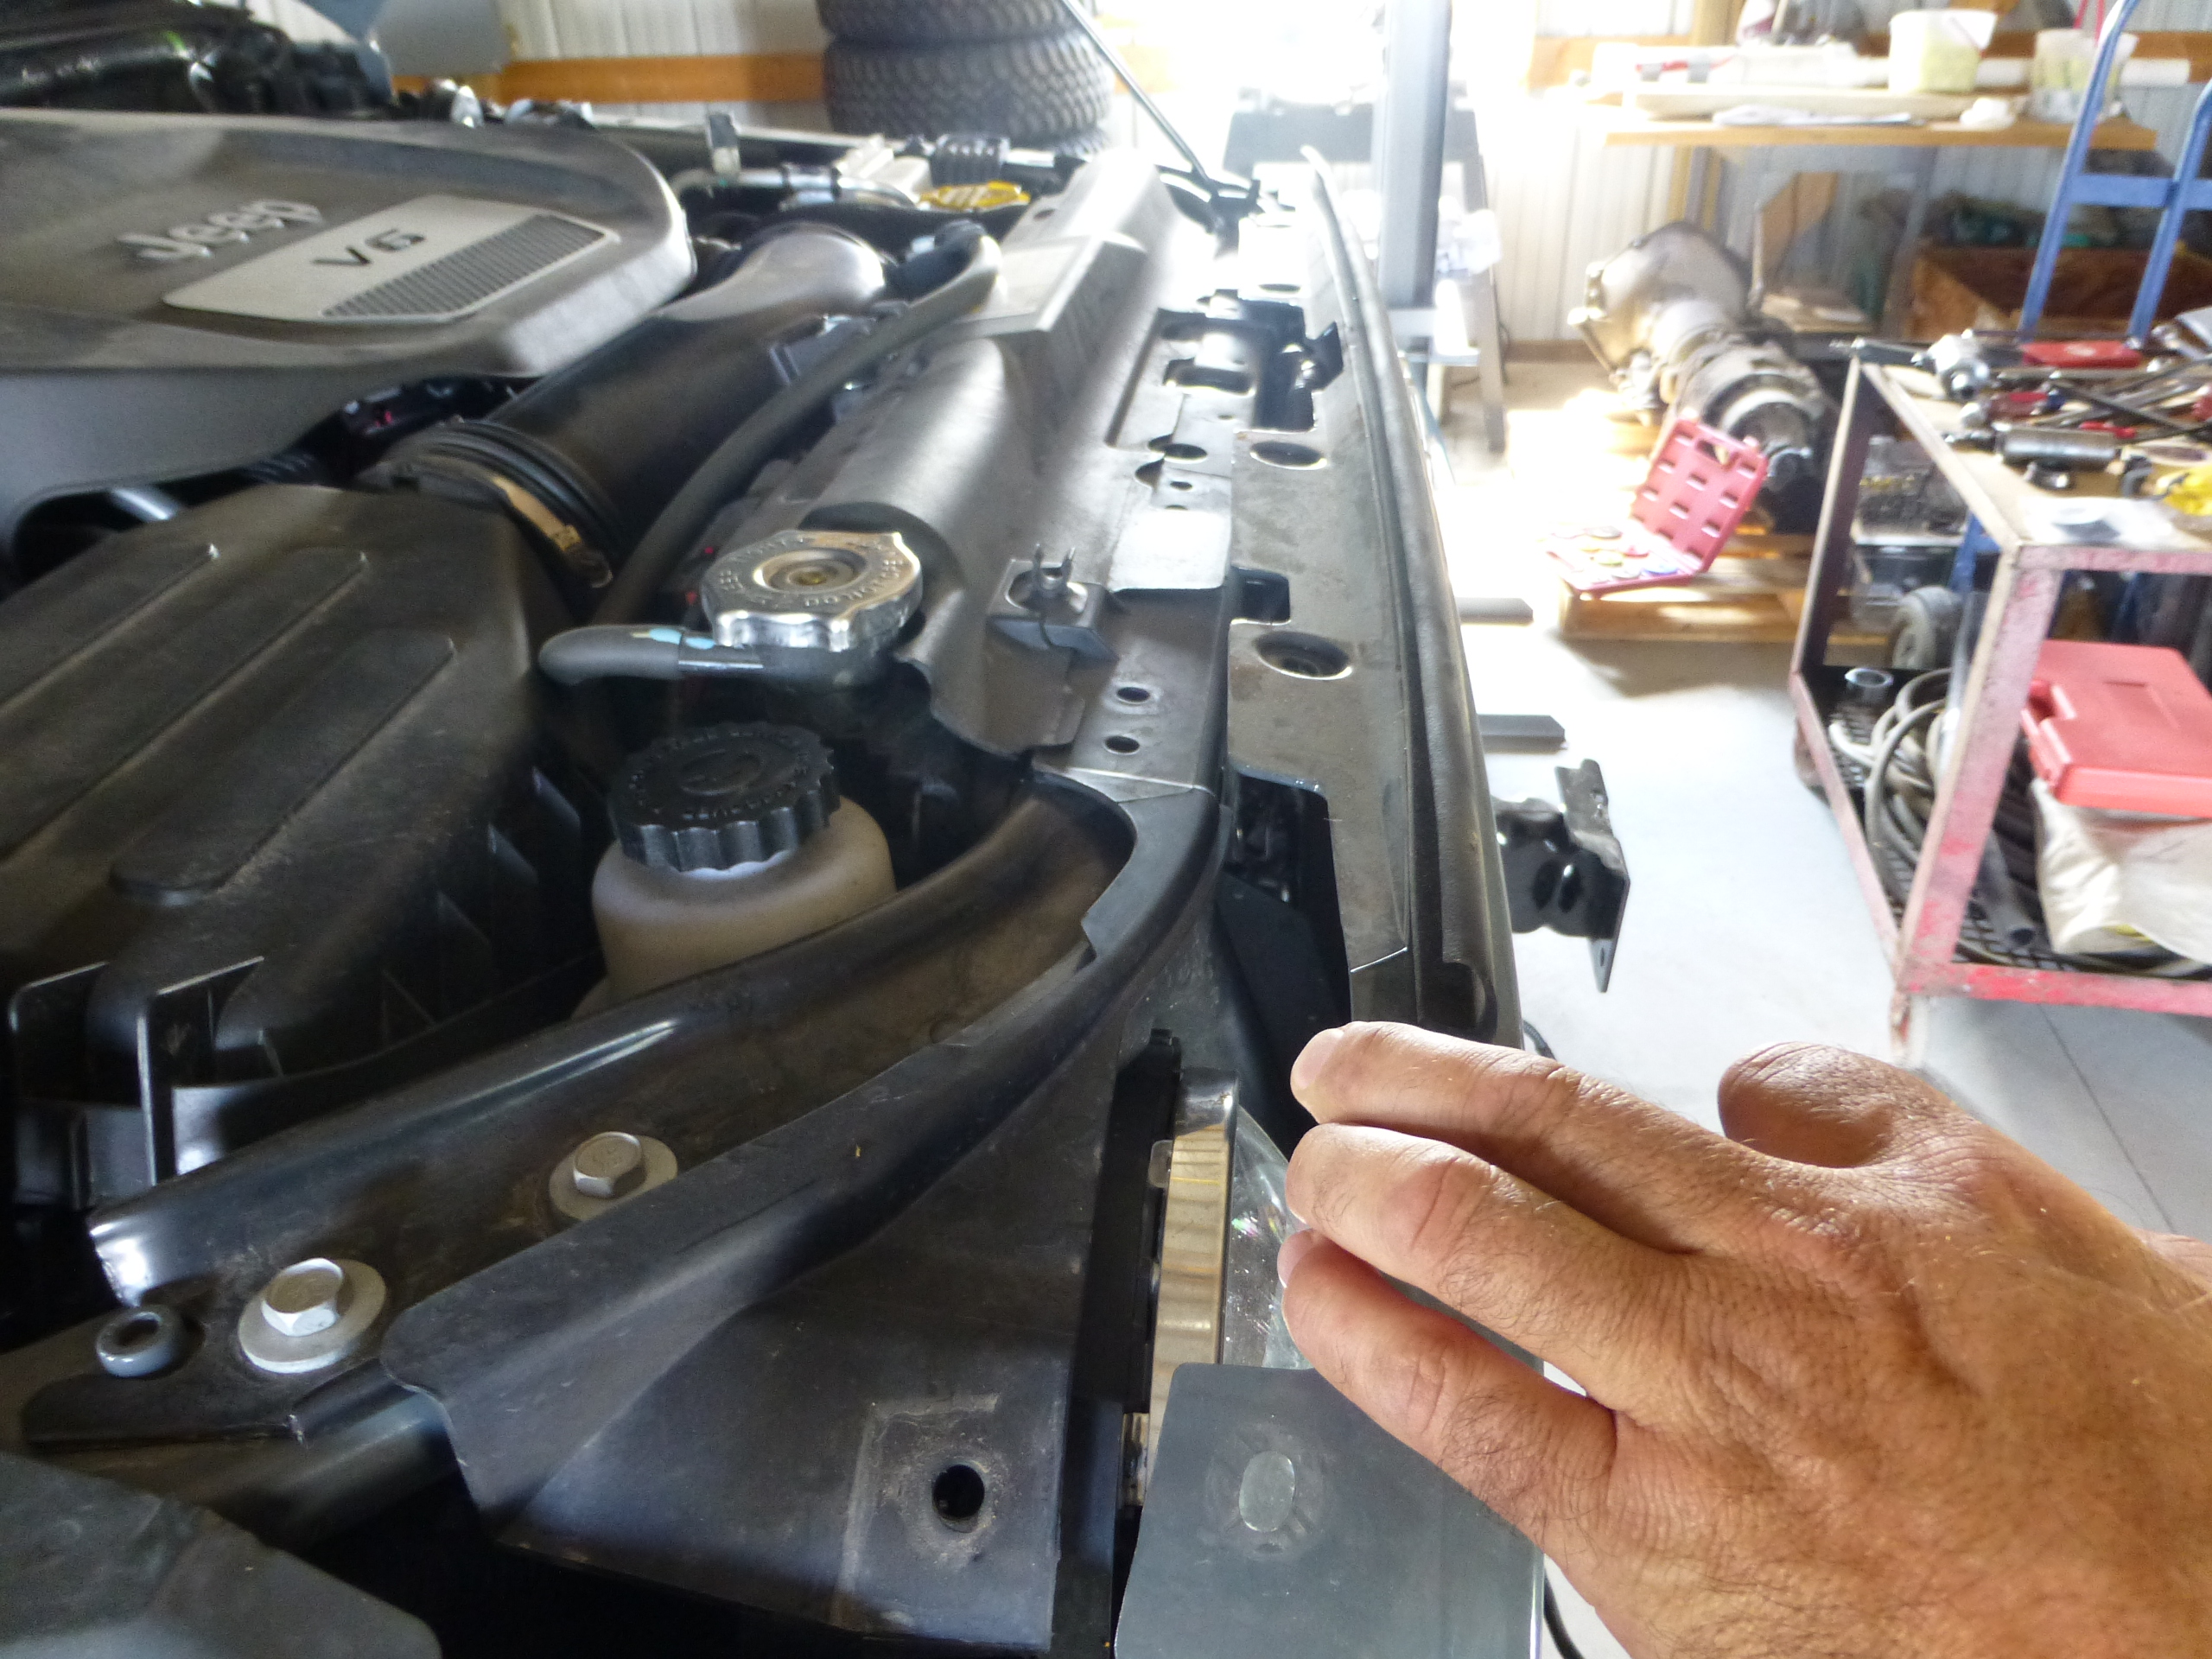
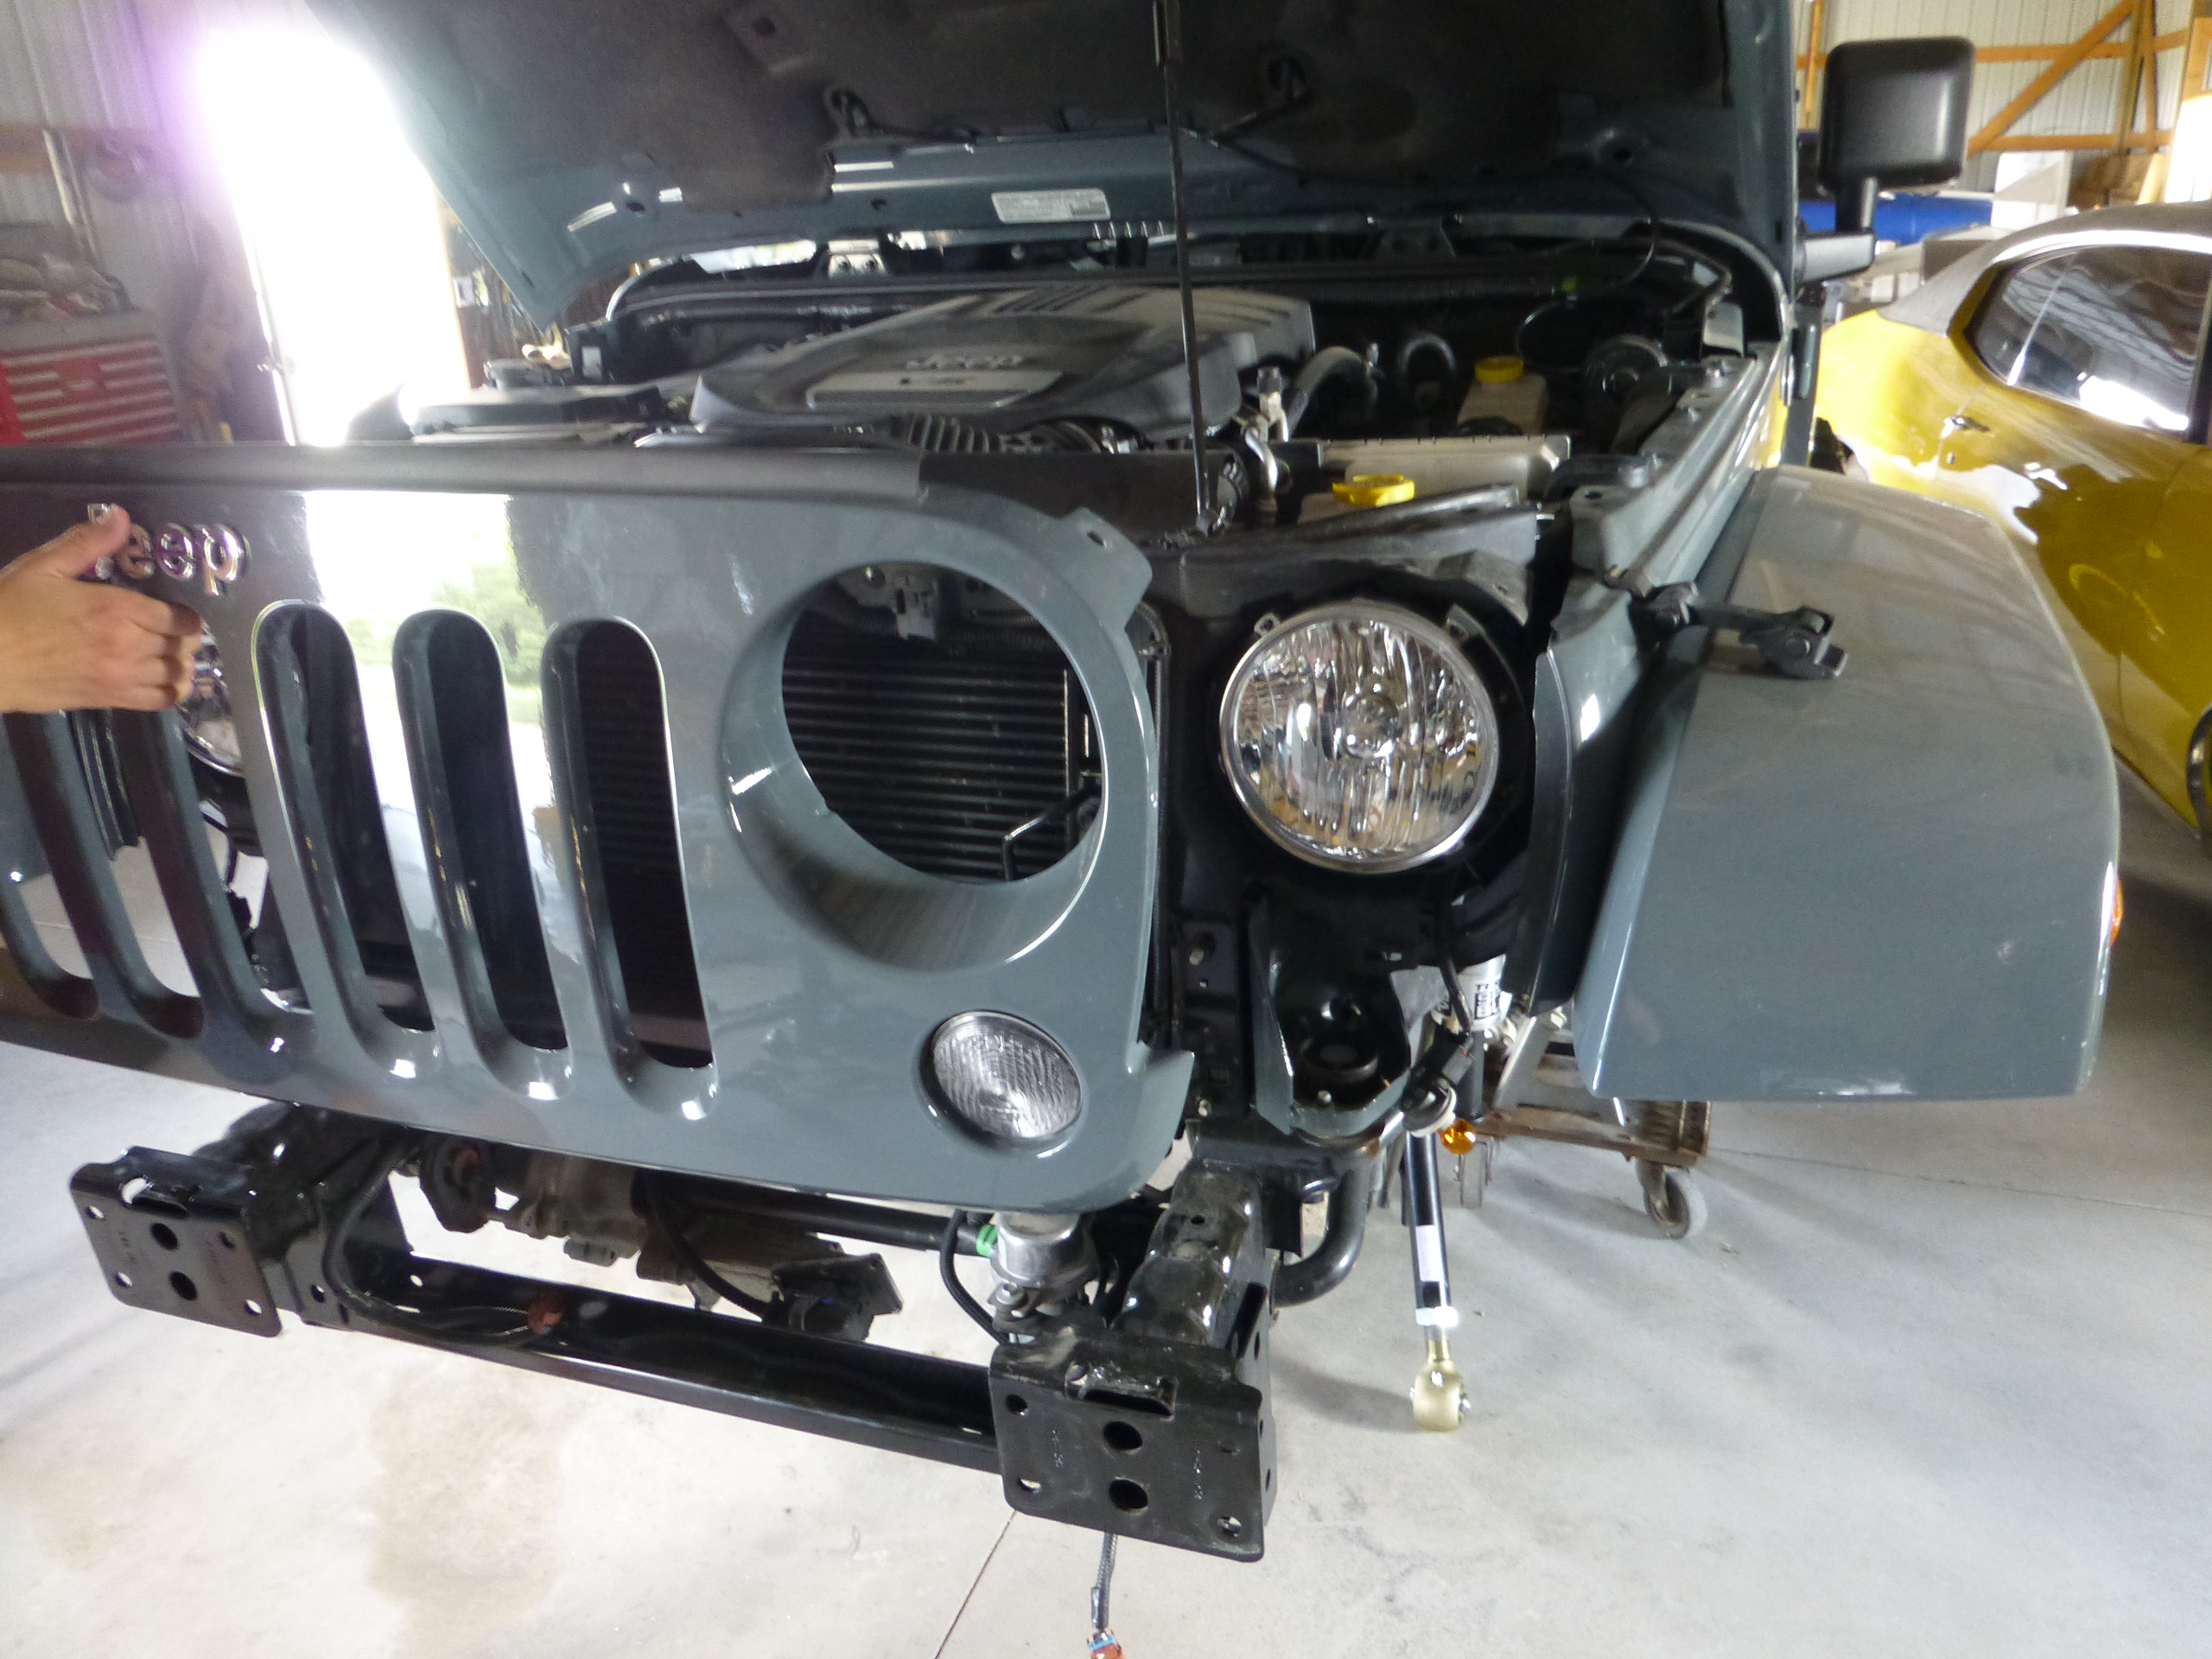

With the new lamps unboxed, we plugged the supplied adapter to the factory harness and then into the back of the new lamp. There is enough room to loop the new wiring in the recess so it is clean and neatly tucked away. We then put the new Truck-Lite LED lamp into place with the retainer ring held in by a few torx head screws. After that we put the grill back on by putting the retaining clips back into place and voila… Done!


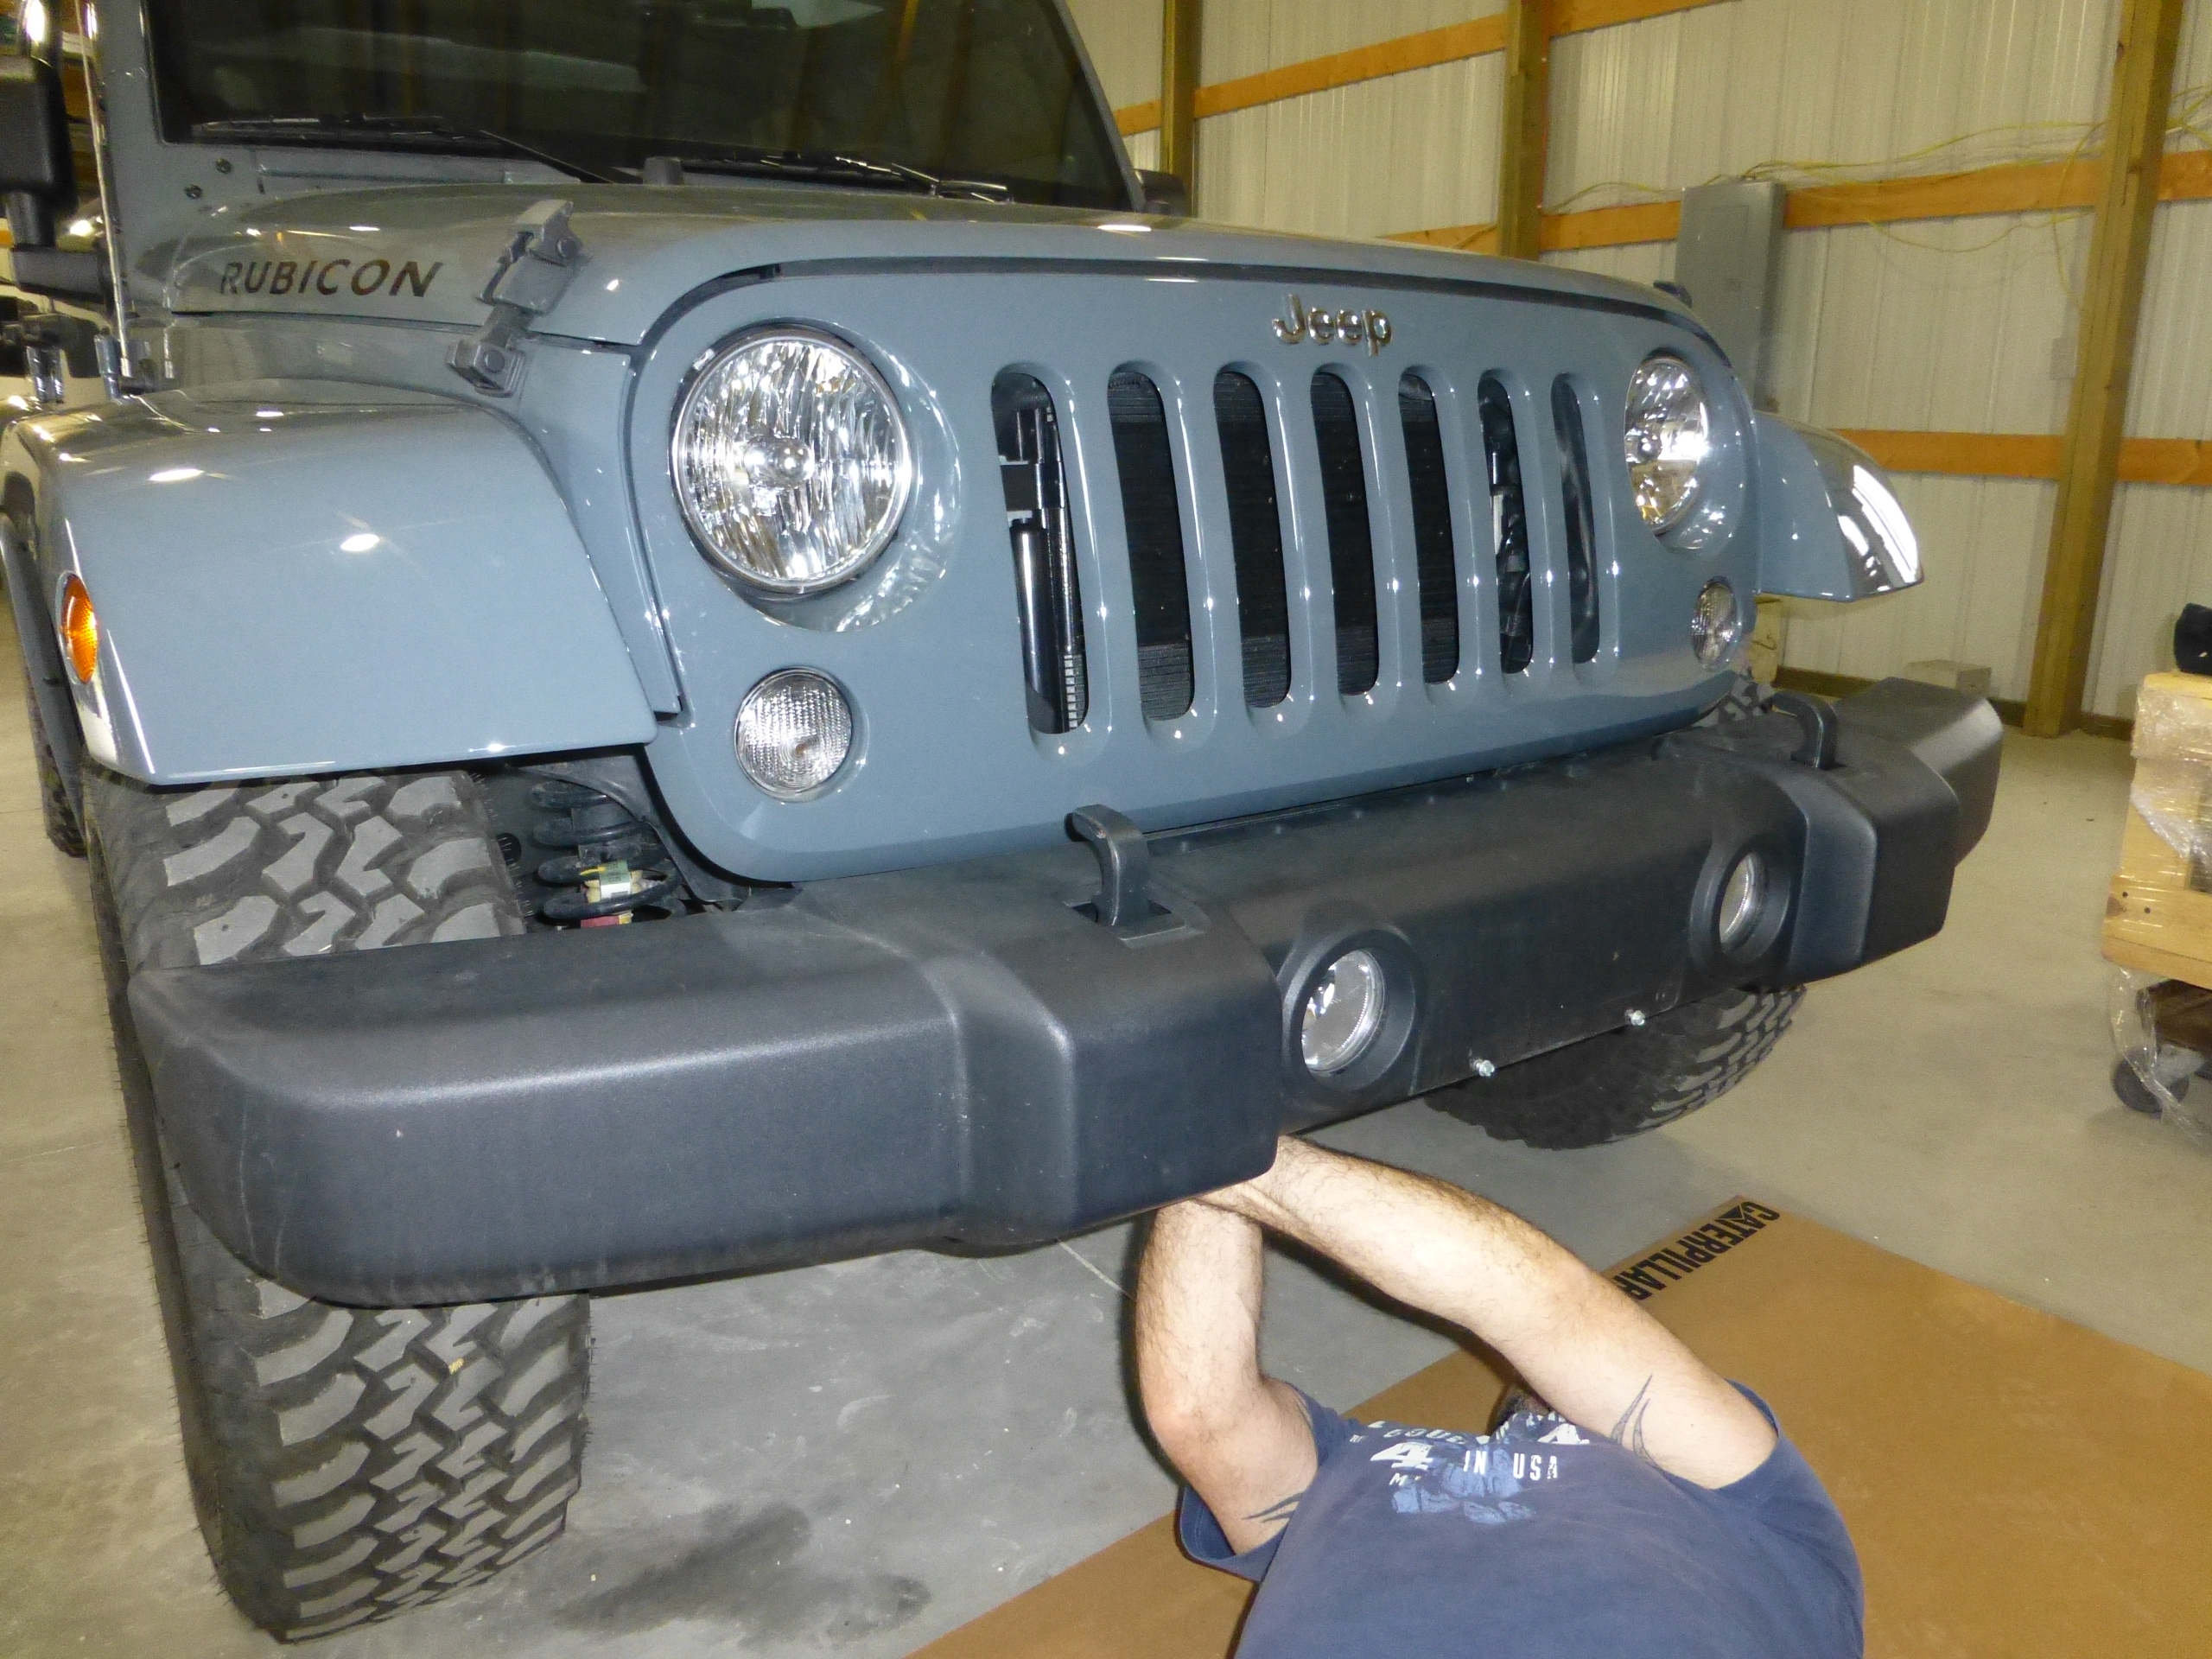
Teraflex “Rock Guard Epic Bumper”:
Even though we had installed the grill after the new lights were installed; we went ahead and pulled it back off to ease in the installation of the new Rock Guard Epic Front Bumper from Teraflex.
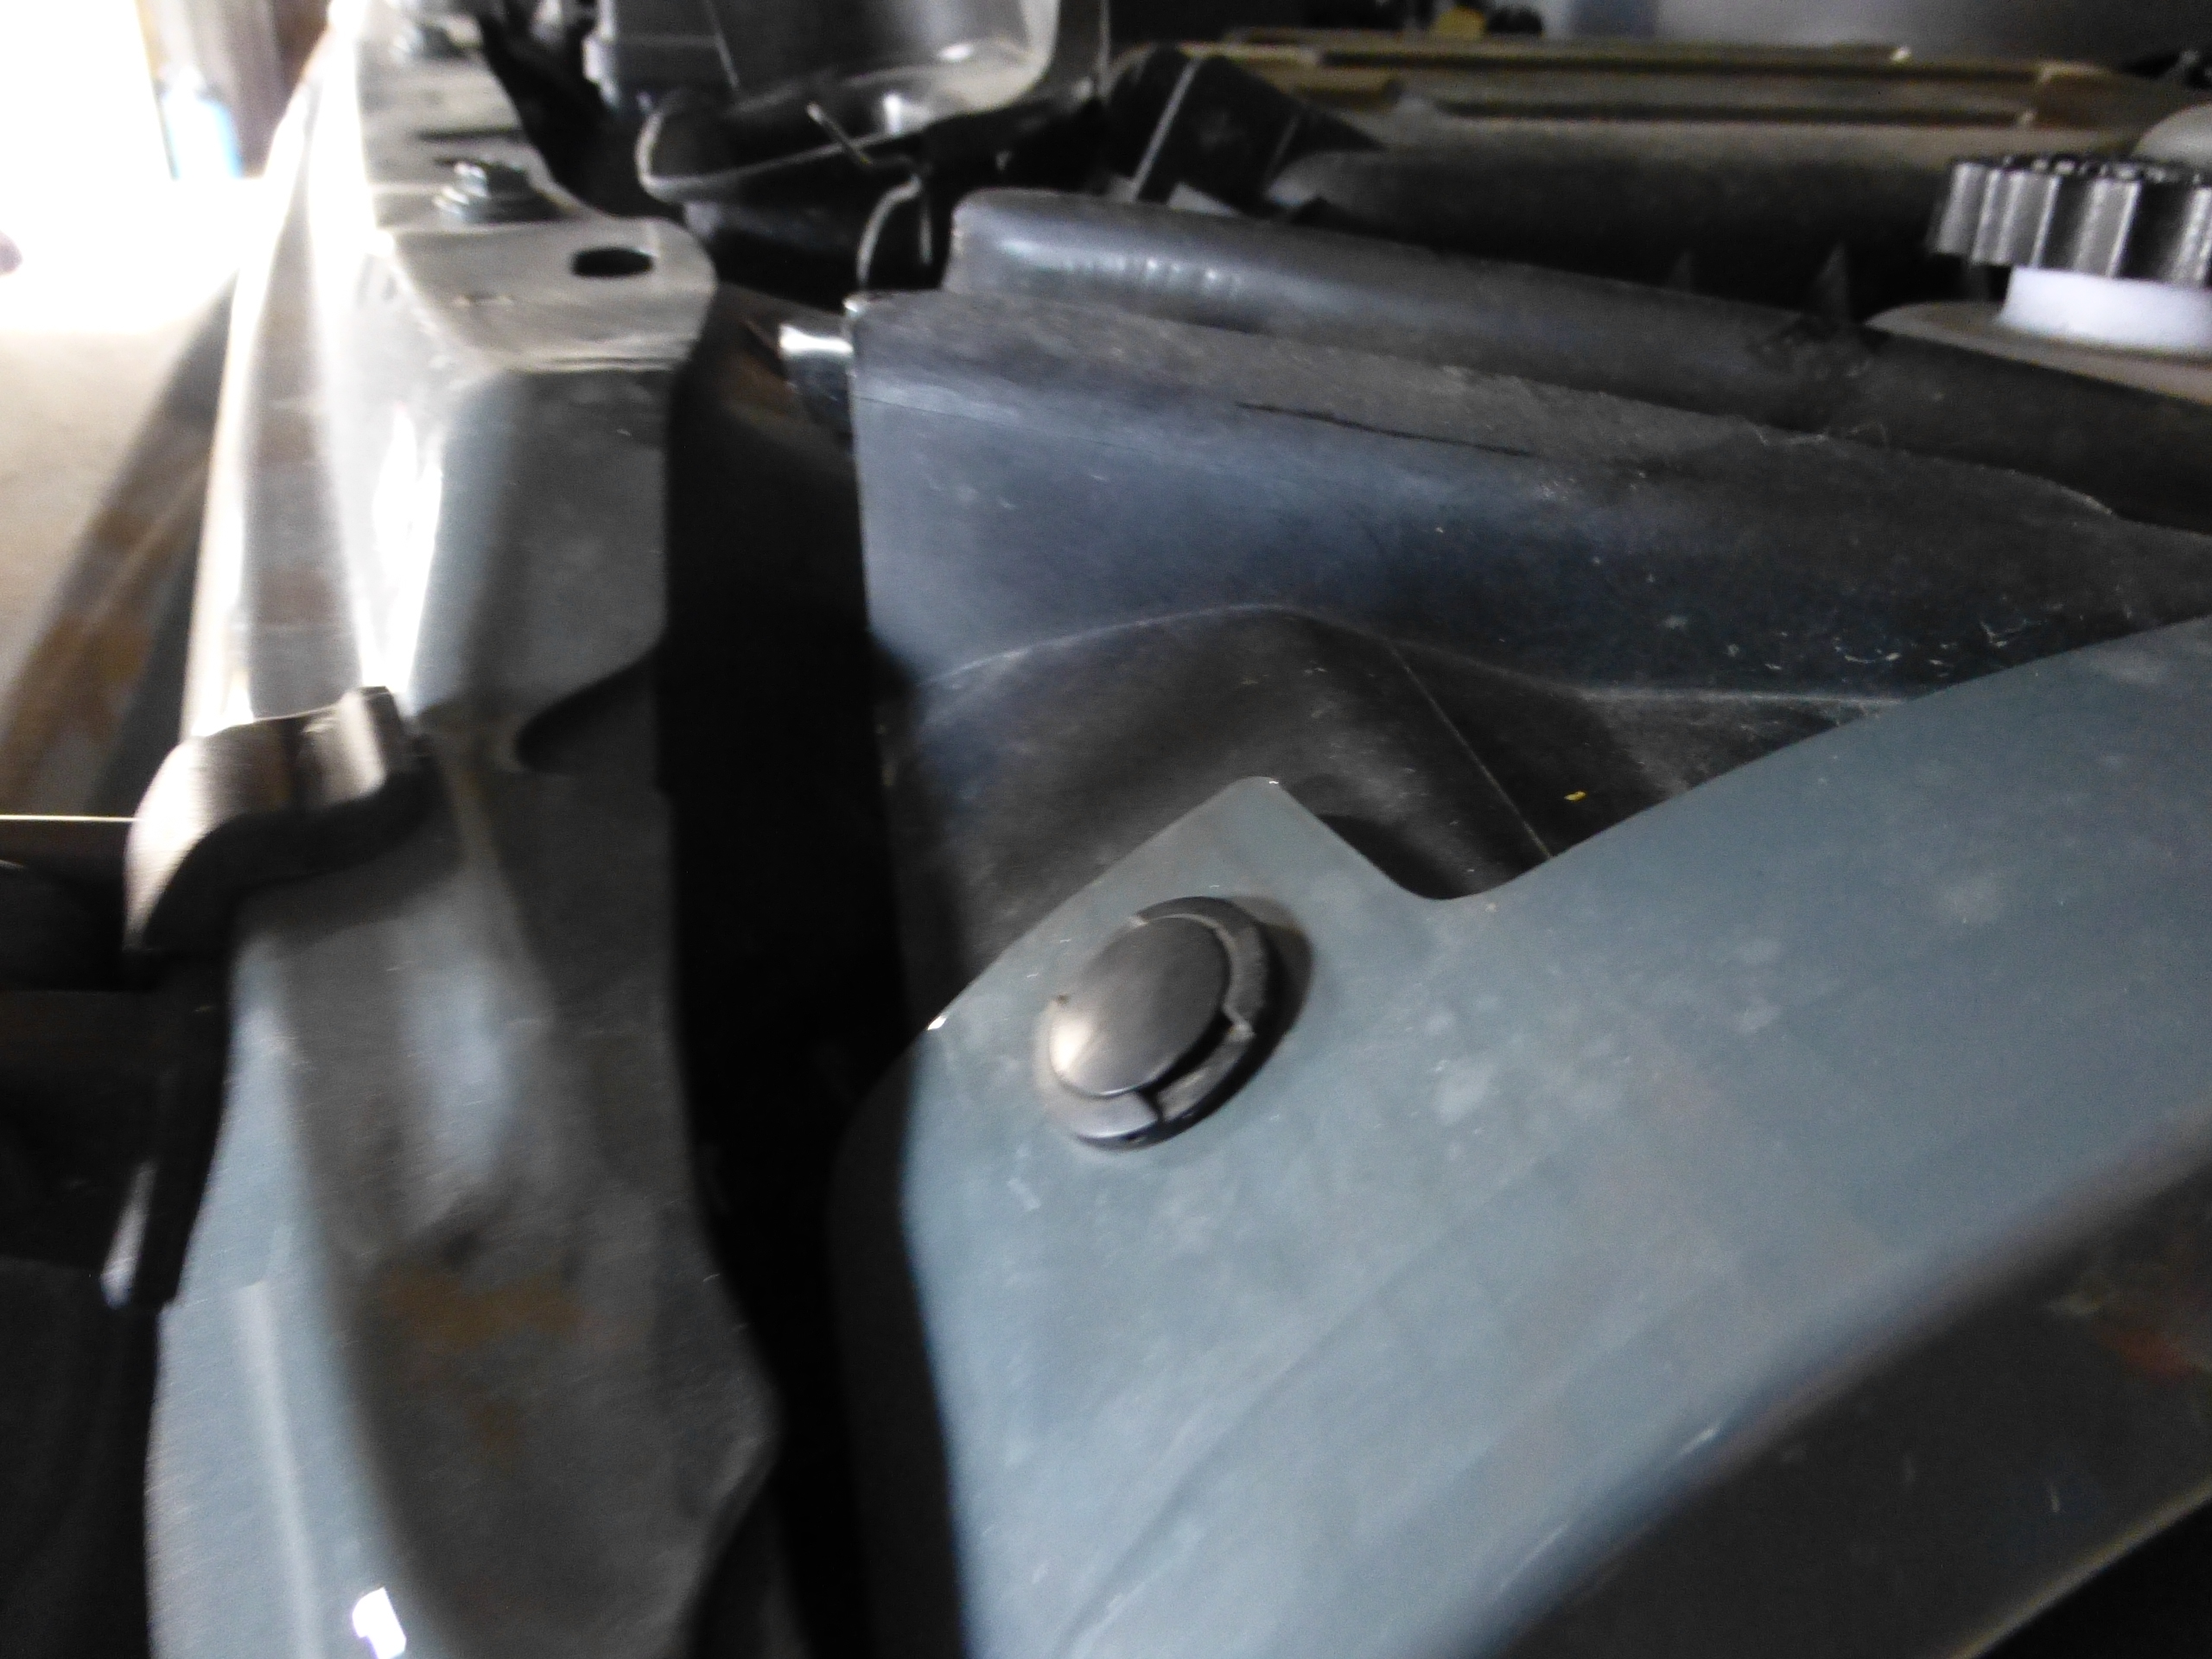
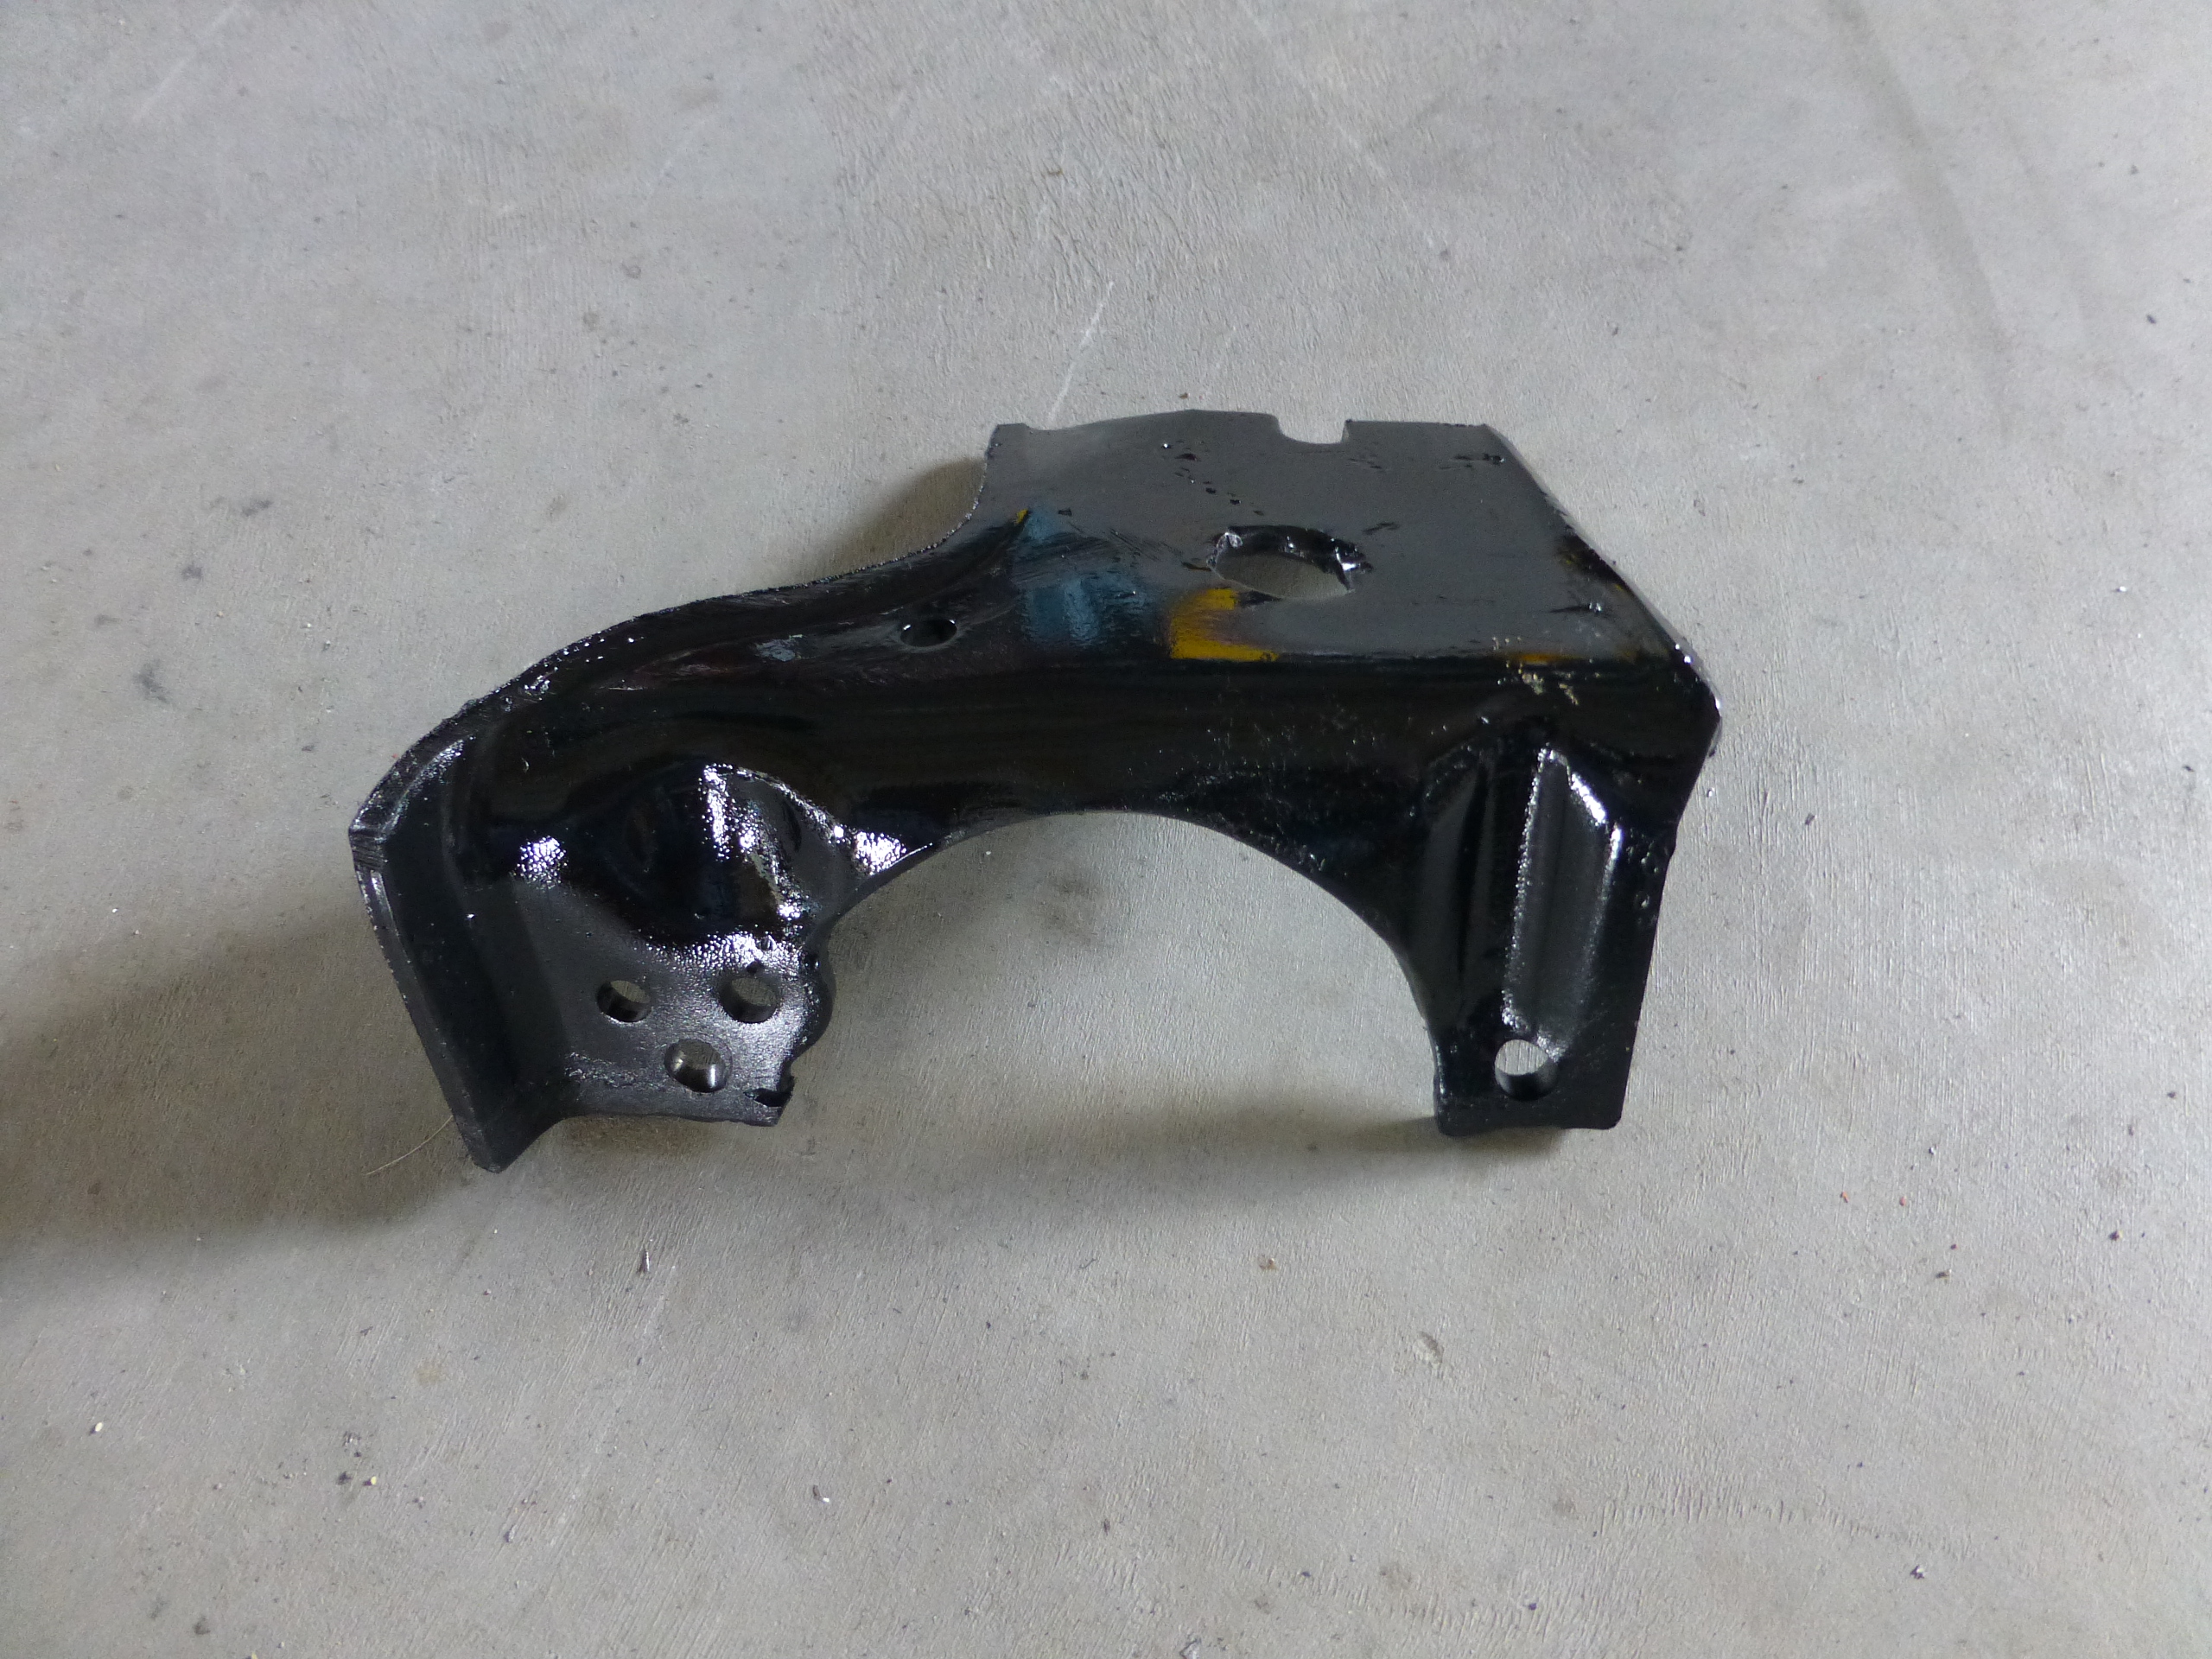
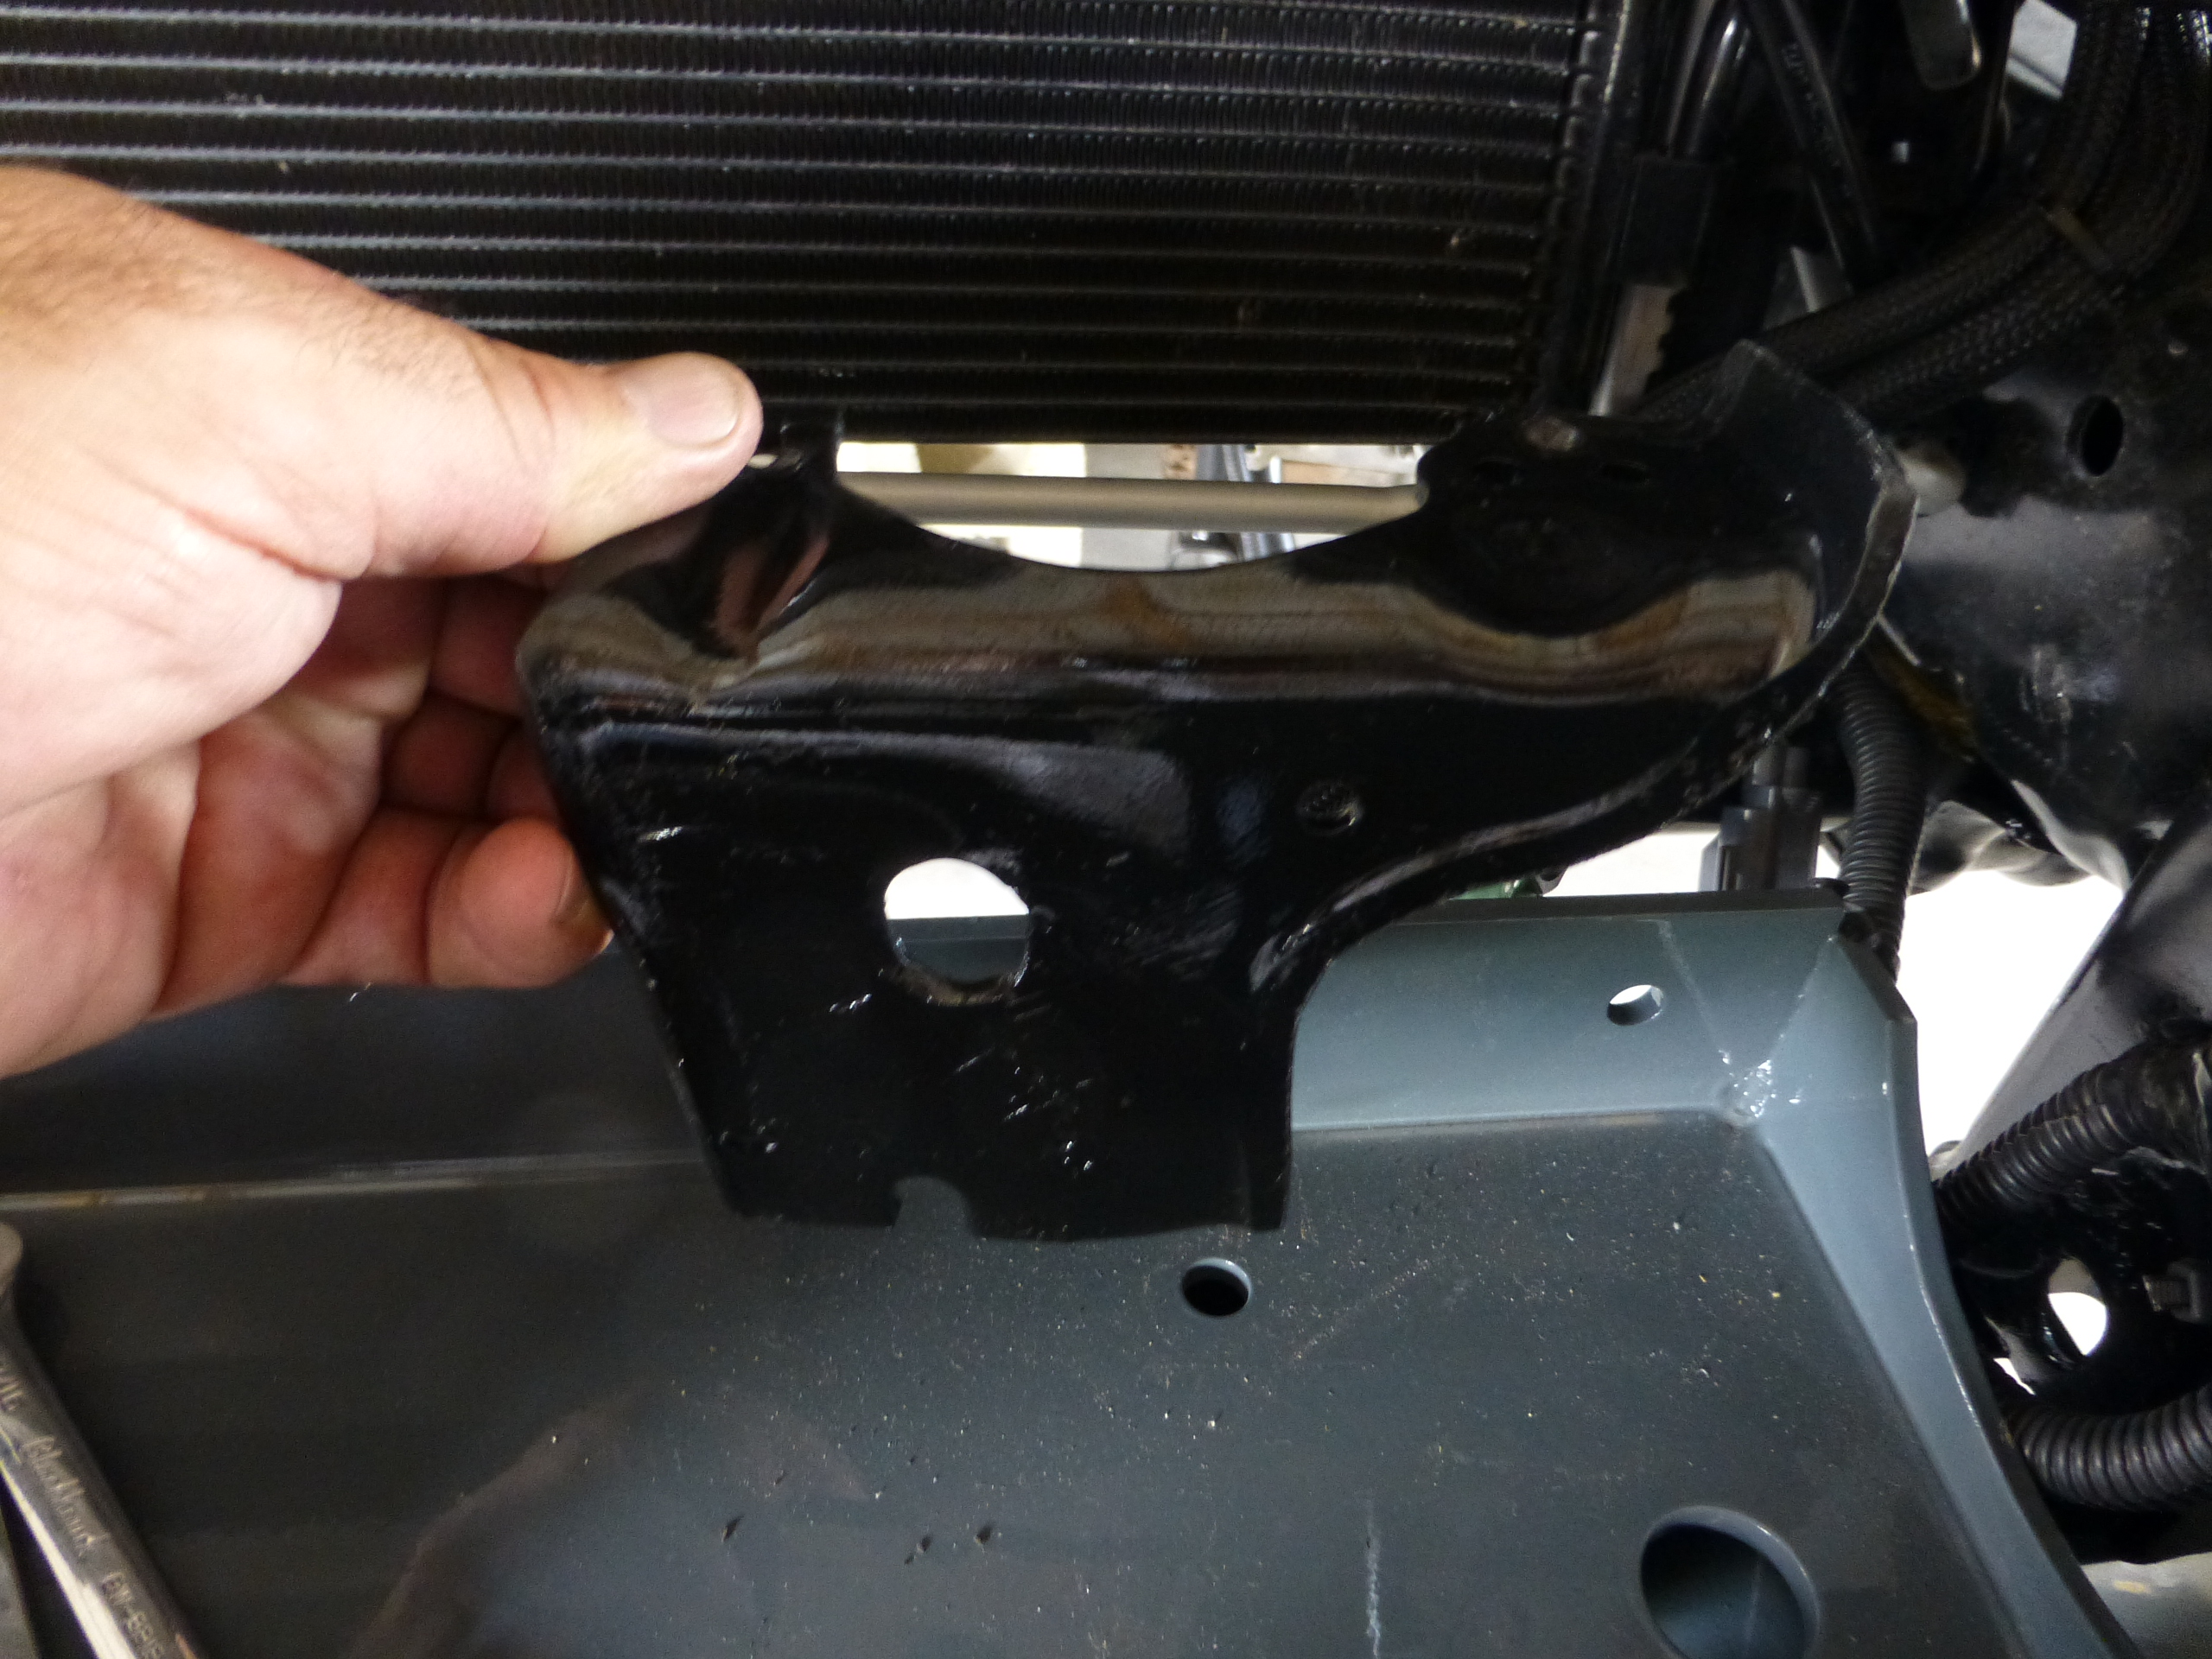
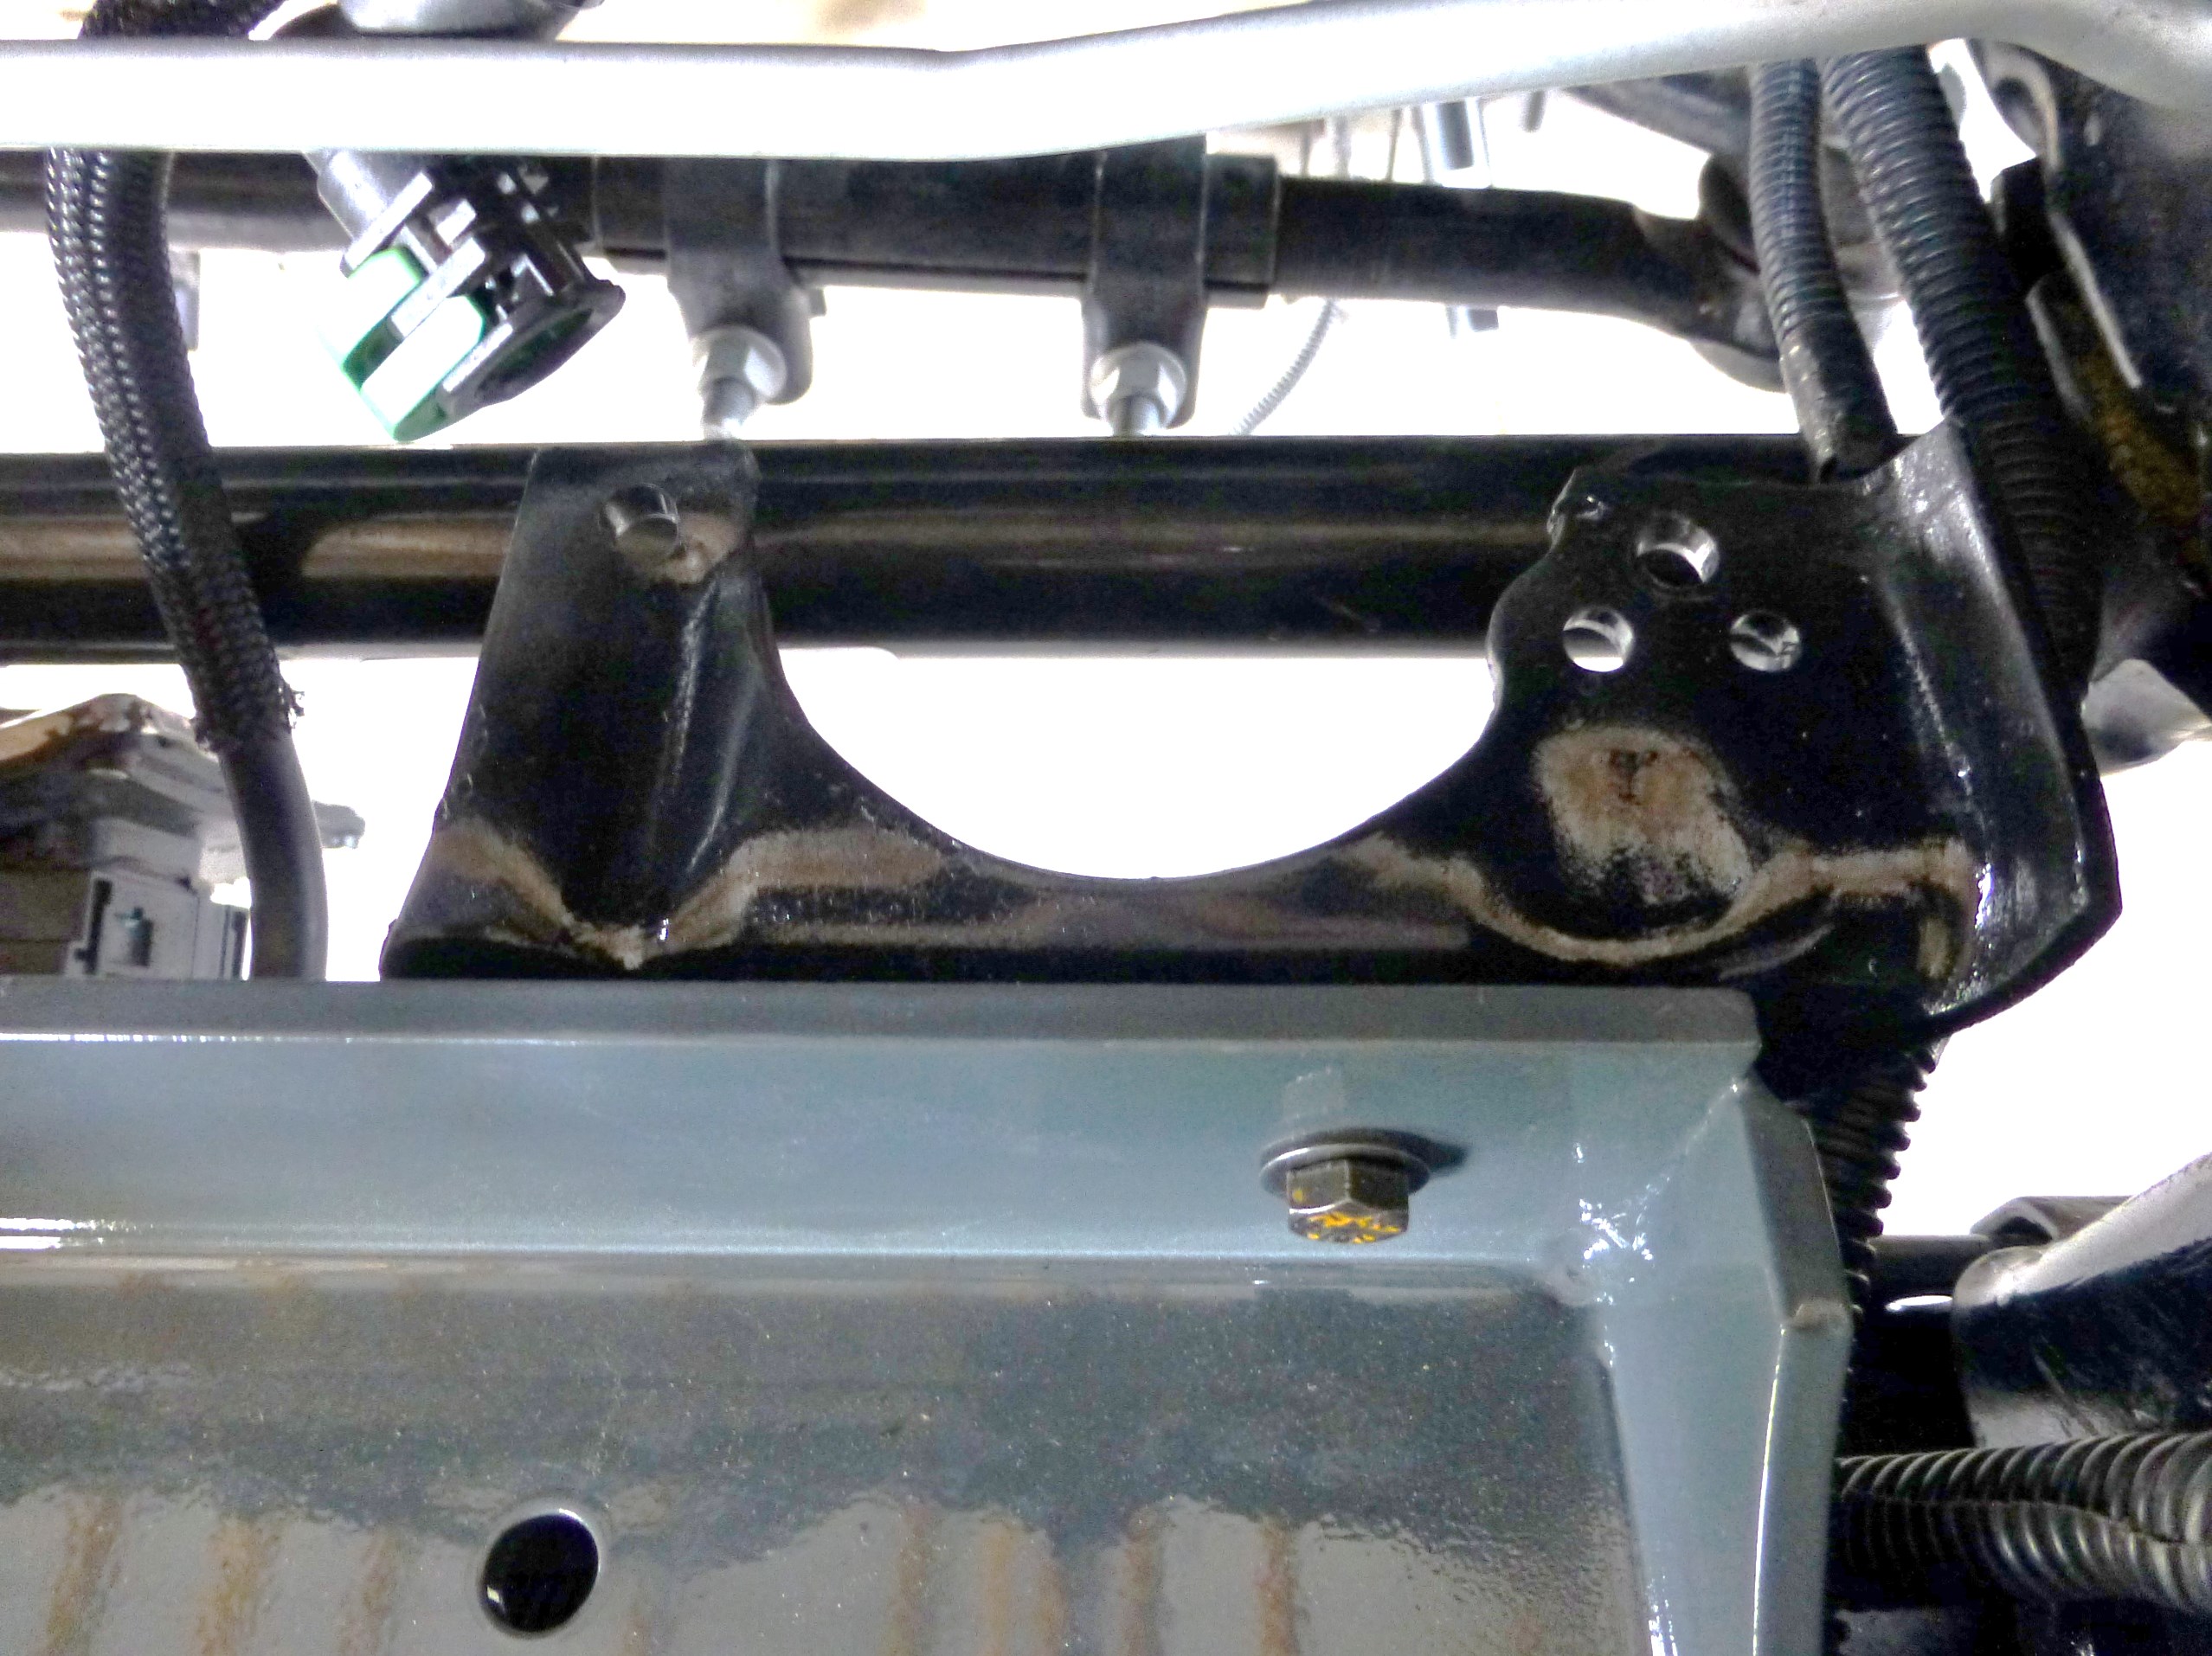
We put the bumper in place with intentions of bolting it up, but found that there were a couple of components that were in the way and interfered with just “bolting it into place”. Not that it was a huge deal or something that we couldn’t work around, we just had to make a couple of alterations. On the passenger side there is a rubber hanger (much like an exhaust hanger) that we had to trim back just a little to make space on that side of the Jeep. On the driver side there was a little more work to do but yet again, nothing that we couldn’t handle. There is a brake booster air pump that was in the way. We had to cut the bracket that holds the unit away from the frame so we could modify it and make a new mount.

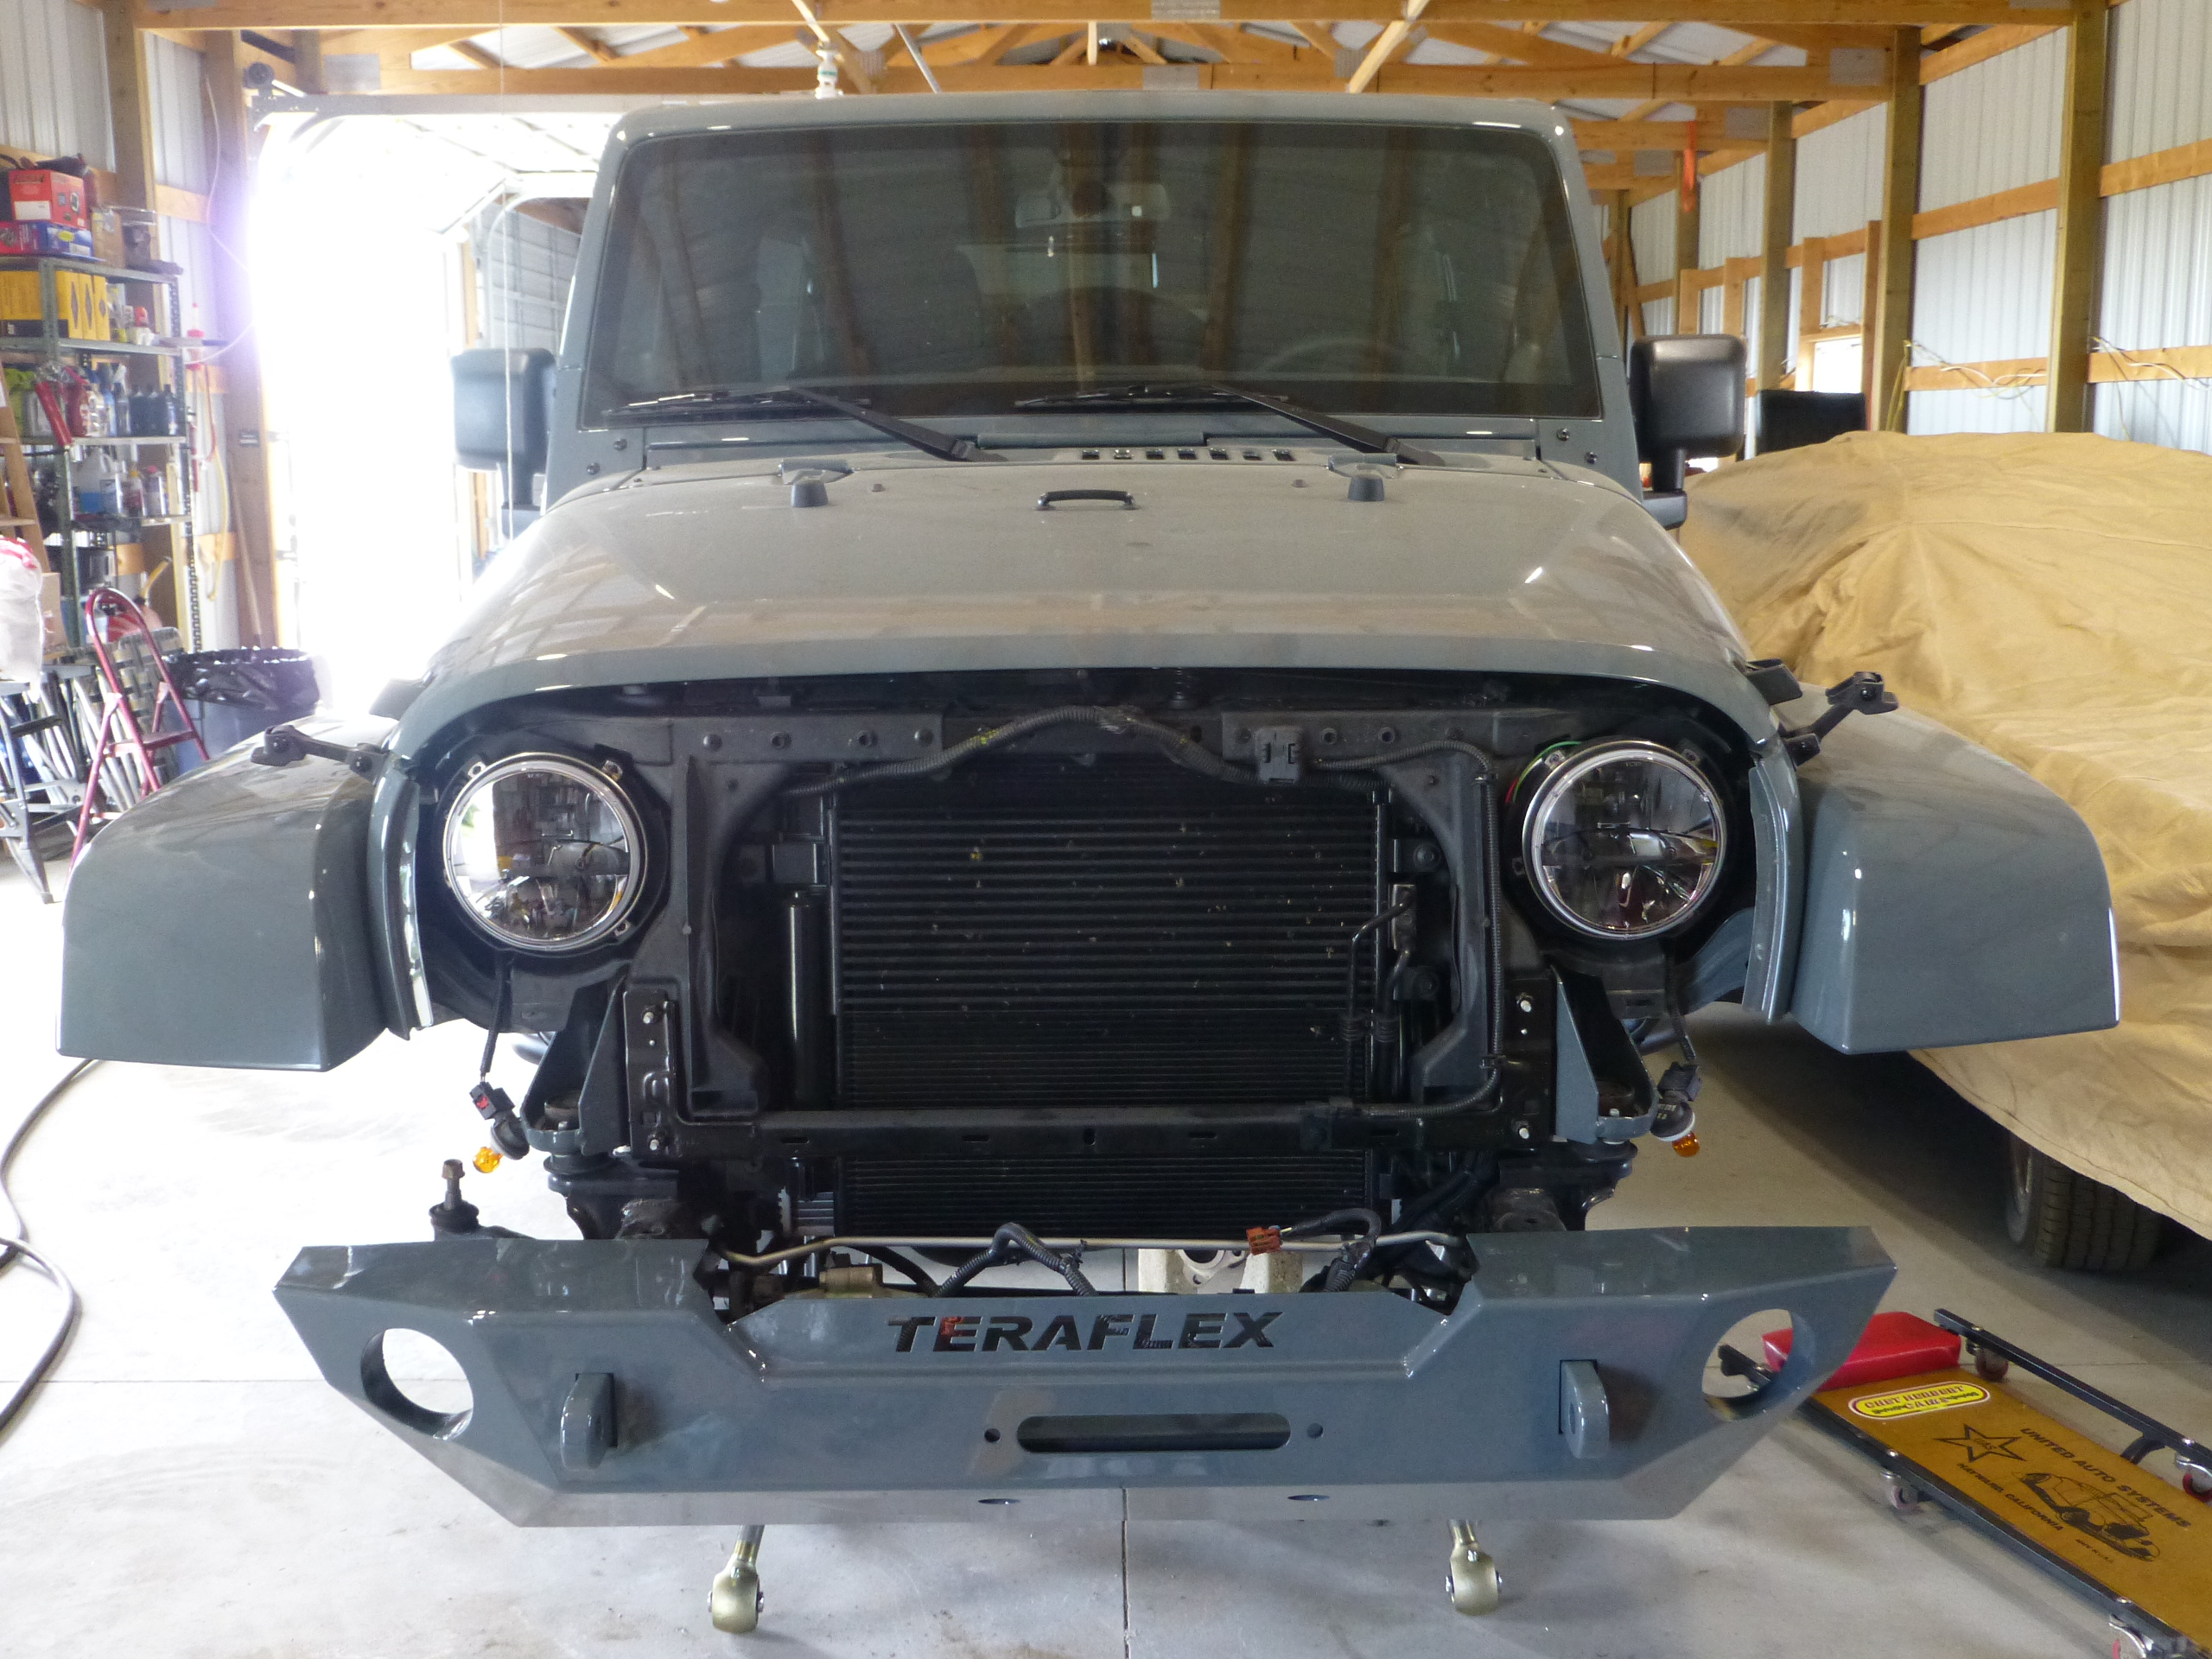
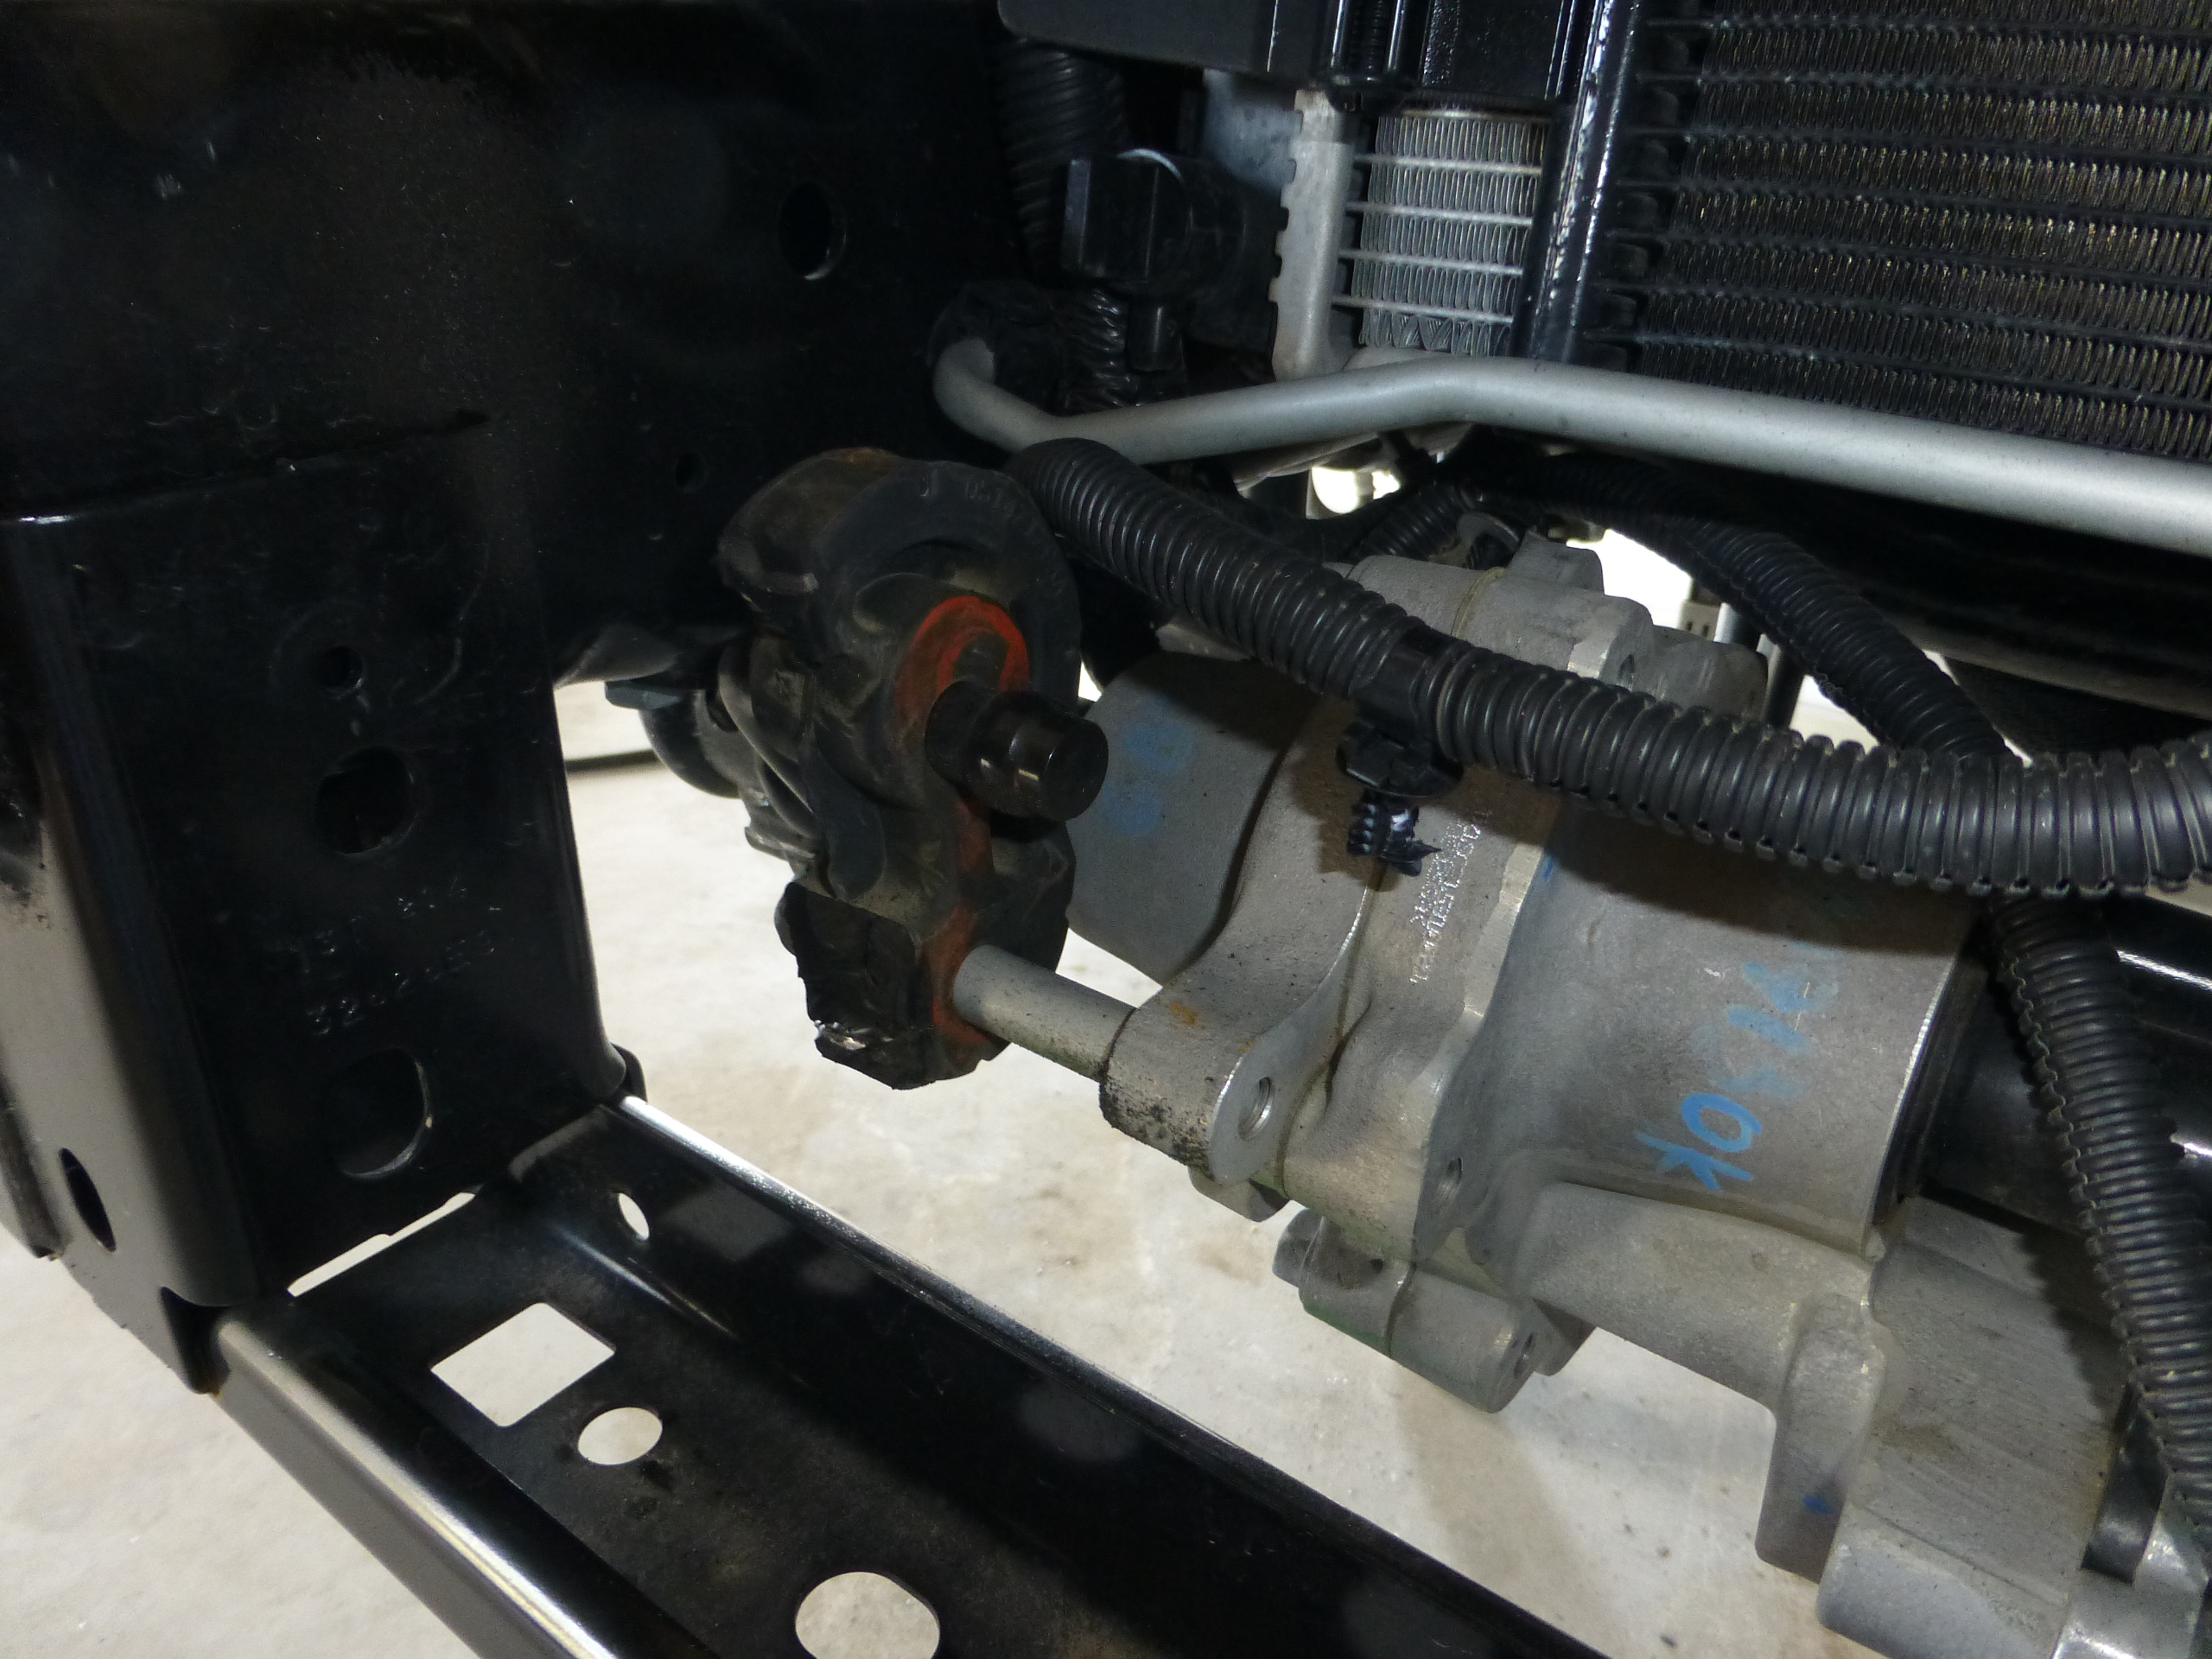

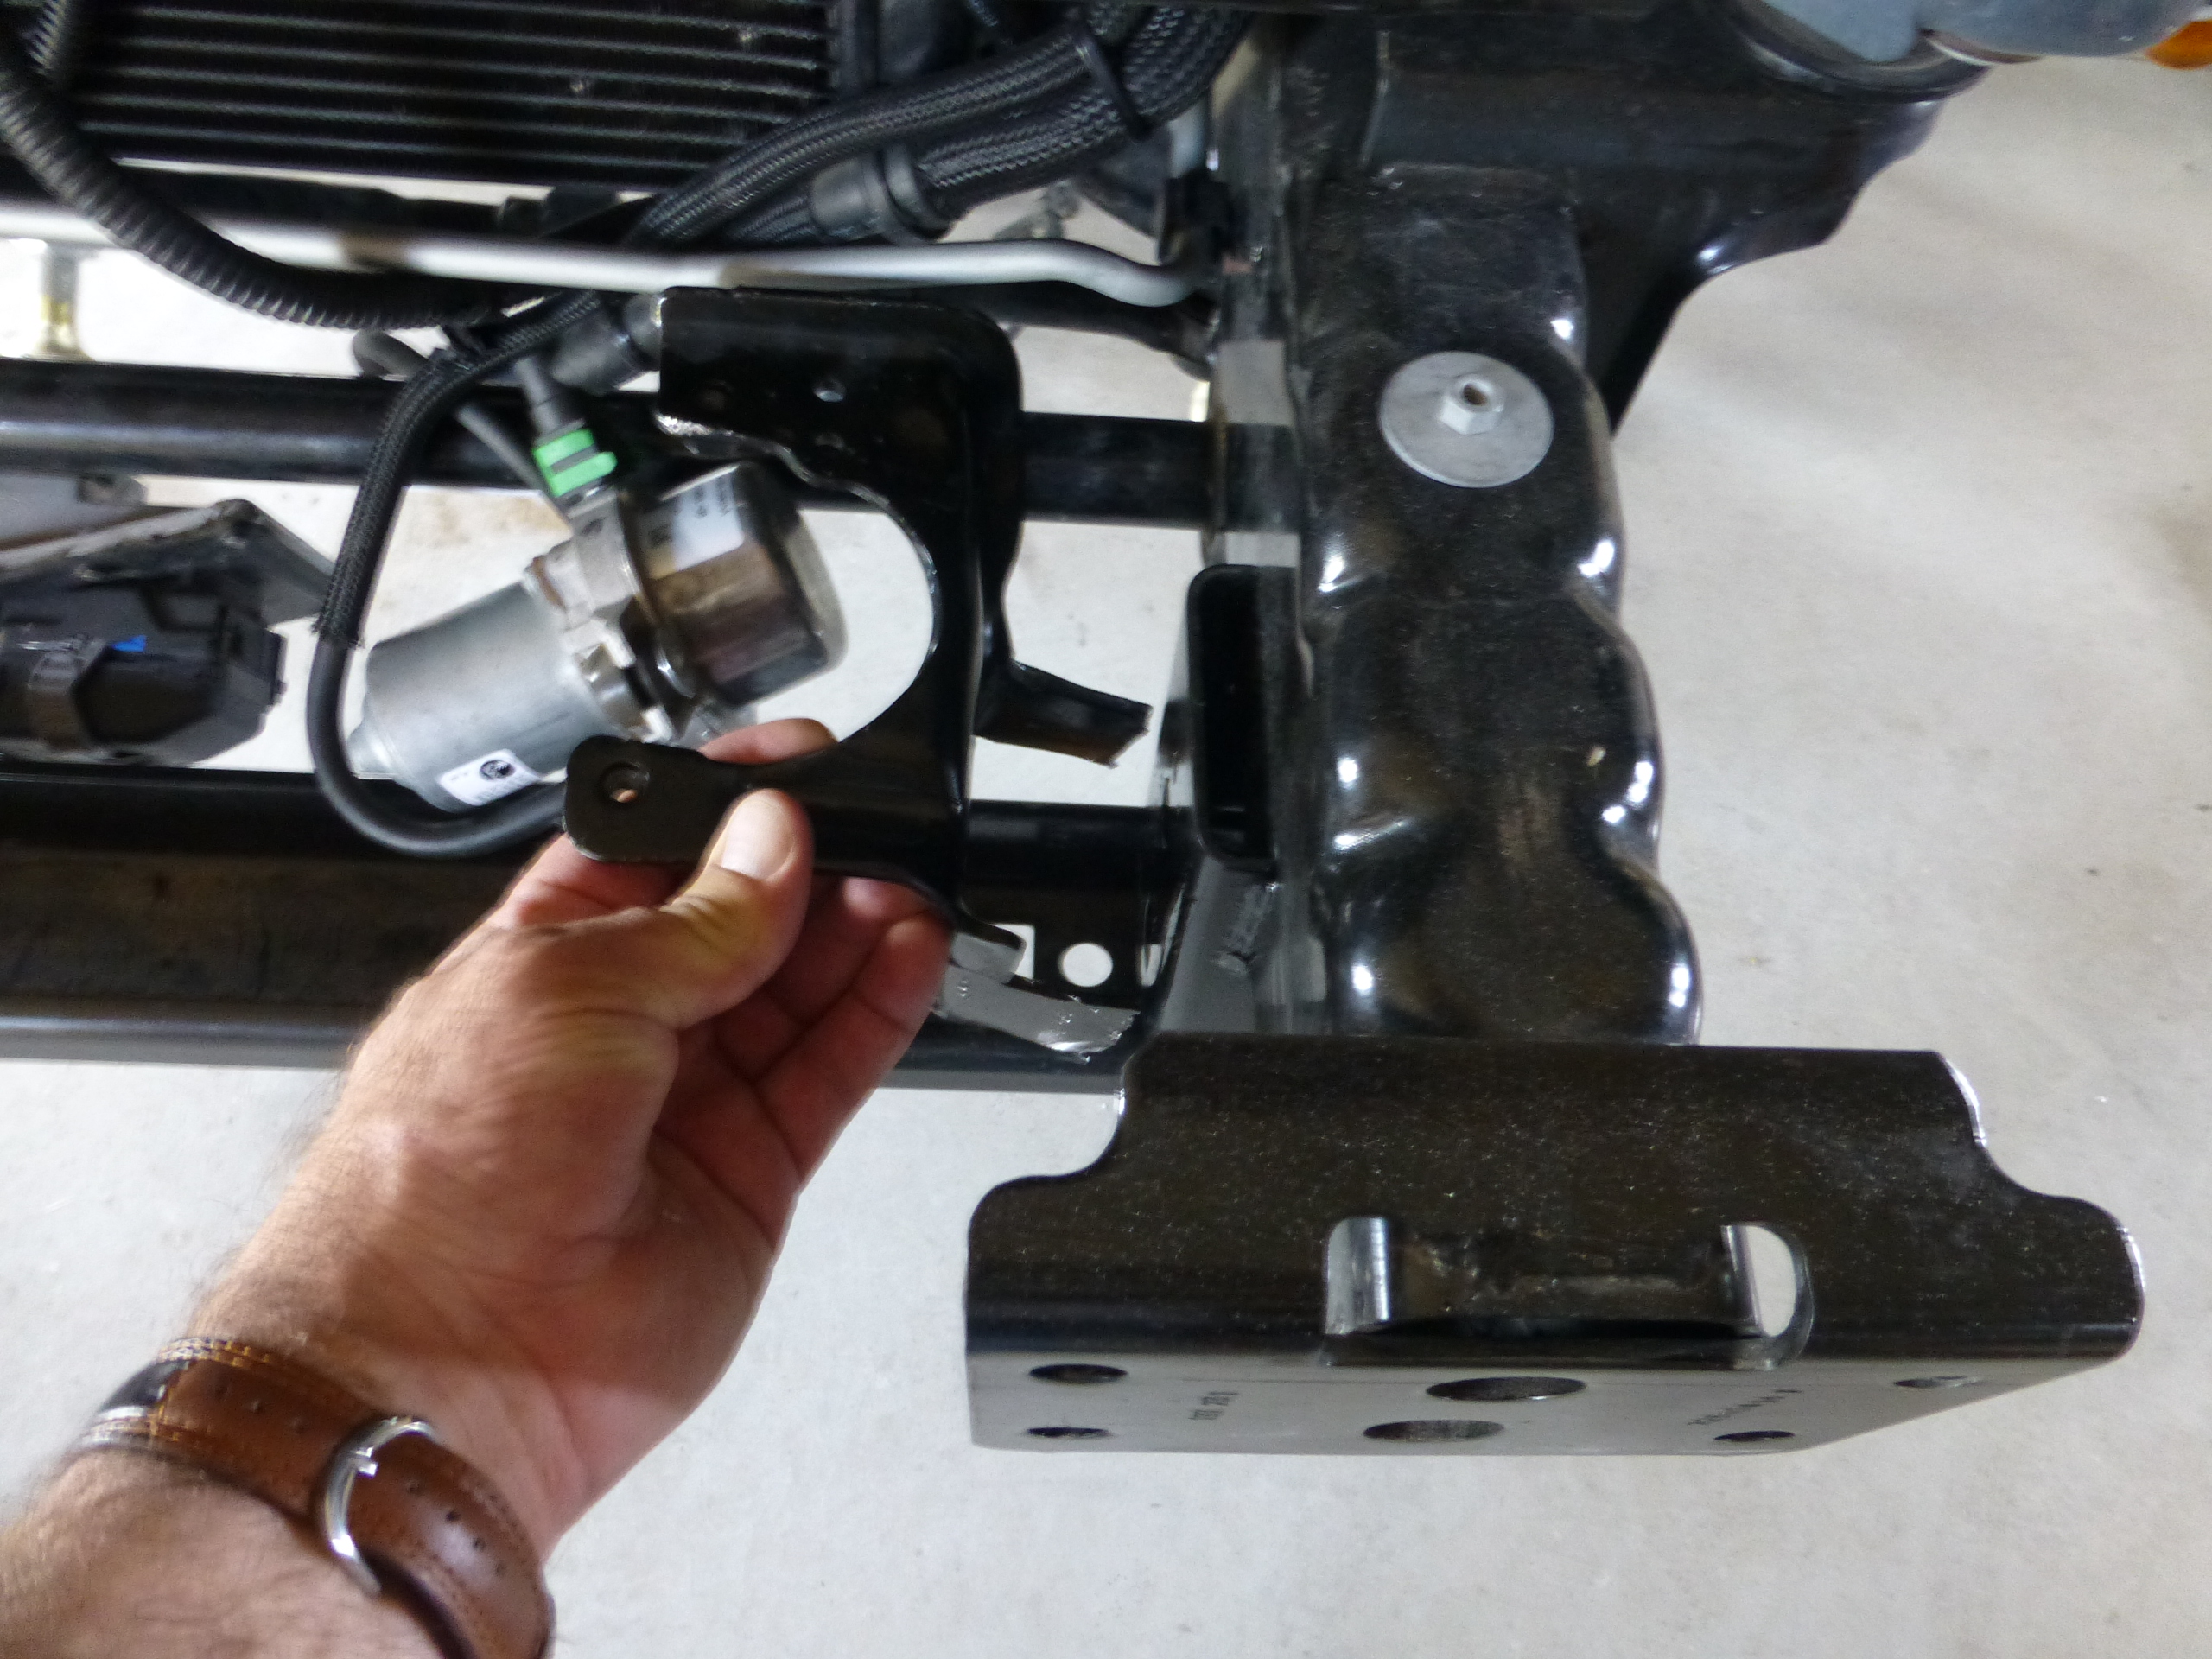
We set the bumper back on to confirm the fit and looked at our different options; we found one we felt would work best for our use and intentions. We also wanted to make sure it was close to the original location so we wouldn’t have to reroute anything. Once we found the proper location, we modified the bracket we had previously cut away from the frame buy trimming it down and straightening it out. There were a few holes that needed to be drilled so we could mount the modified bracket to the new bumper, and for the pump itself to mount to. Lastly the bracket was cleaned up and painted.

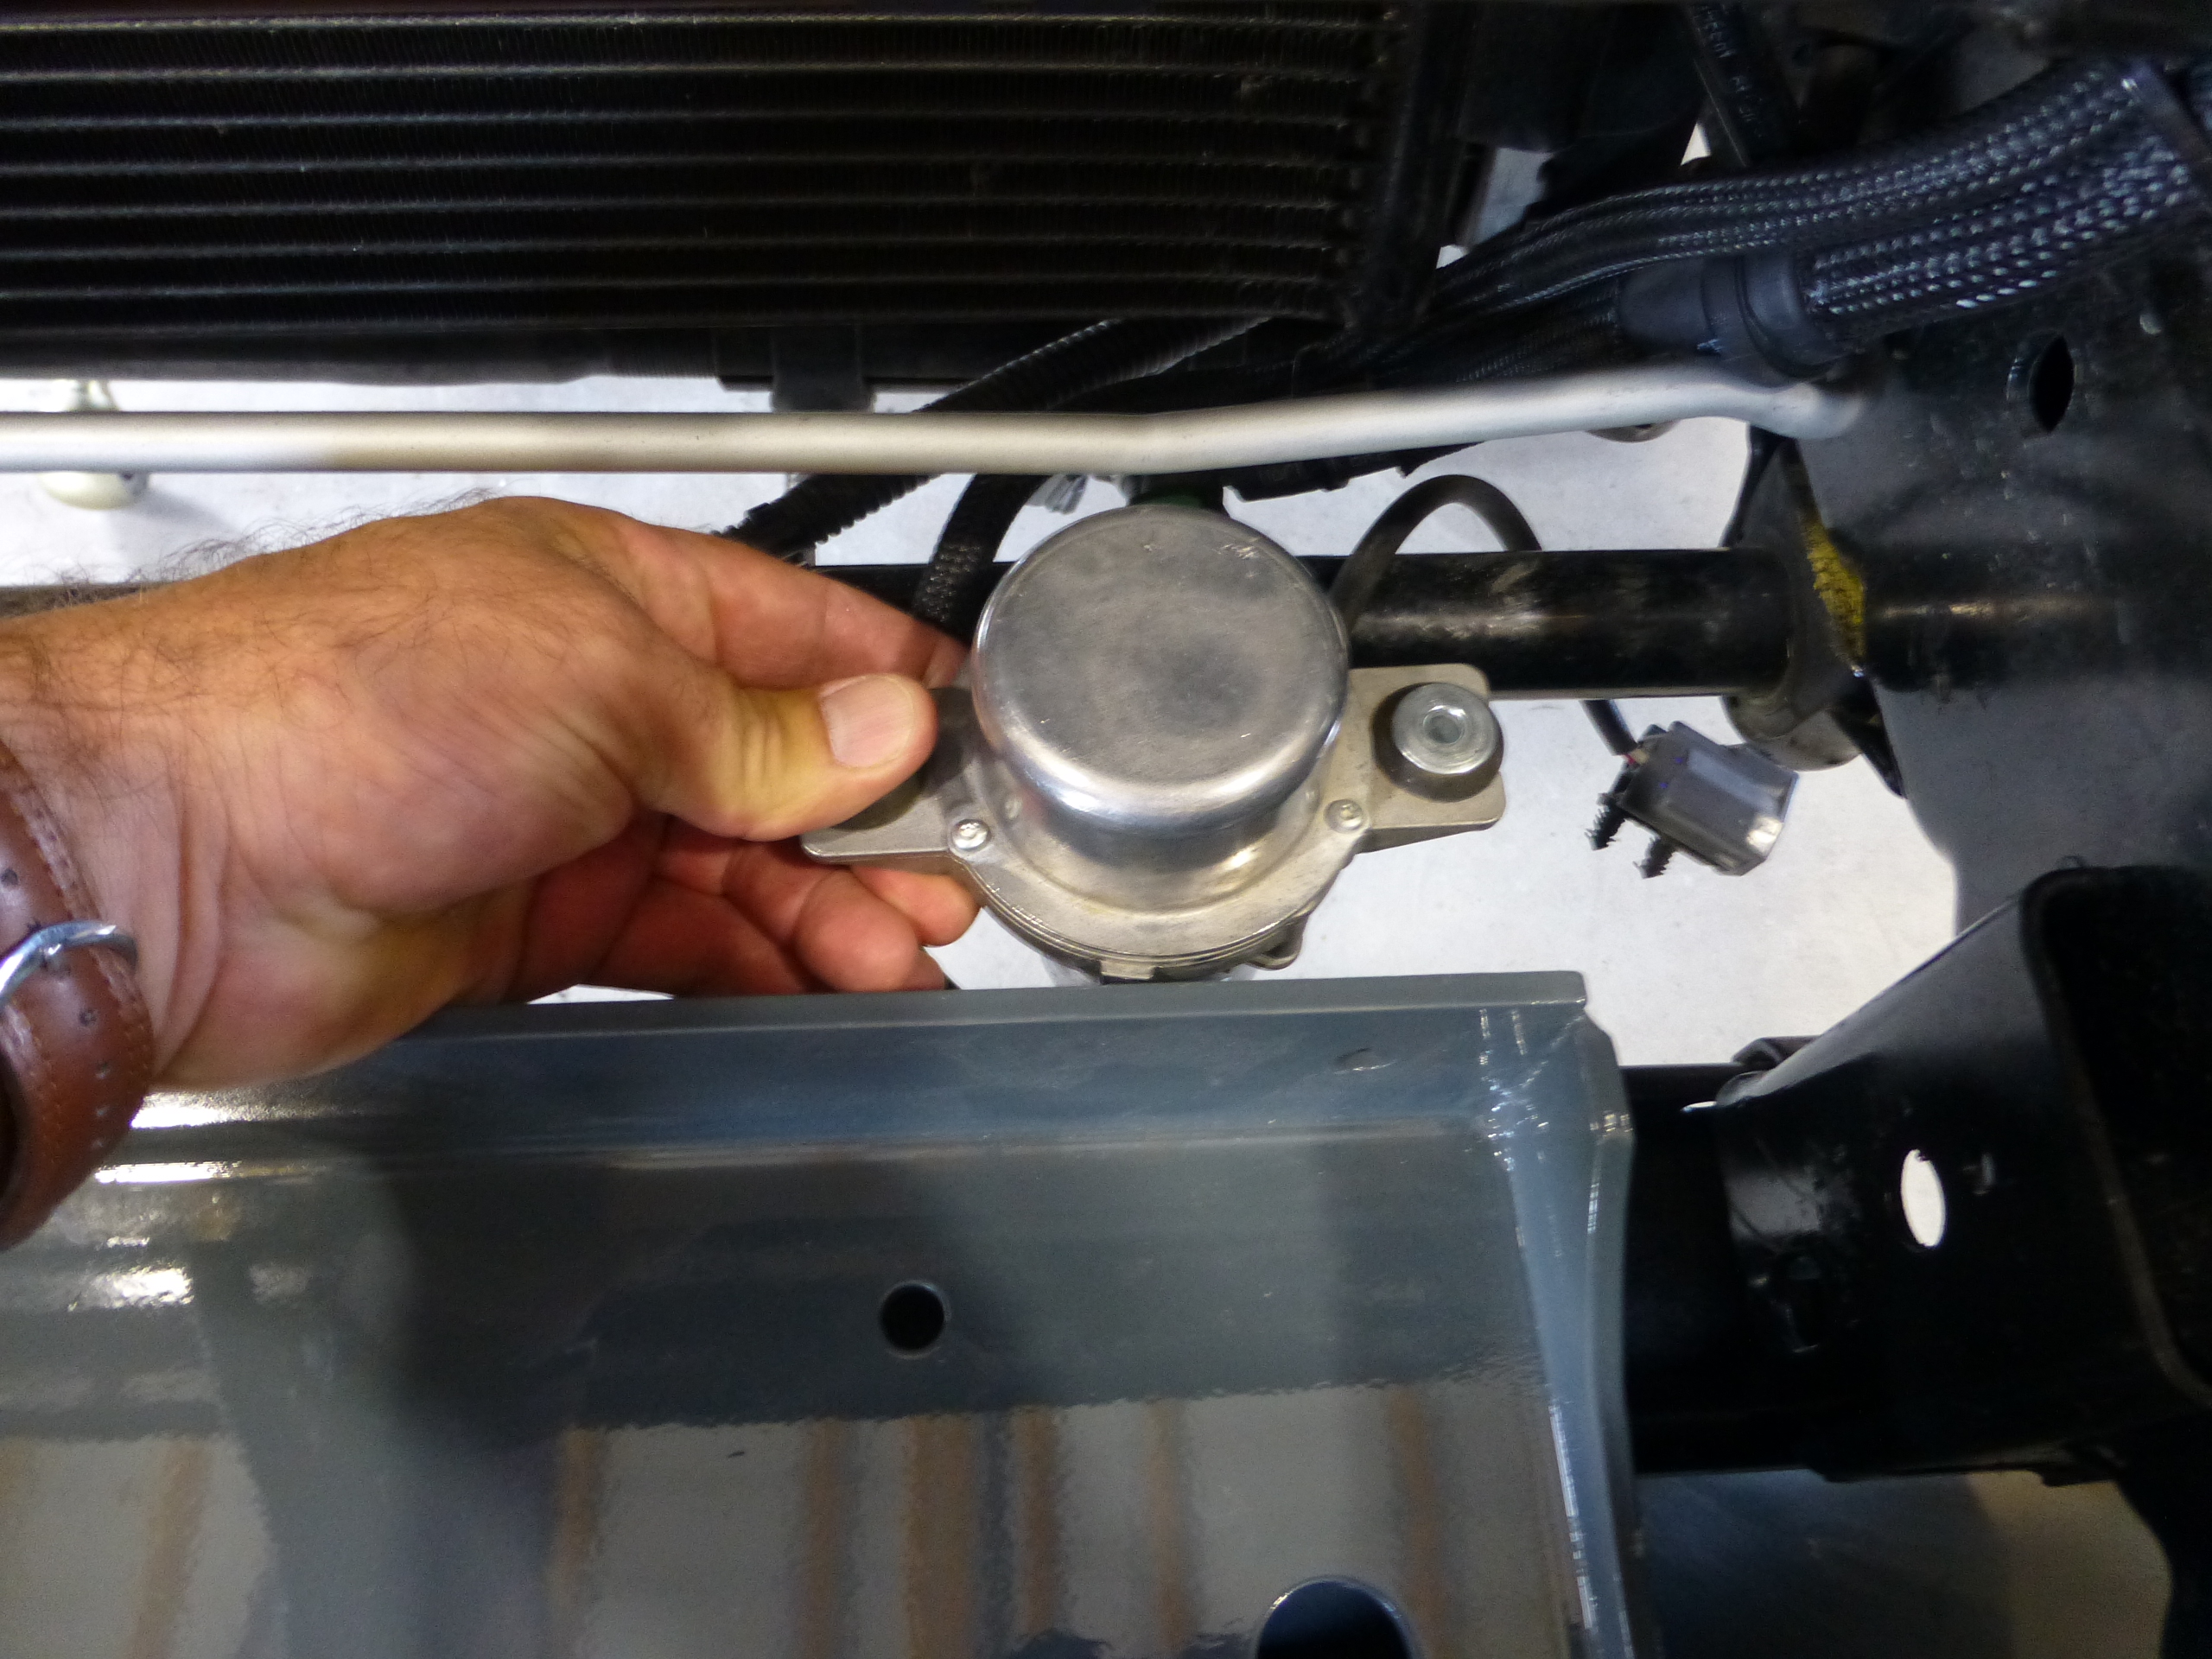

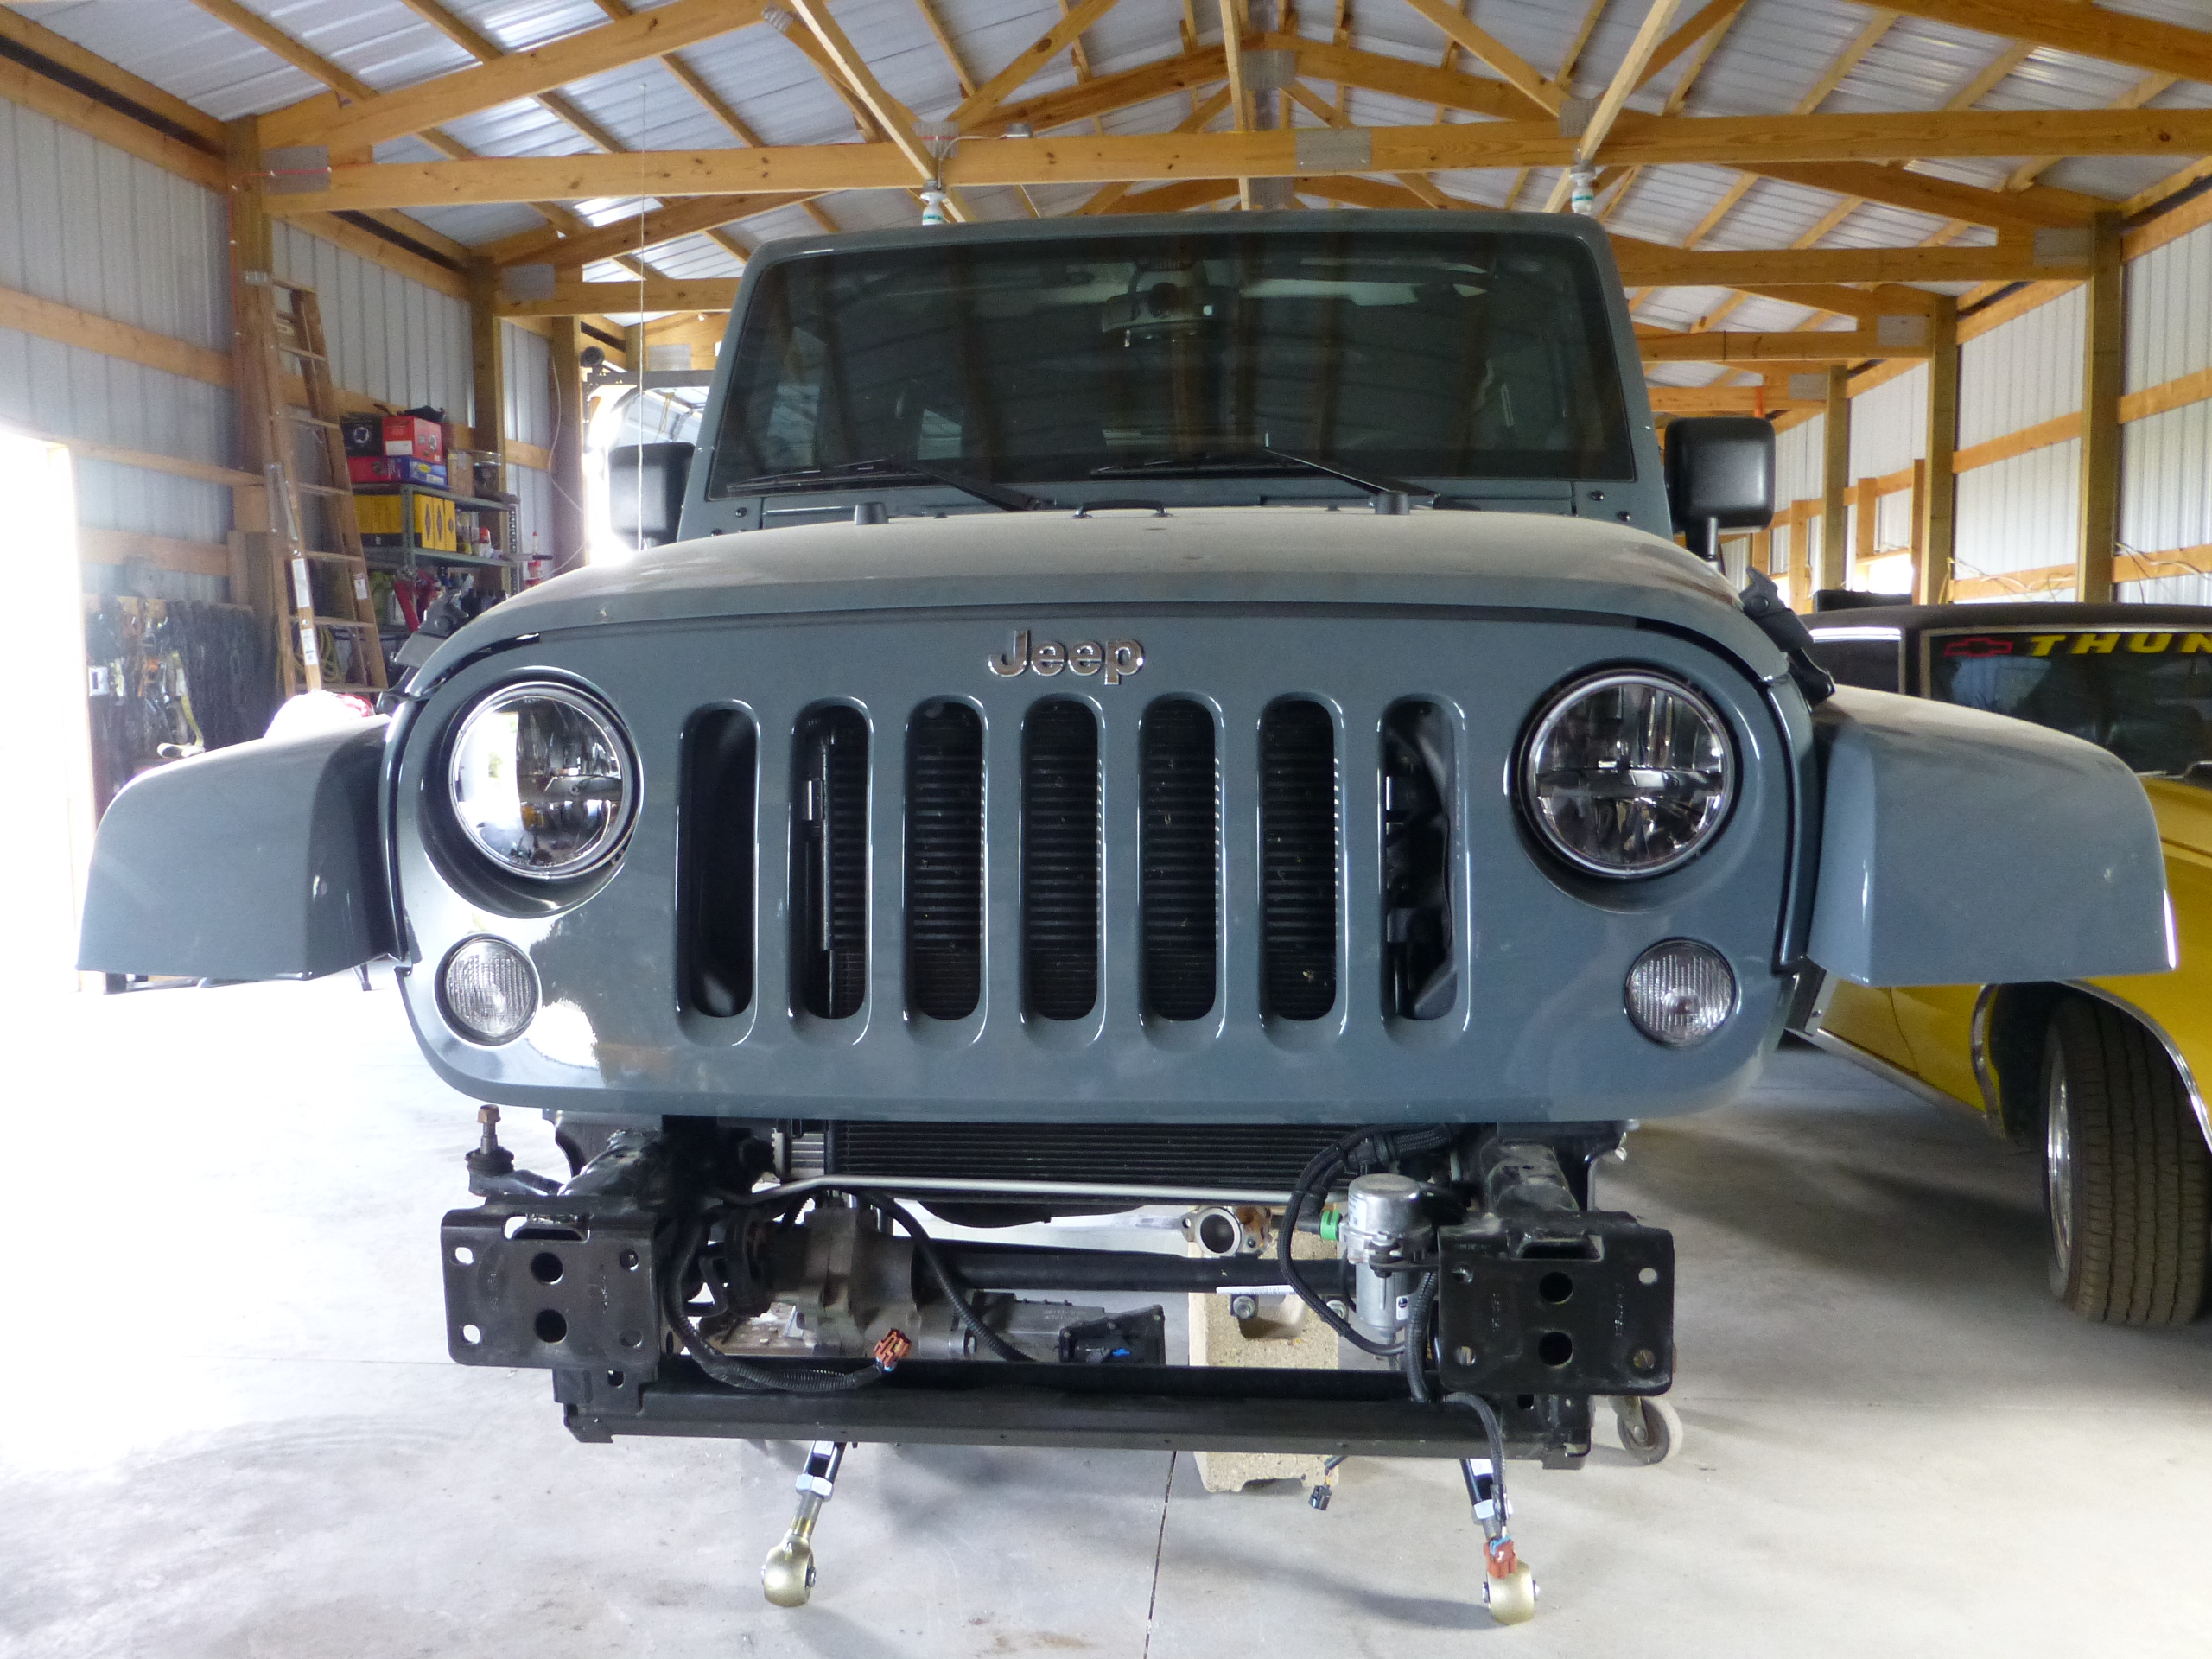
Once the bracket was bolted to the new bumper and the pump was mounted to that, we were done fabricating. With the modifications complete the Teraflex Rock Guard Epic Front Bumper was bolted to the Jeep. Lastly we removed the factory bumper lights and mounted them into the new bumper and it was time to move onto the next step of the build, the winch.
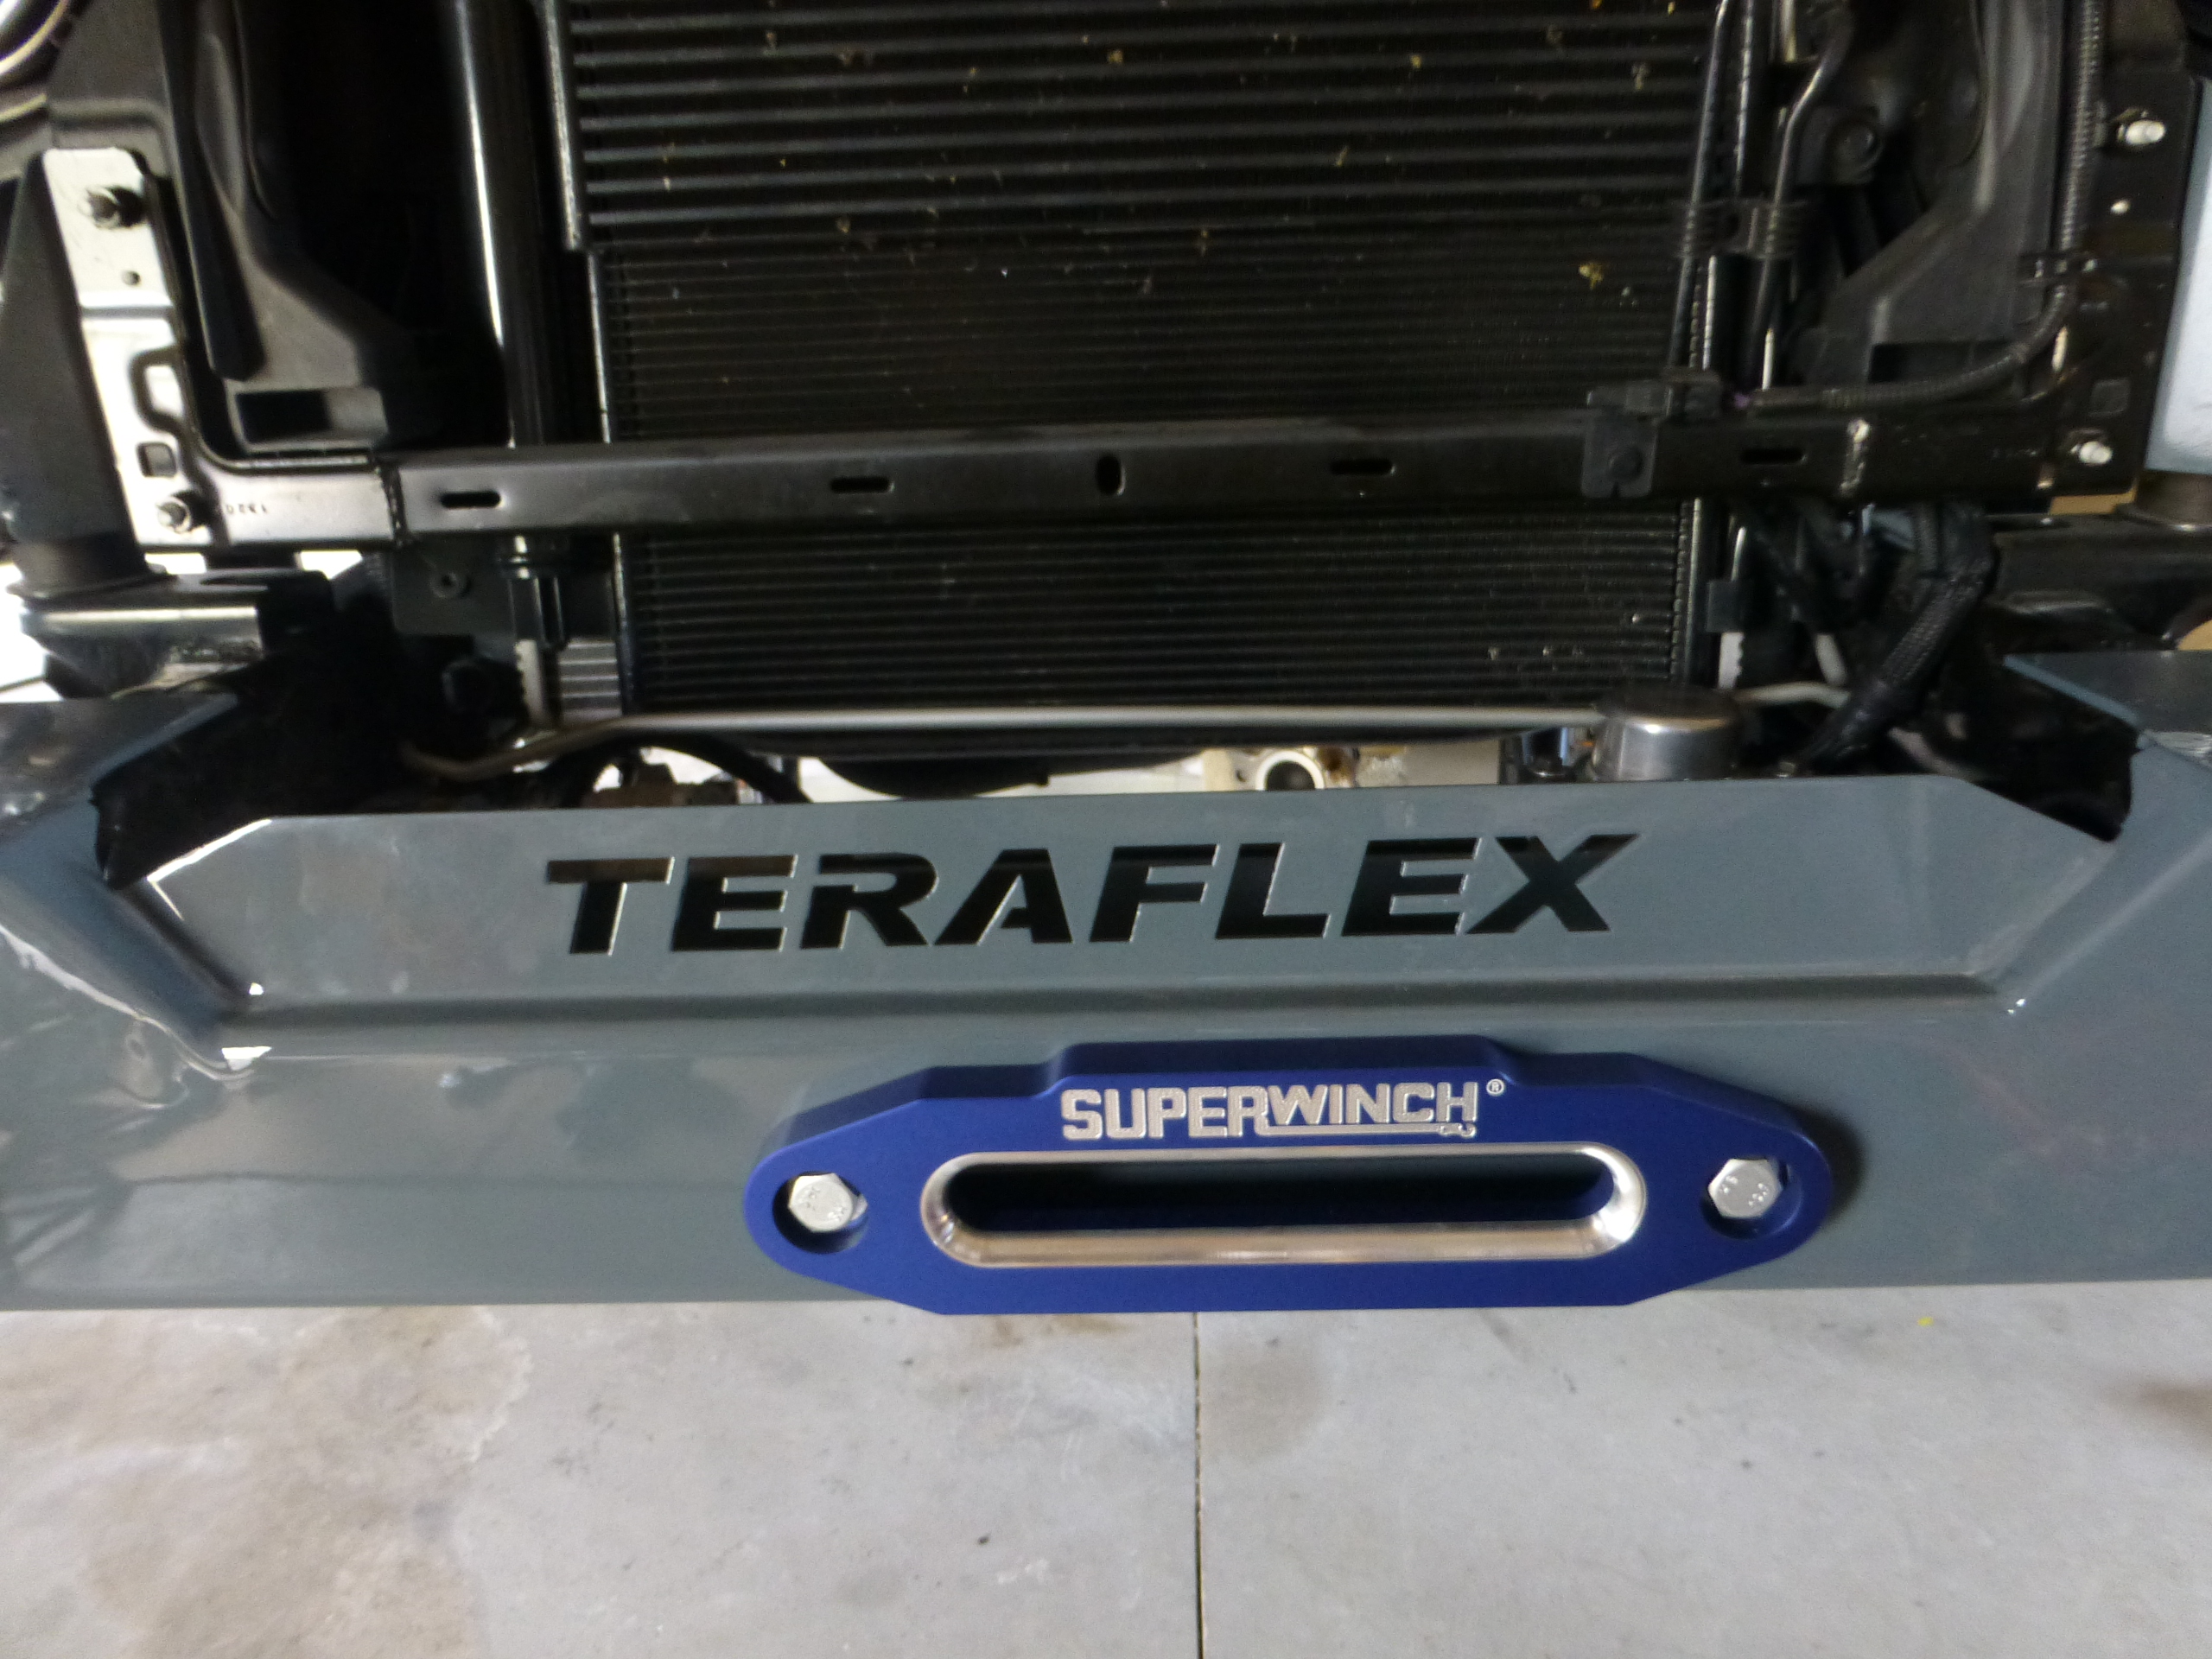
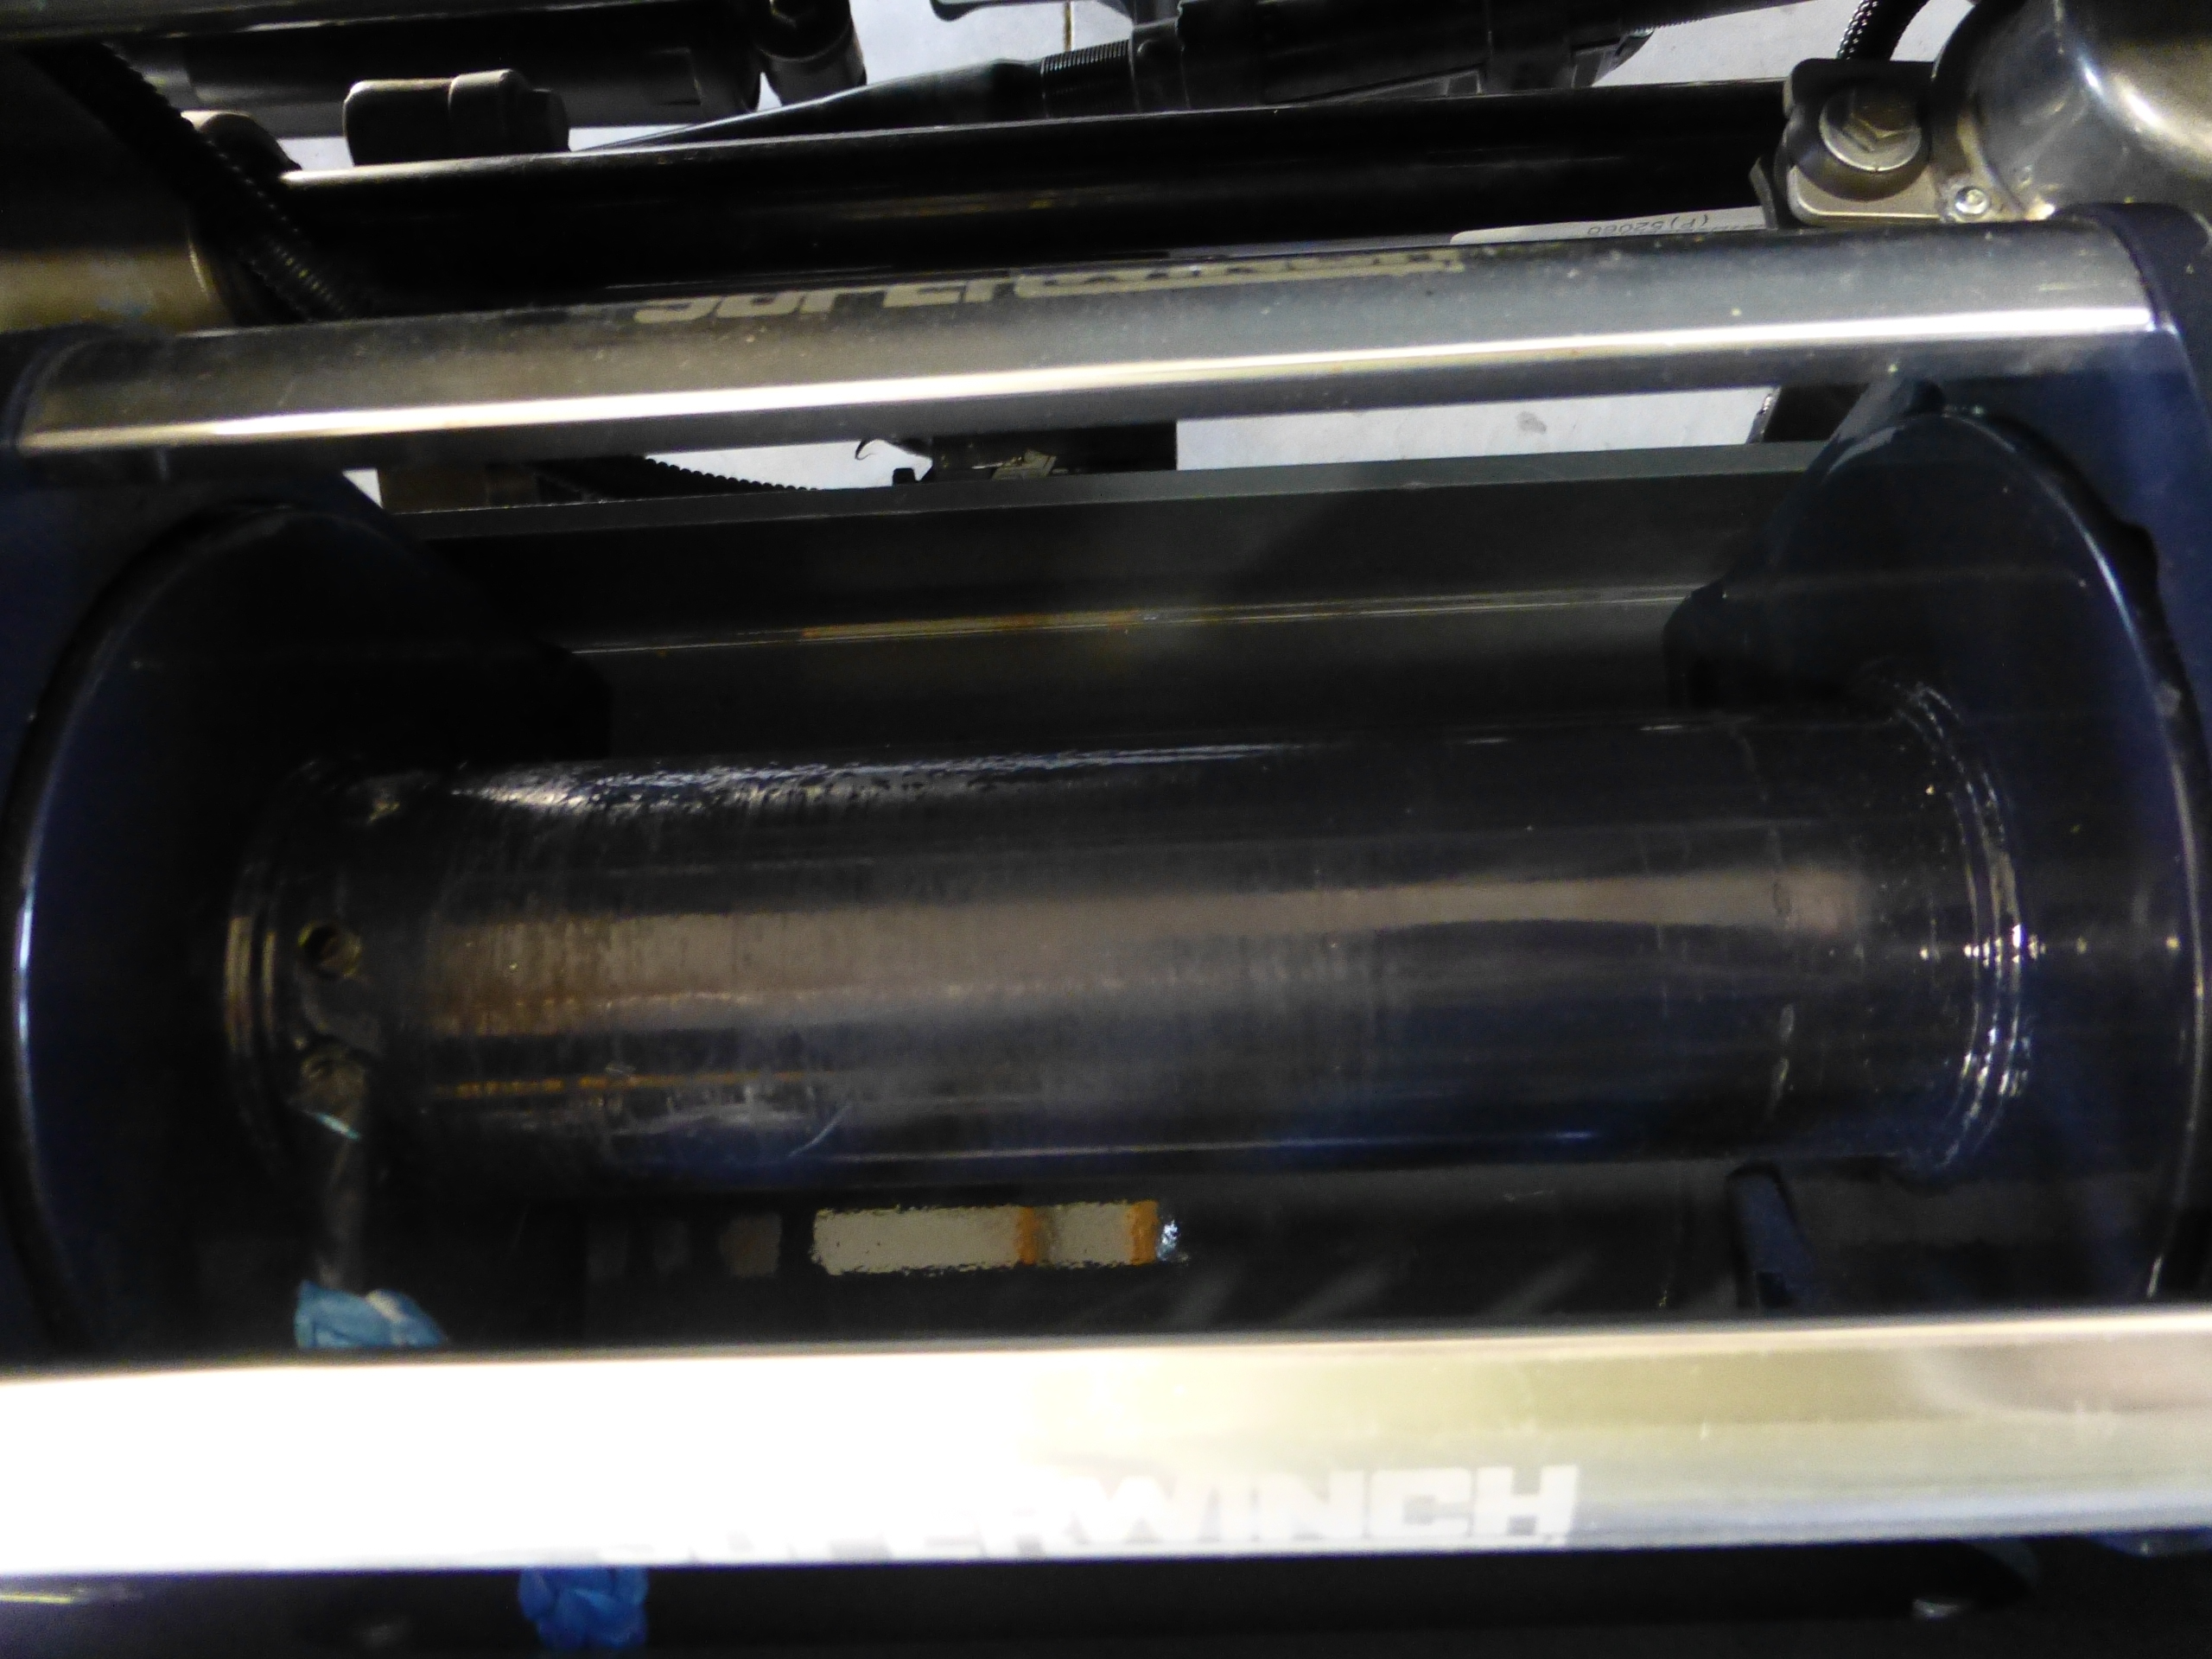
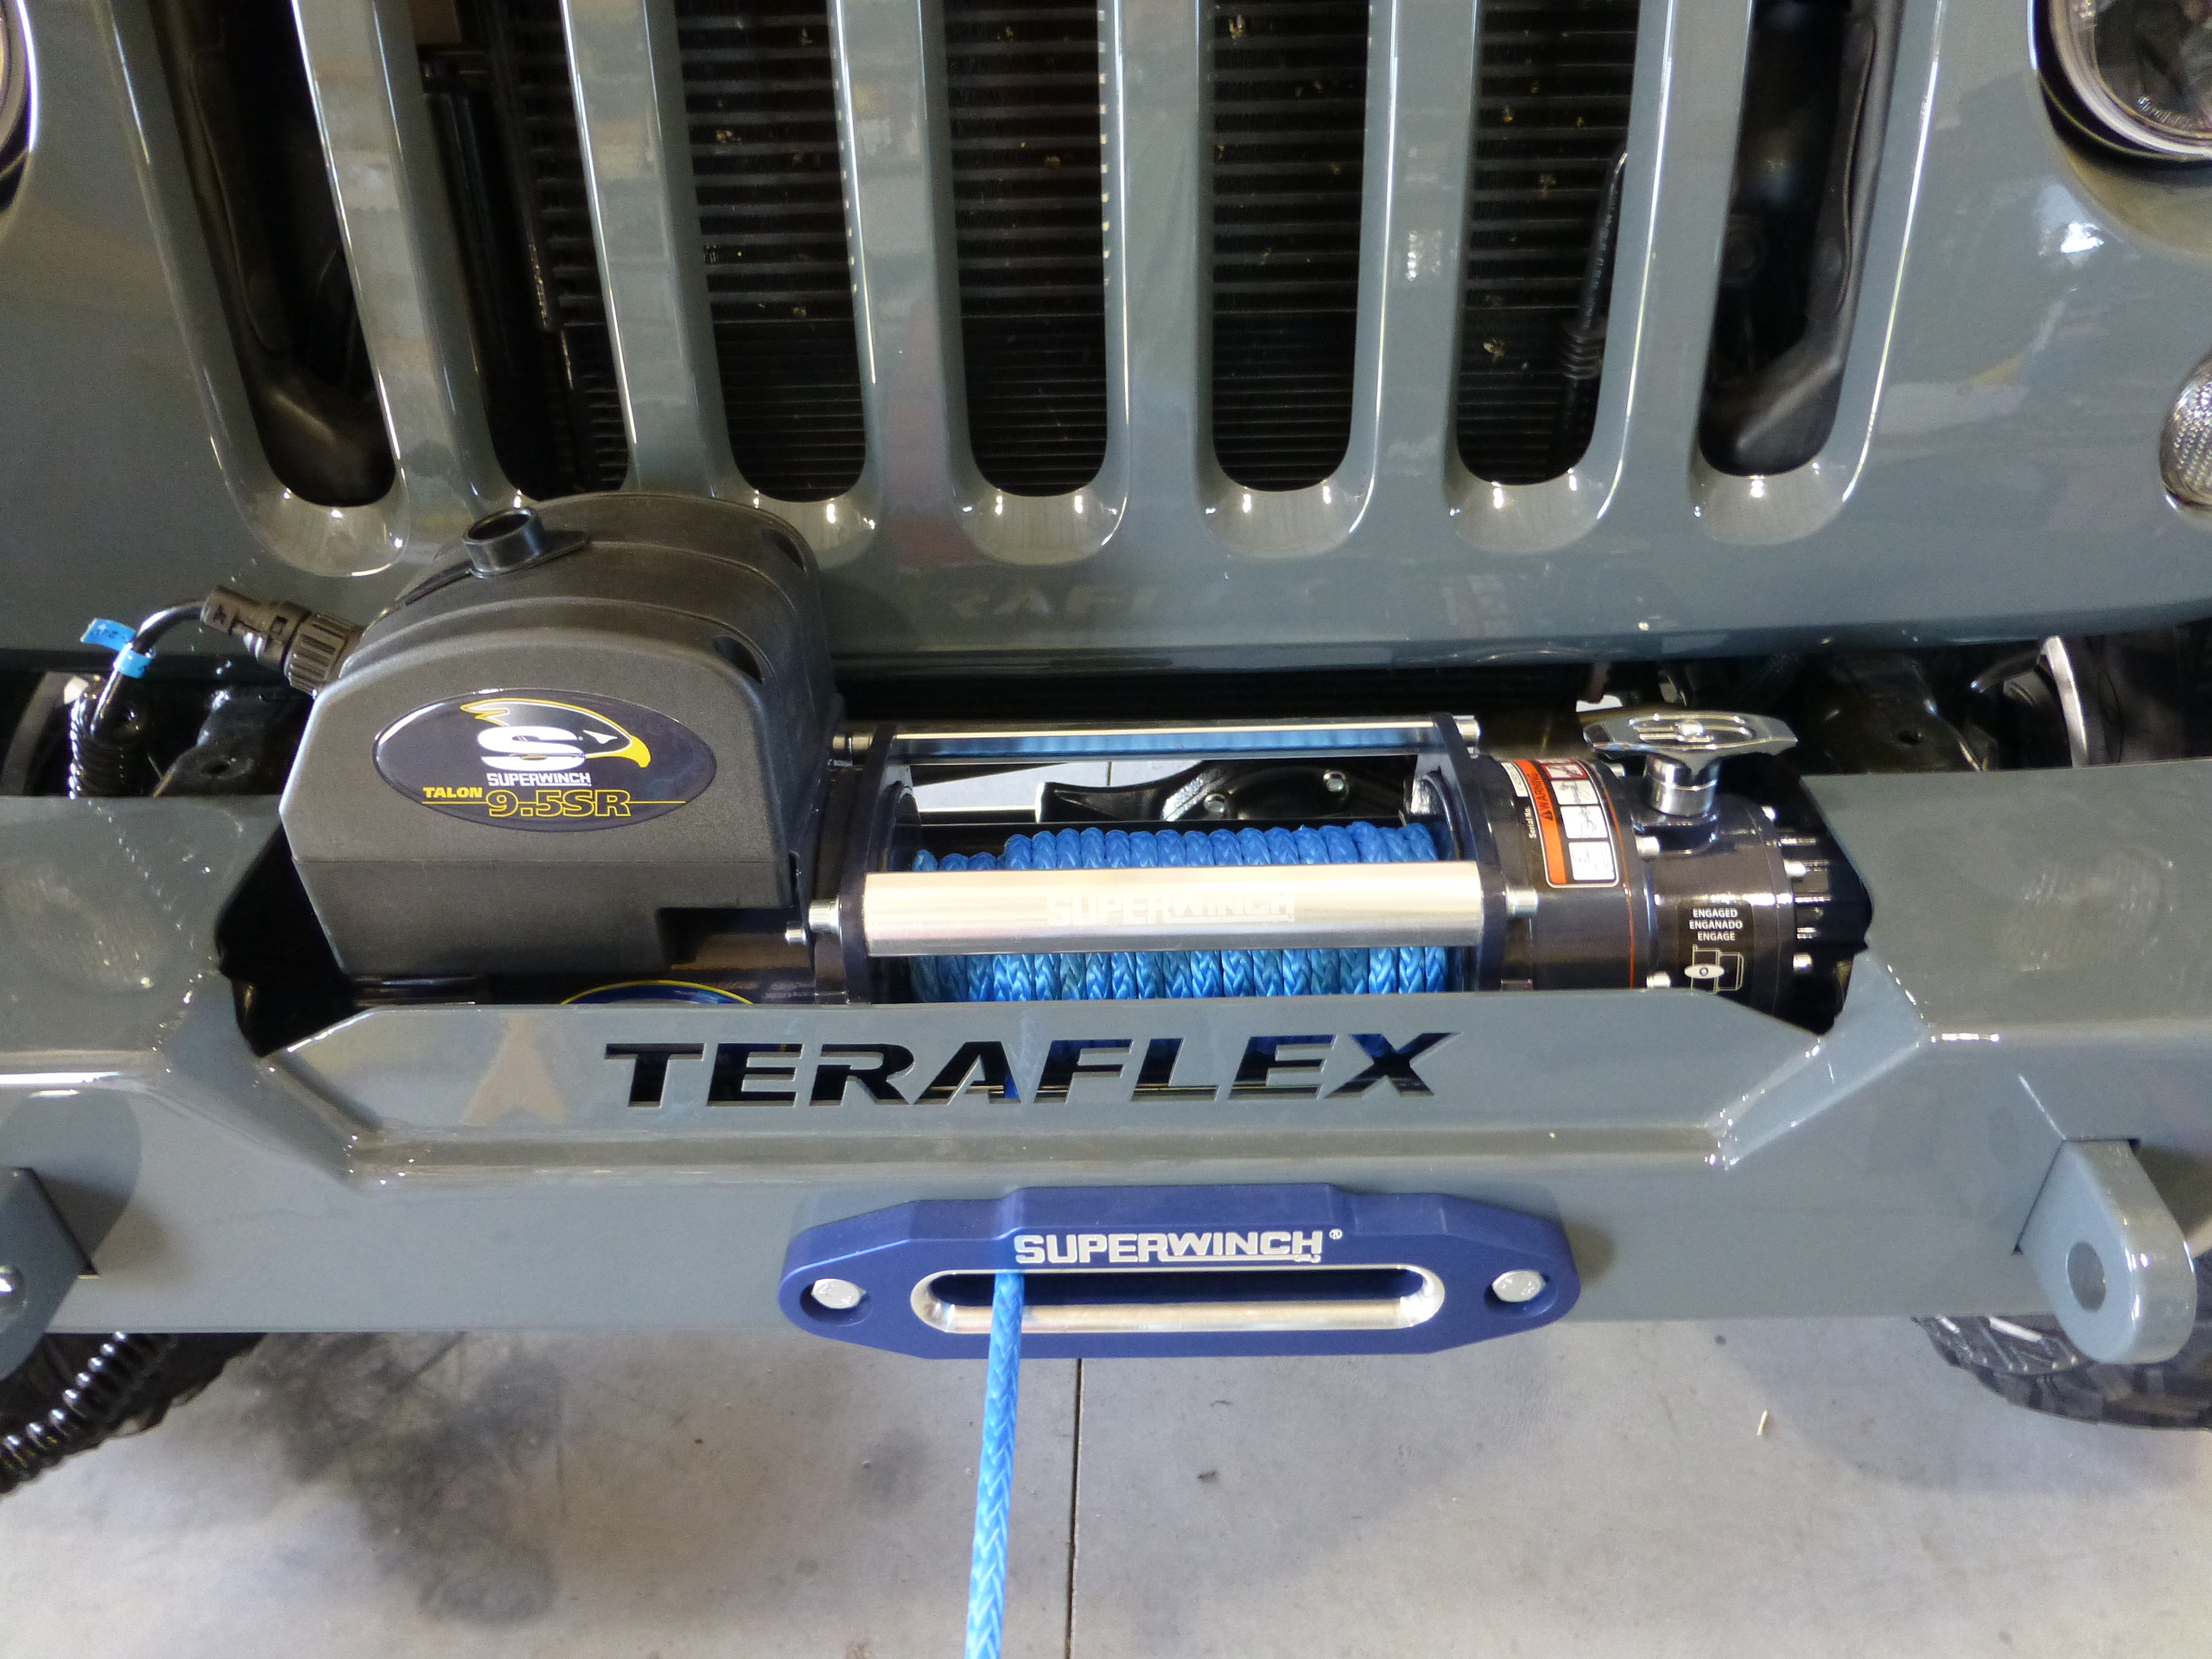
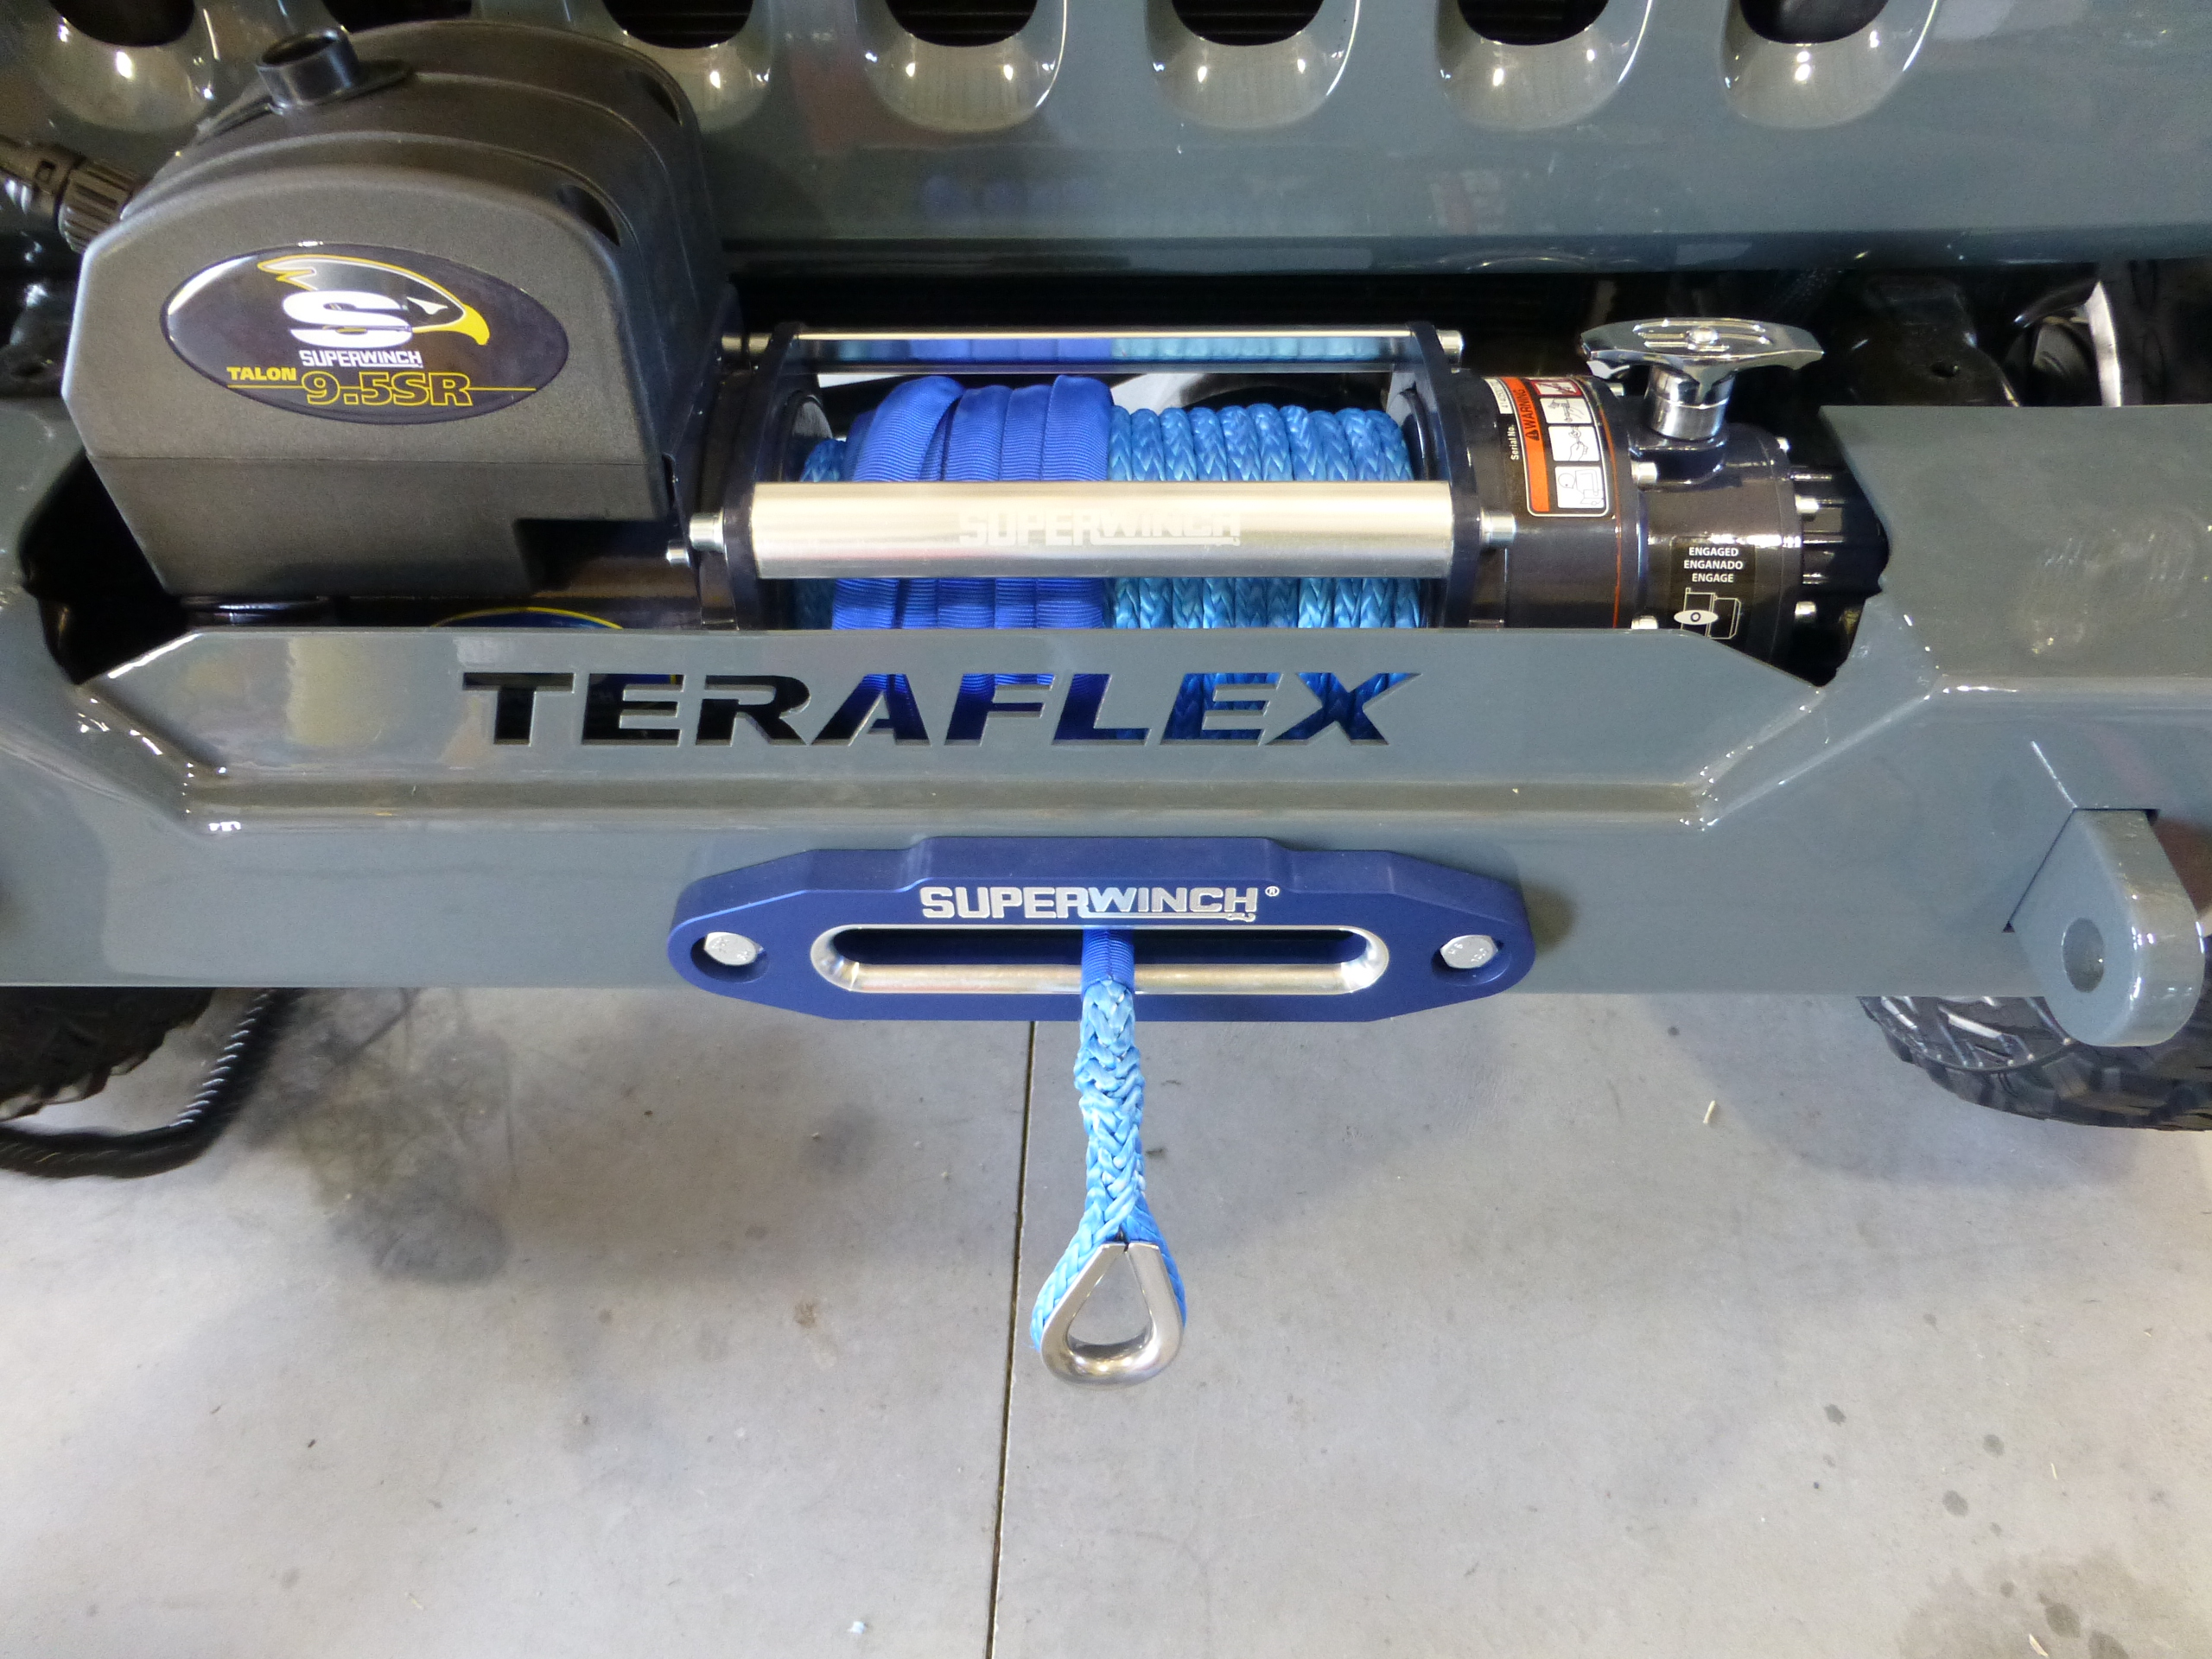
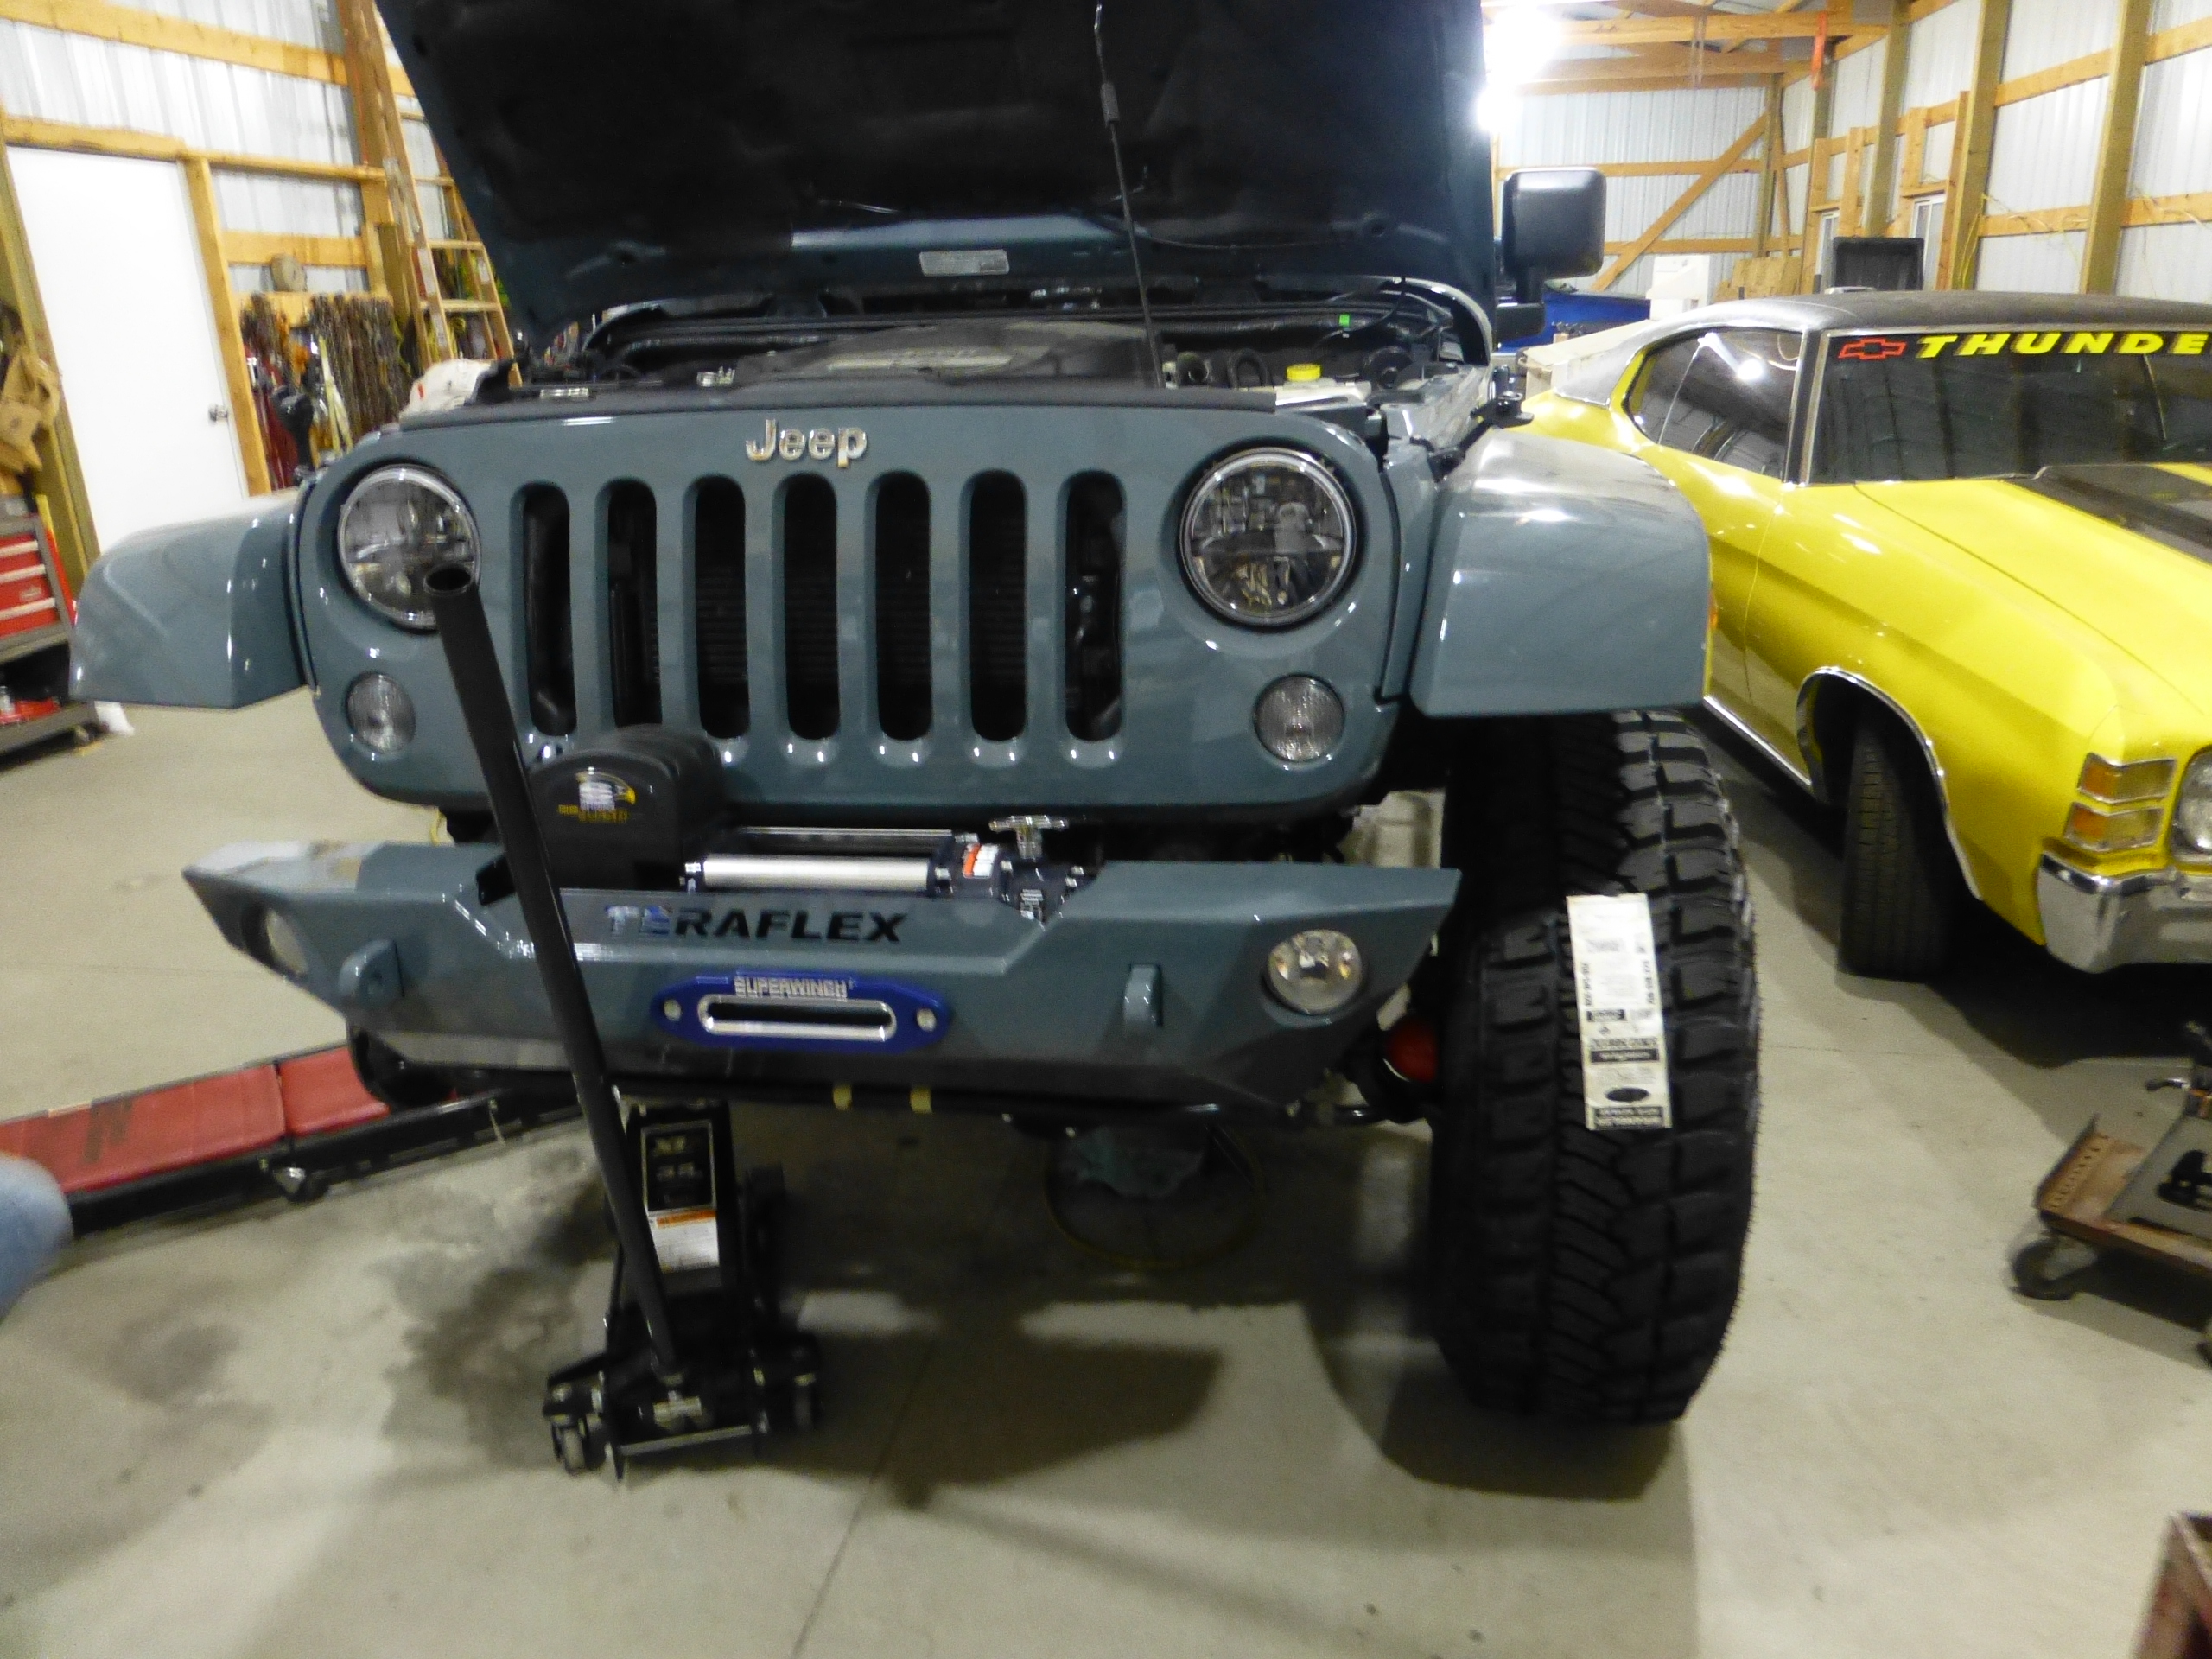
Superwinch “Talon 9.5SR Winch”:
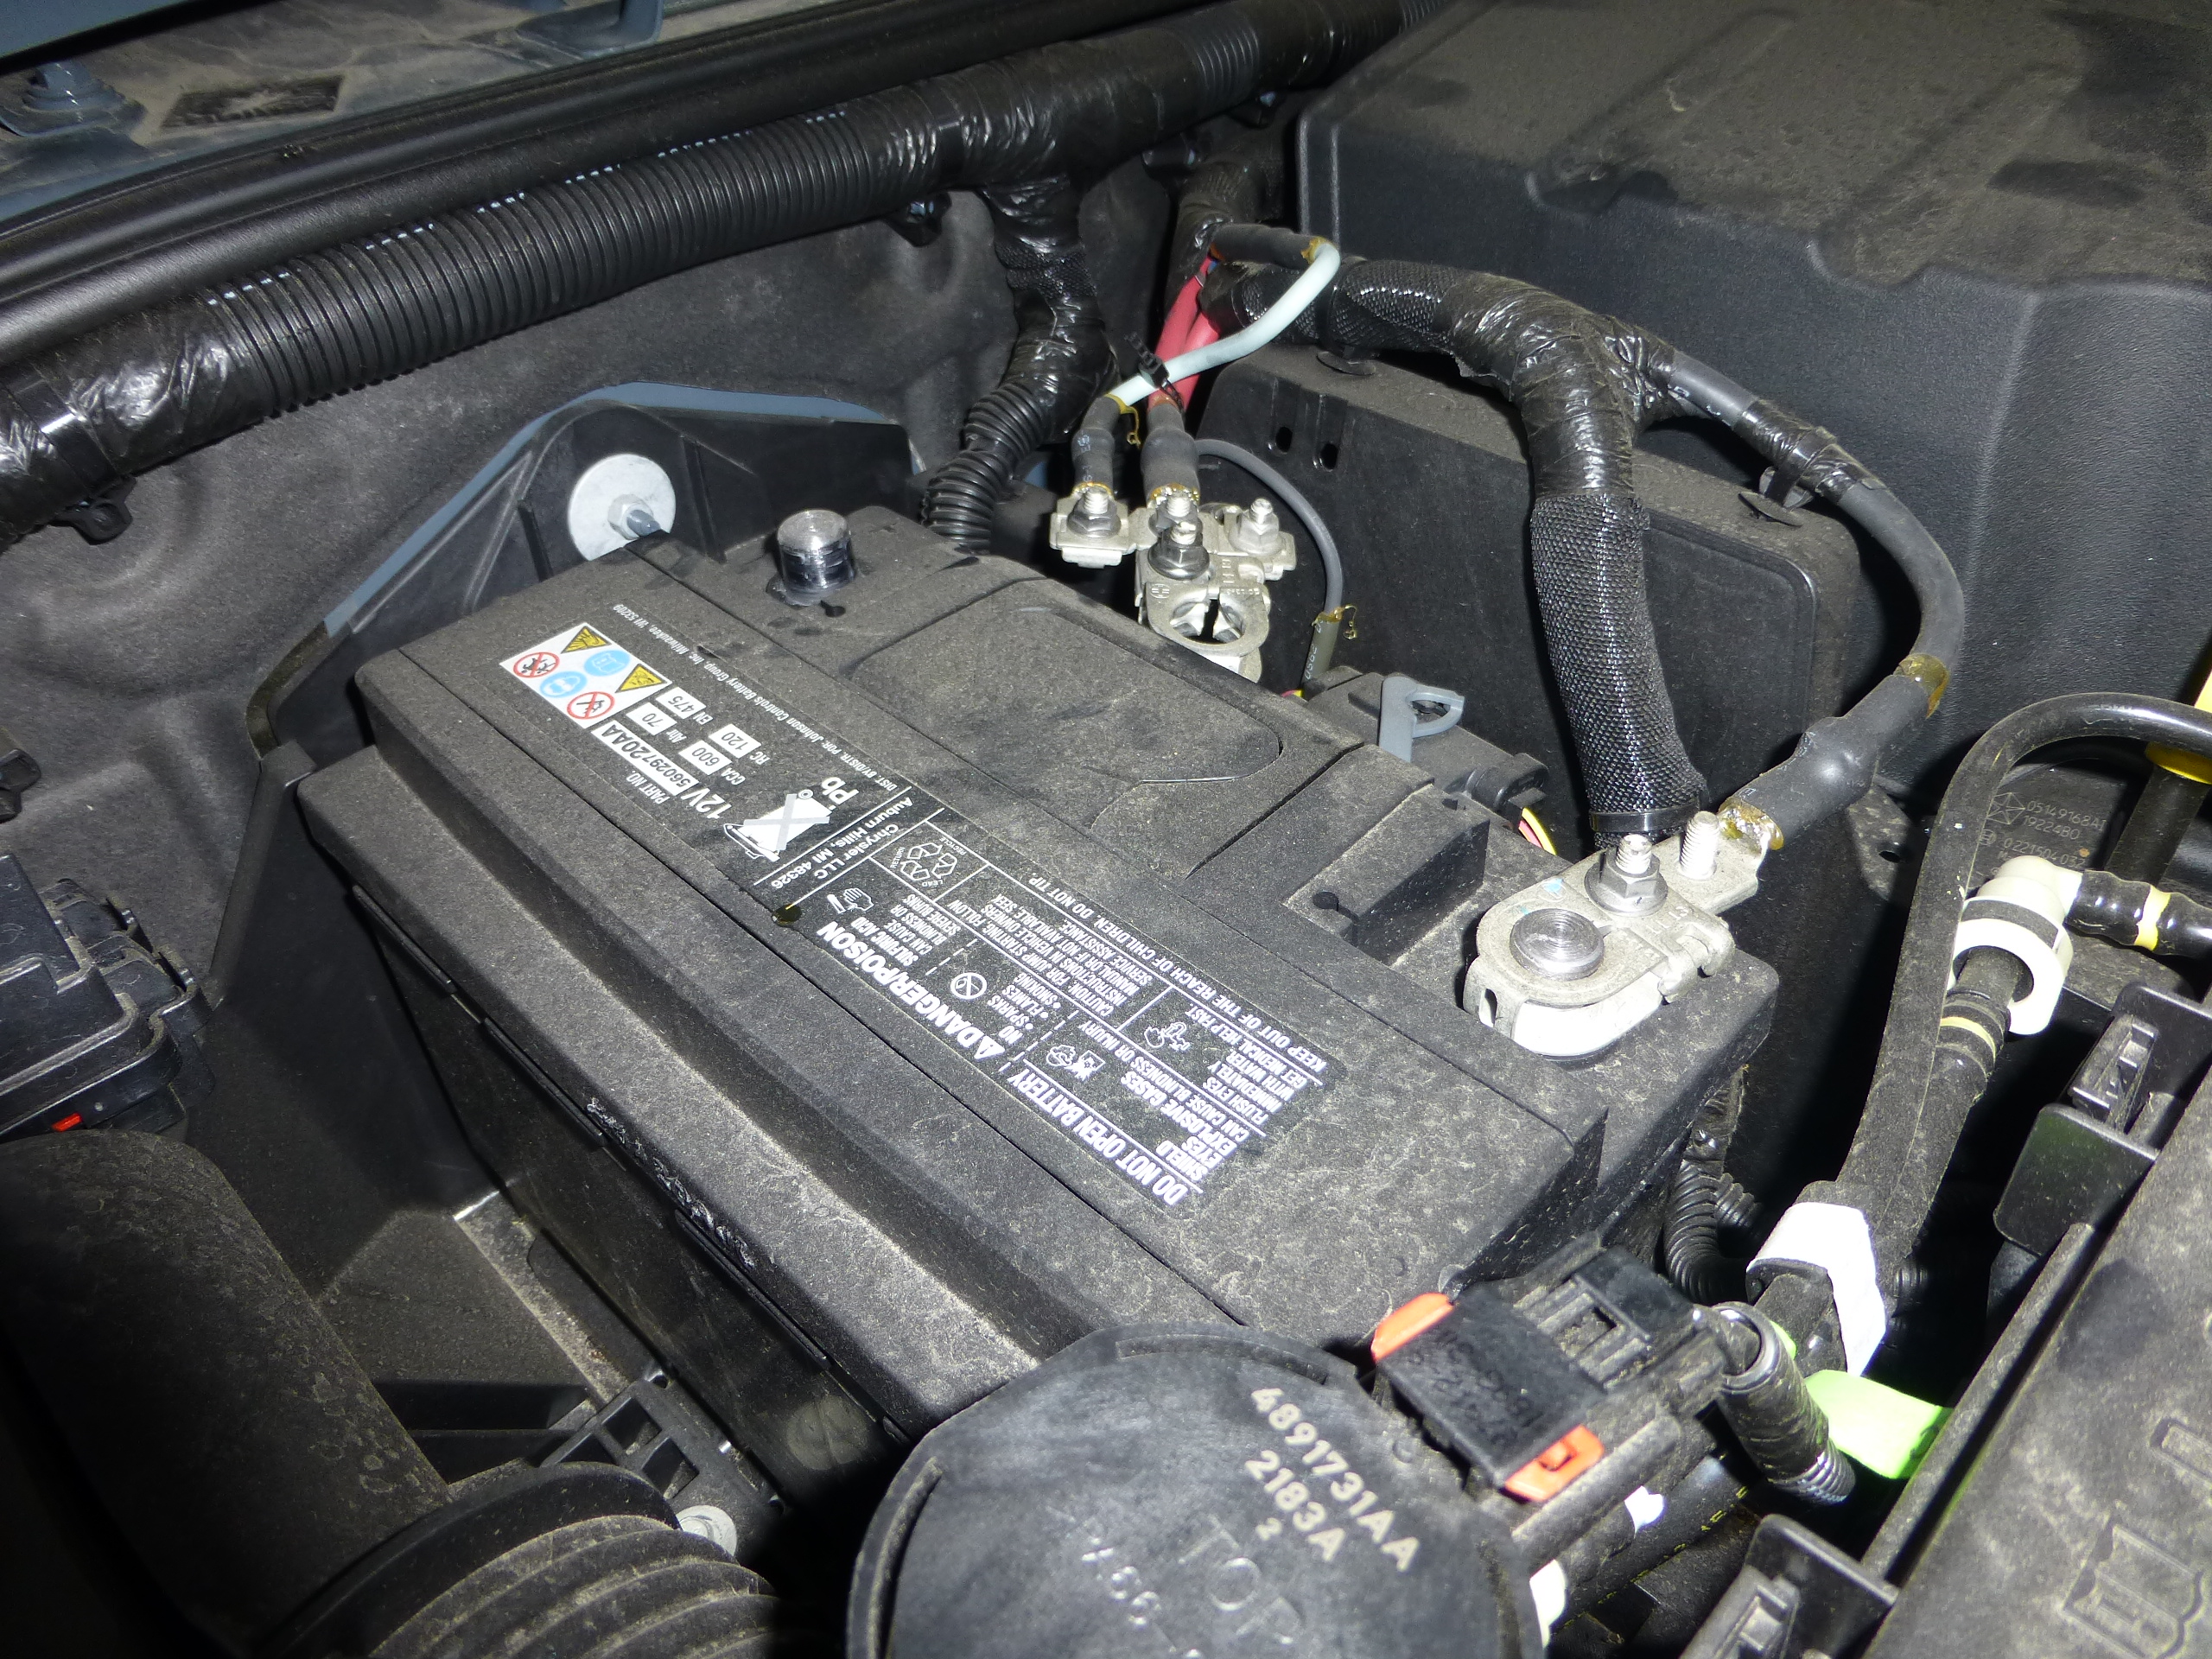
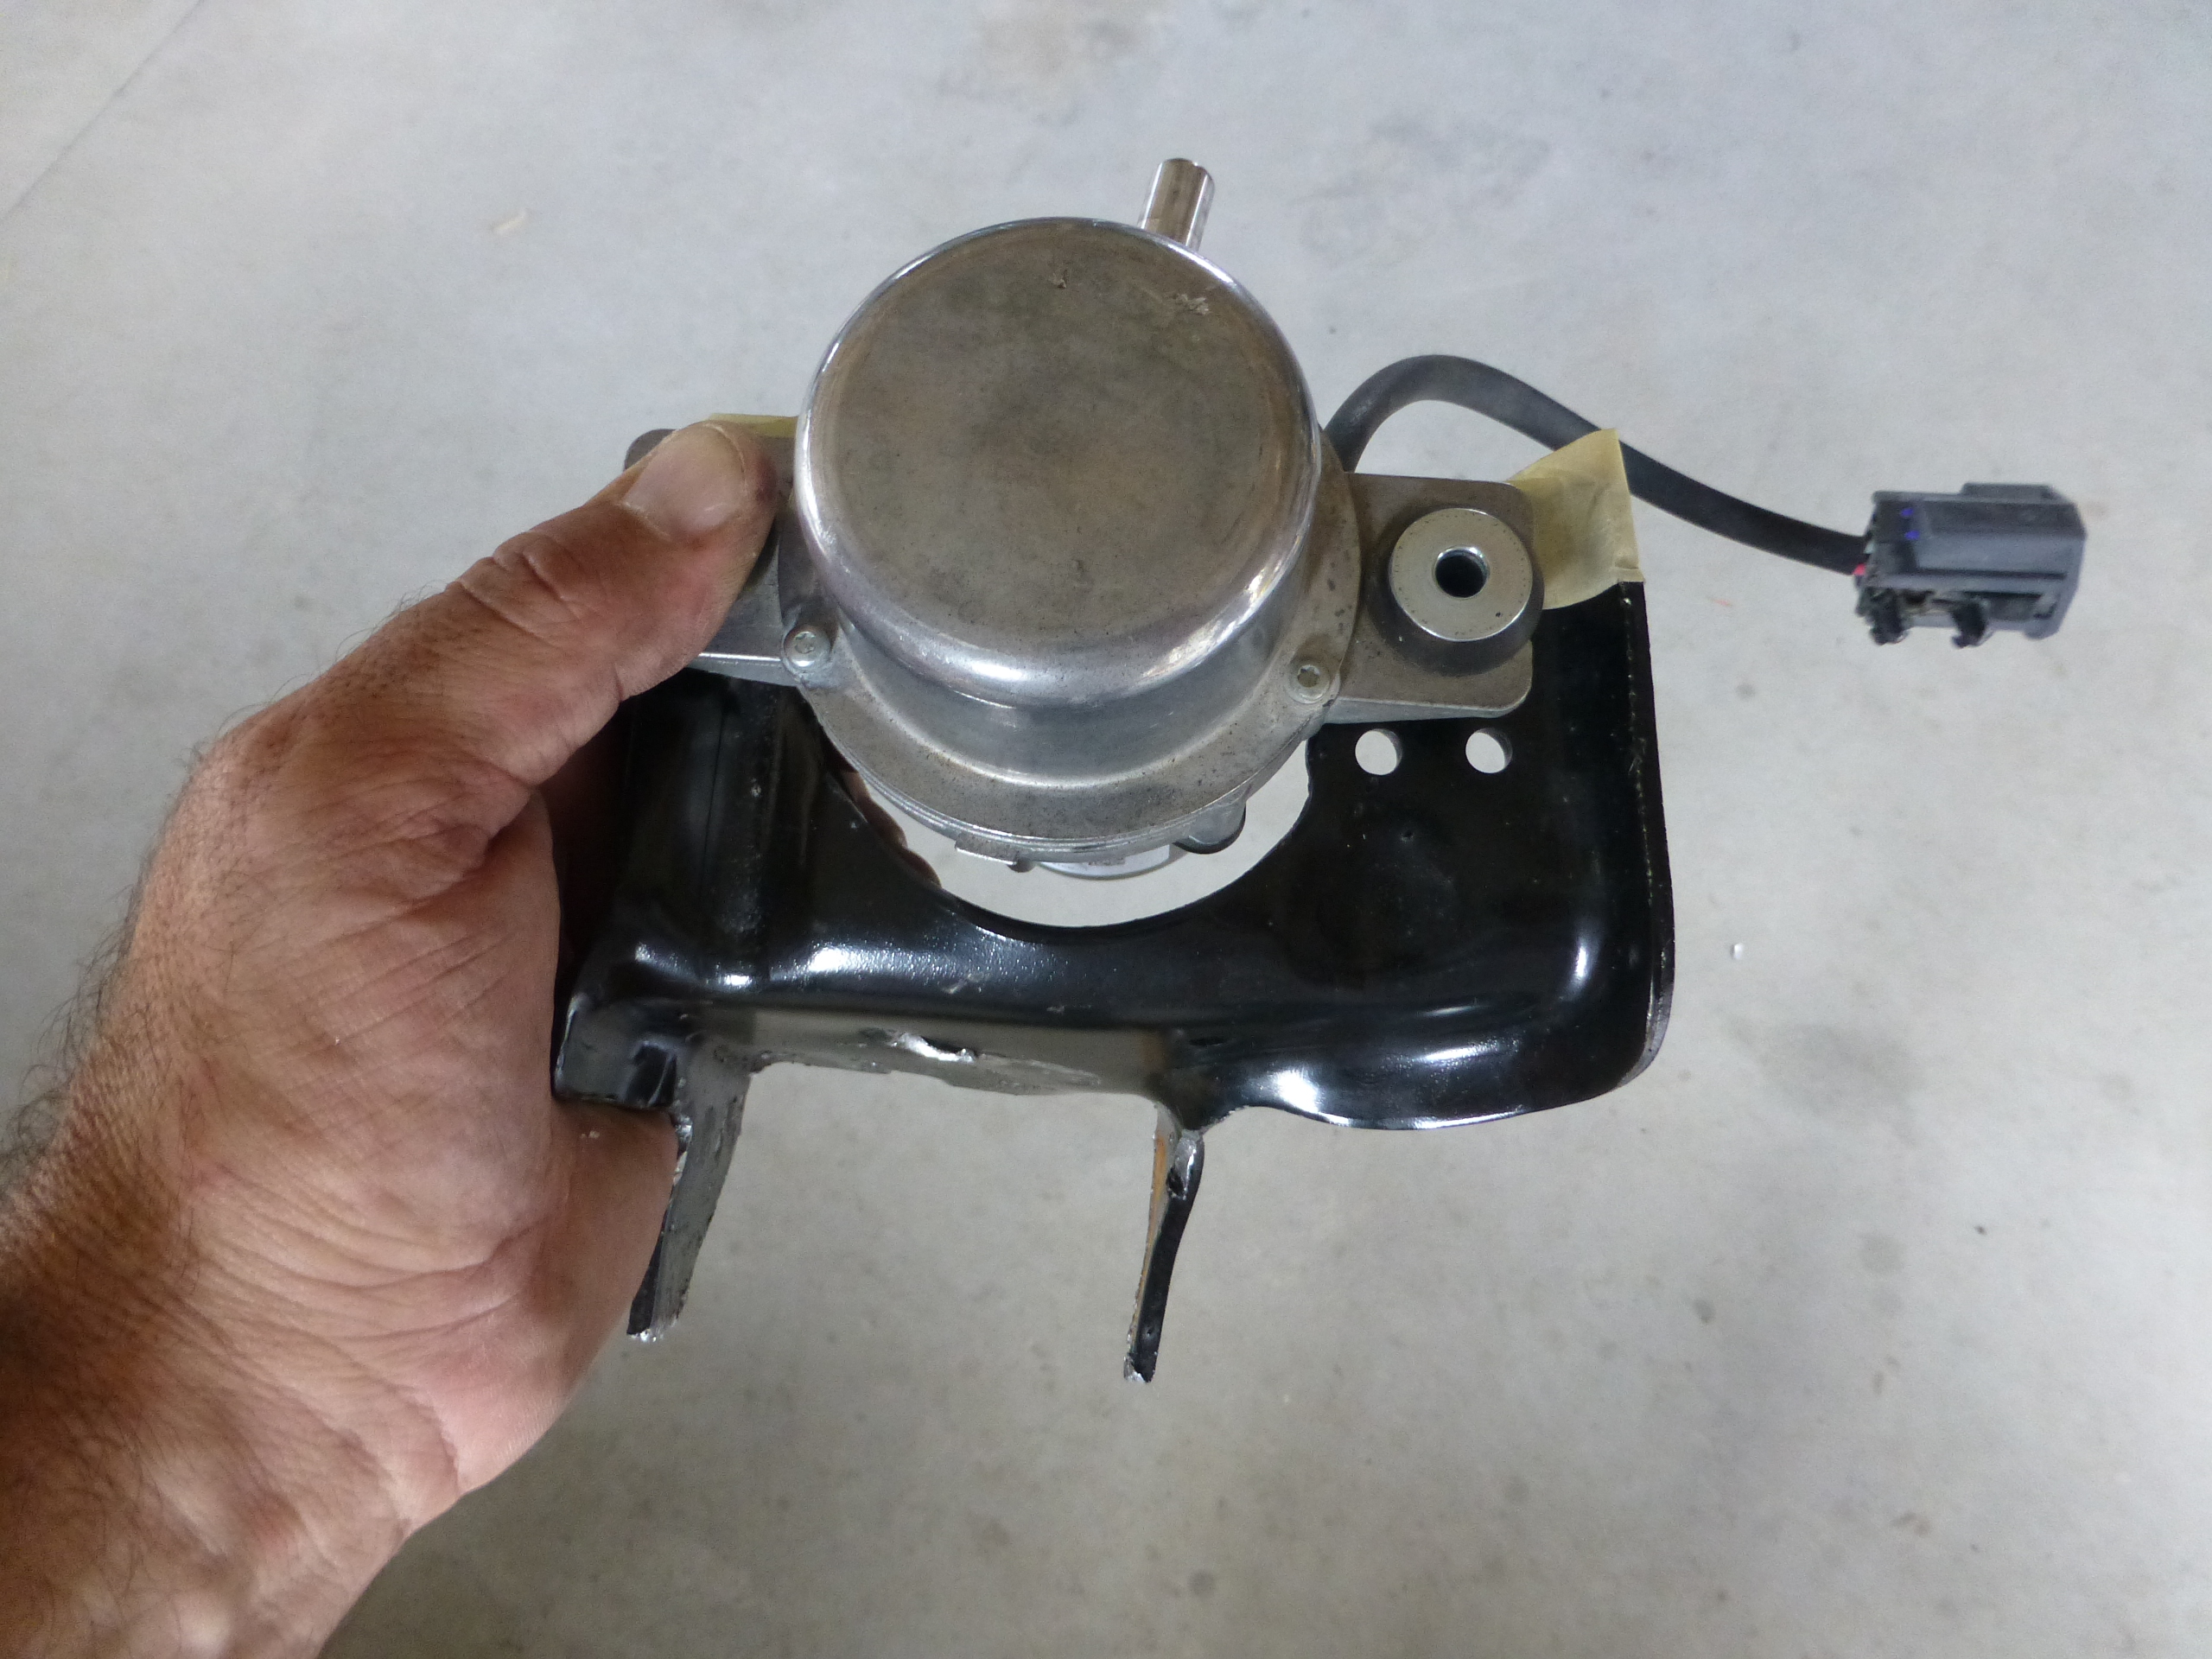
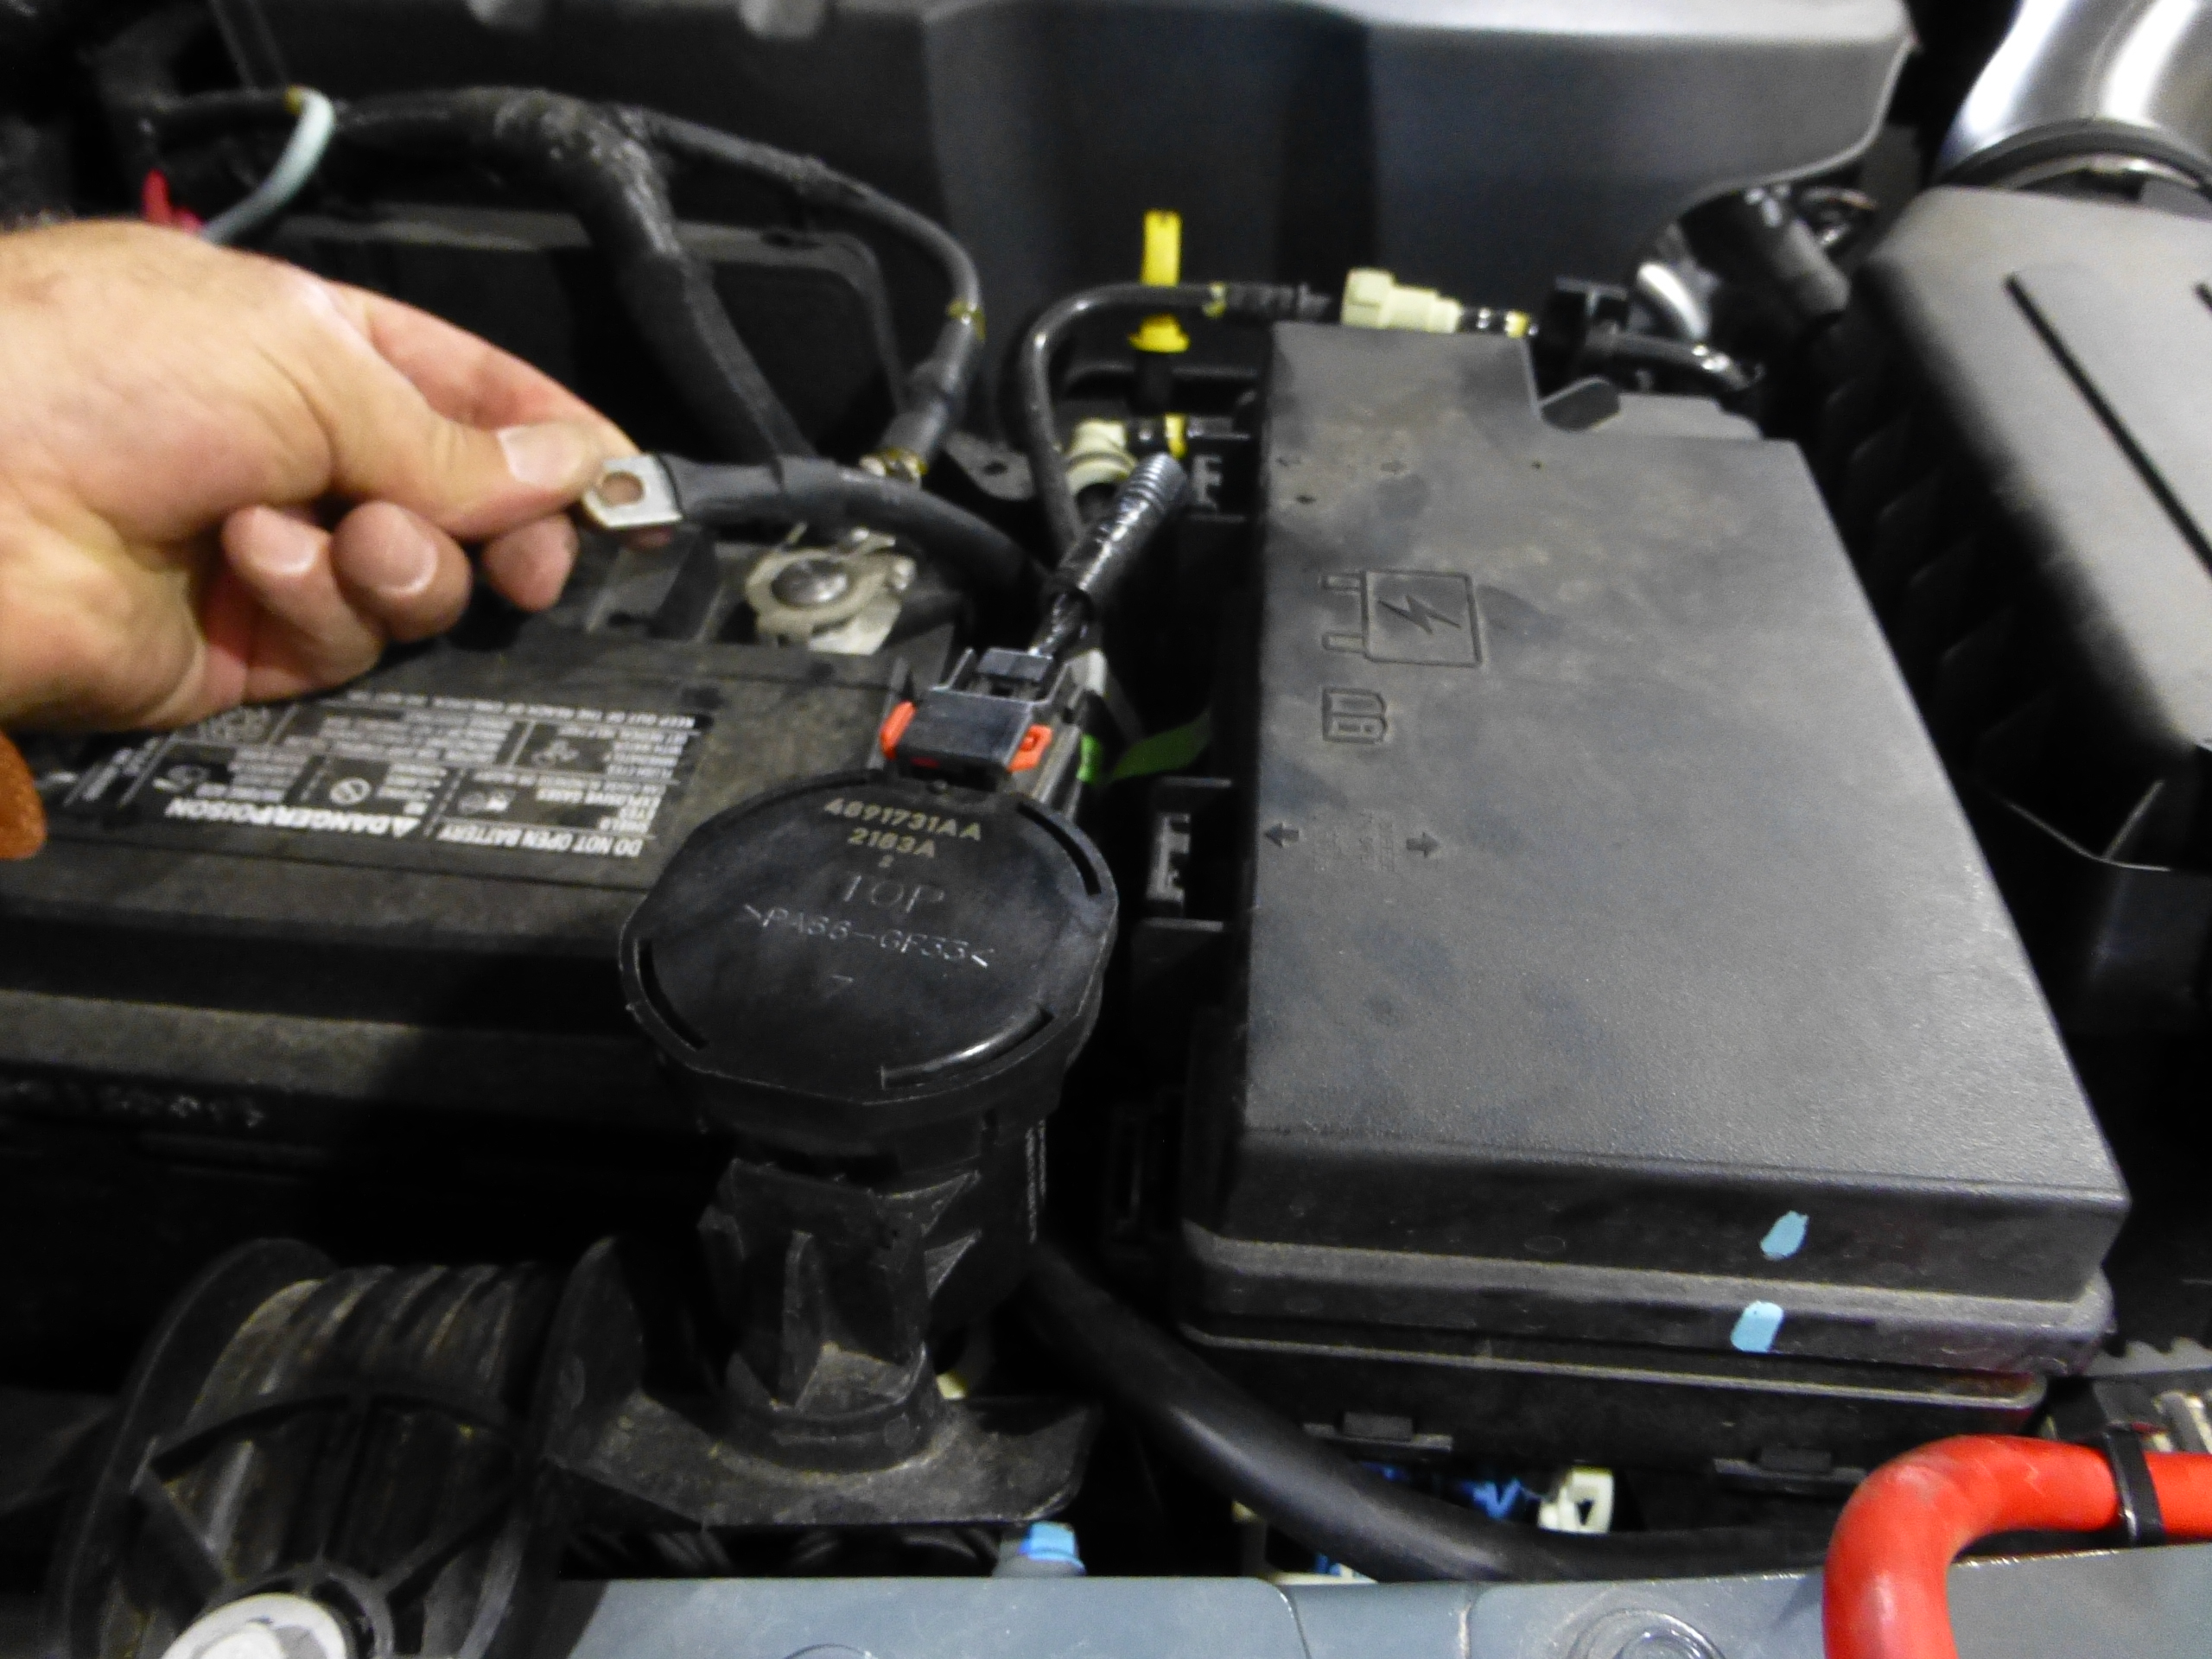
Now that we had a bumper on the front of the Jeep we needed to fill it with something worthy. The Superwinch, “Talon Series” was the perfect option and fit. Before setting the winch into the bumper we needed to bolt the fairlead on. We knocked that out real quick and then set the winch into place so we could get it all bolted down and ready to wire up. We located an area that we could access to help with the routing of the power cables to keep it clean, unobstructed and free from areas that it may get cut, crimped or damaged in any way. There were a couple of clips that we needed to pop out to gain access to the previously mentioned area and we were ready to start routing the cables.


To assist we took a couple of zip ties to temporarily connect the cables together to help route them. Once we had them in the engine compartment we went ahead and cut them loose and continued our routing towards the battery. There were a couple of components that we removed to again, assist in the routing simply to make the job easier. We took the air induction box loose as well as a couple of the other components that were on the passenger side. Once we had the cables routed we put everything back into place and it gave the installation a clean and protected appearance. Once the cables were where we wanted them we went ahead and connected them to the battery so we could install the winch line.


With that done it was safe to put the grill back on, we put that back in place and got ready to put the supplied synthetic line on. All we had to do was remove a set screw that was in the drum, run the end of the winch line through the fairlead and inserted the taped end into the drum and secured it in place with the set screw. From there it was just a matter of spooling the winch line onto the spool.
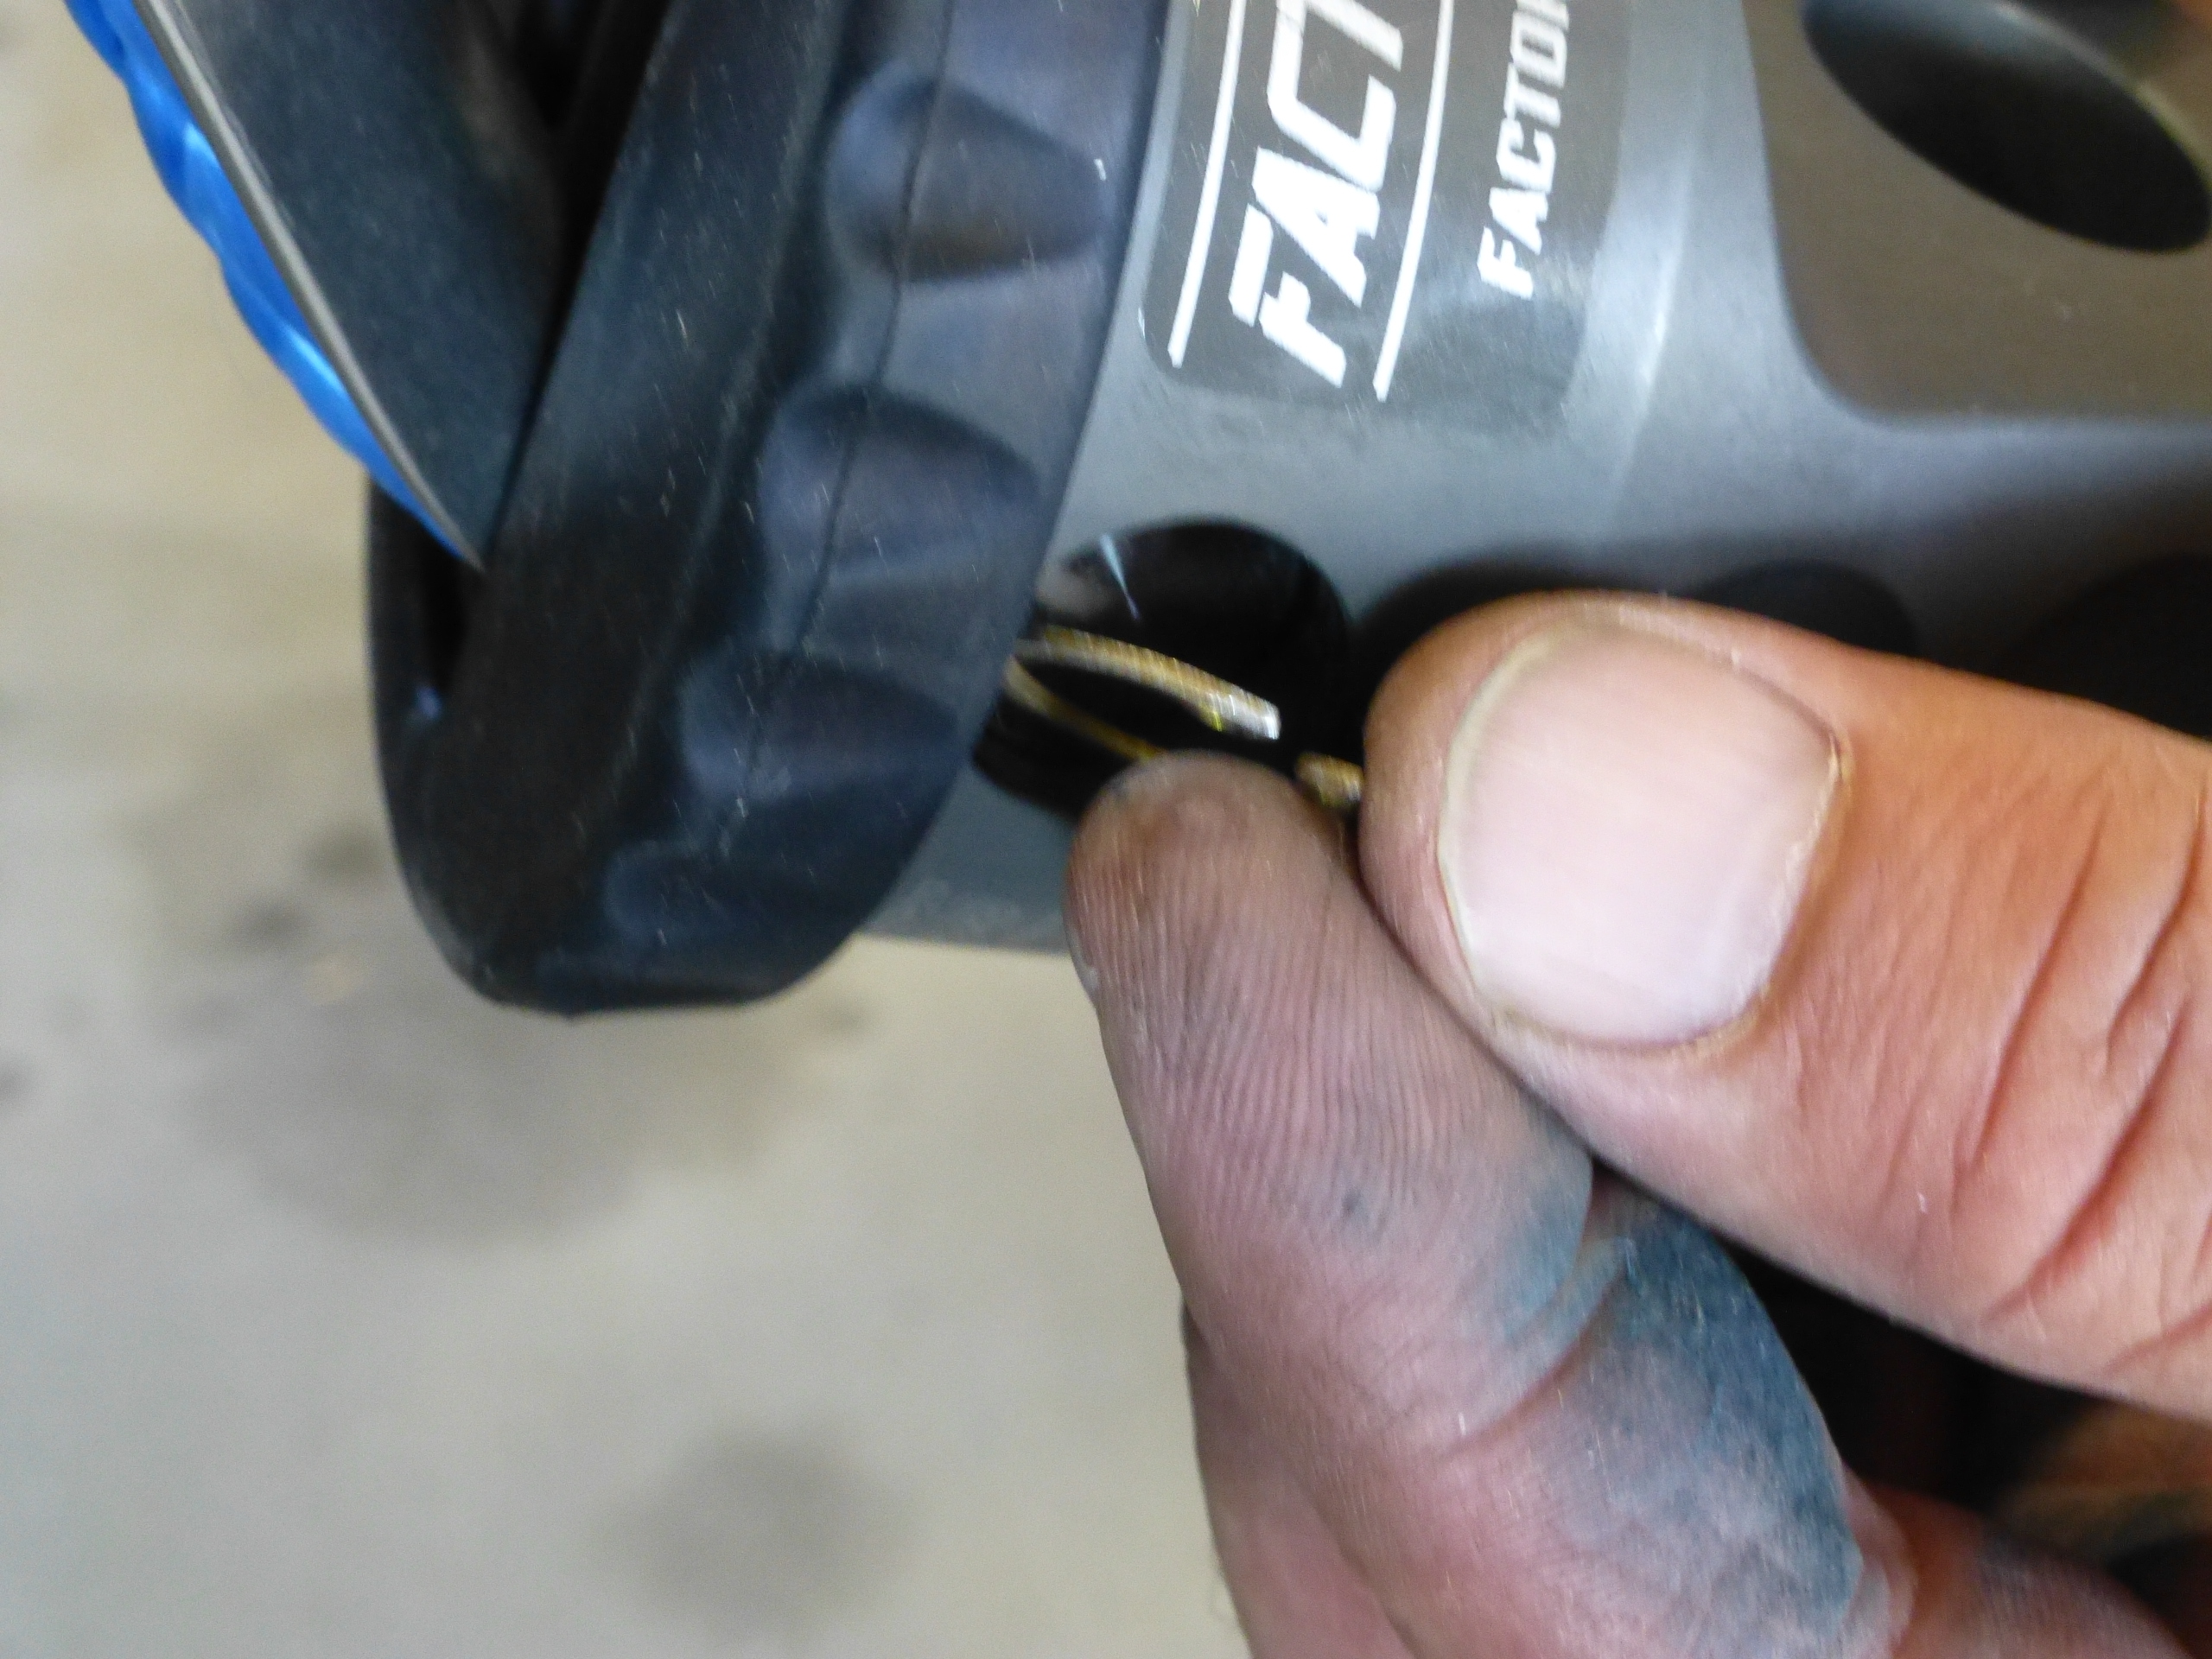
Once that was done we opted to put a thimble on the end of the winch line instead of the heavy hook that came with the winch from Superwinch. The thimble from “Factor 55” (proudly made in the U.S.A.) which was provided to us by Quadratec was a simple install. We just used a set of snap ring pliers and removed that snap ring allowing the pin to slide out so we could put the end of the synthetic line into the recess of the thimble. Putting the pin back in as well as the snap ring was all it took to complete the task. We opted to go this route so we wouldn’t have a hook banging around doing any damage to the paint on our color matched bumper.


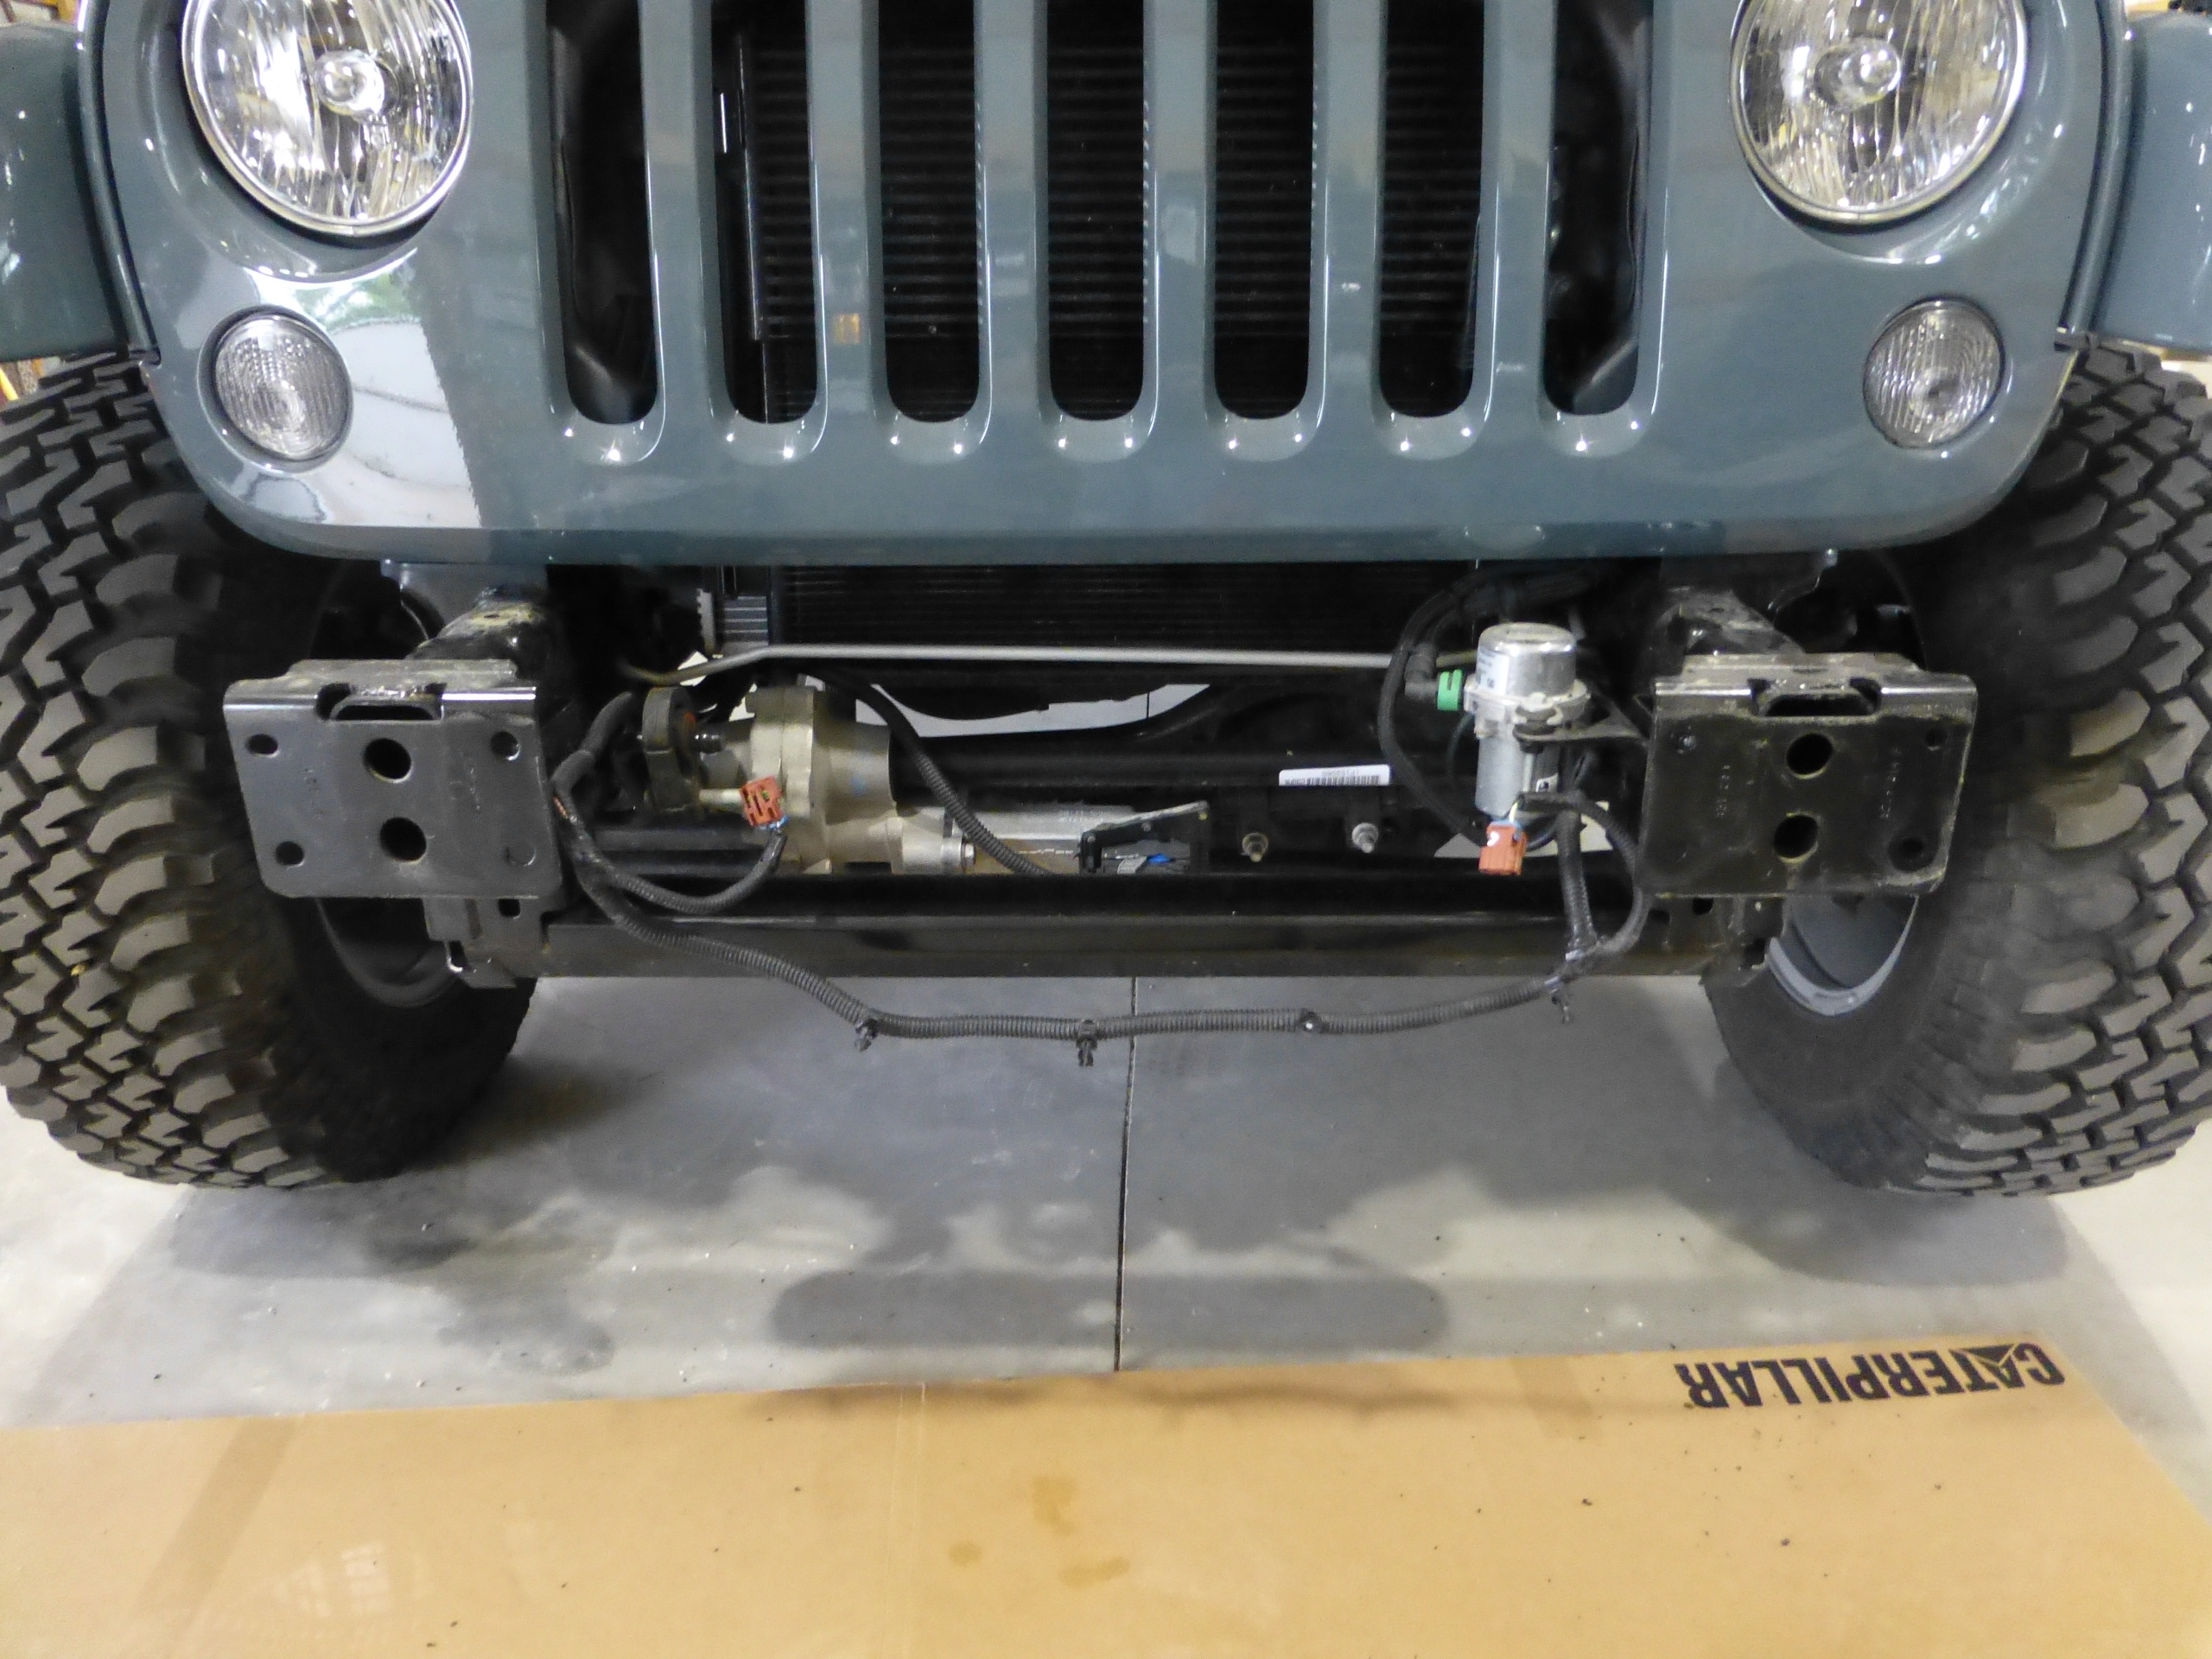
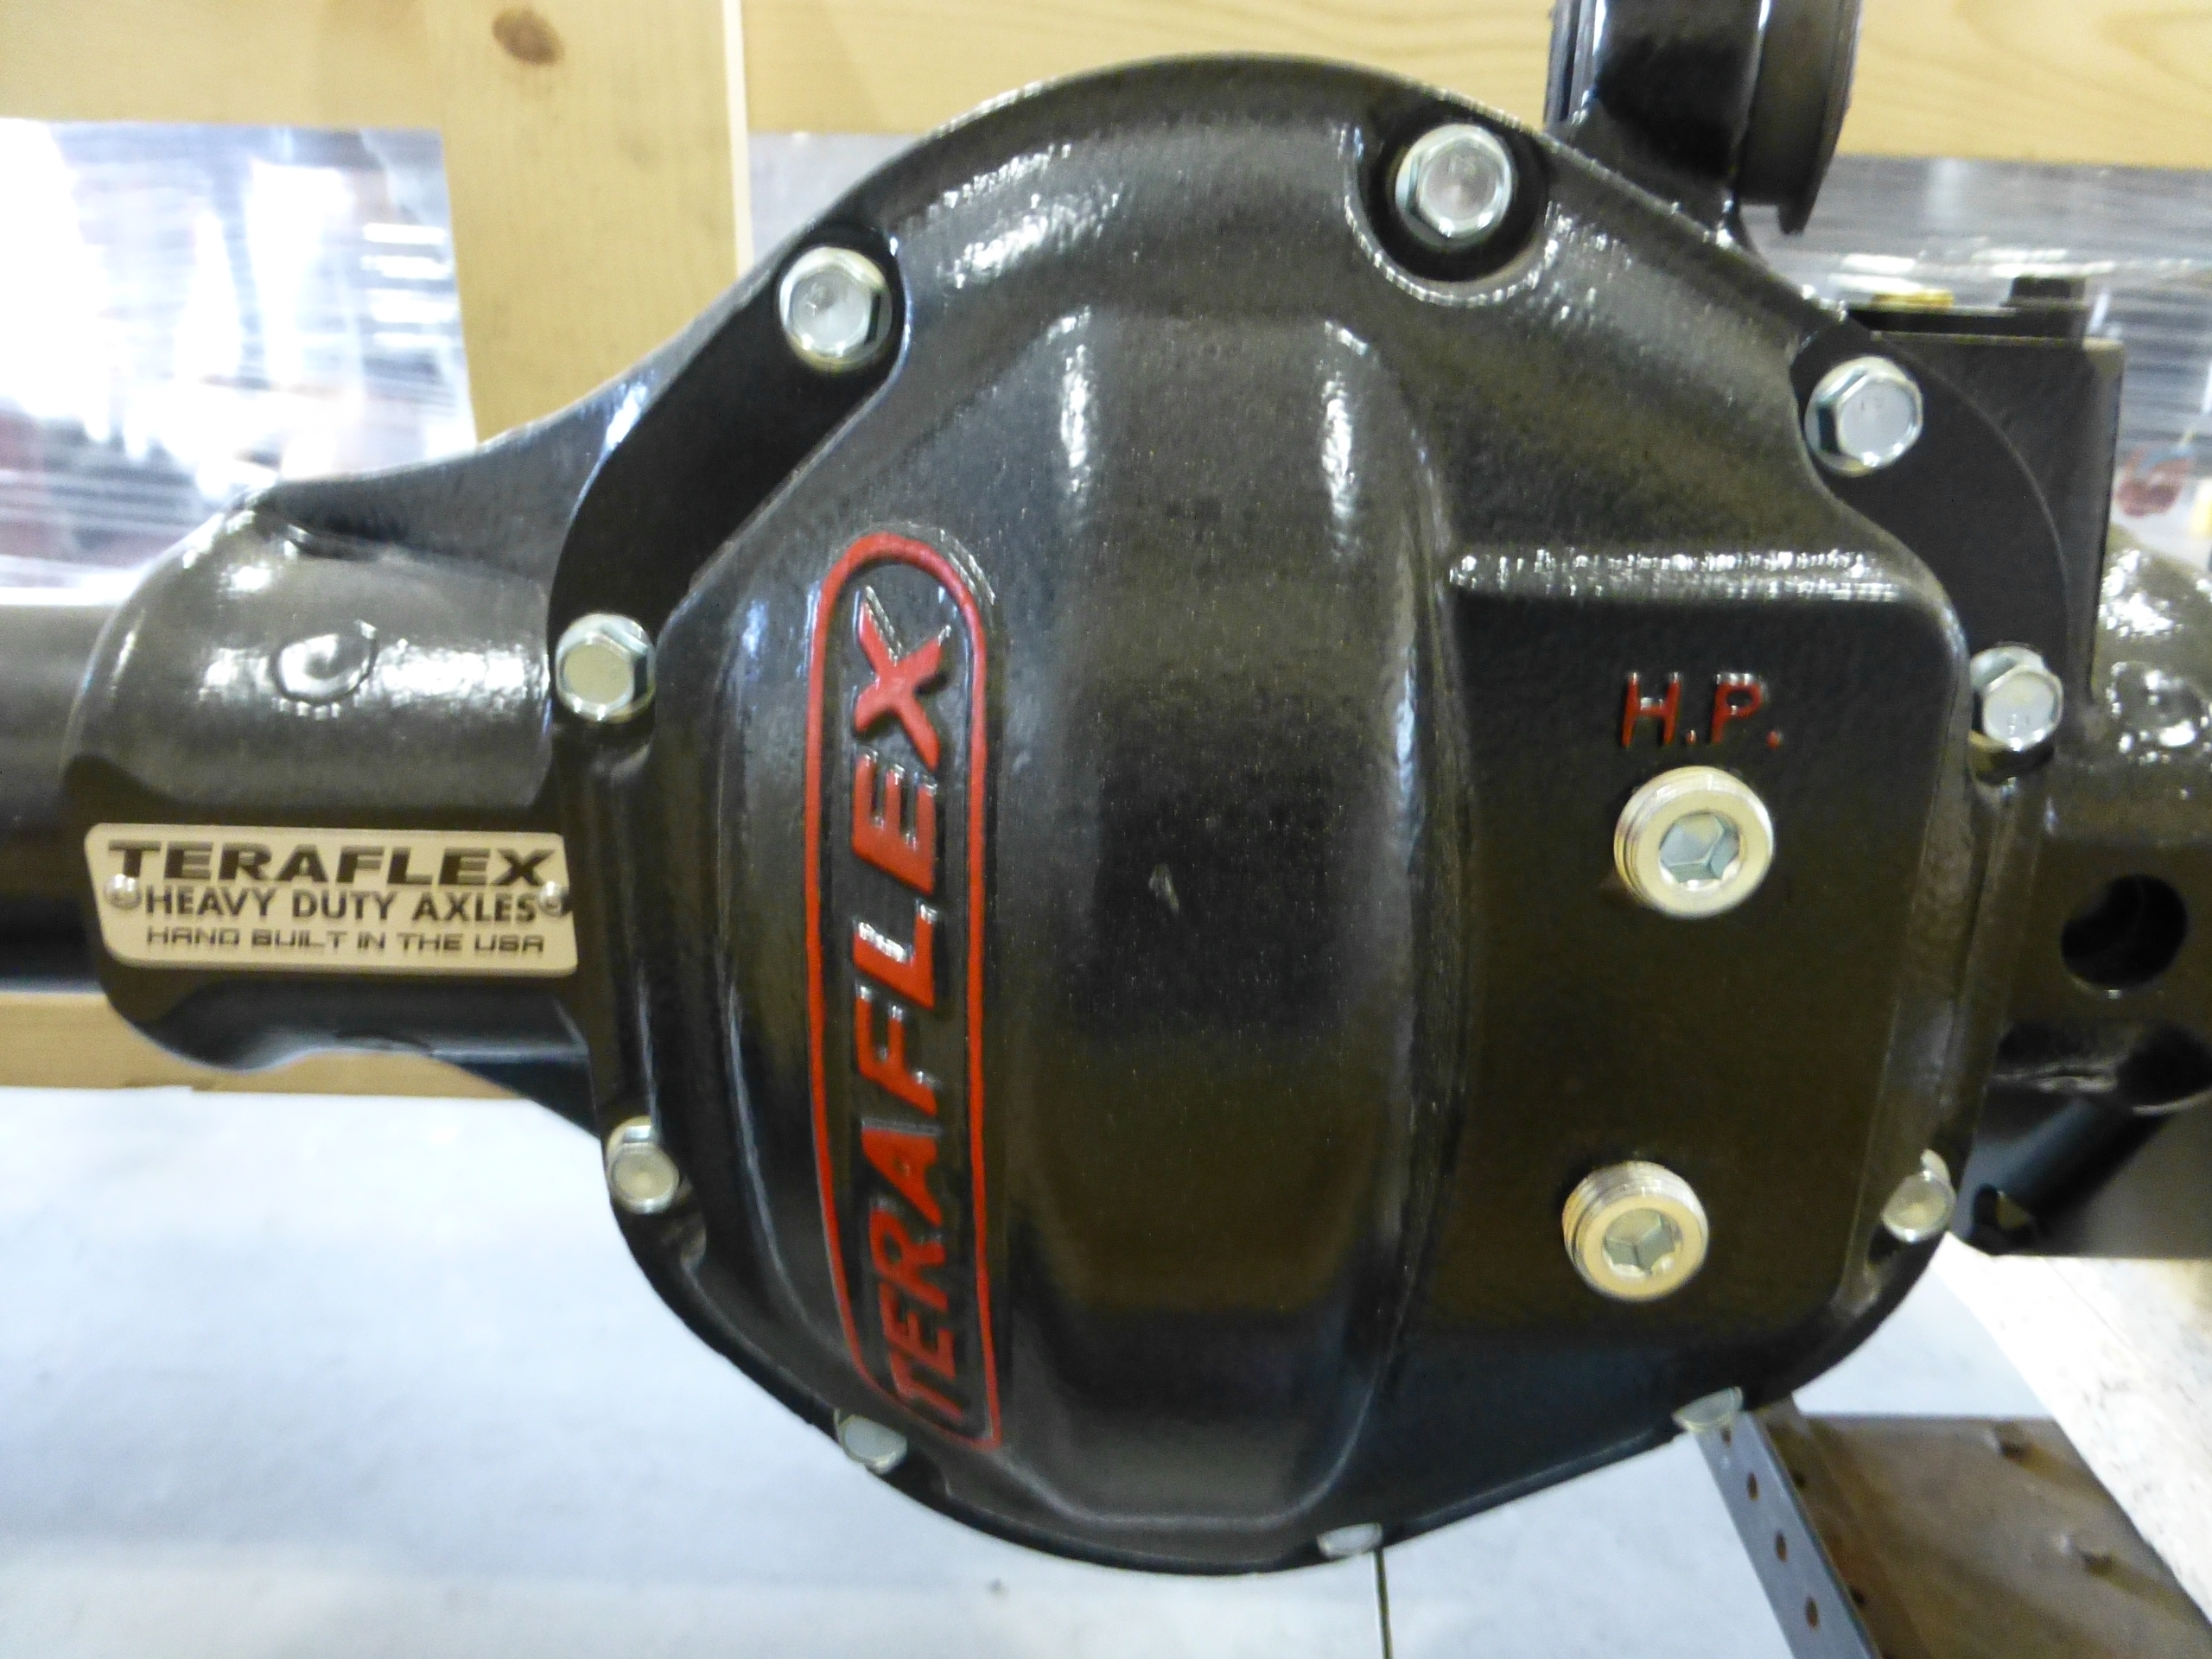
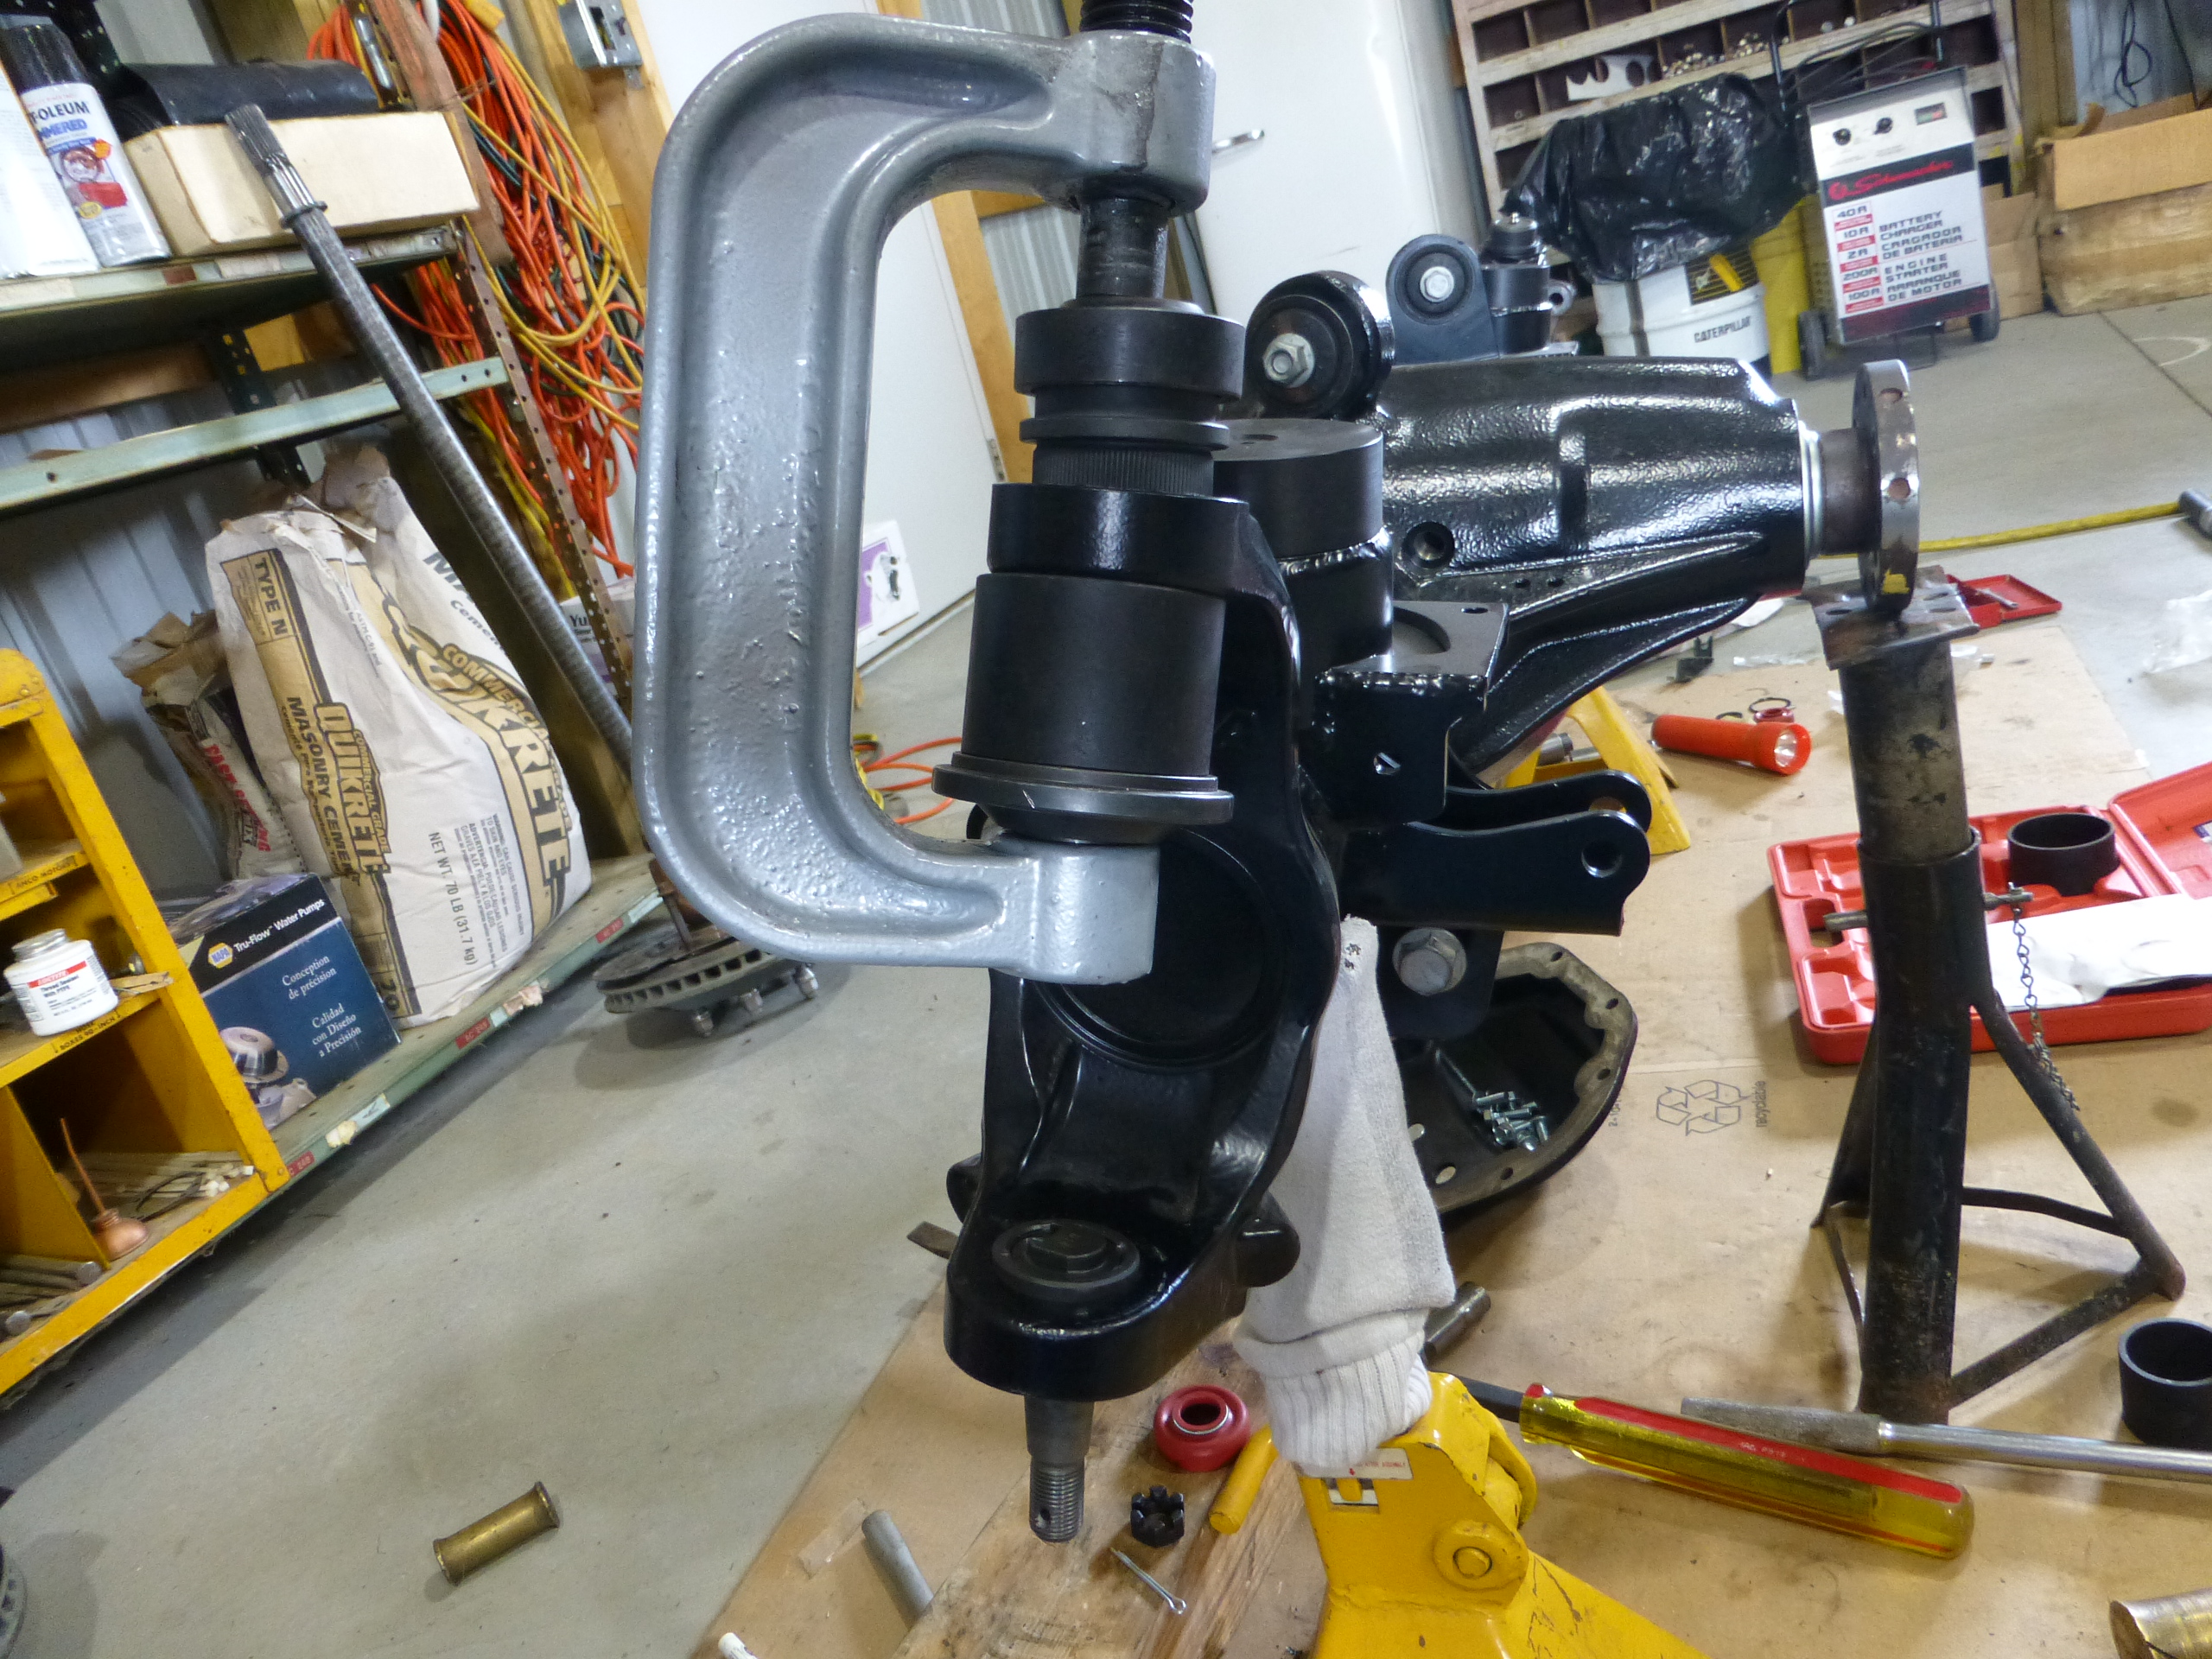
Teraflex’s Tera 44 Front Axle and Components:
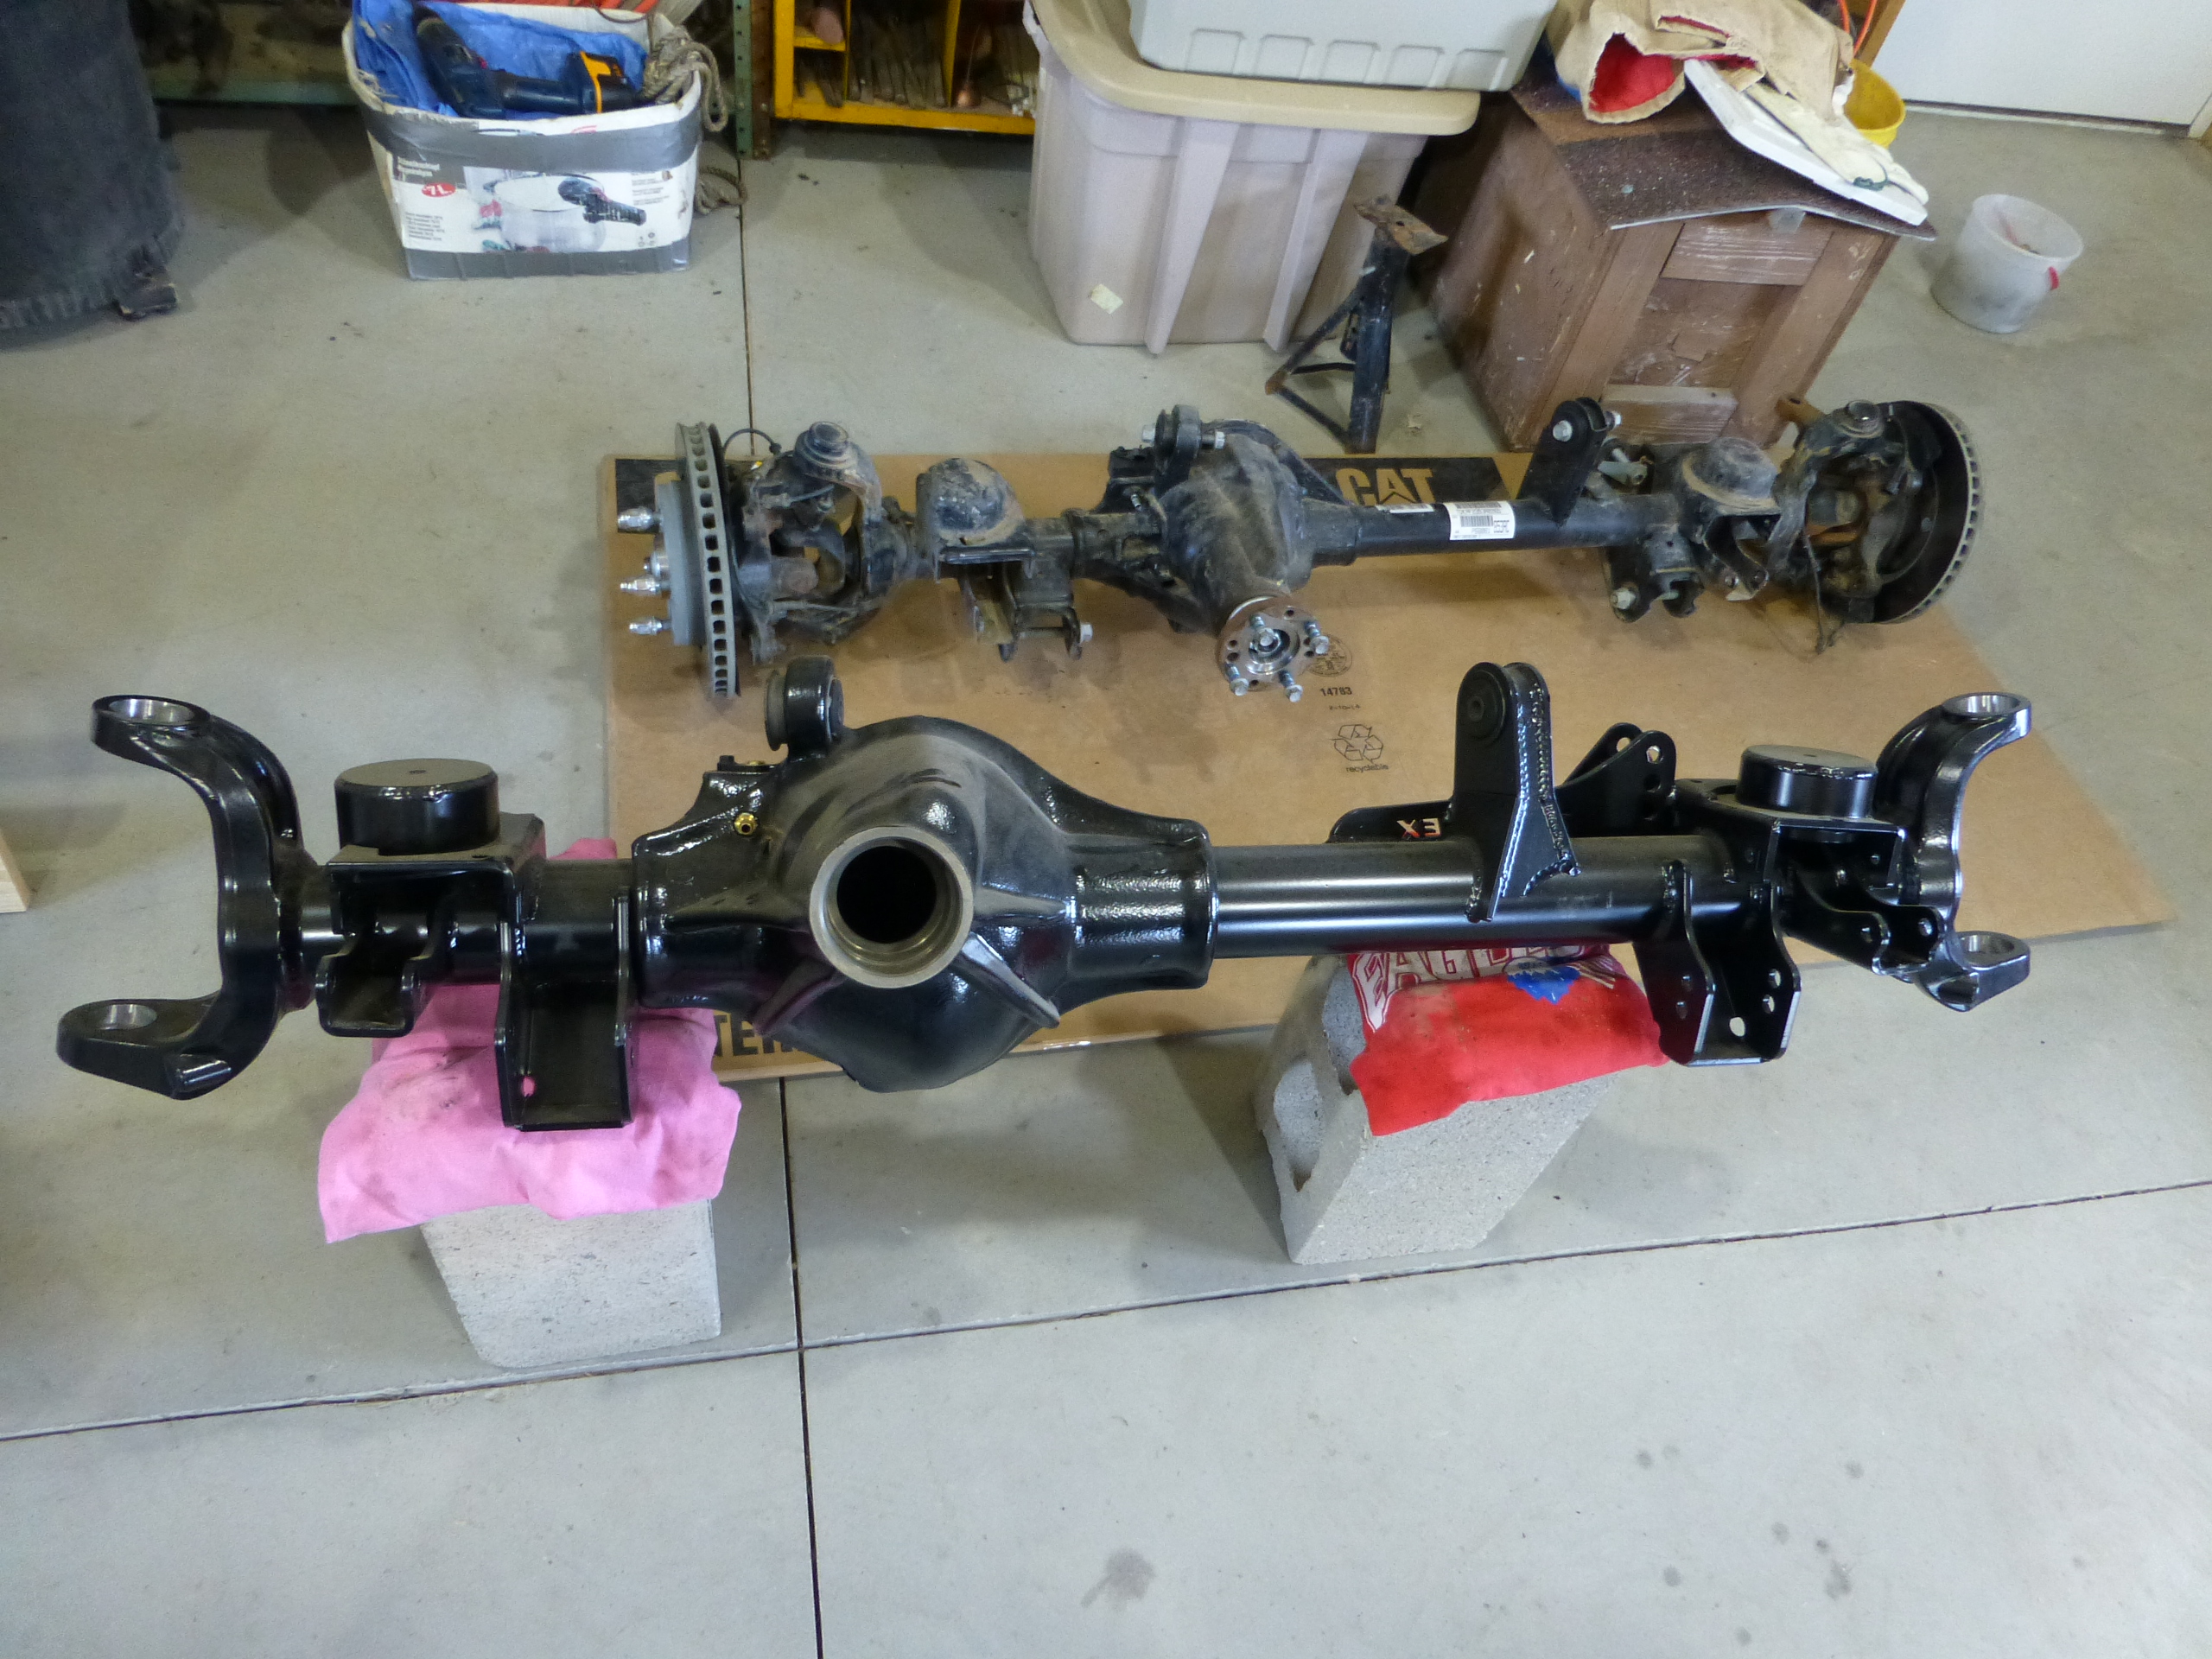
One of the common problems or weak areas for the JK is the front axle housing and ball joints. When the Rubicon Wrangler’s get used and are put into serious “Off-Road” environments, these are the areas that we see failure more often than others.
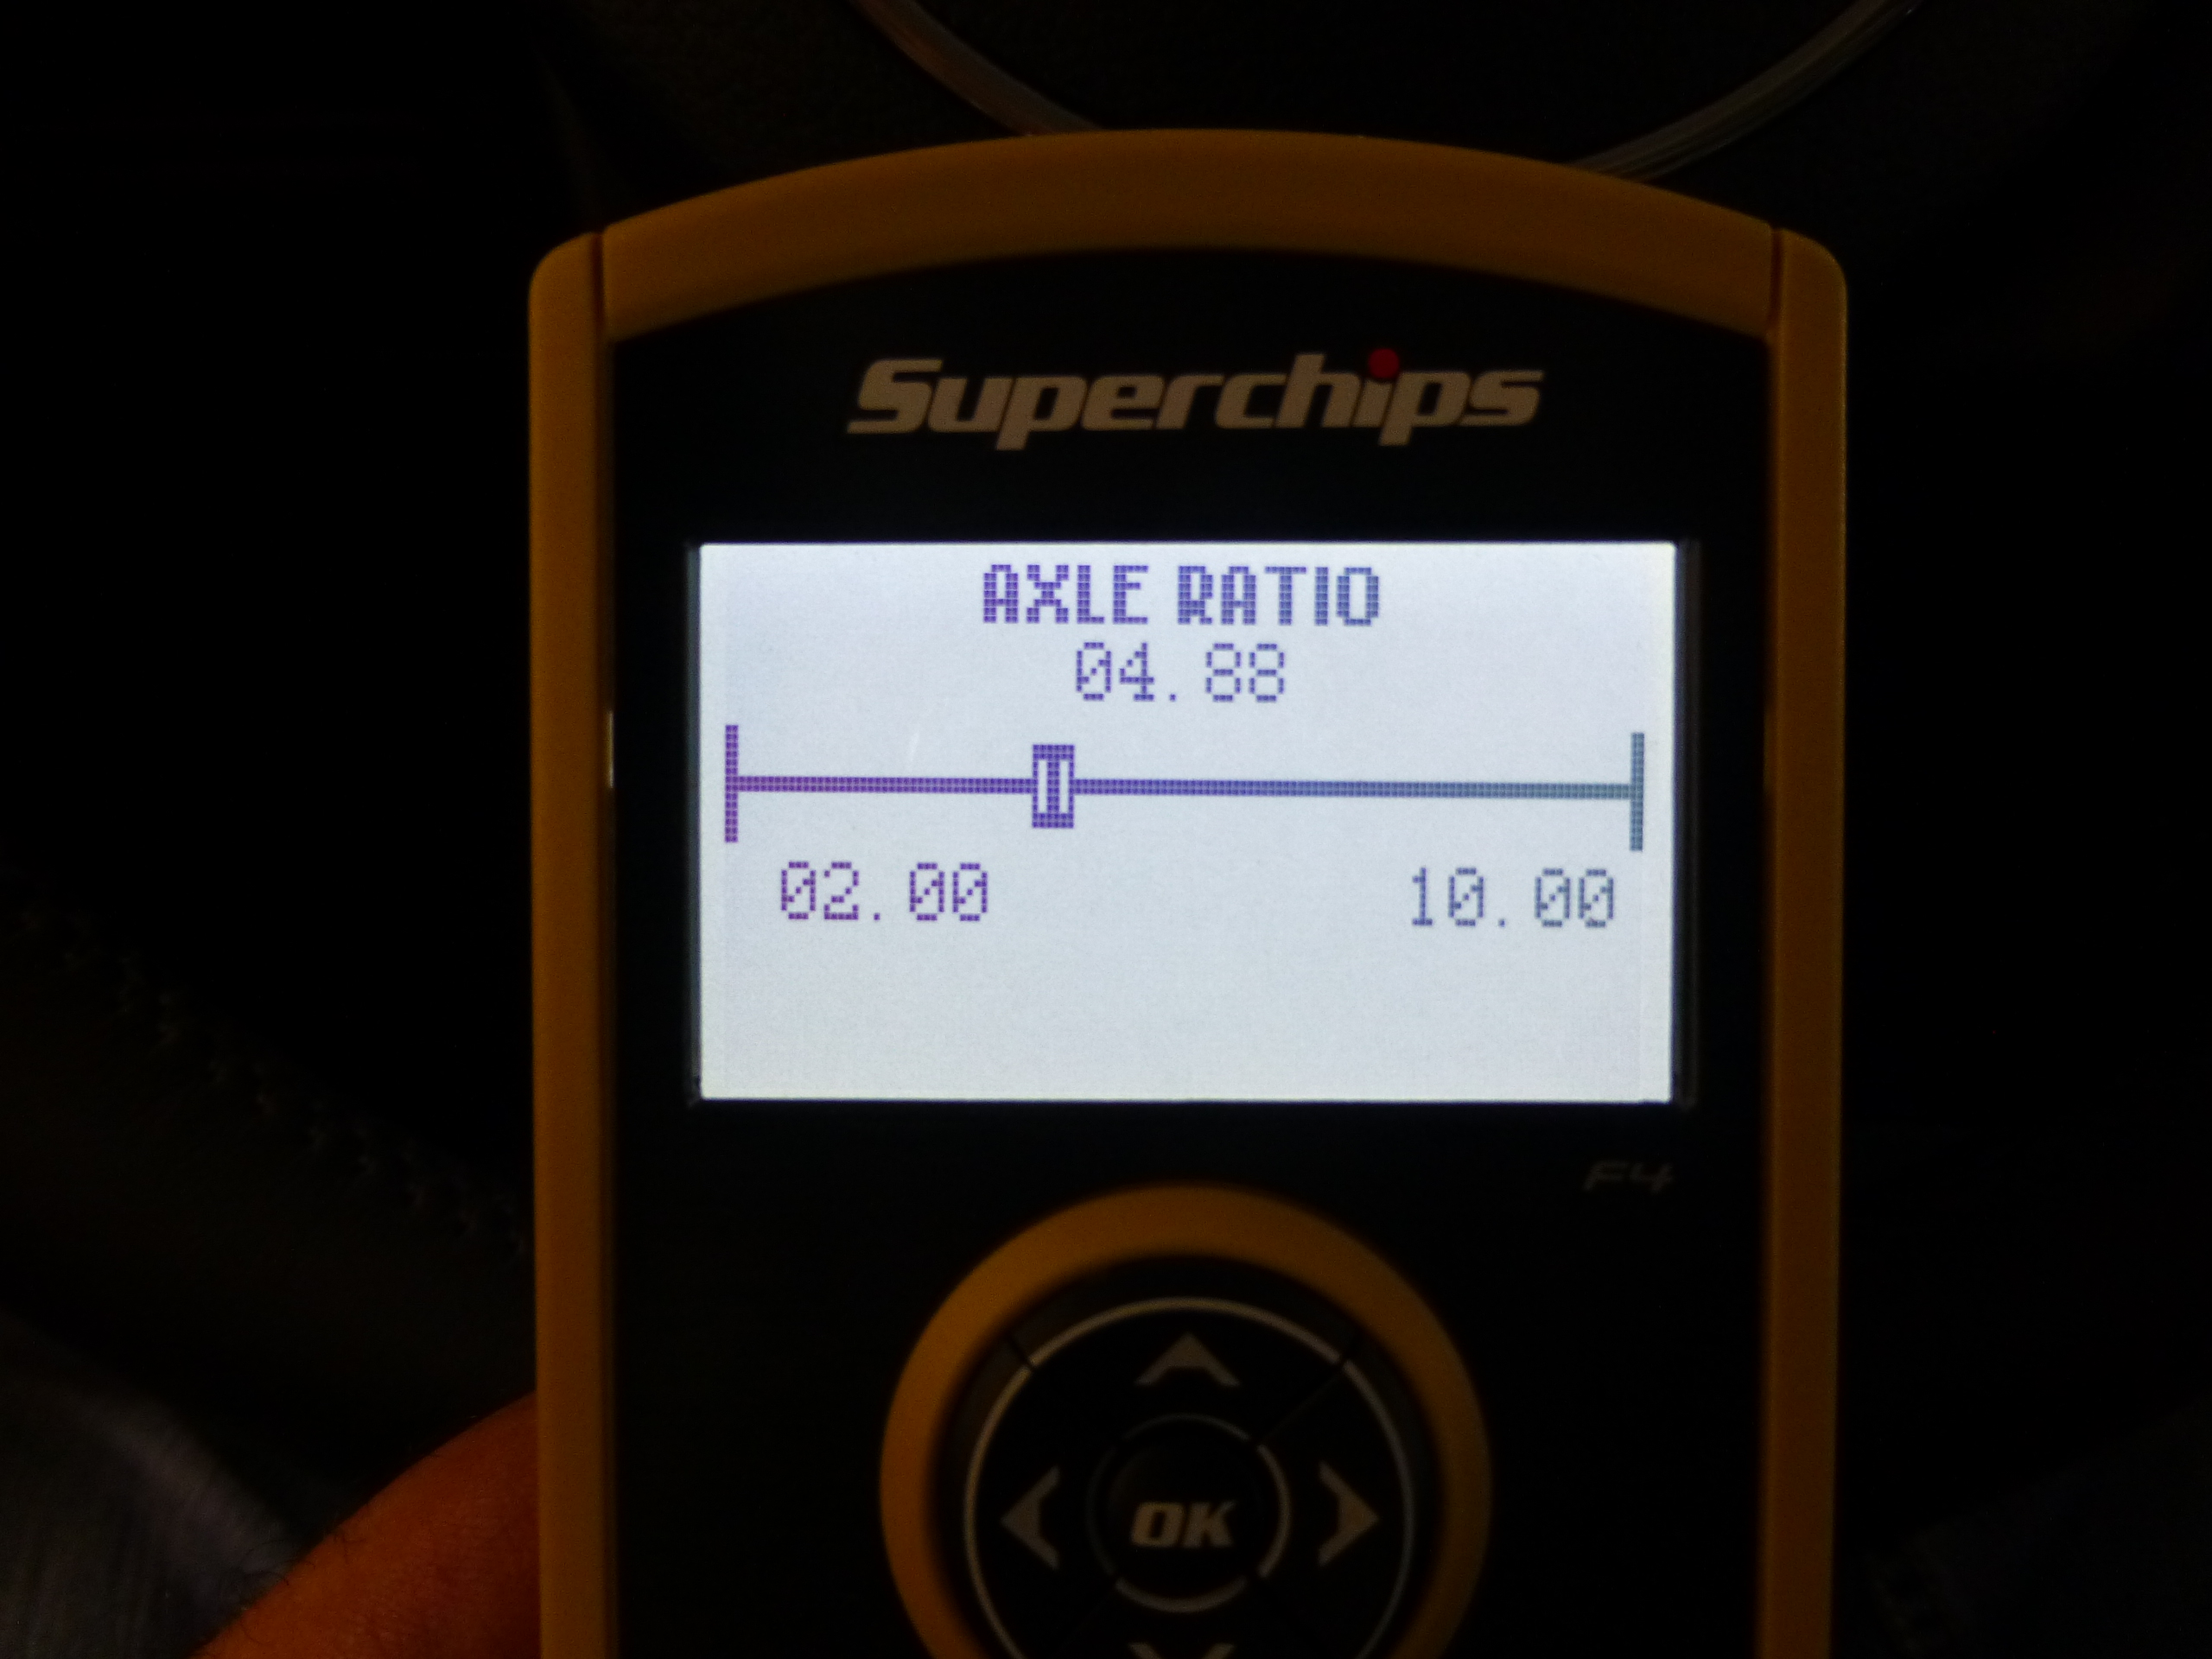
We decided that it made more sense to build the front axle heavy instead of filling a weak housing with quality parts. Once again, Teraflex came to the rescue with their Tera 44 housing. In order to fill that housing with quality components we called on Alloy U.S.A. for the ball joints, Yukon Gear & Axle for our 4:88 ring and pinion set as well as the master build kit. Of course if we were going to go through all of that for a front axle, there was no better way to fill it than with RCV Performance axle shafts.
We did have a few hiccups along the way but once we finally rounded up the parts we needed; we were excited to get this portion of the build assembled so we could get it stuffed underneath the front of “Project Teracon”.
The Teraflex Tera 44 Housing is superior in about every way to the factory Dana 44. For most people the stock Dana 44 on any JK will work fine for about anything they will throw at it. Well, in our eyes it is better to prepare for the most extreme environments which is why we chose this specific housing for this build. The axle tubes are thicker; the control arm mounts as well as shock mounts are also built to a higher standard, and it’s a direct bolt-in upgrade. Again, it is pretty much superior across the board and if that wasn’t enough to sell you on it; it is also proudly made in the U.S.A.
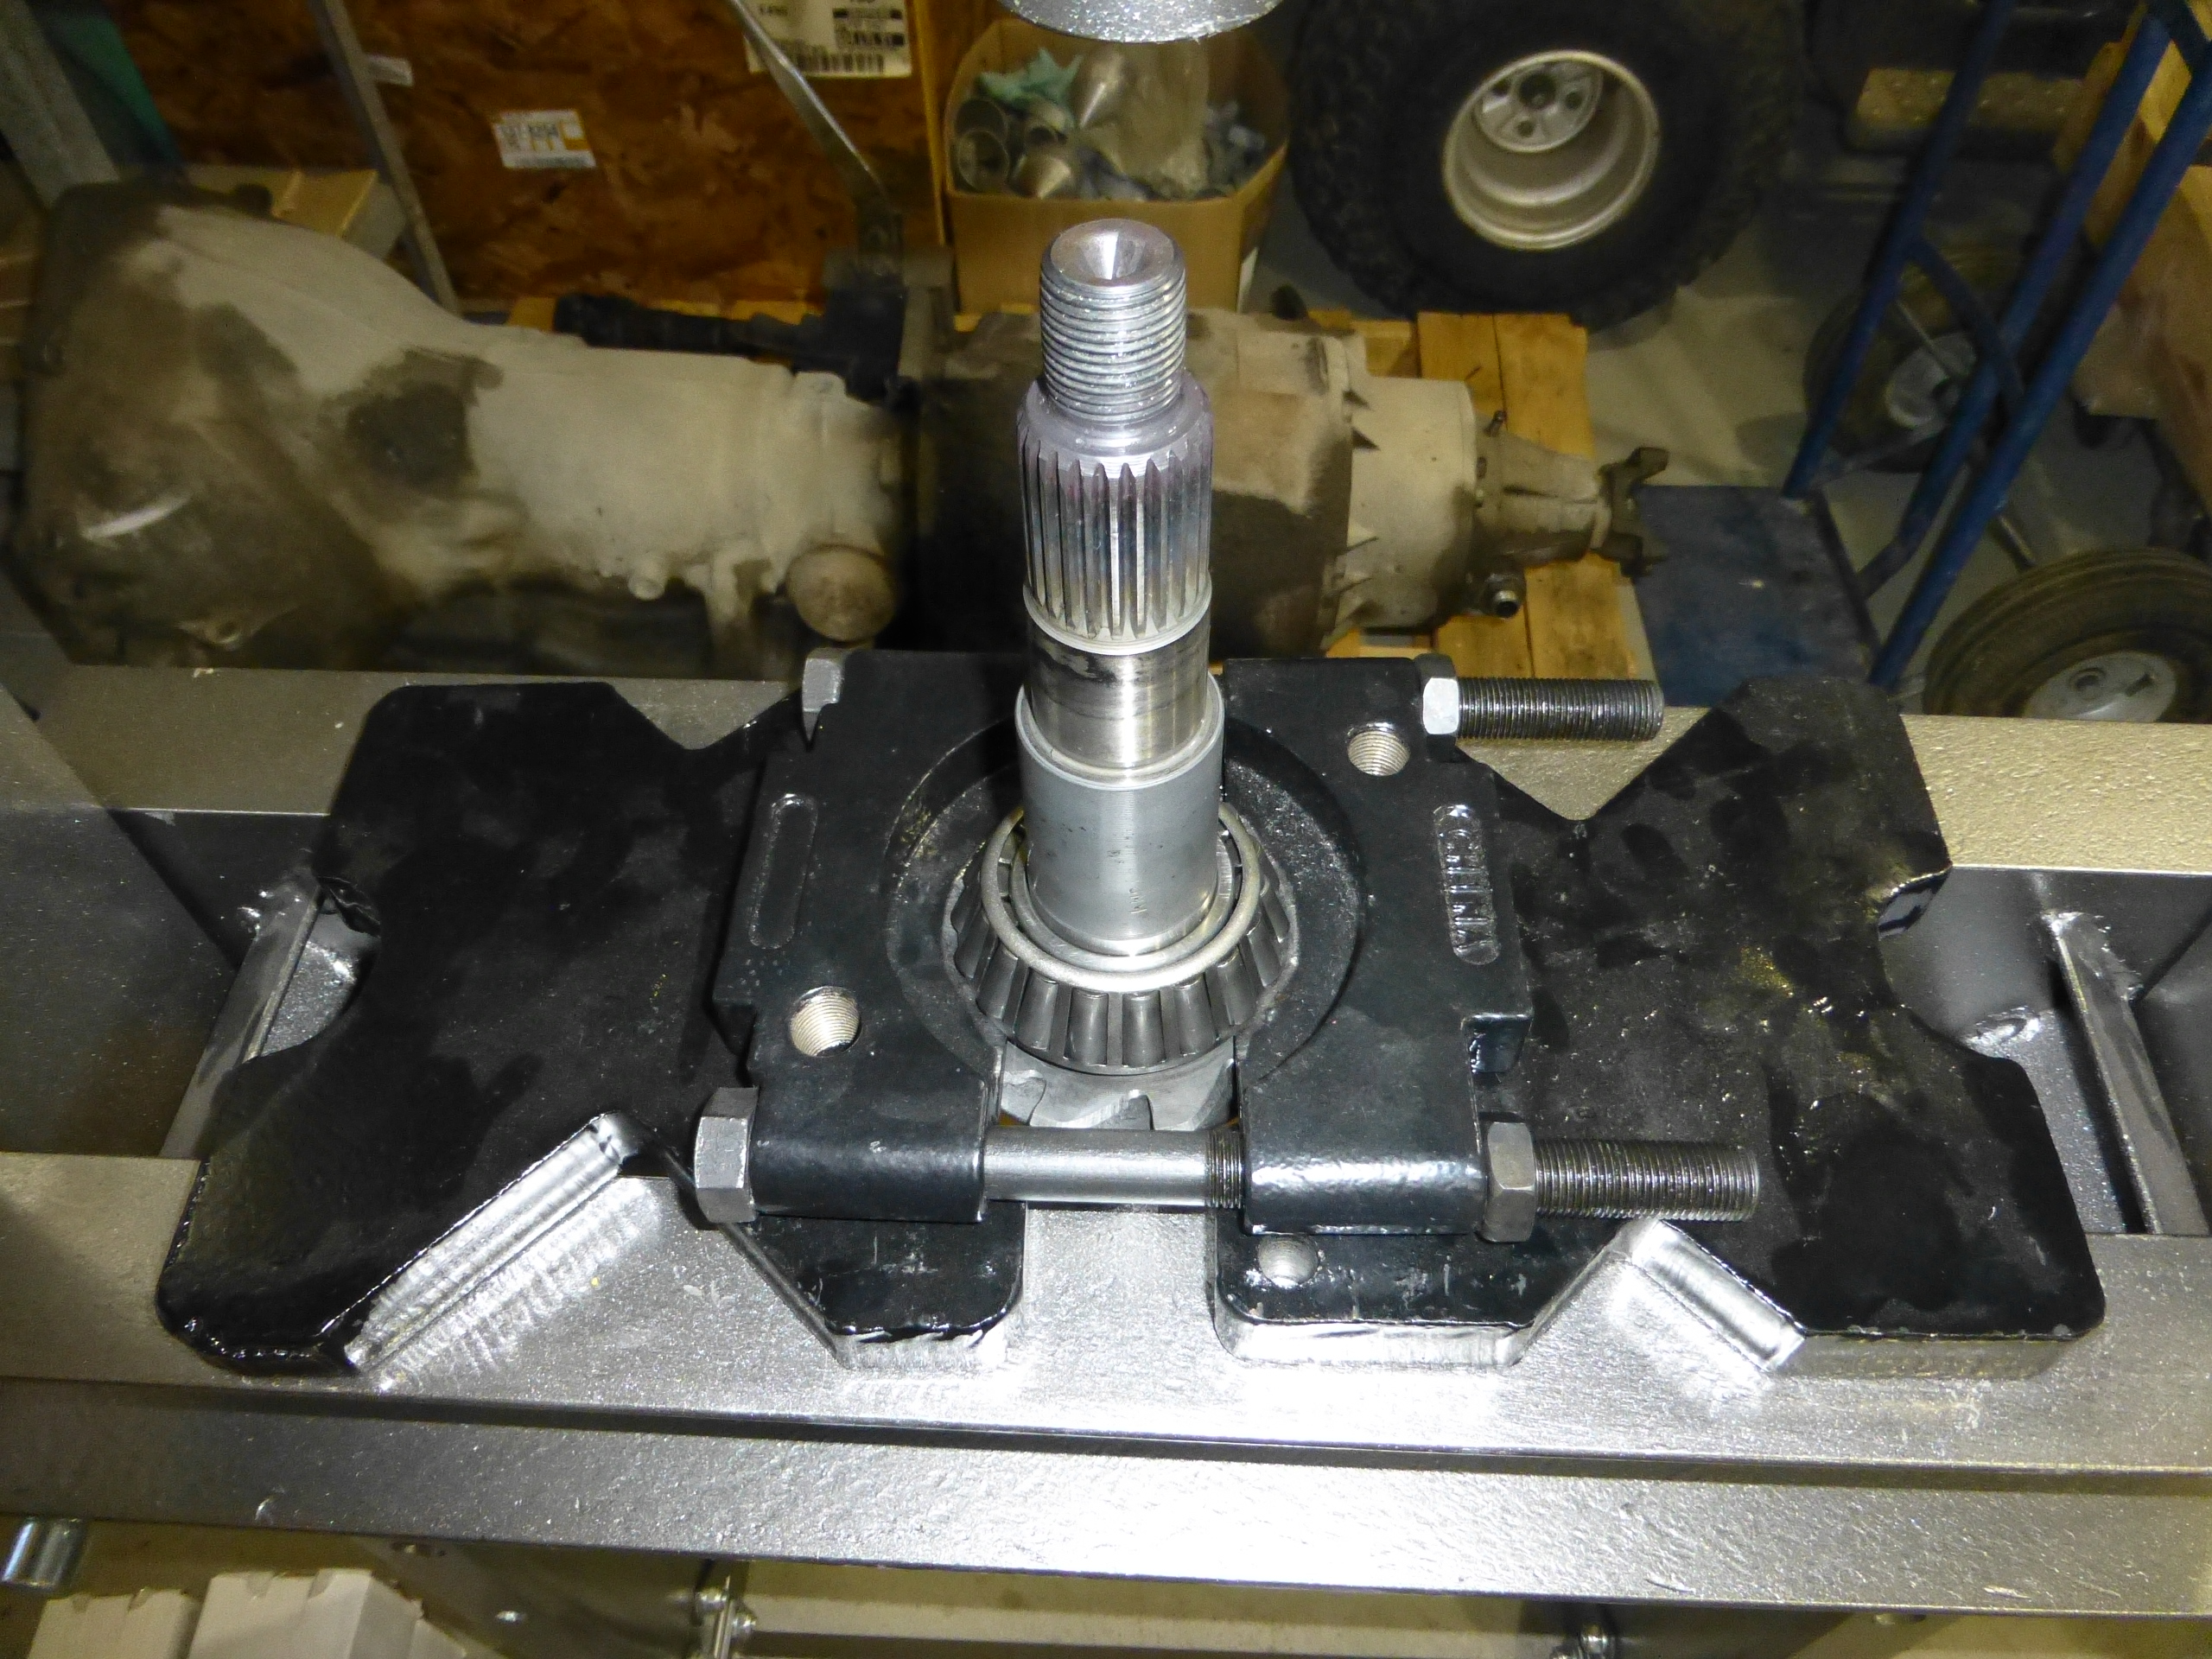
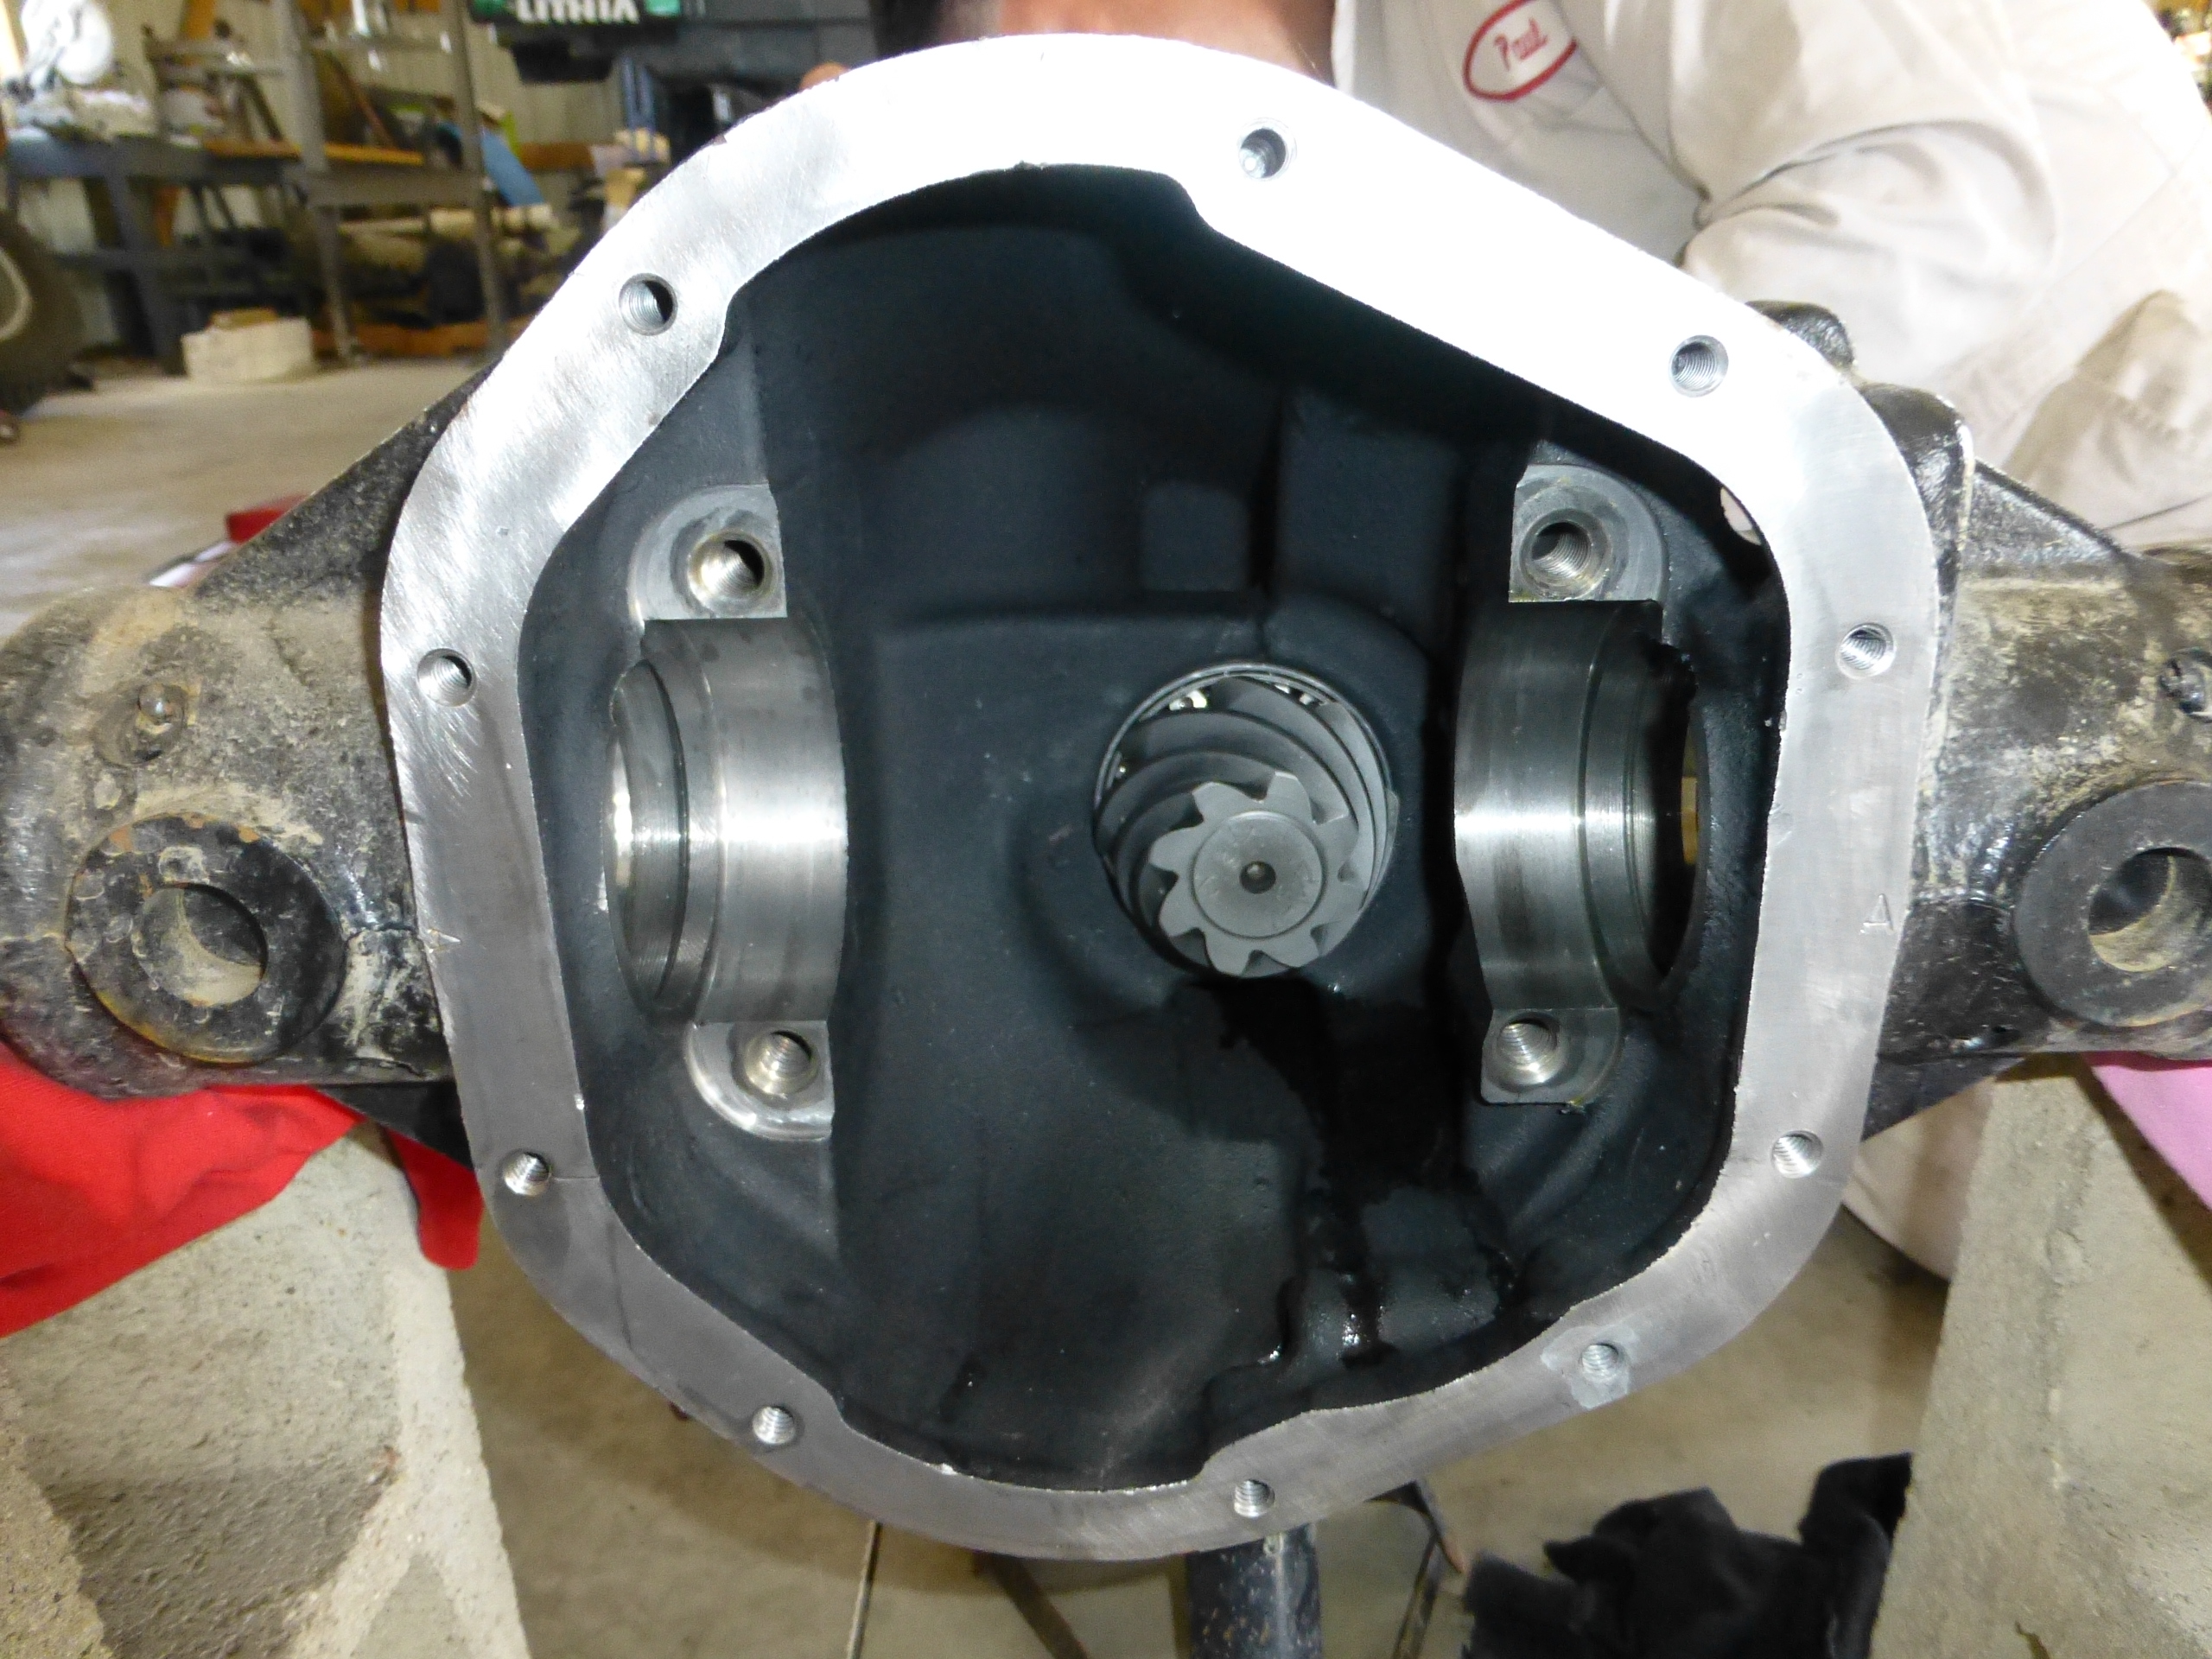
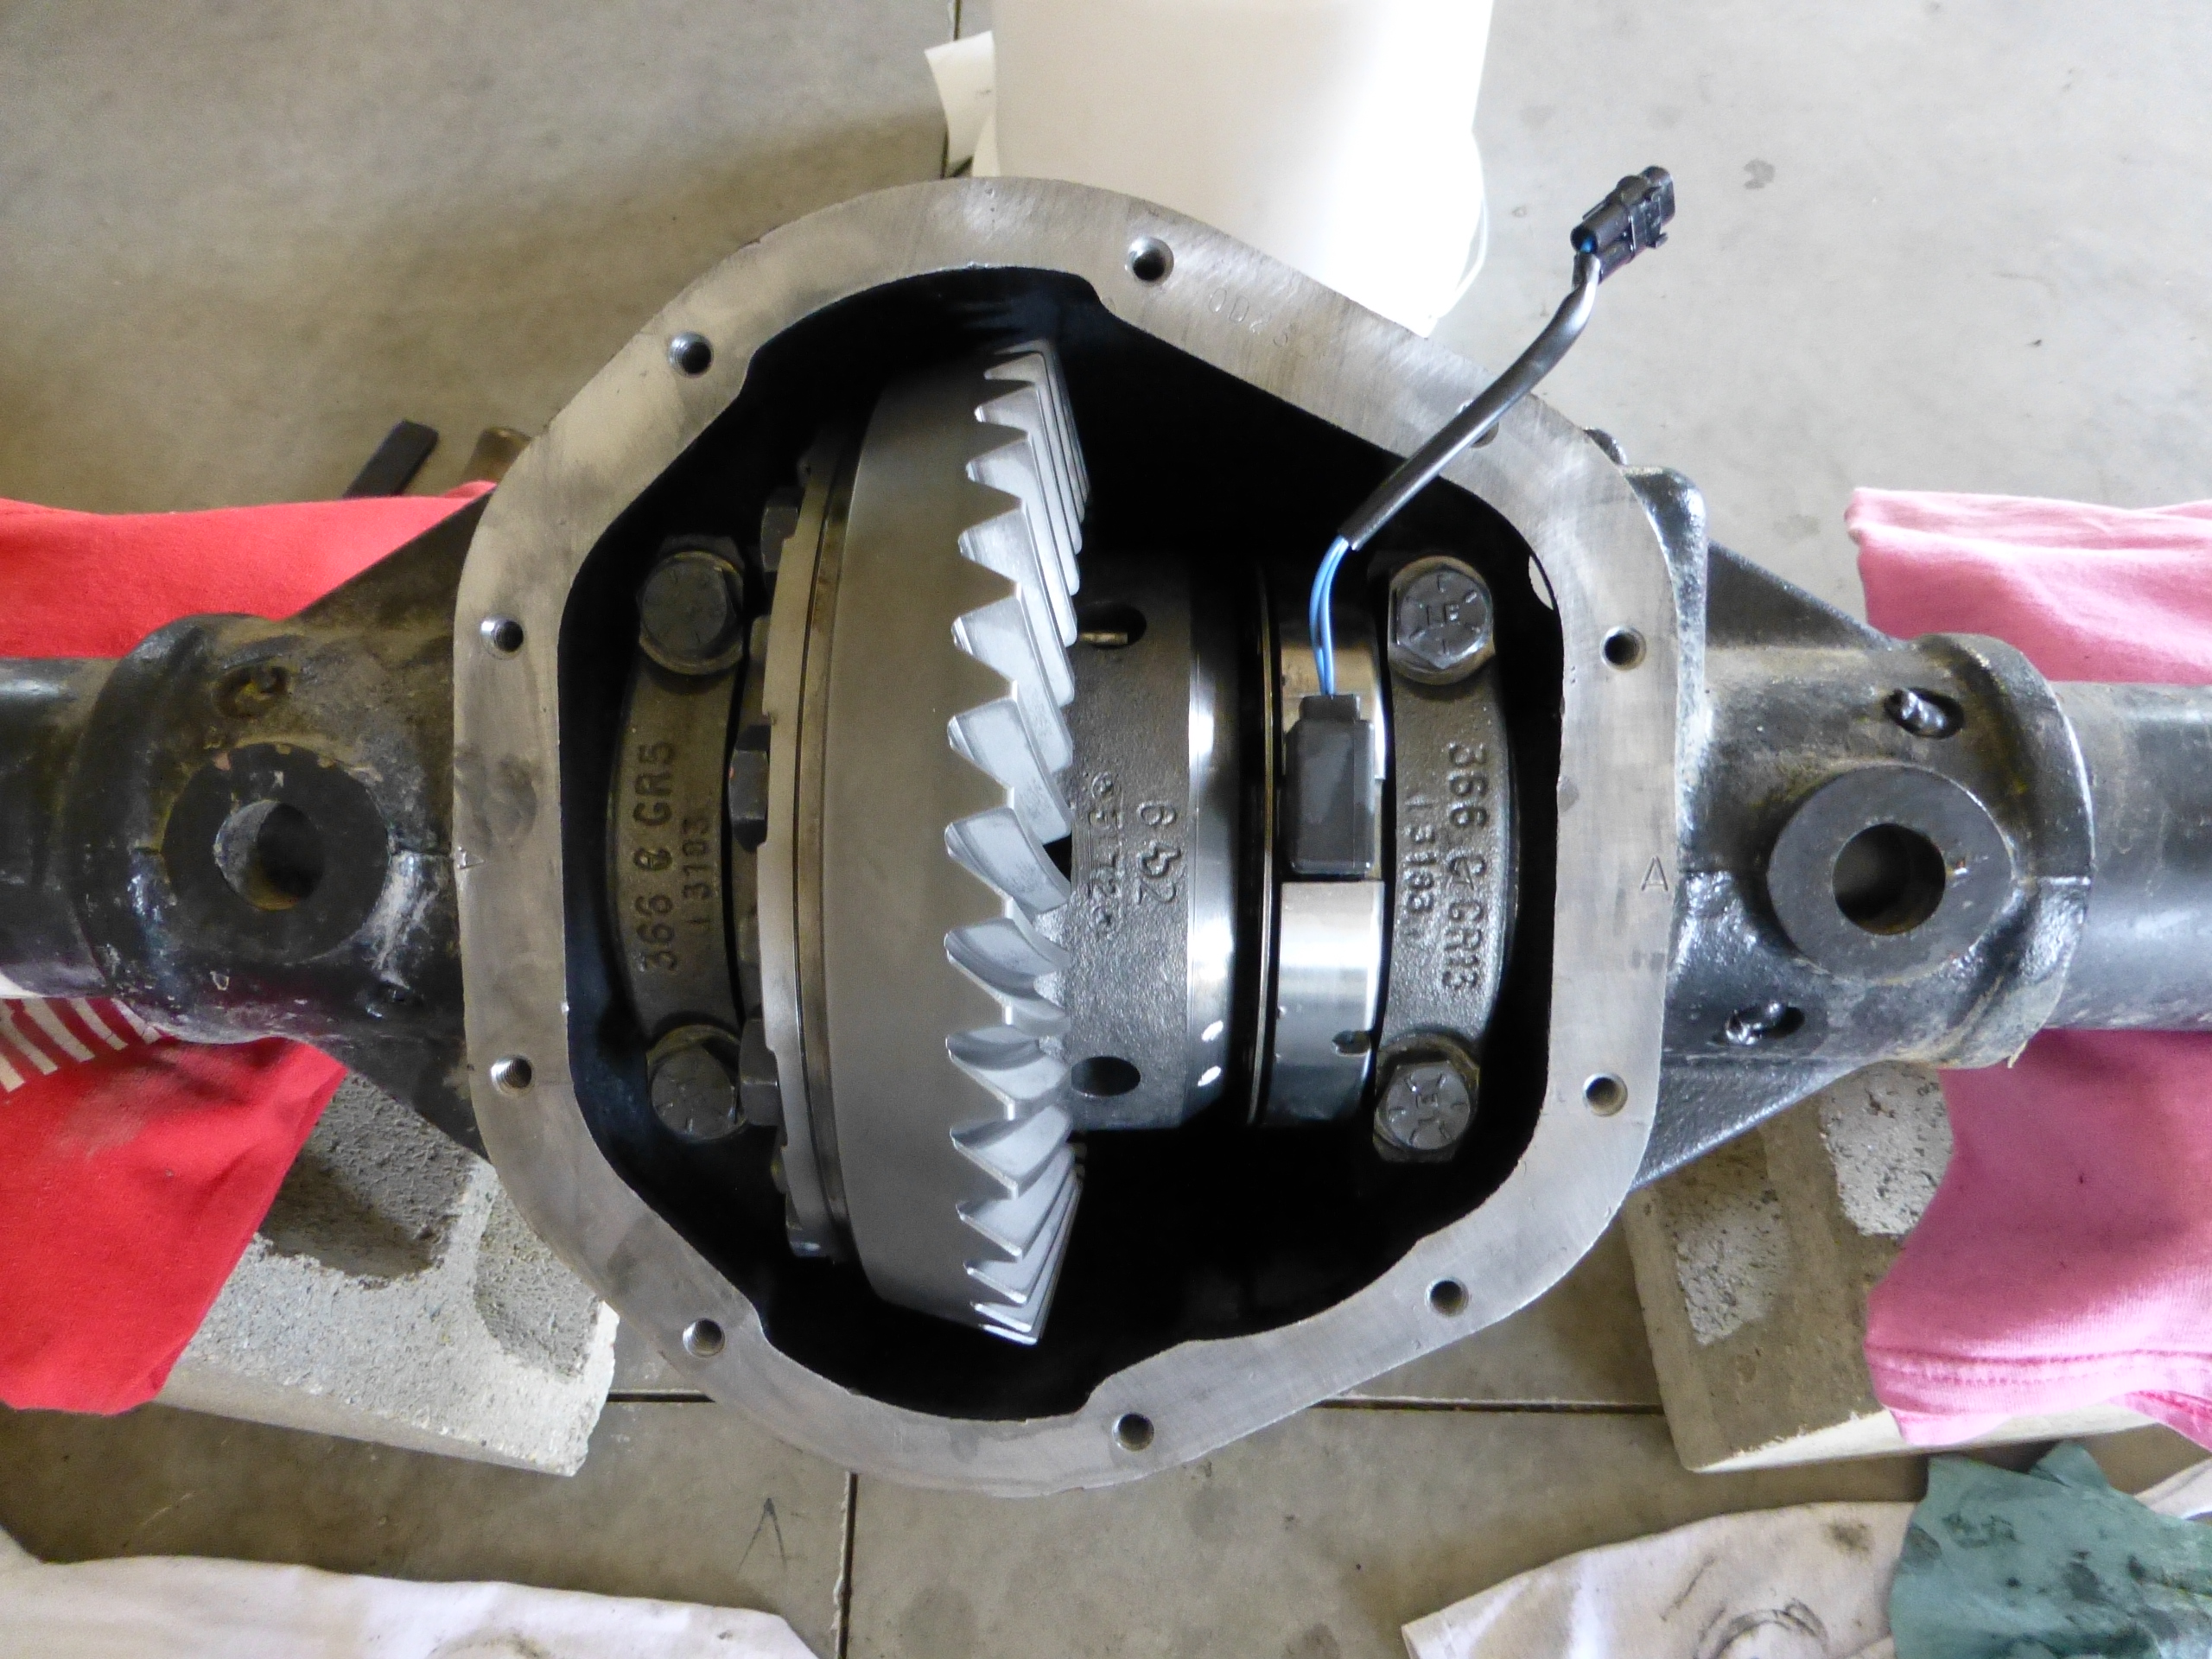
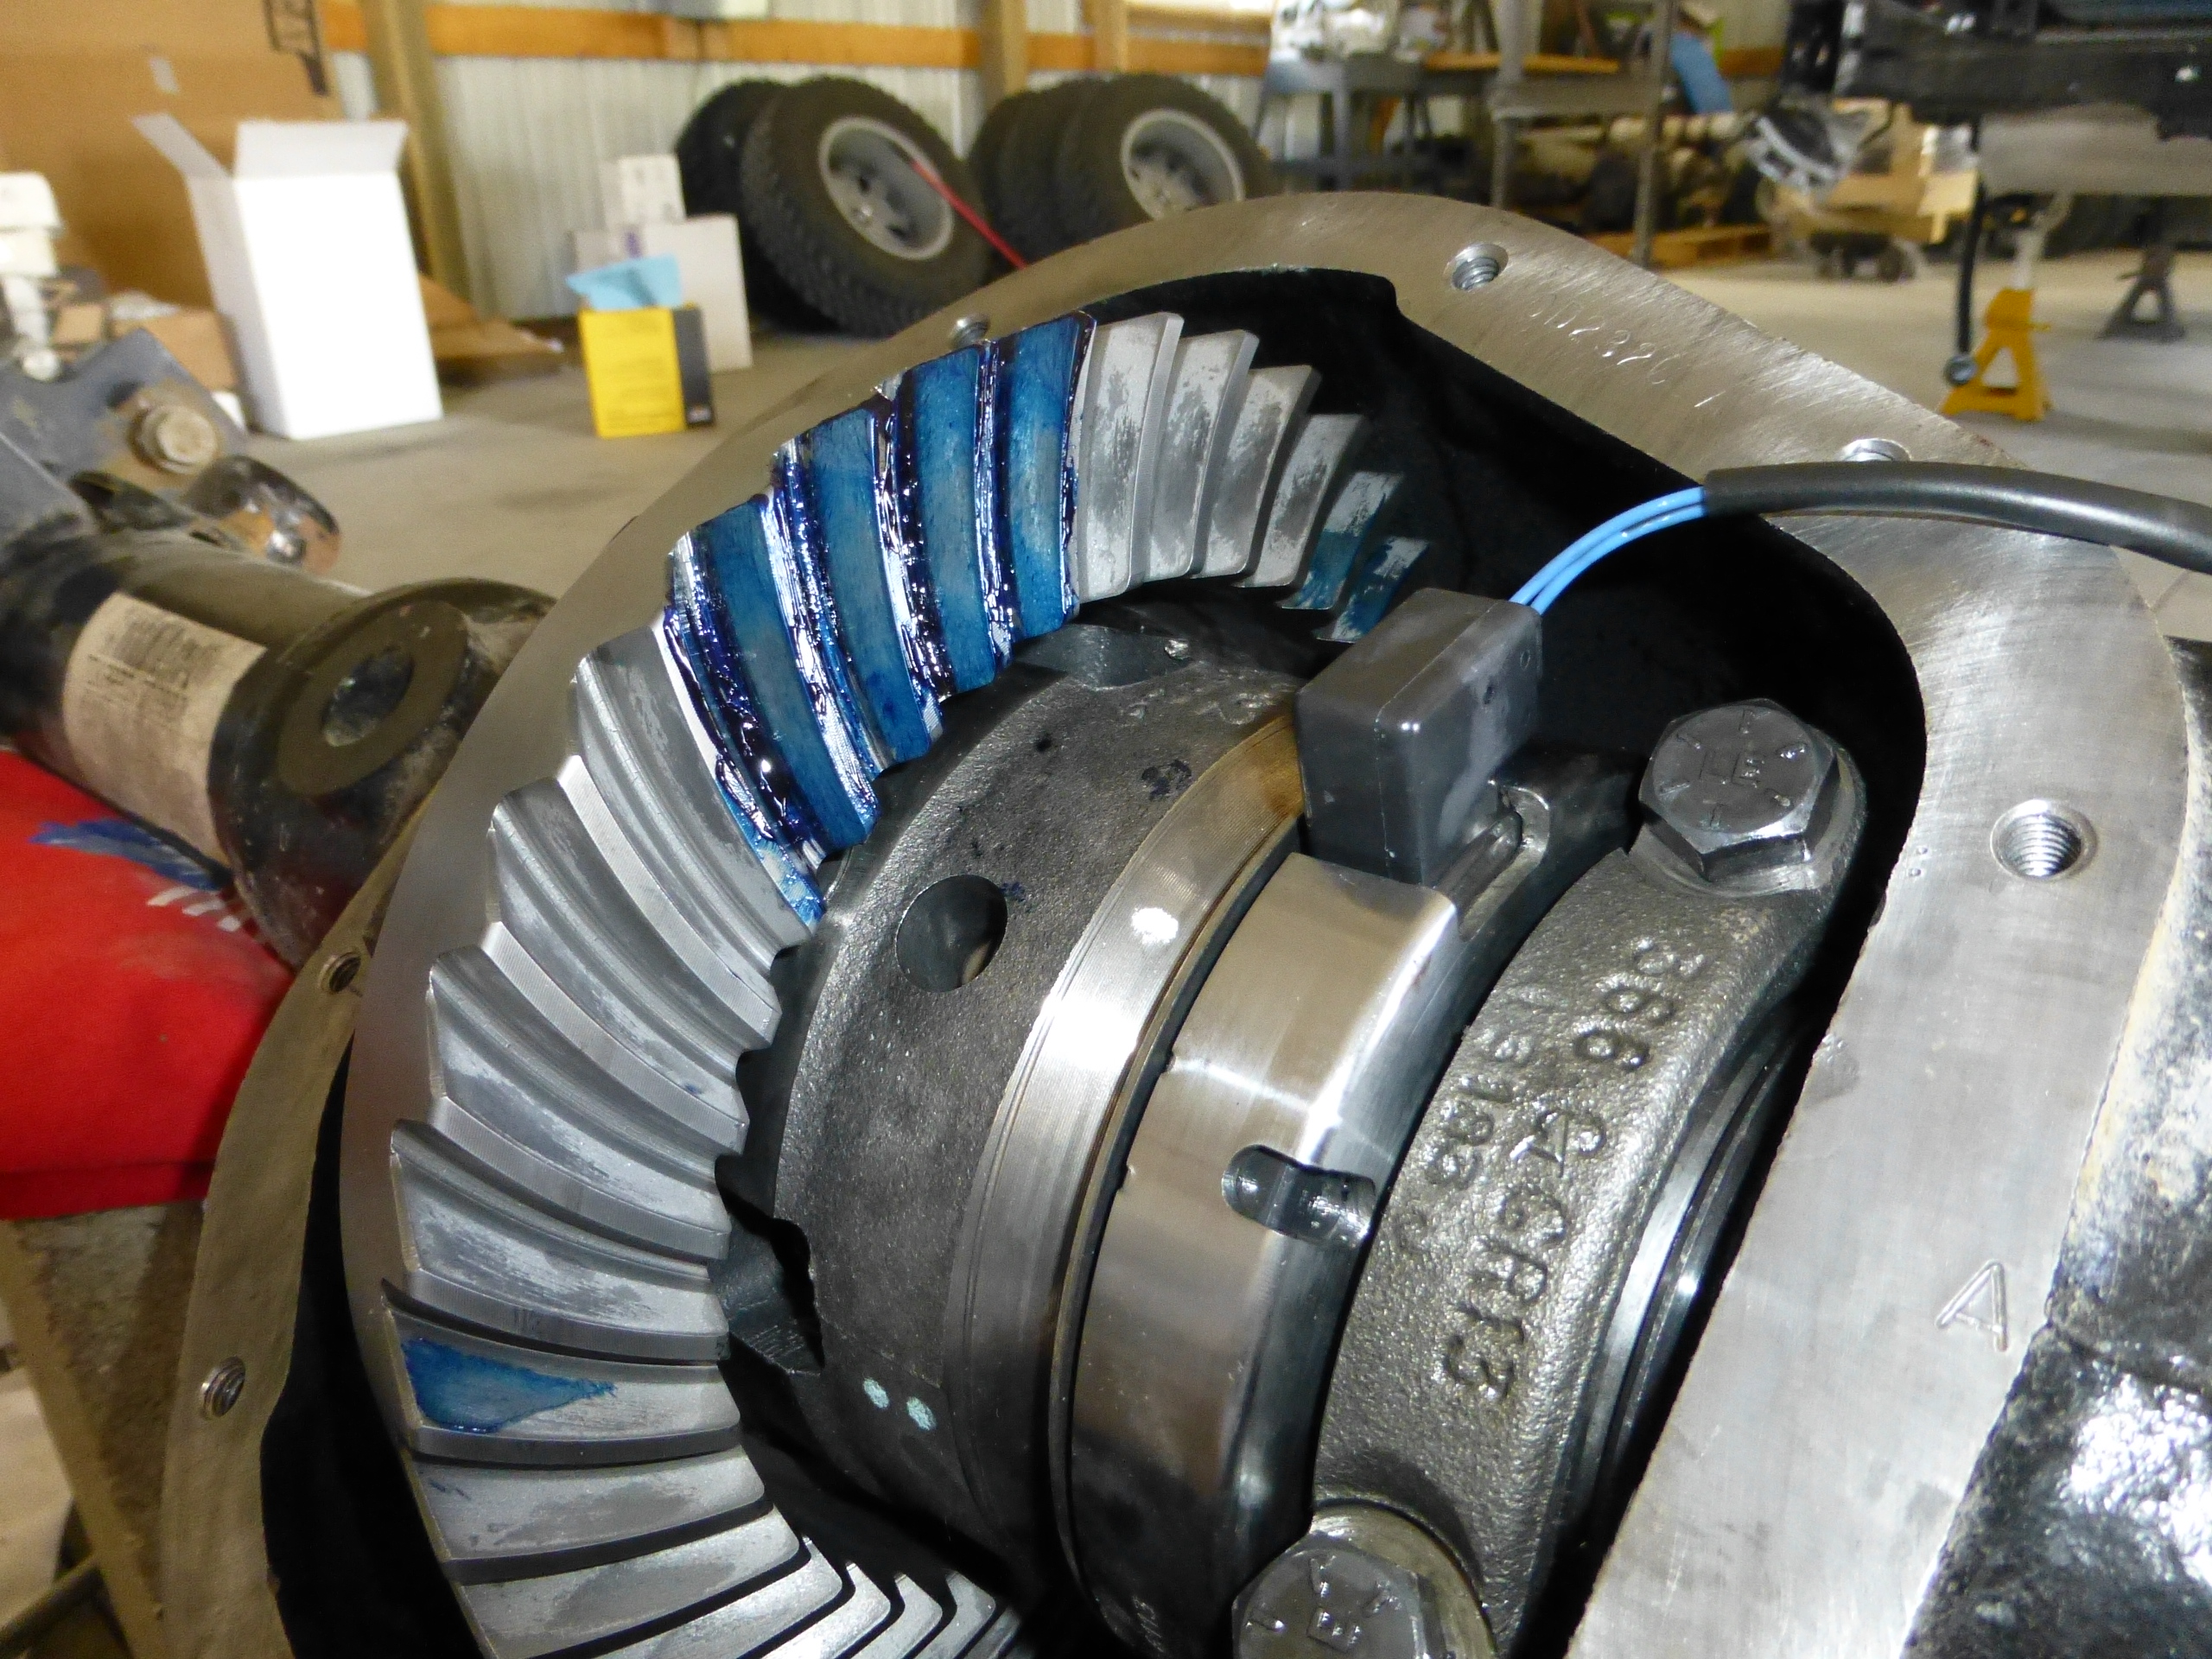
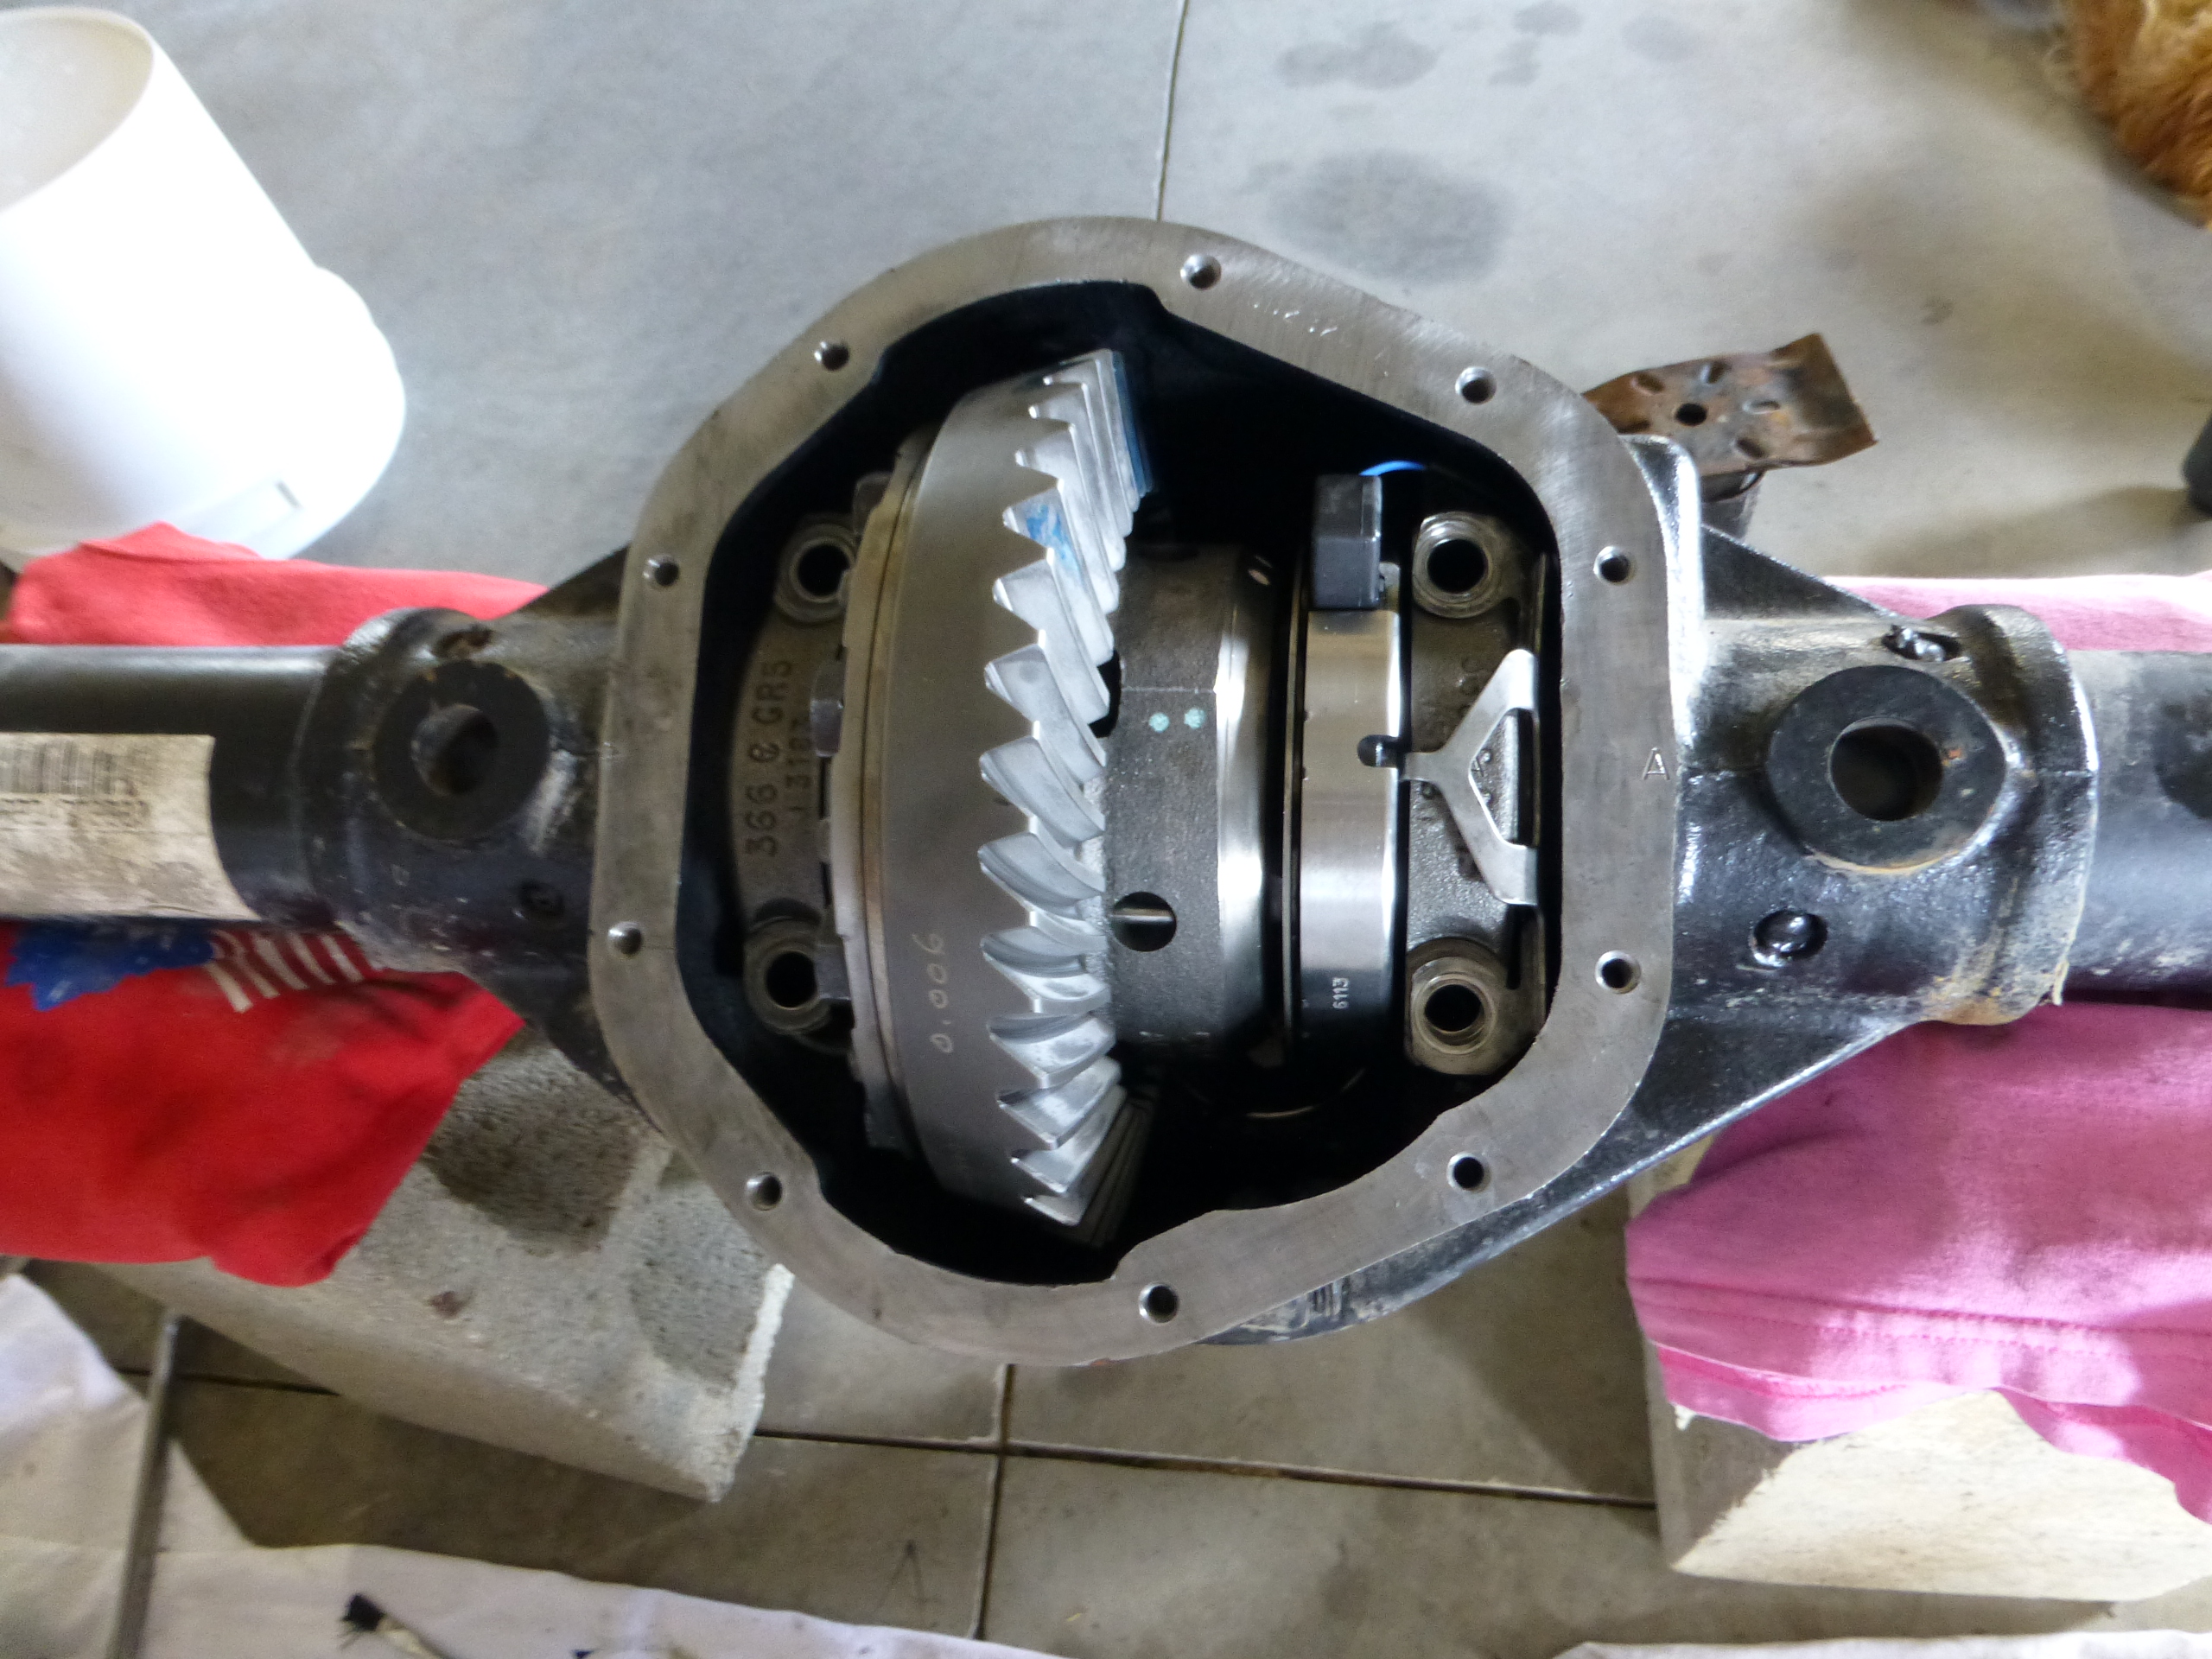
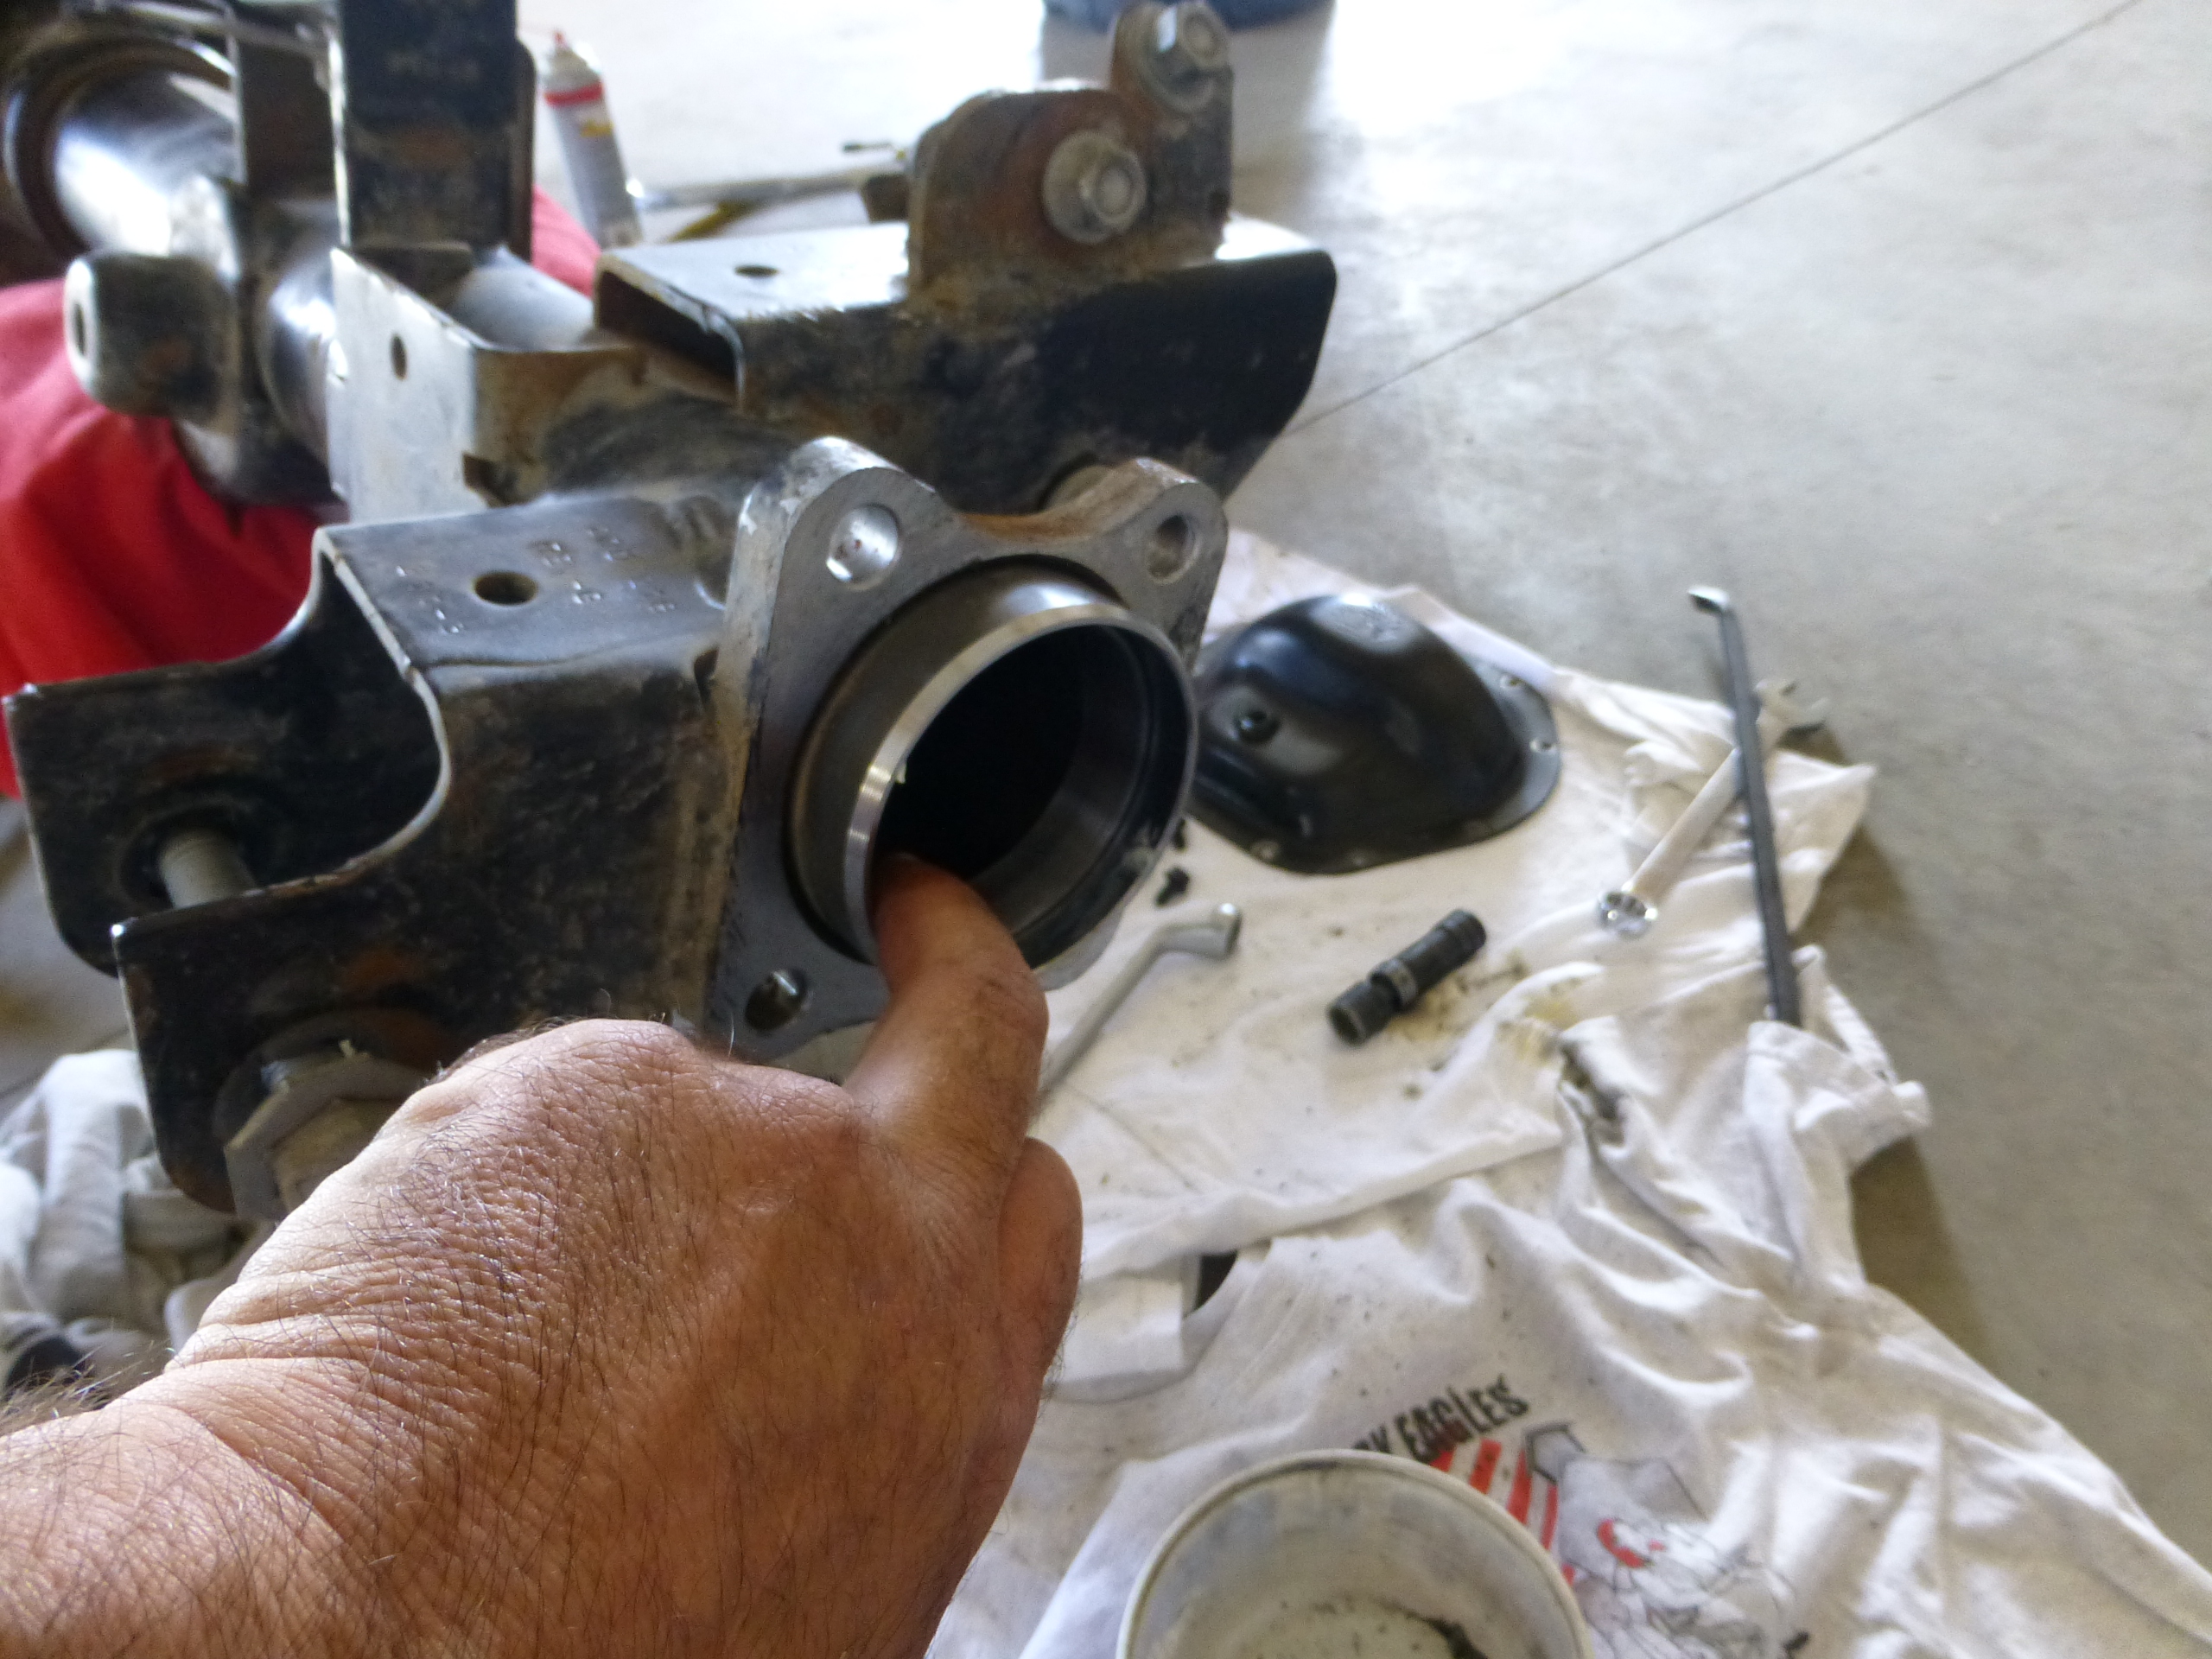
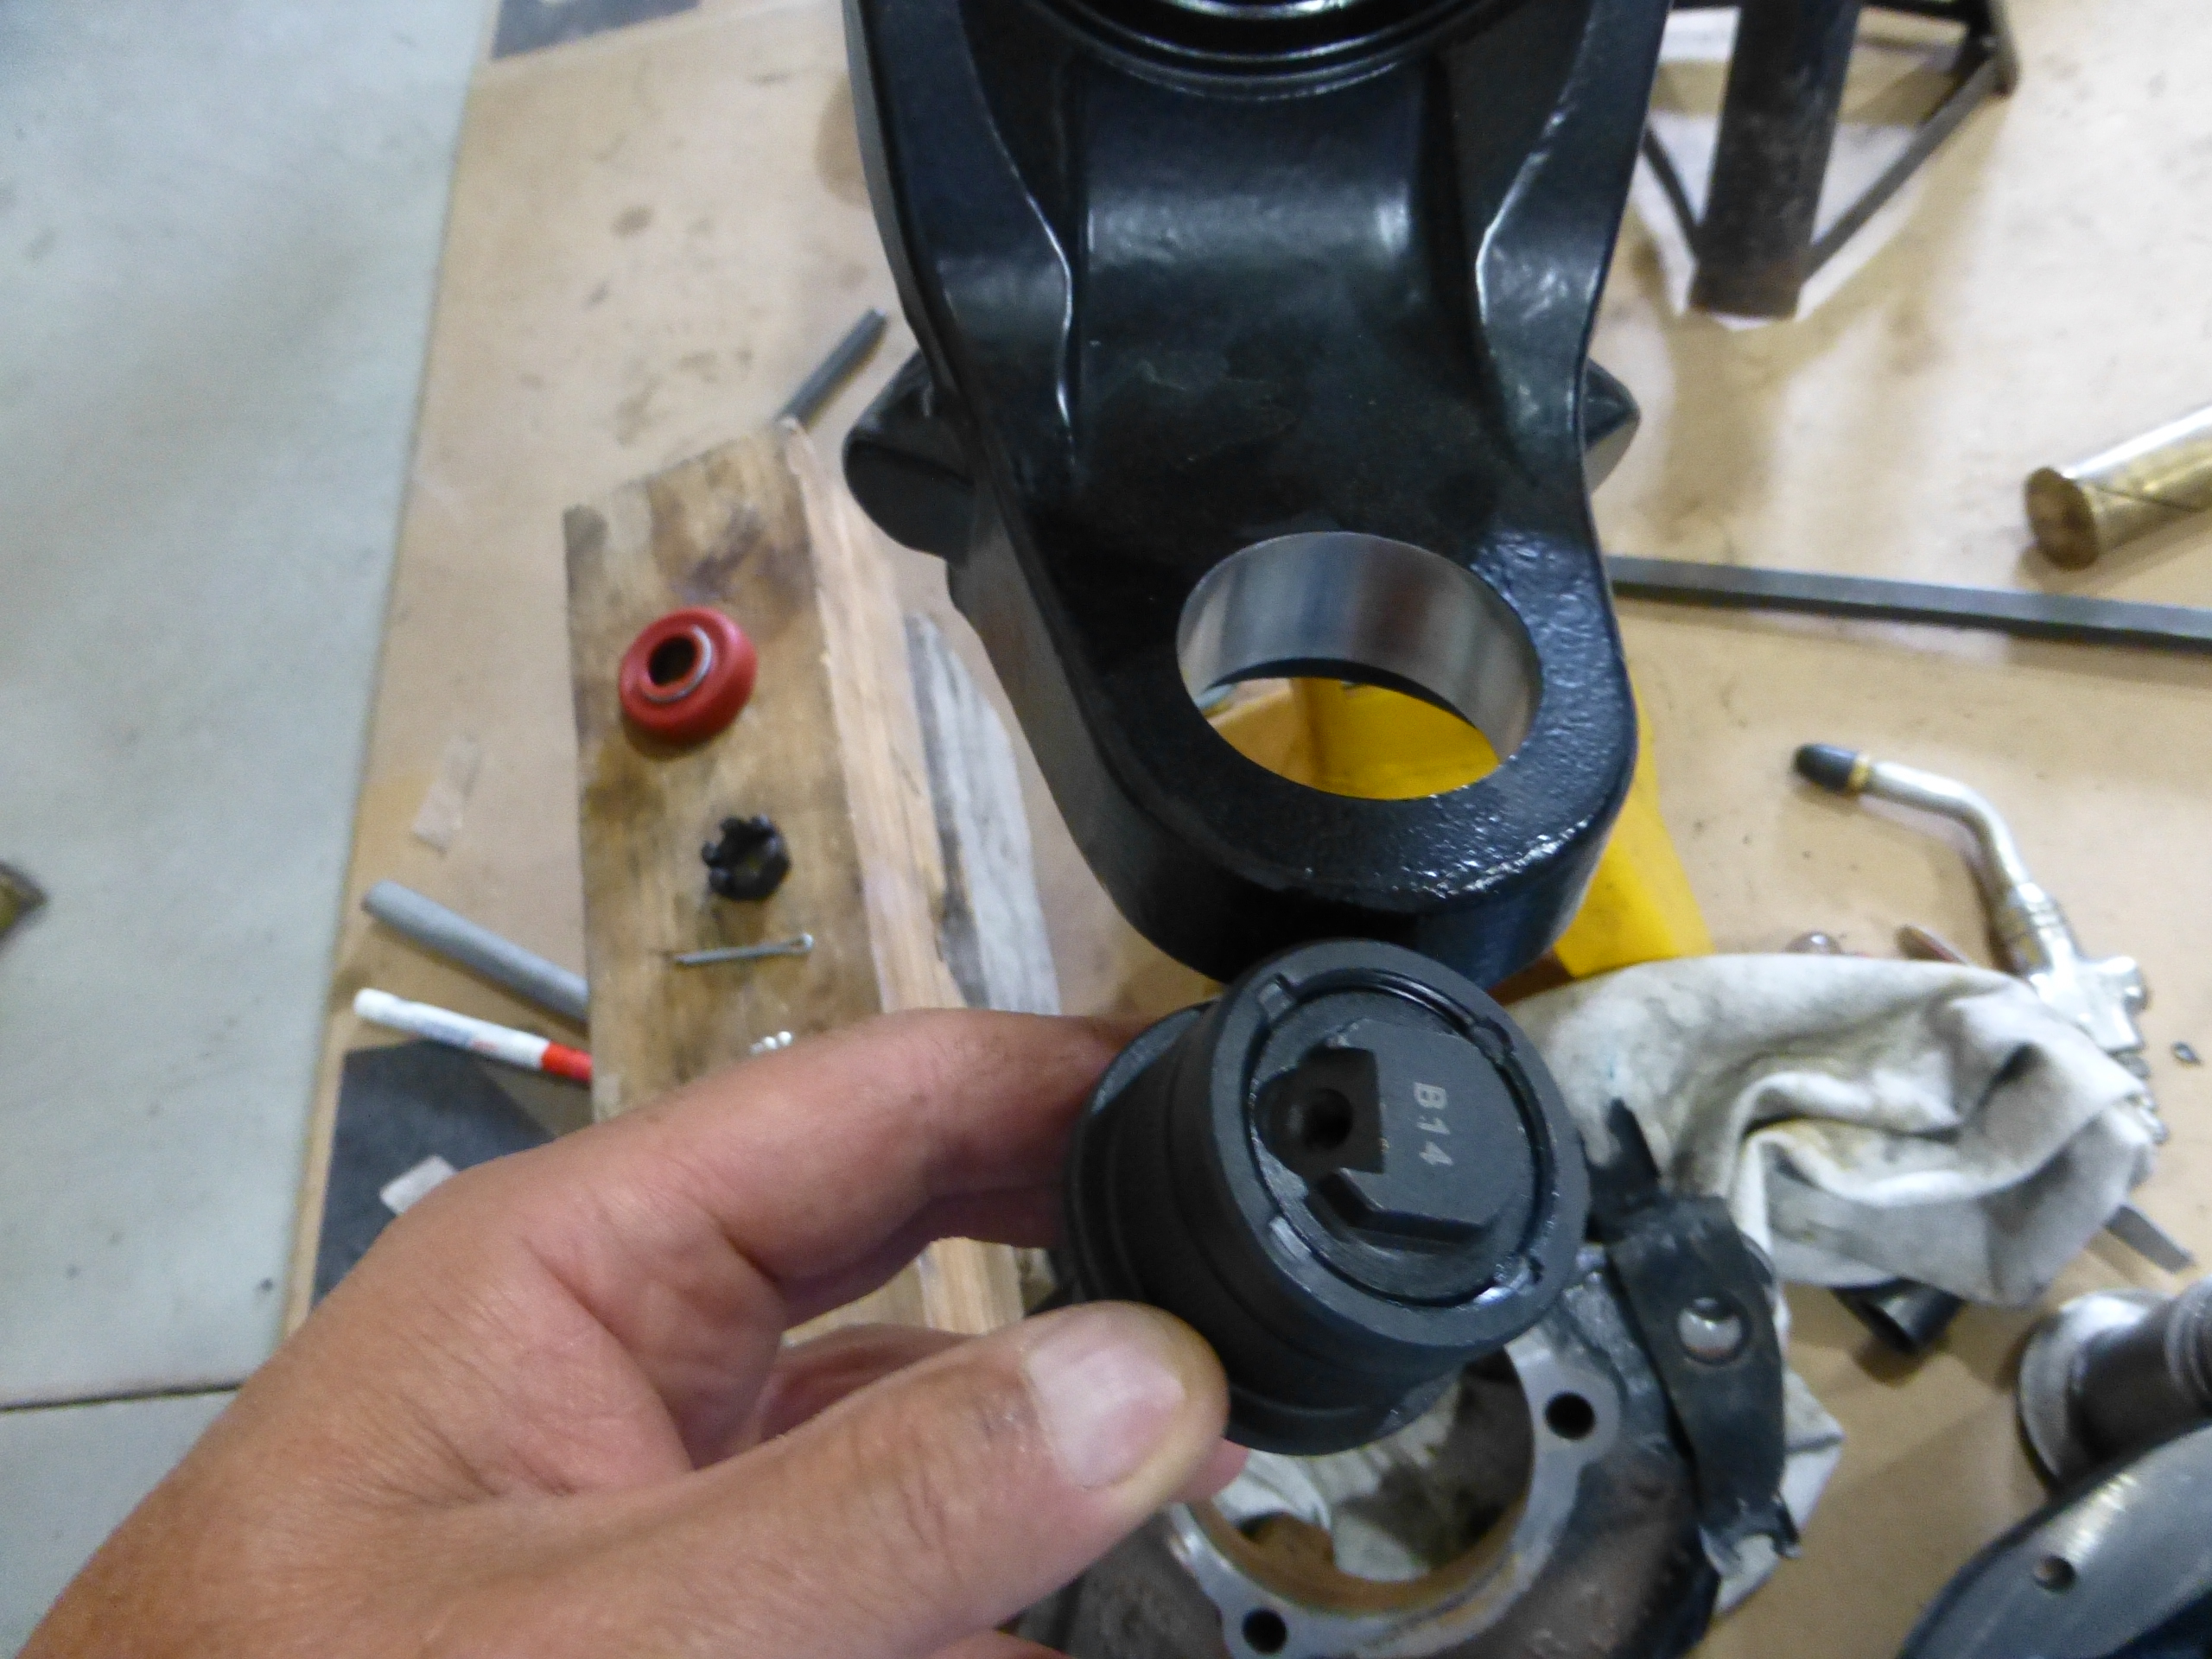
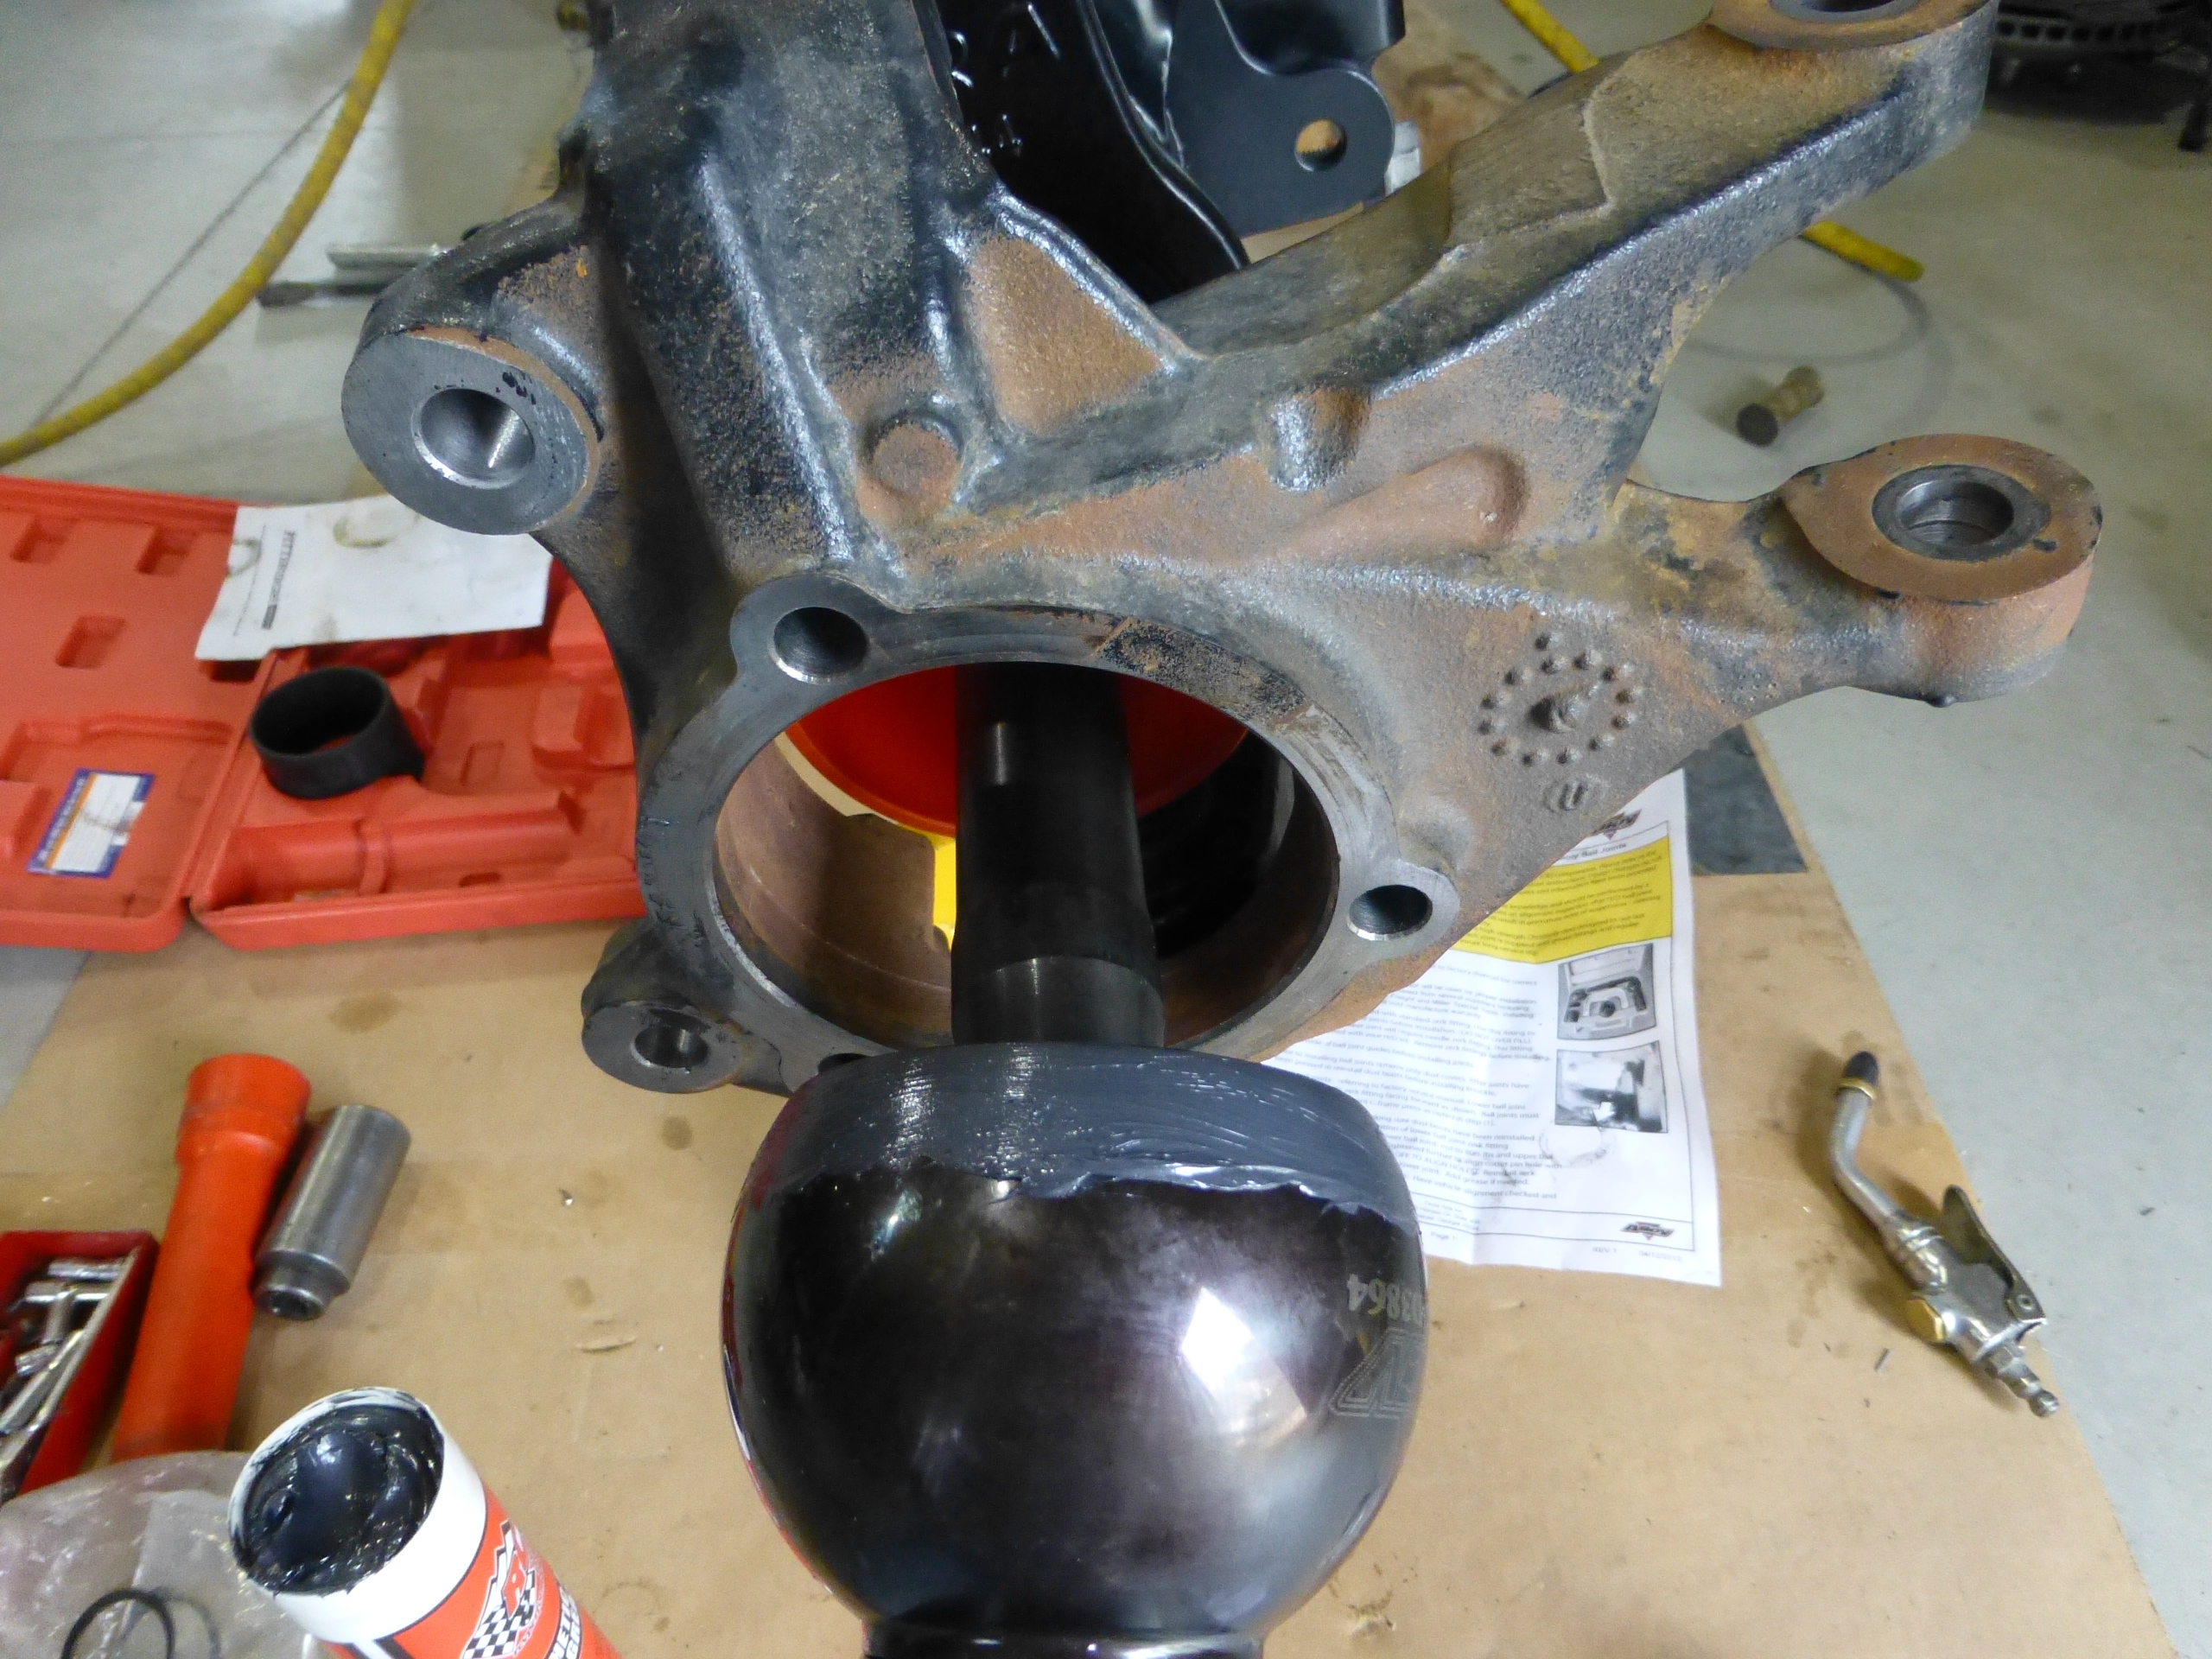
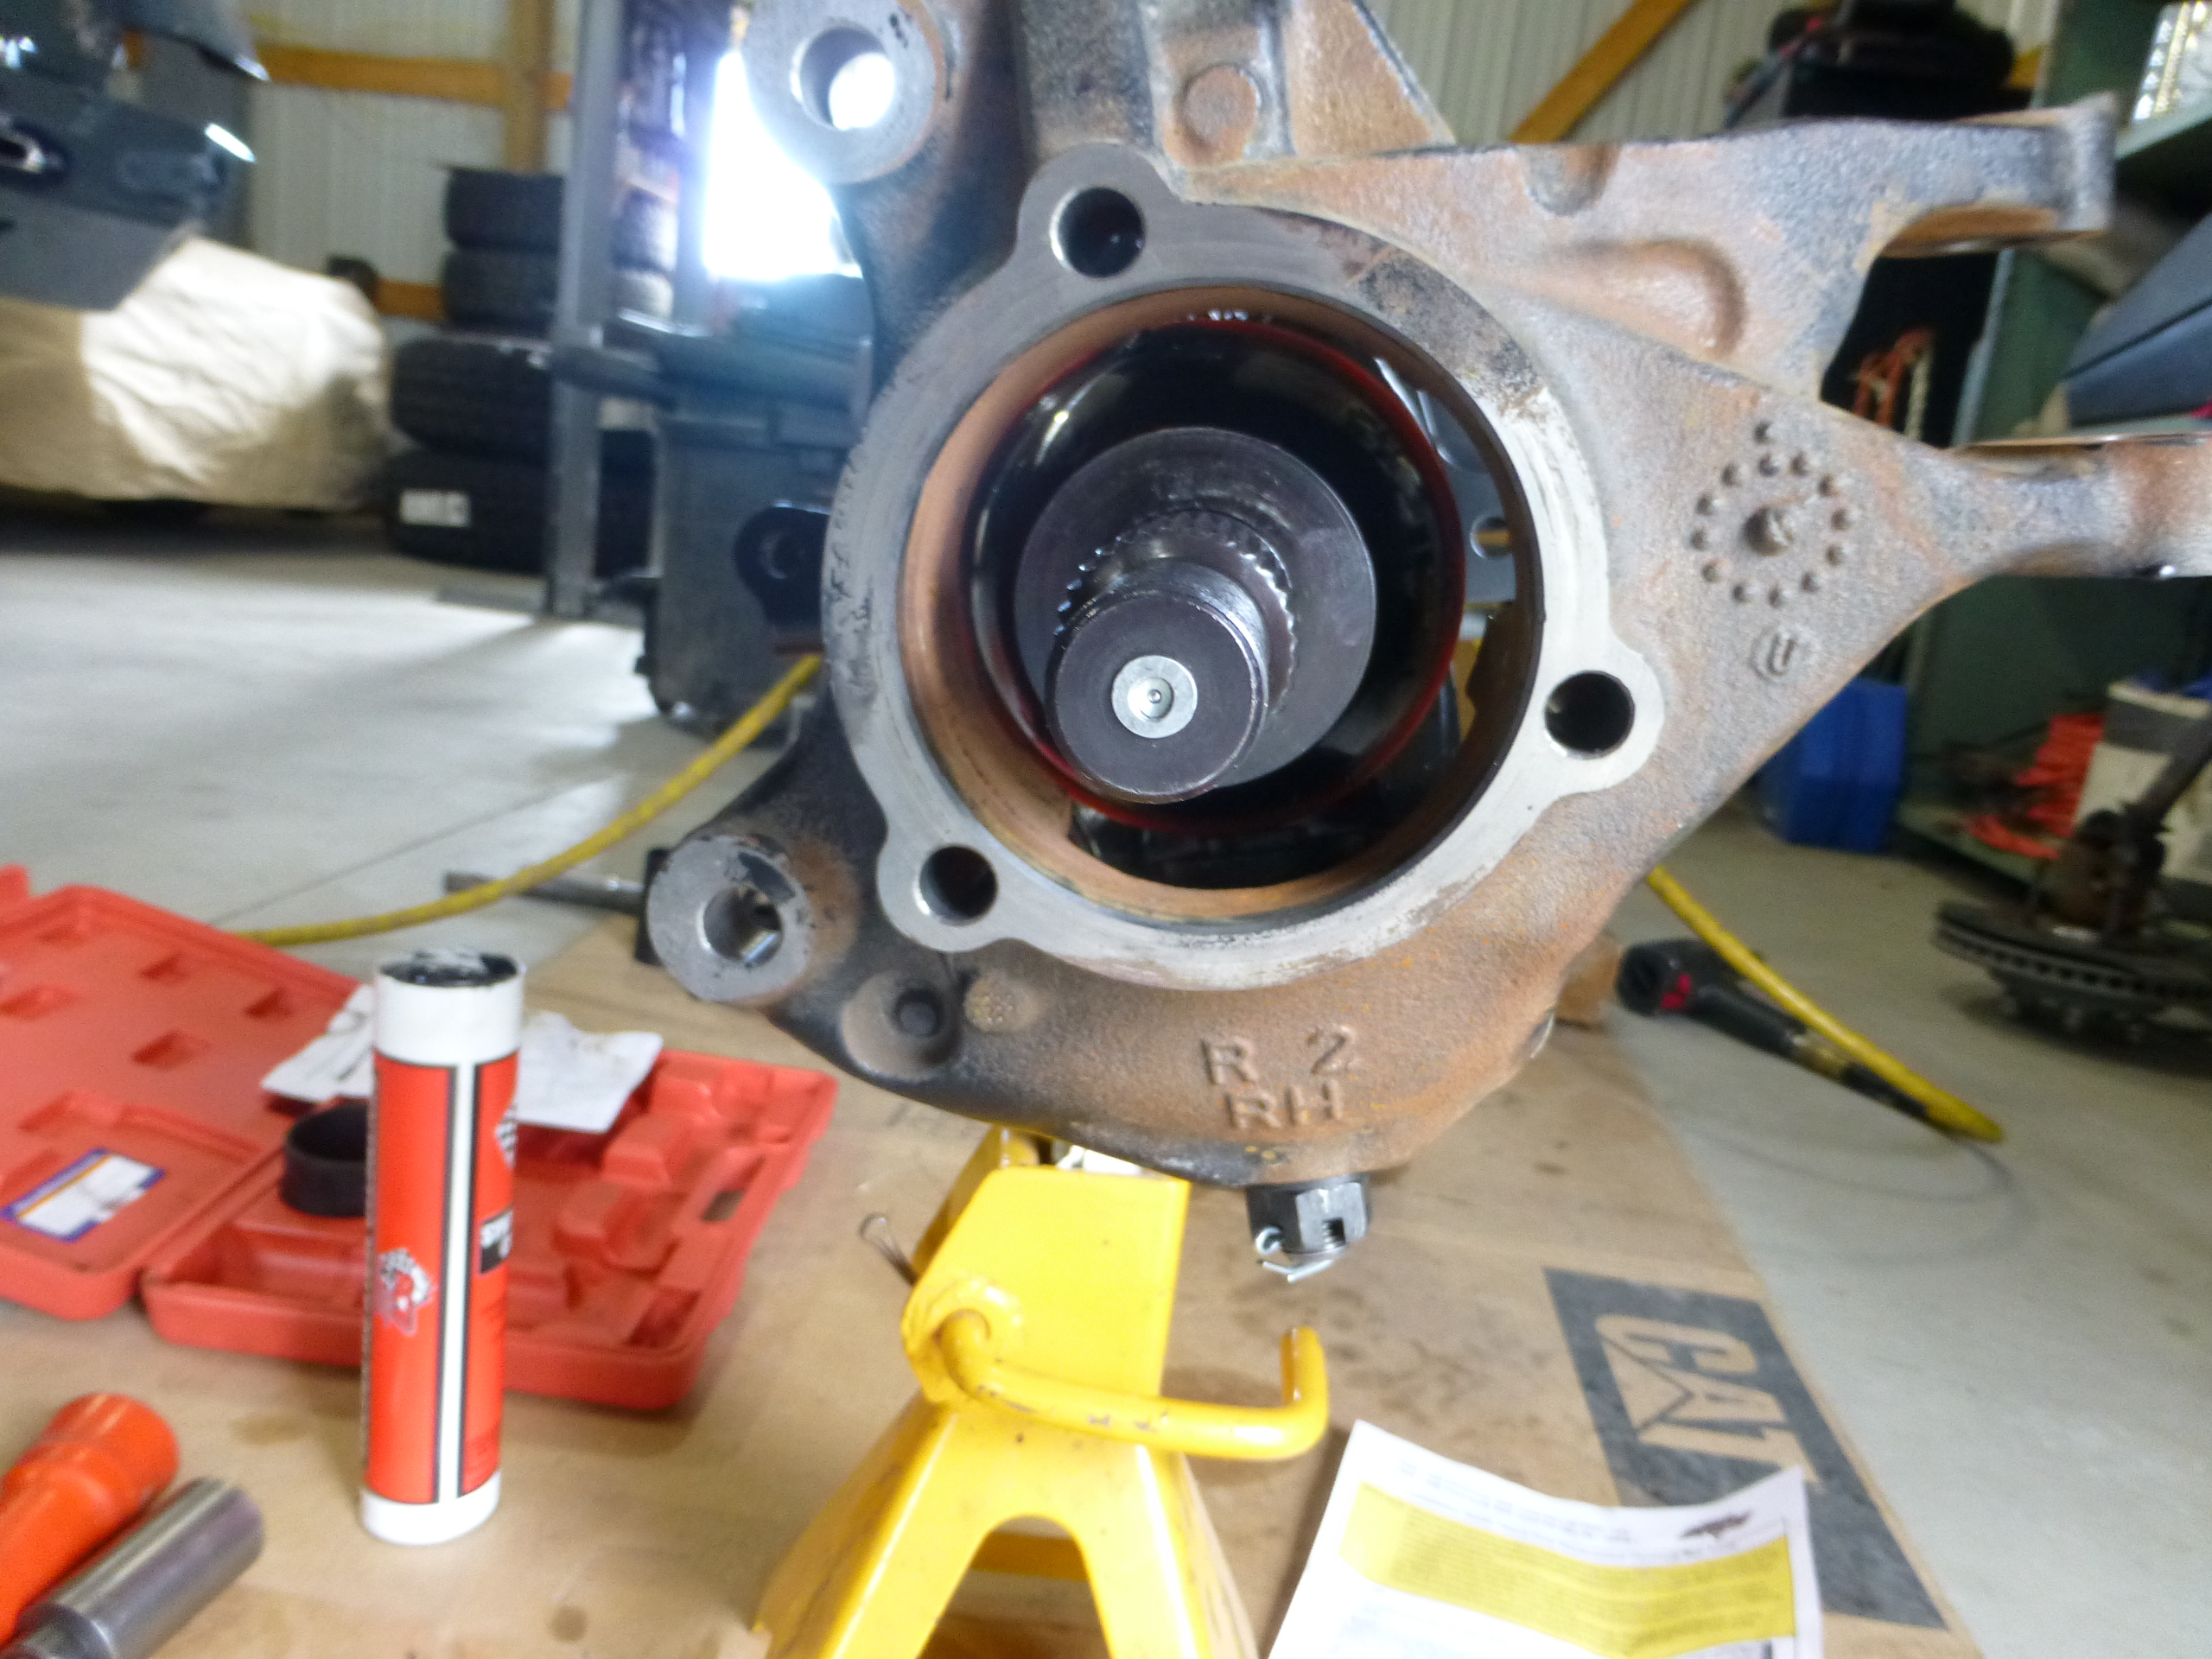
First we prepped the new housing with the parts supplied by Yukon Gear & Axle. New races and seals needed to be installed before we could install the carrier to correctly set our gear pattern. We installed the necessary parts and put the new ring gear onto the factory Rubicon locker and made sure to torque the bolts to manufacturer specs. We also honed out the old pinion bearing so we could use it for the set up of the gear mesh. This way we could keep the new one pristine for the final install to ensure no damage was done to it.
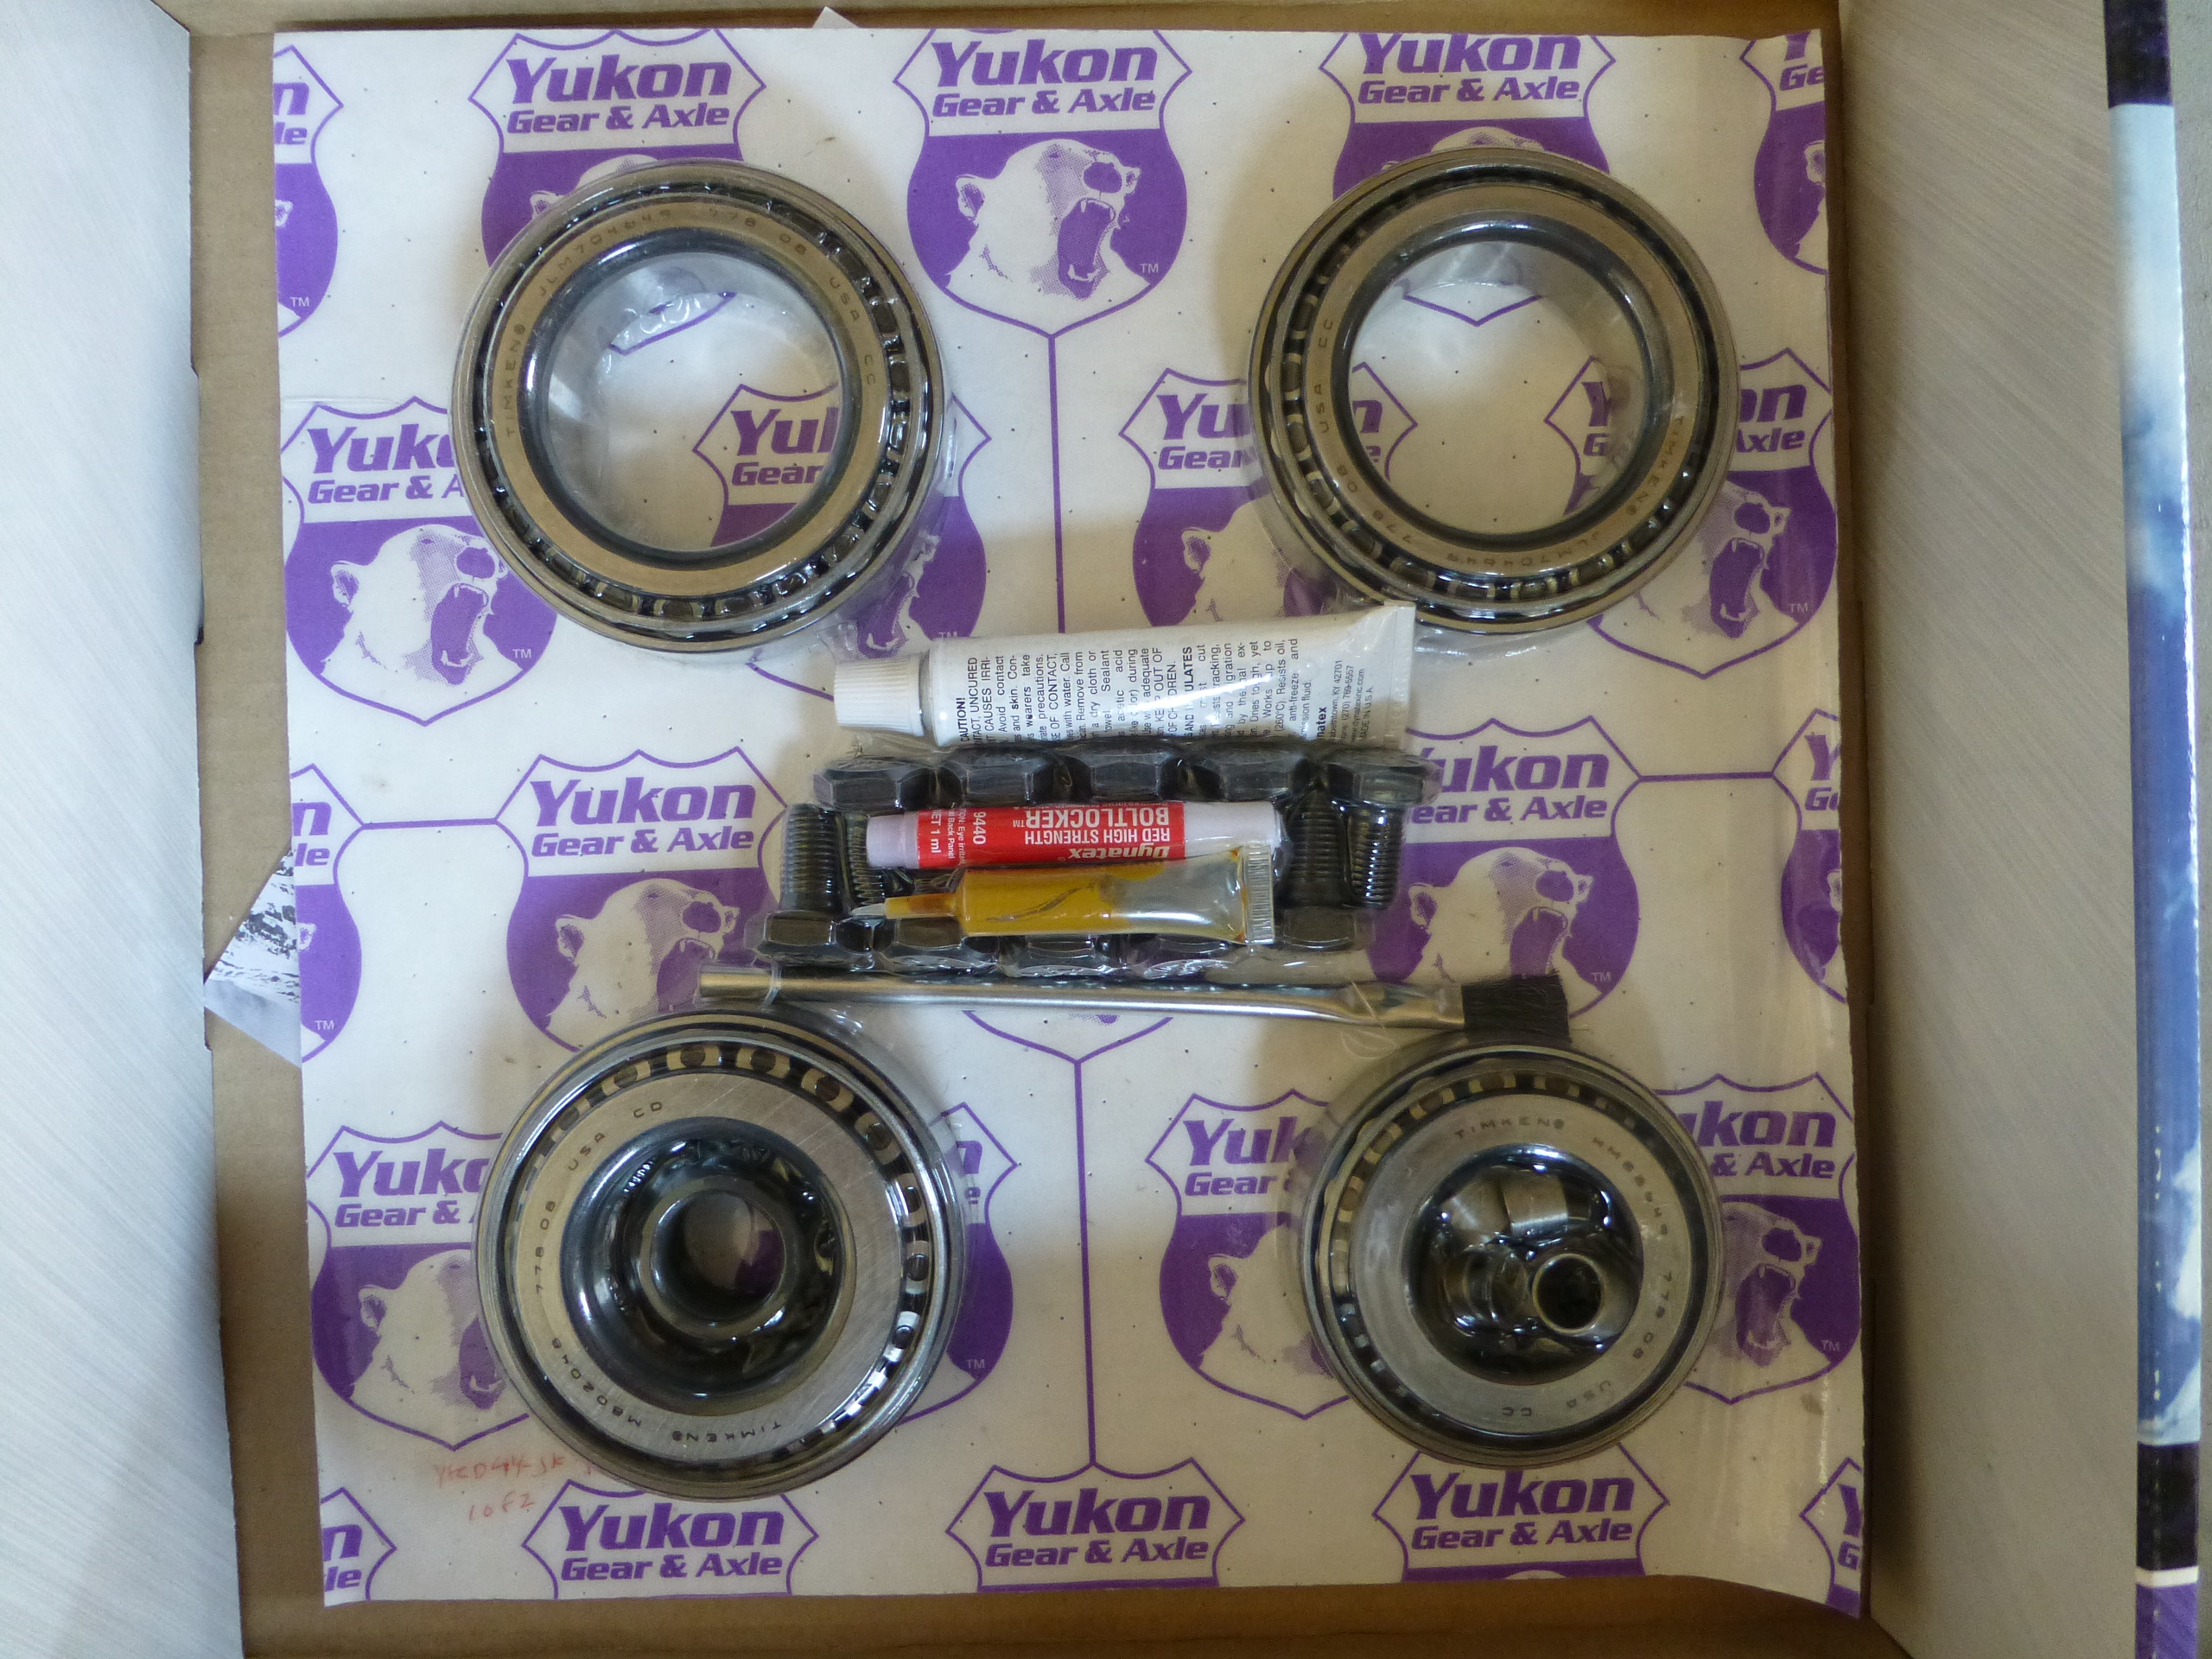
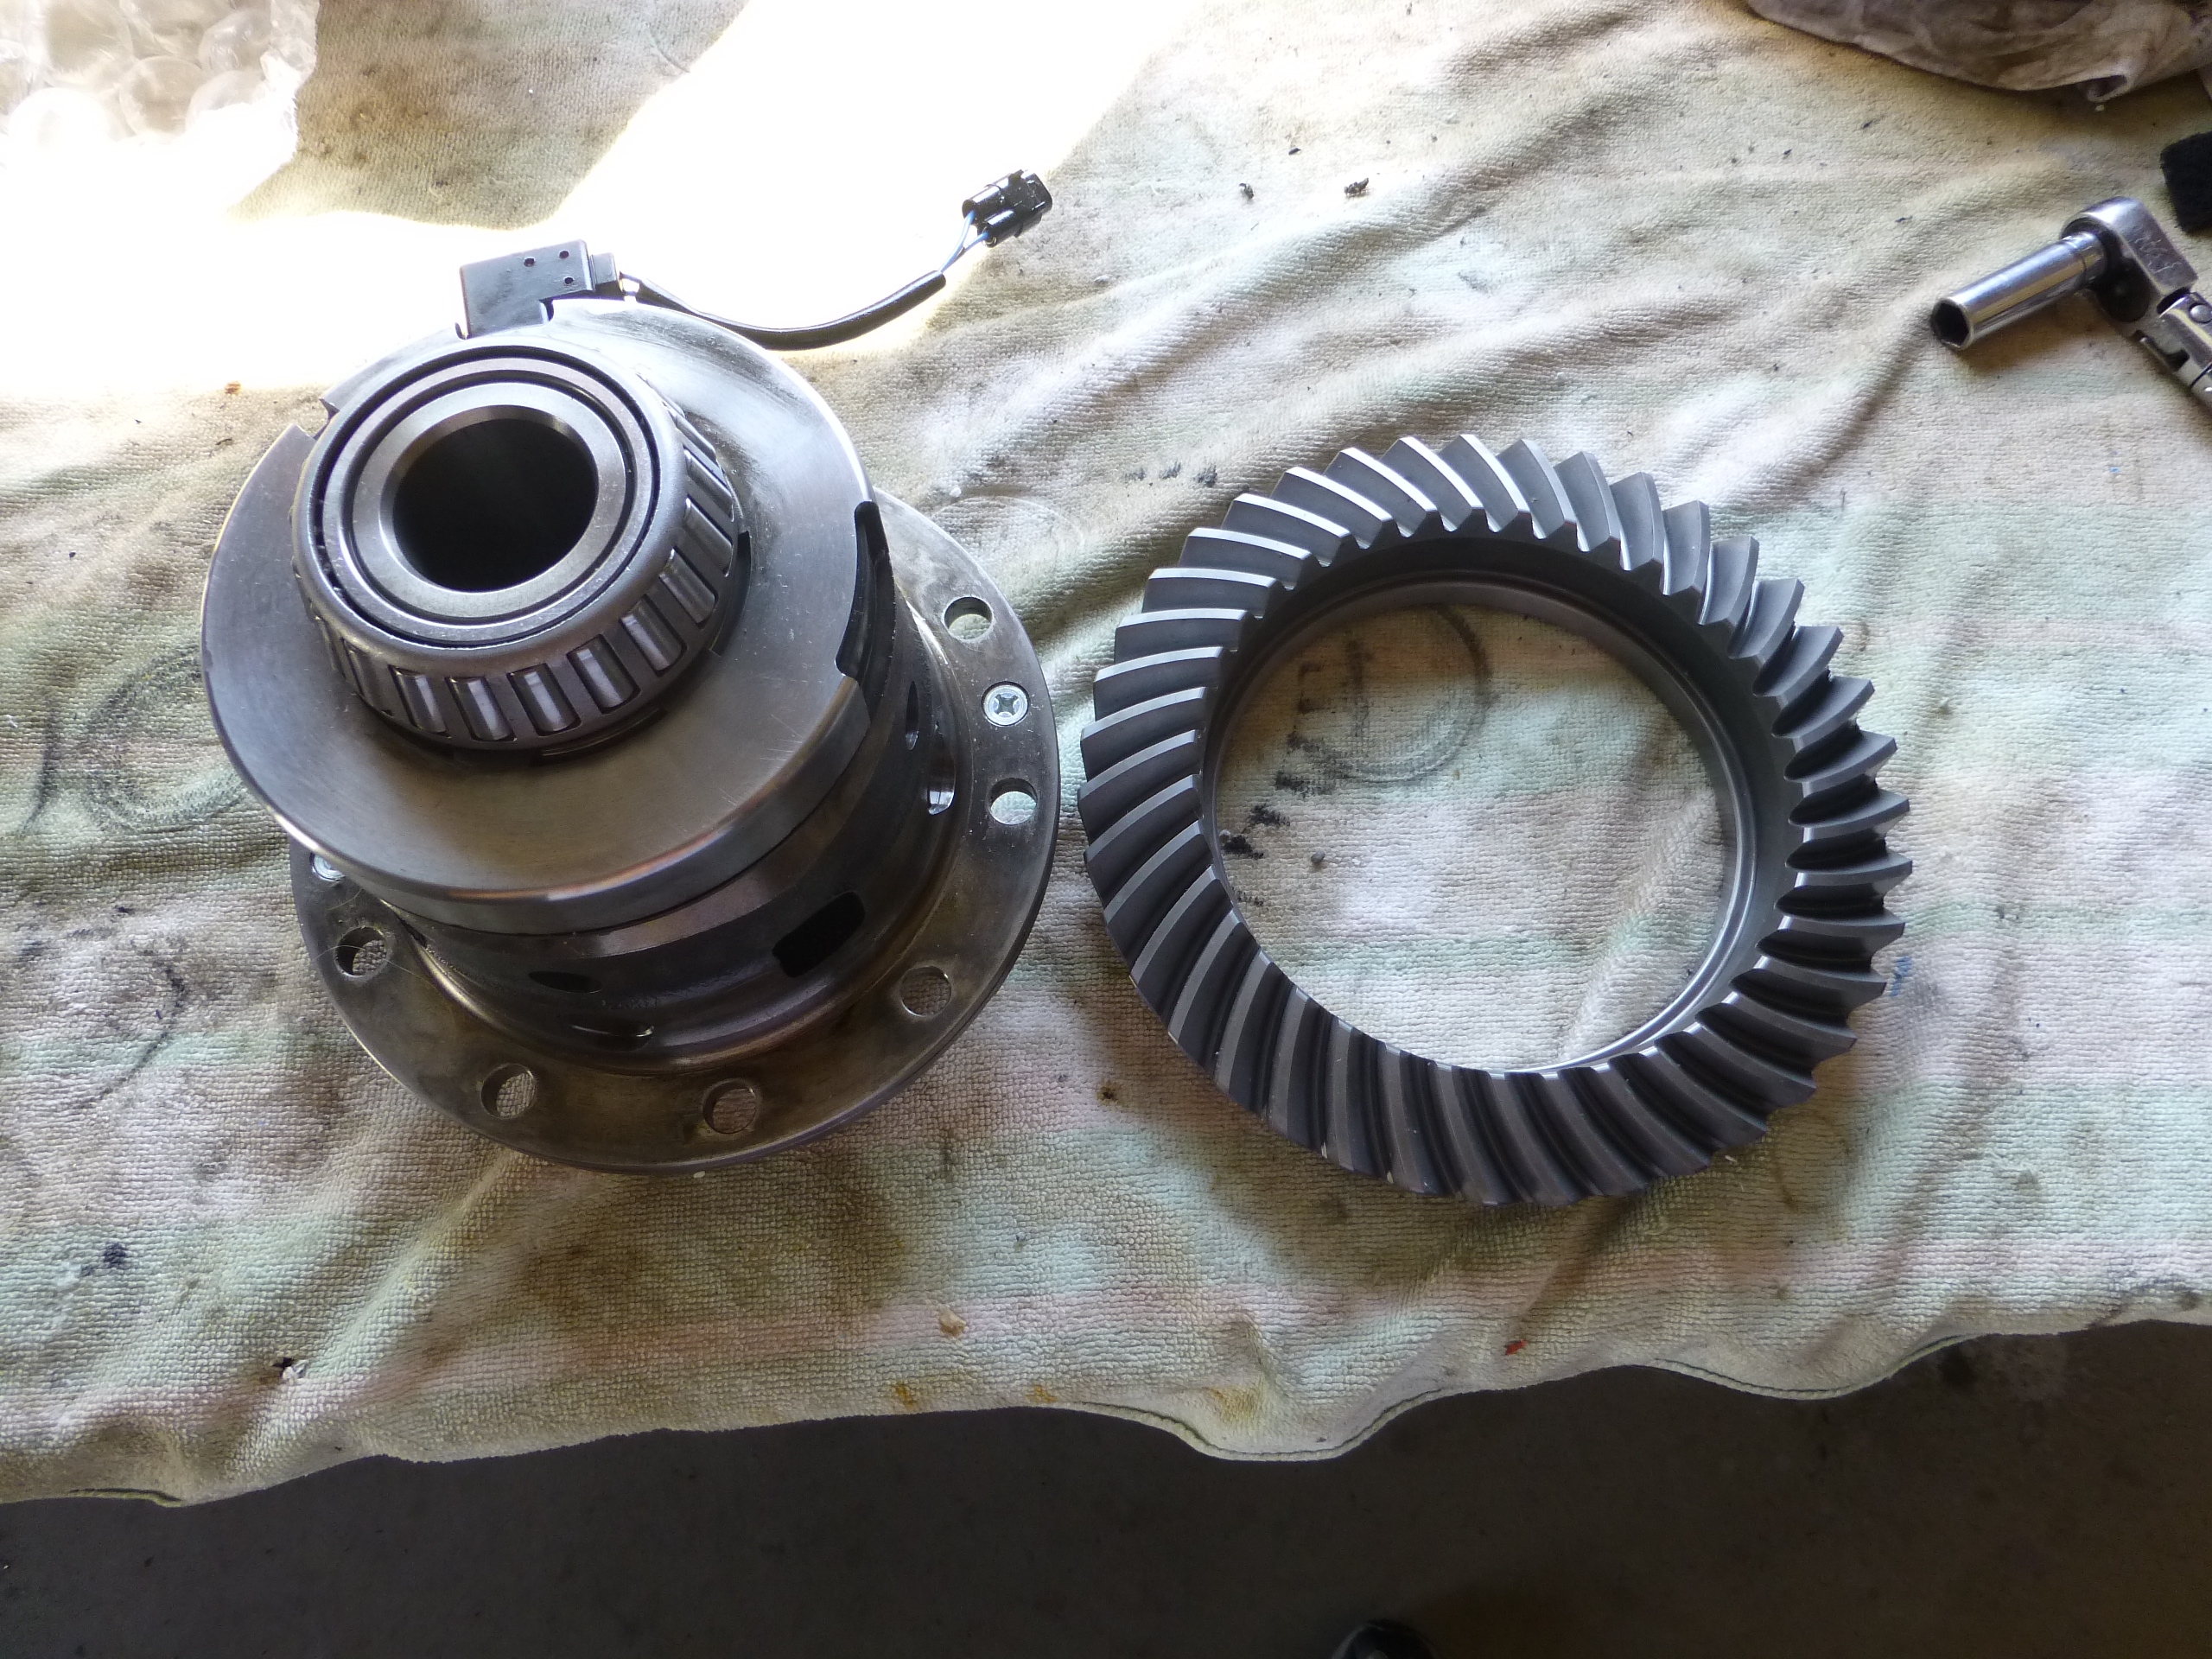
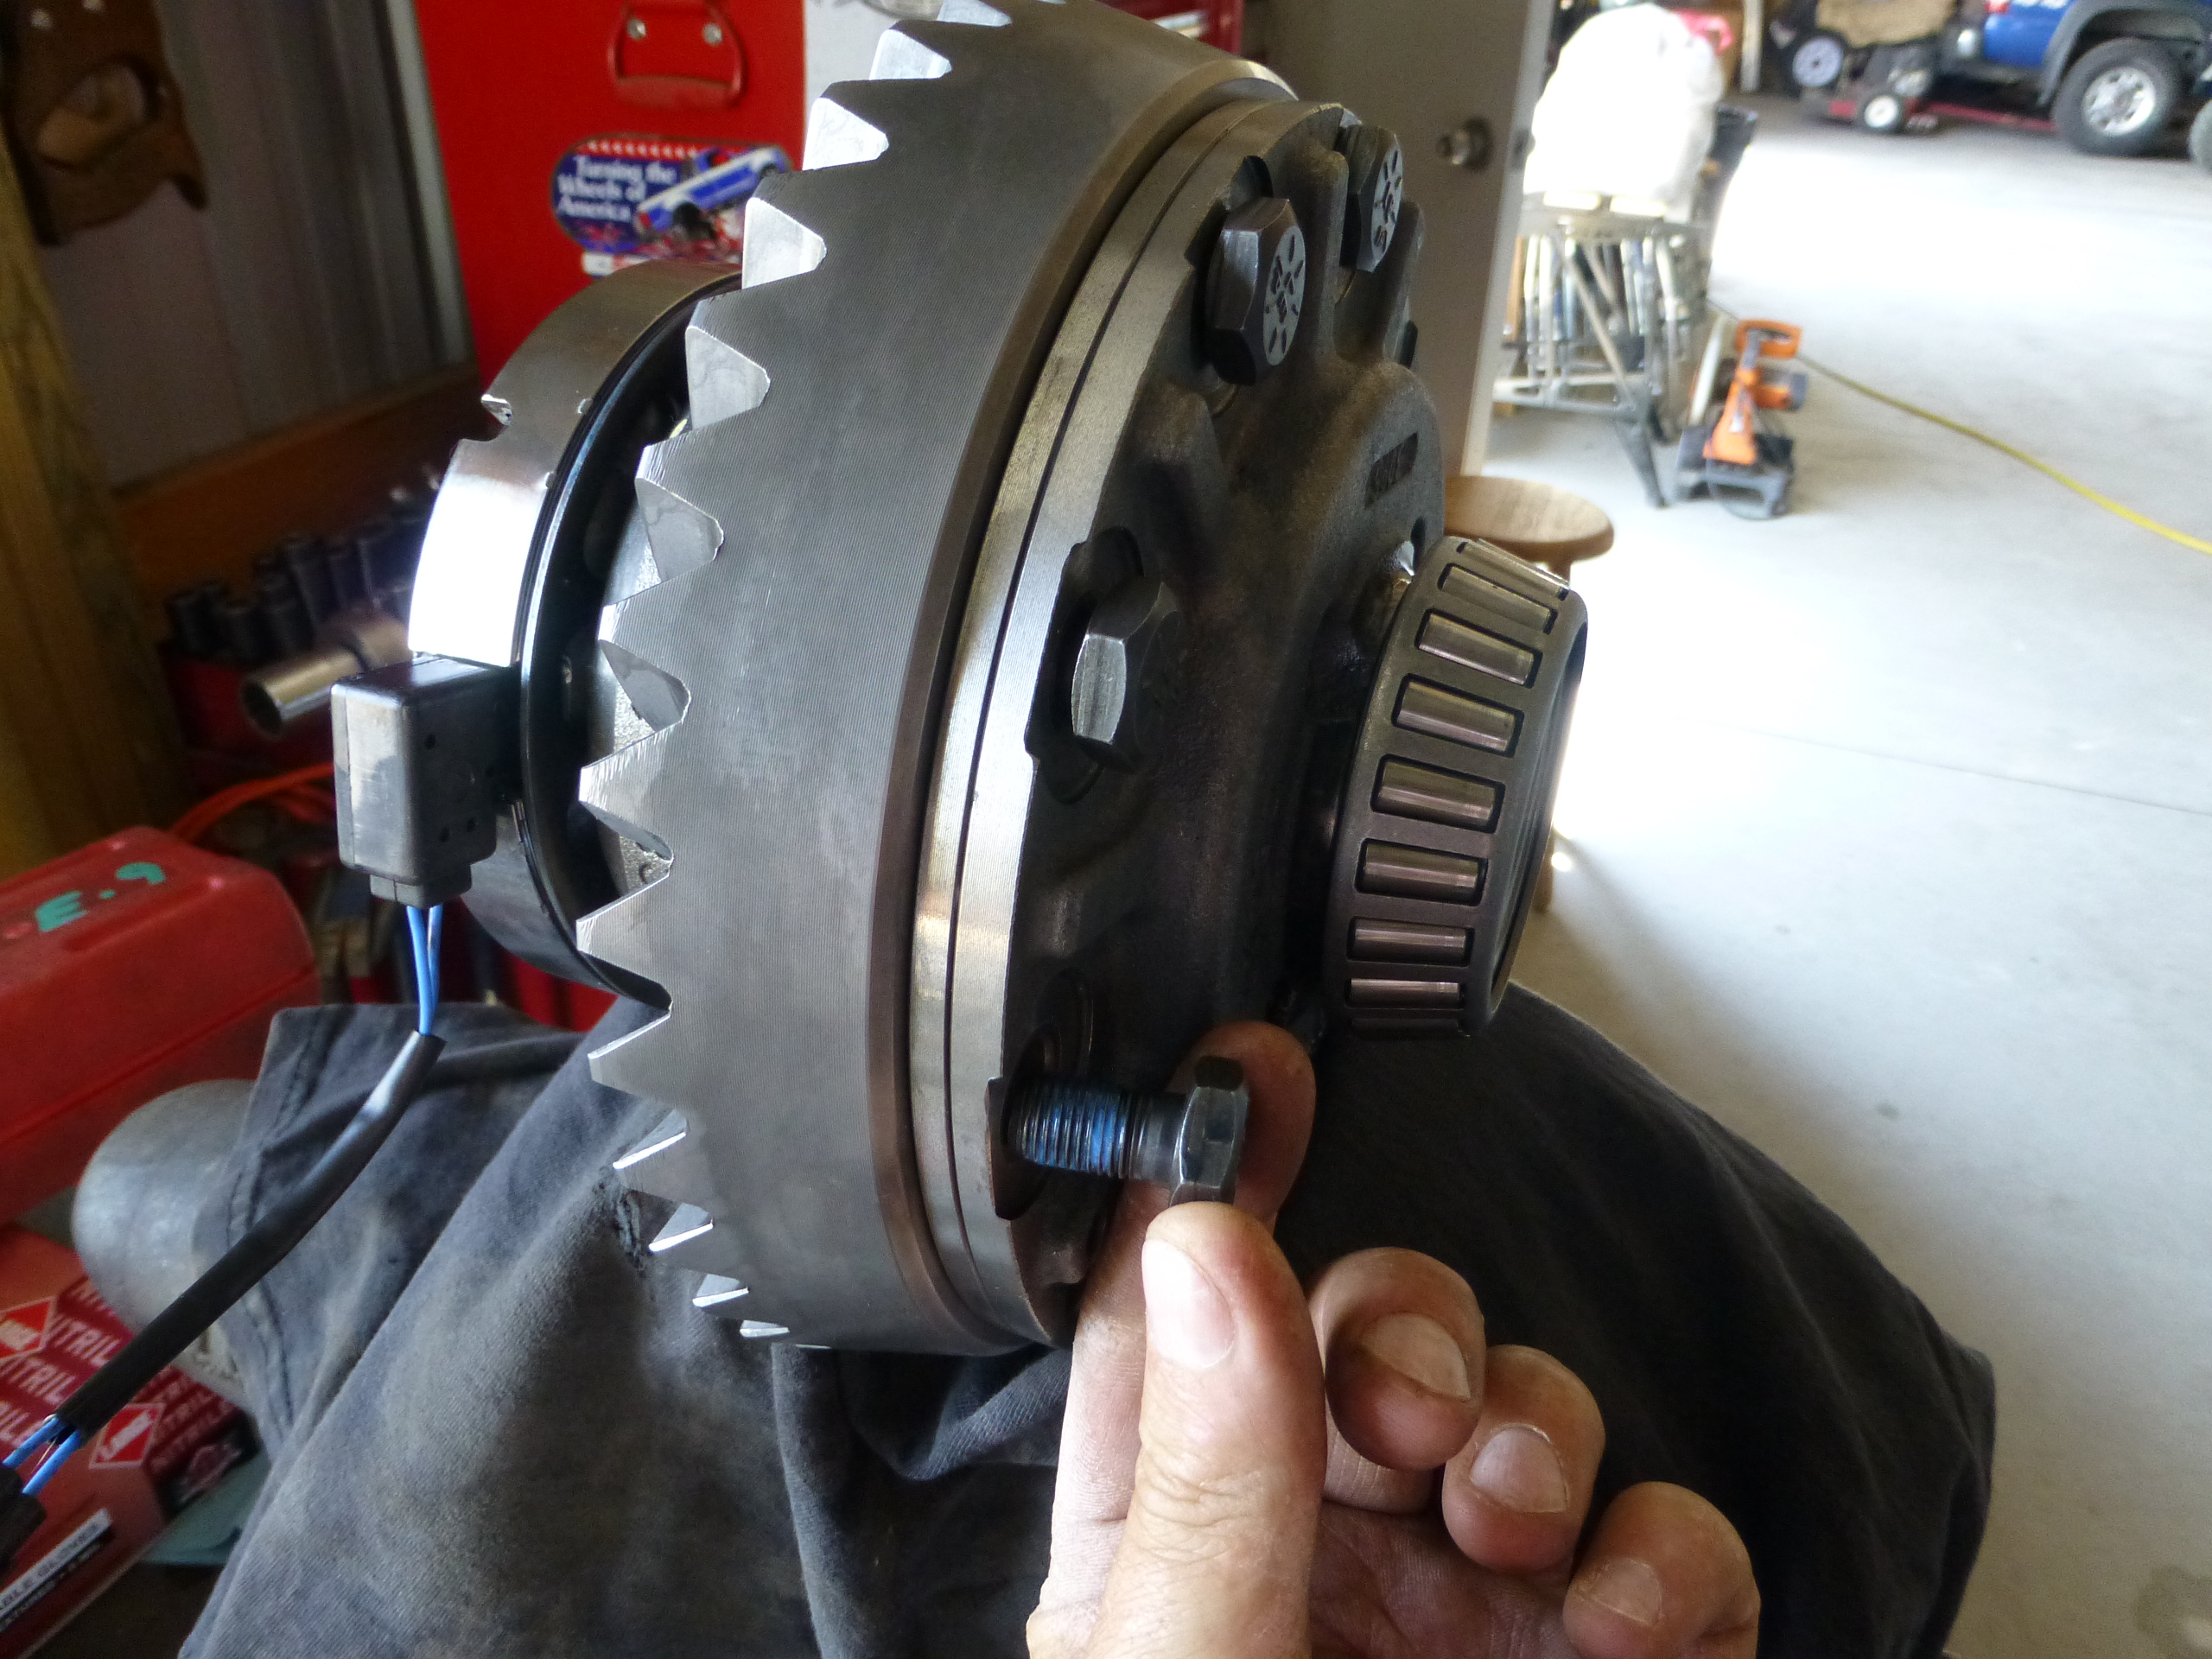

With the new races in place, the pinion gear and shims were installed as well as the carrier with the new ring gear from Yukon Gear & Axle. We used a dial indicator and got our gear mesh dialed in; pulled it all apart and installed the new pinion bearings and did our final install of the carrier. Once again we made sure to torque everything to the recommended specs and we were ready to install the ball joints and knuckles.


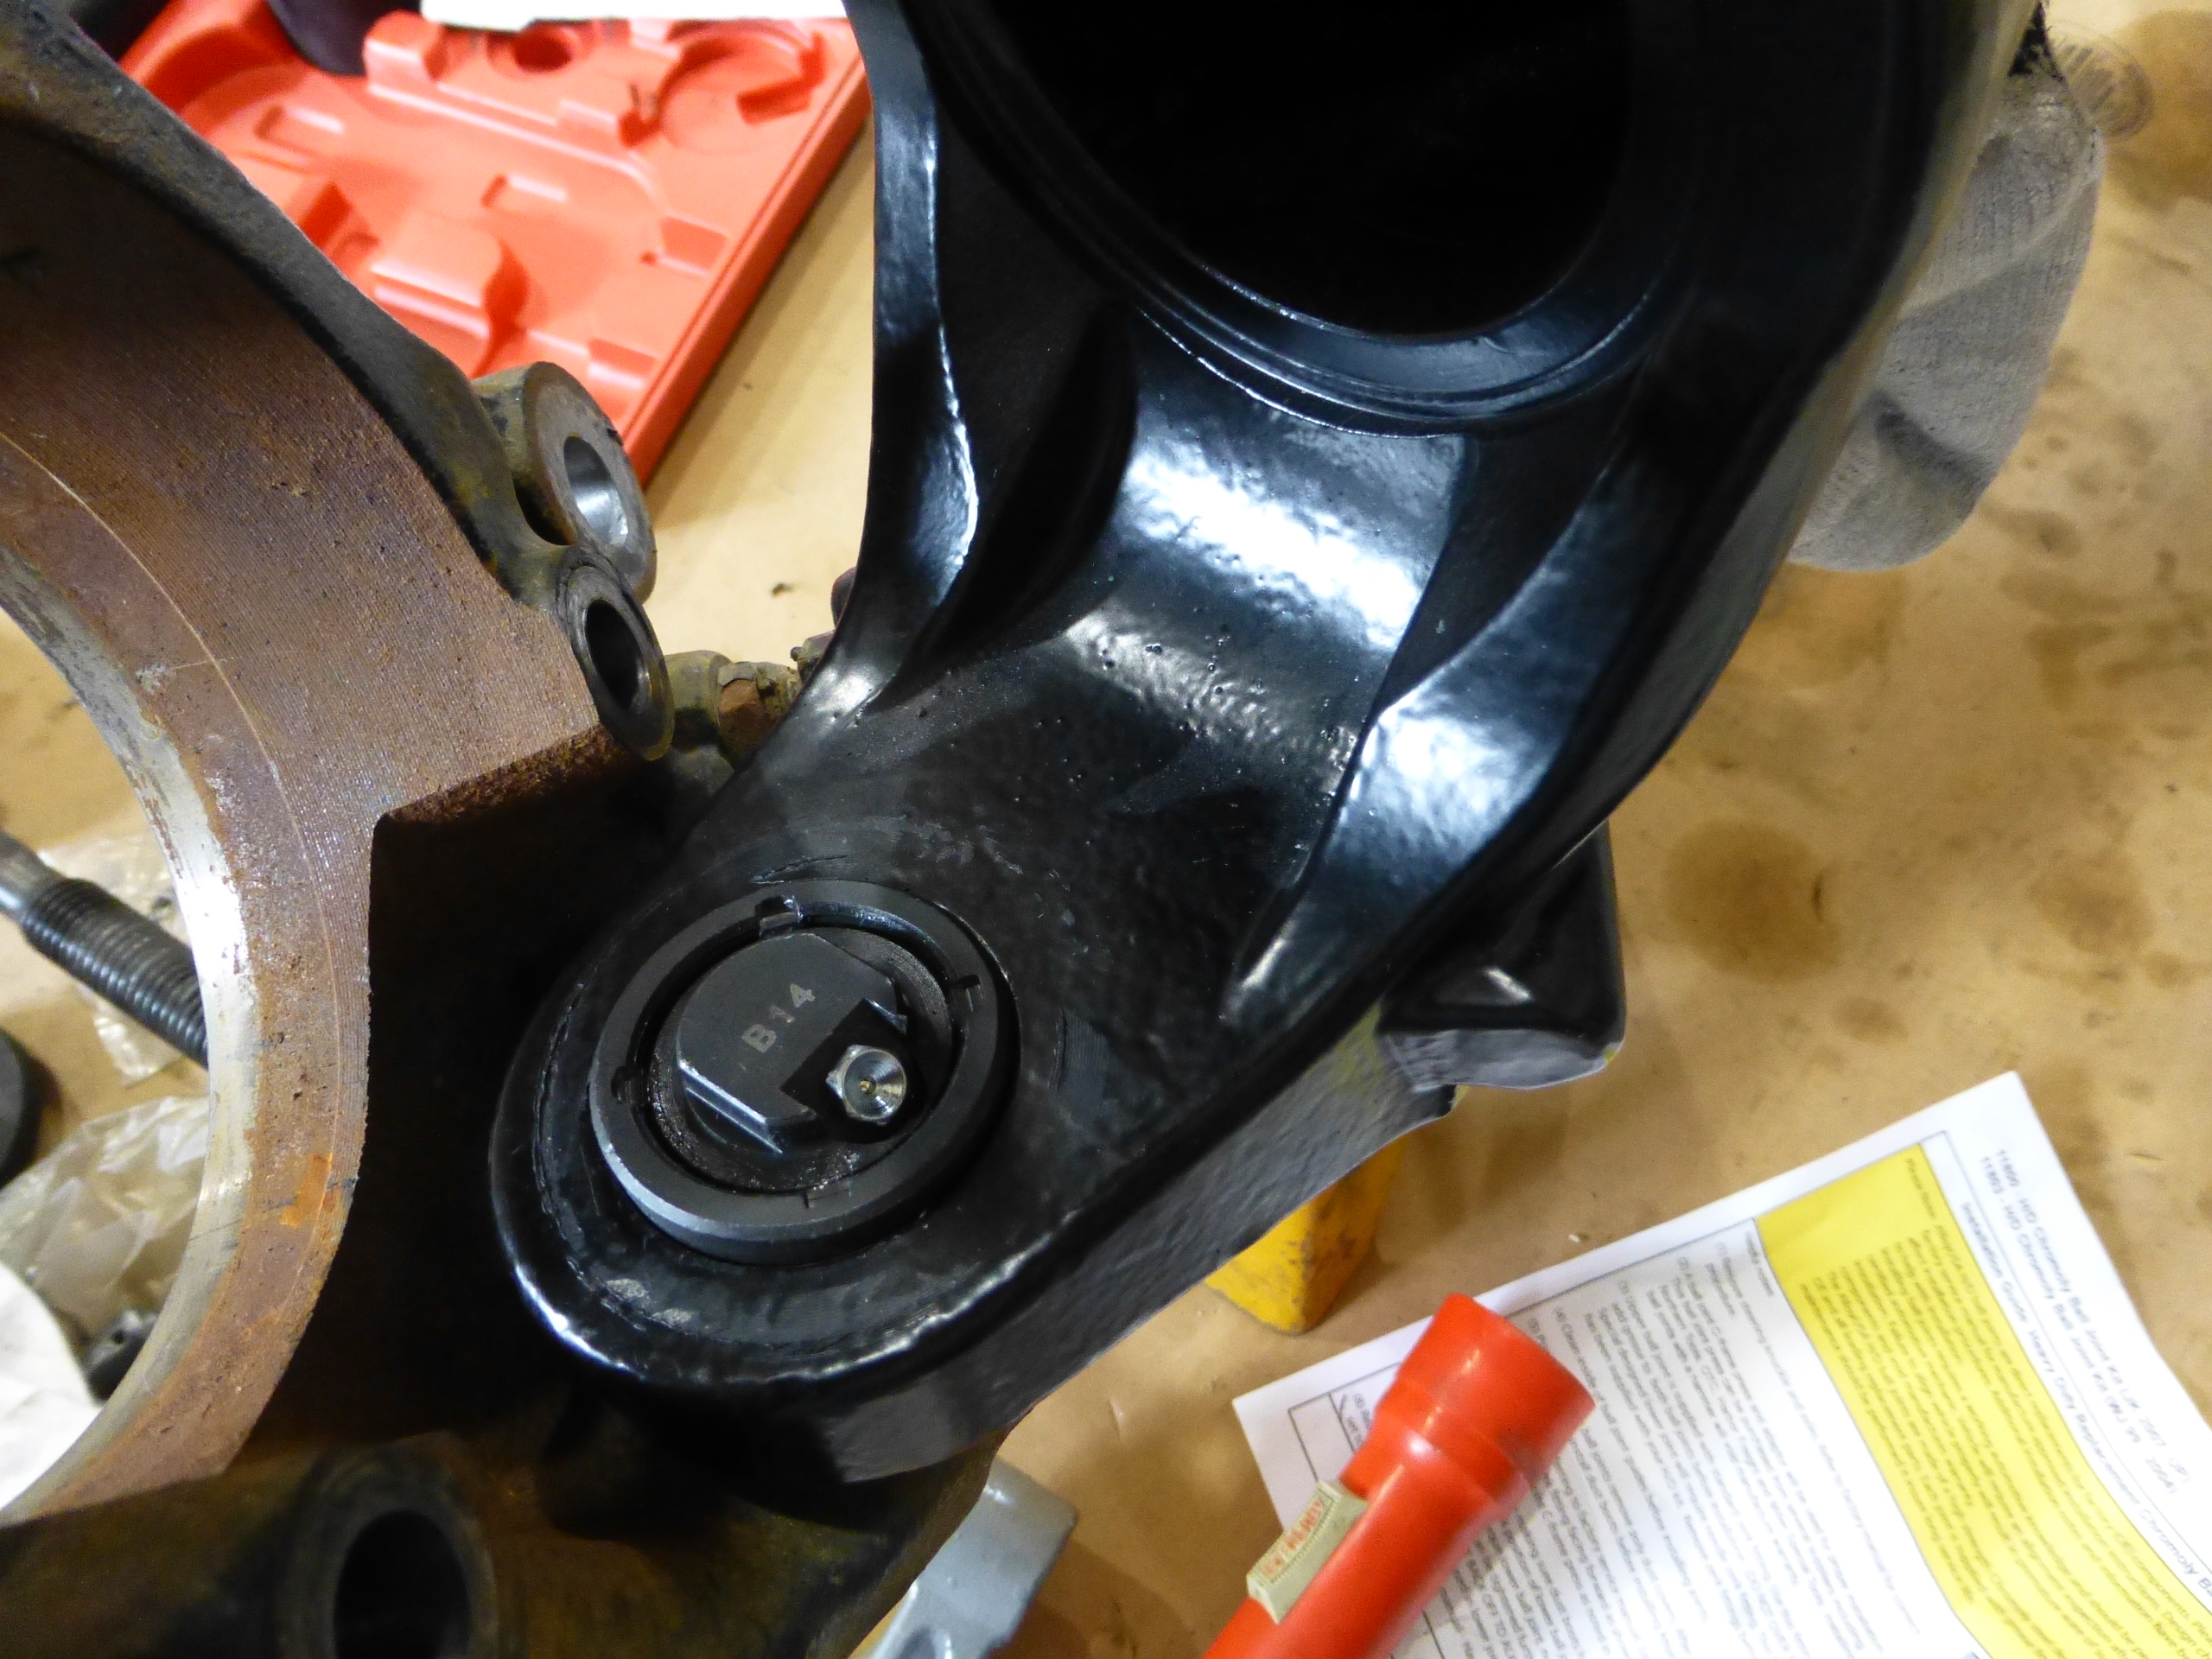
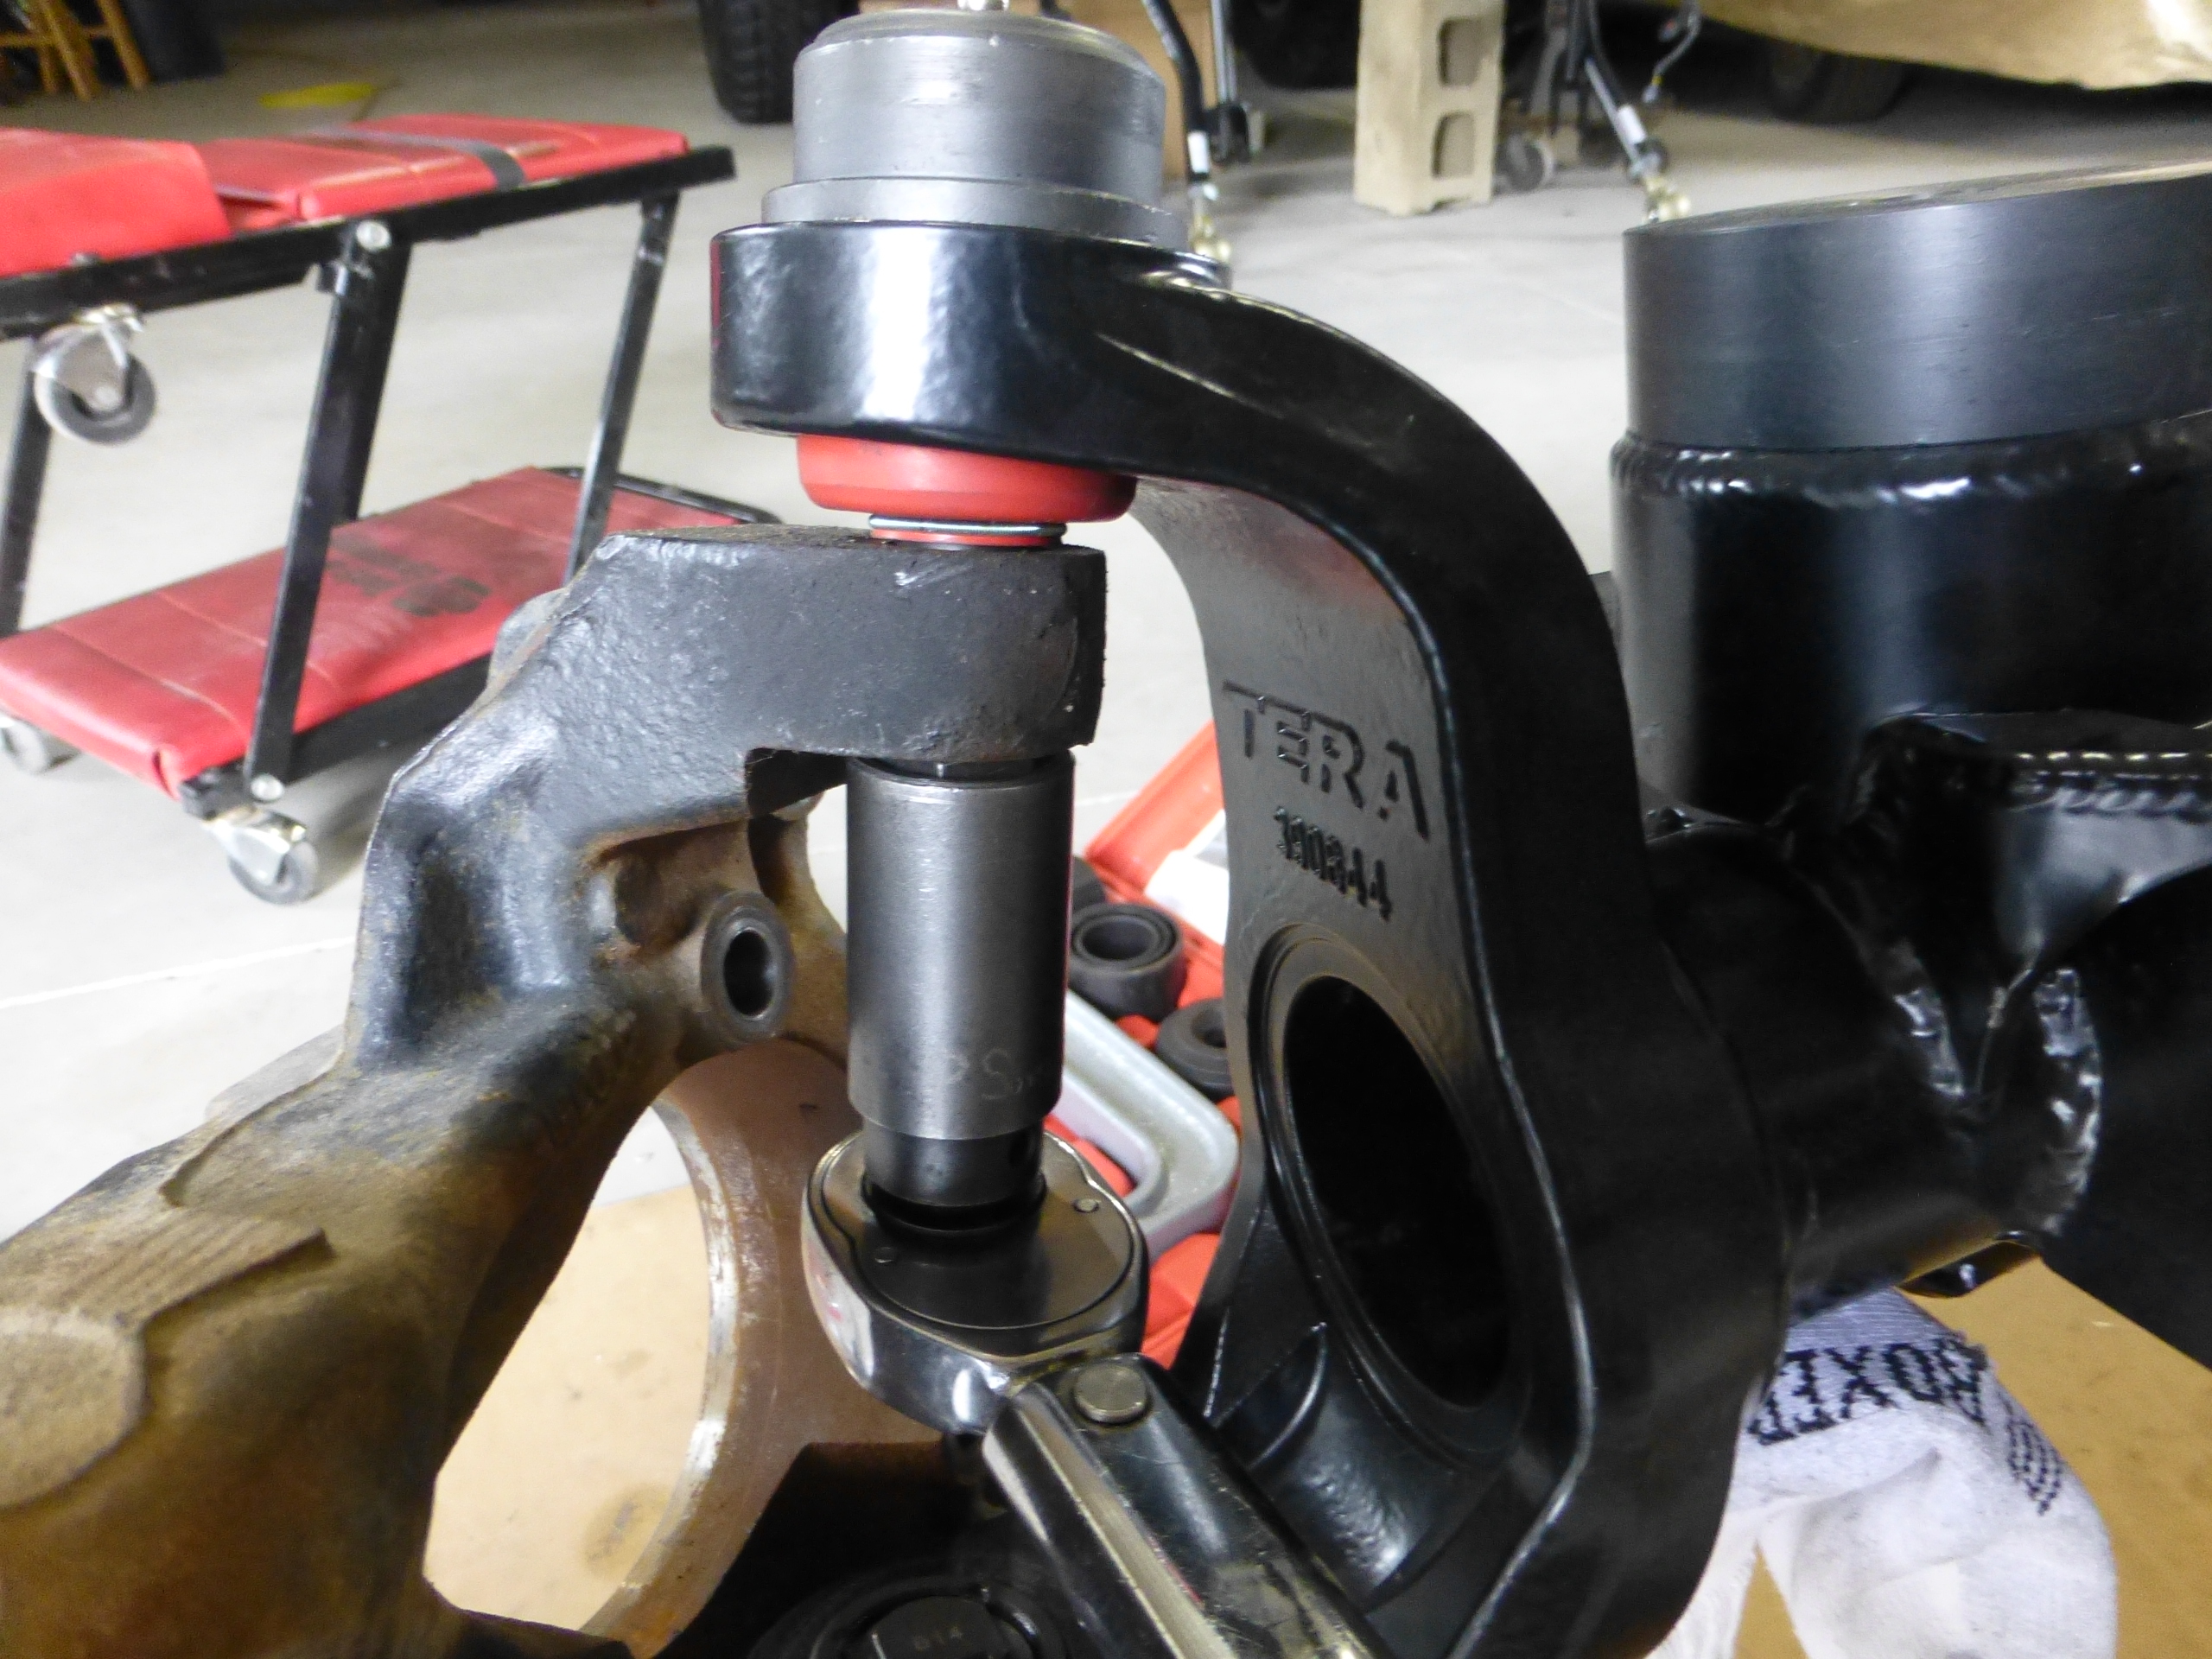
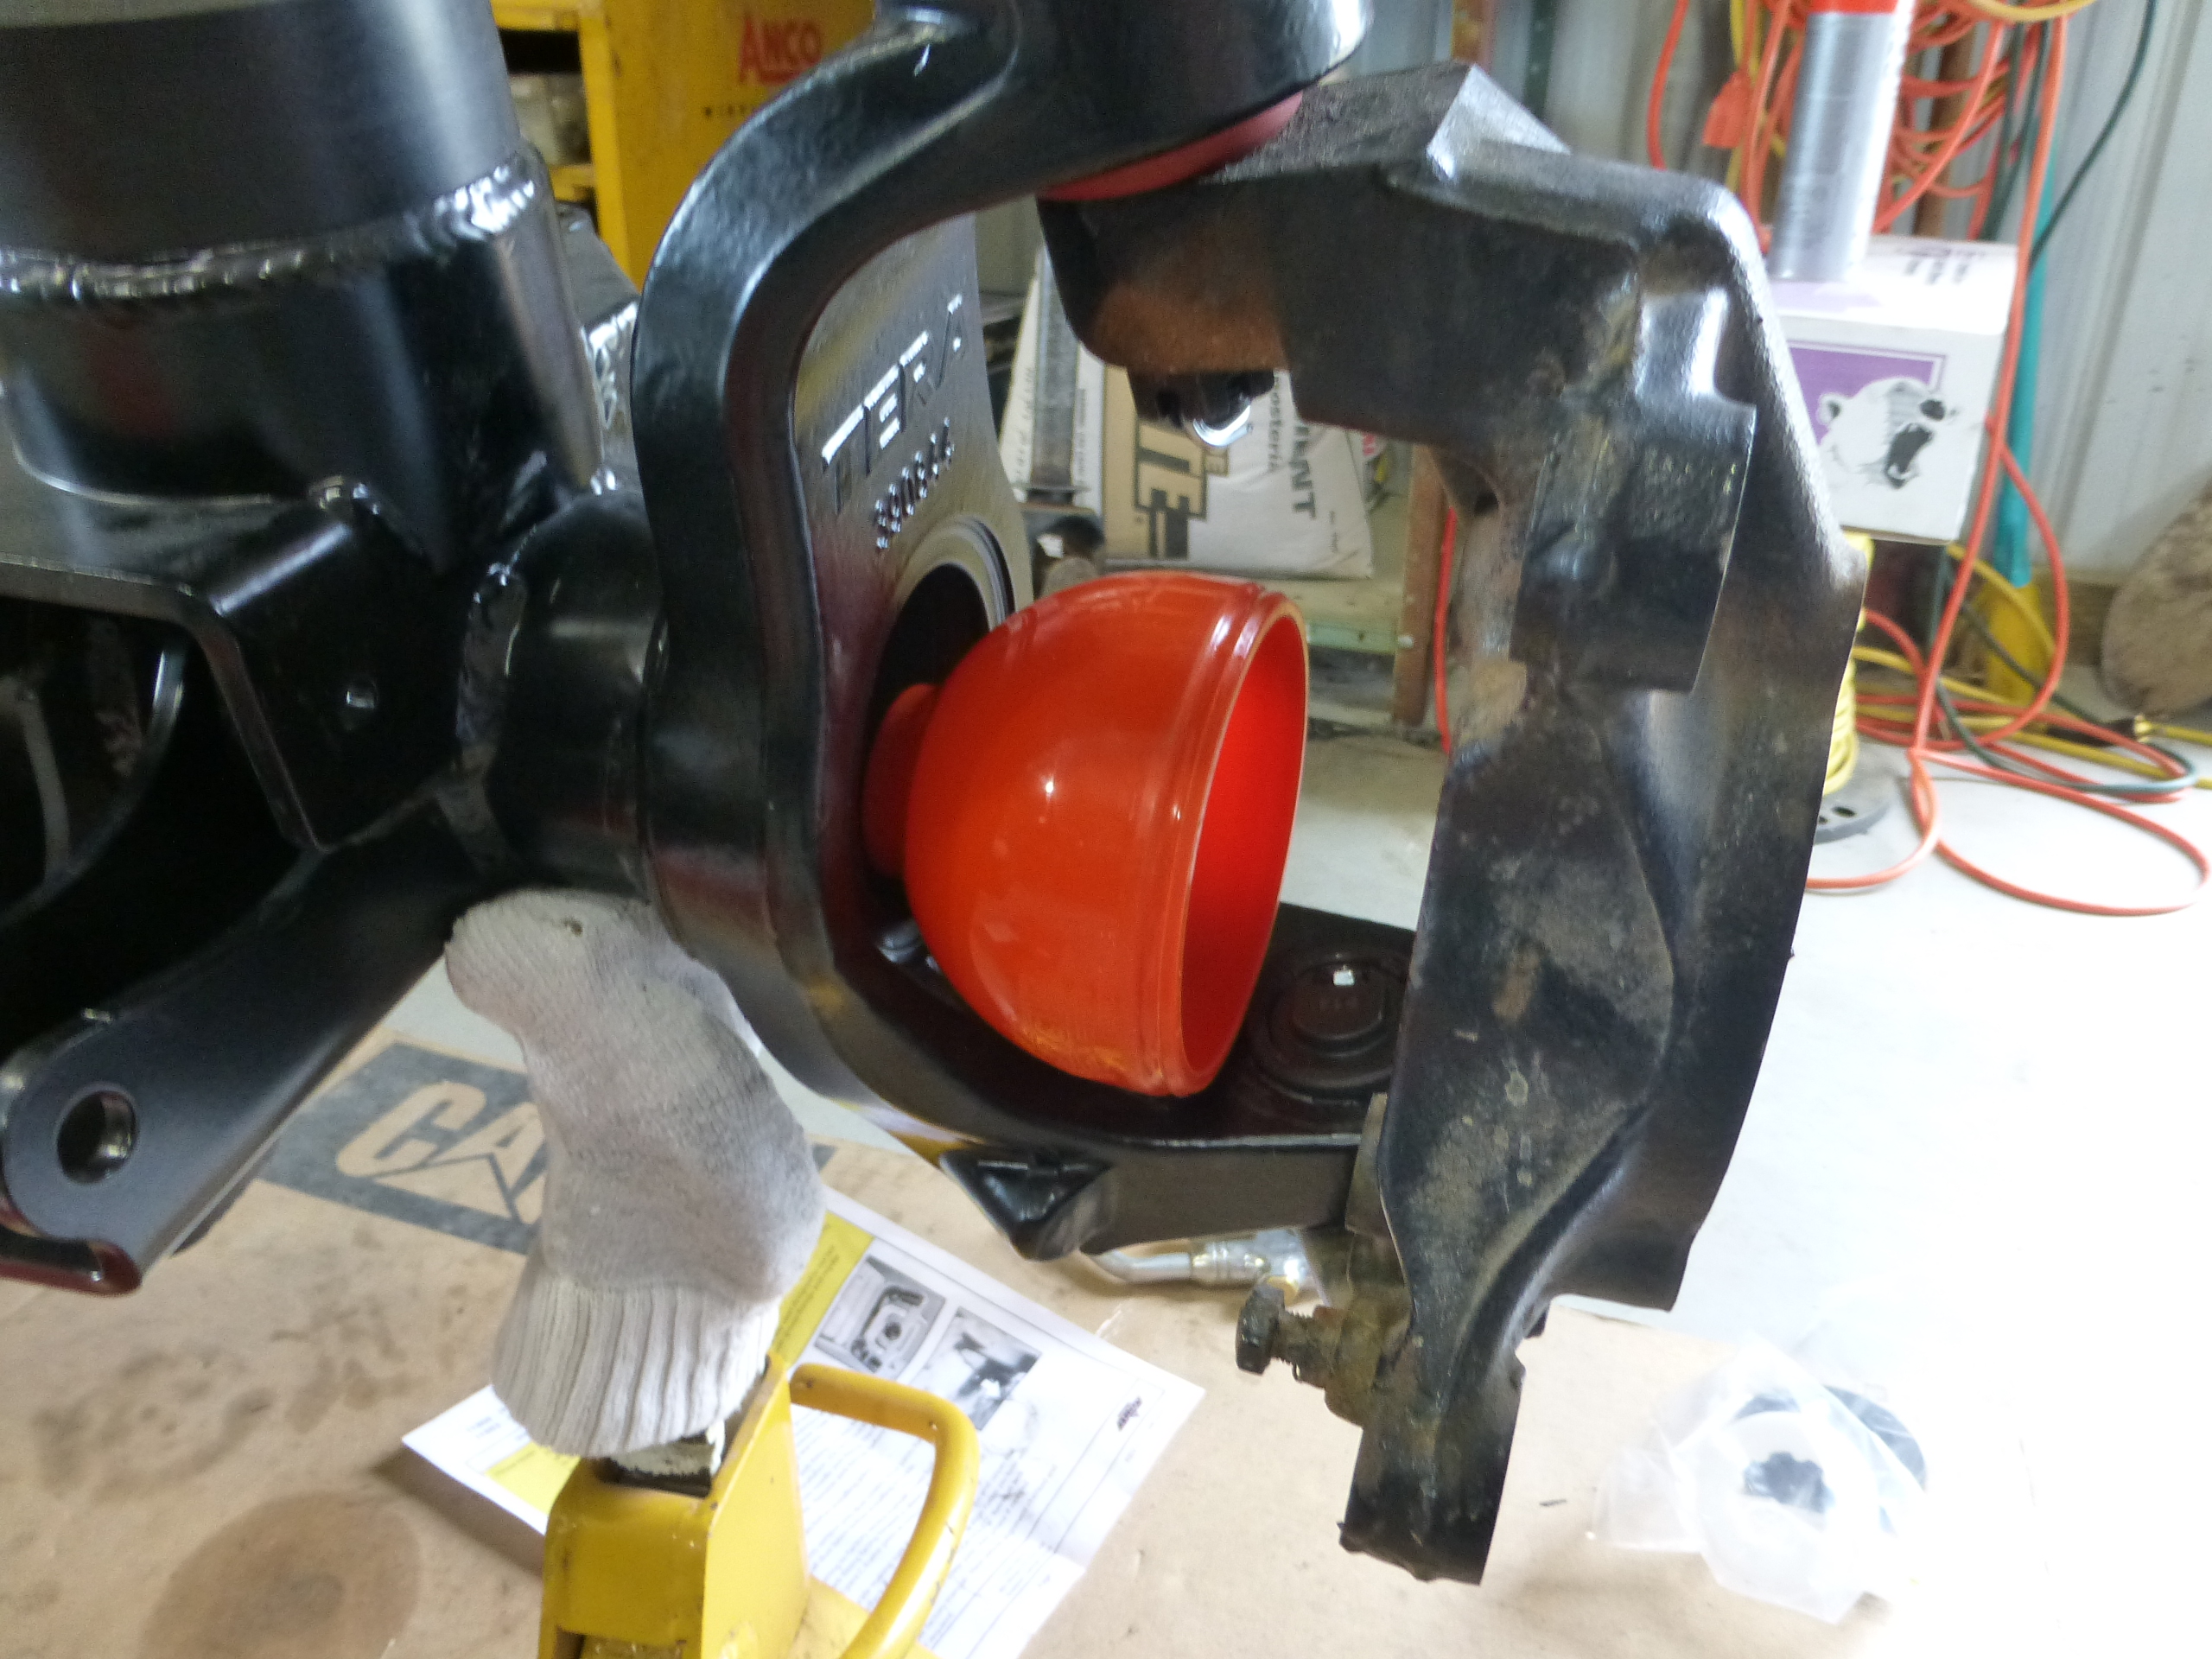
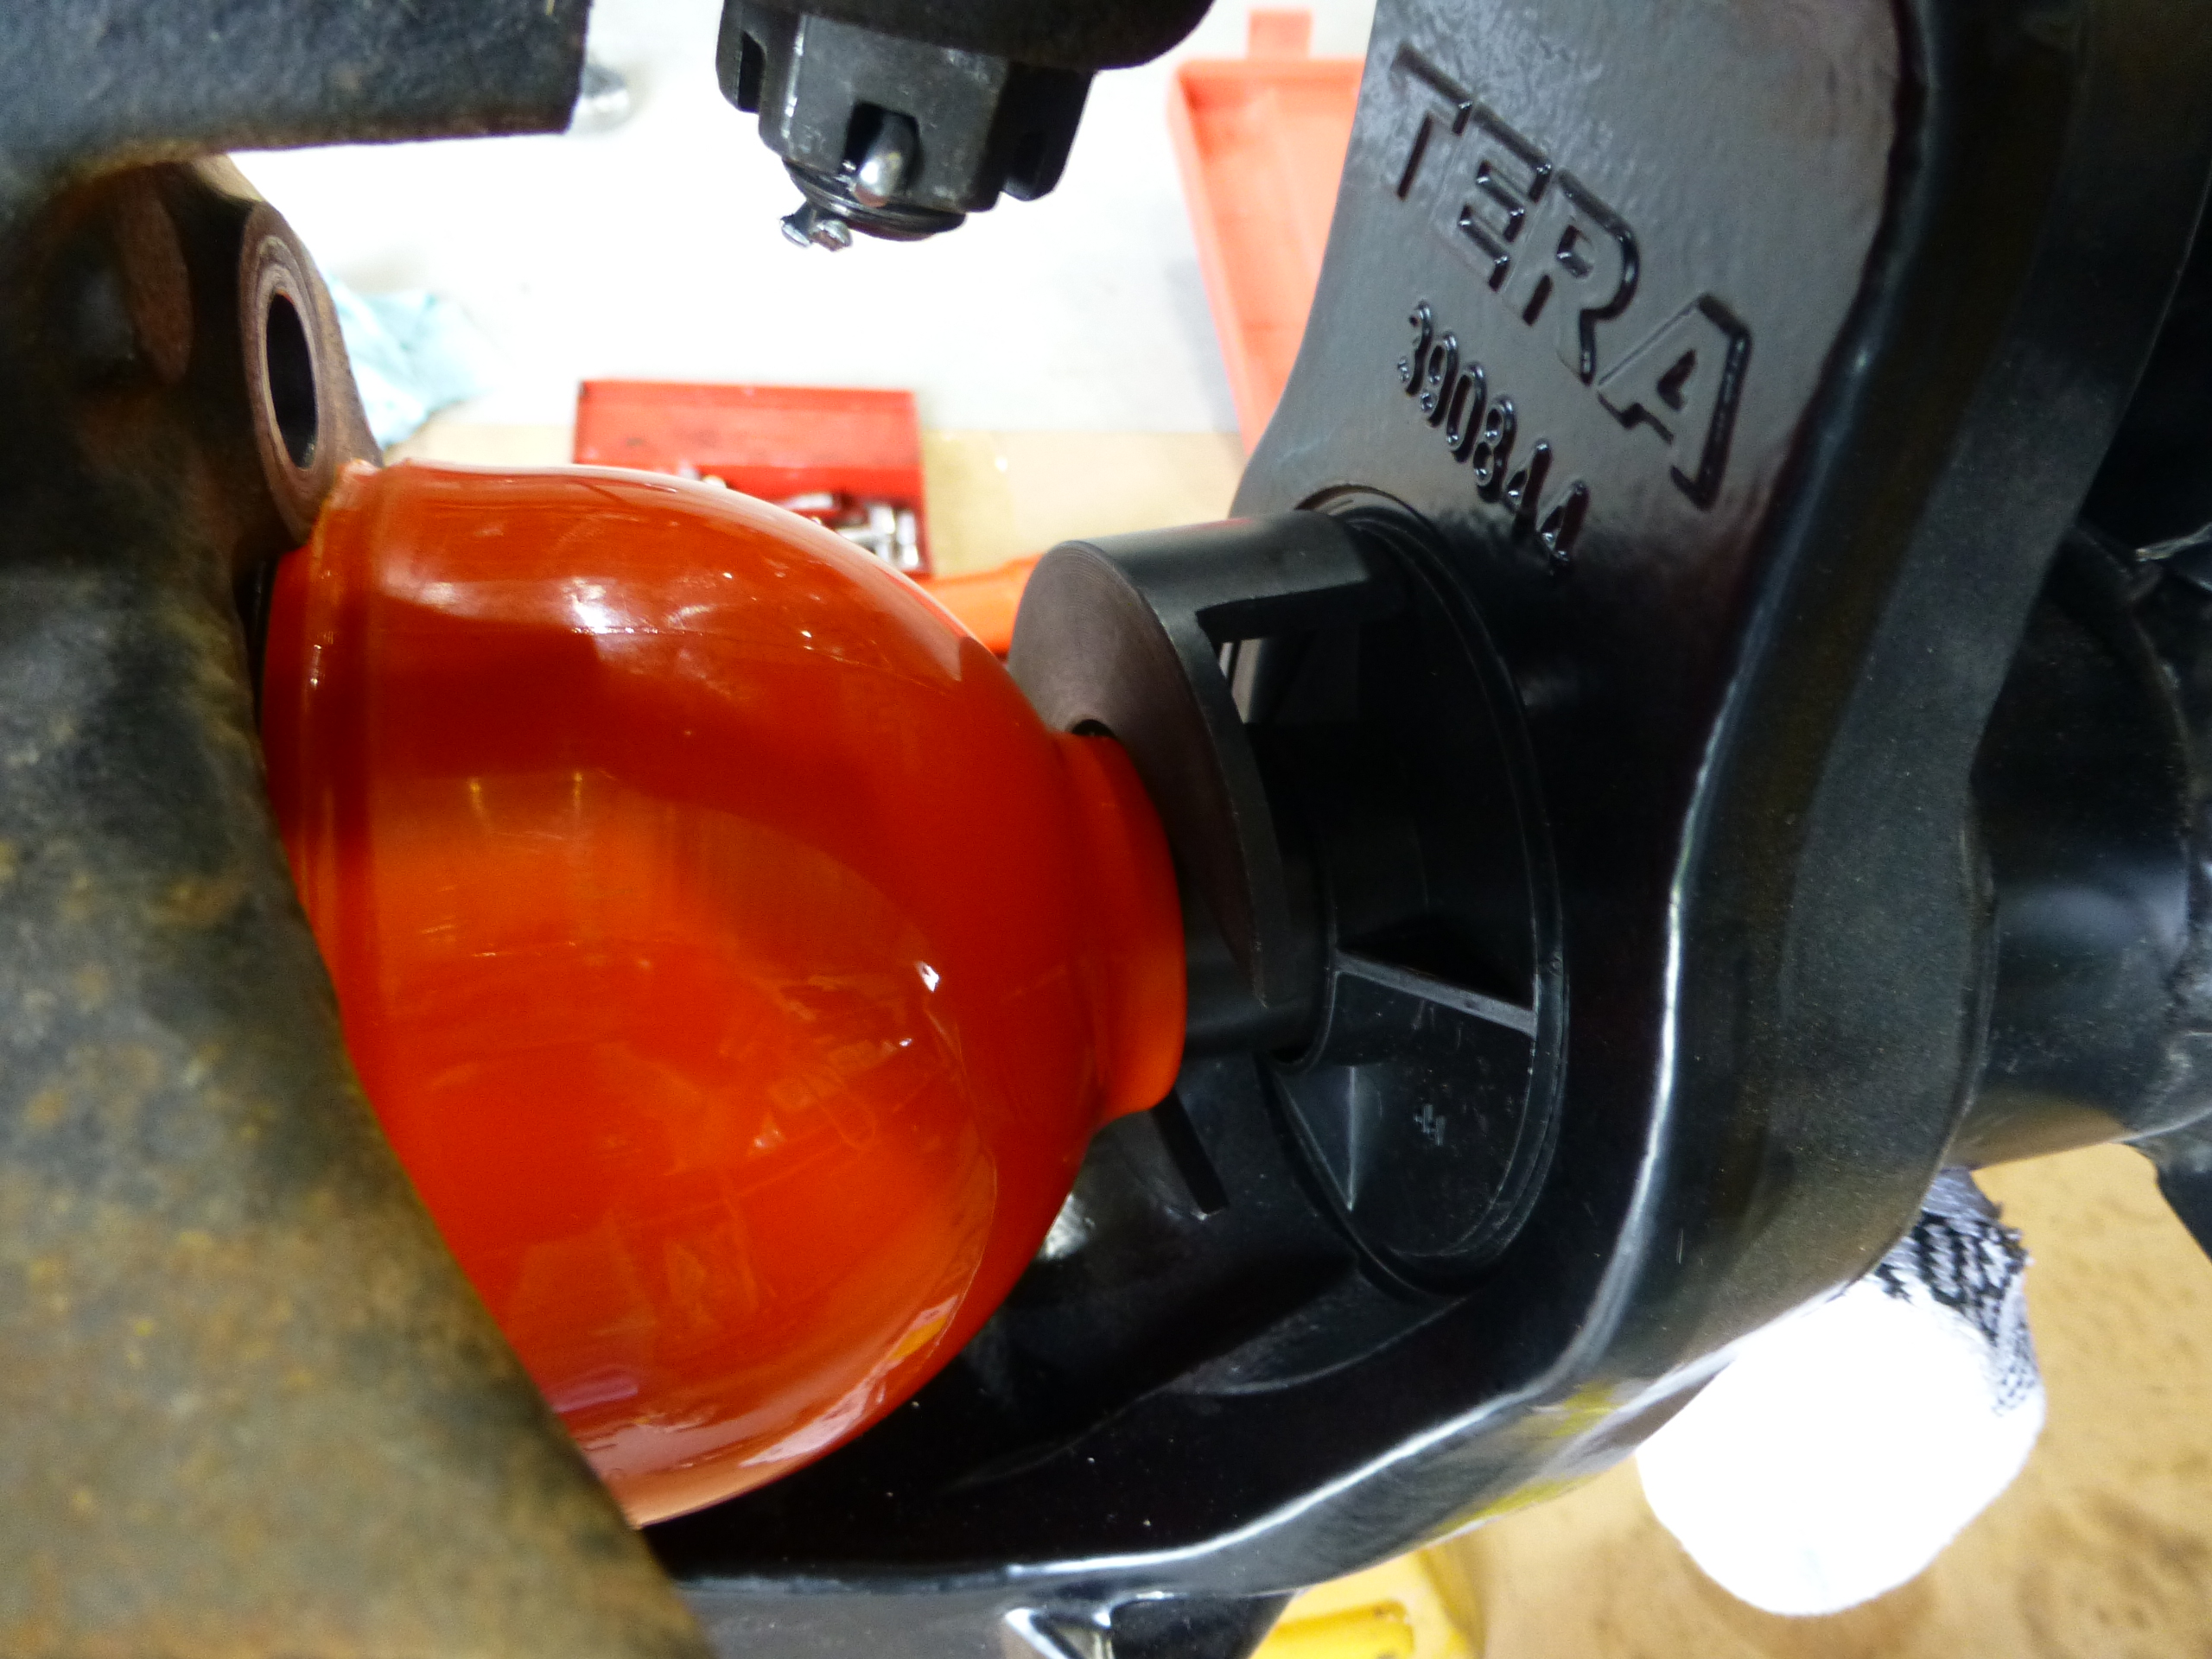
Alloy Ball Joints:
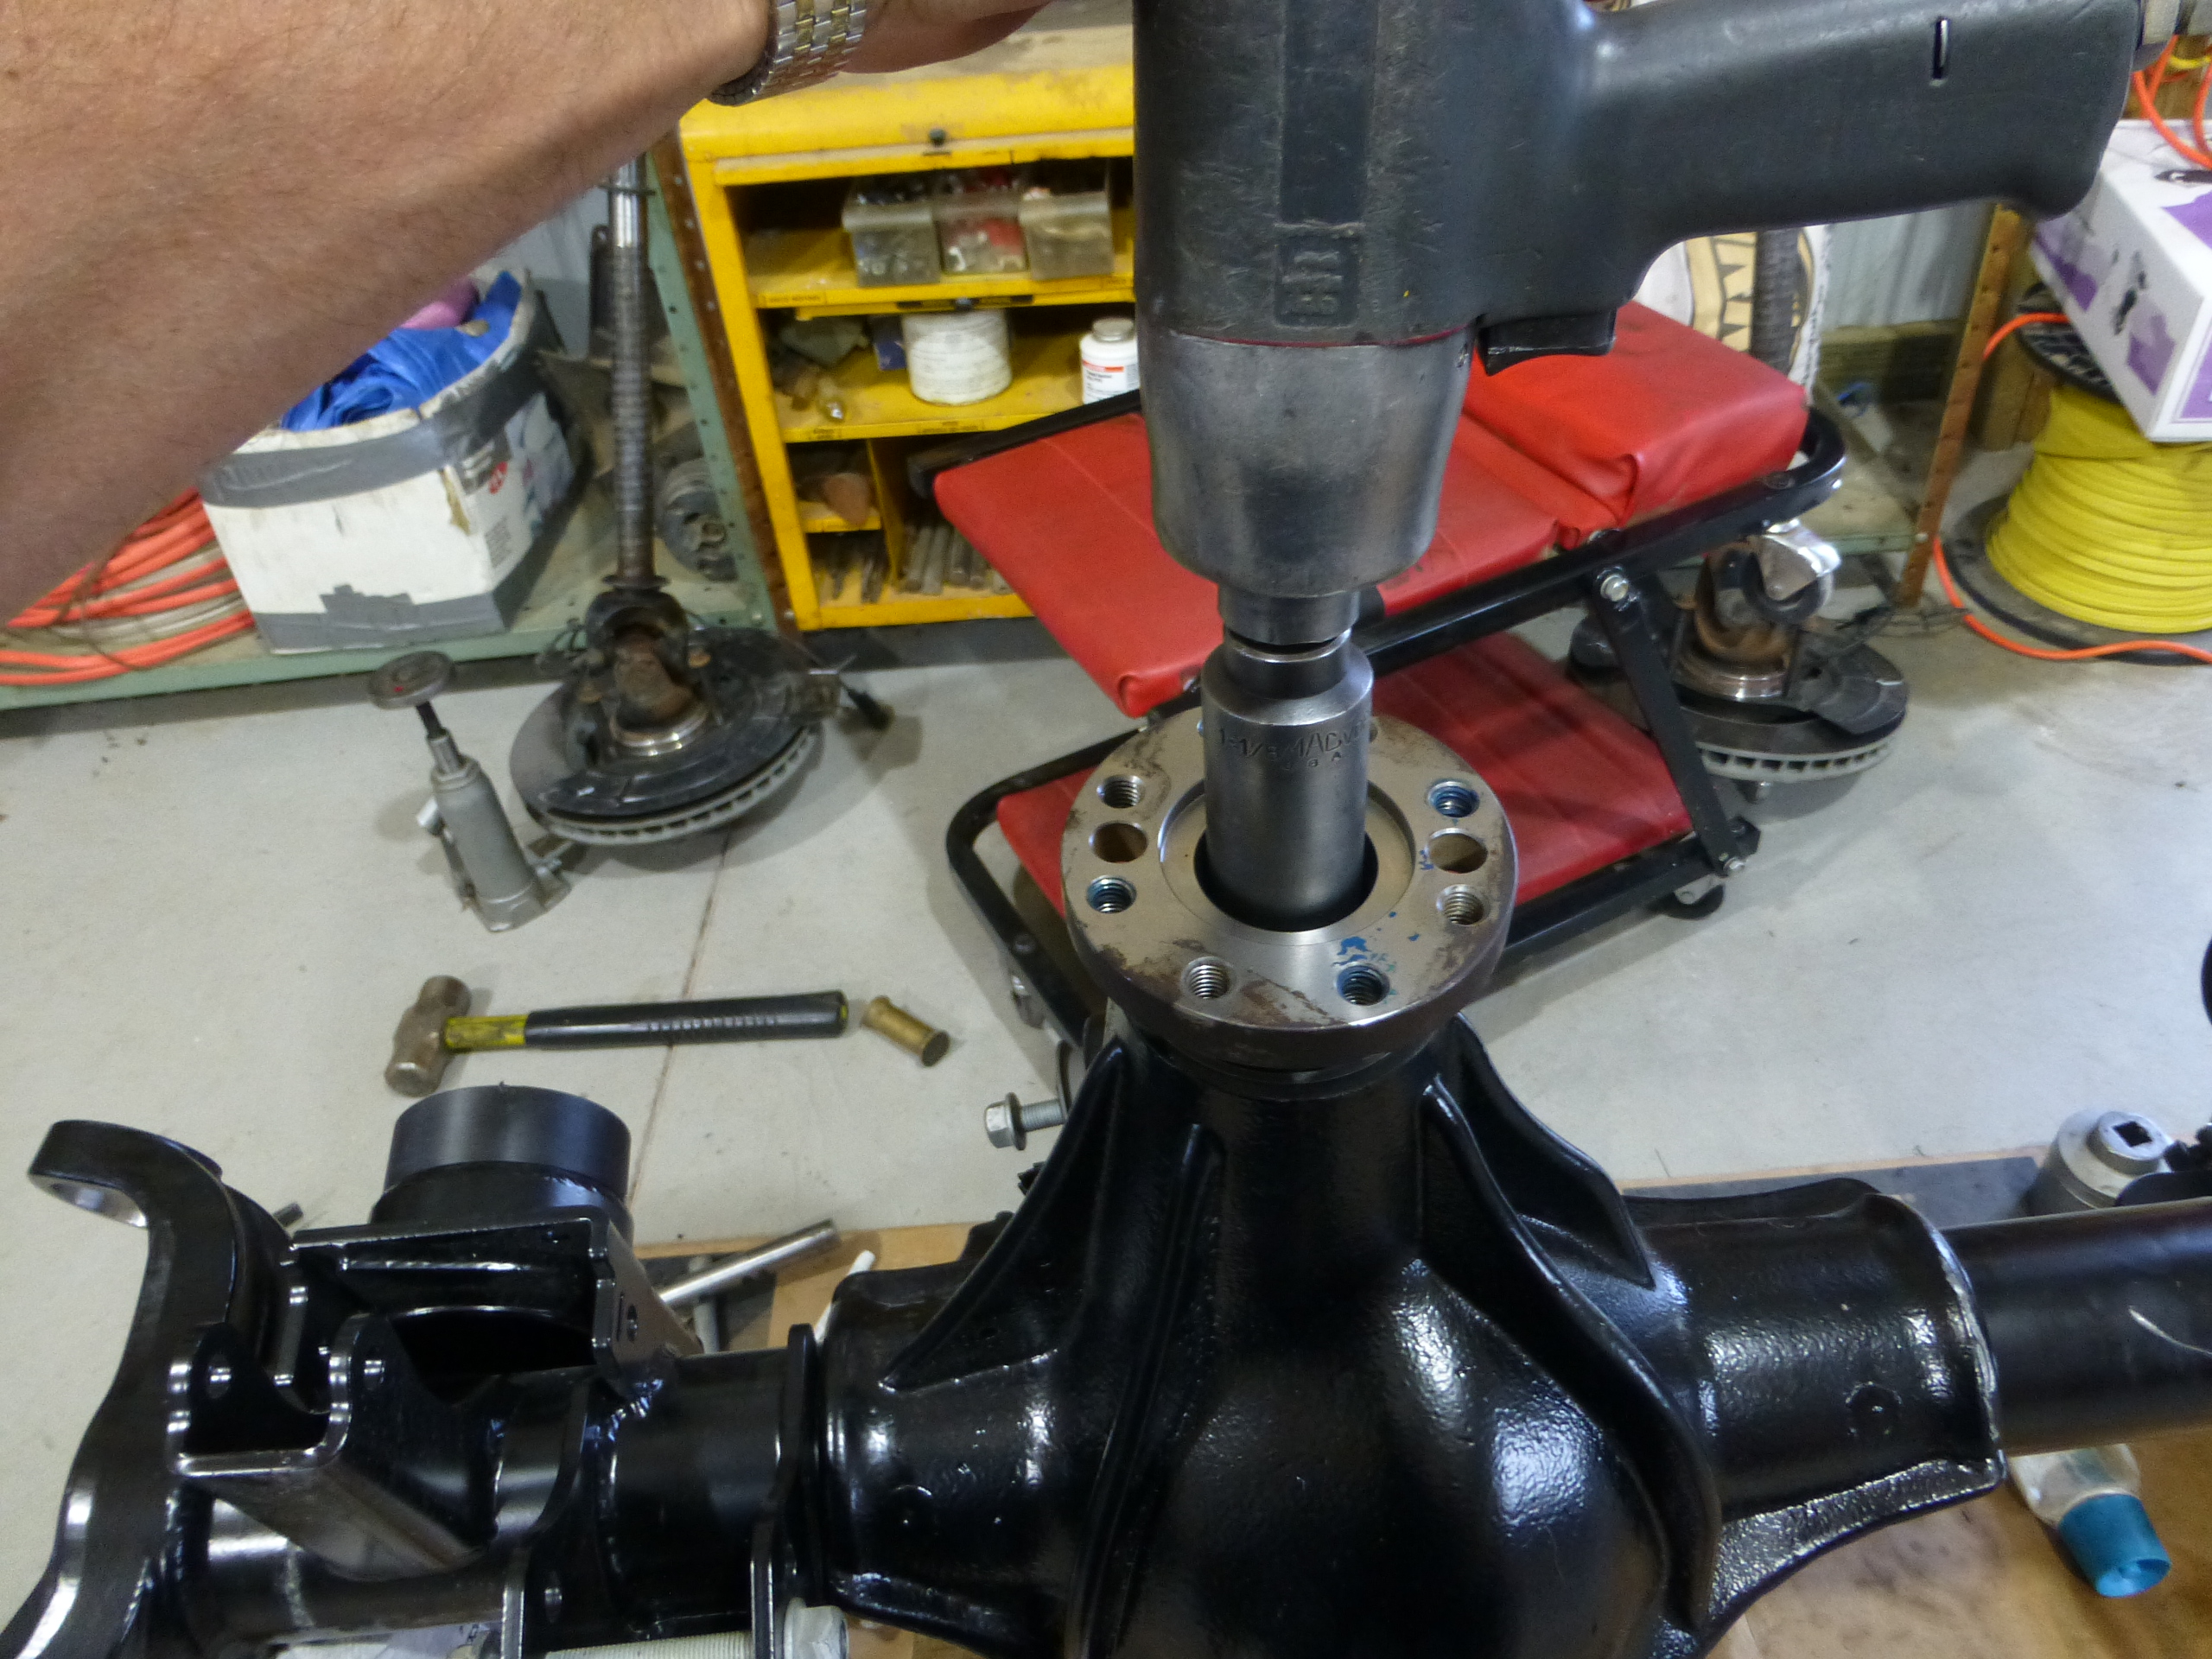
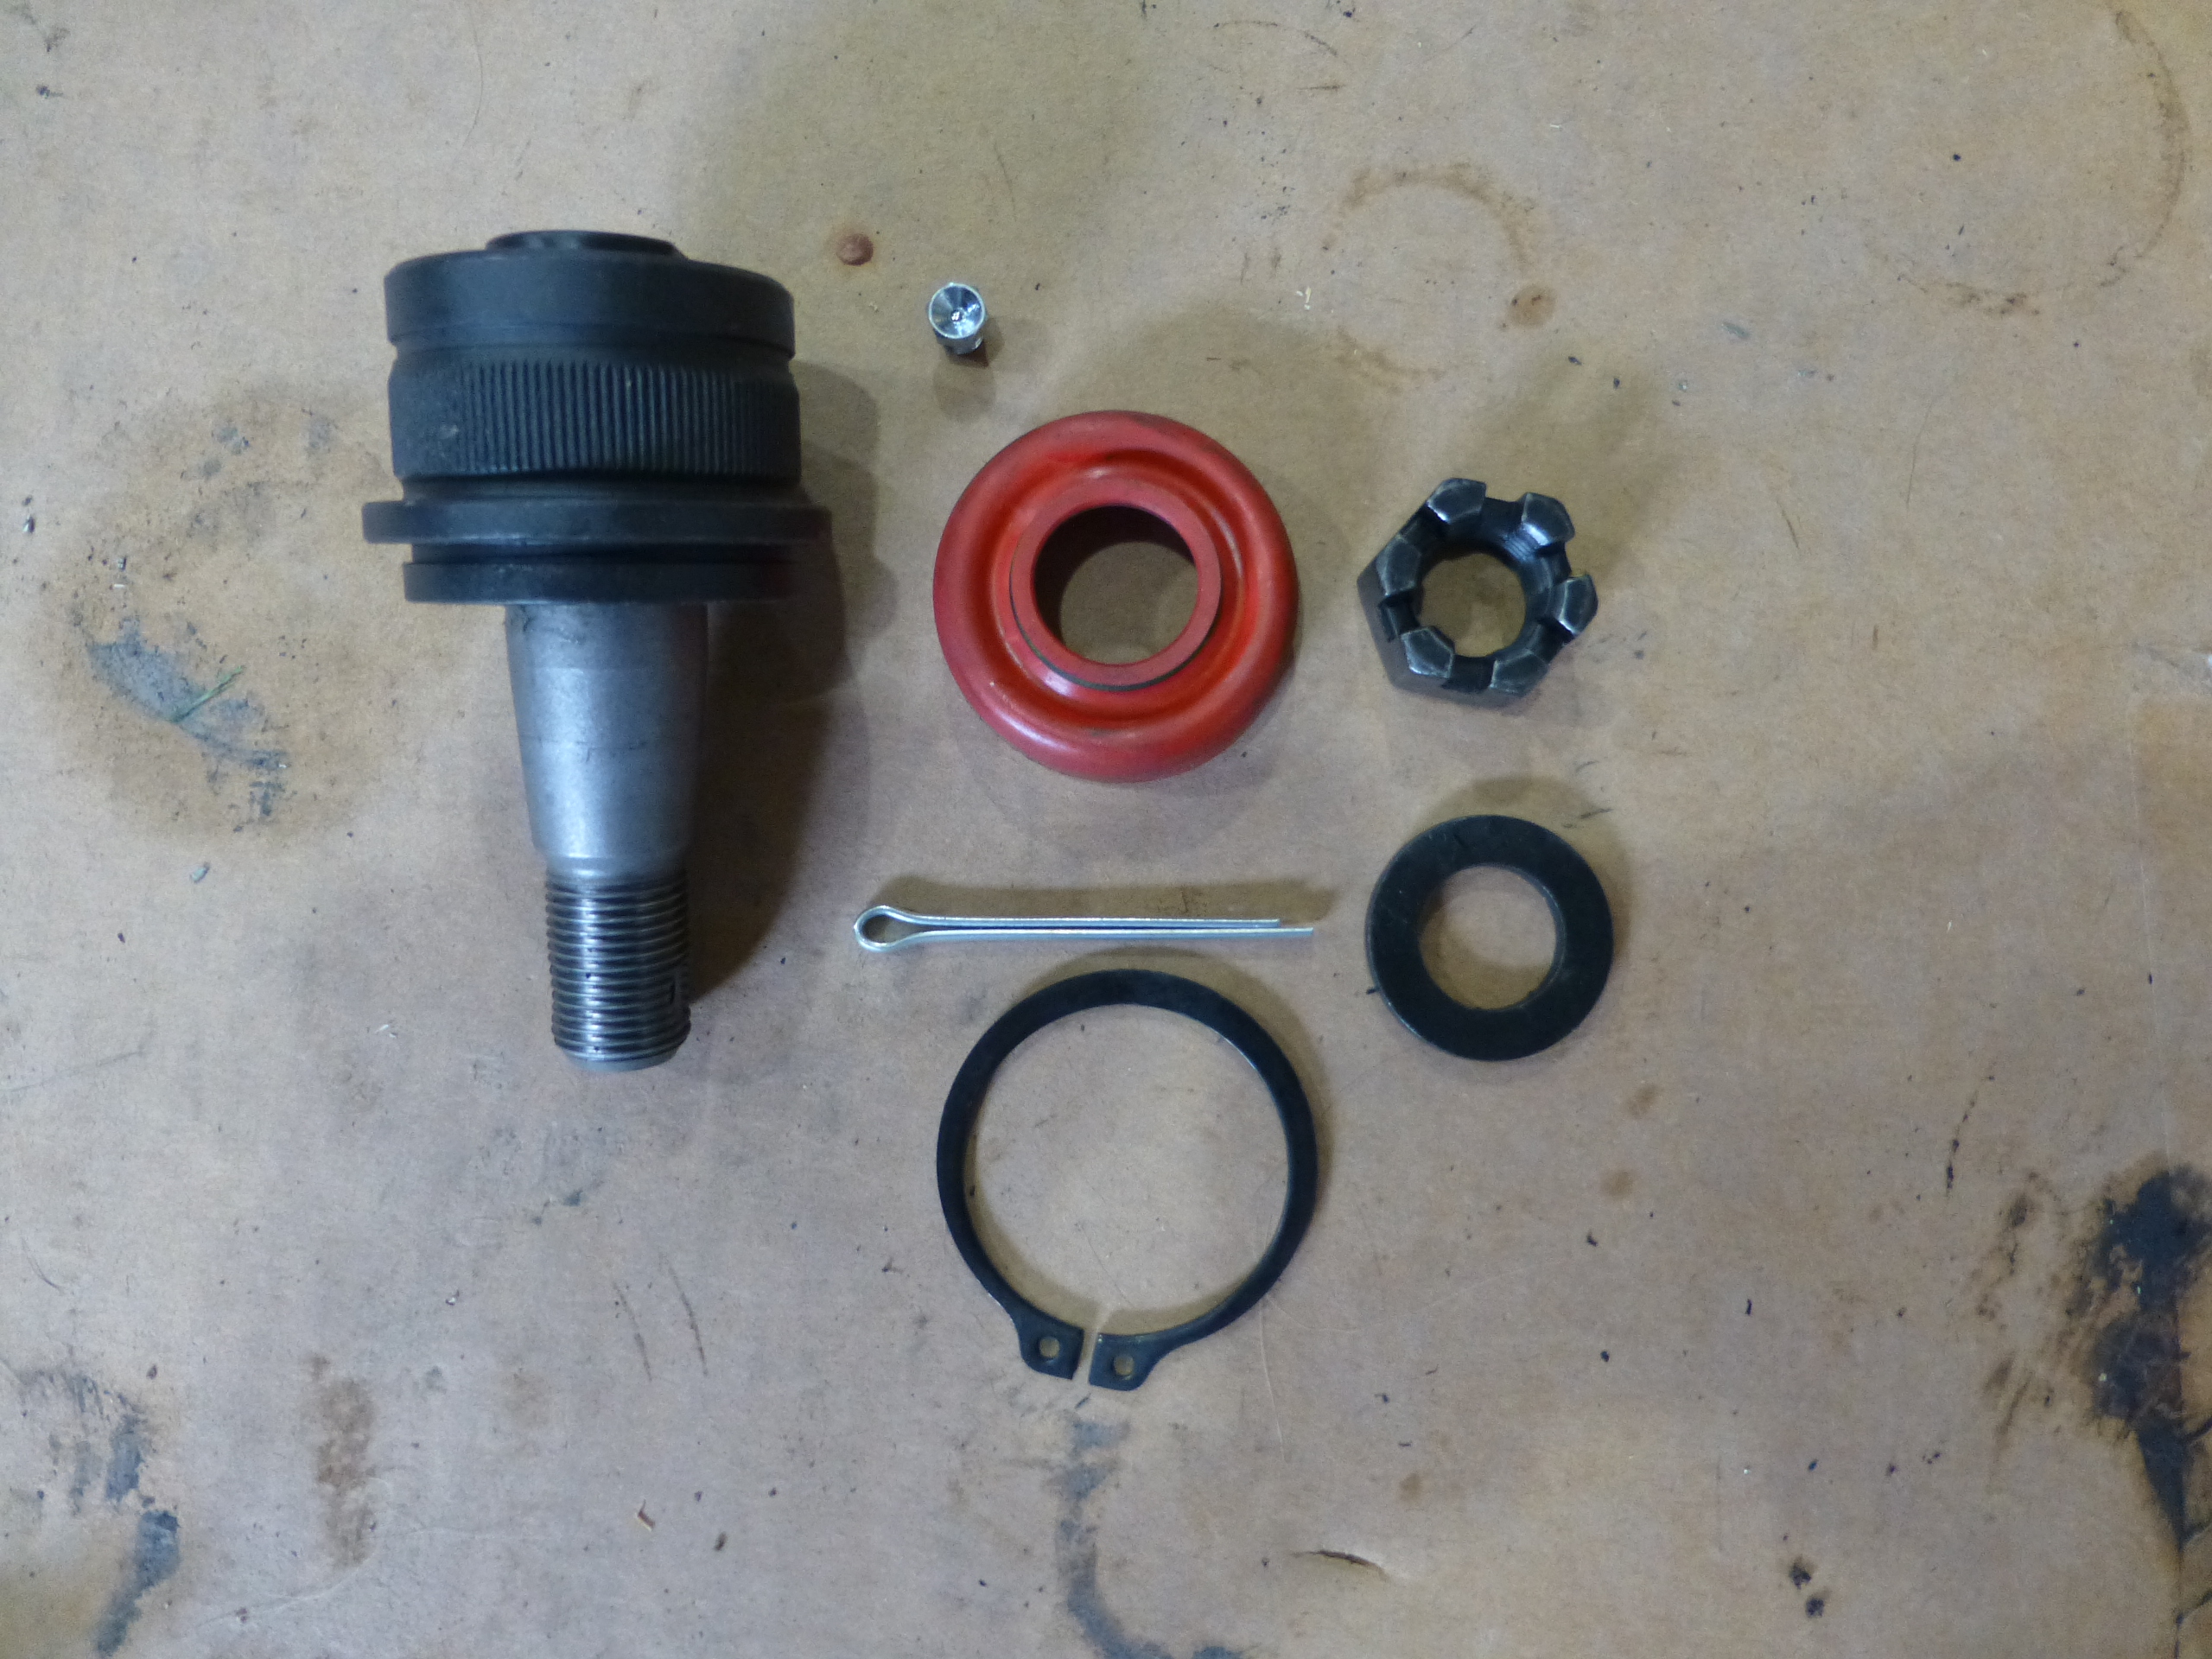
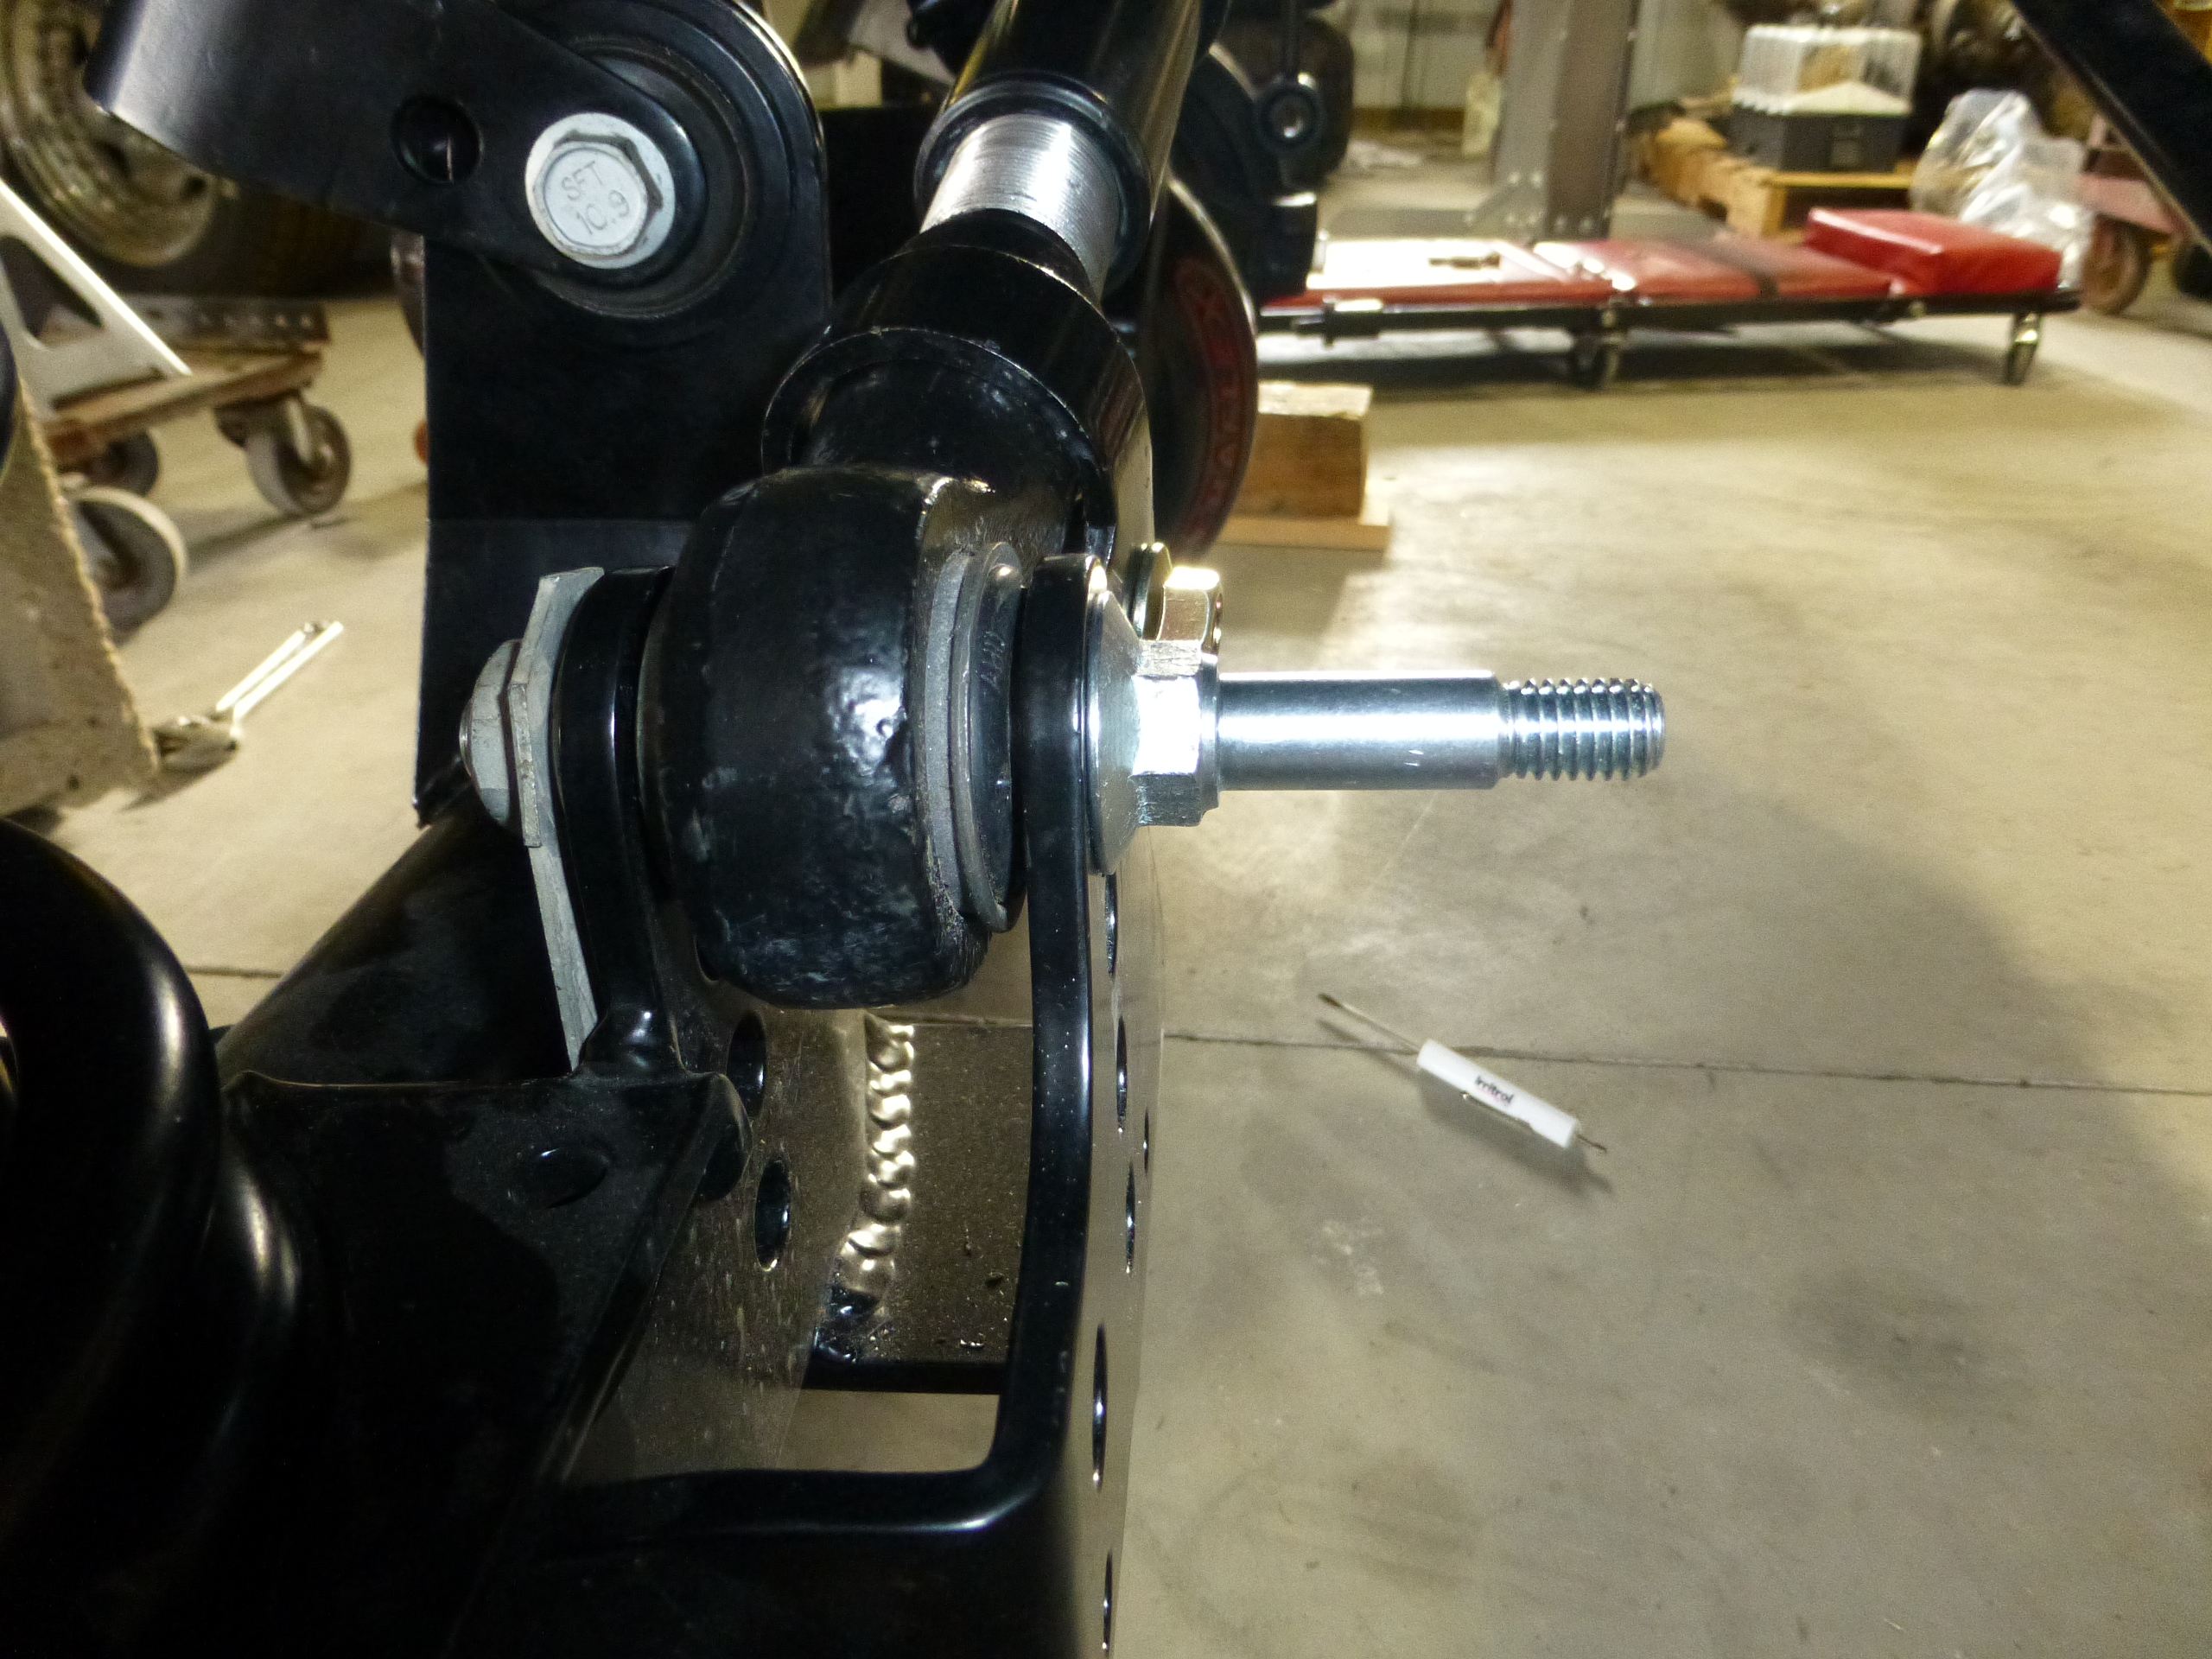
As mentioned if we were going to go this far with a build; the ball joints were certainly going to be upgraded from the factory originals to something that would be more dependable on life expectancy. Alloy U.S.A. sent us what we needed to get that taken care of so it was just a matter of pressing the new ball joints in place so we could get the knuckles installed. It wasn’t a difficult job with the proper tools; we have a ball joint install and removal kit that we used to press the new ball joints in and locked them down with the supplied hardware.


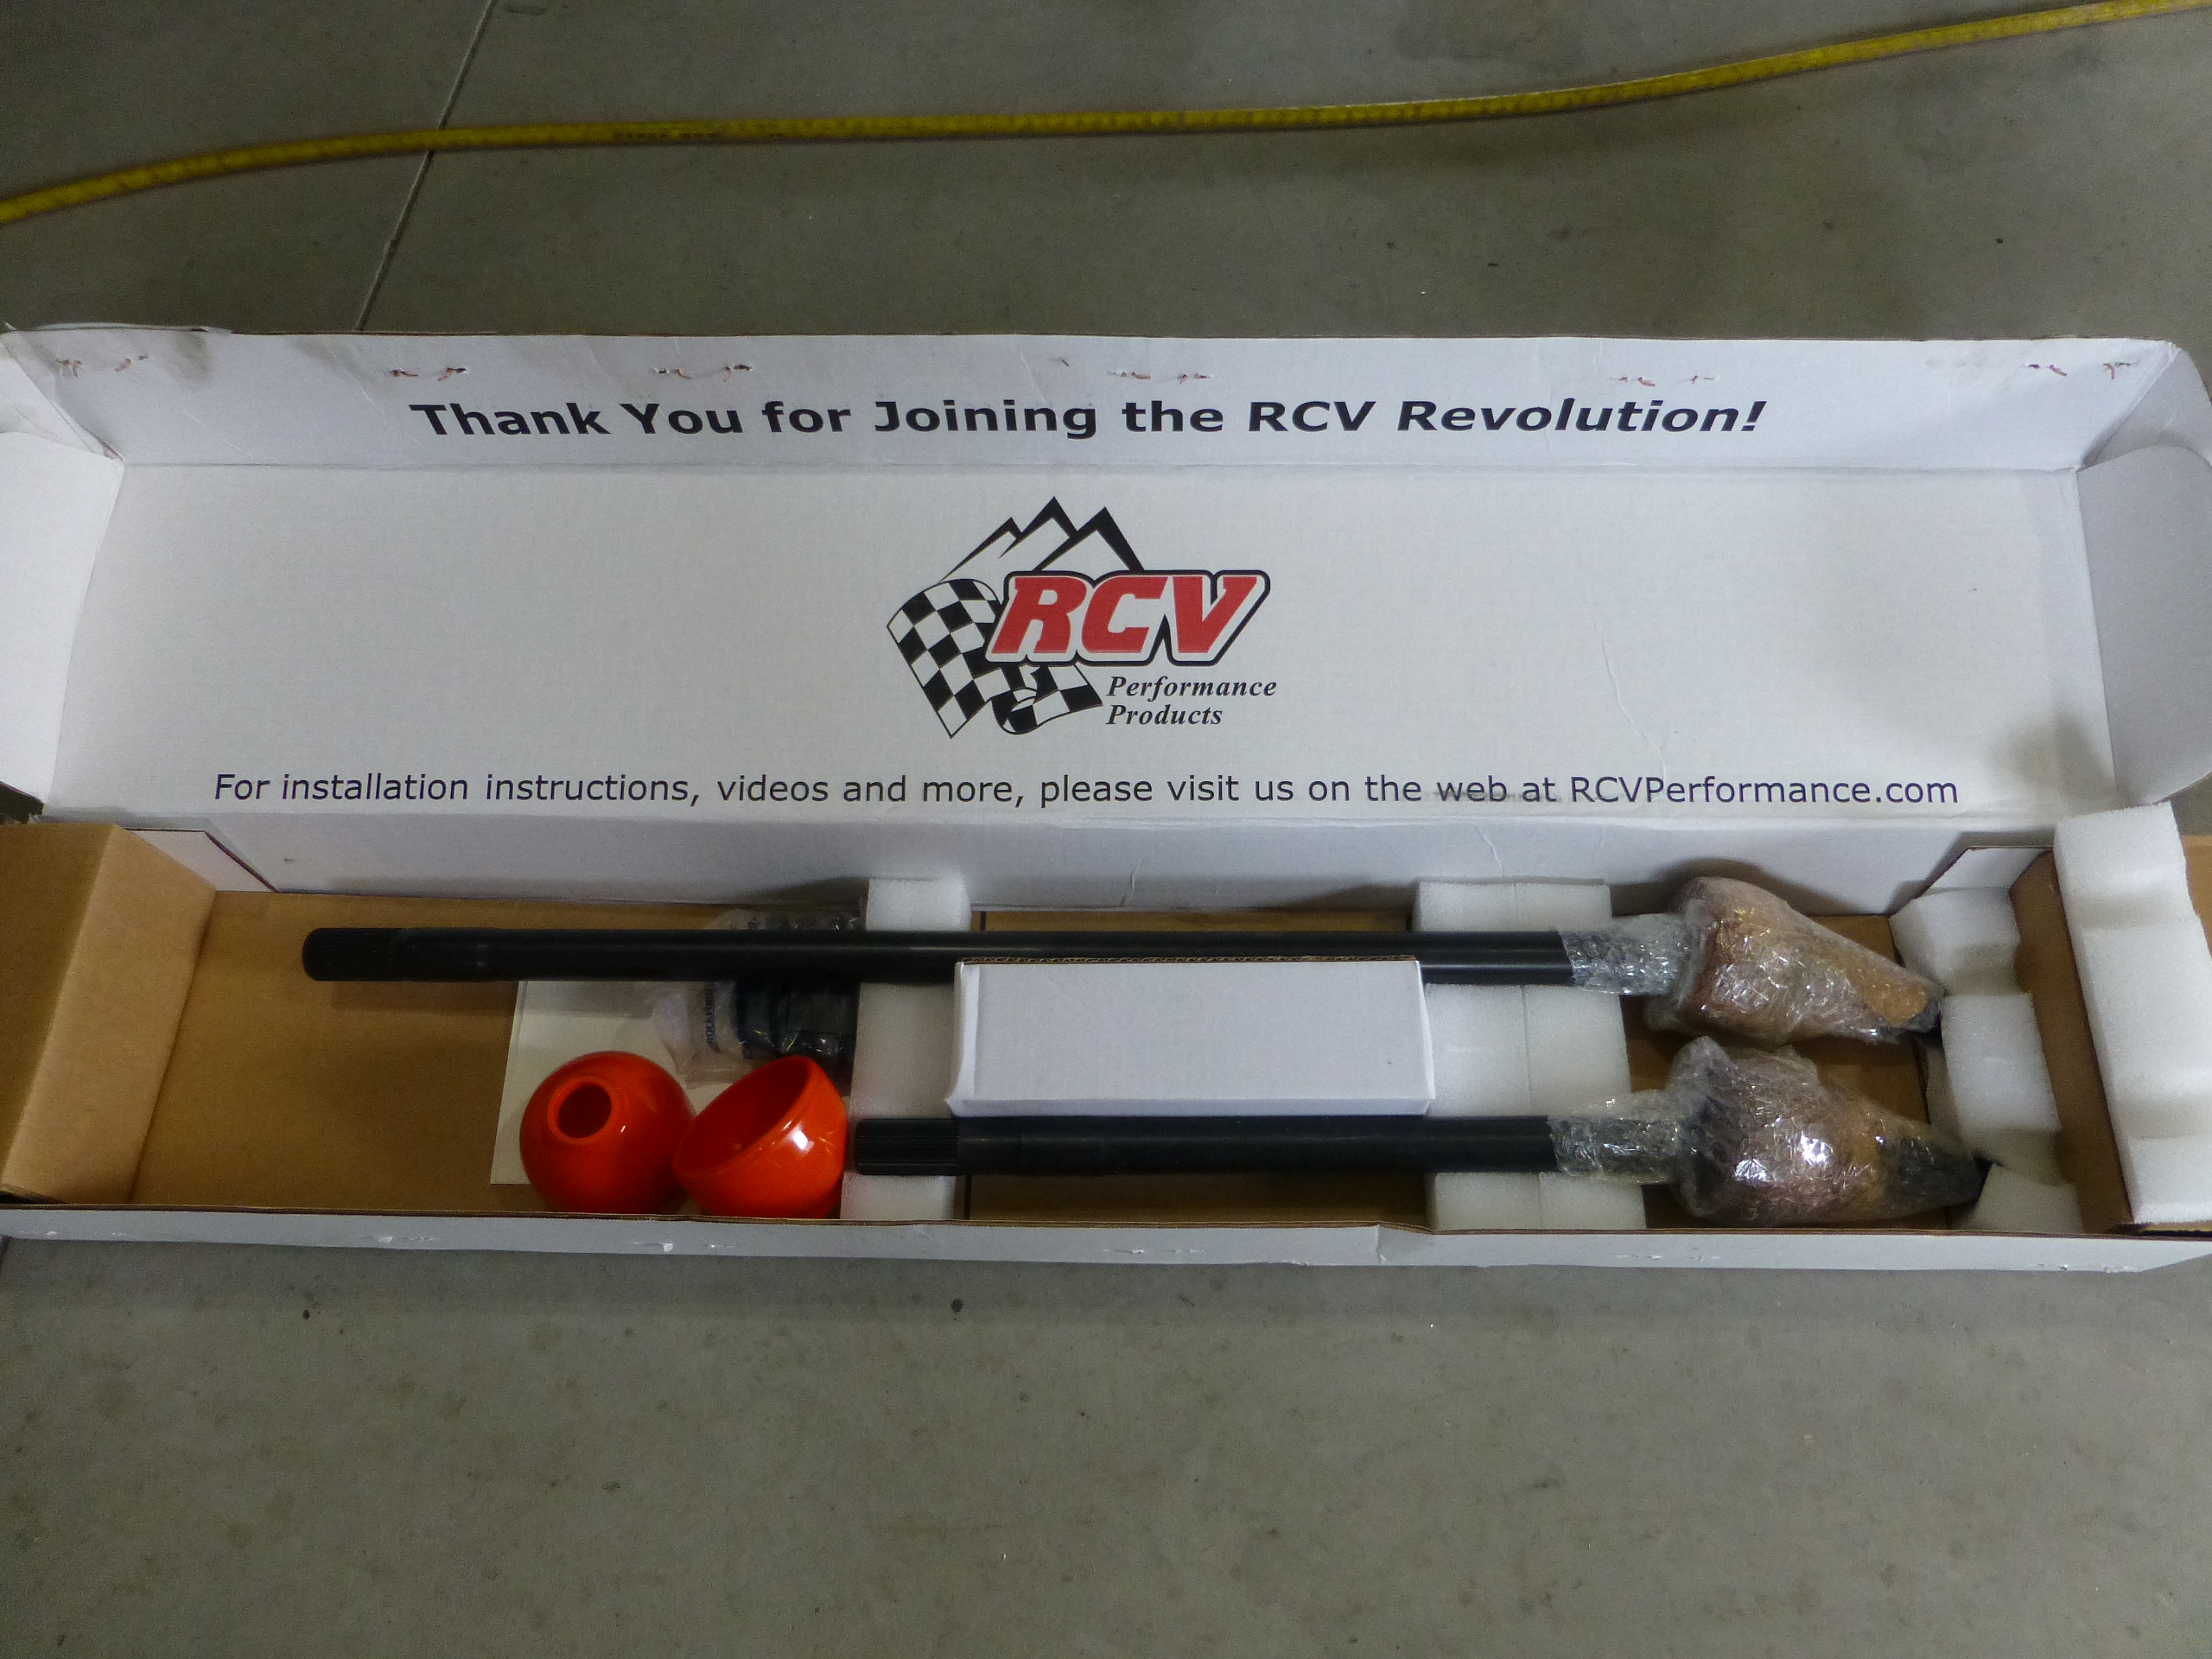
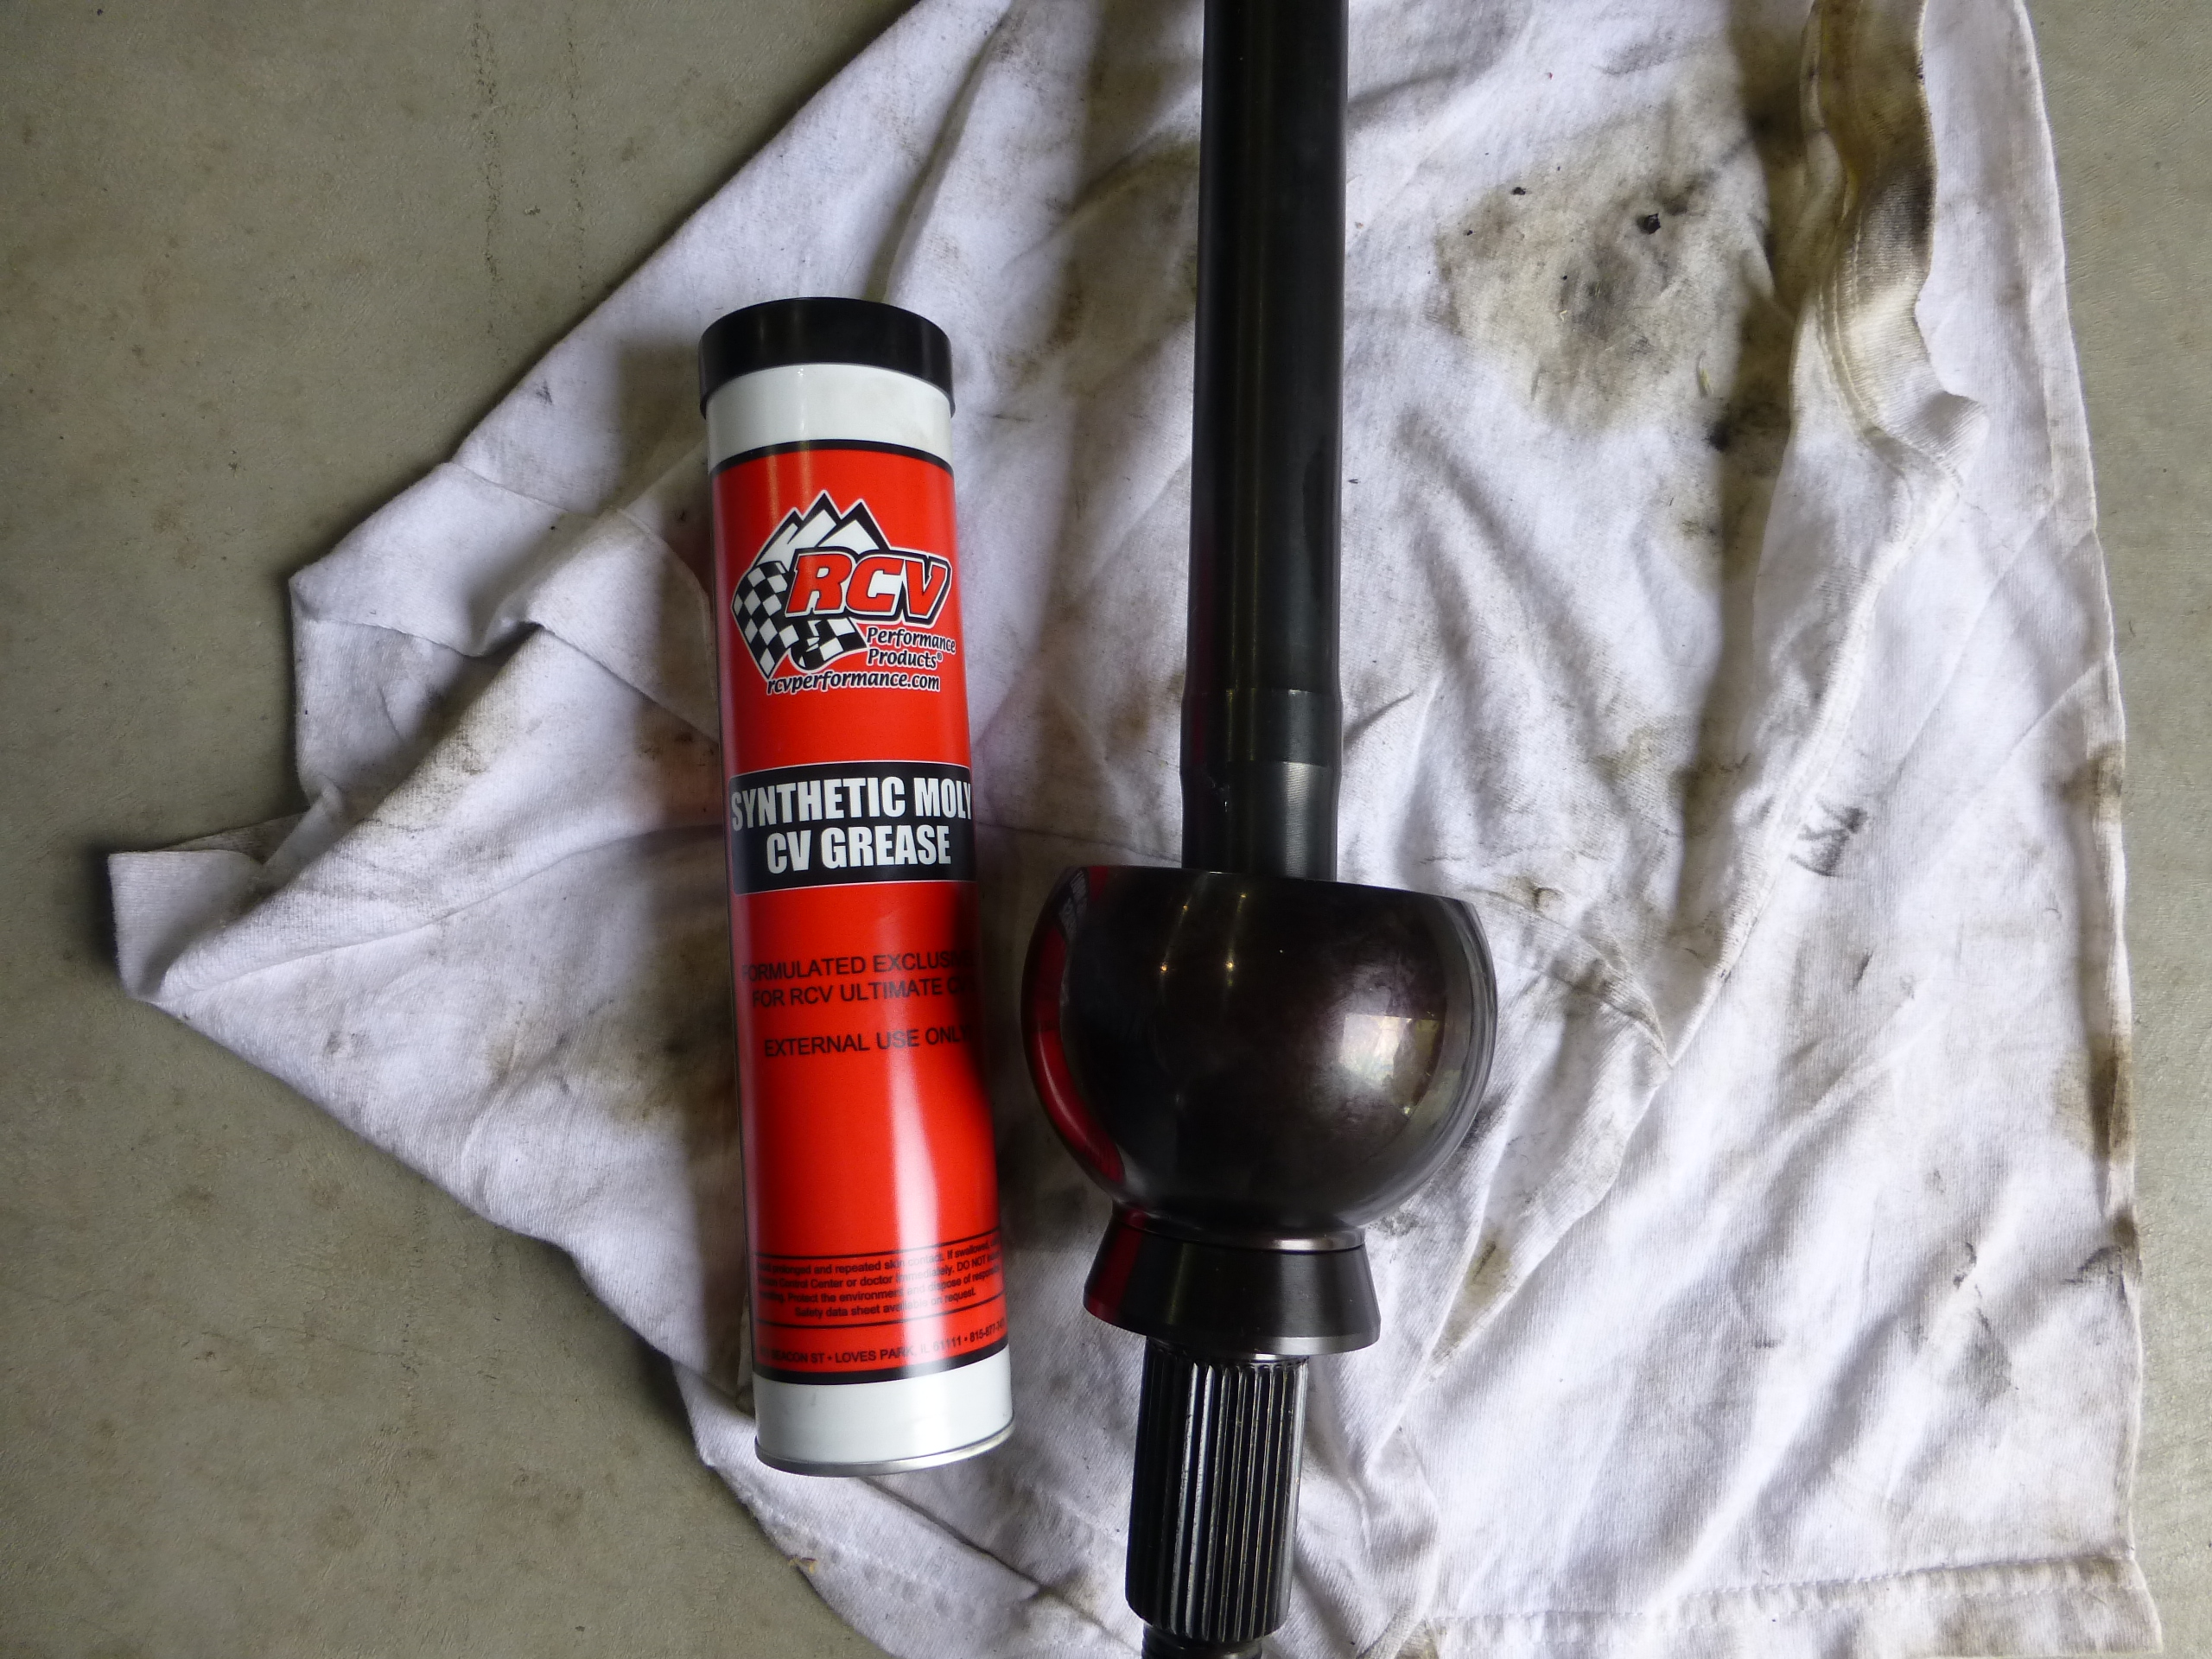
RCV Performance Axle Shafts:
The final components to go into the housing were our axle shafts from RCV Performance. These are well known throughout the industry as the “go to axle shaft” if you’re intending to upgrade and want strength and reliability. Touted as “The strongest axles on the planet” there was no question why we chose the RCV Performance shafts. They also come with a “No Questions Asked” limited lifetime warranty which was another selling point for us.
You know we love our “Made in America” companies and RCV Performance is another company that proudly produces products and jobs right here in the good old U.S.A.
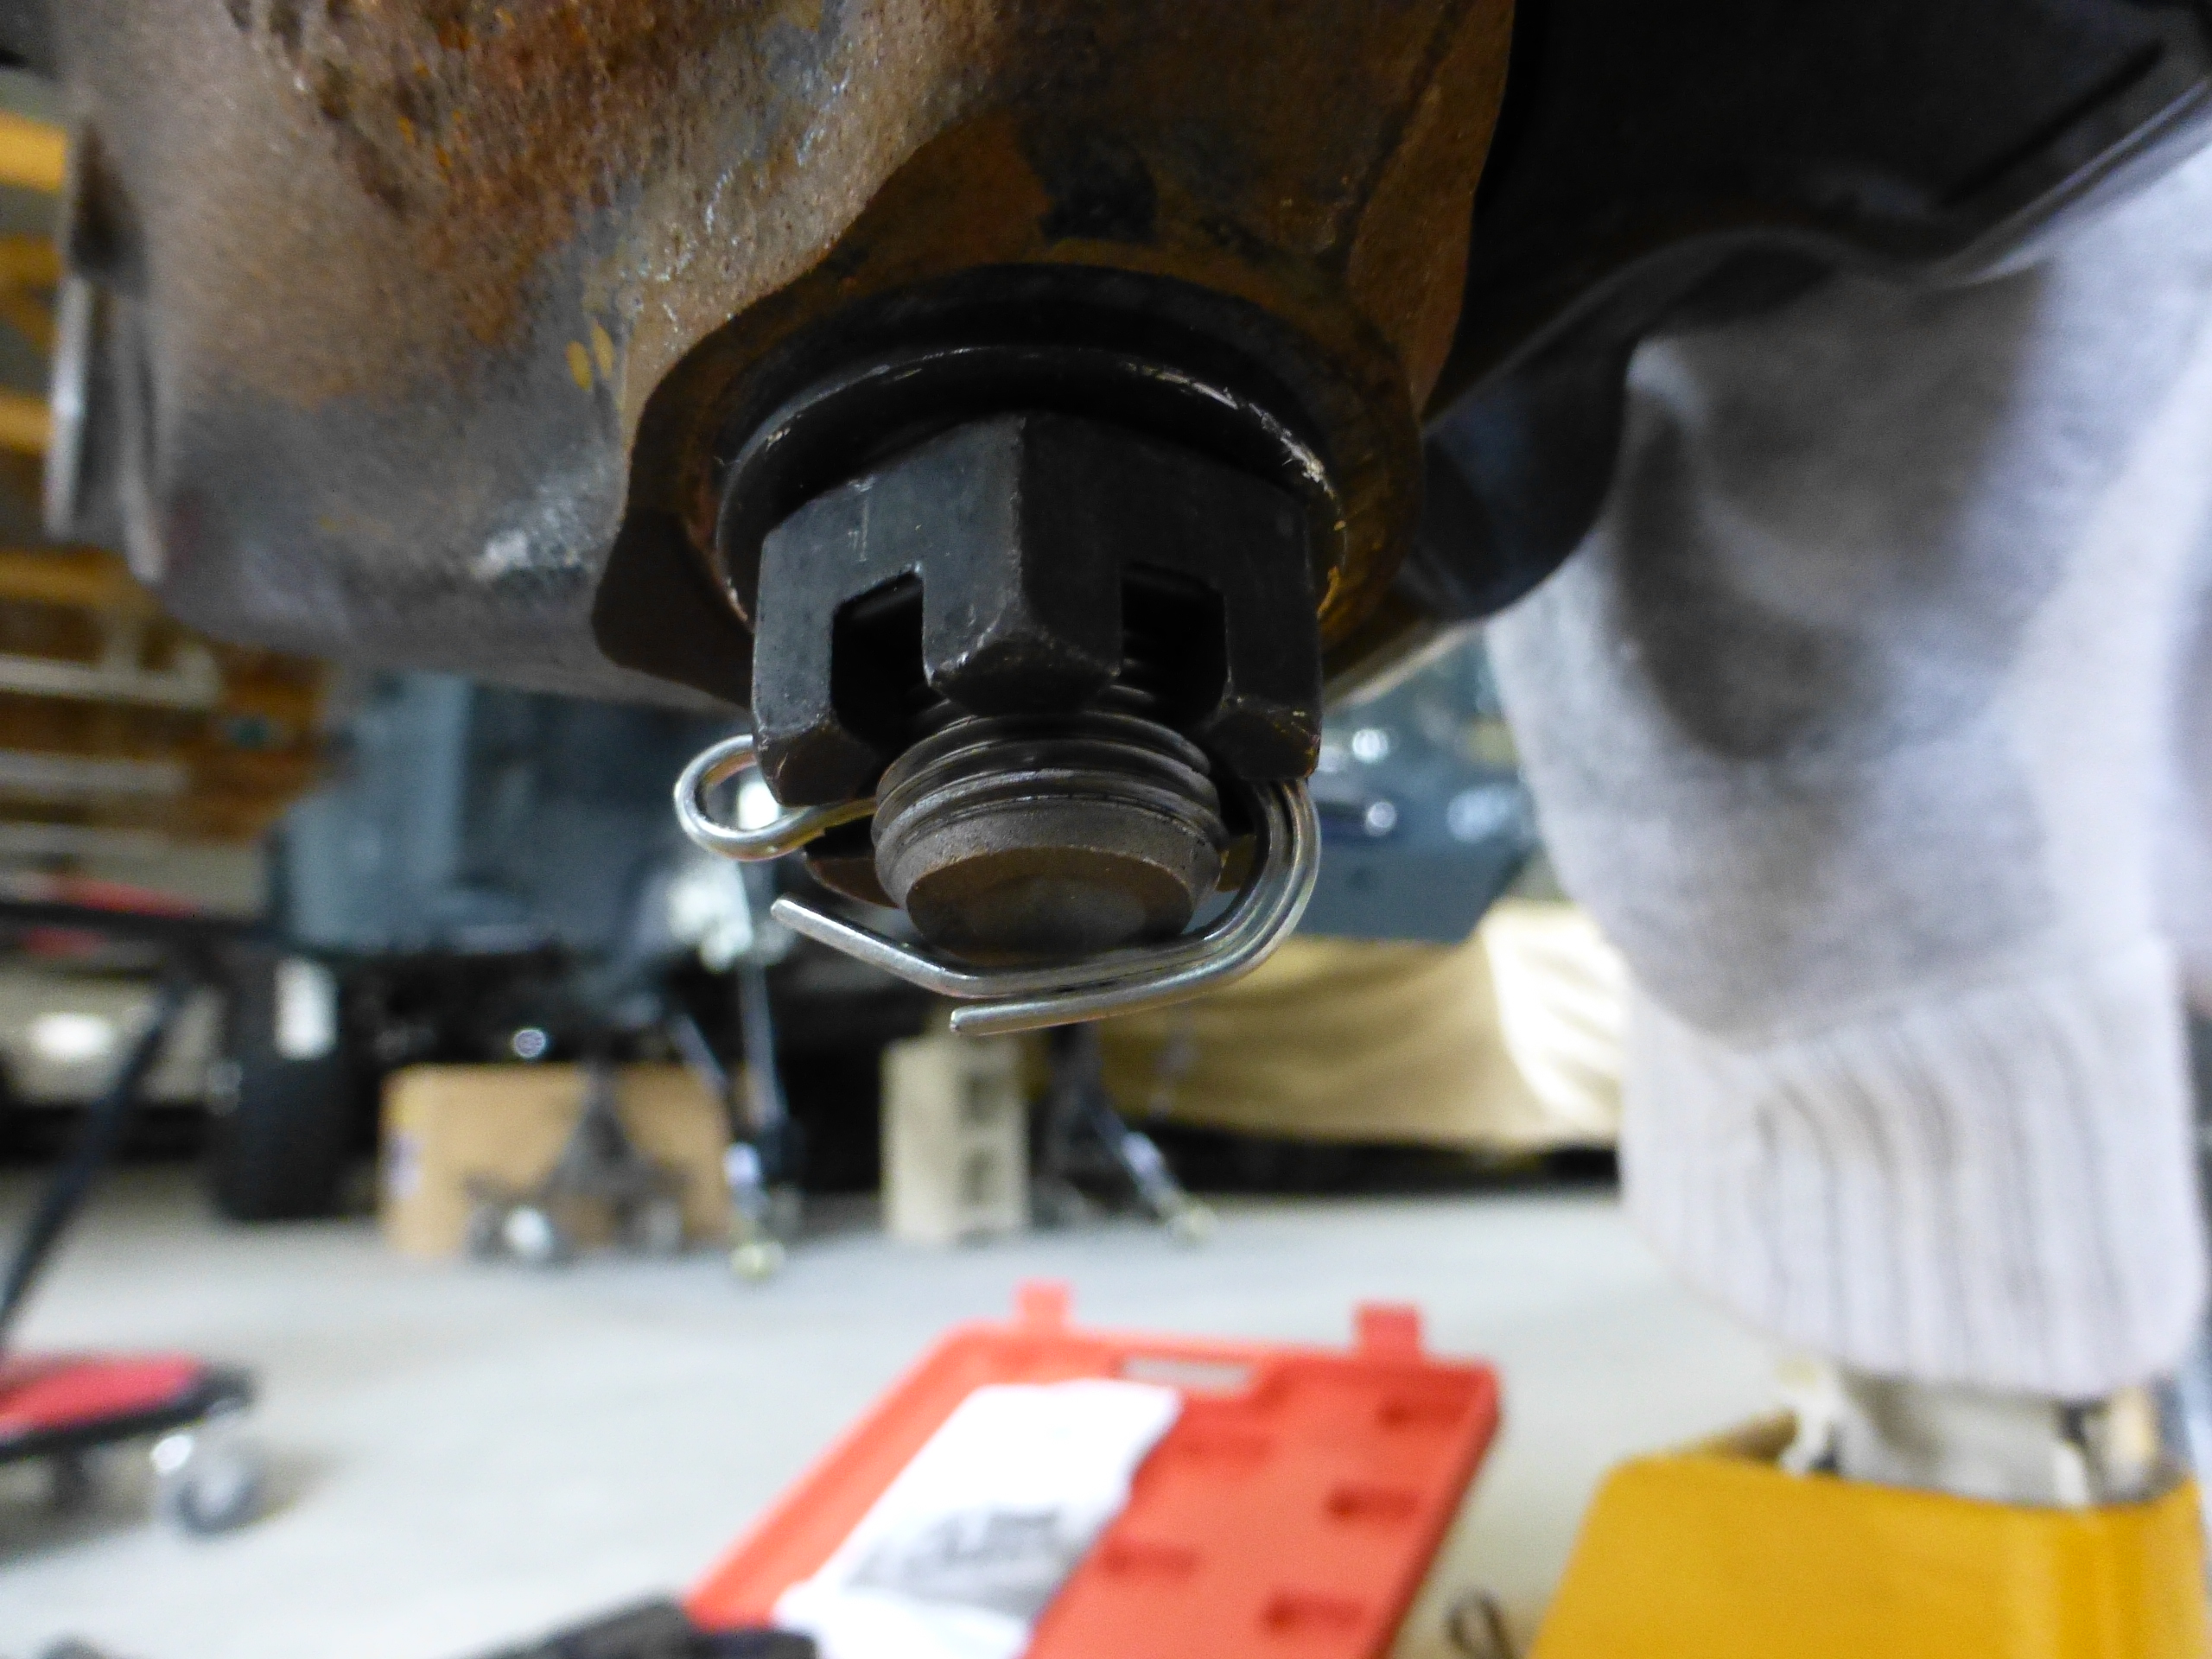
The install of the shafts was simple enough; all we had to do was dig them out of the box they were shipped in, put a little bit of the supplied synthetic grease on the CV joint. We popped it into the polyurethane cap and installed the brake rotors and other remaining parts. It really was that easy.
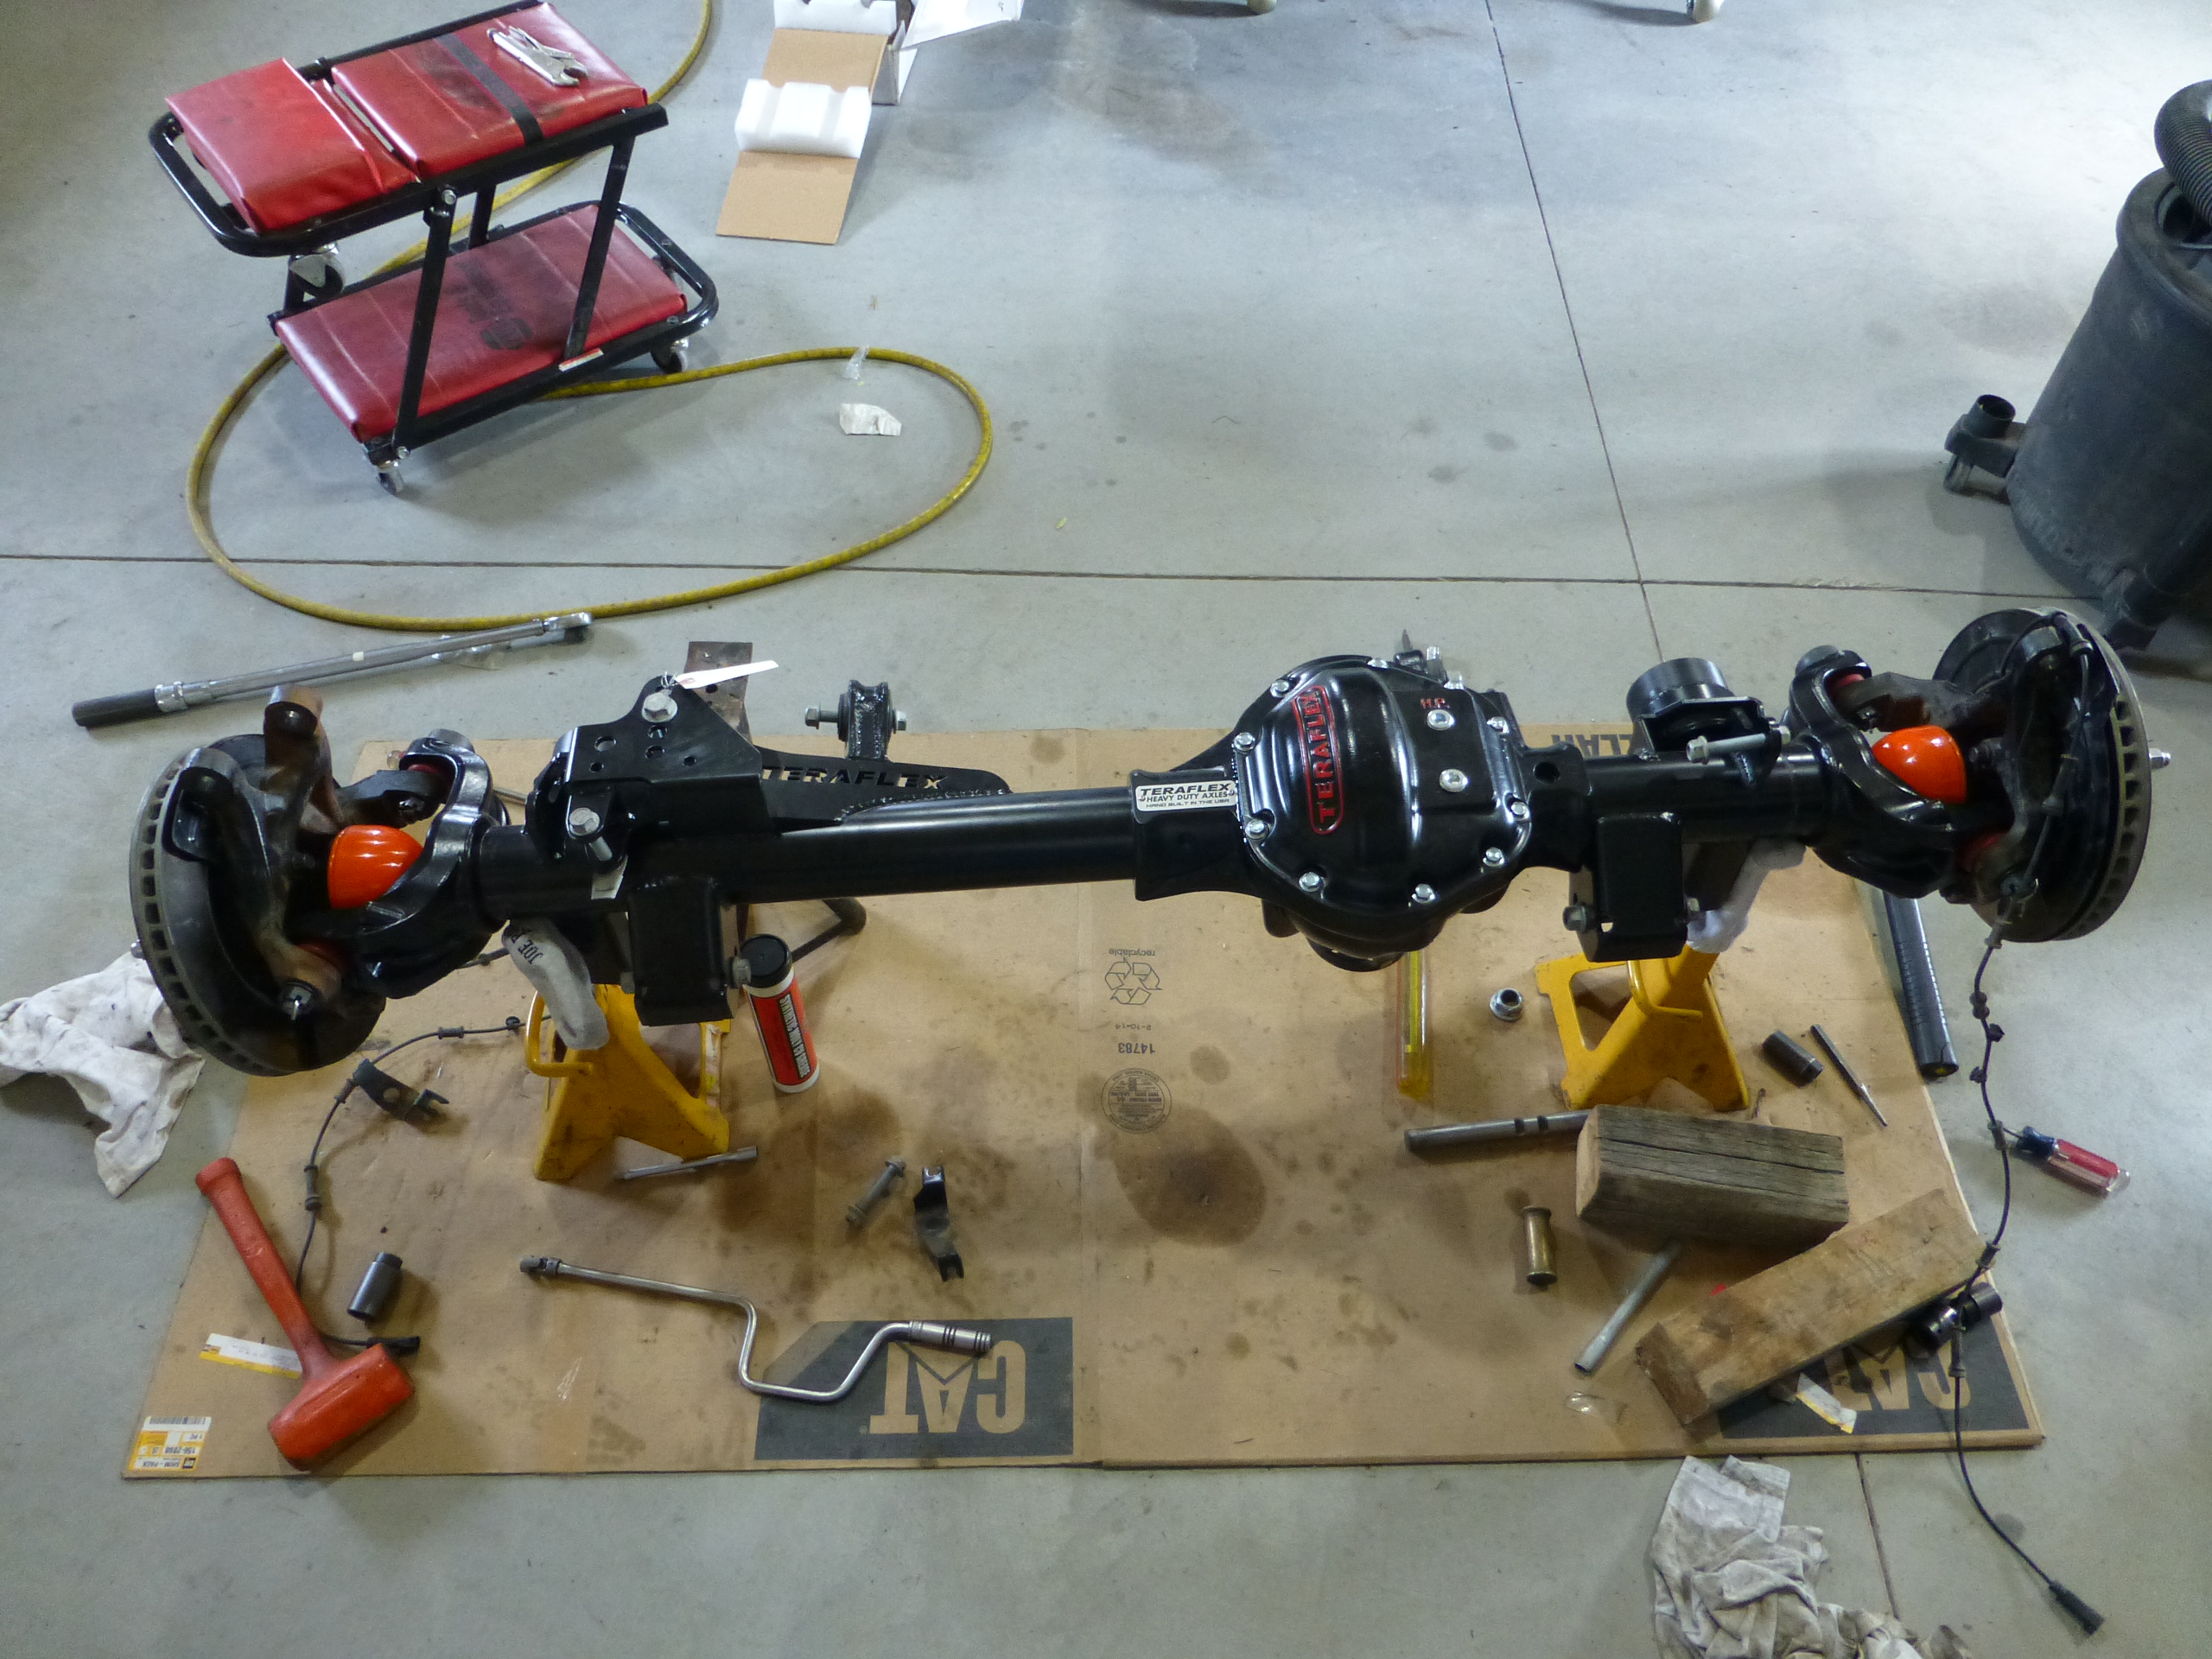
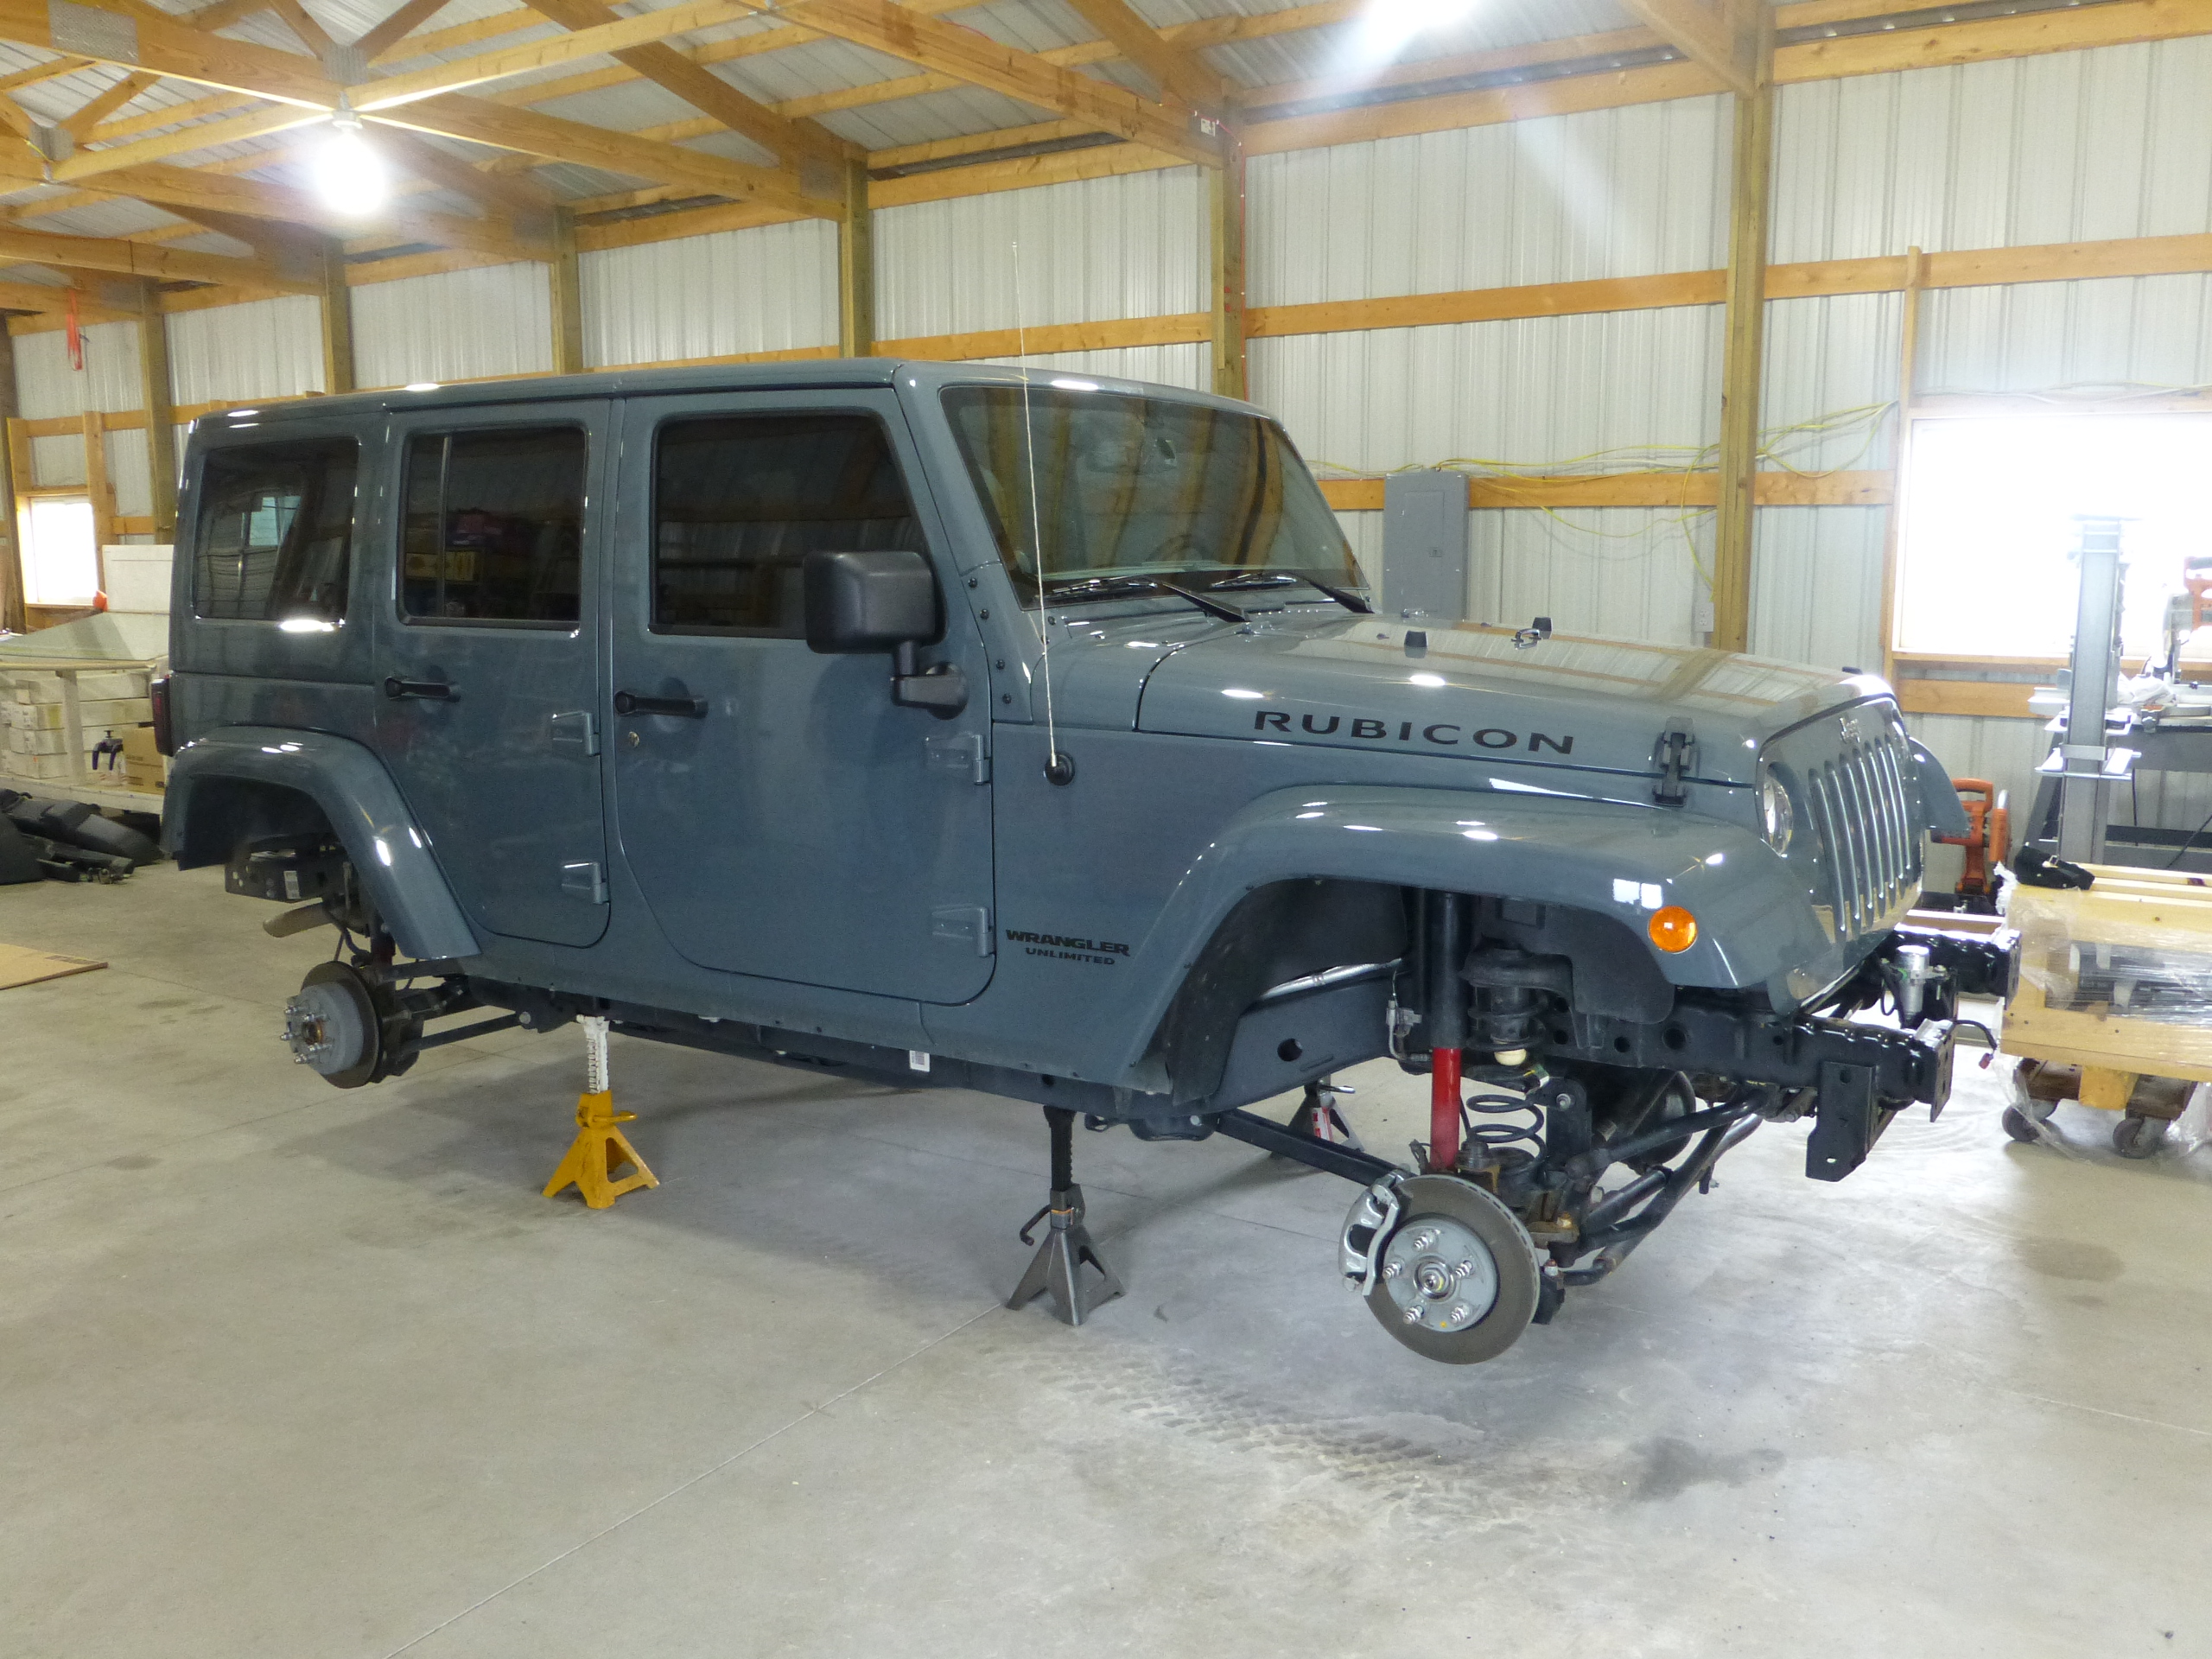
Now that we had the front axle built and ready it was time to dig out our remaining suspension components from Teraflex so we could stuff that freshly built beauty under our JK.
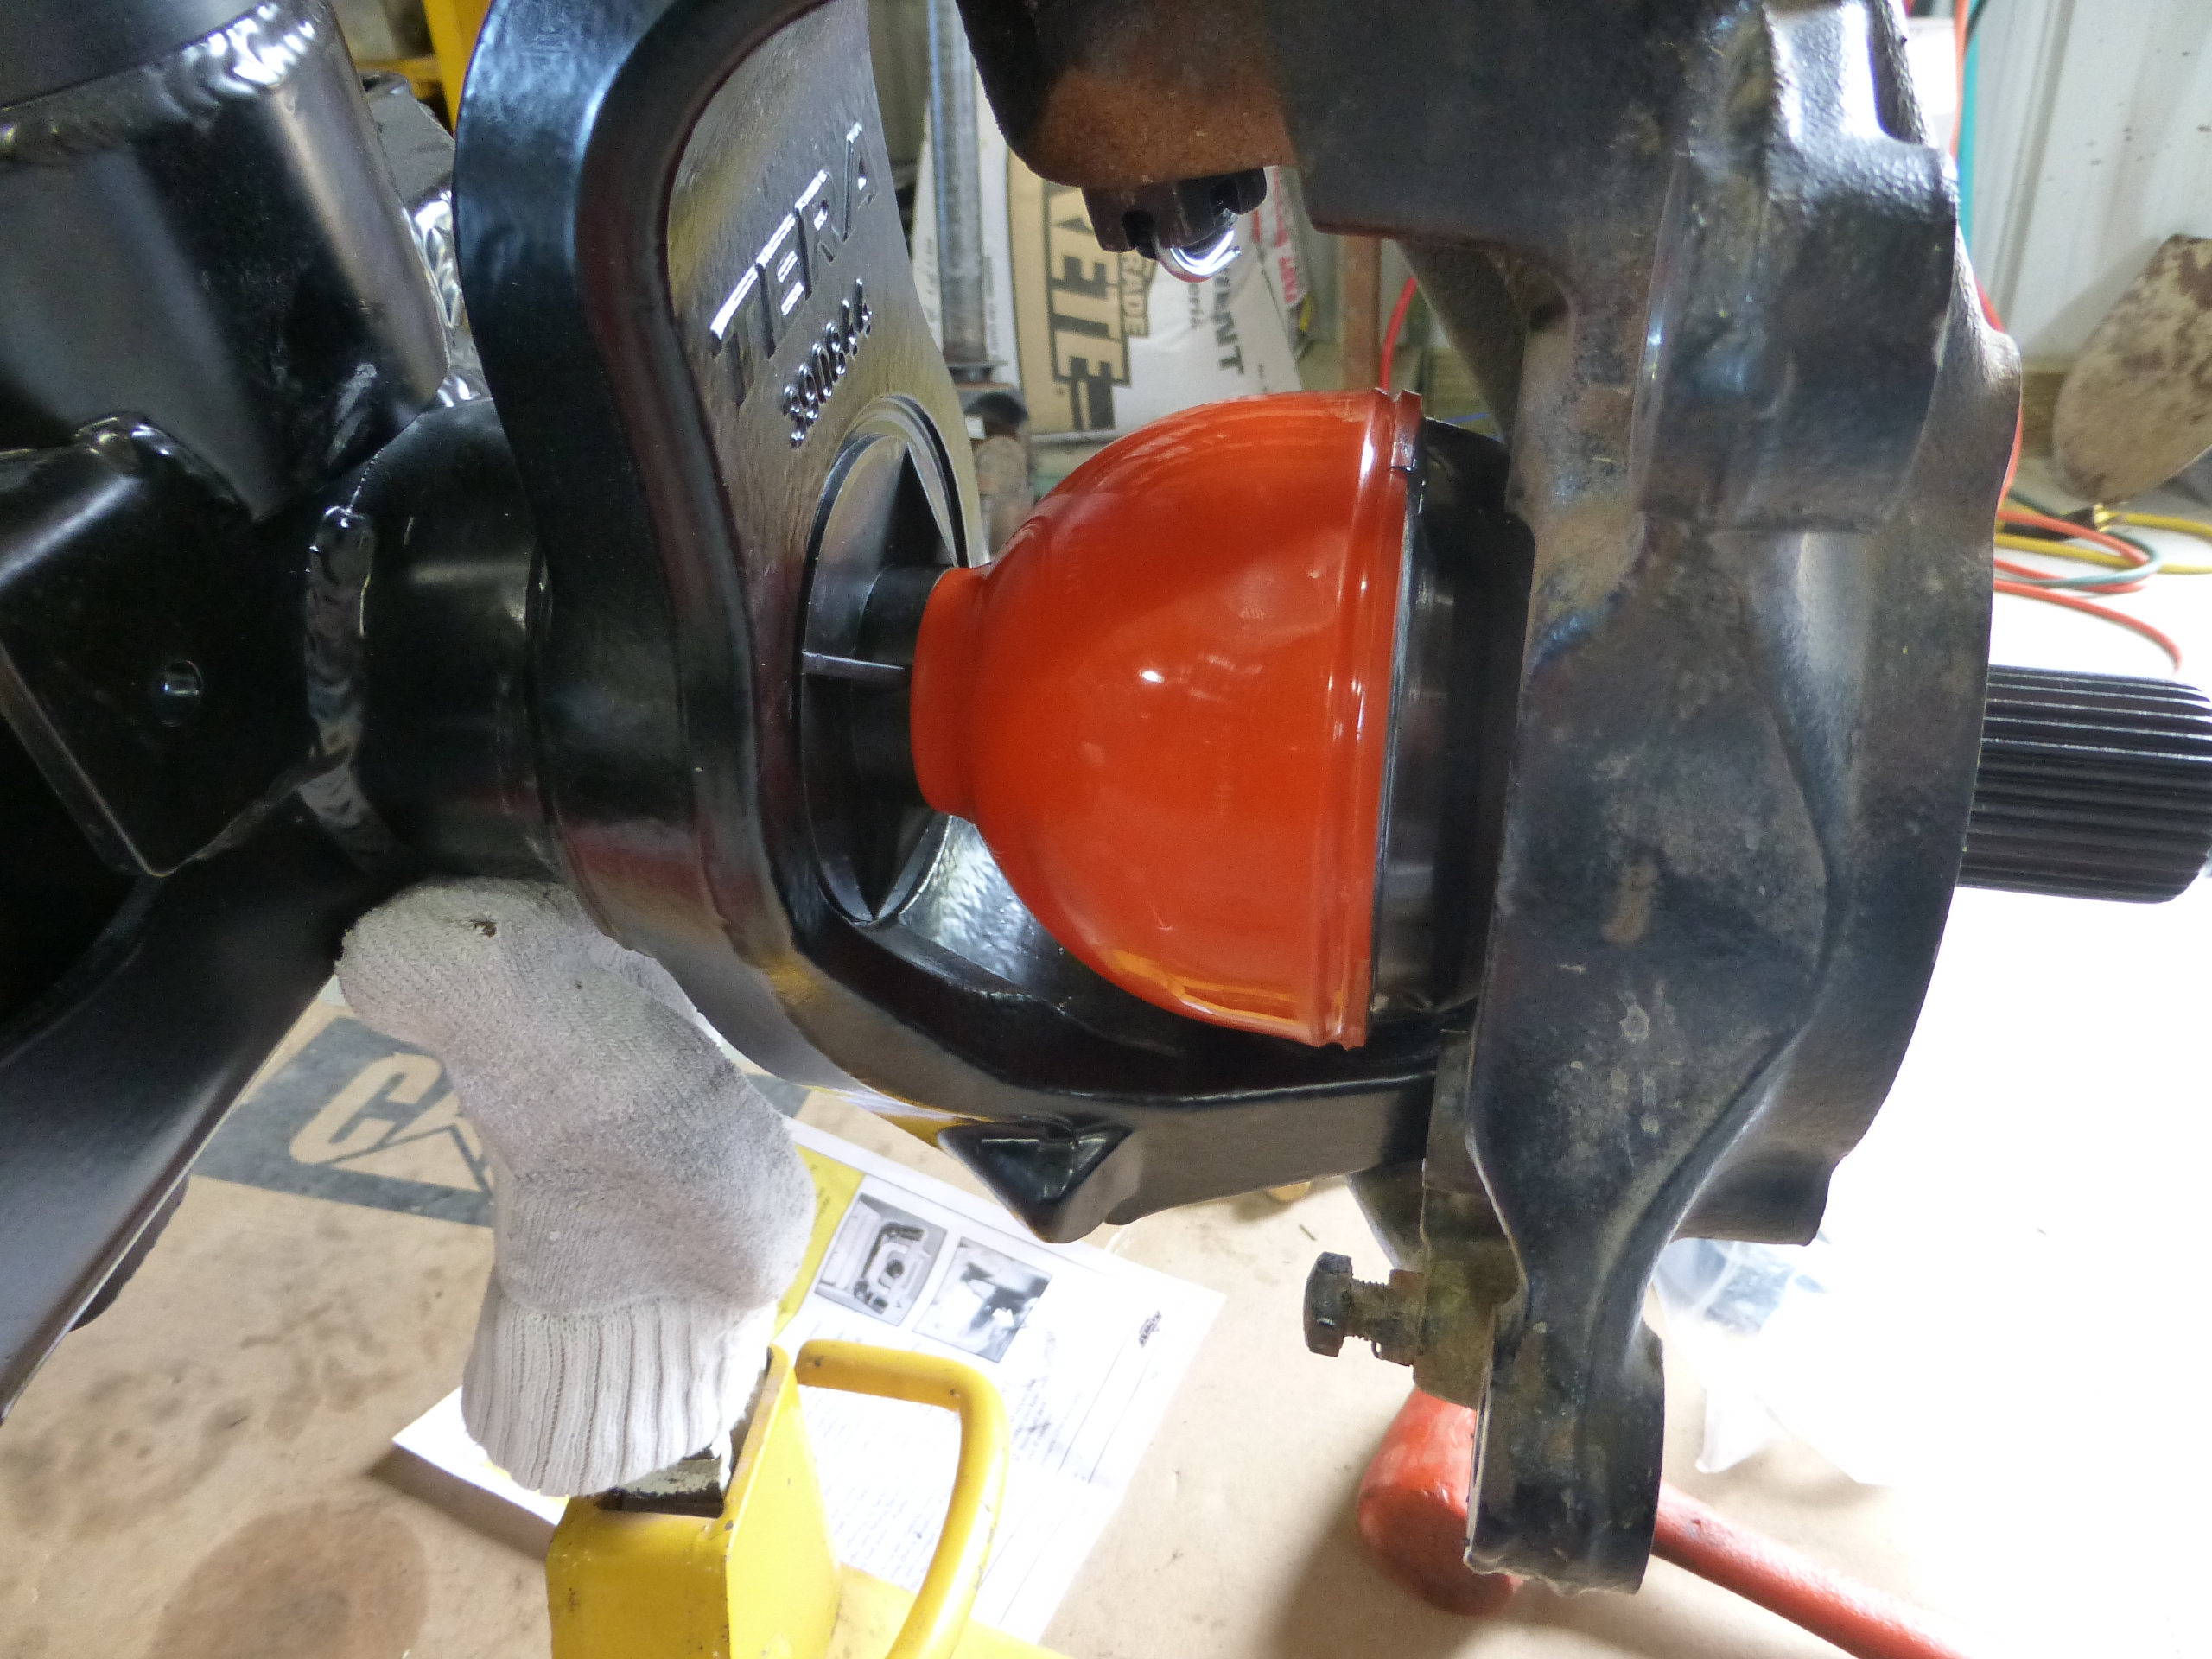
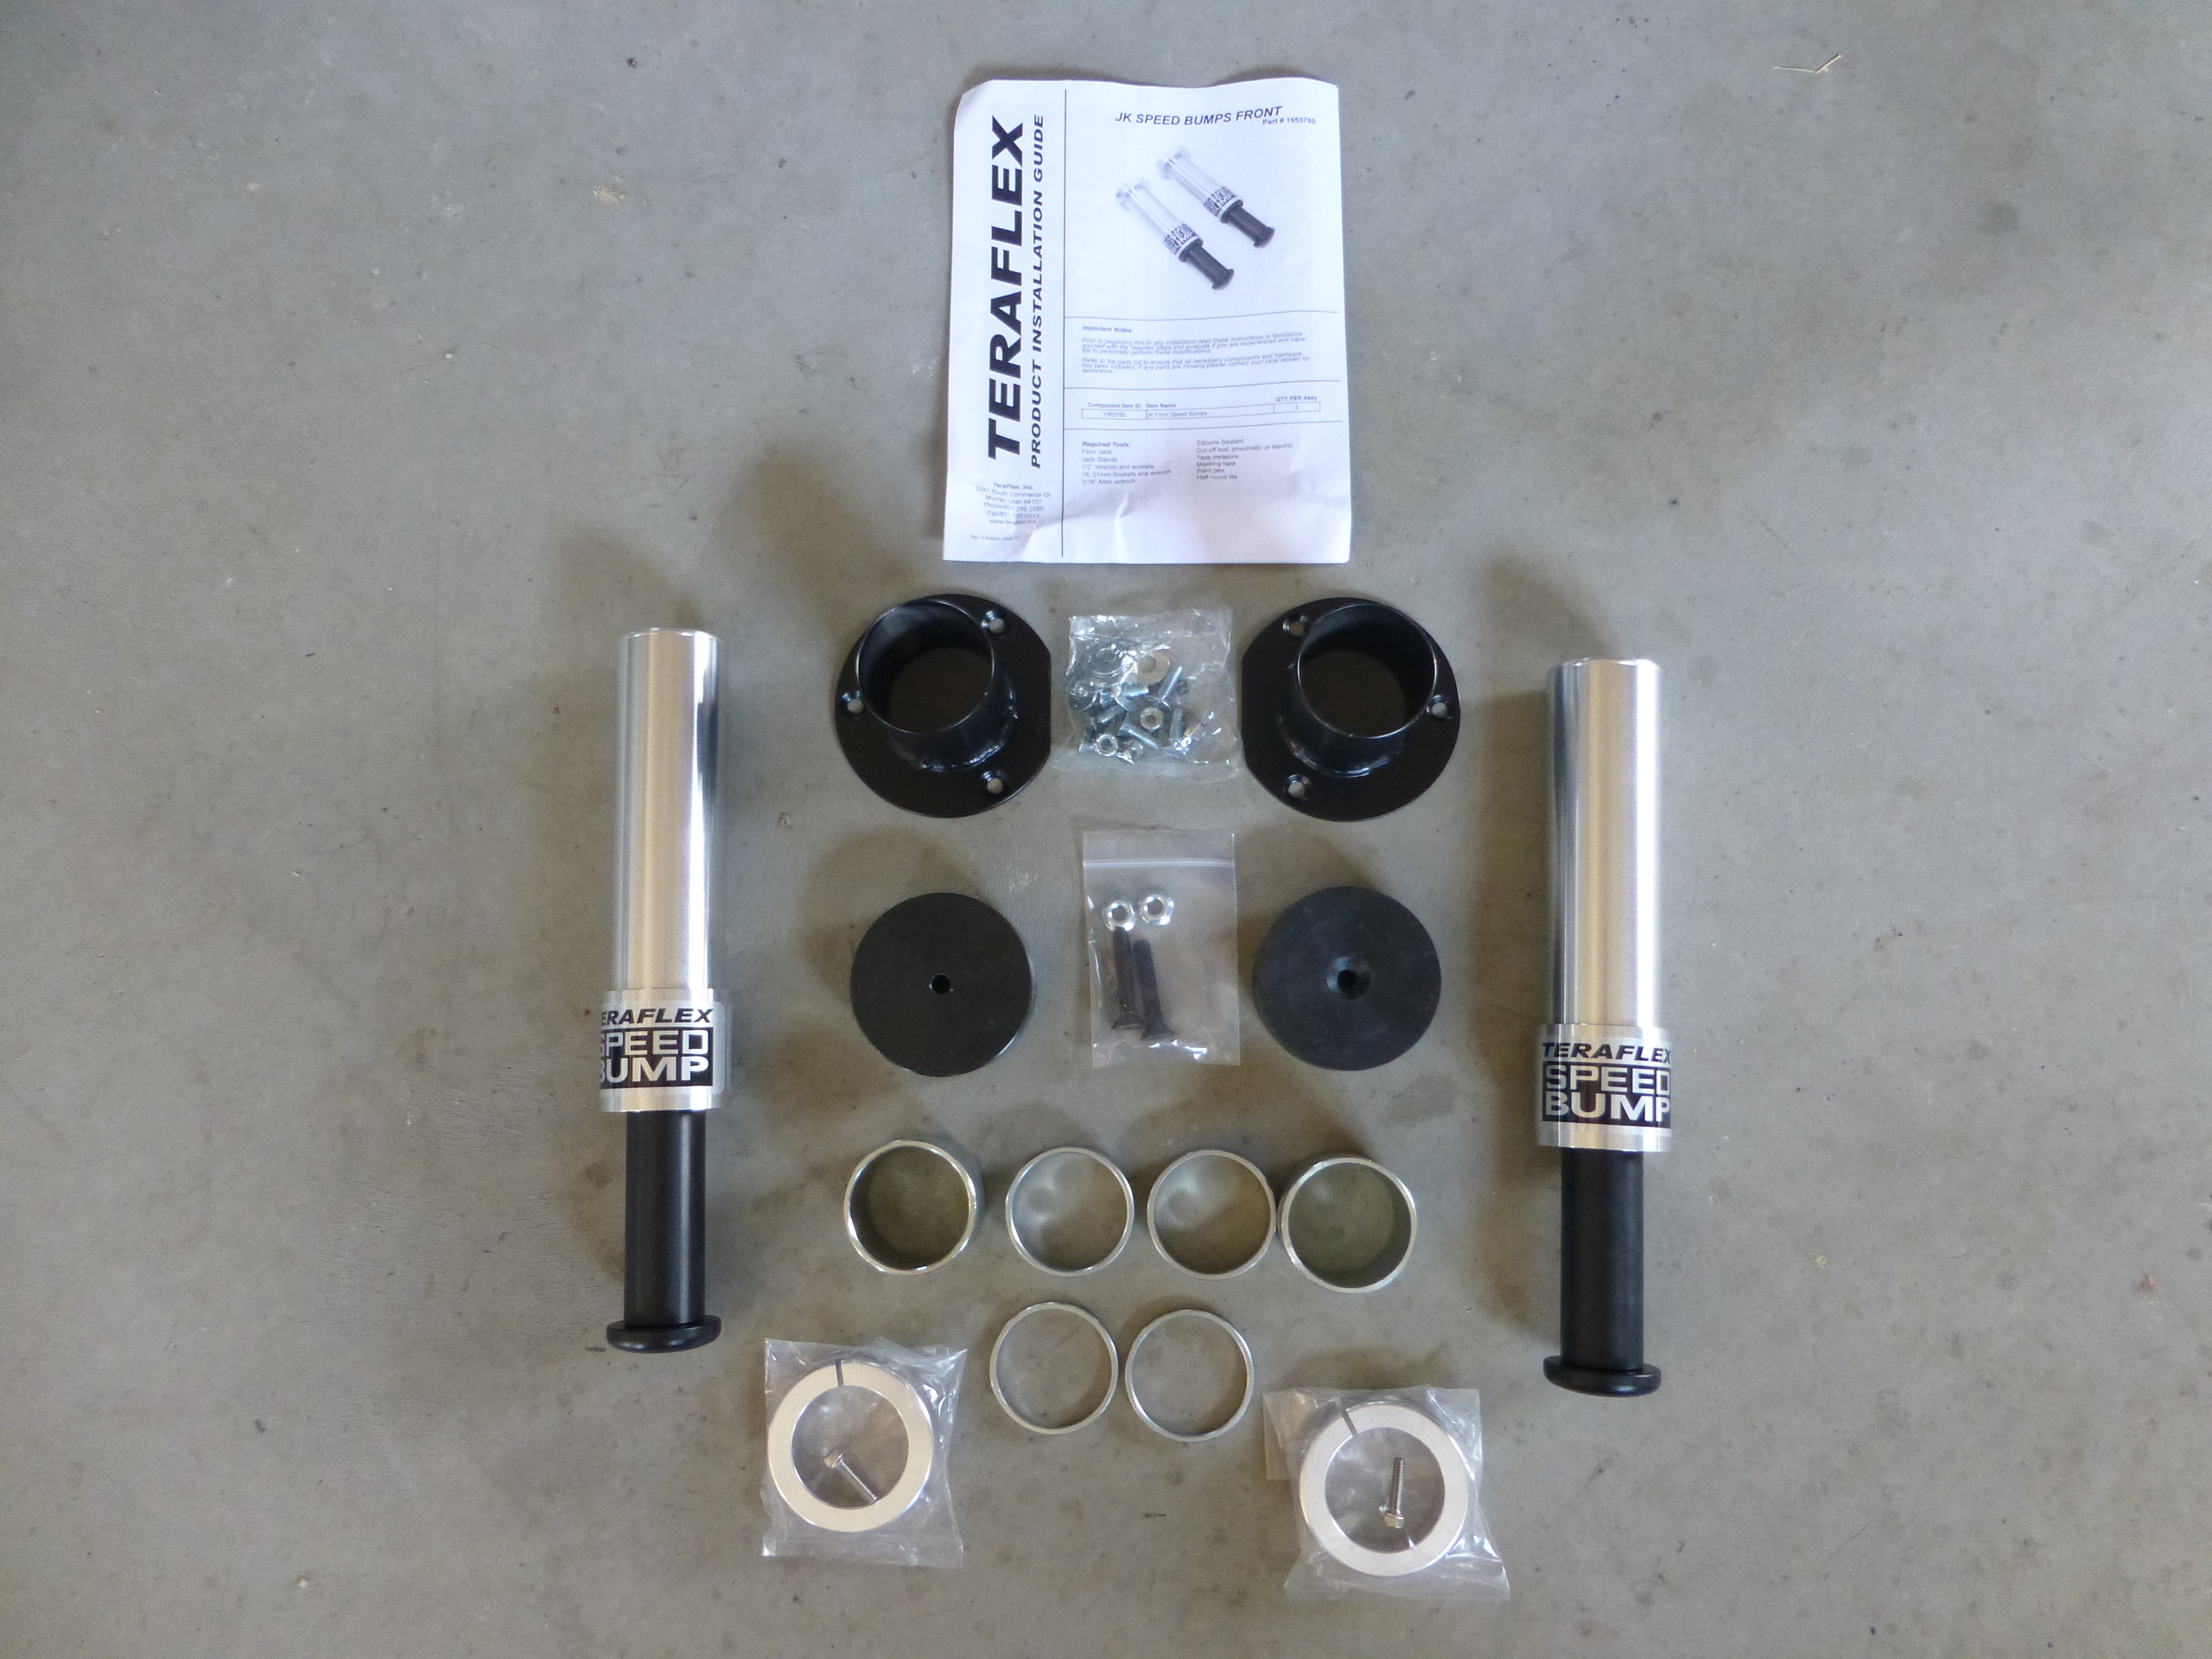
Teraflex Front Speed Bumps:
While we had room to move around, it only made sense to get the front Speed Bumps from Teraflex installed before we installed the new axle which would only leave us less room to work. The front set was a little more in depth than the rear, of course it comes with instructions so the “Do-It-Yourselfer” can go step by step and do the install at home if desired.
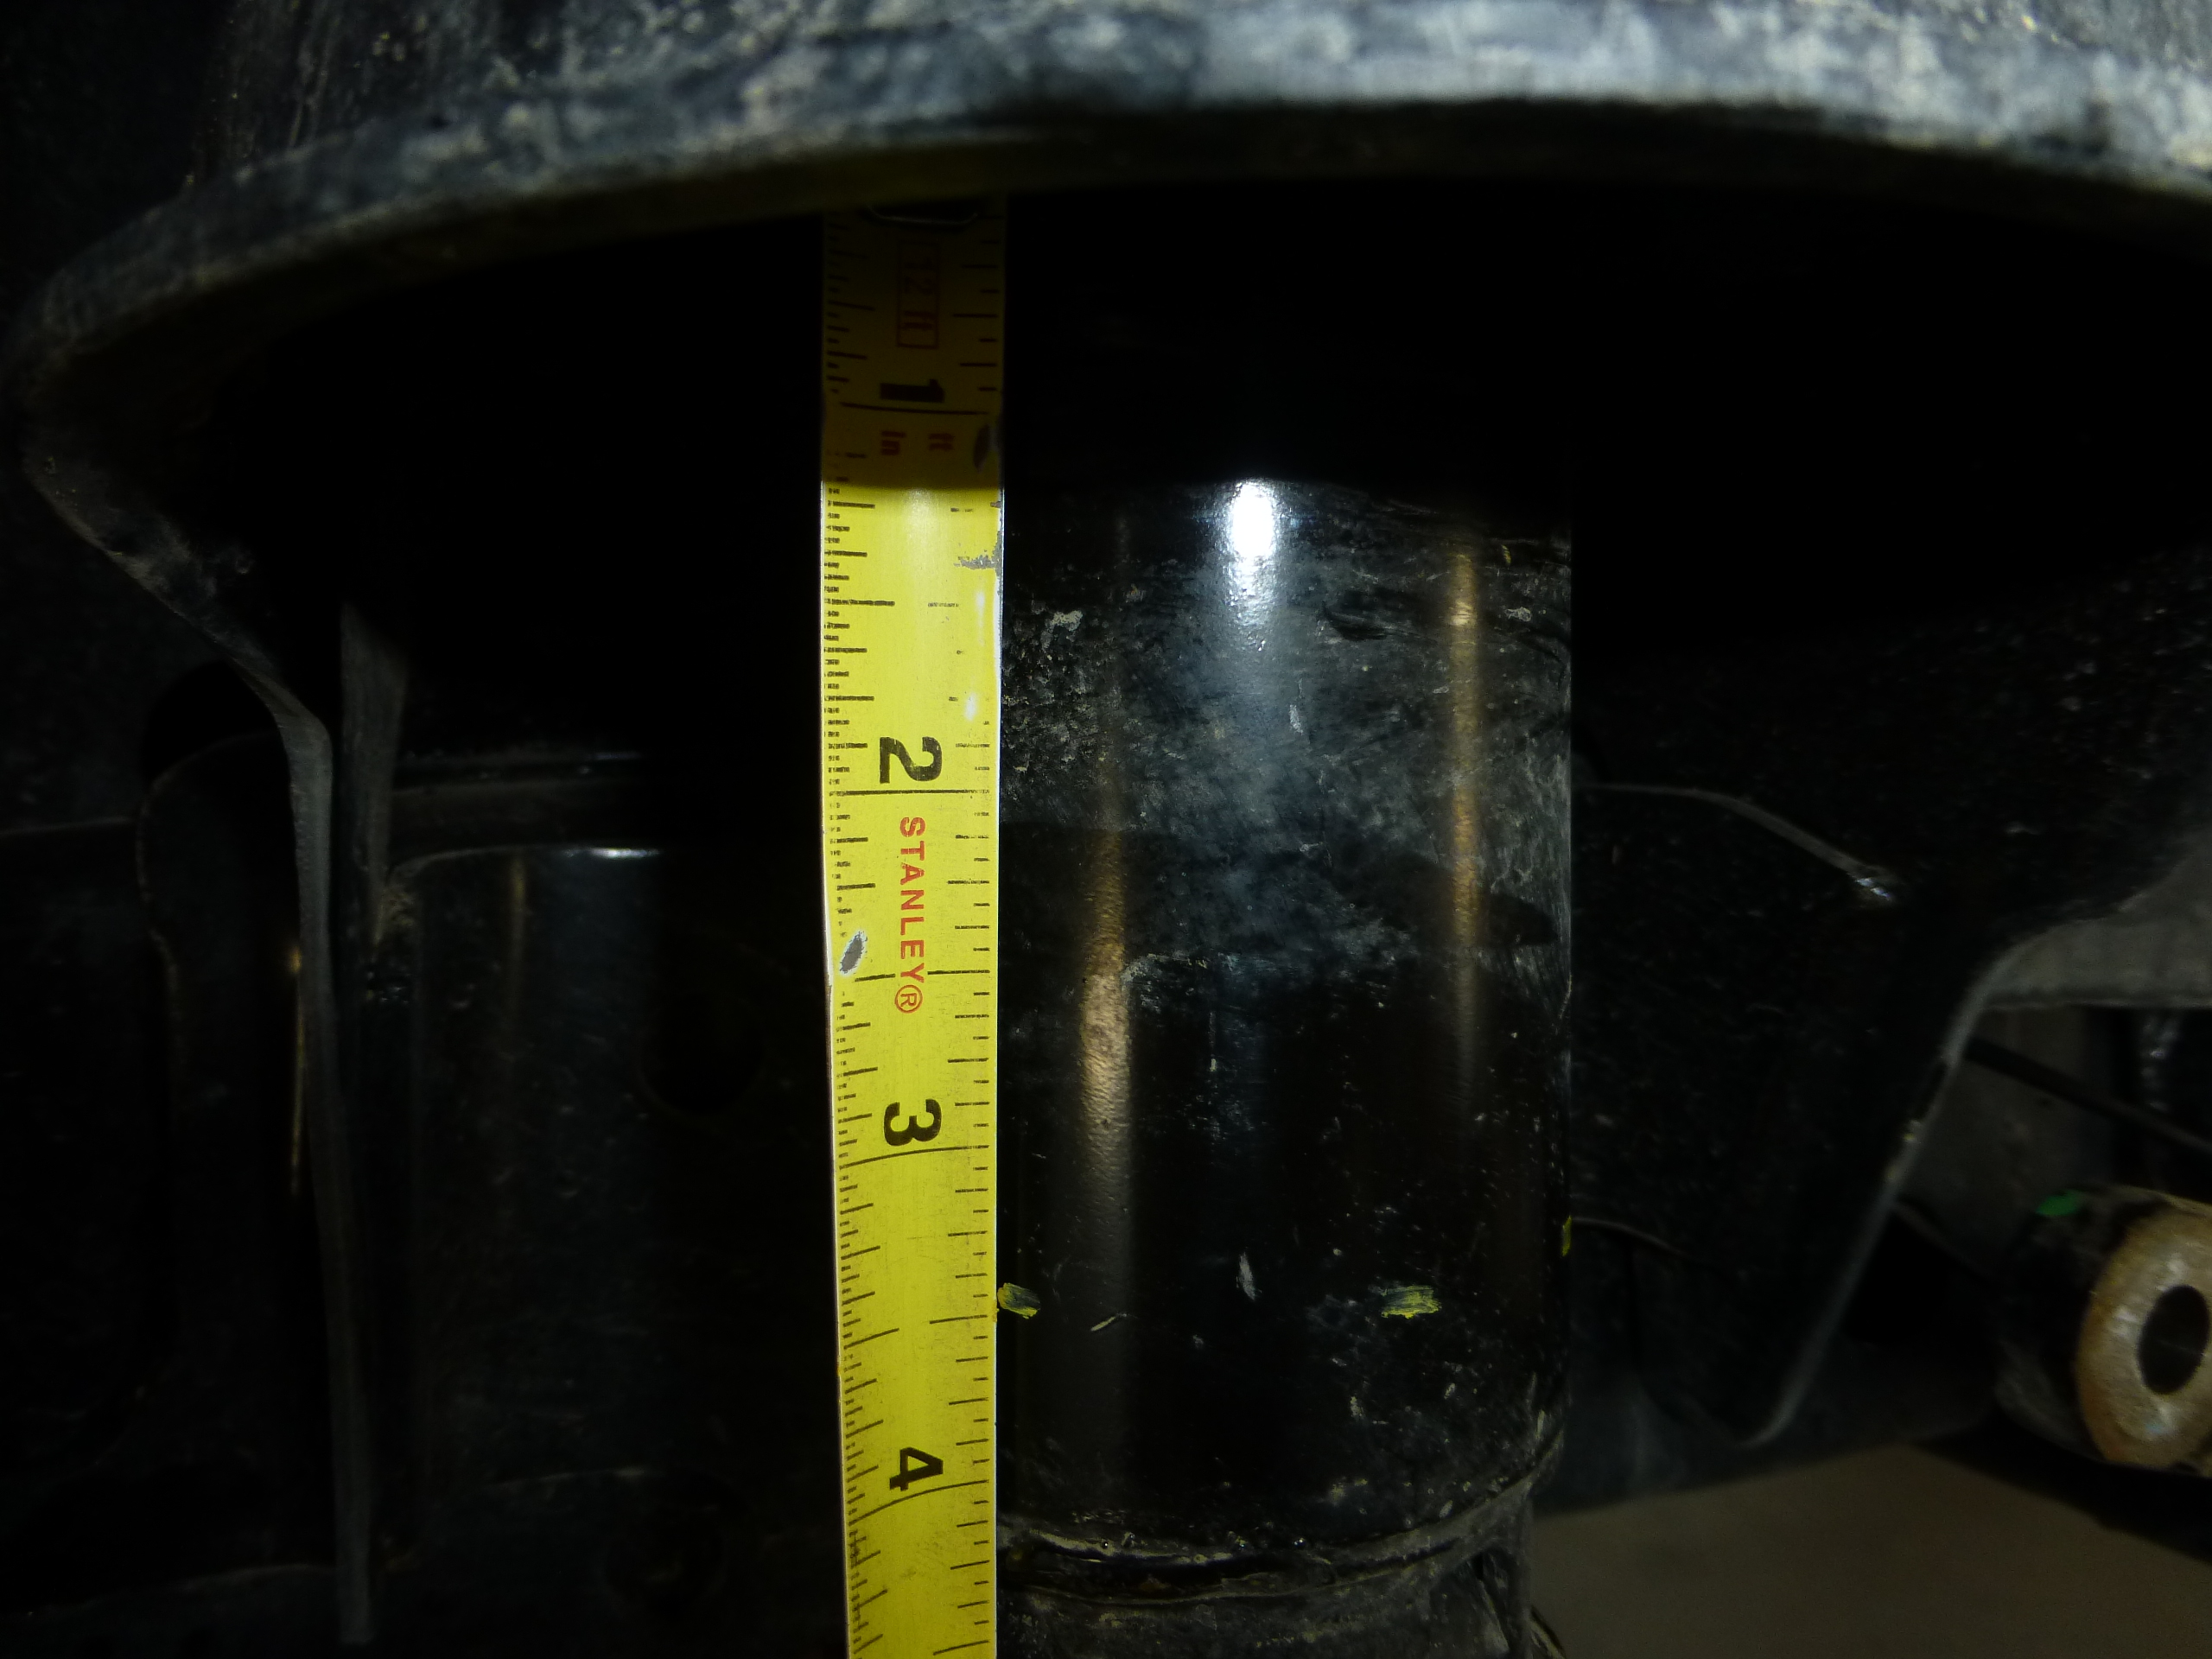
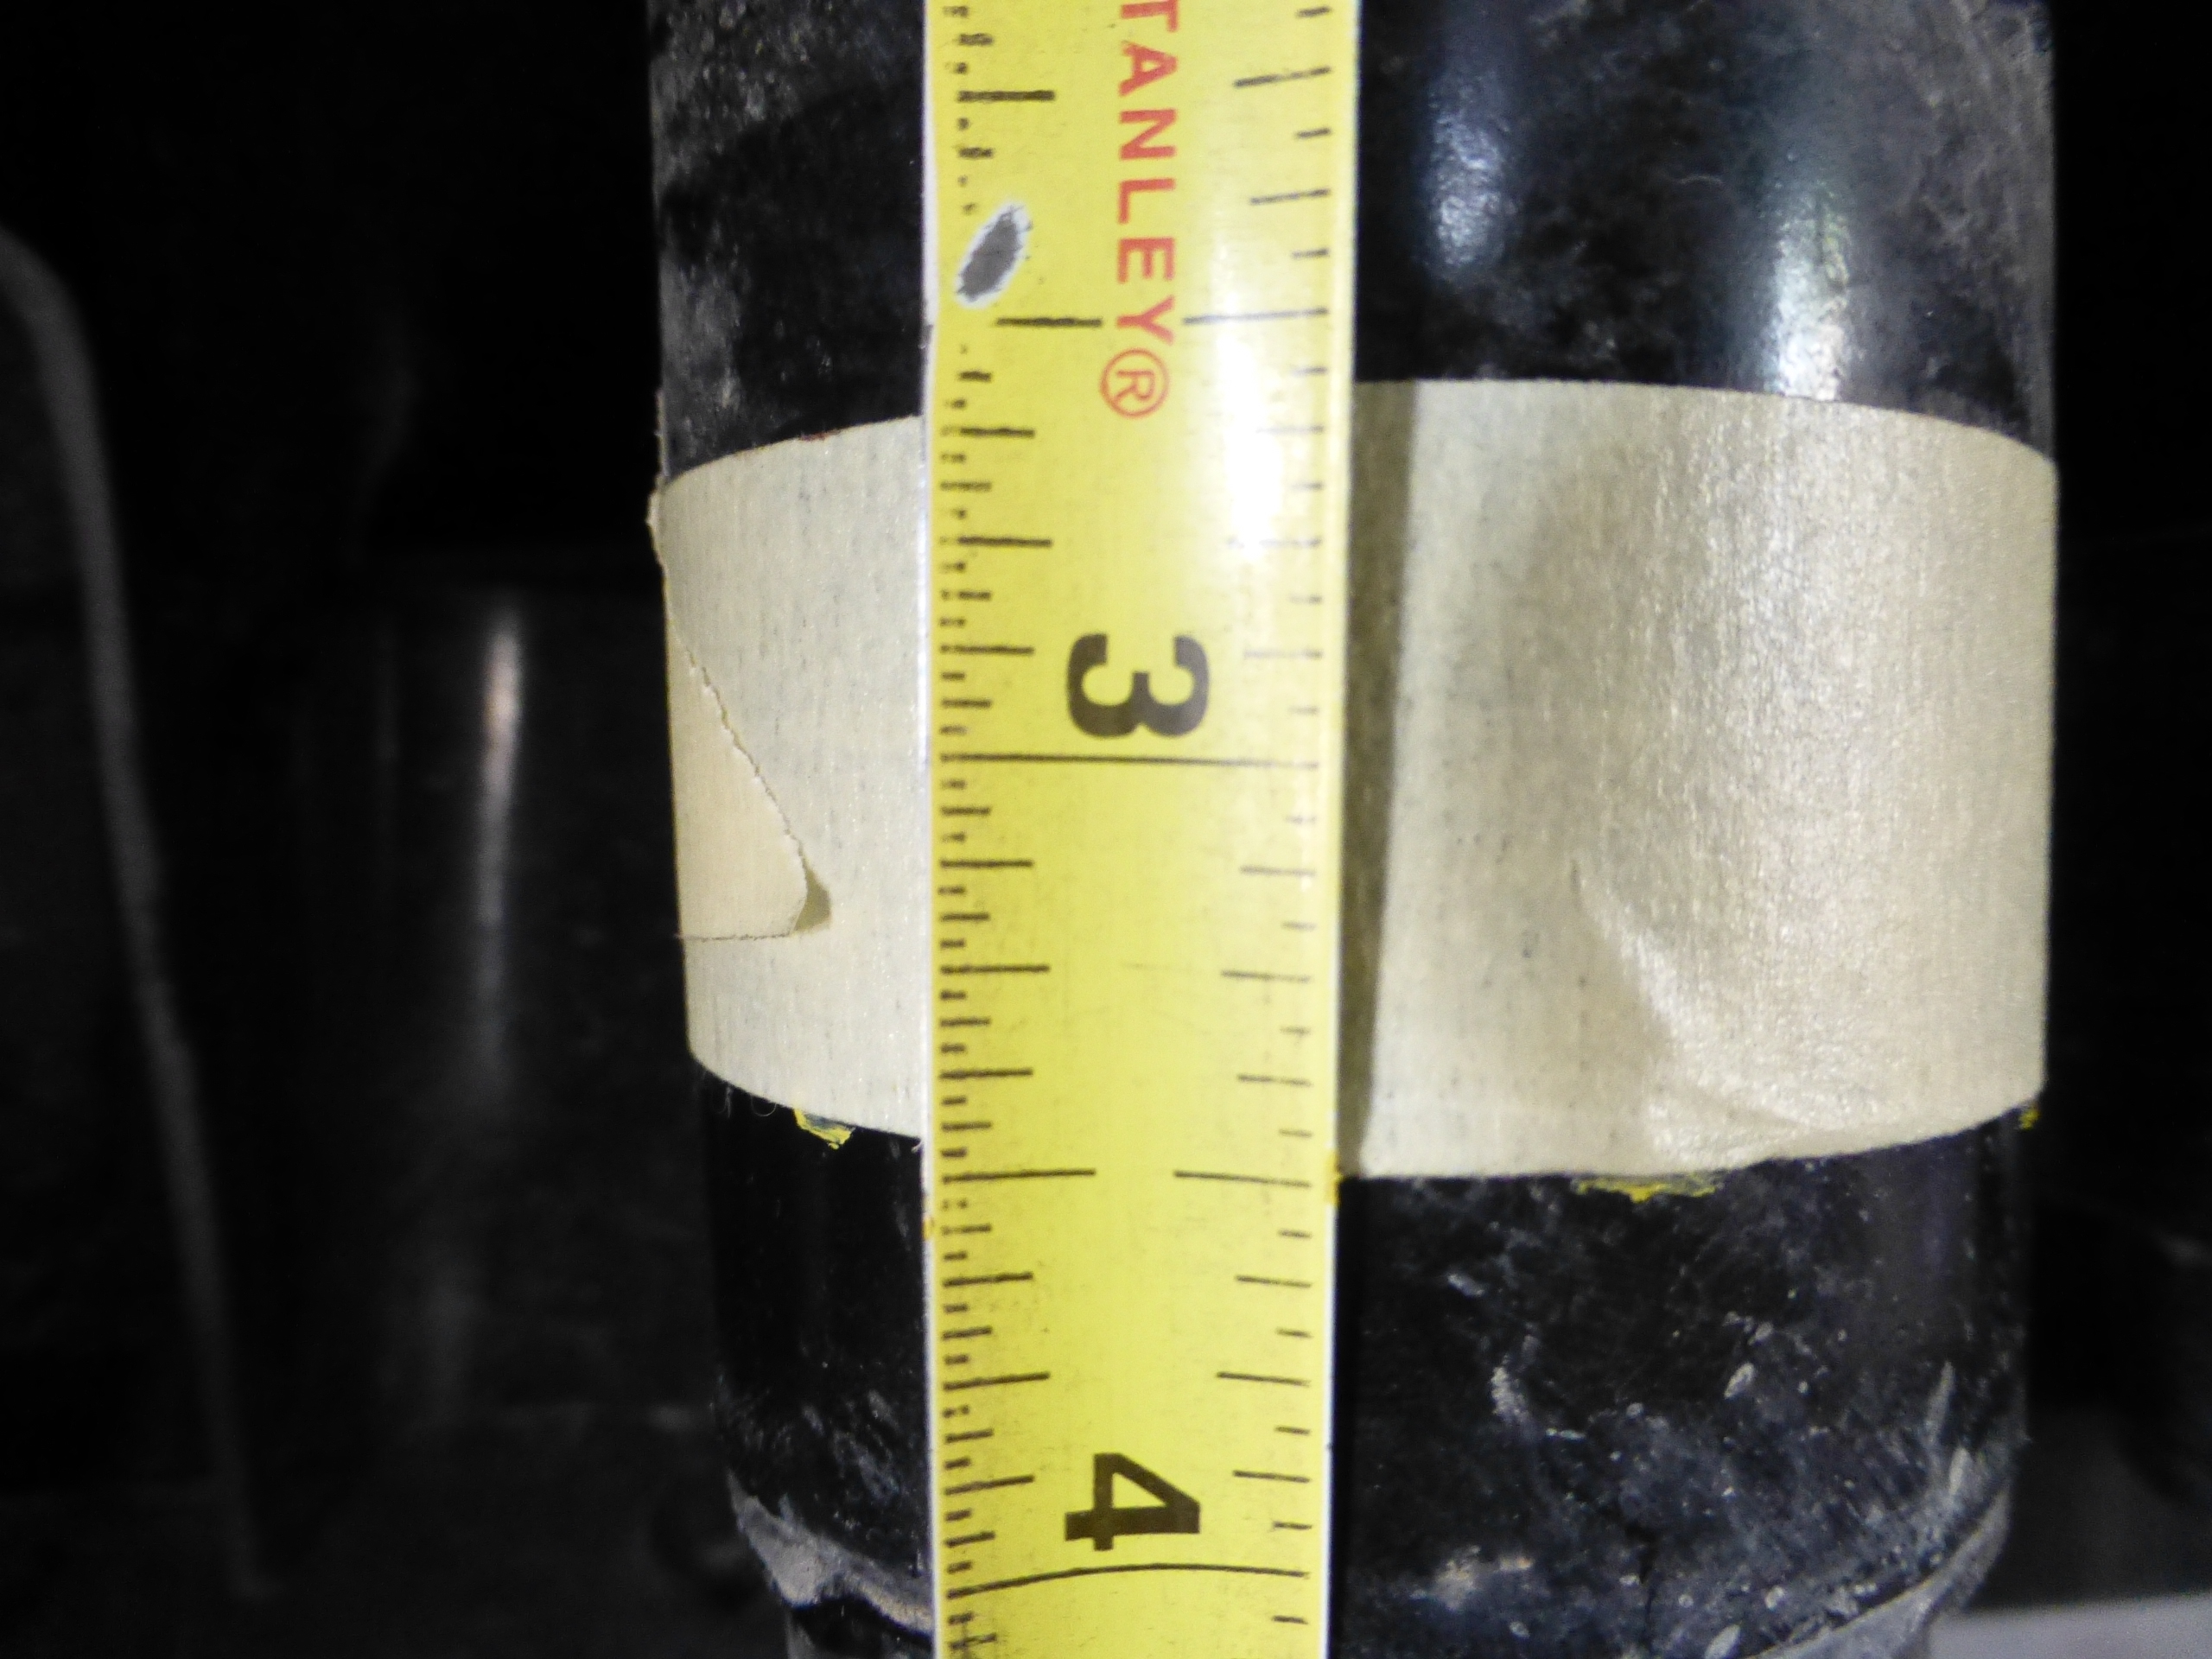
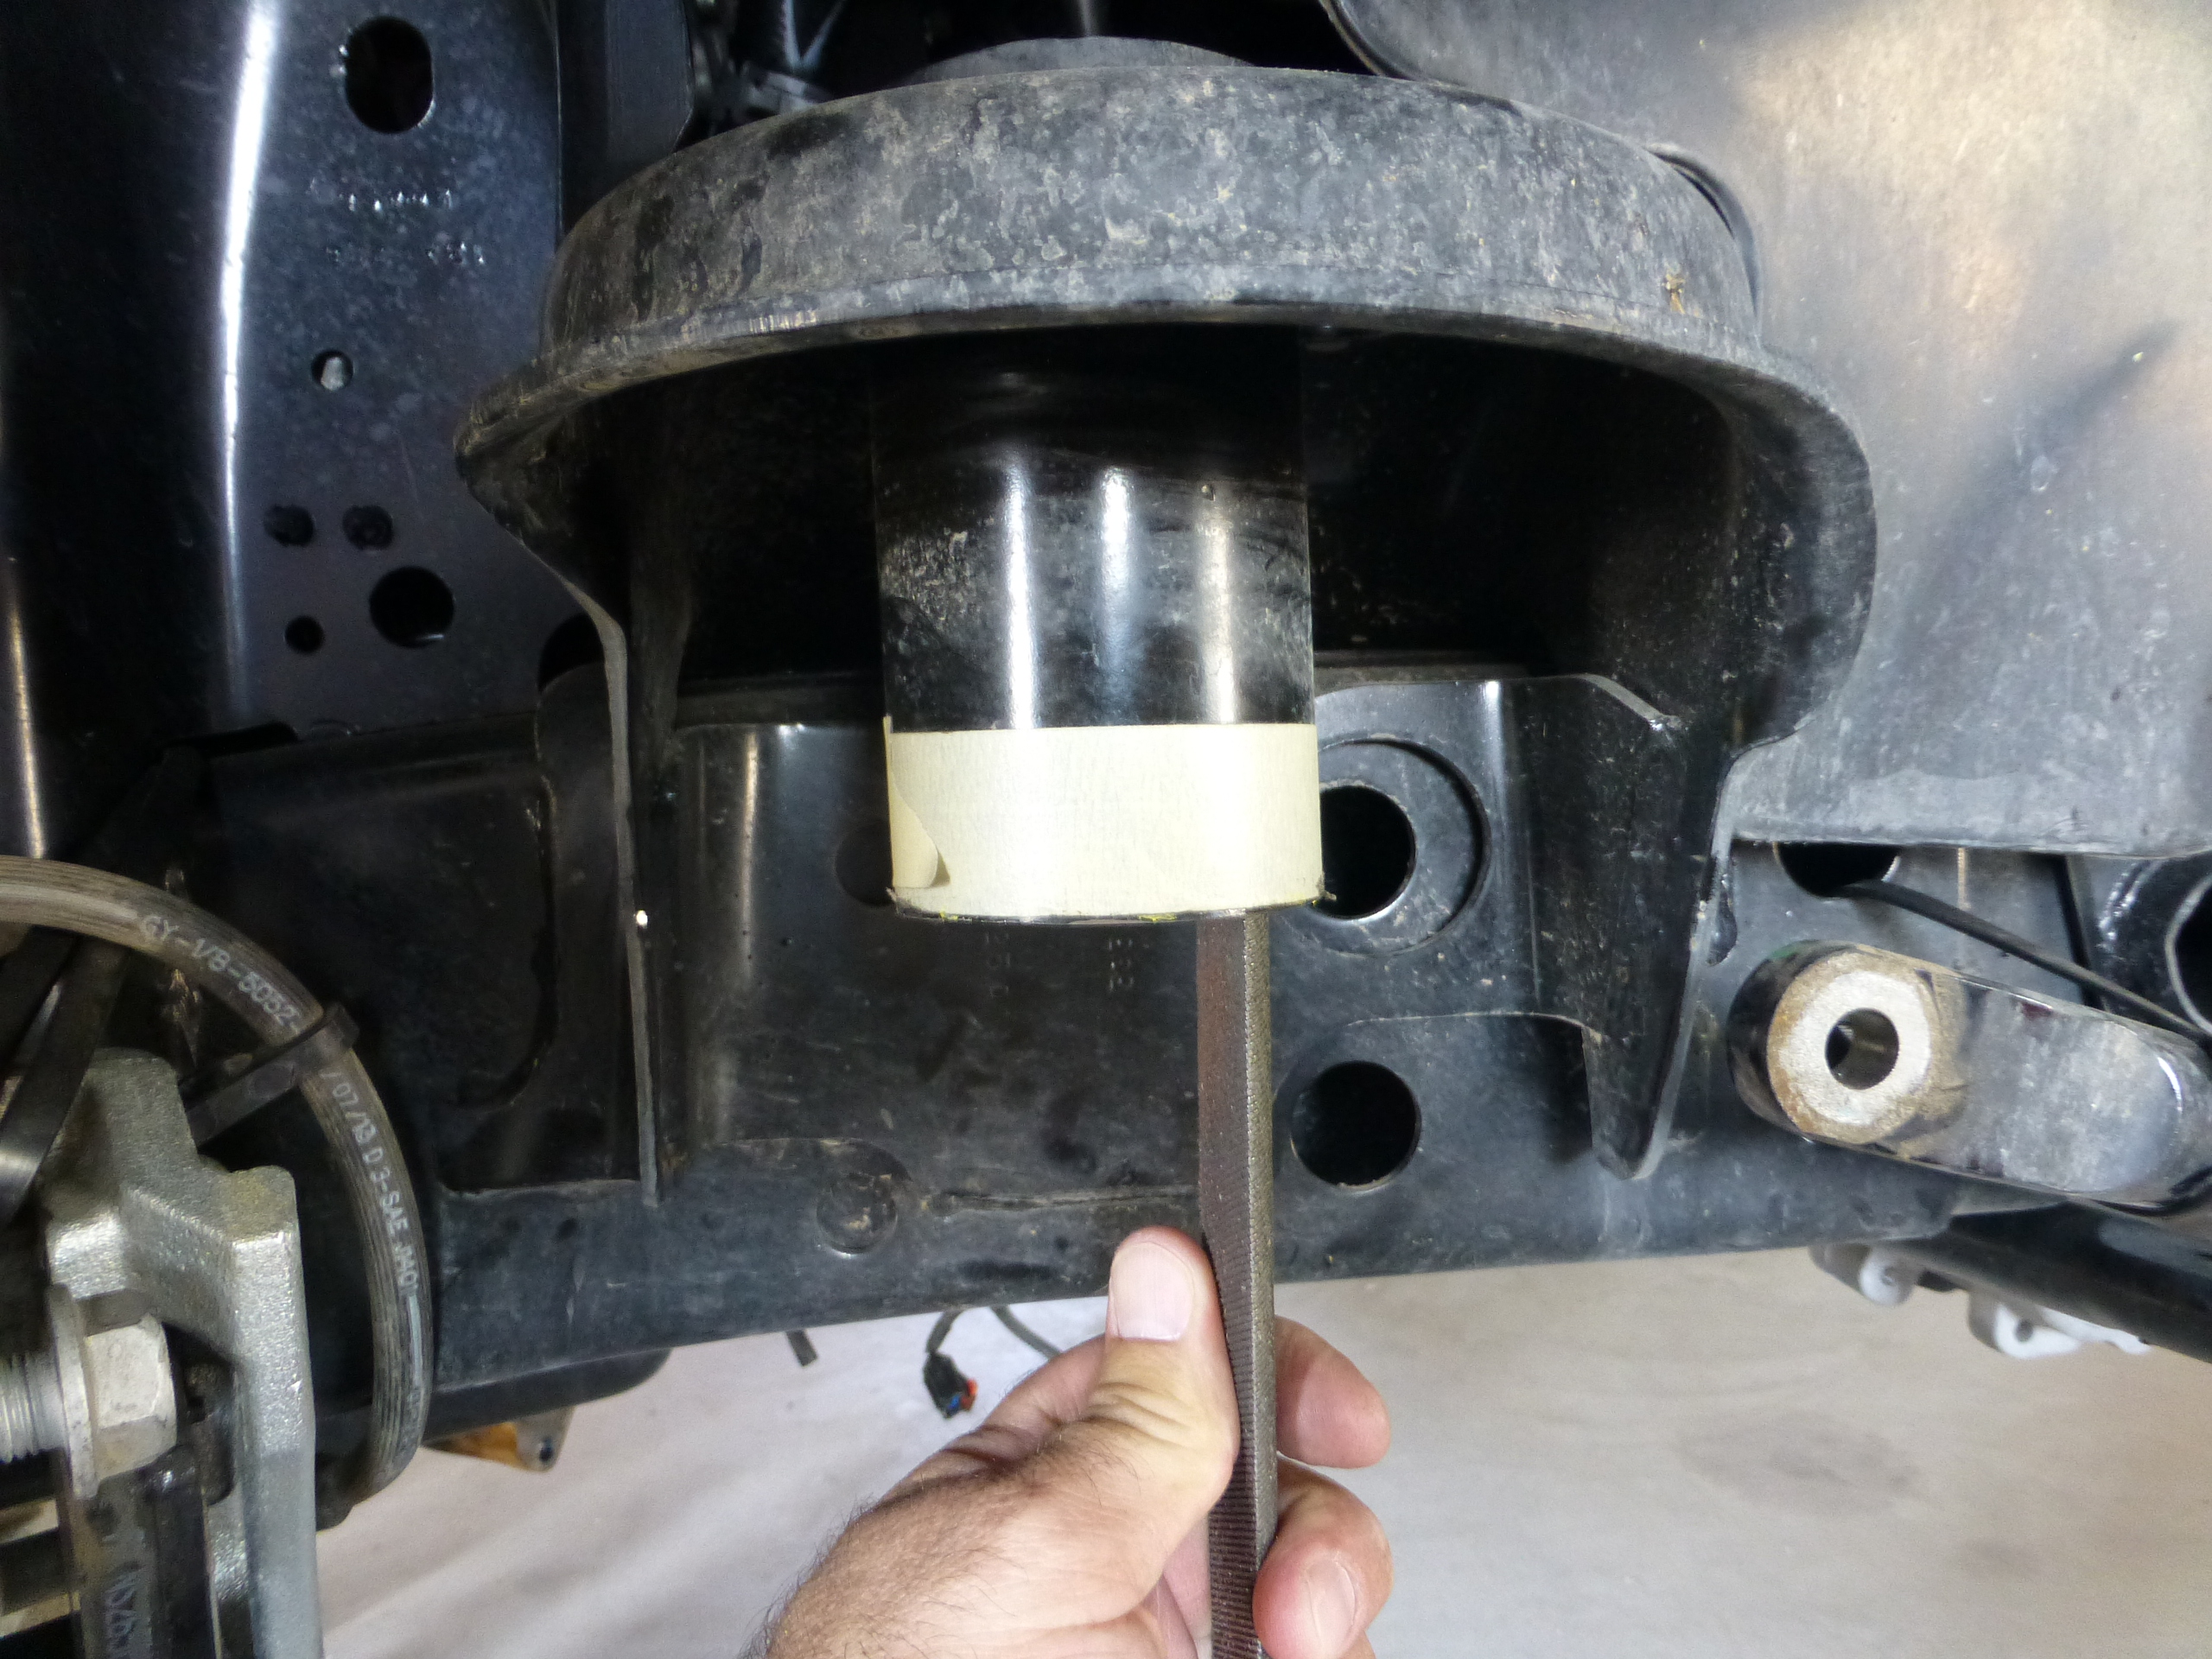
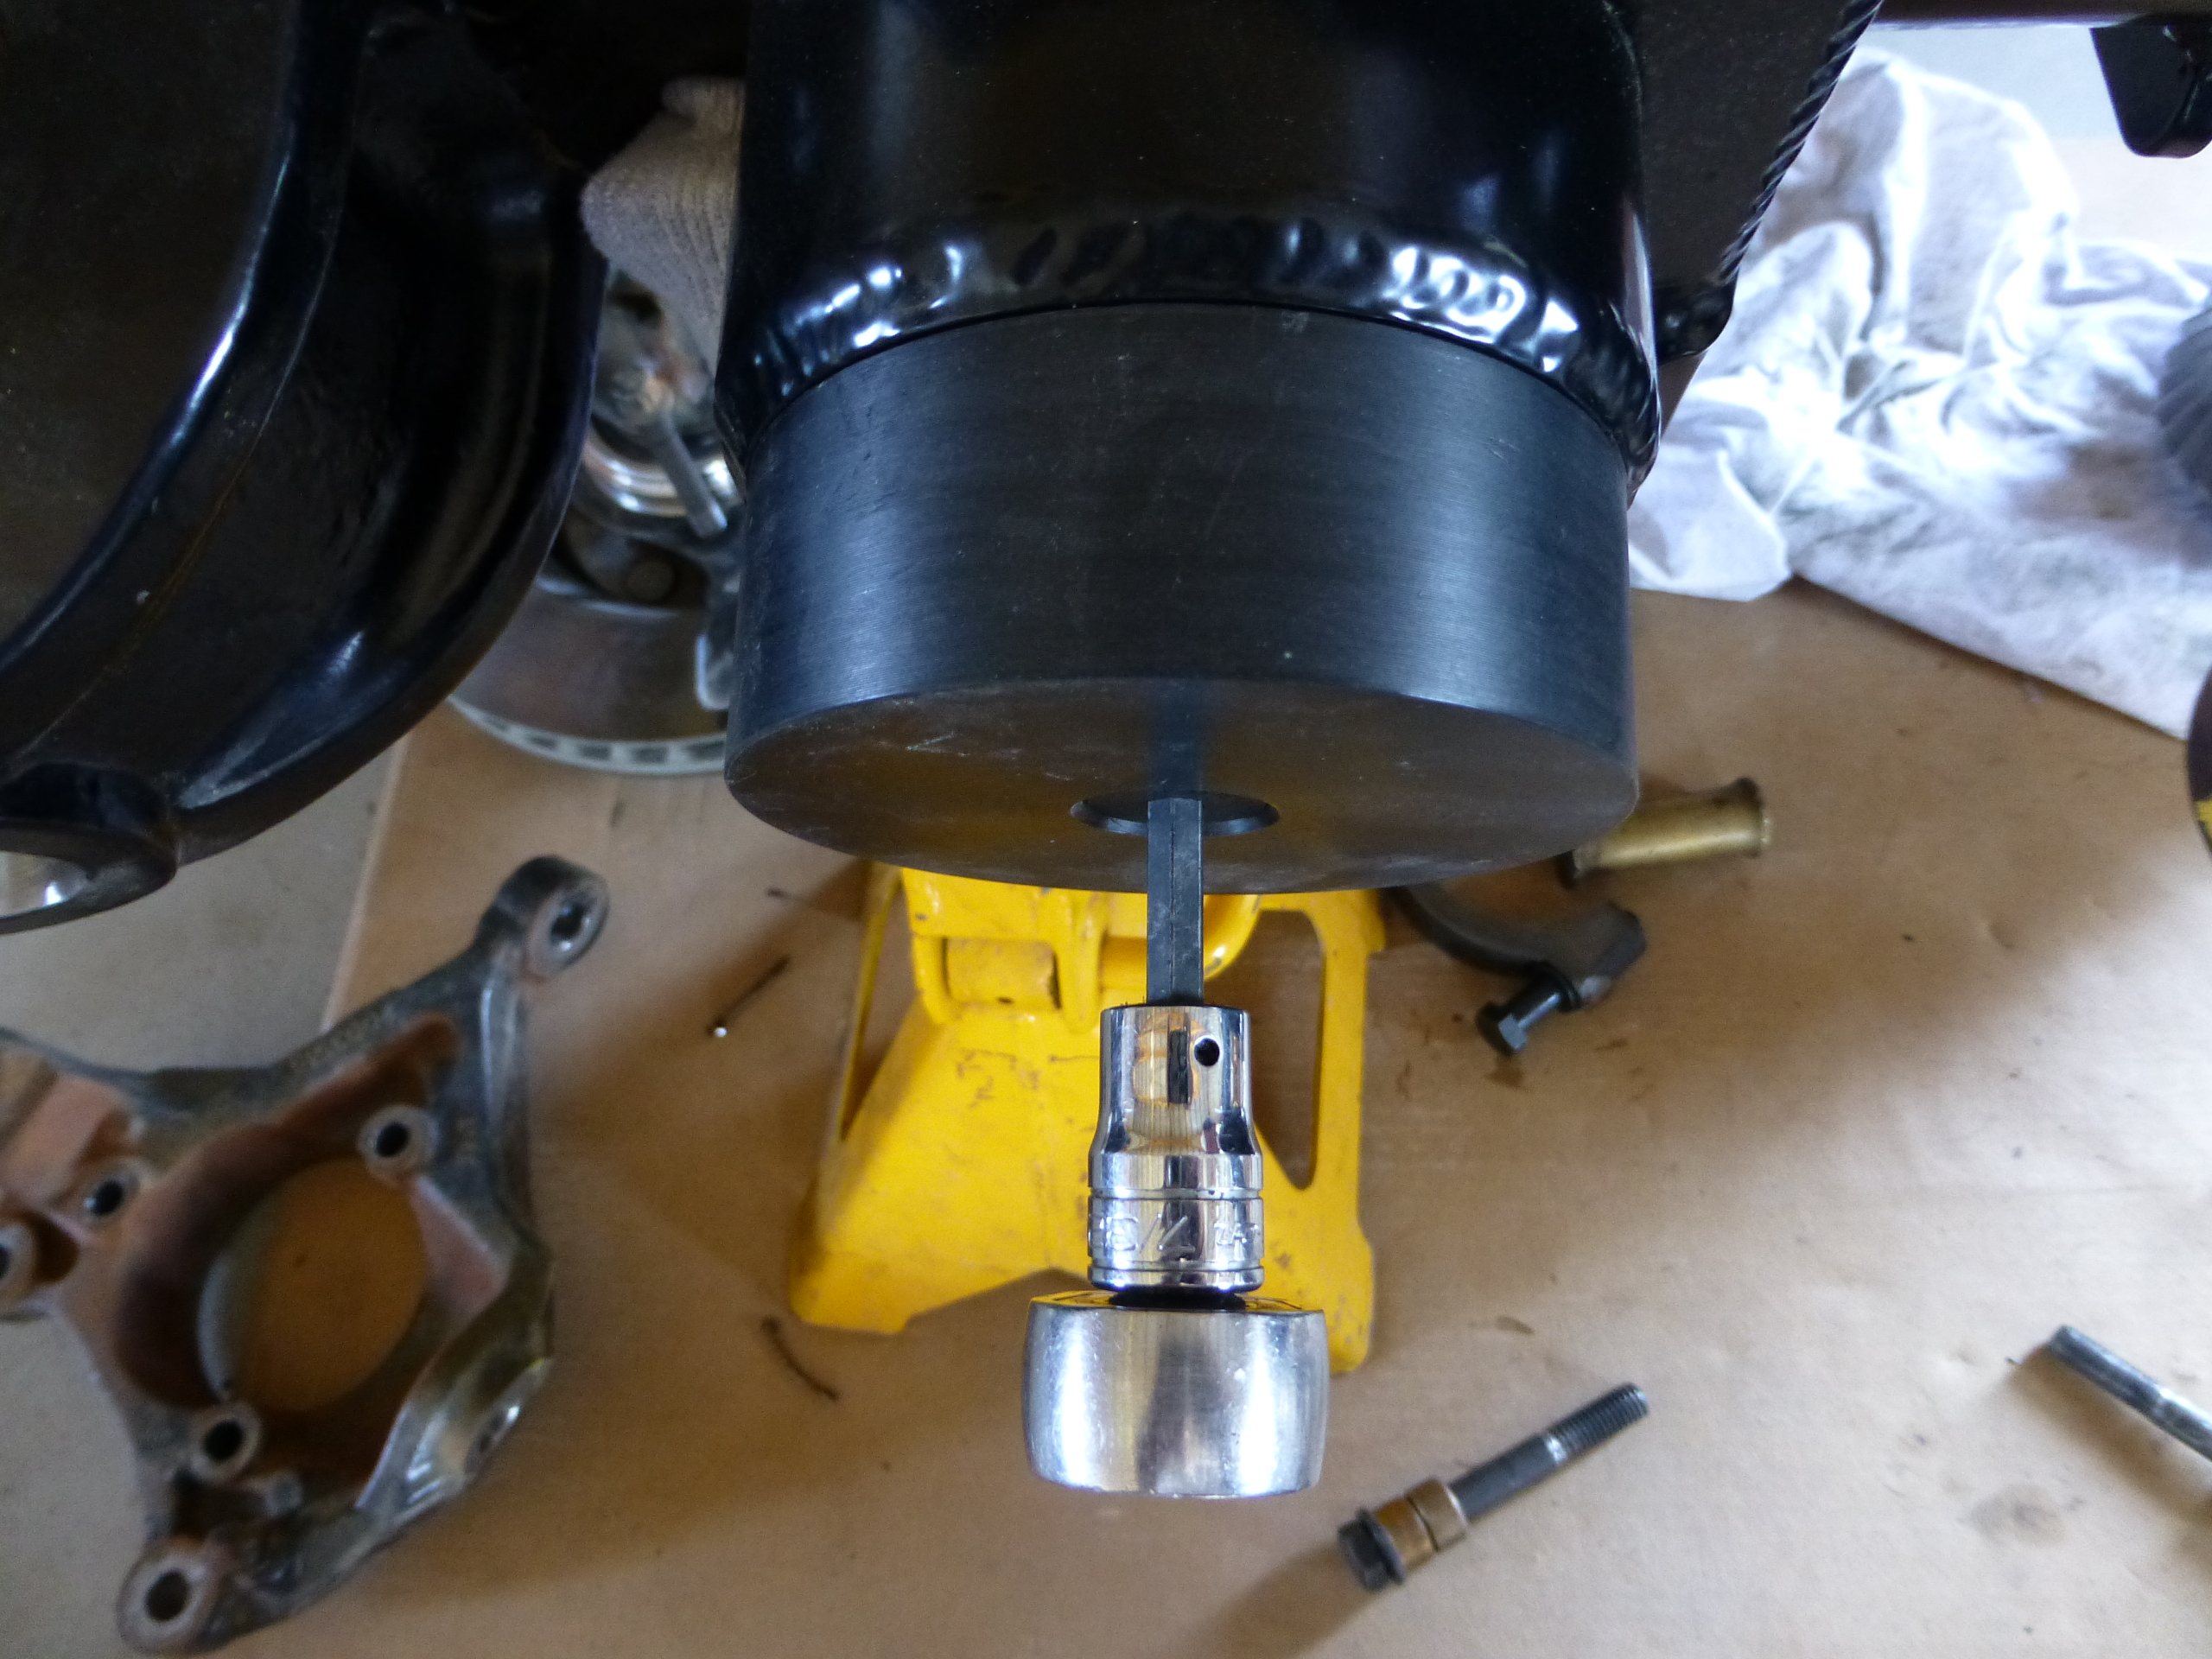
First we had to measure the portion of the factory bump stop mount that would need to be cut off in order for the new components to fit. After removing the spring isolator we measured down the 3.5” per the included instructions and marked it. It helps to use some tape in a situation like this so you can mark it all the way around and just use the tapes edge to cut along. Remember, measure twice, cut once.
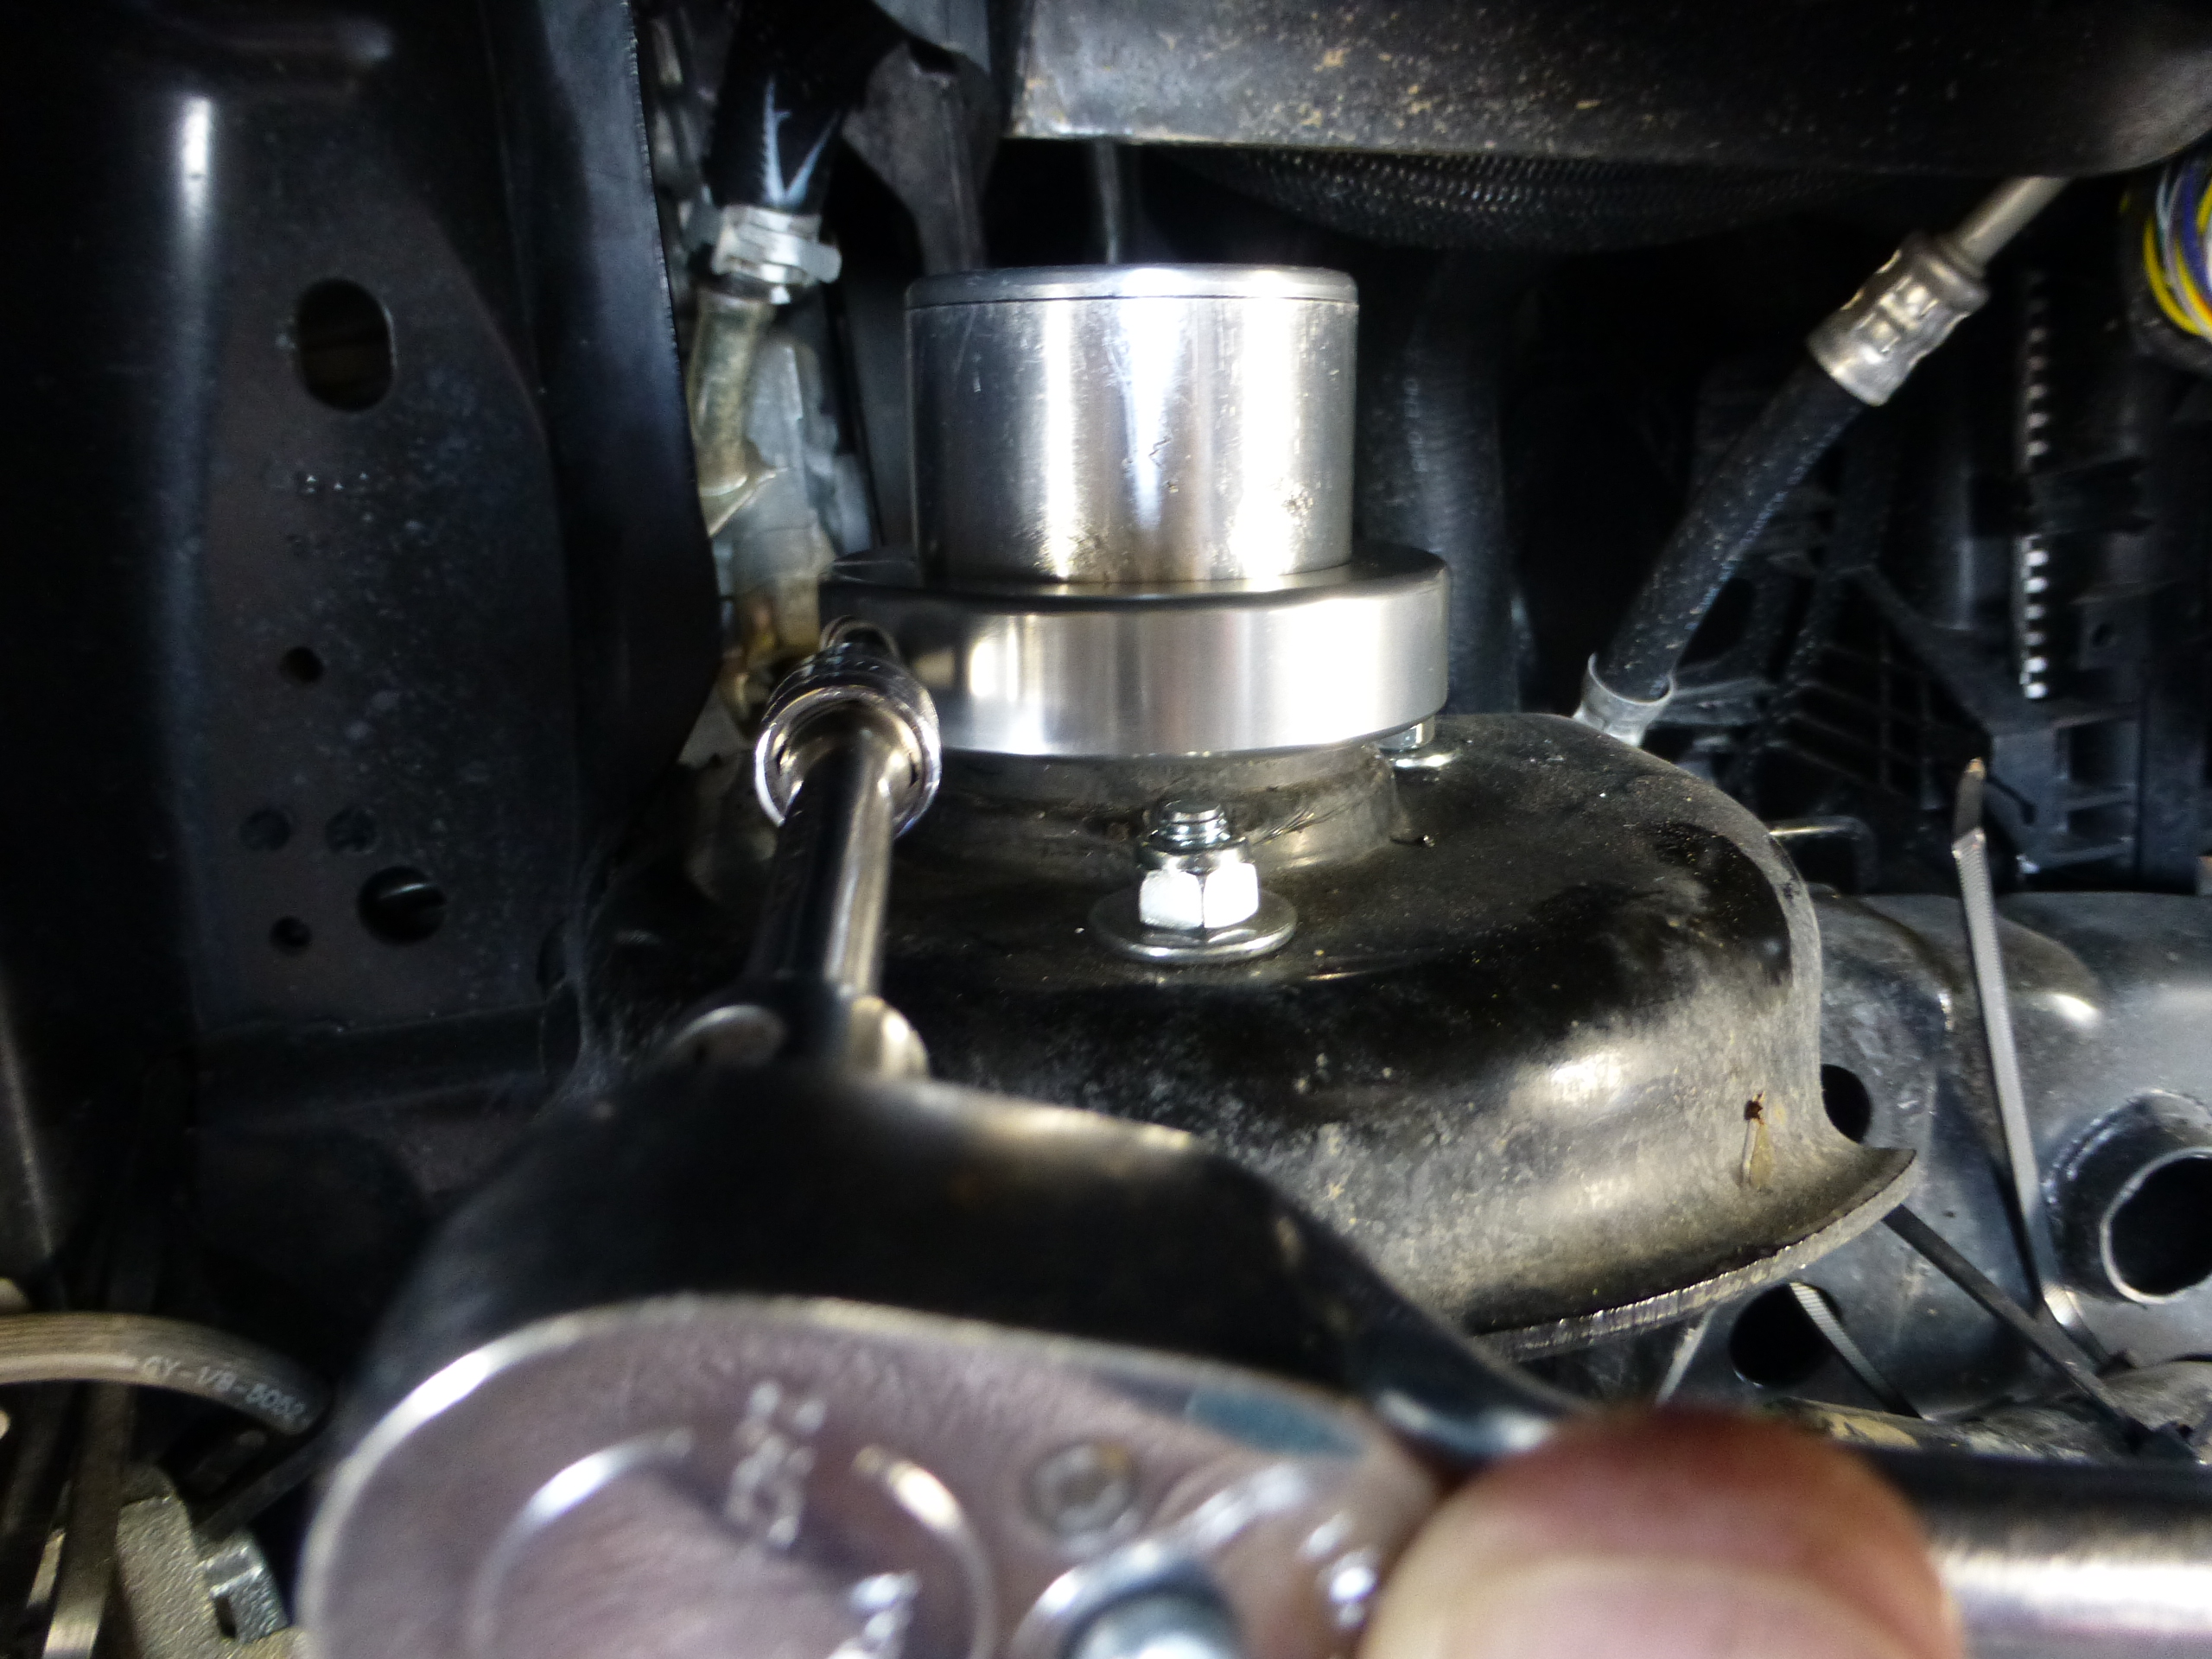
Once the factory bump stop was cut to size and out of the way we had to clean up the edges that were cut, we filed things down so they were clean and smooth. After that we slid the support piece over the remaining factory tube, marked the three holes to be drilled, drilled the holes and mounted the support. With that completed we were ready to install the appropriate spacer onto the top portion of the Speed Bump body for height positioning. Per recommendations we used a little silicone rubber sealant where advised.
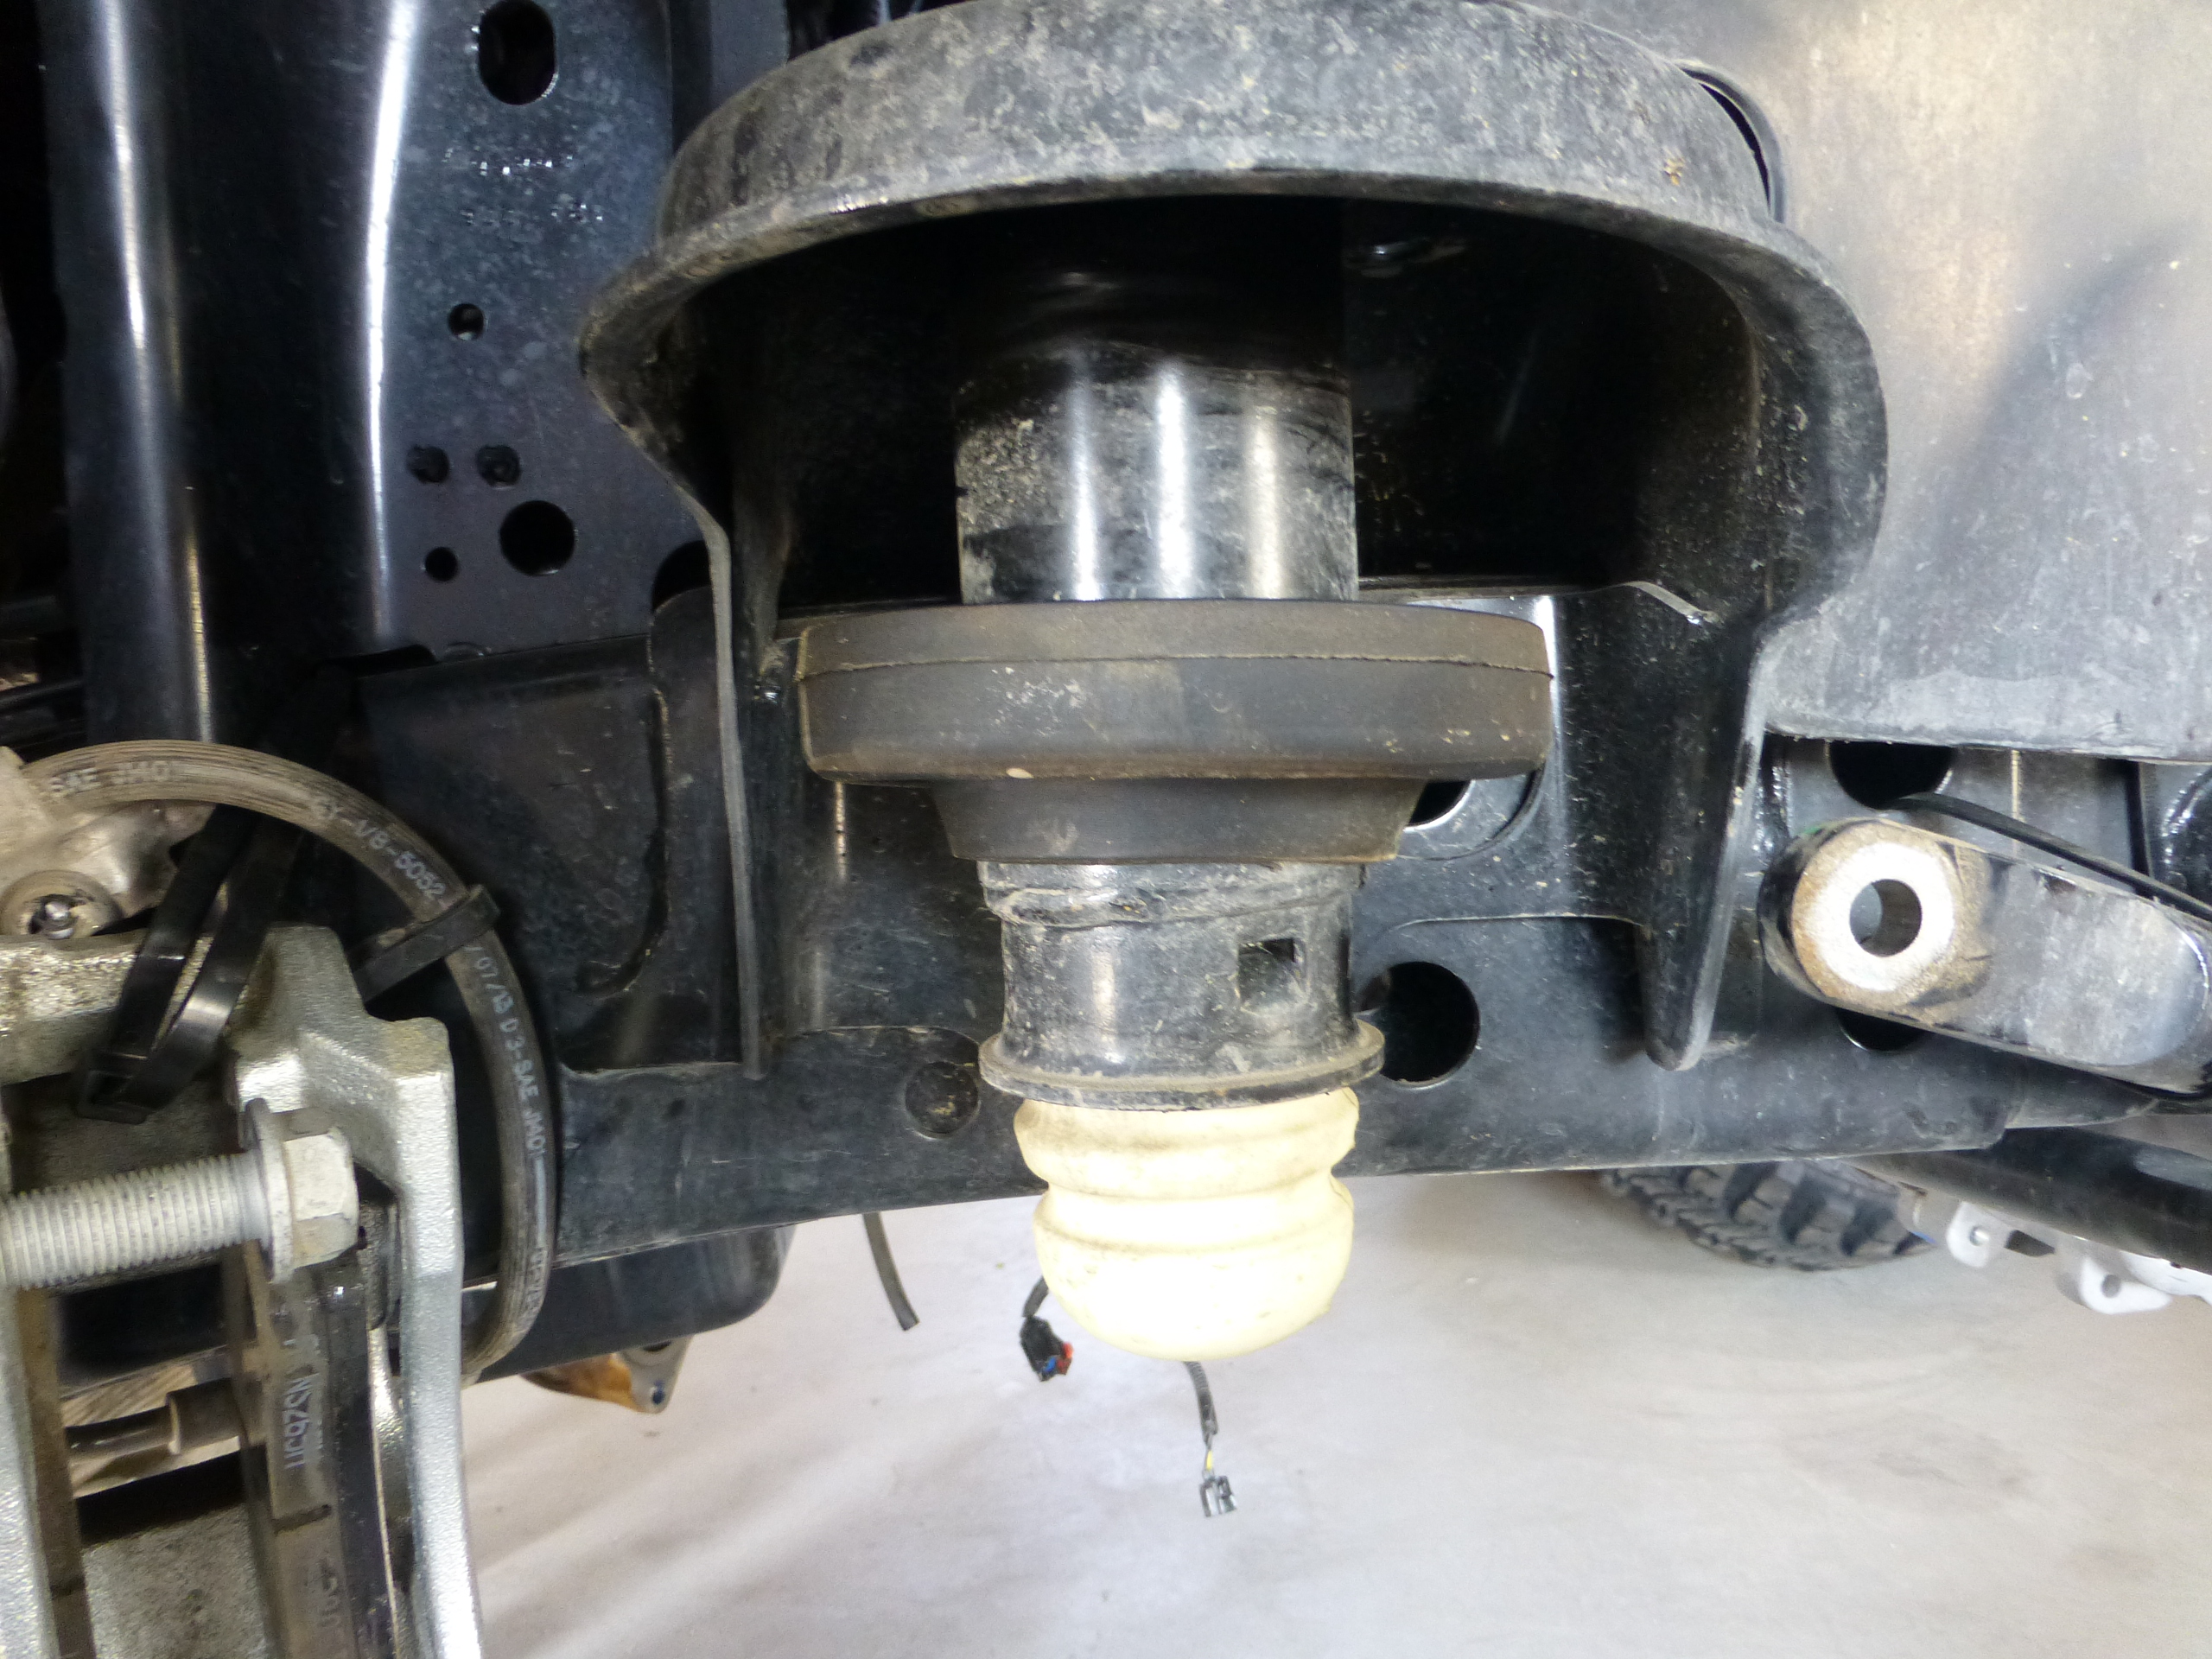


We used the sealant where the Speed Bump body mounted into the frame of the JK as well as on the Speed Bump itself. With that completed we simply slid the Speed Bump into the newly opened factory bump stop and locked it into place with the supplied collar and tightened it down.

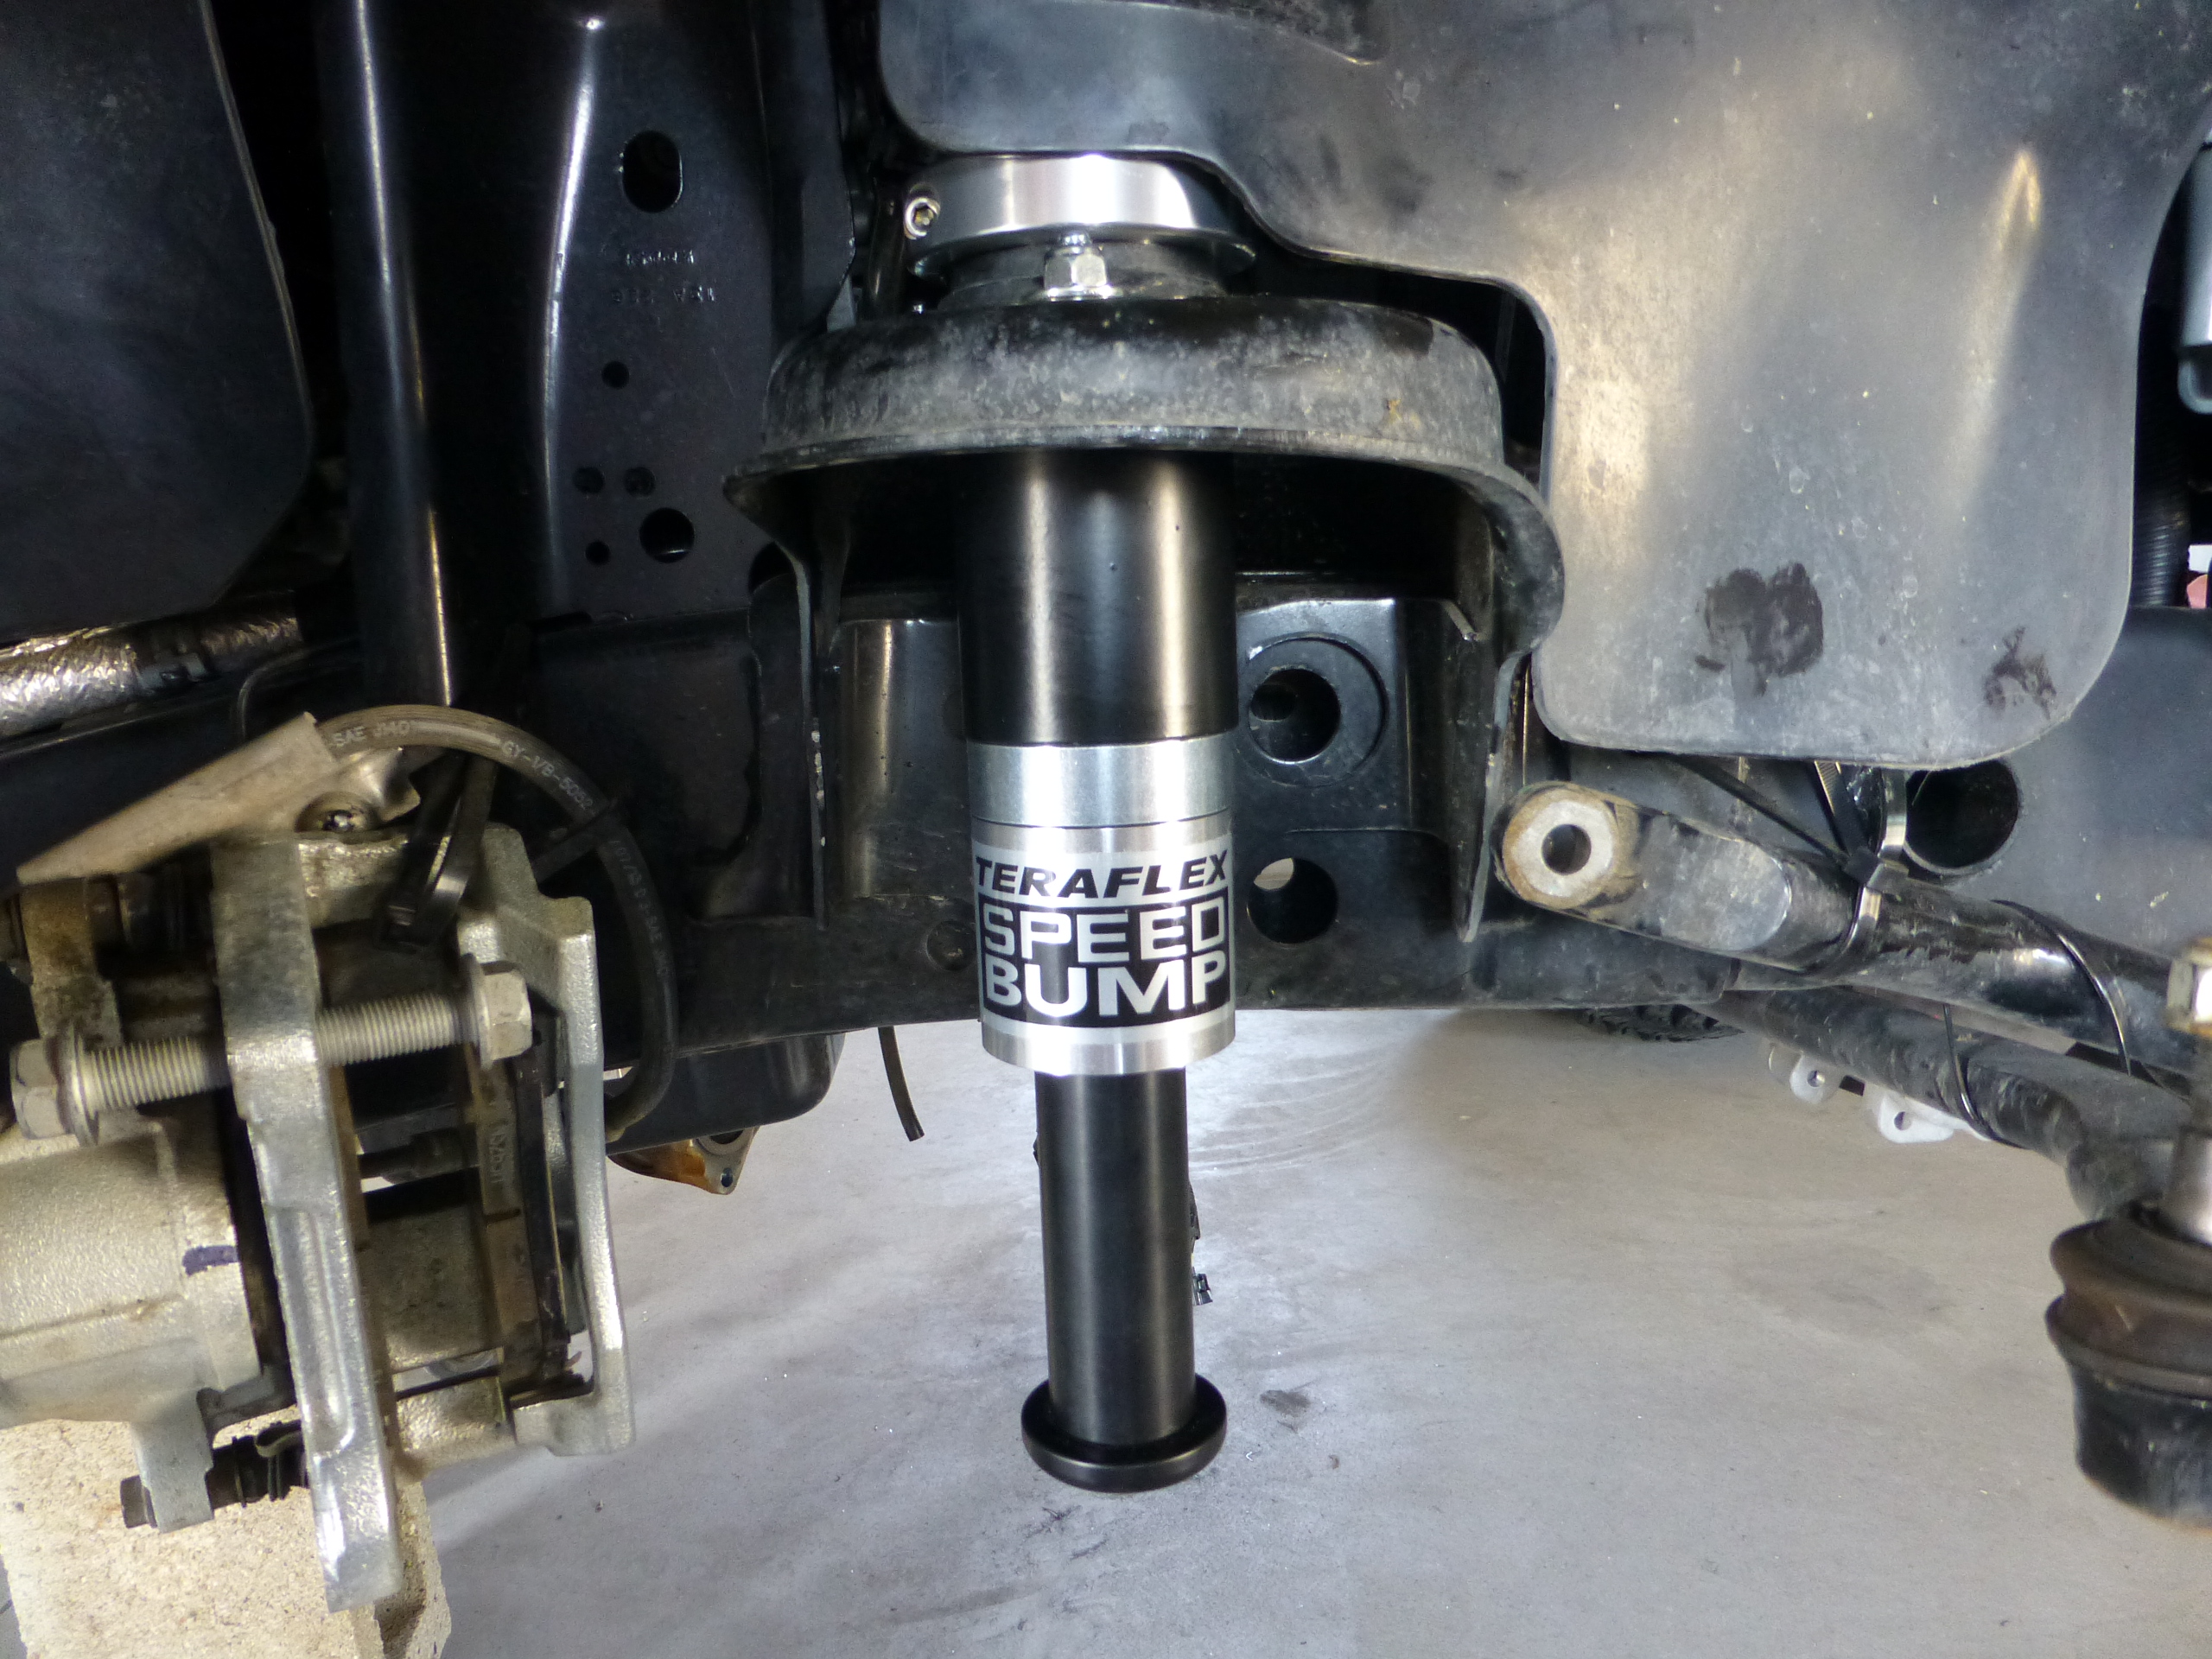
The last thing needed to complete the installation of the front Speed Bumps was to mount the lower pads onto the new Tera 44 axle. In a matter of seconds we had the lower pads mounted onto the new axle with the supplied hardware and we were ready to move onto the next step.

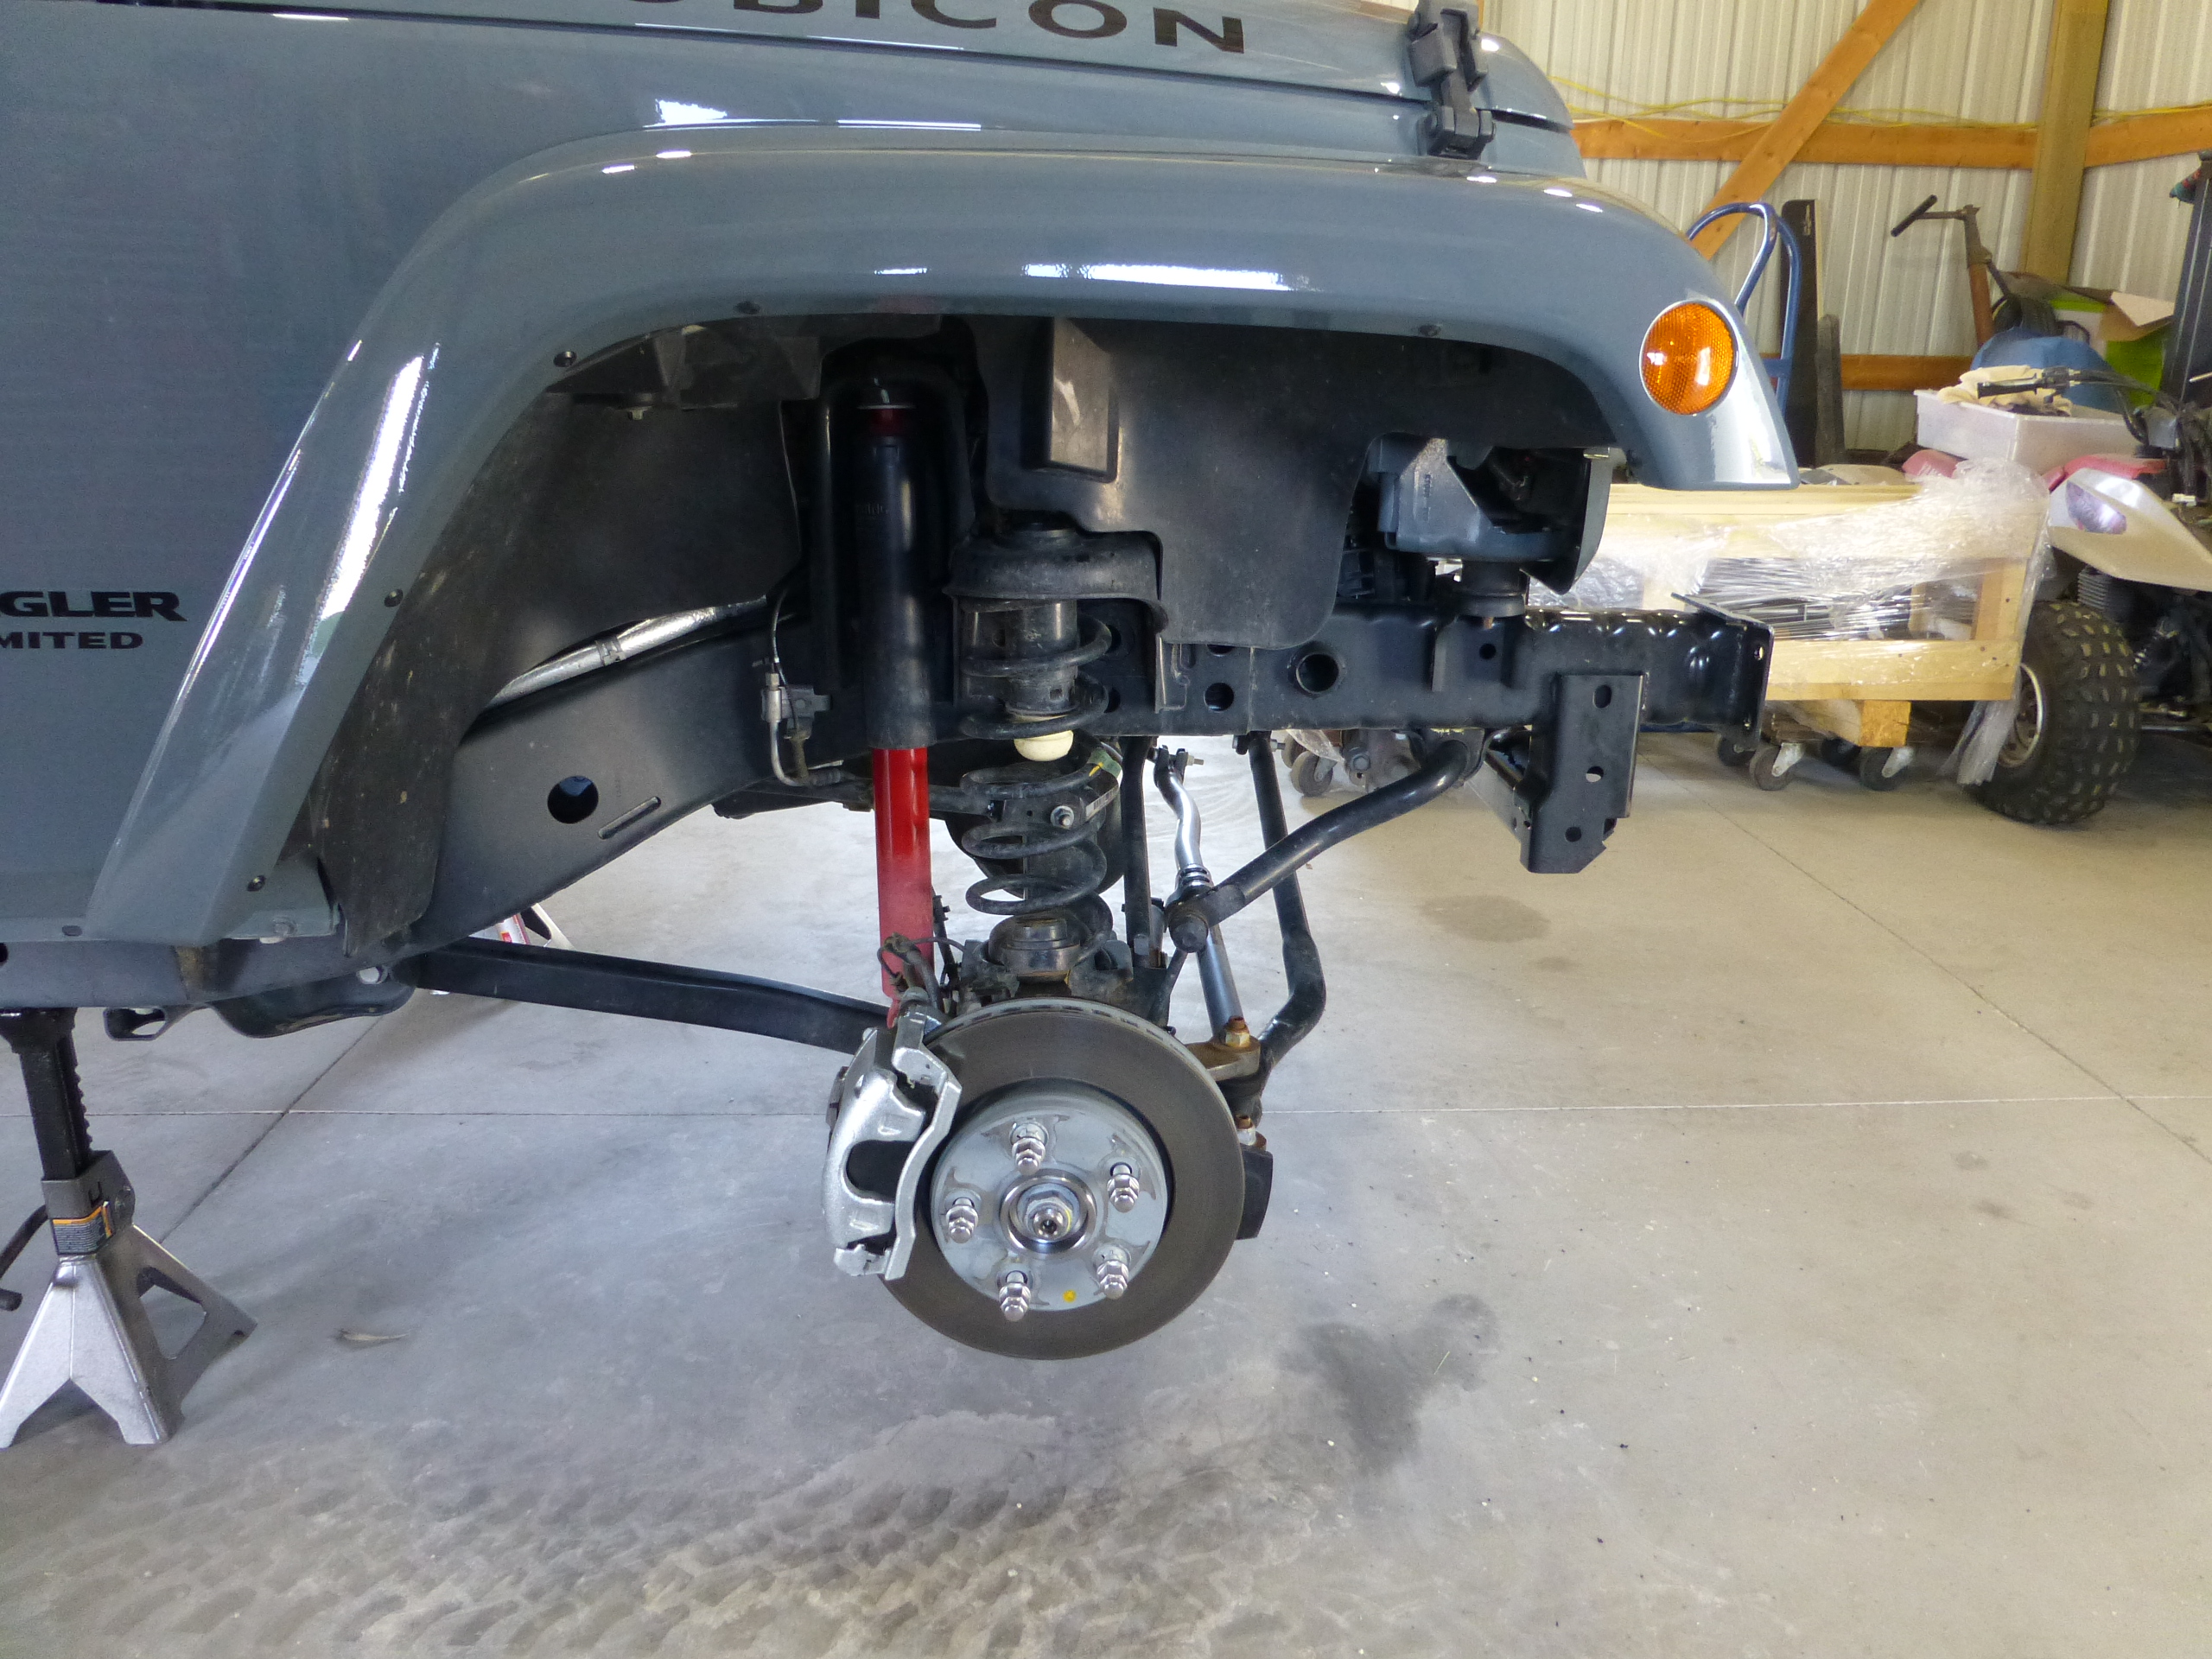
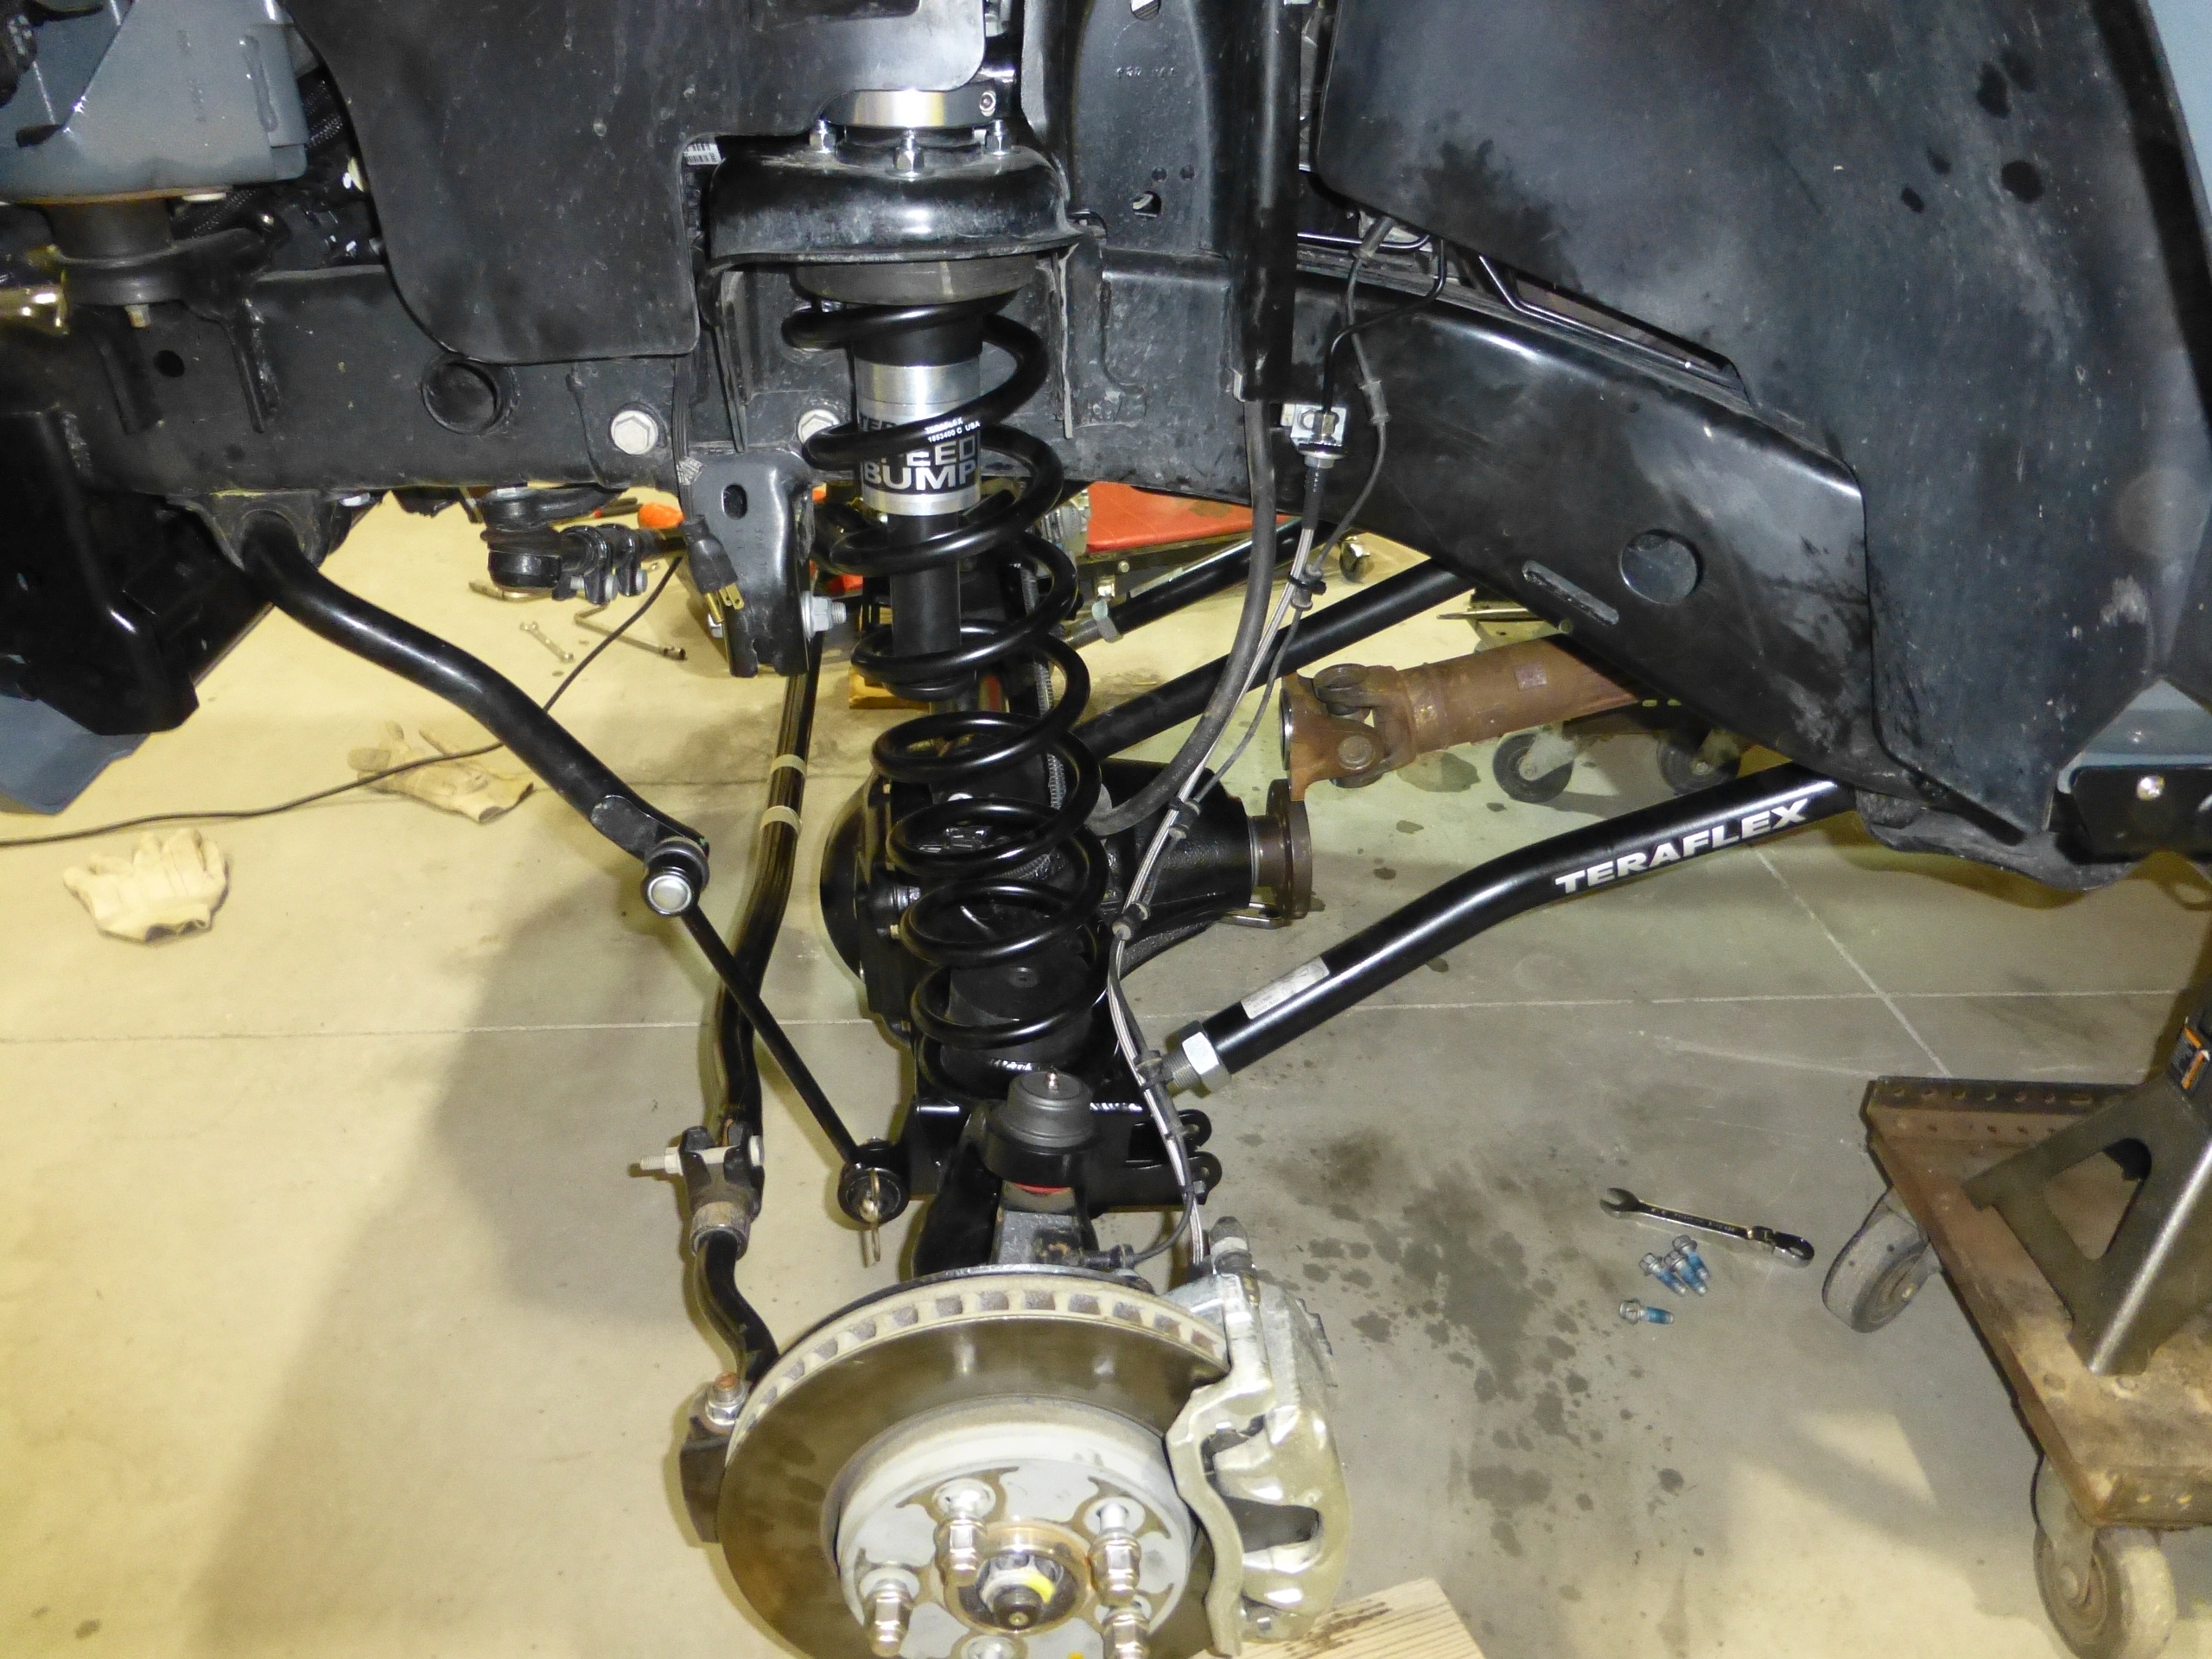
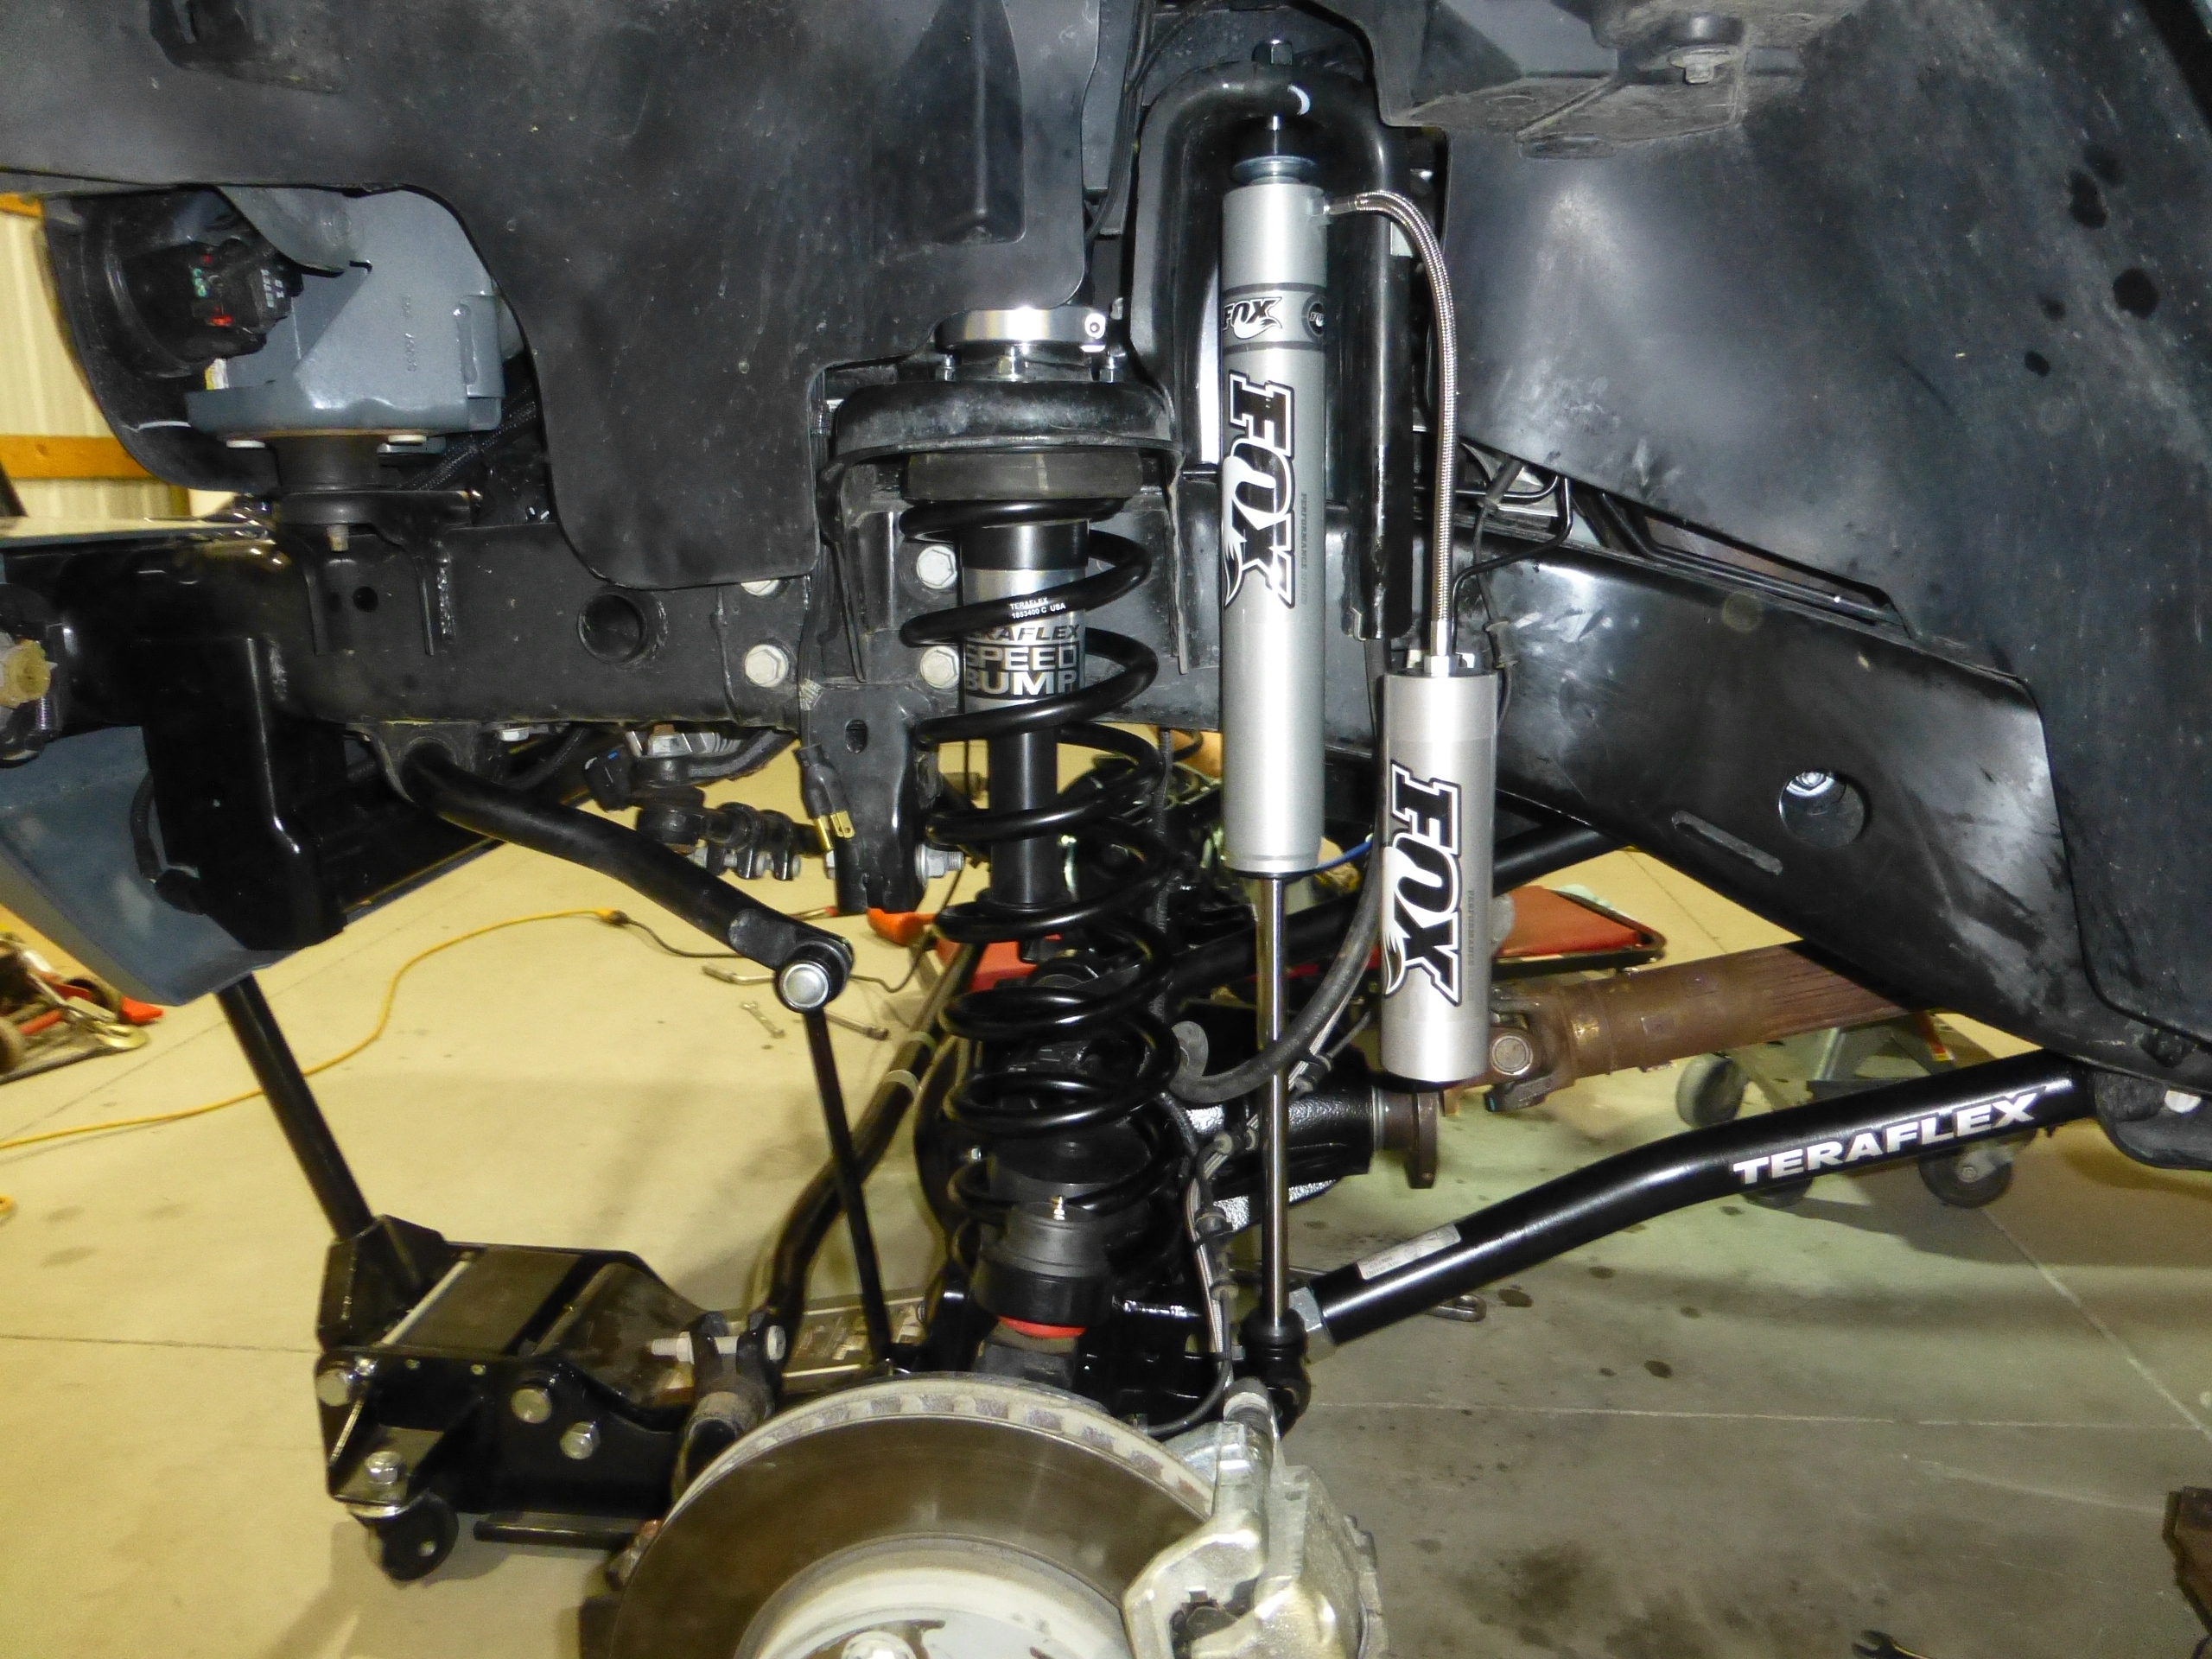
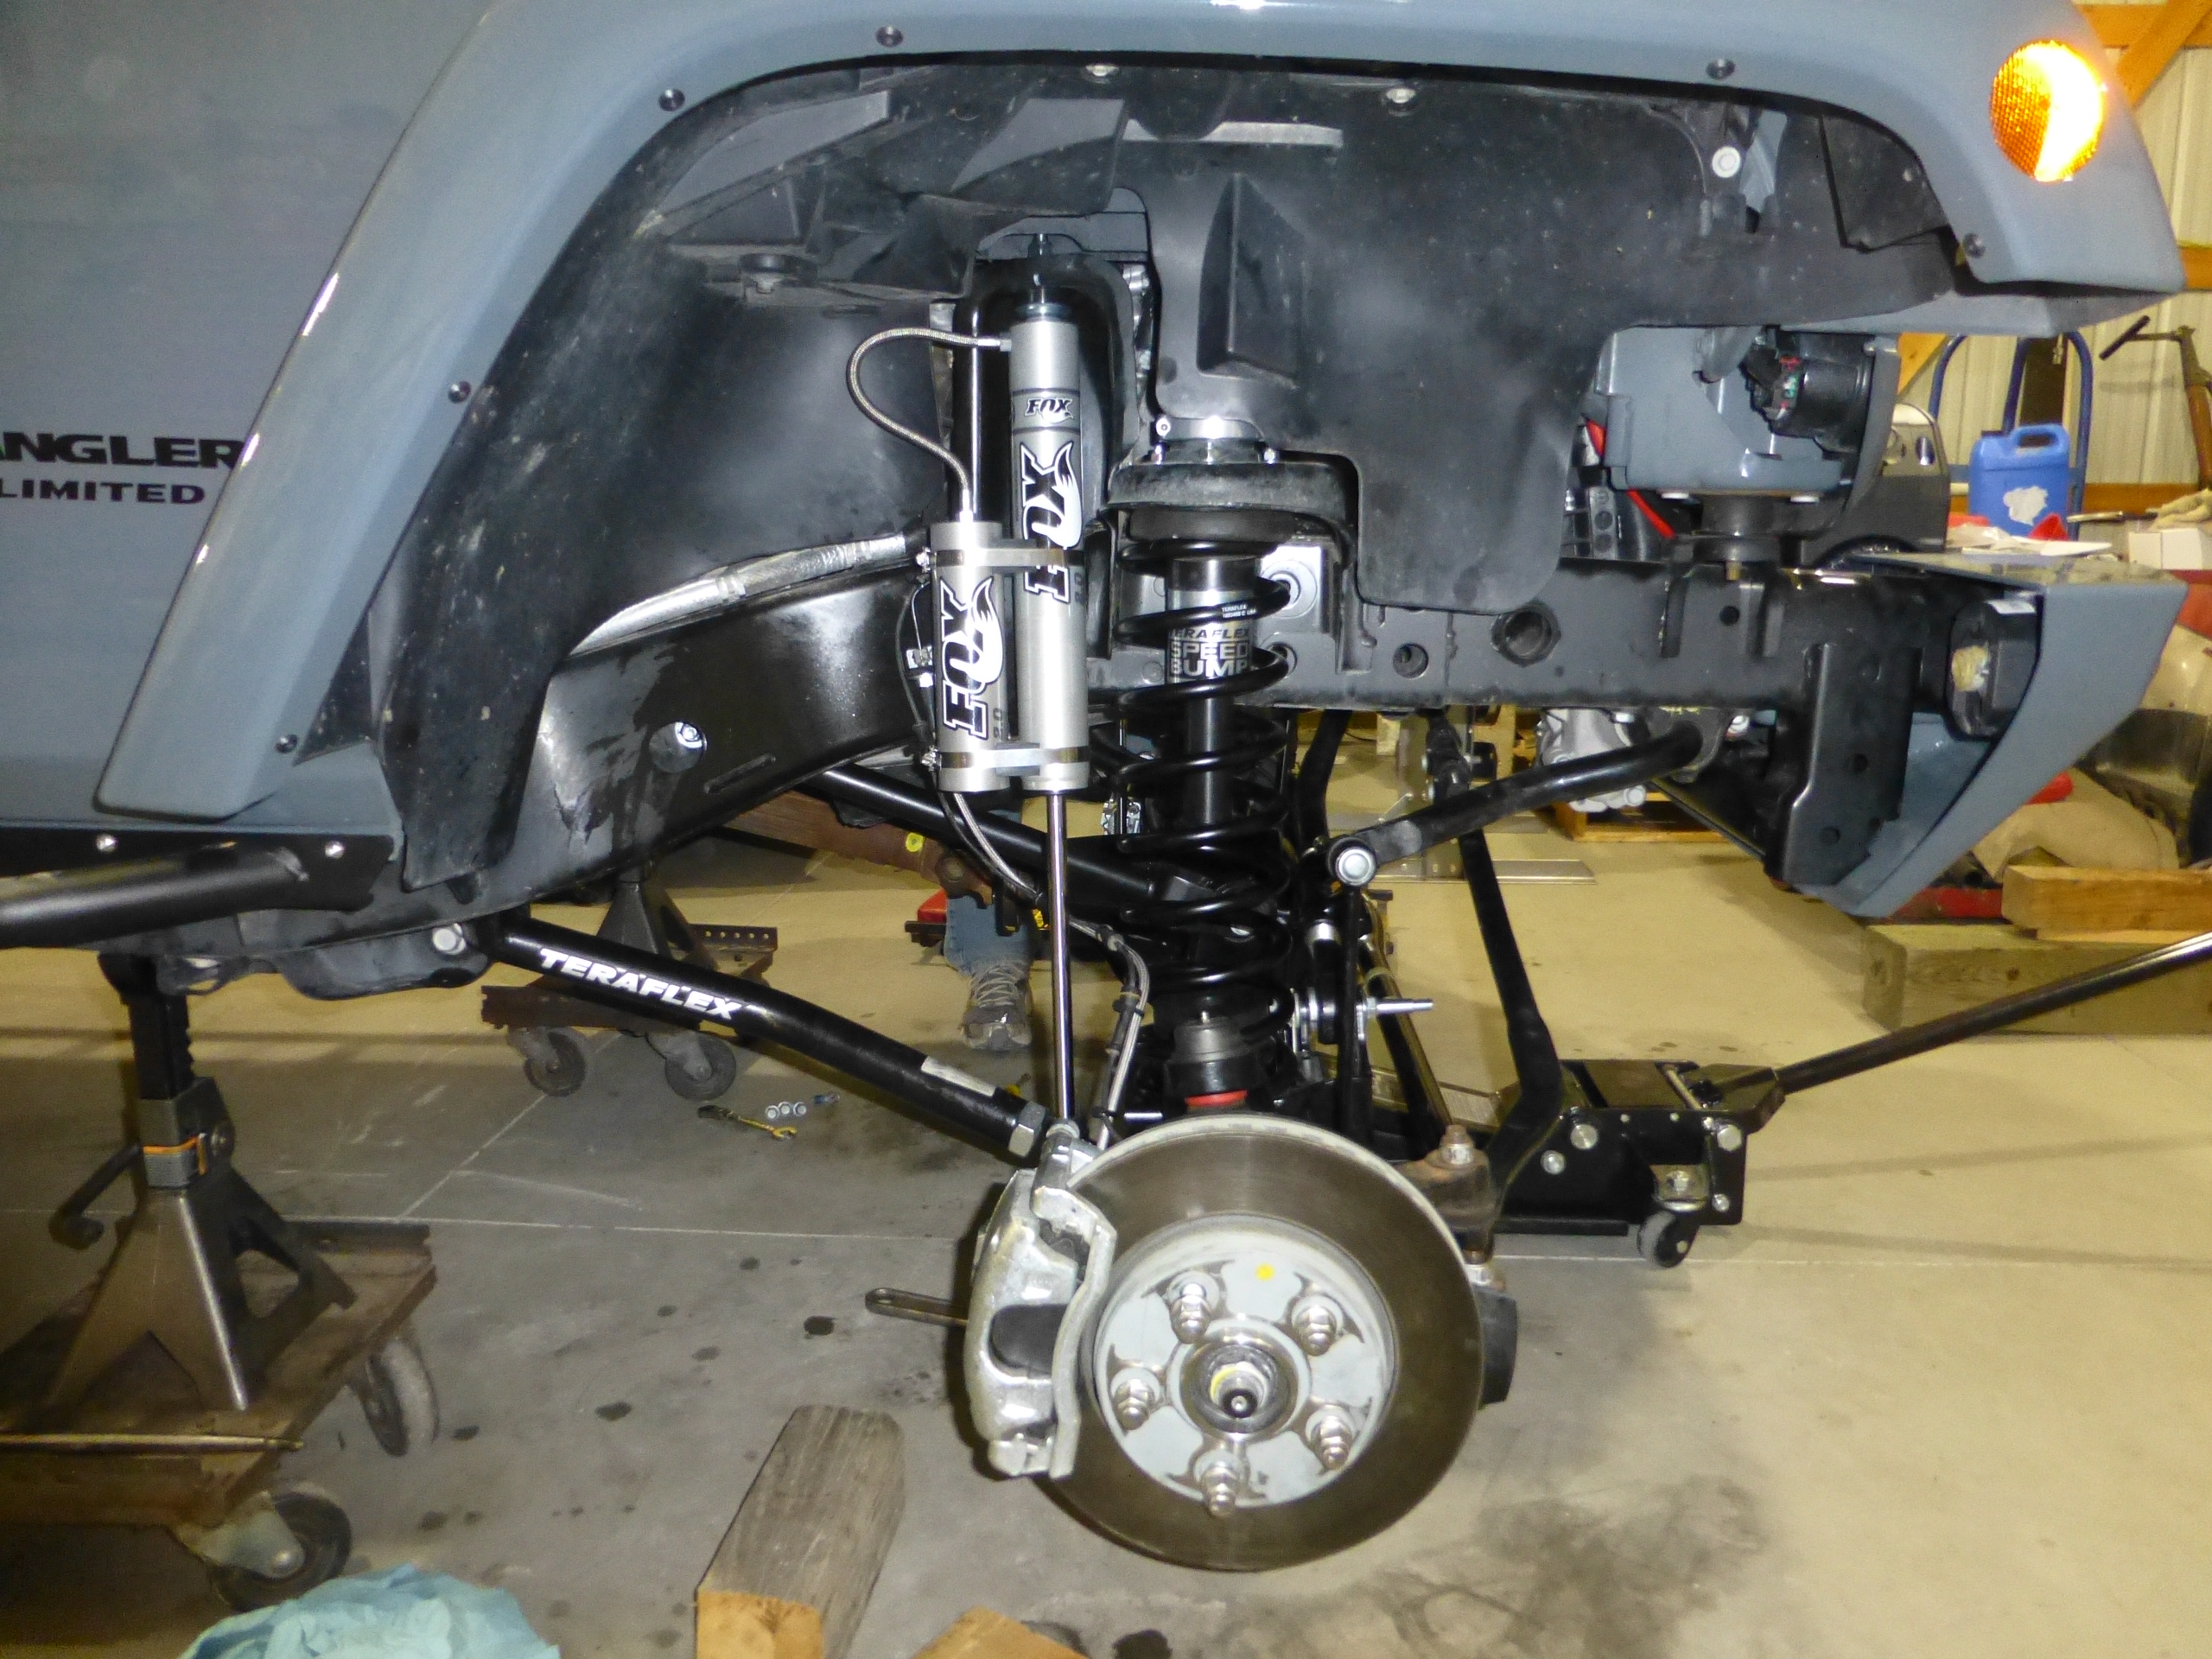
Teraflex Front Suspension:
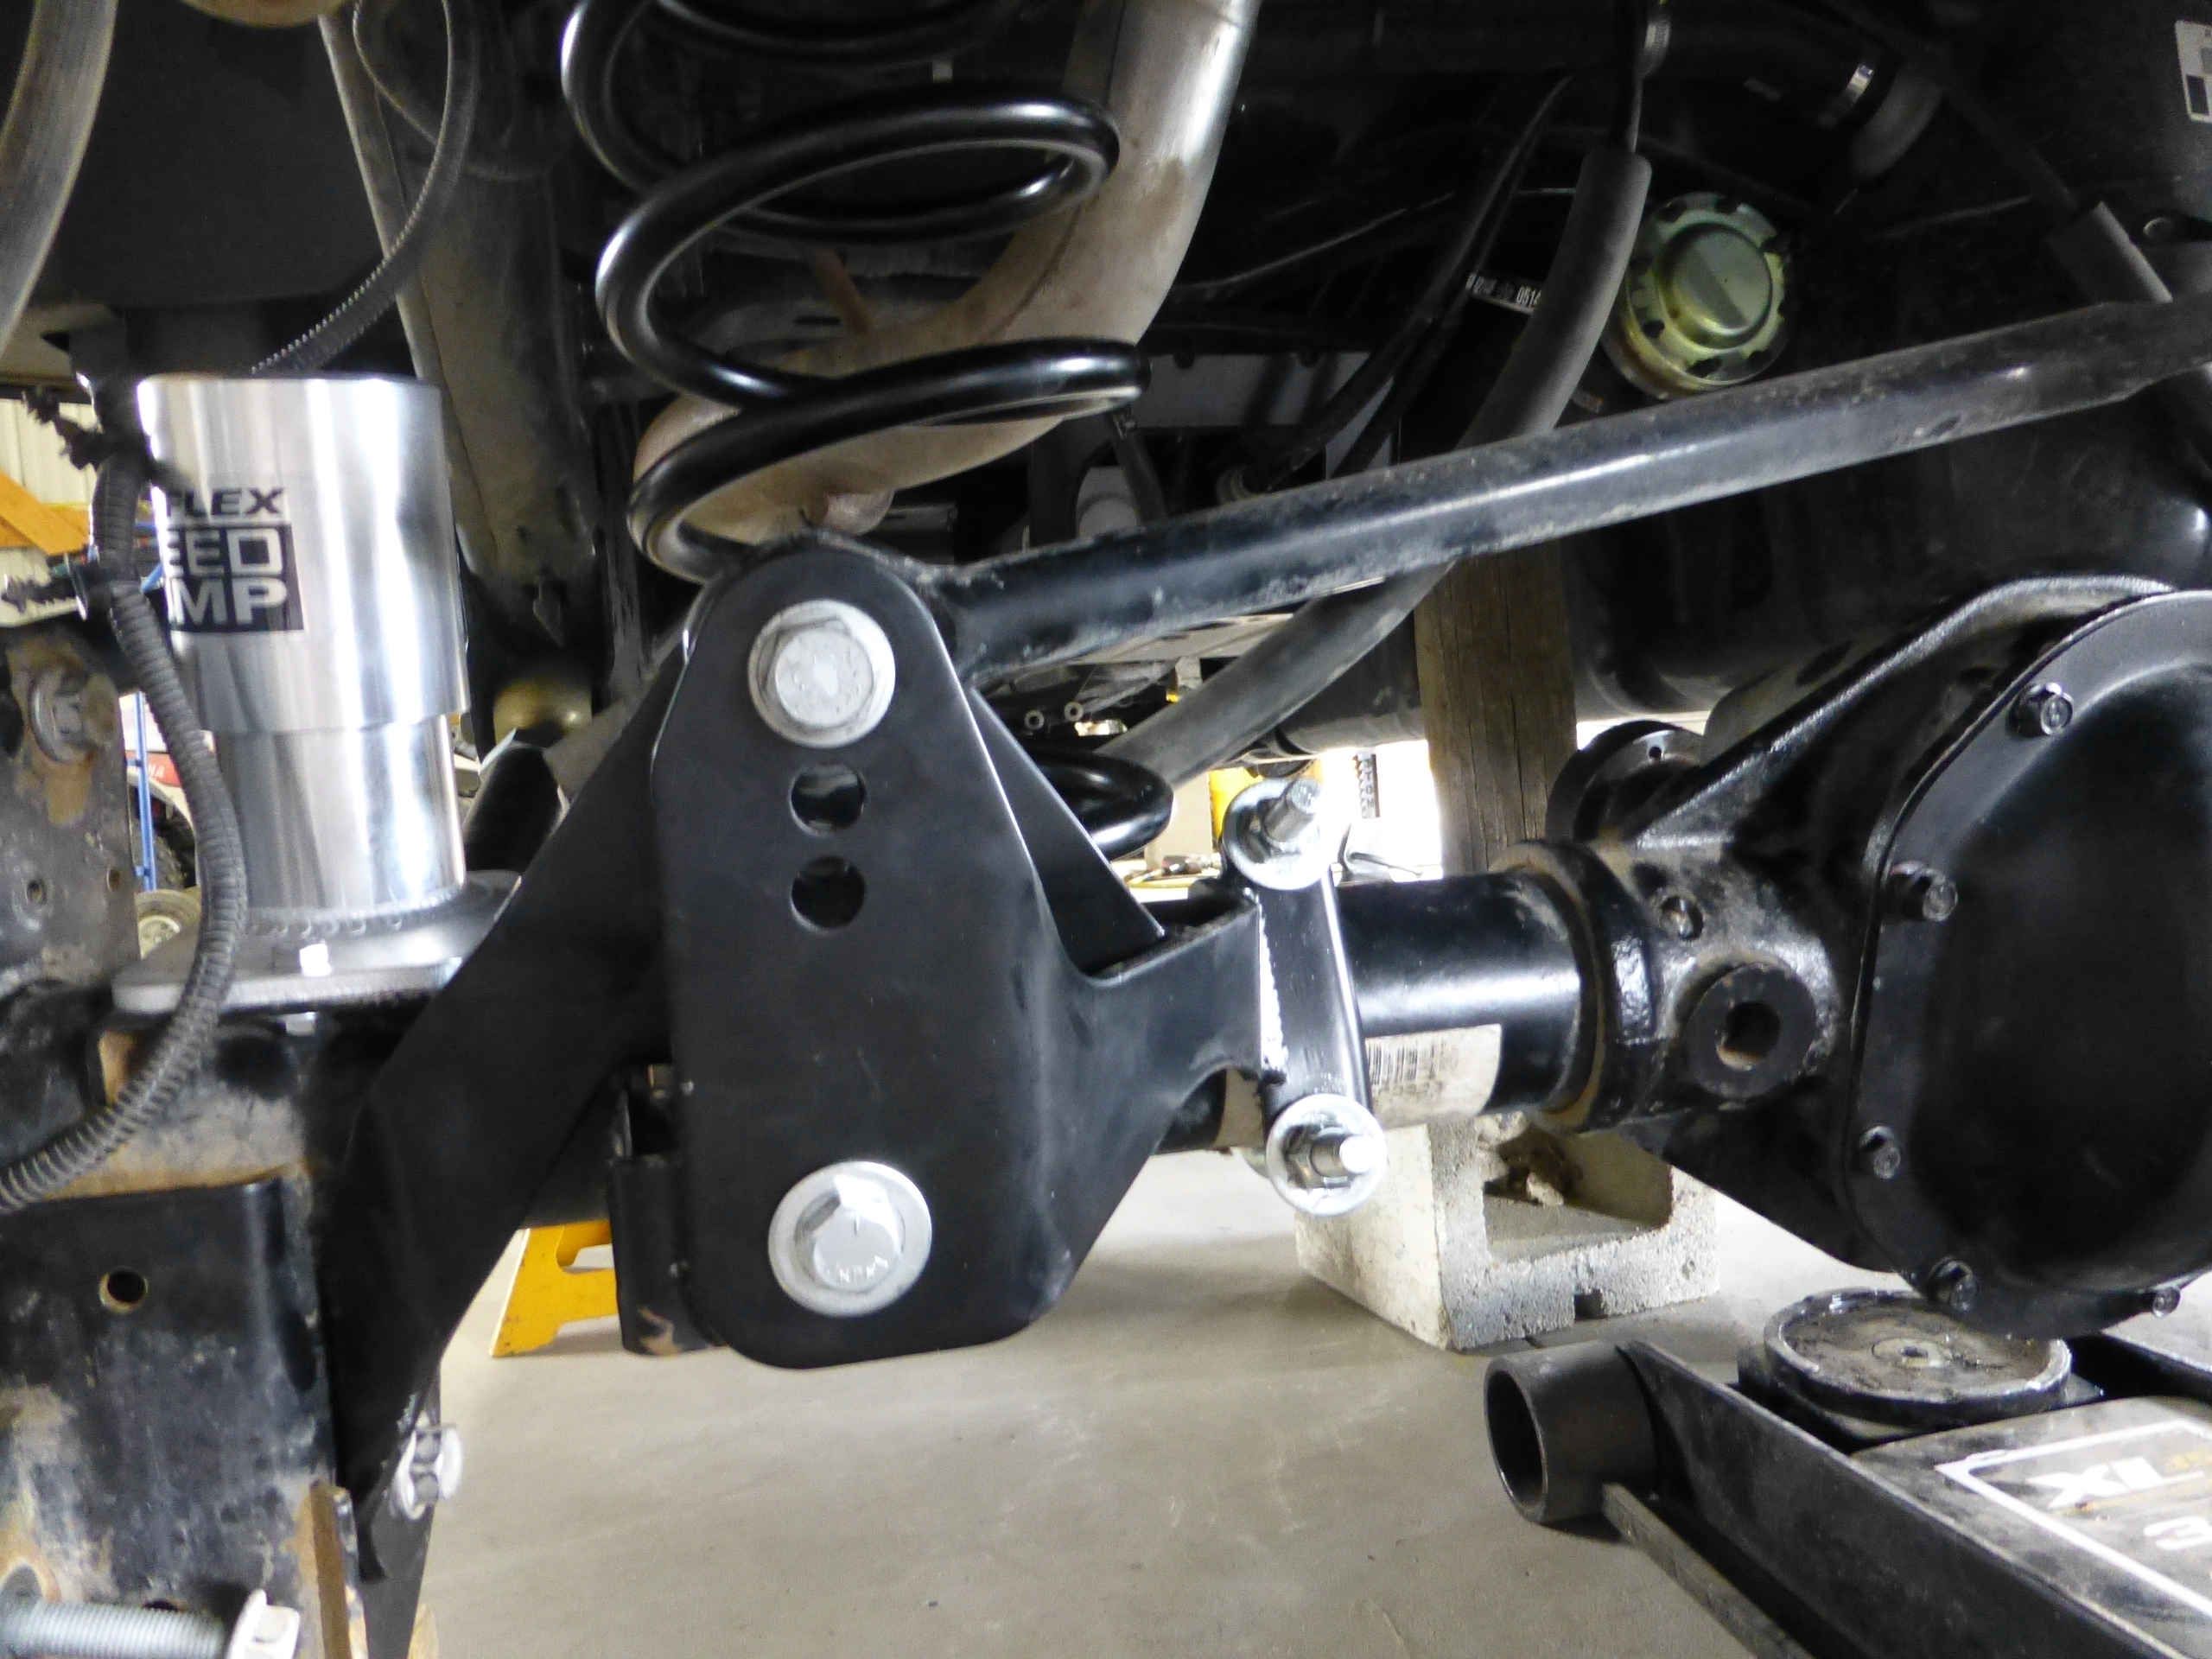
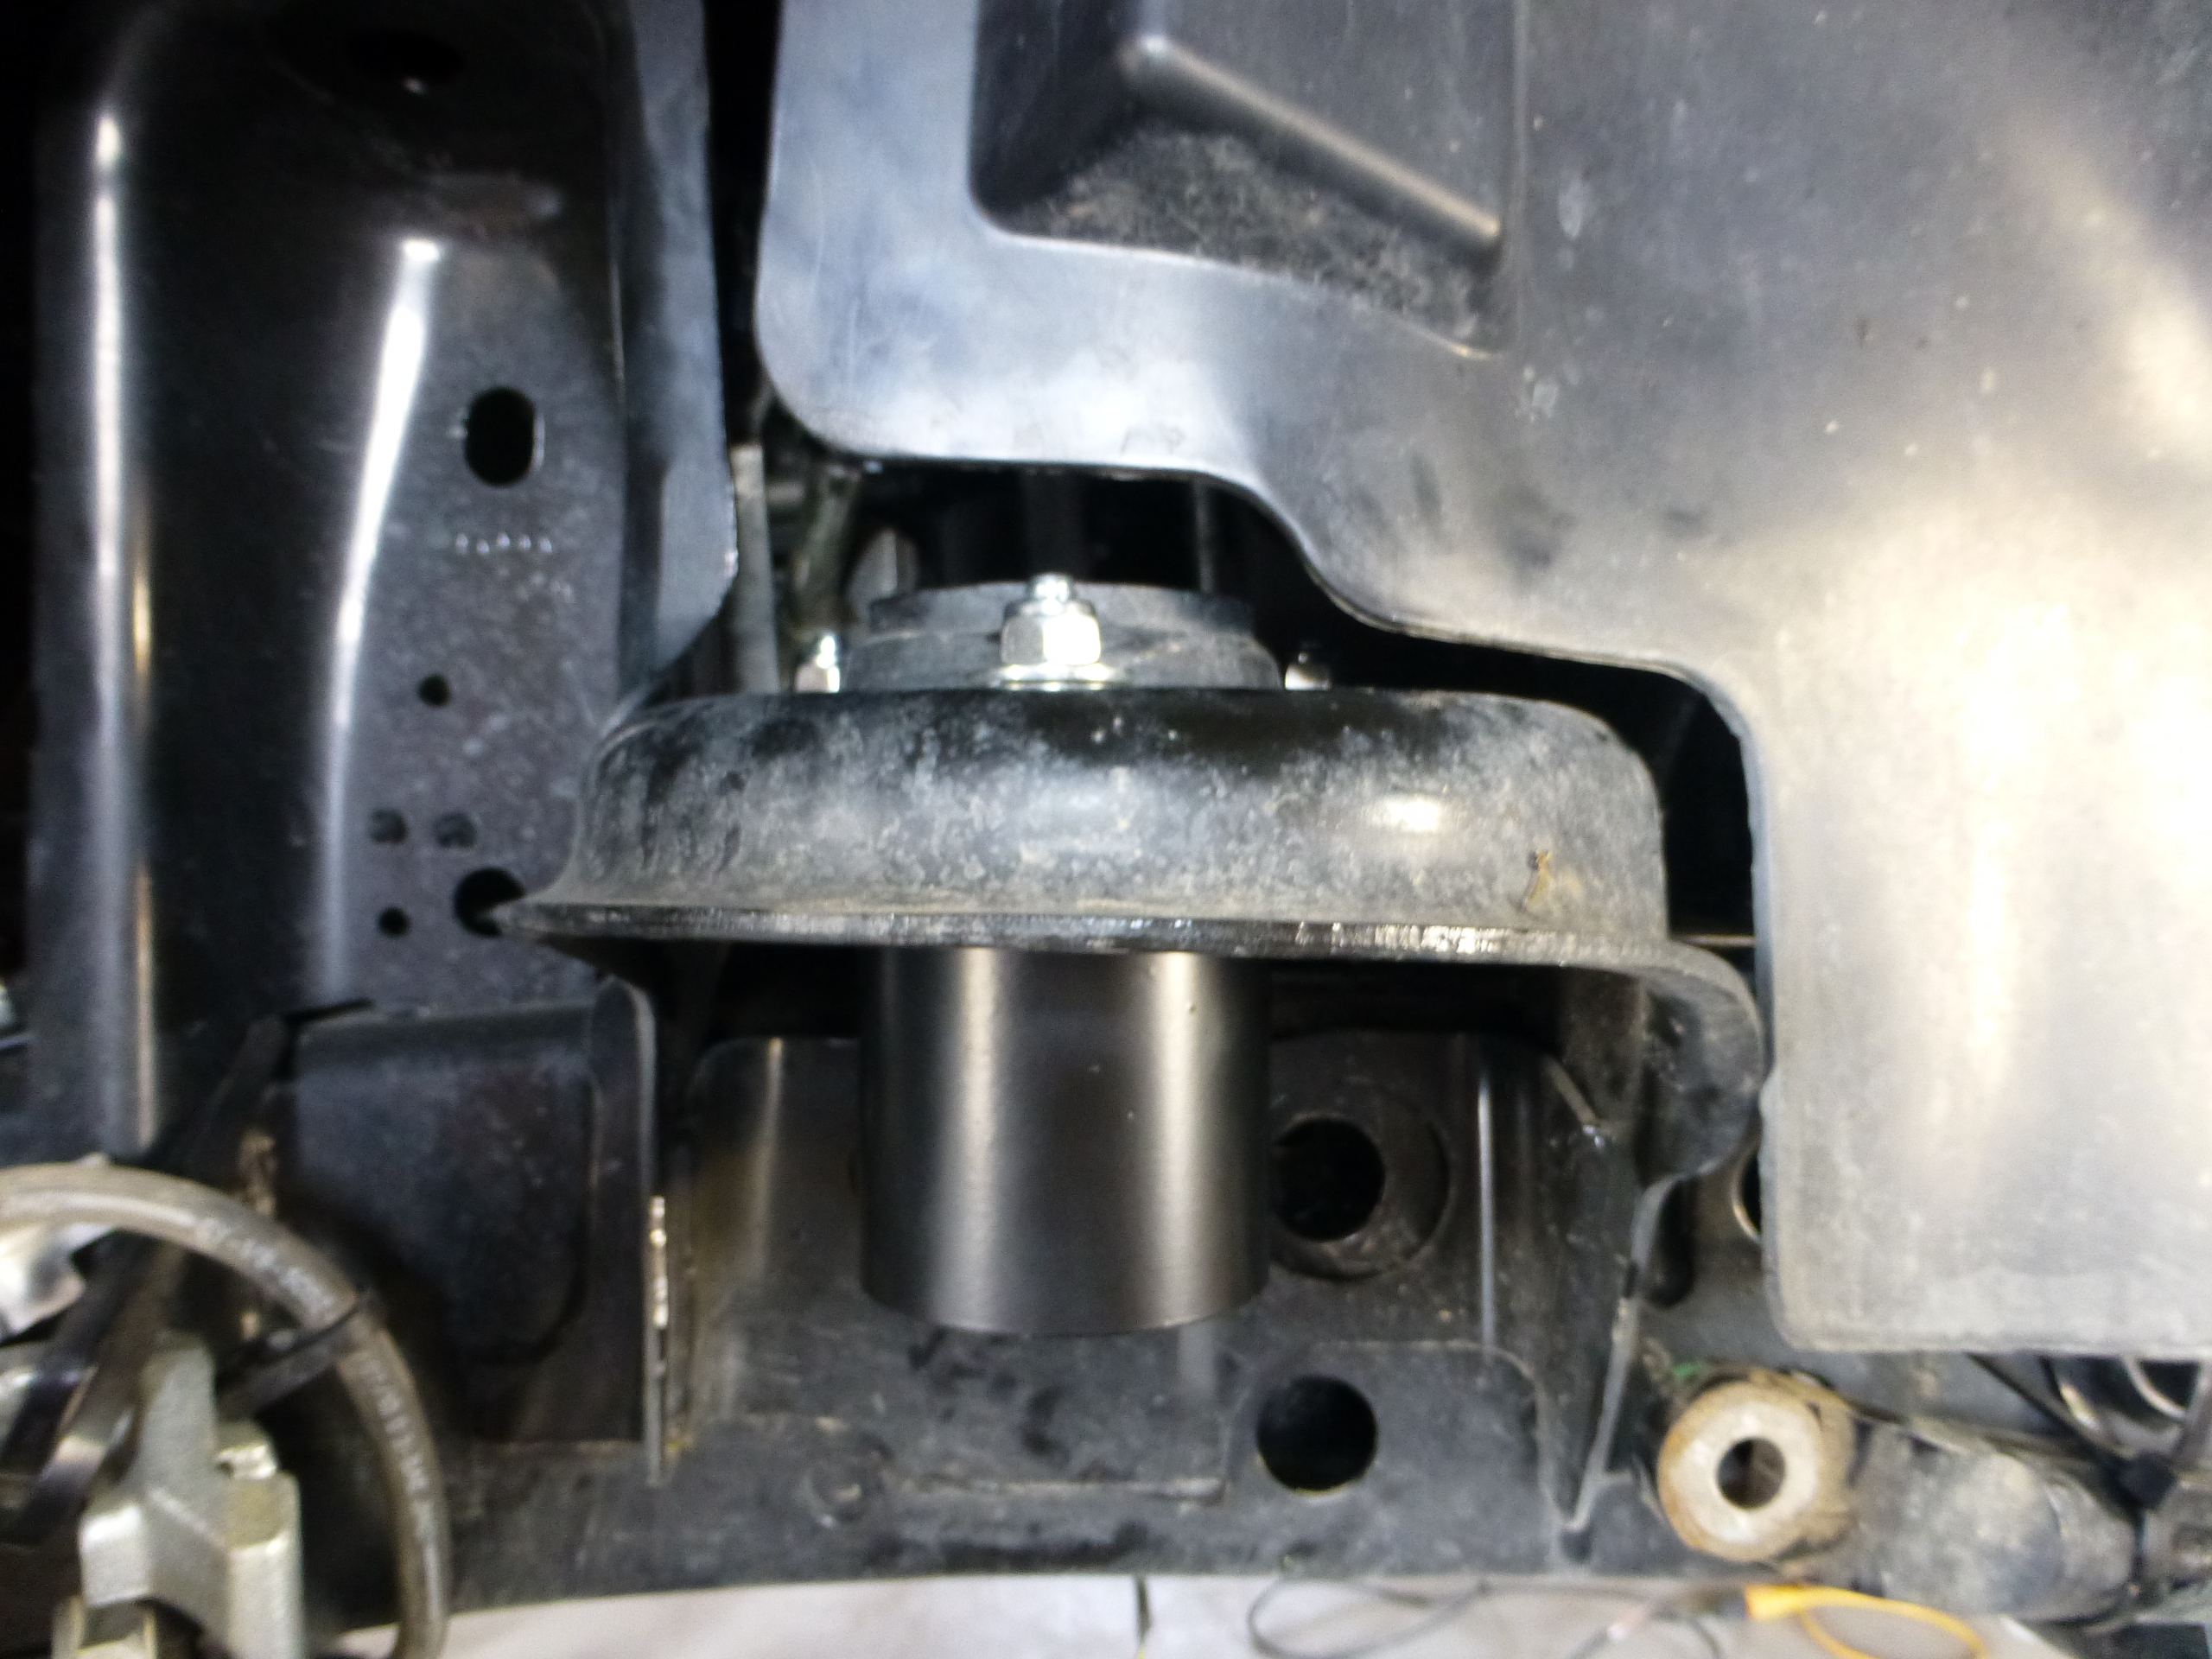
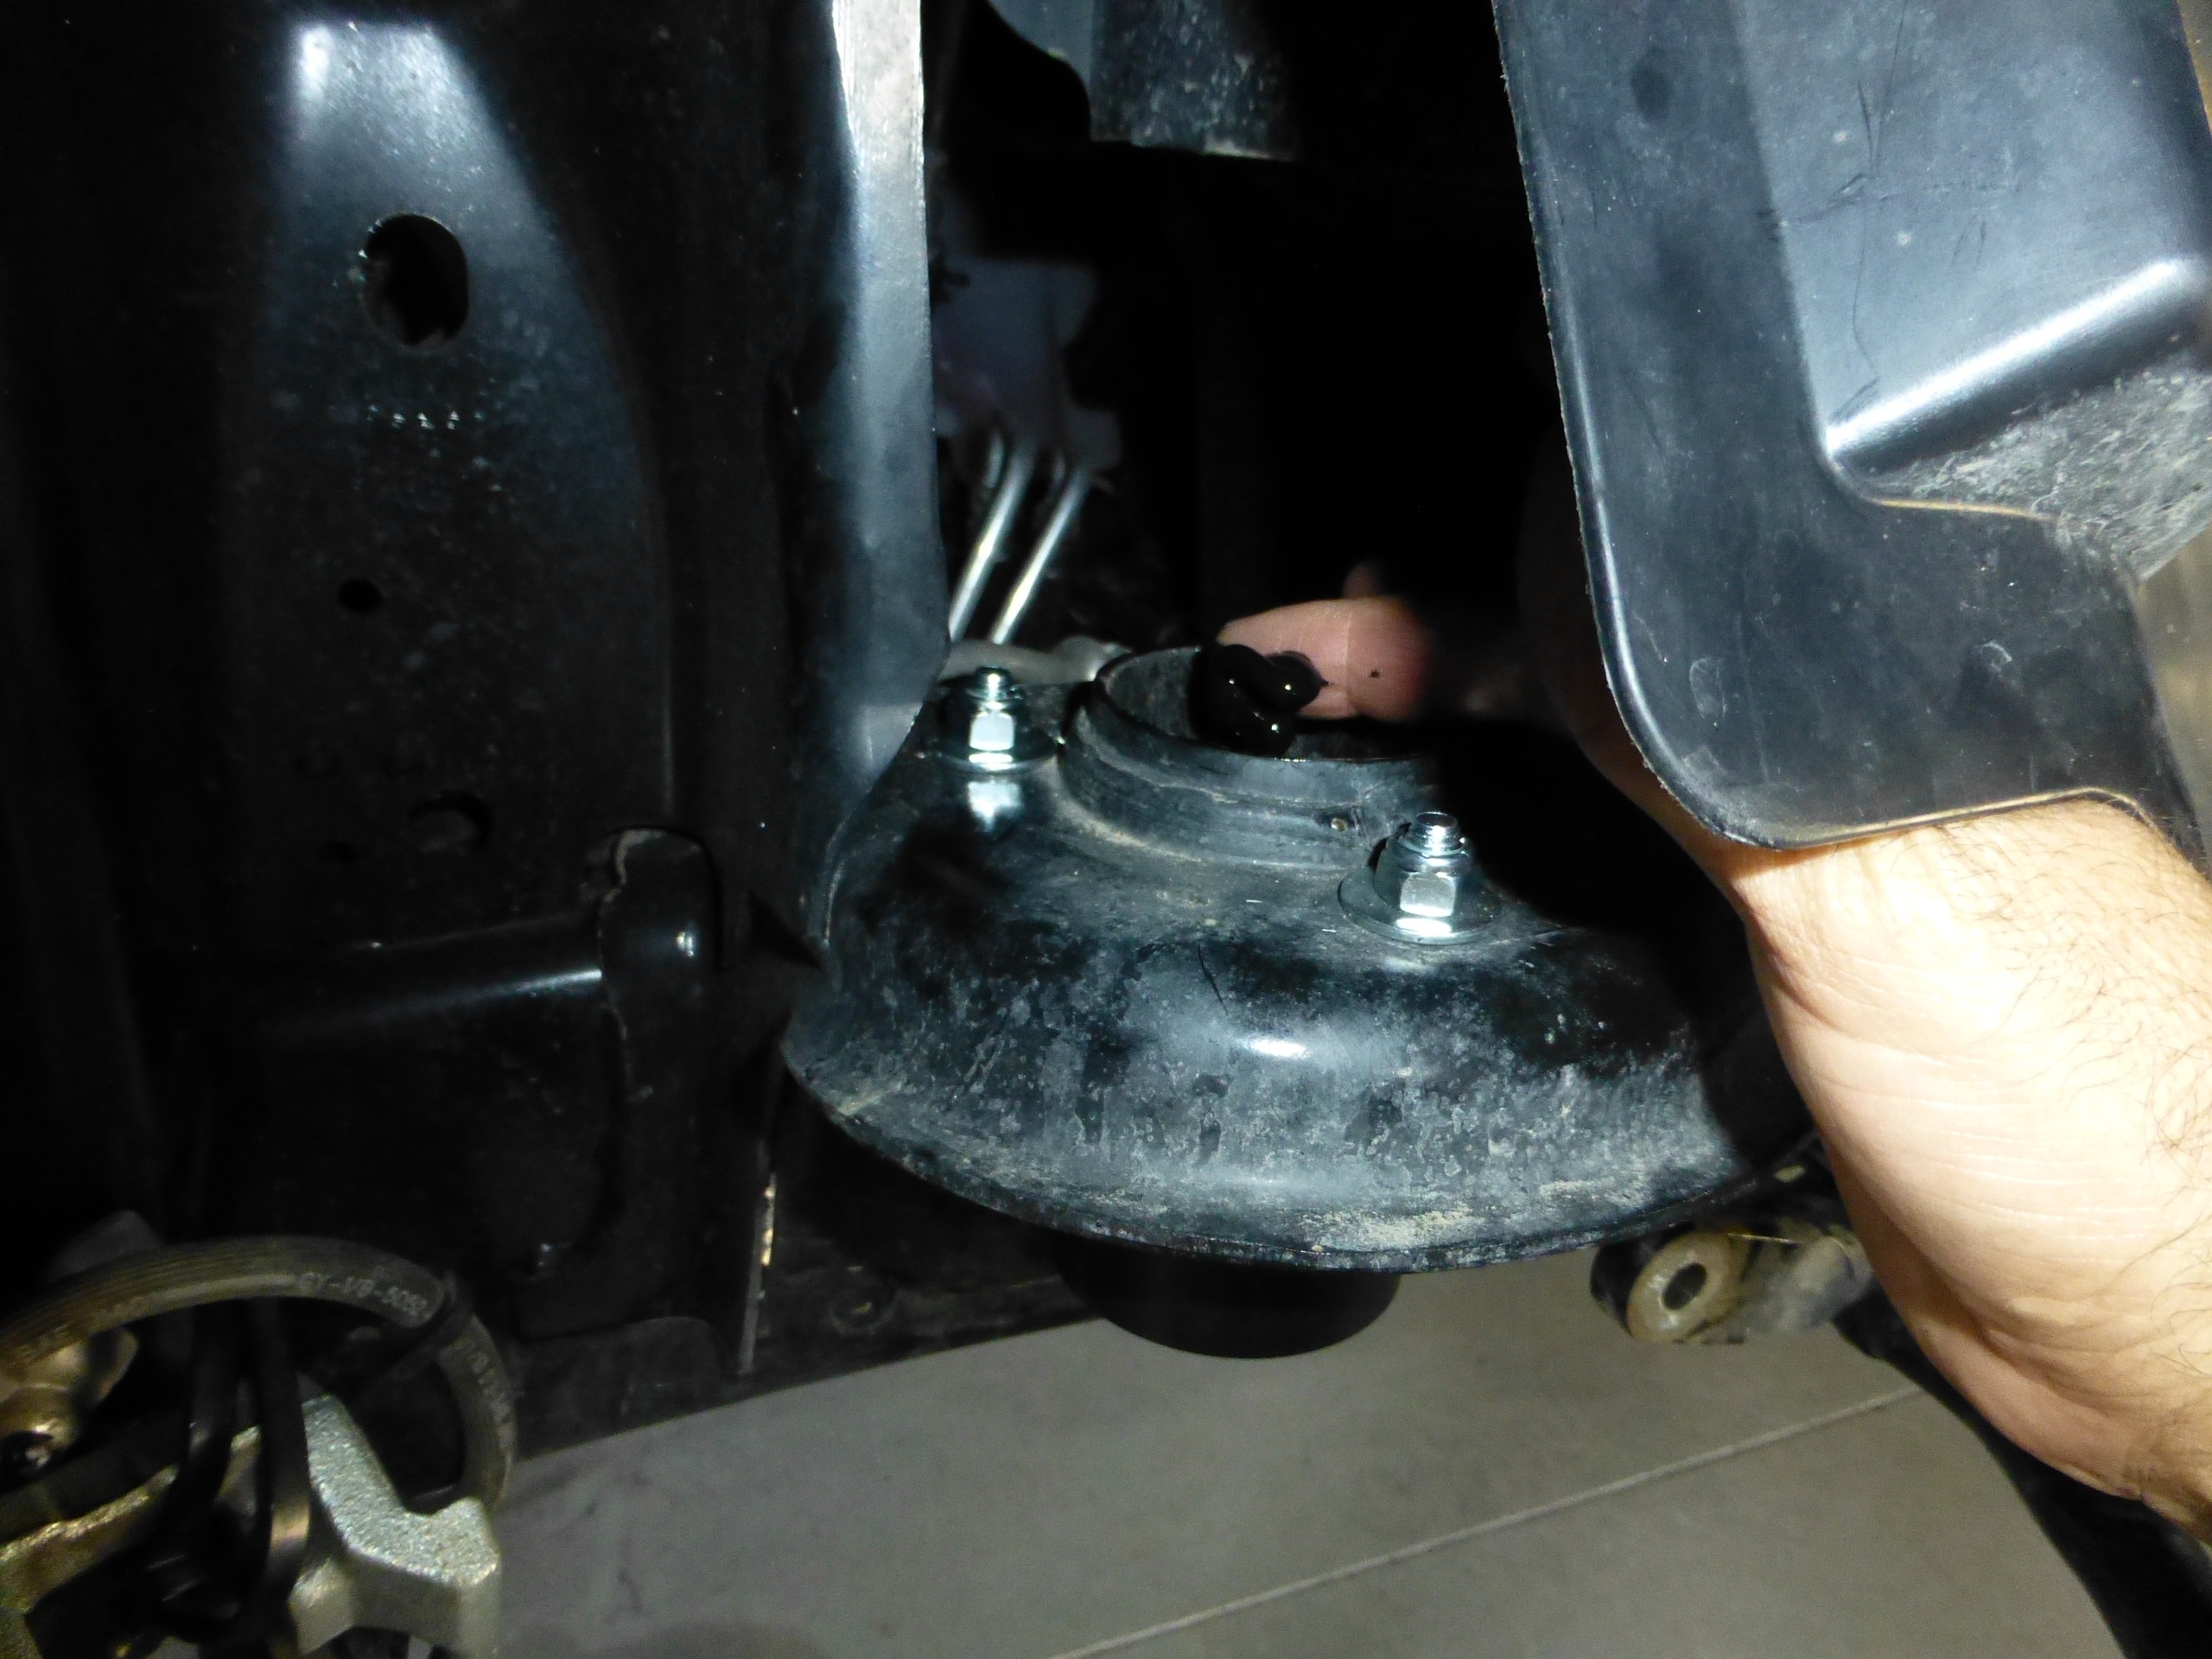
With the Speed Bumps installed it was time to set the new axle in place, we started with the front upper and lower Flex Arms. We had to set the length on them so we went by the chart included with the suspension system. Once we had the initial length set we put both the upper and lower Flex Arms loosely in place so we could move them around while we installed the other components. We wanted the new axle to move a bit and not fight us on the install.
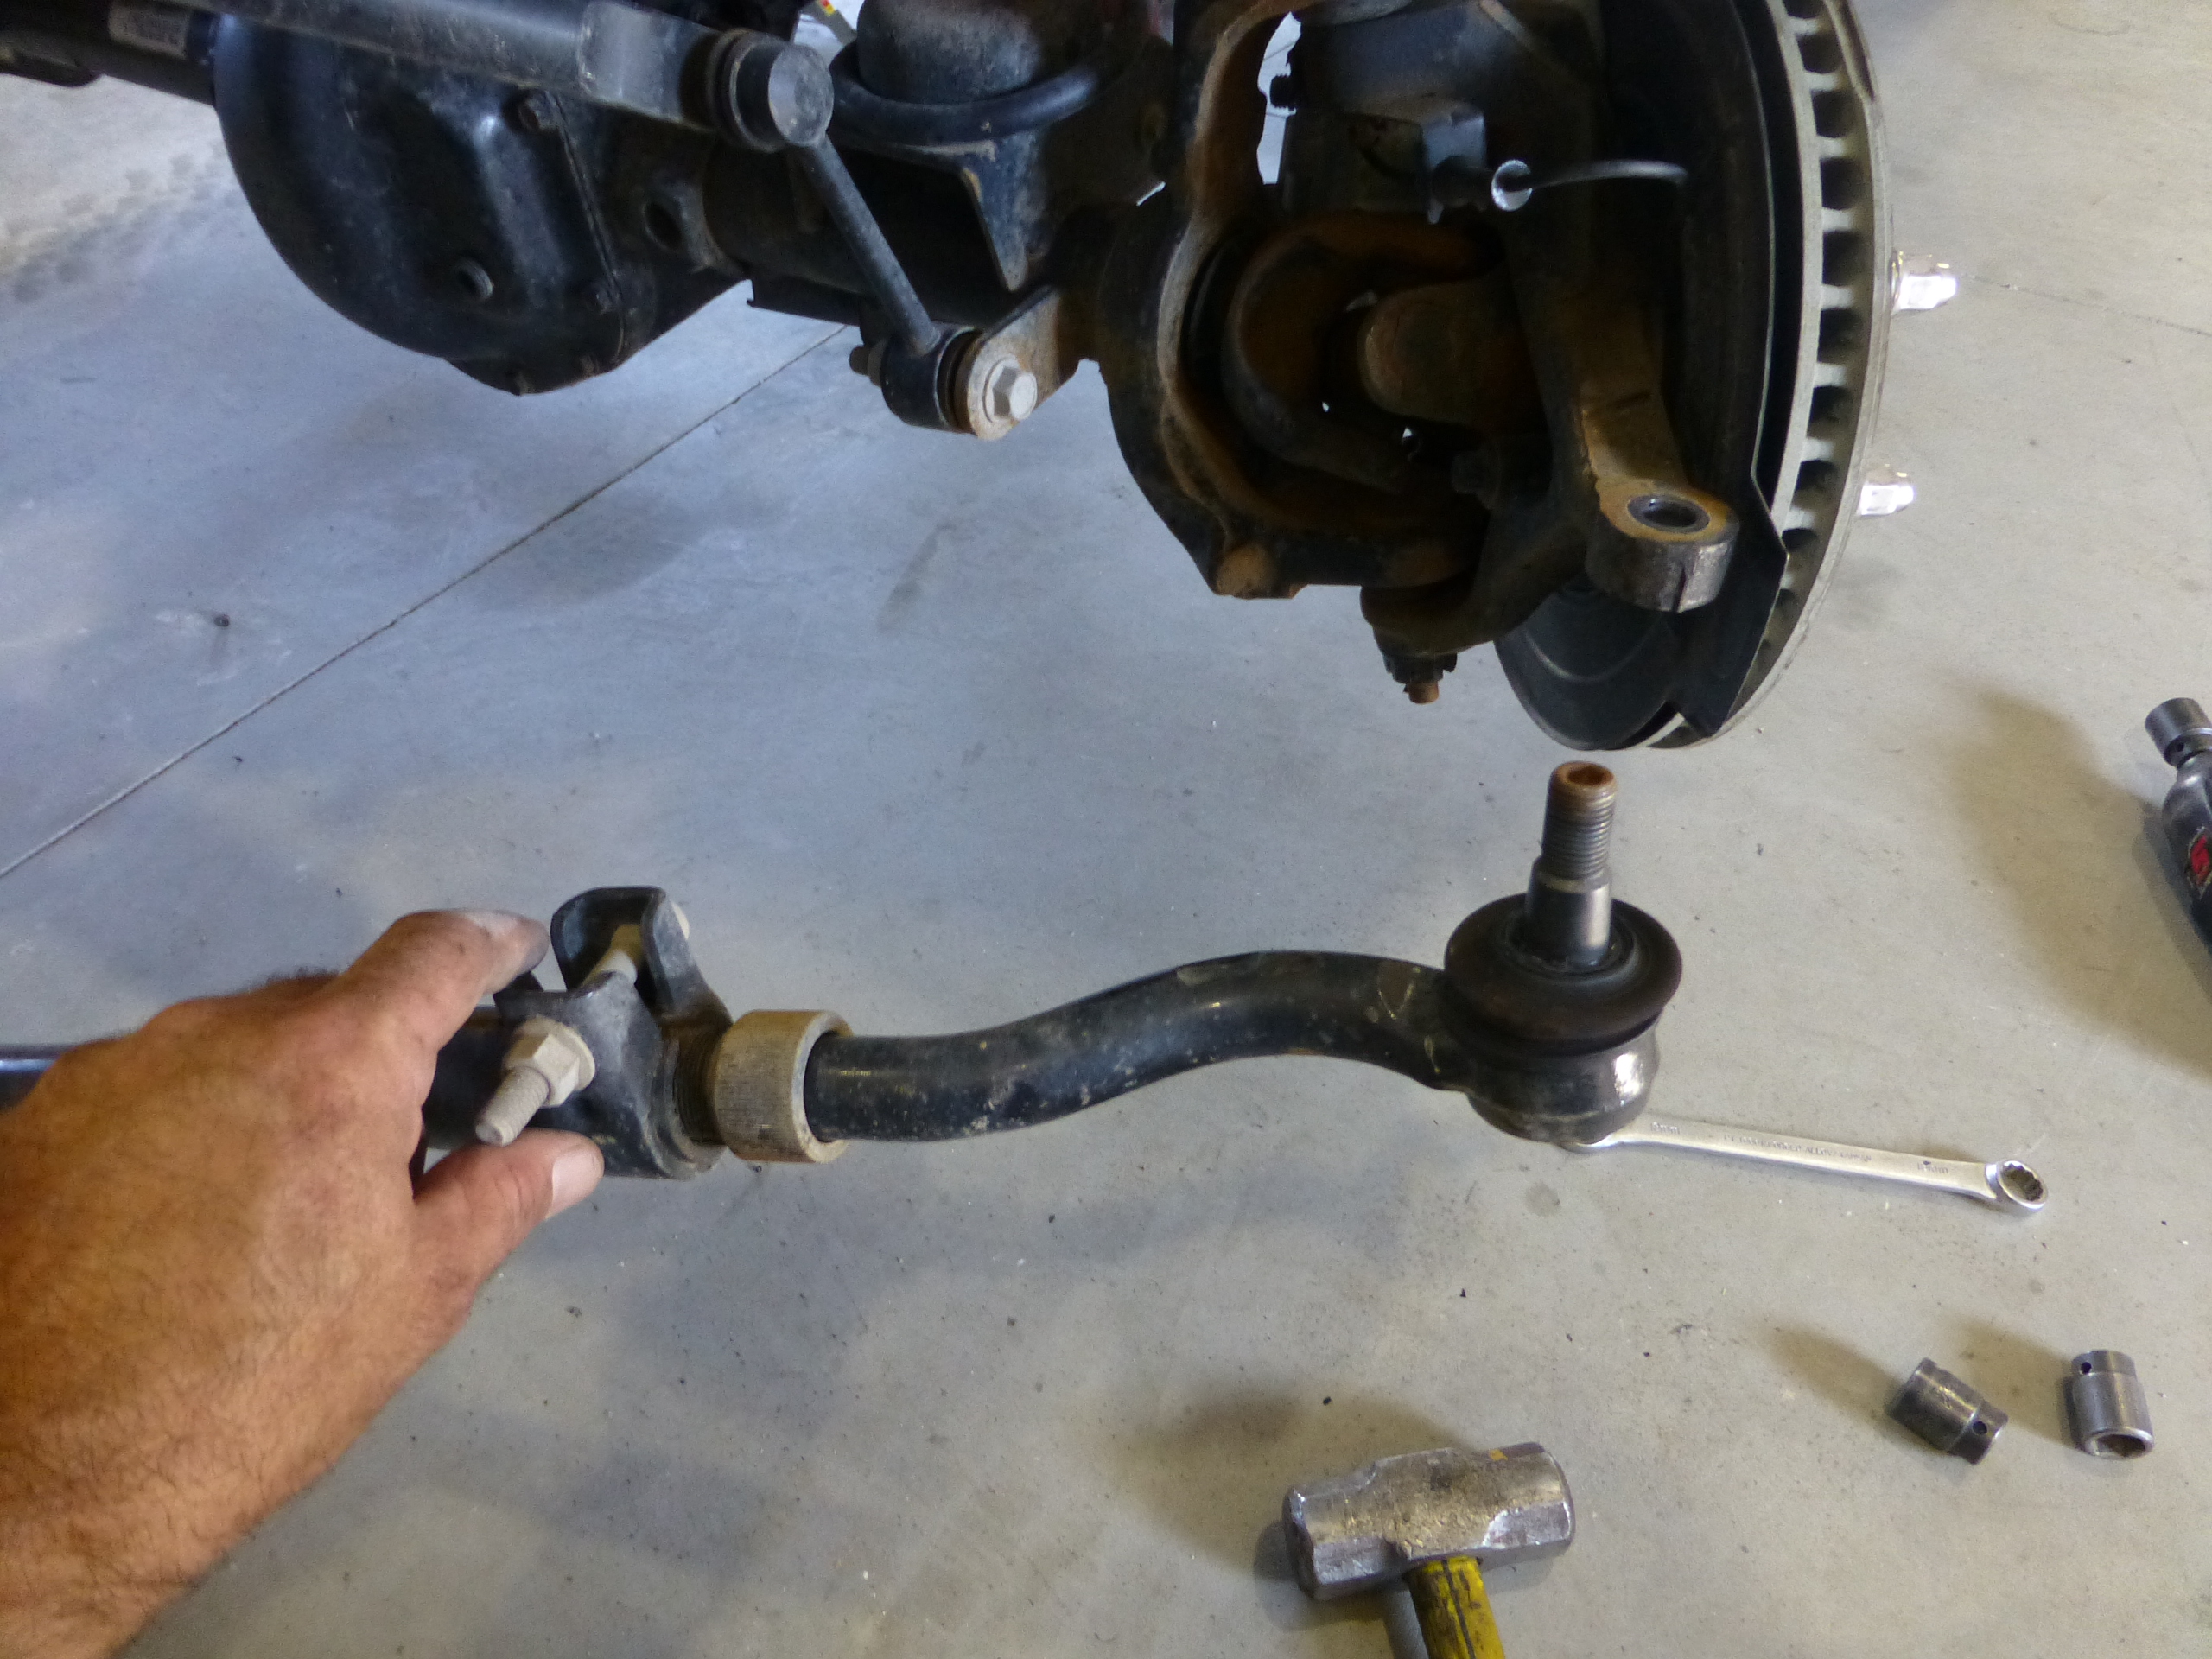
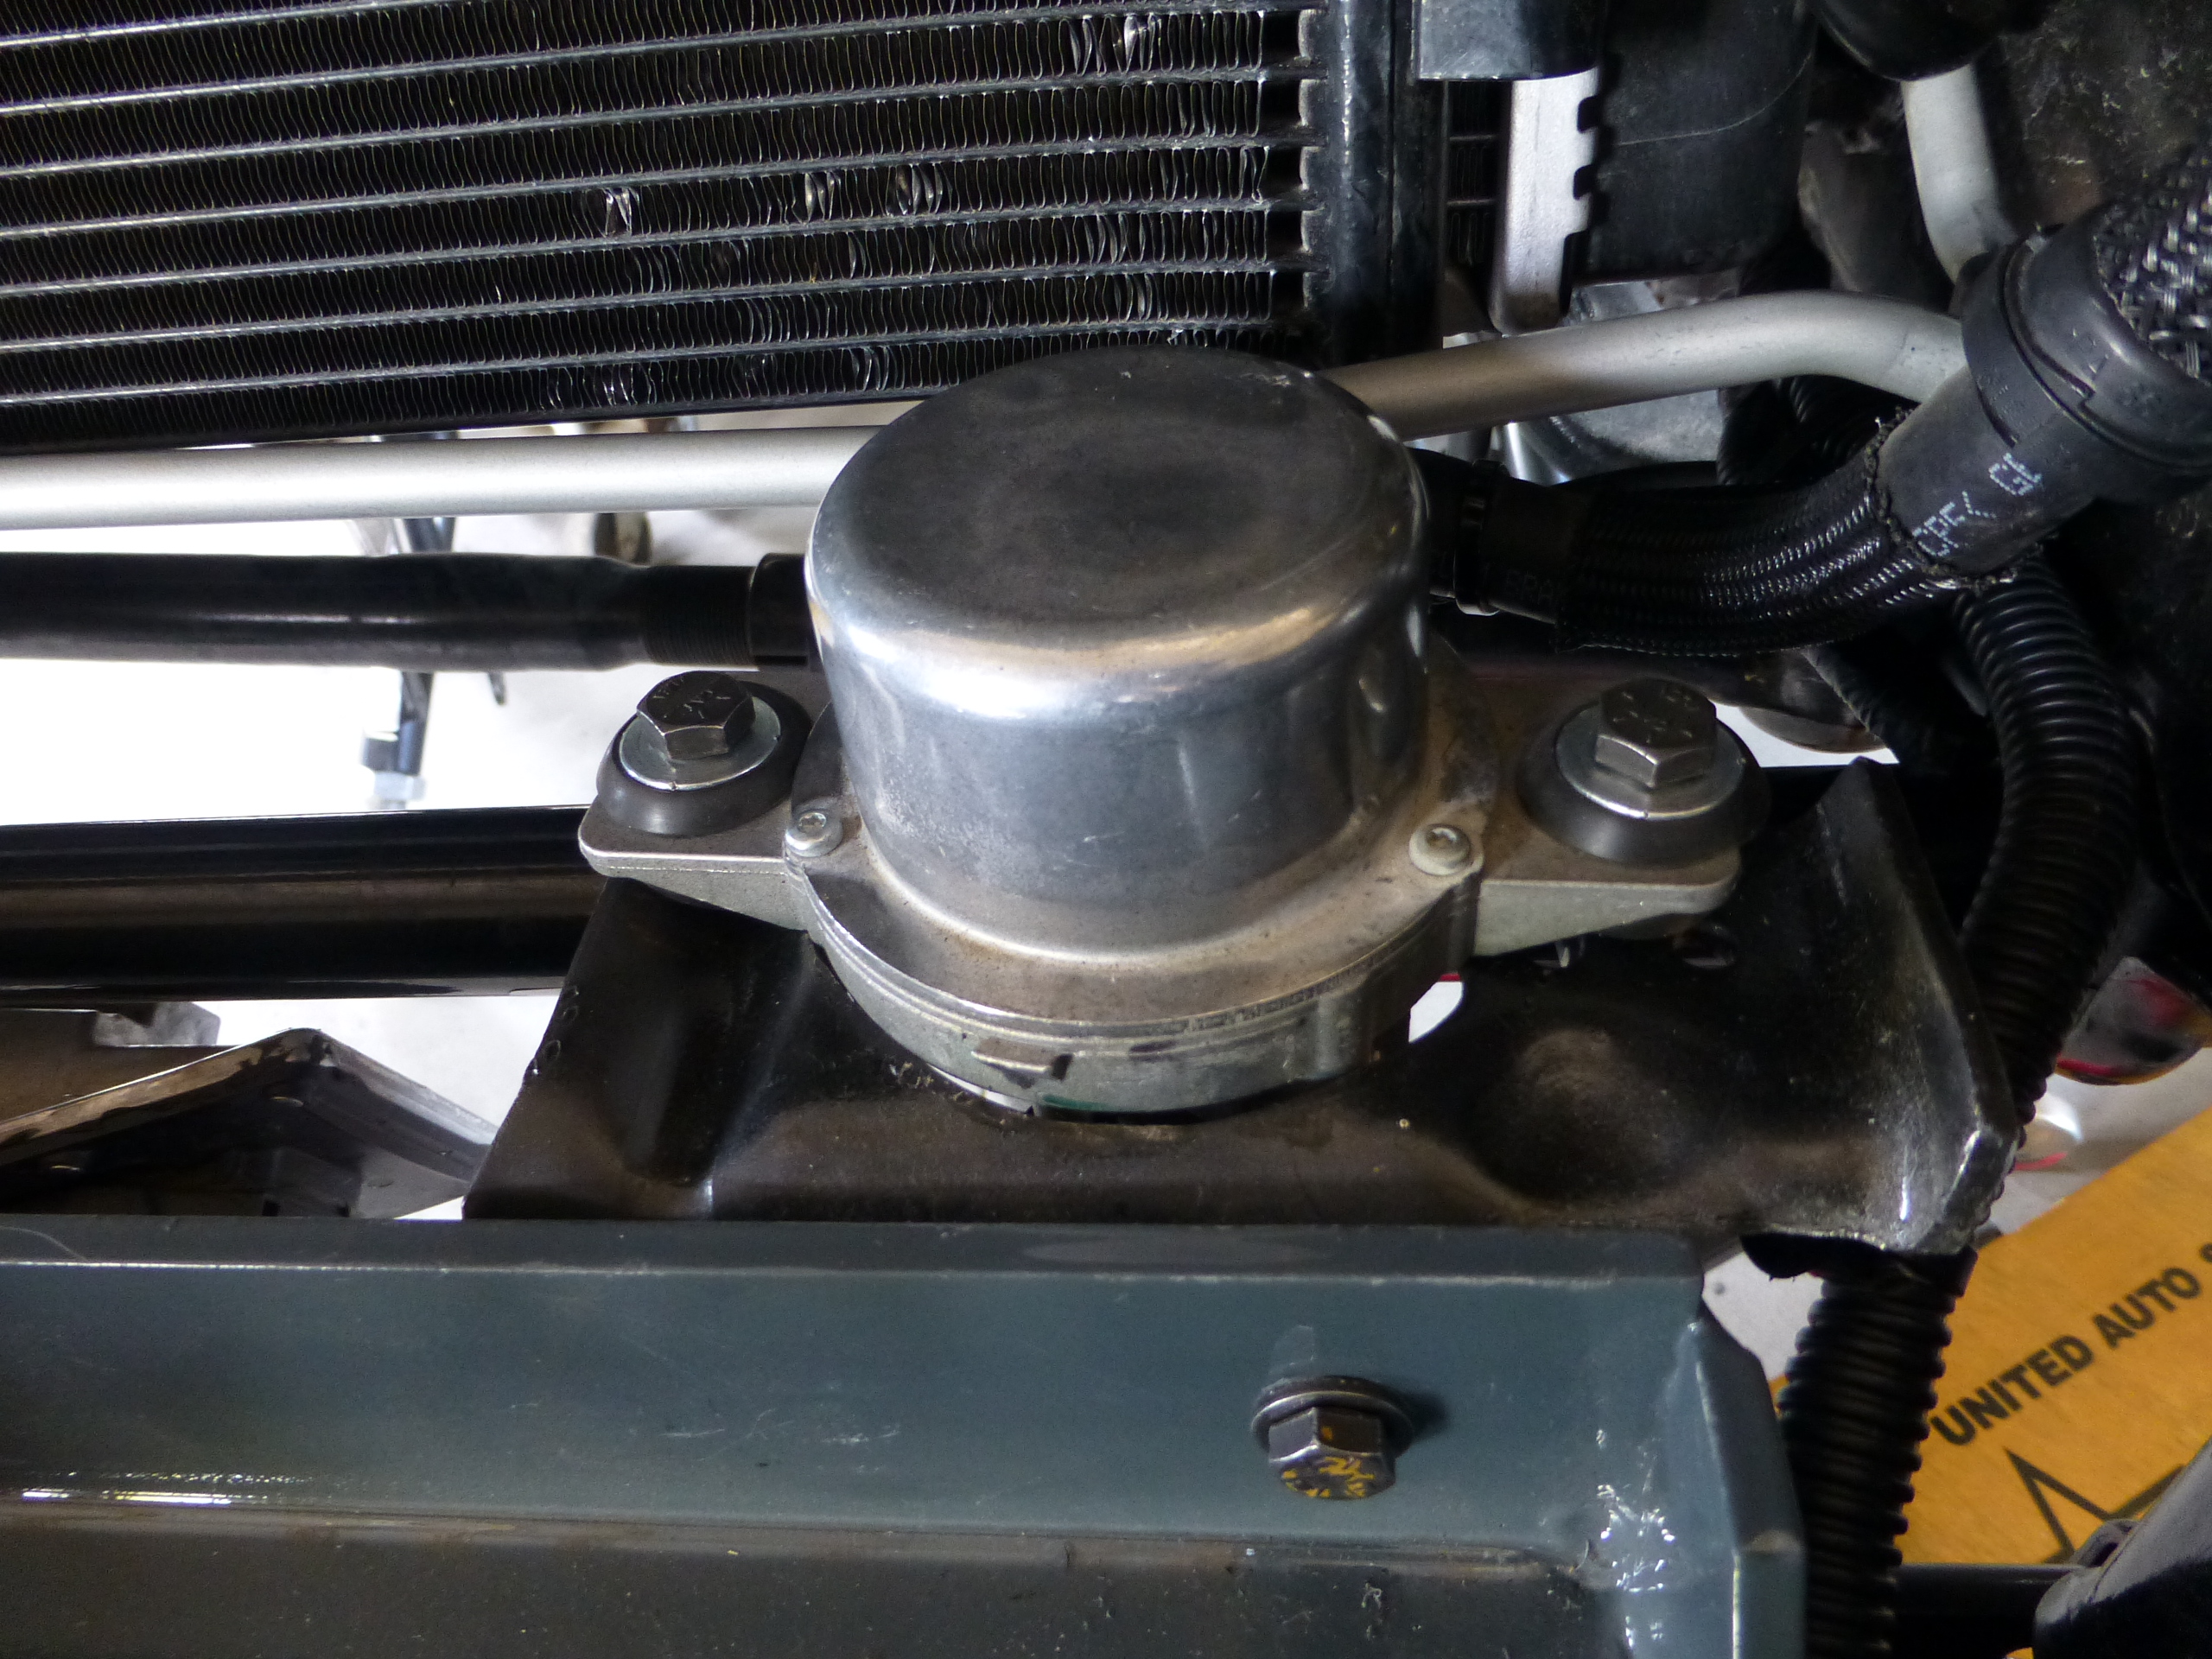
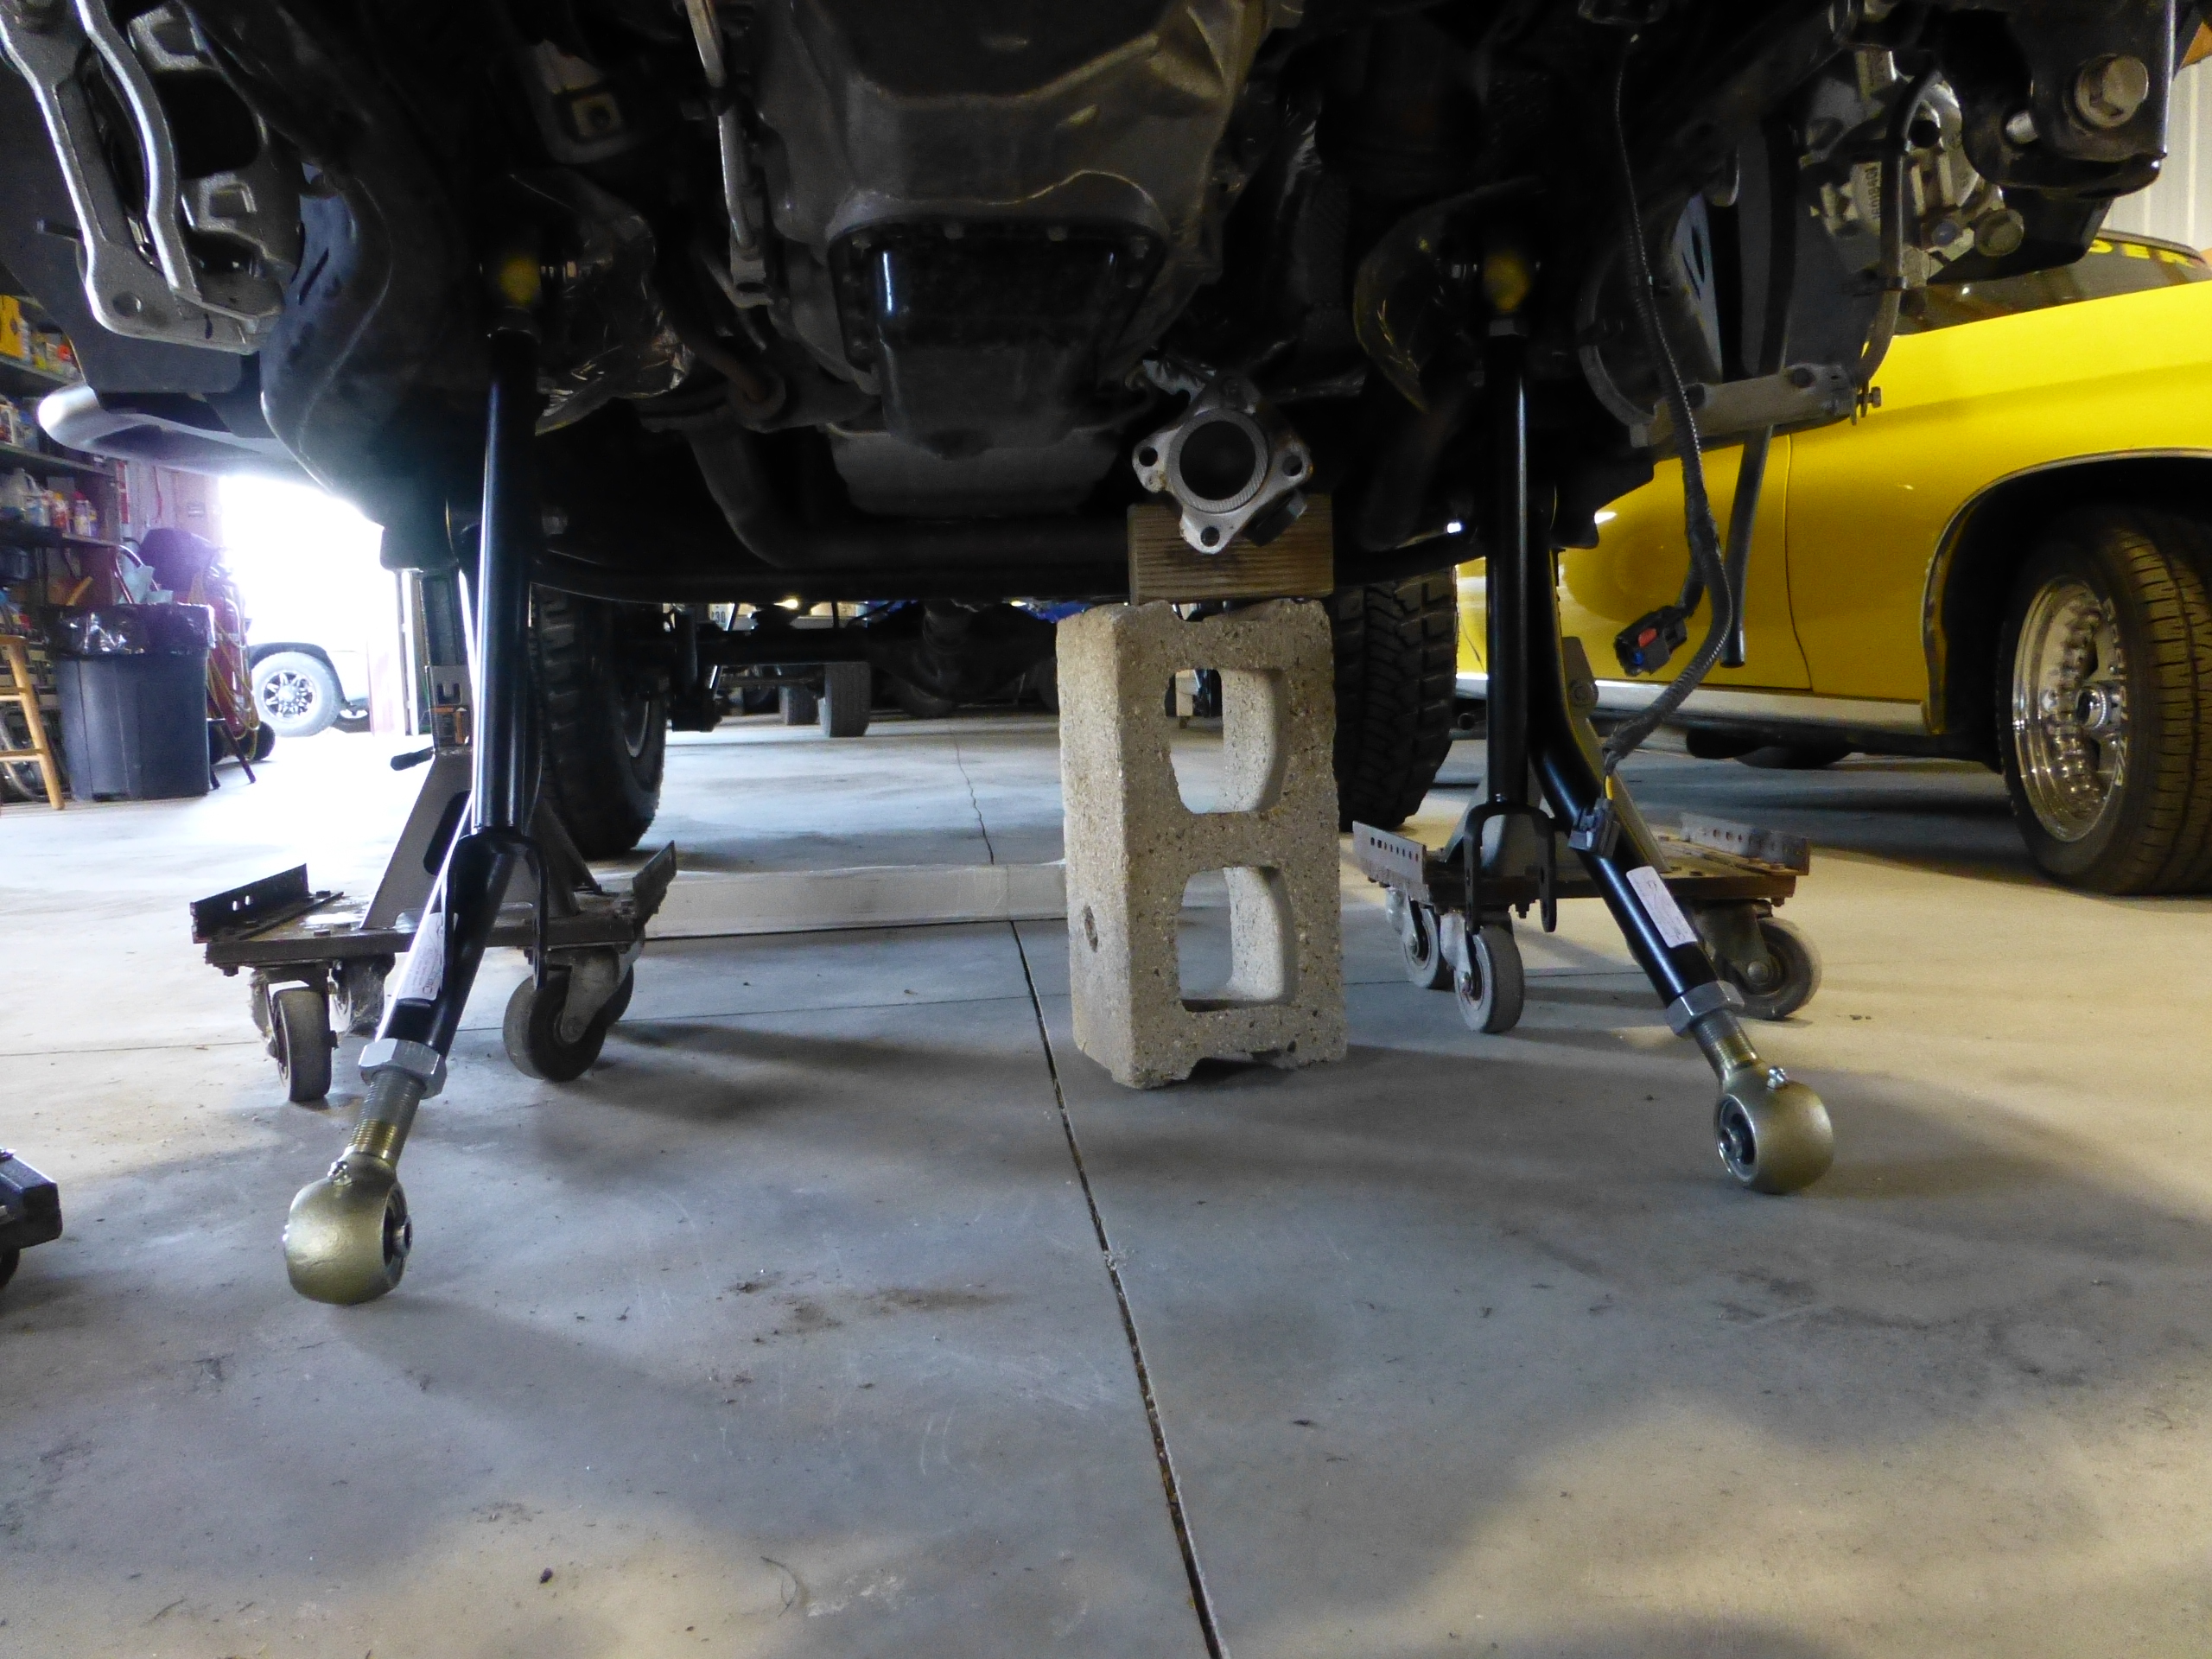
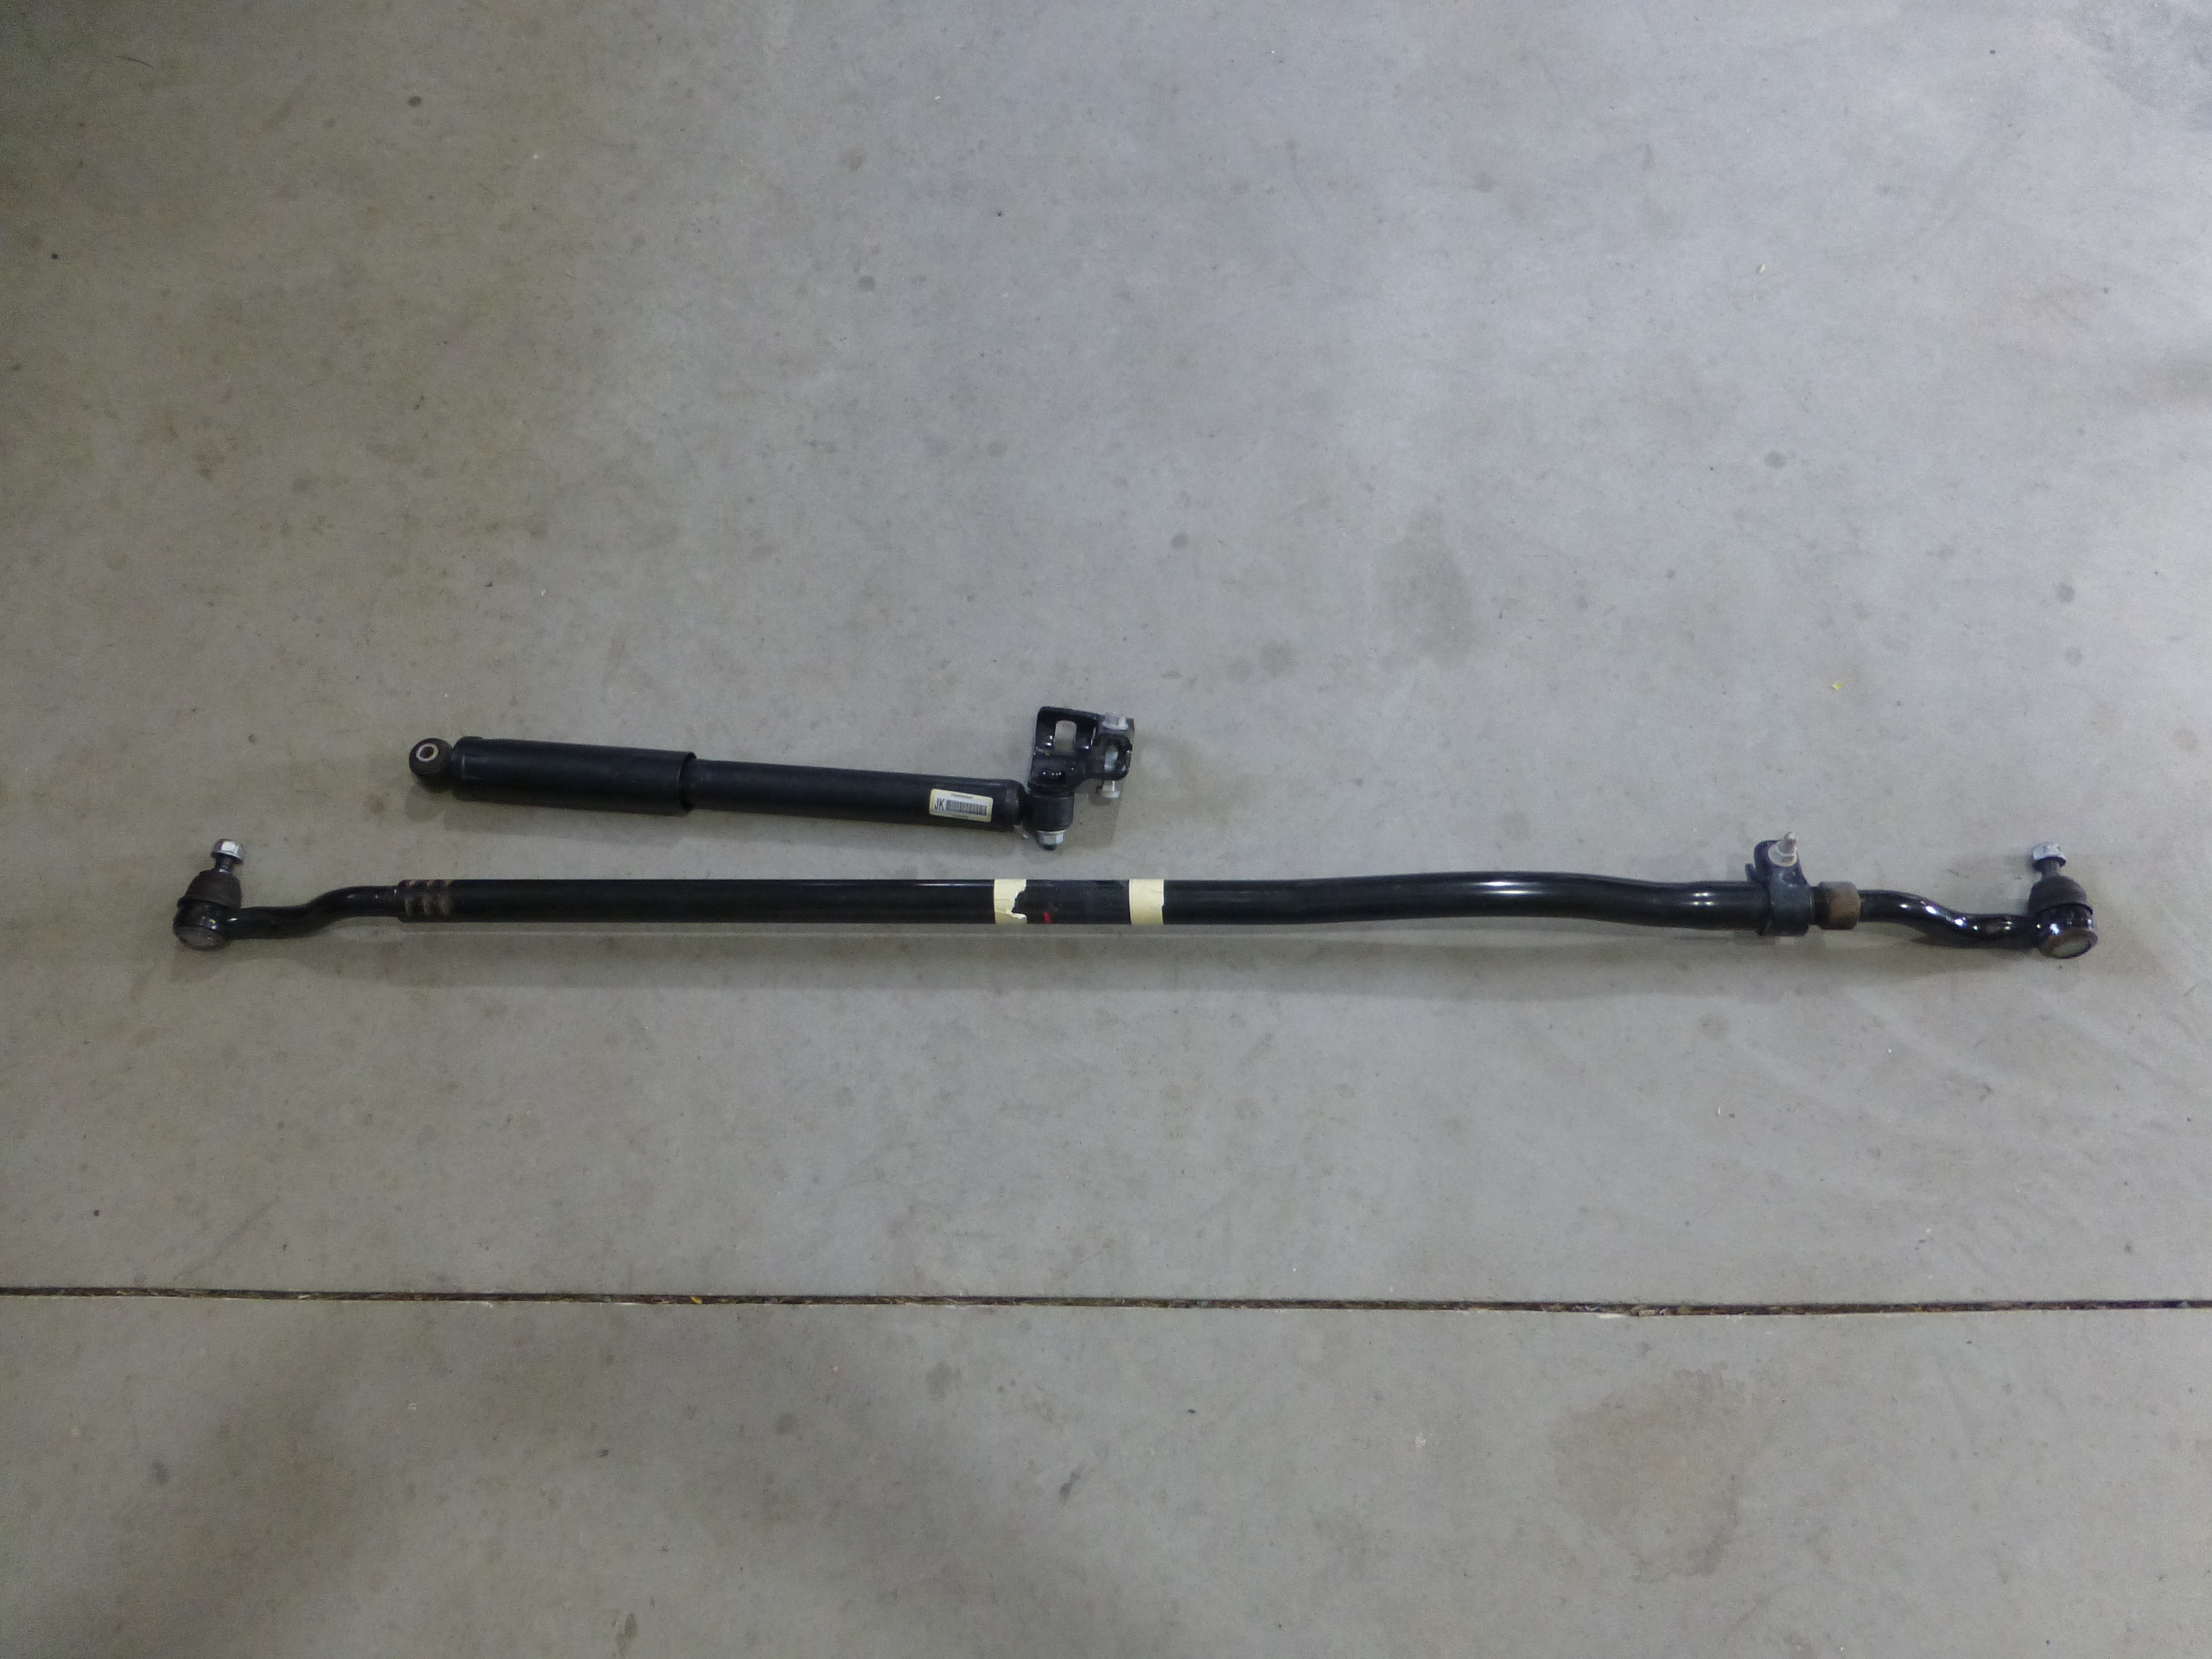
We slid the new axle under the Jeep, connected the lower Flex Arms and installed the springs. It took a little work to get the Jeep up high enough, and the axle low enough to fit the new springs in (it would have been much easier if we had been utilizing a hoist during the install) but with a little cussing, discussing and determination, we managed to wrestle them in. Once the springs were in we hooked up the track bar; in doing so we made sure to use the new hardware supplied with the steering stabilizer relocation kit. Essentially the mounting hardware for the new track bar is also the mounting stud for relocating the steering stabilizer up and out of the way. Before removing the old steering stabilizer from the tie rod, we marked where the original mount was so we could get a close proximity for mounting the new bracket (marked by the masking tape).
From there we hooked up the drag link, the new sway bar quick connects, end links and tie rod.


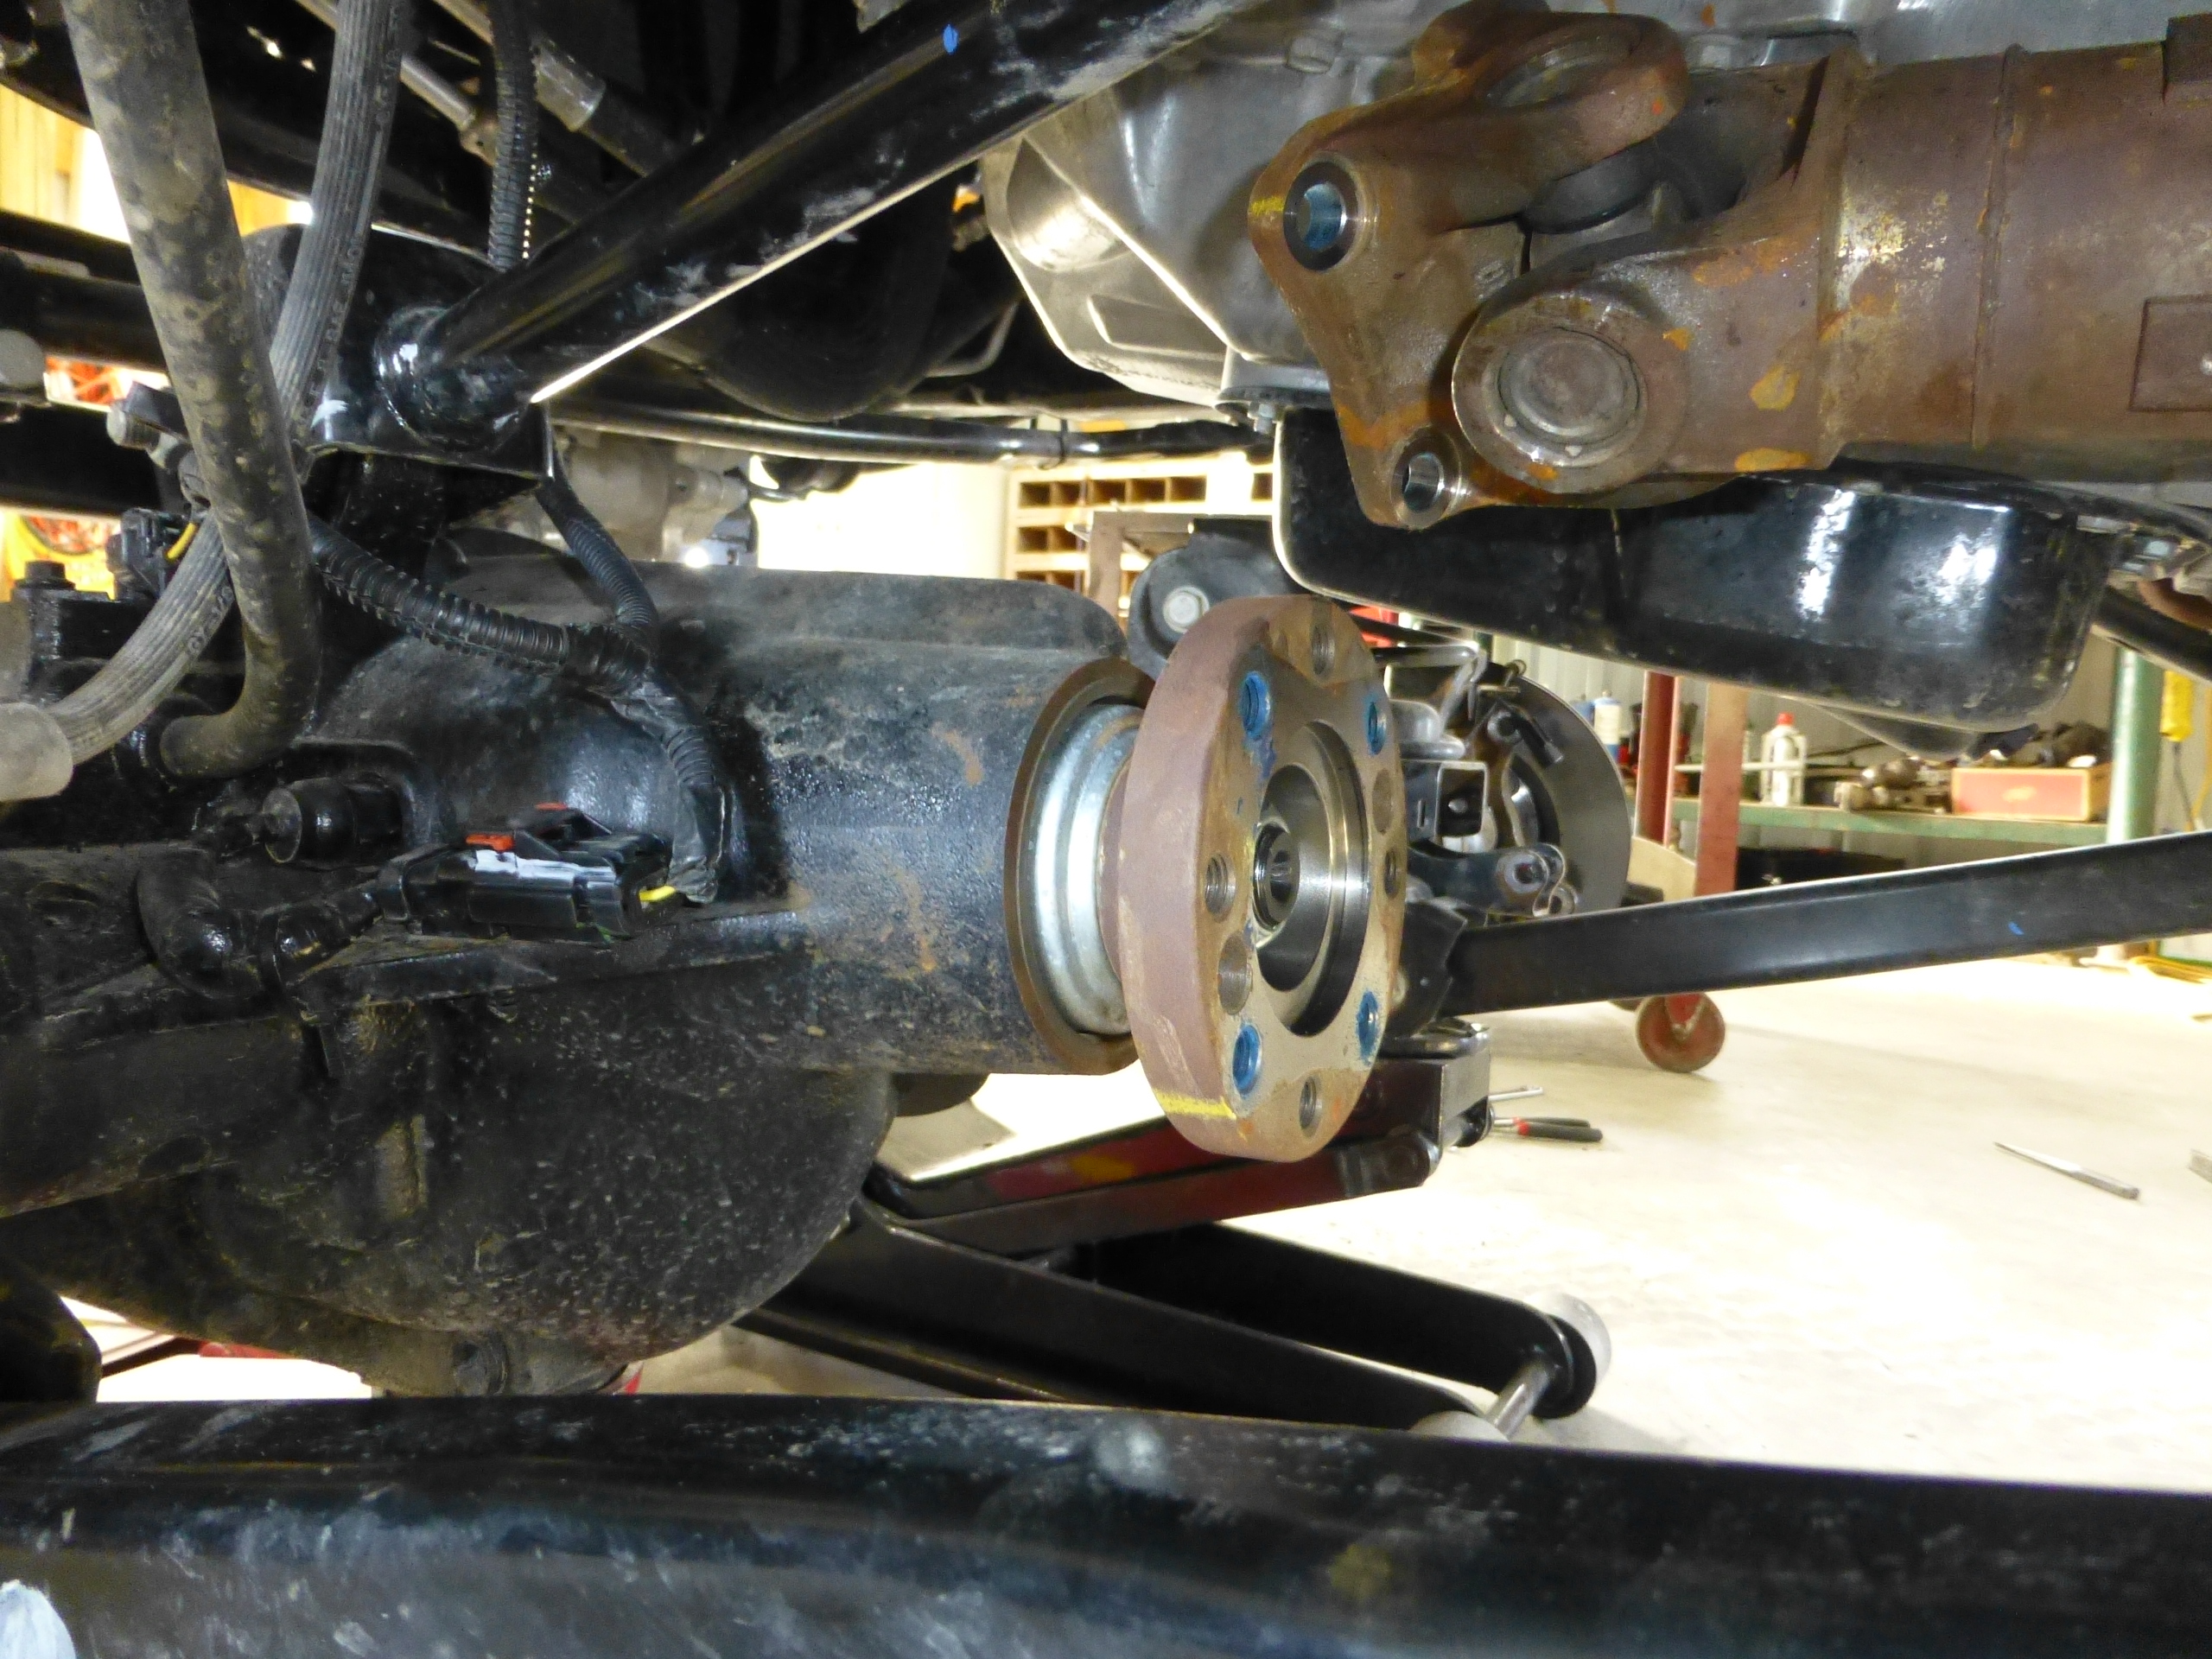
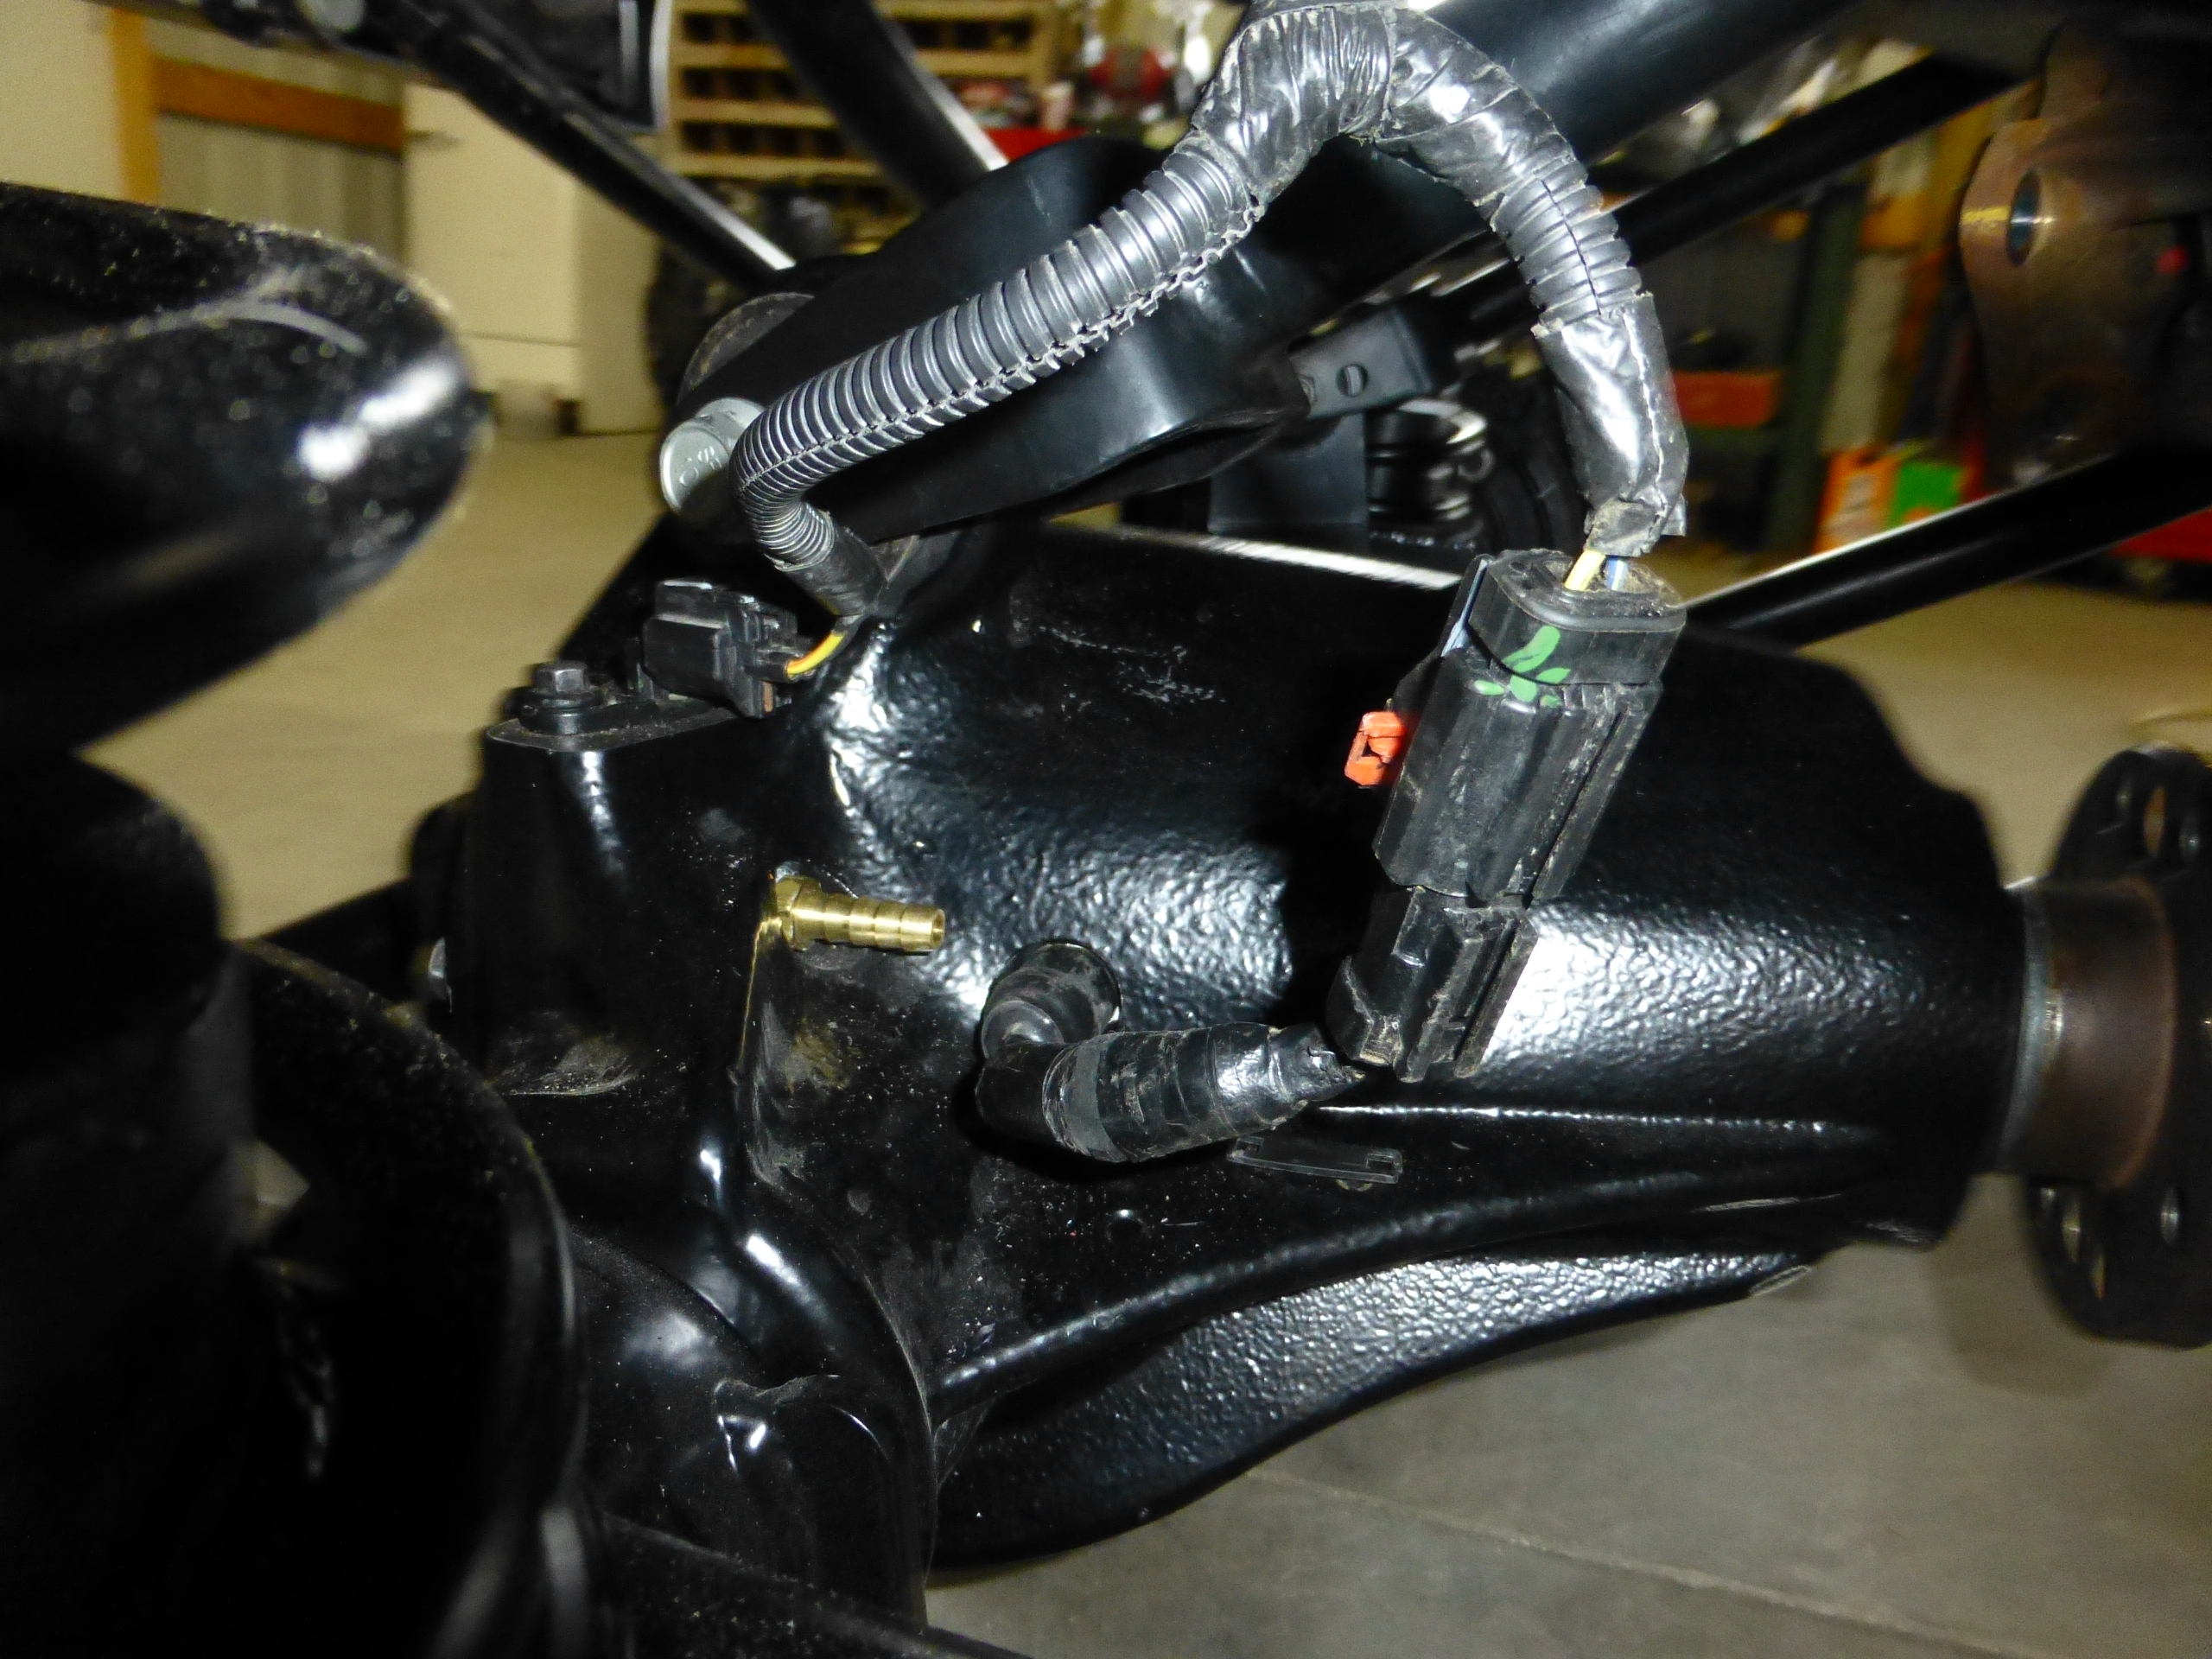
That pretty much took care of the major and heavy components. Since things were in place we connected the electrical components and hooked the vent tube for the differential back together and then turned our attention to the new brake lines.
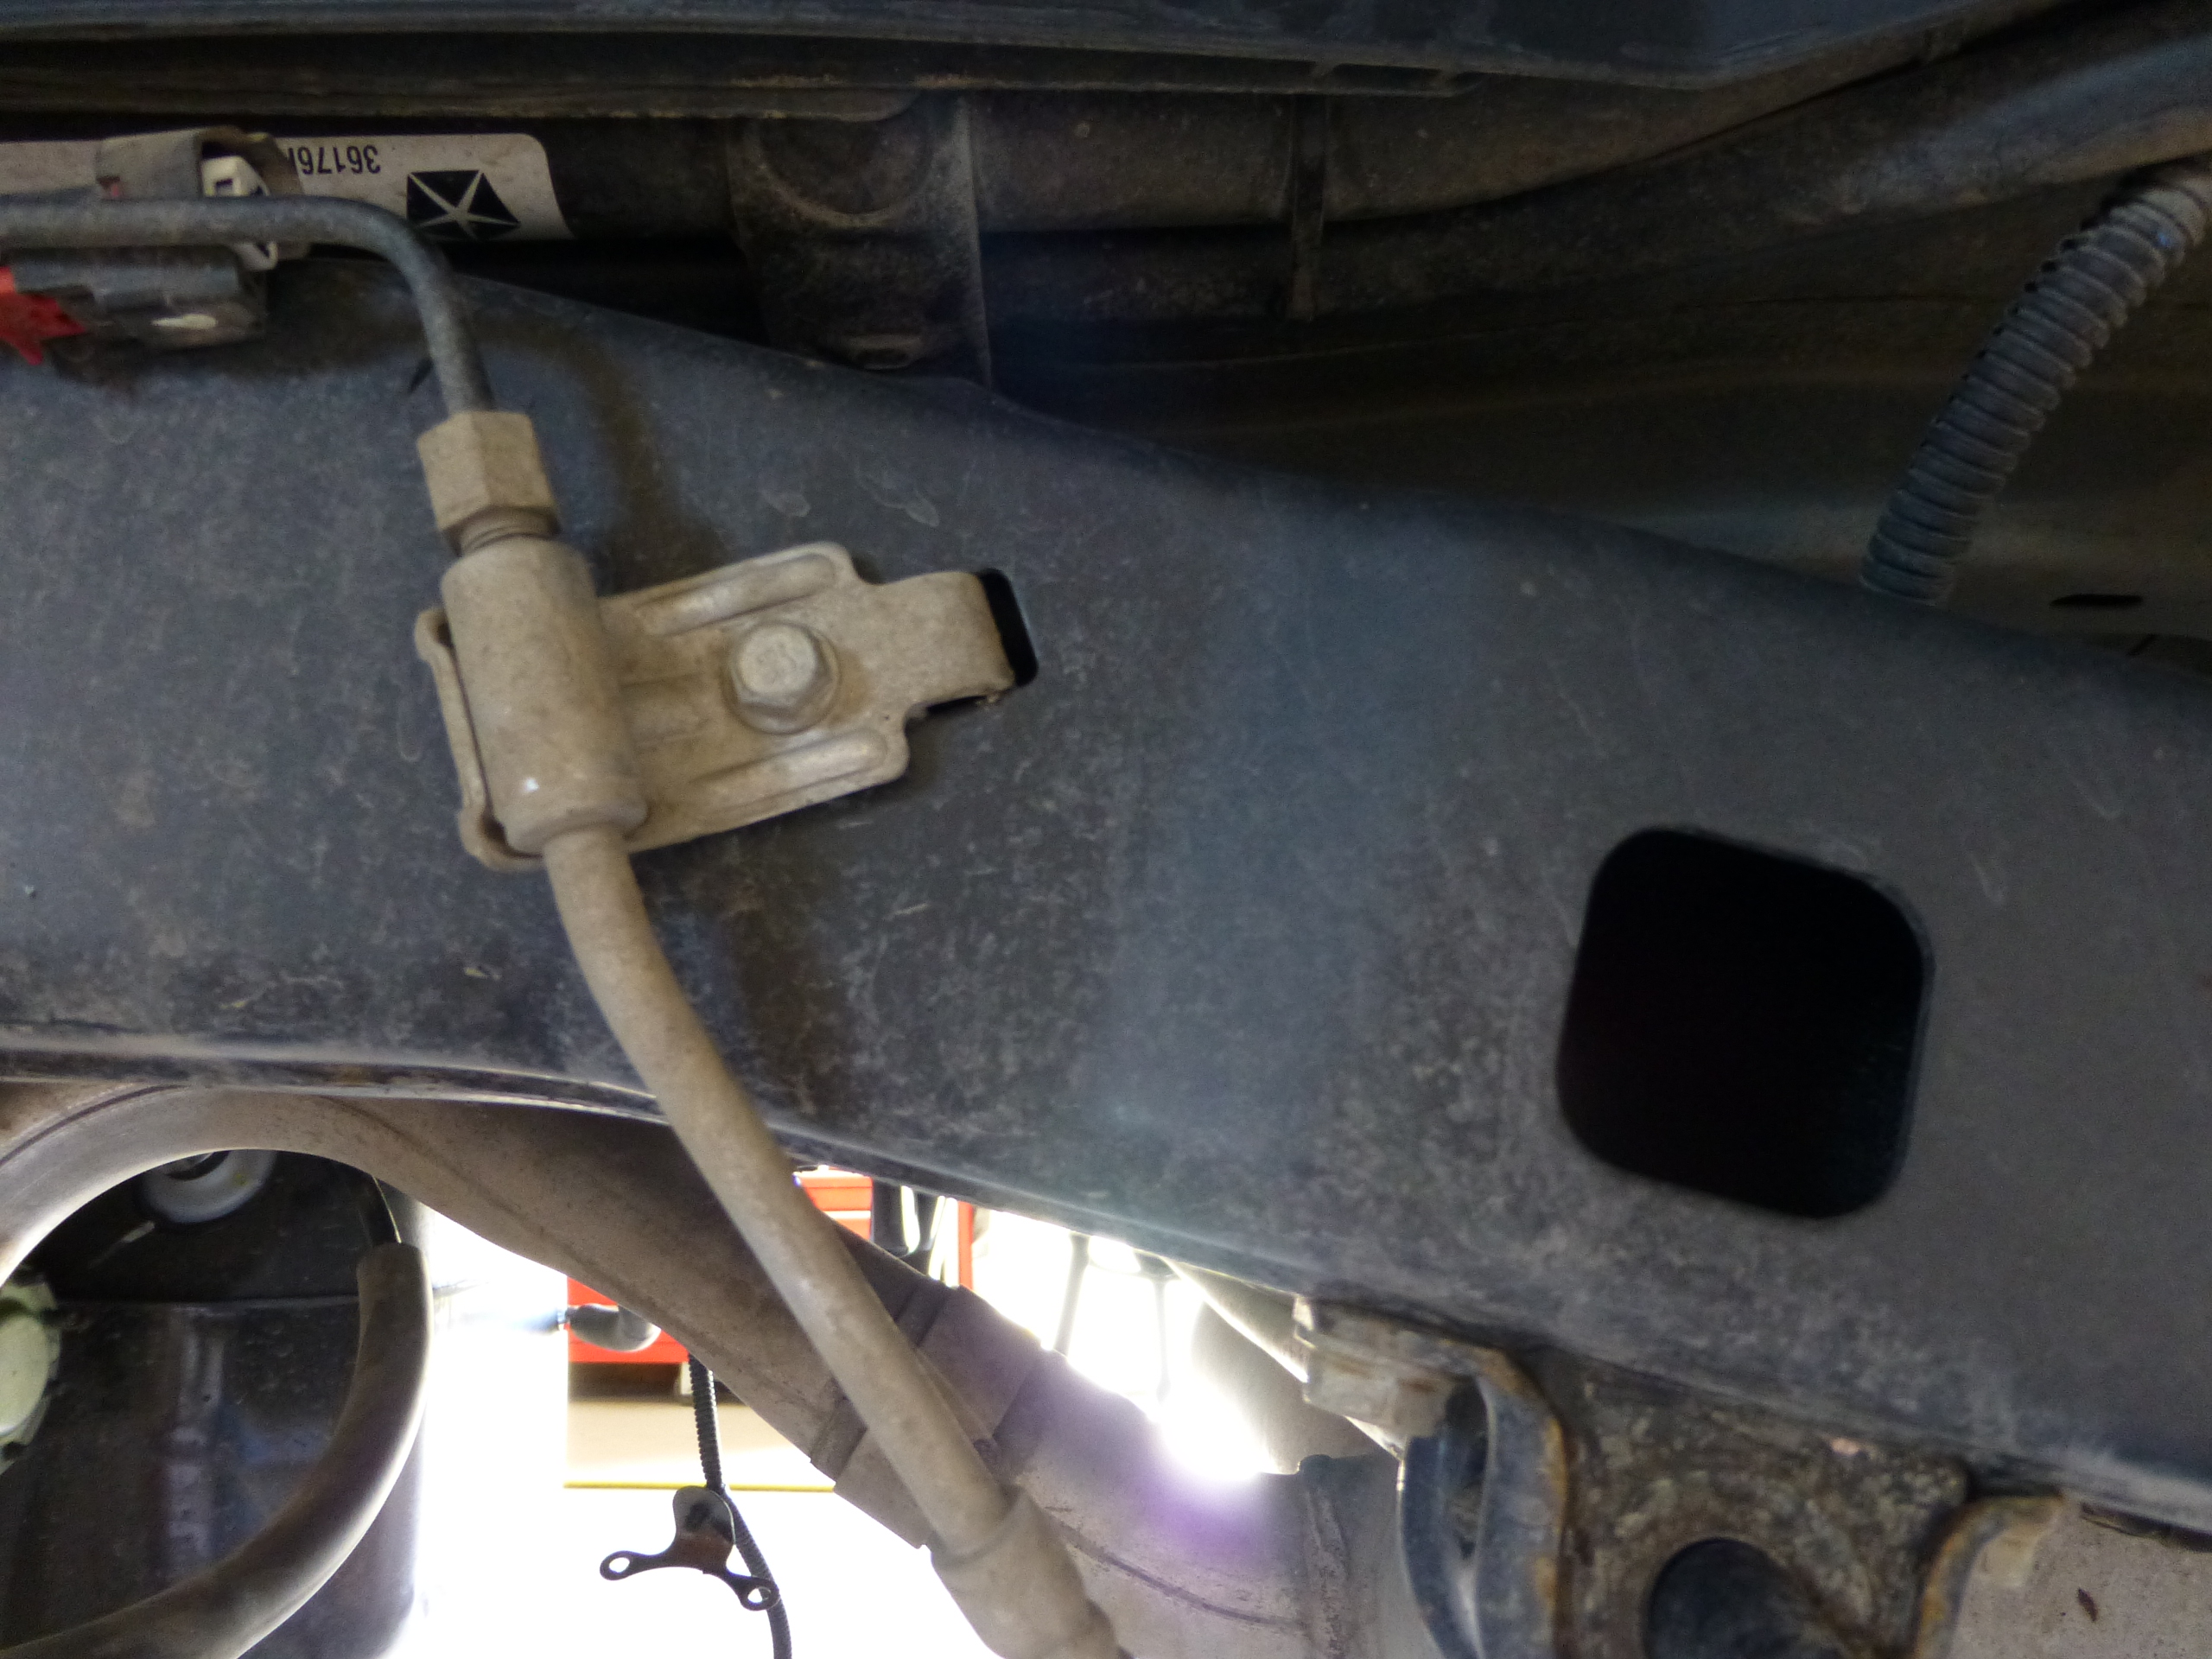
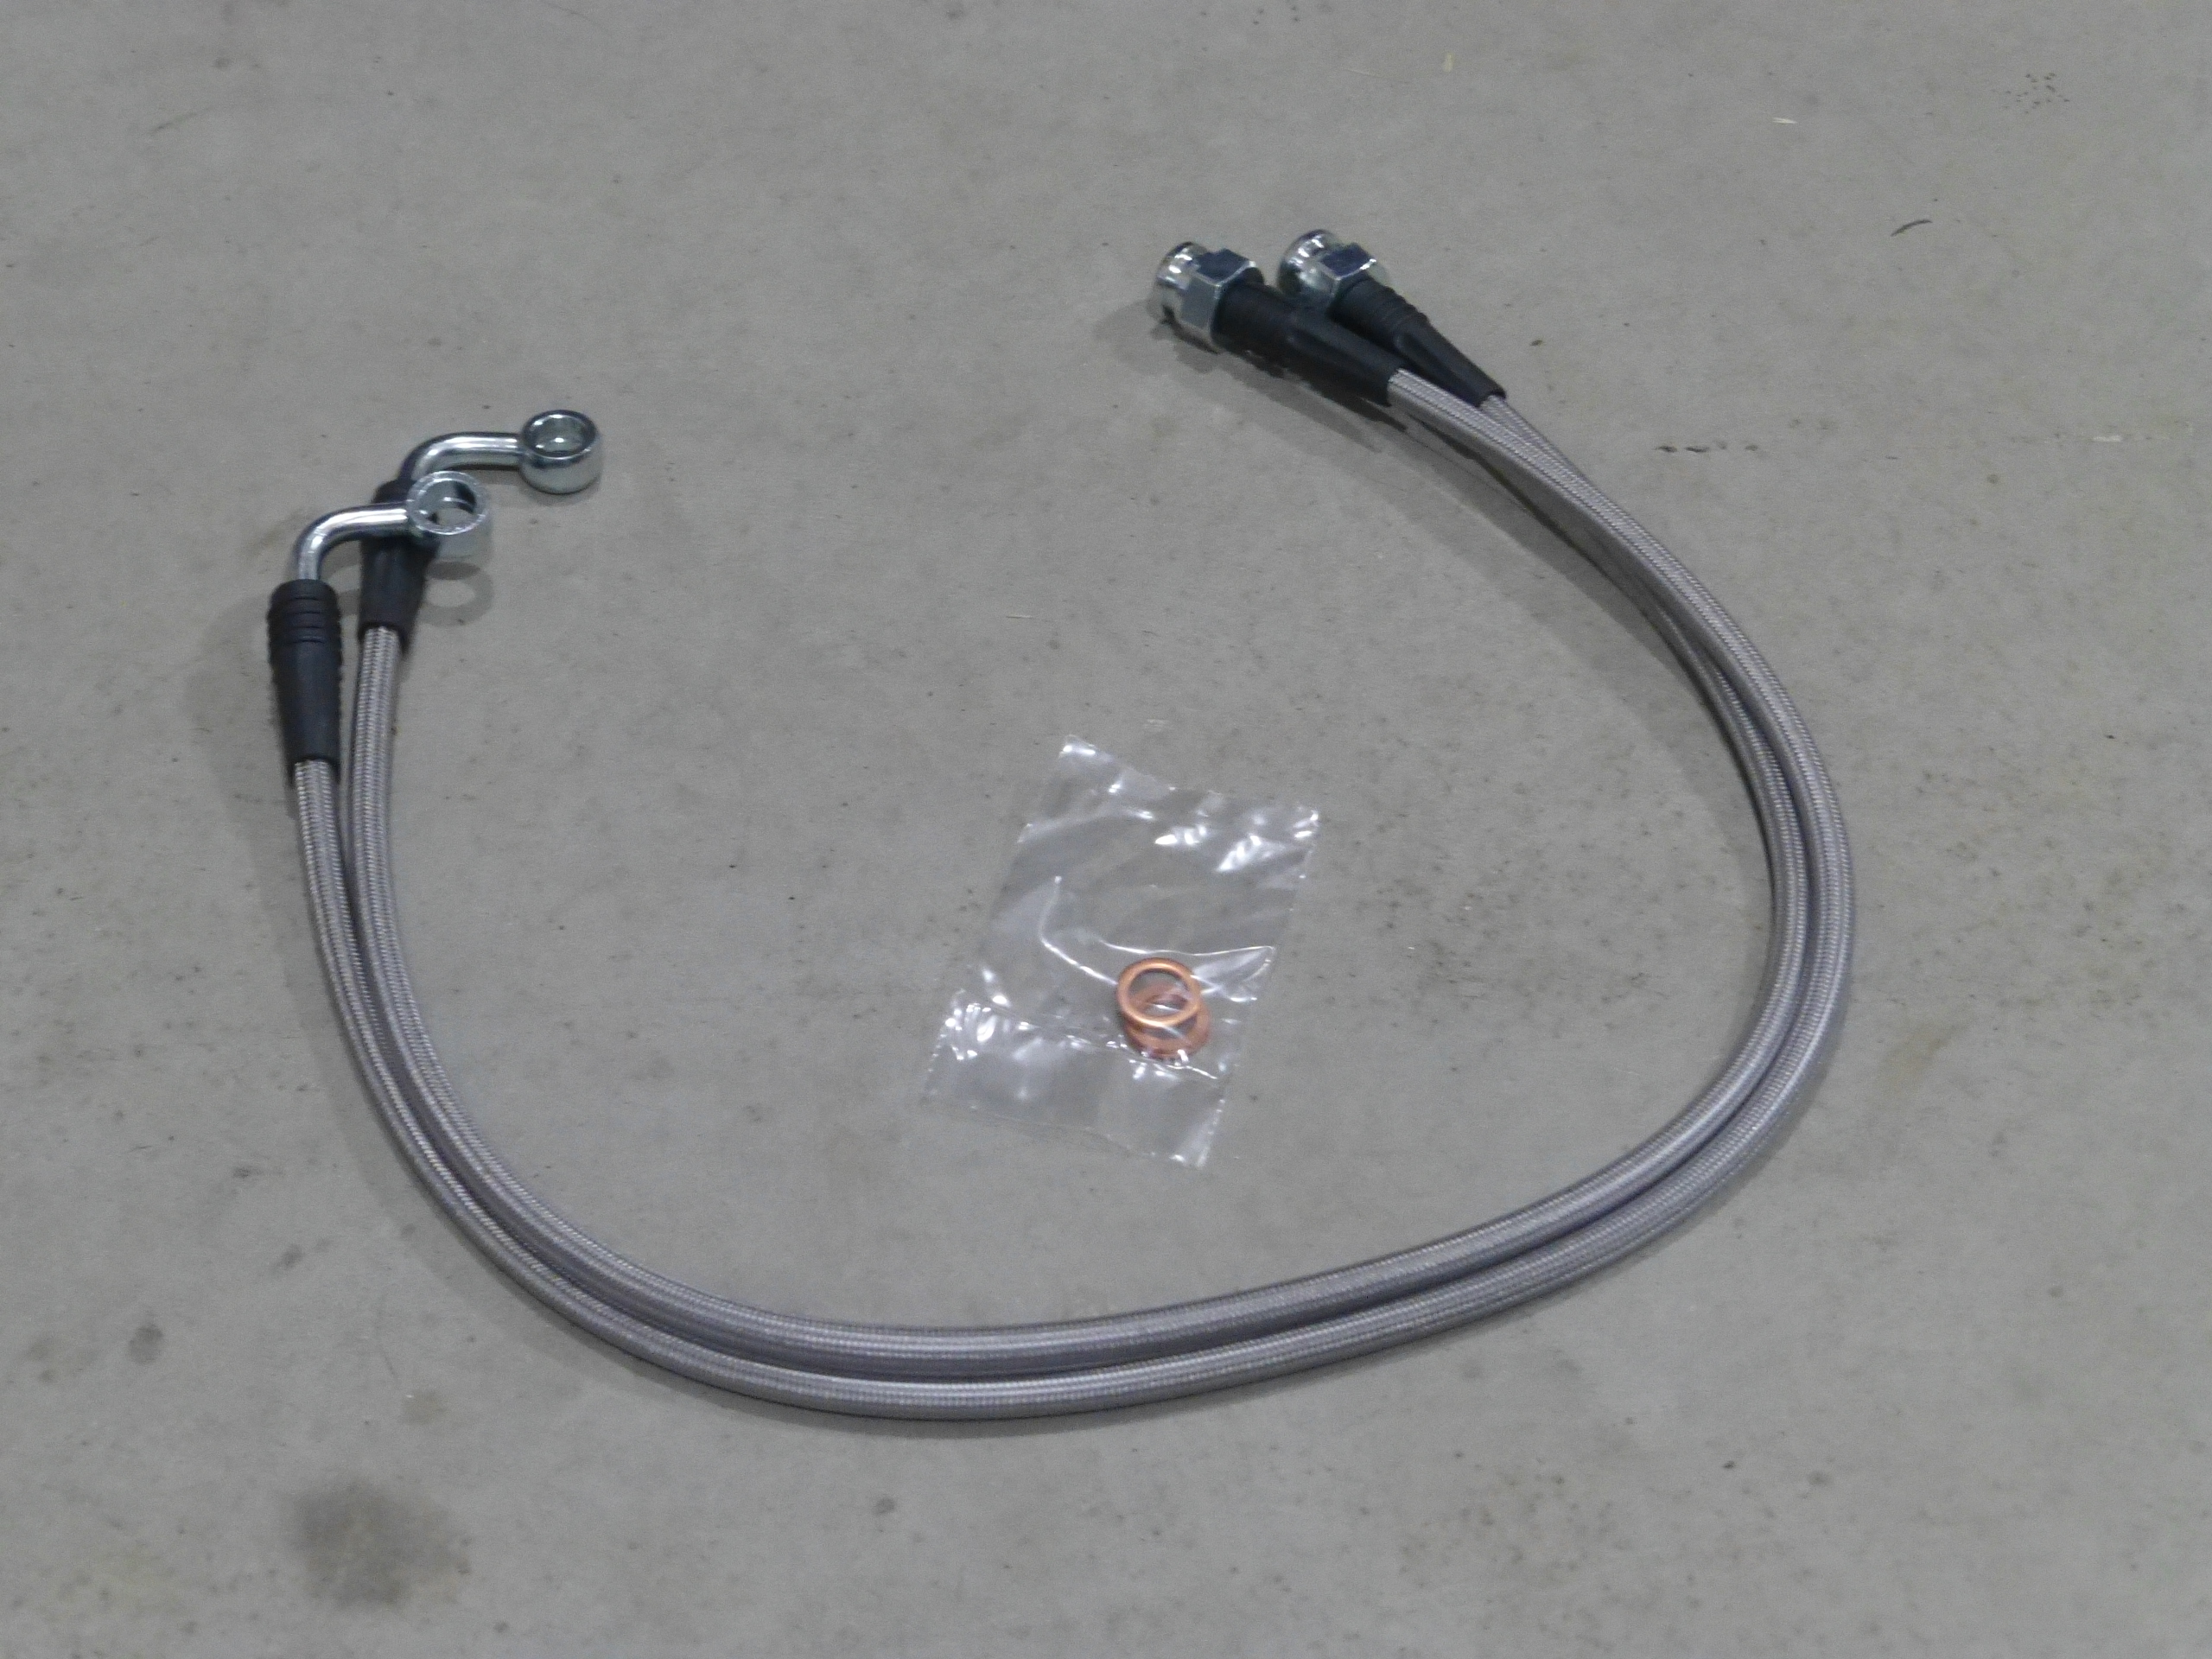
Installing the new brake lines were easy enough, we just used a drain pan to catch the excess brake fluid as we swapped out the old lines for new. The old mounting spot for the factory brake line was reused by removing the factory mount, installing the new bracket that came with the suspension system and connecting the lines. From there we quickly bled the brakes and that step was completed.
If you look close you will see that the springs aren’t in the “perfect position”. That is why we left the upper and lower Flex Arms loose because we knew we would have a little adjusting to do in order to dial it in.
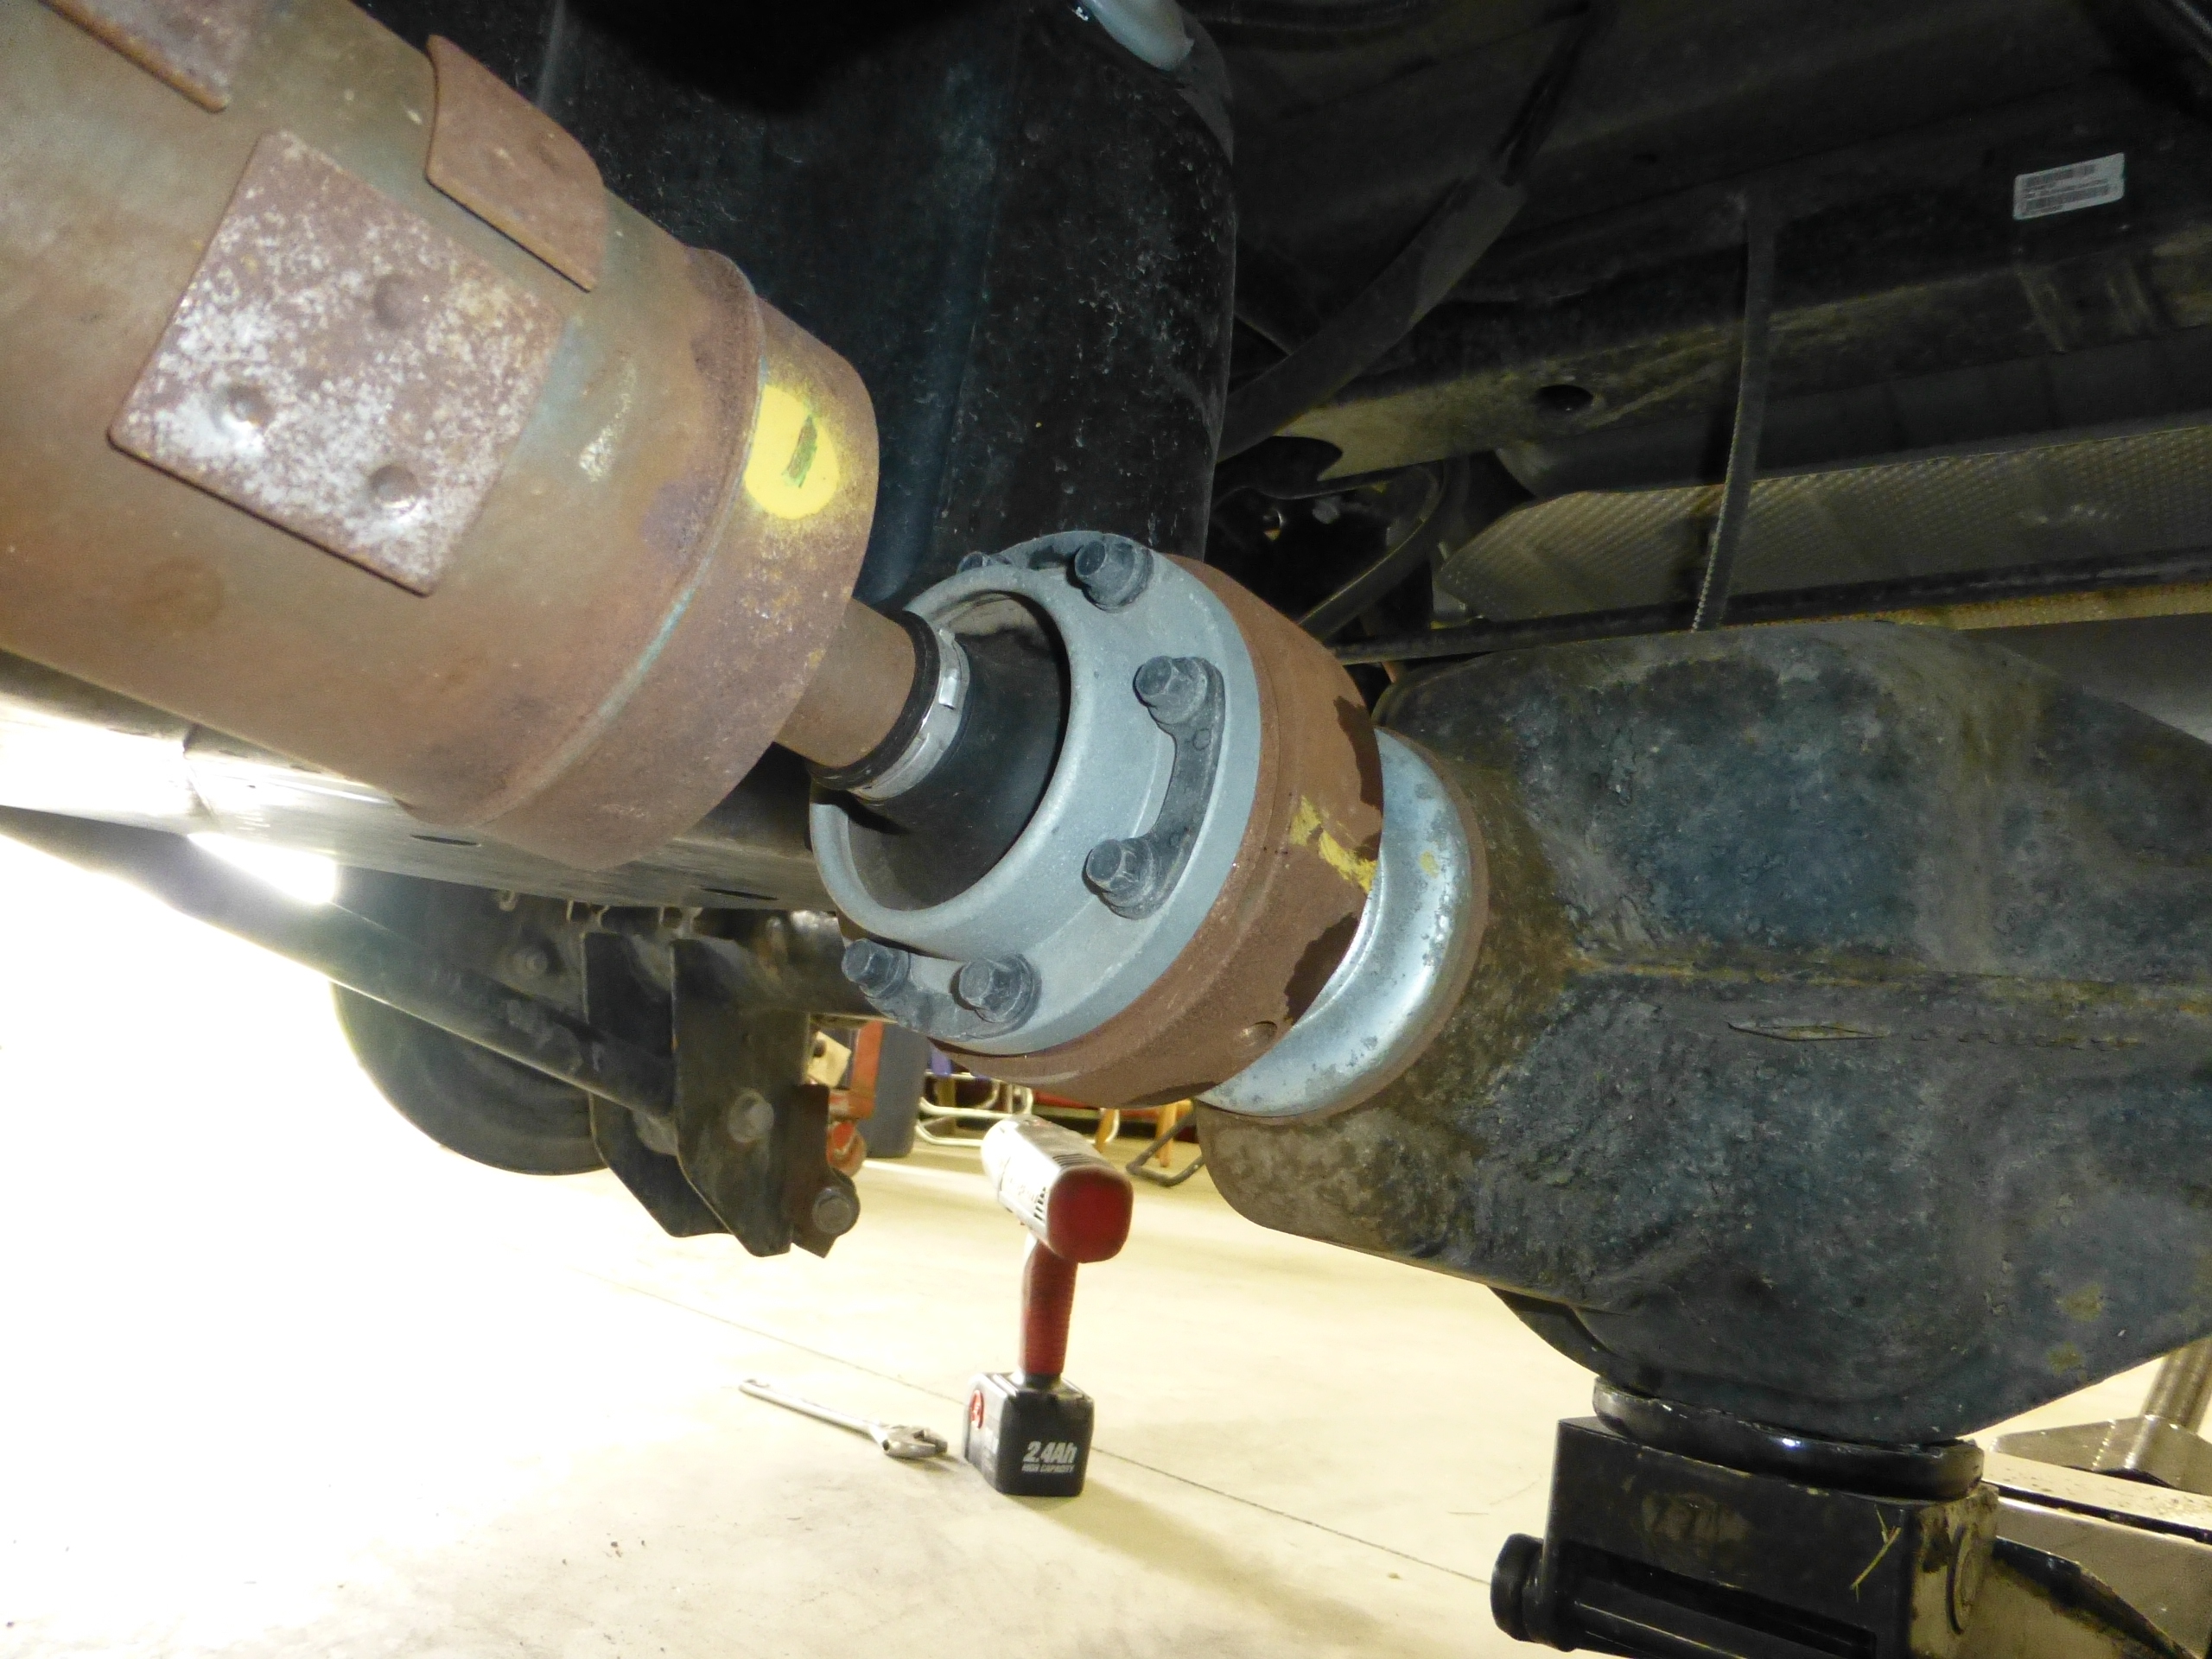
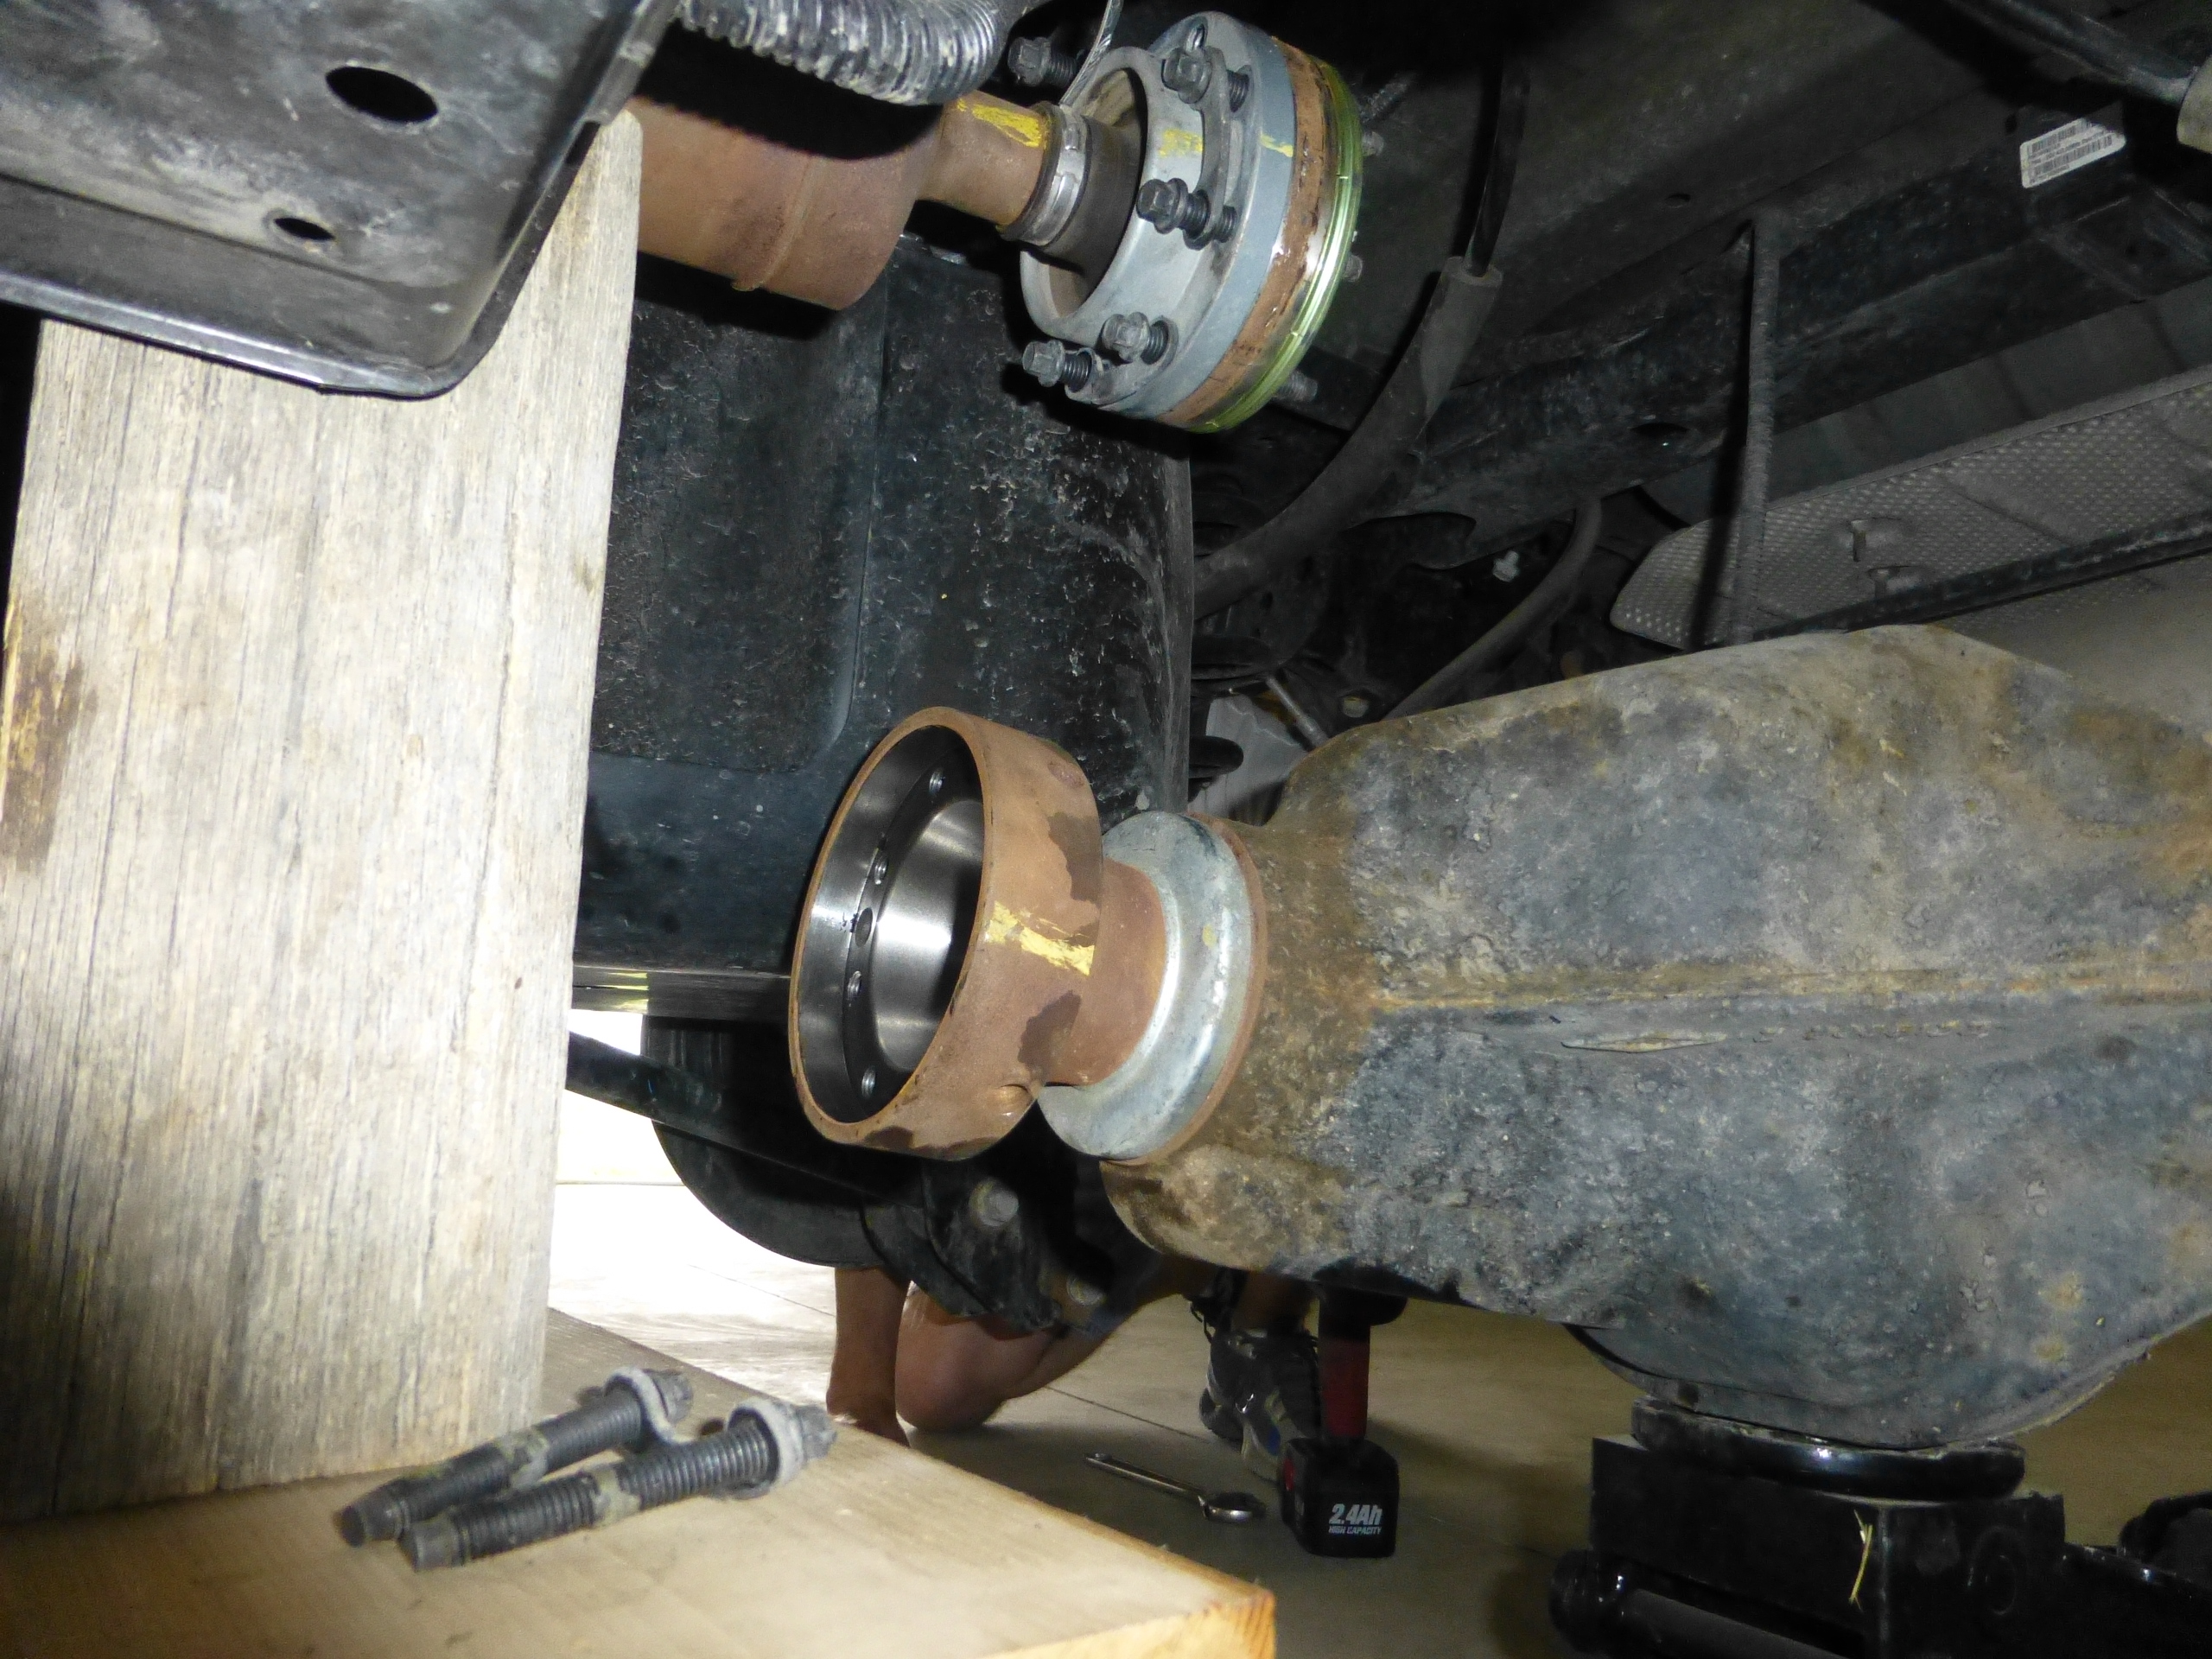
Before we did our “final adjustment on the axle we went ahead and mounted the new Fox Shocks and connected the driveline. Once all of that was done we rotated our axle to ensure we had enough clearance for all of the moving parts and that it sat where we wanted in the wheel well, again, ensuring clearance for our tires to move without contacting the fender wells or fender itself.


Lastly, we put the tires back on, hooked up the battery, filled the front differential with fluid, mounted and relocated the steering stabilizer. With each bolt we tightened we were one step closer to taking this transformed JK on its maiden voyage to properly break in the new gears from Yukon Gear & Axle. The installation instructions also have a section on what the proper “break in” process is for their gear sets.

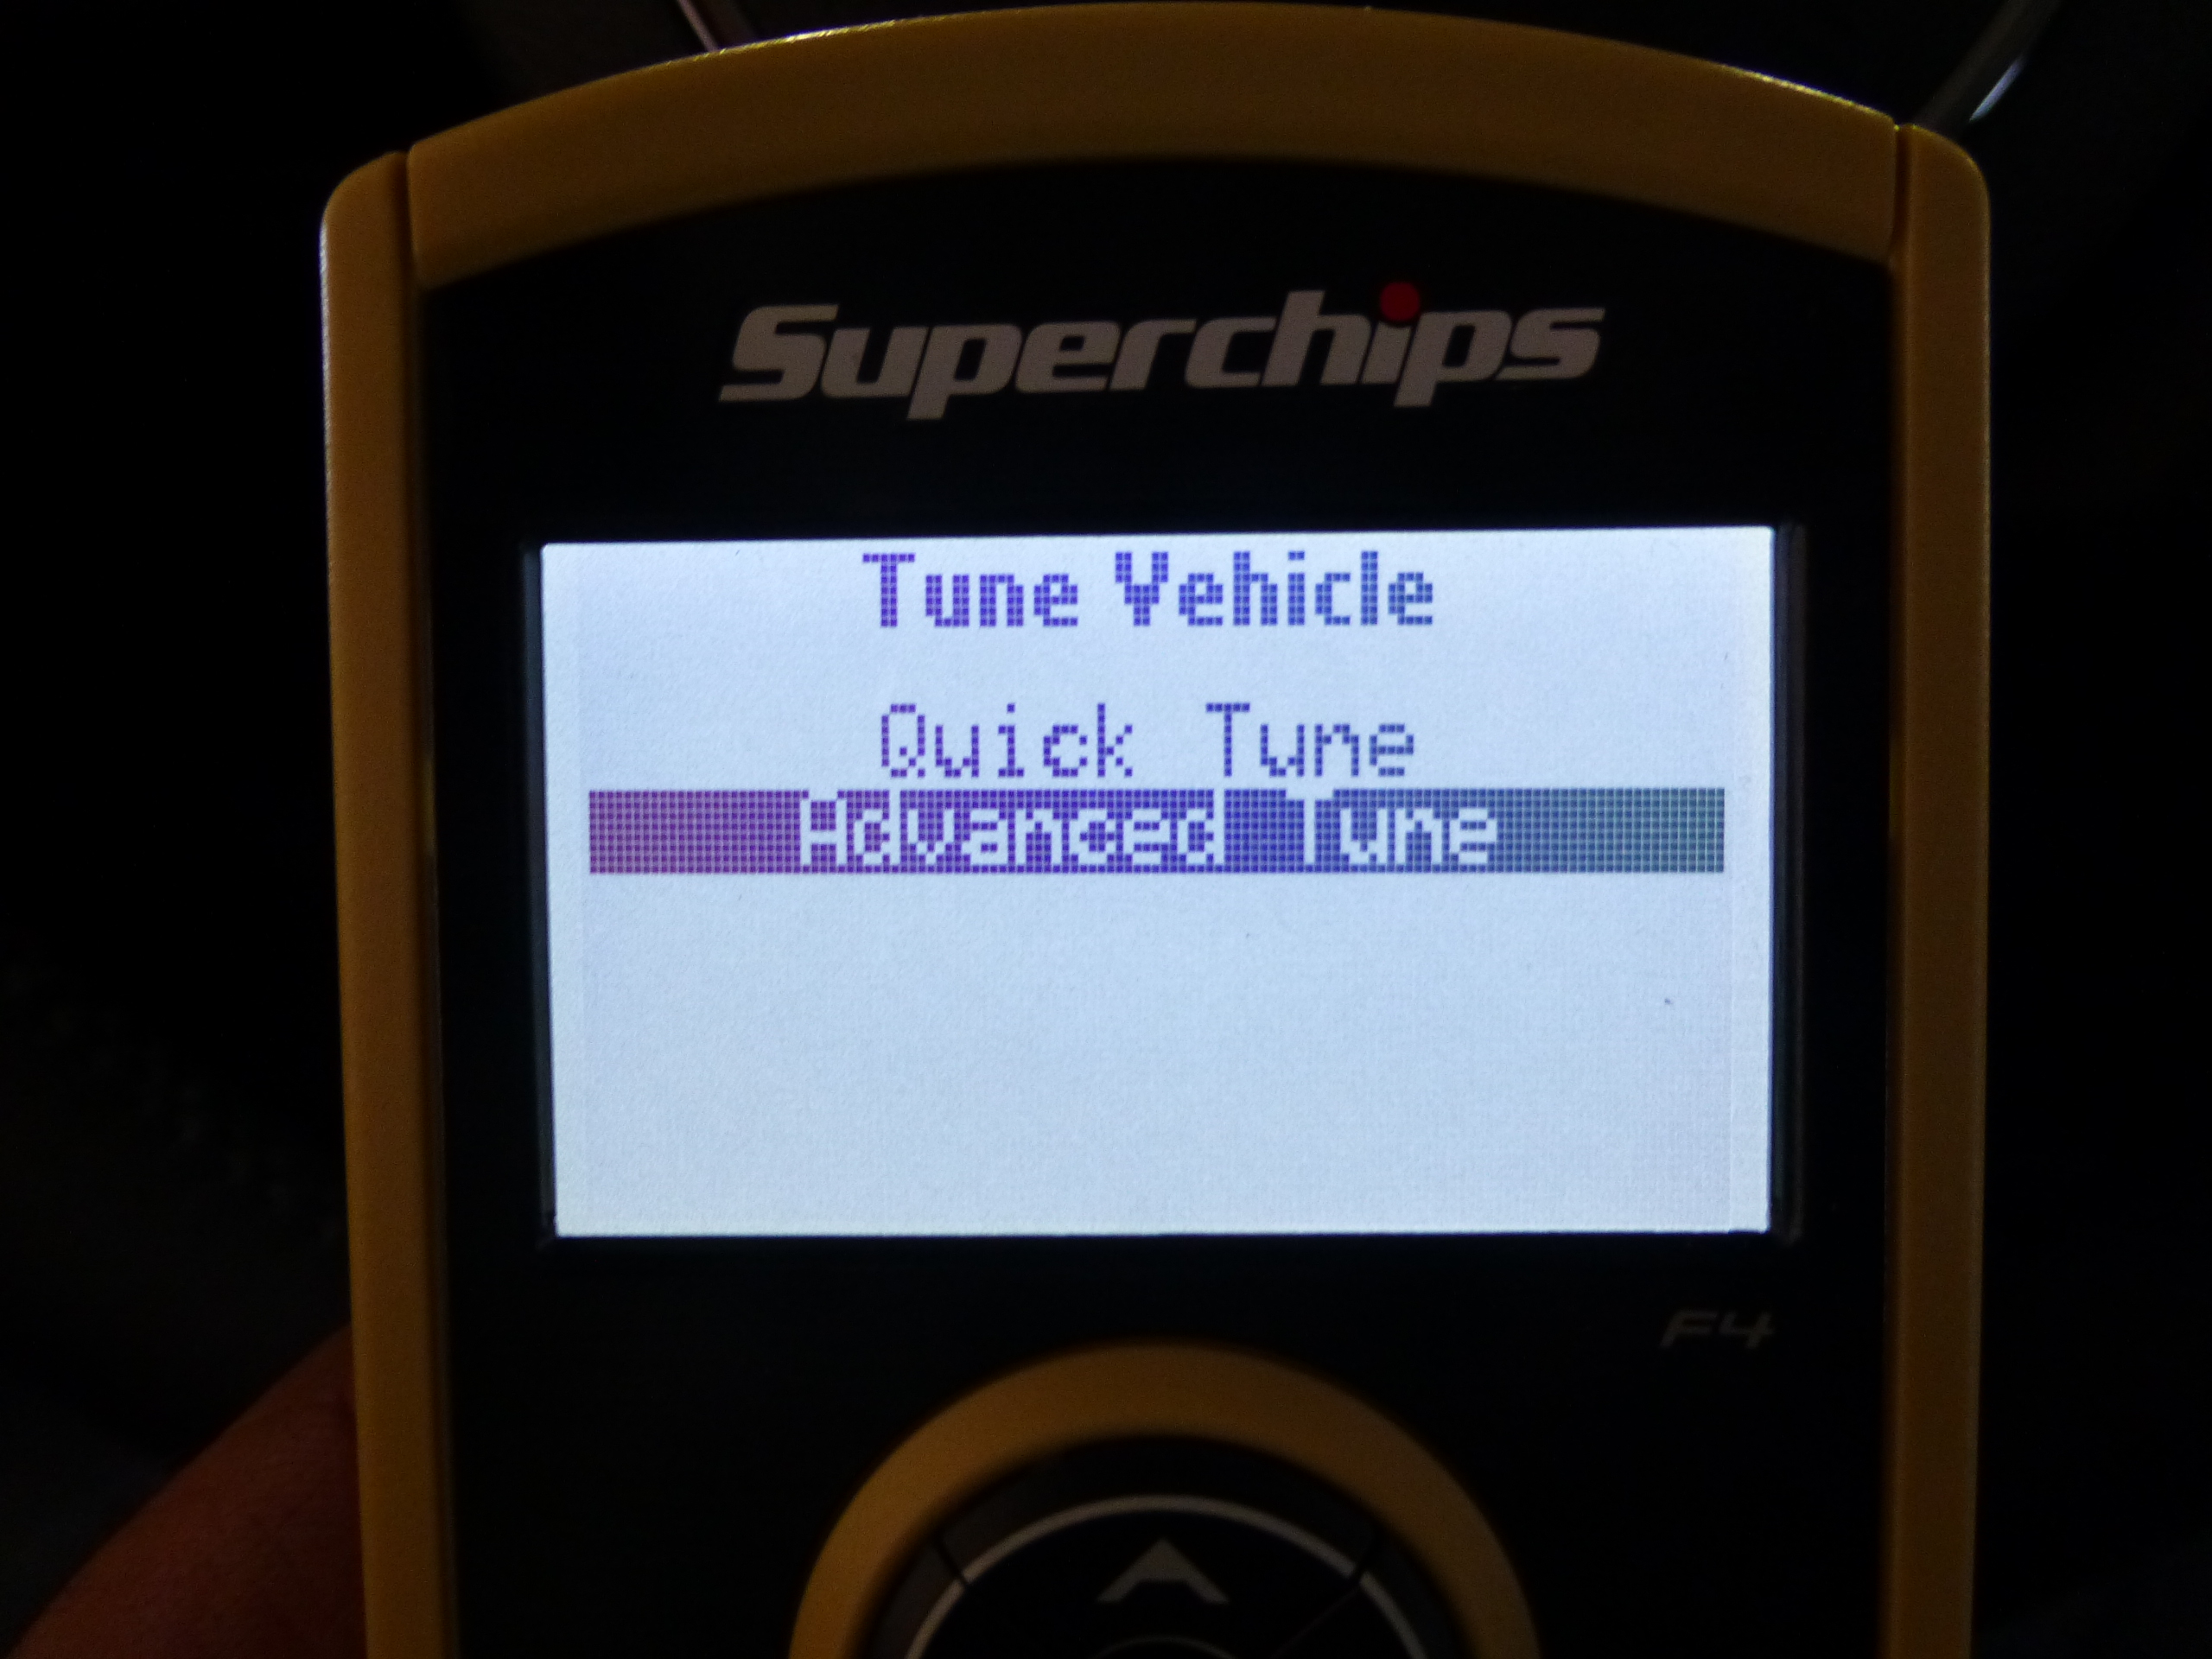
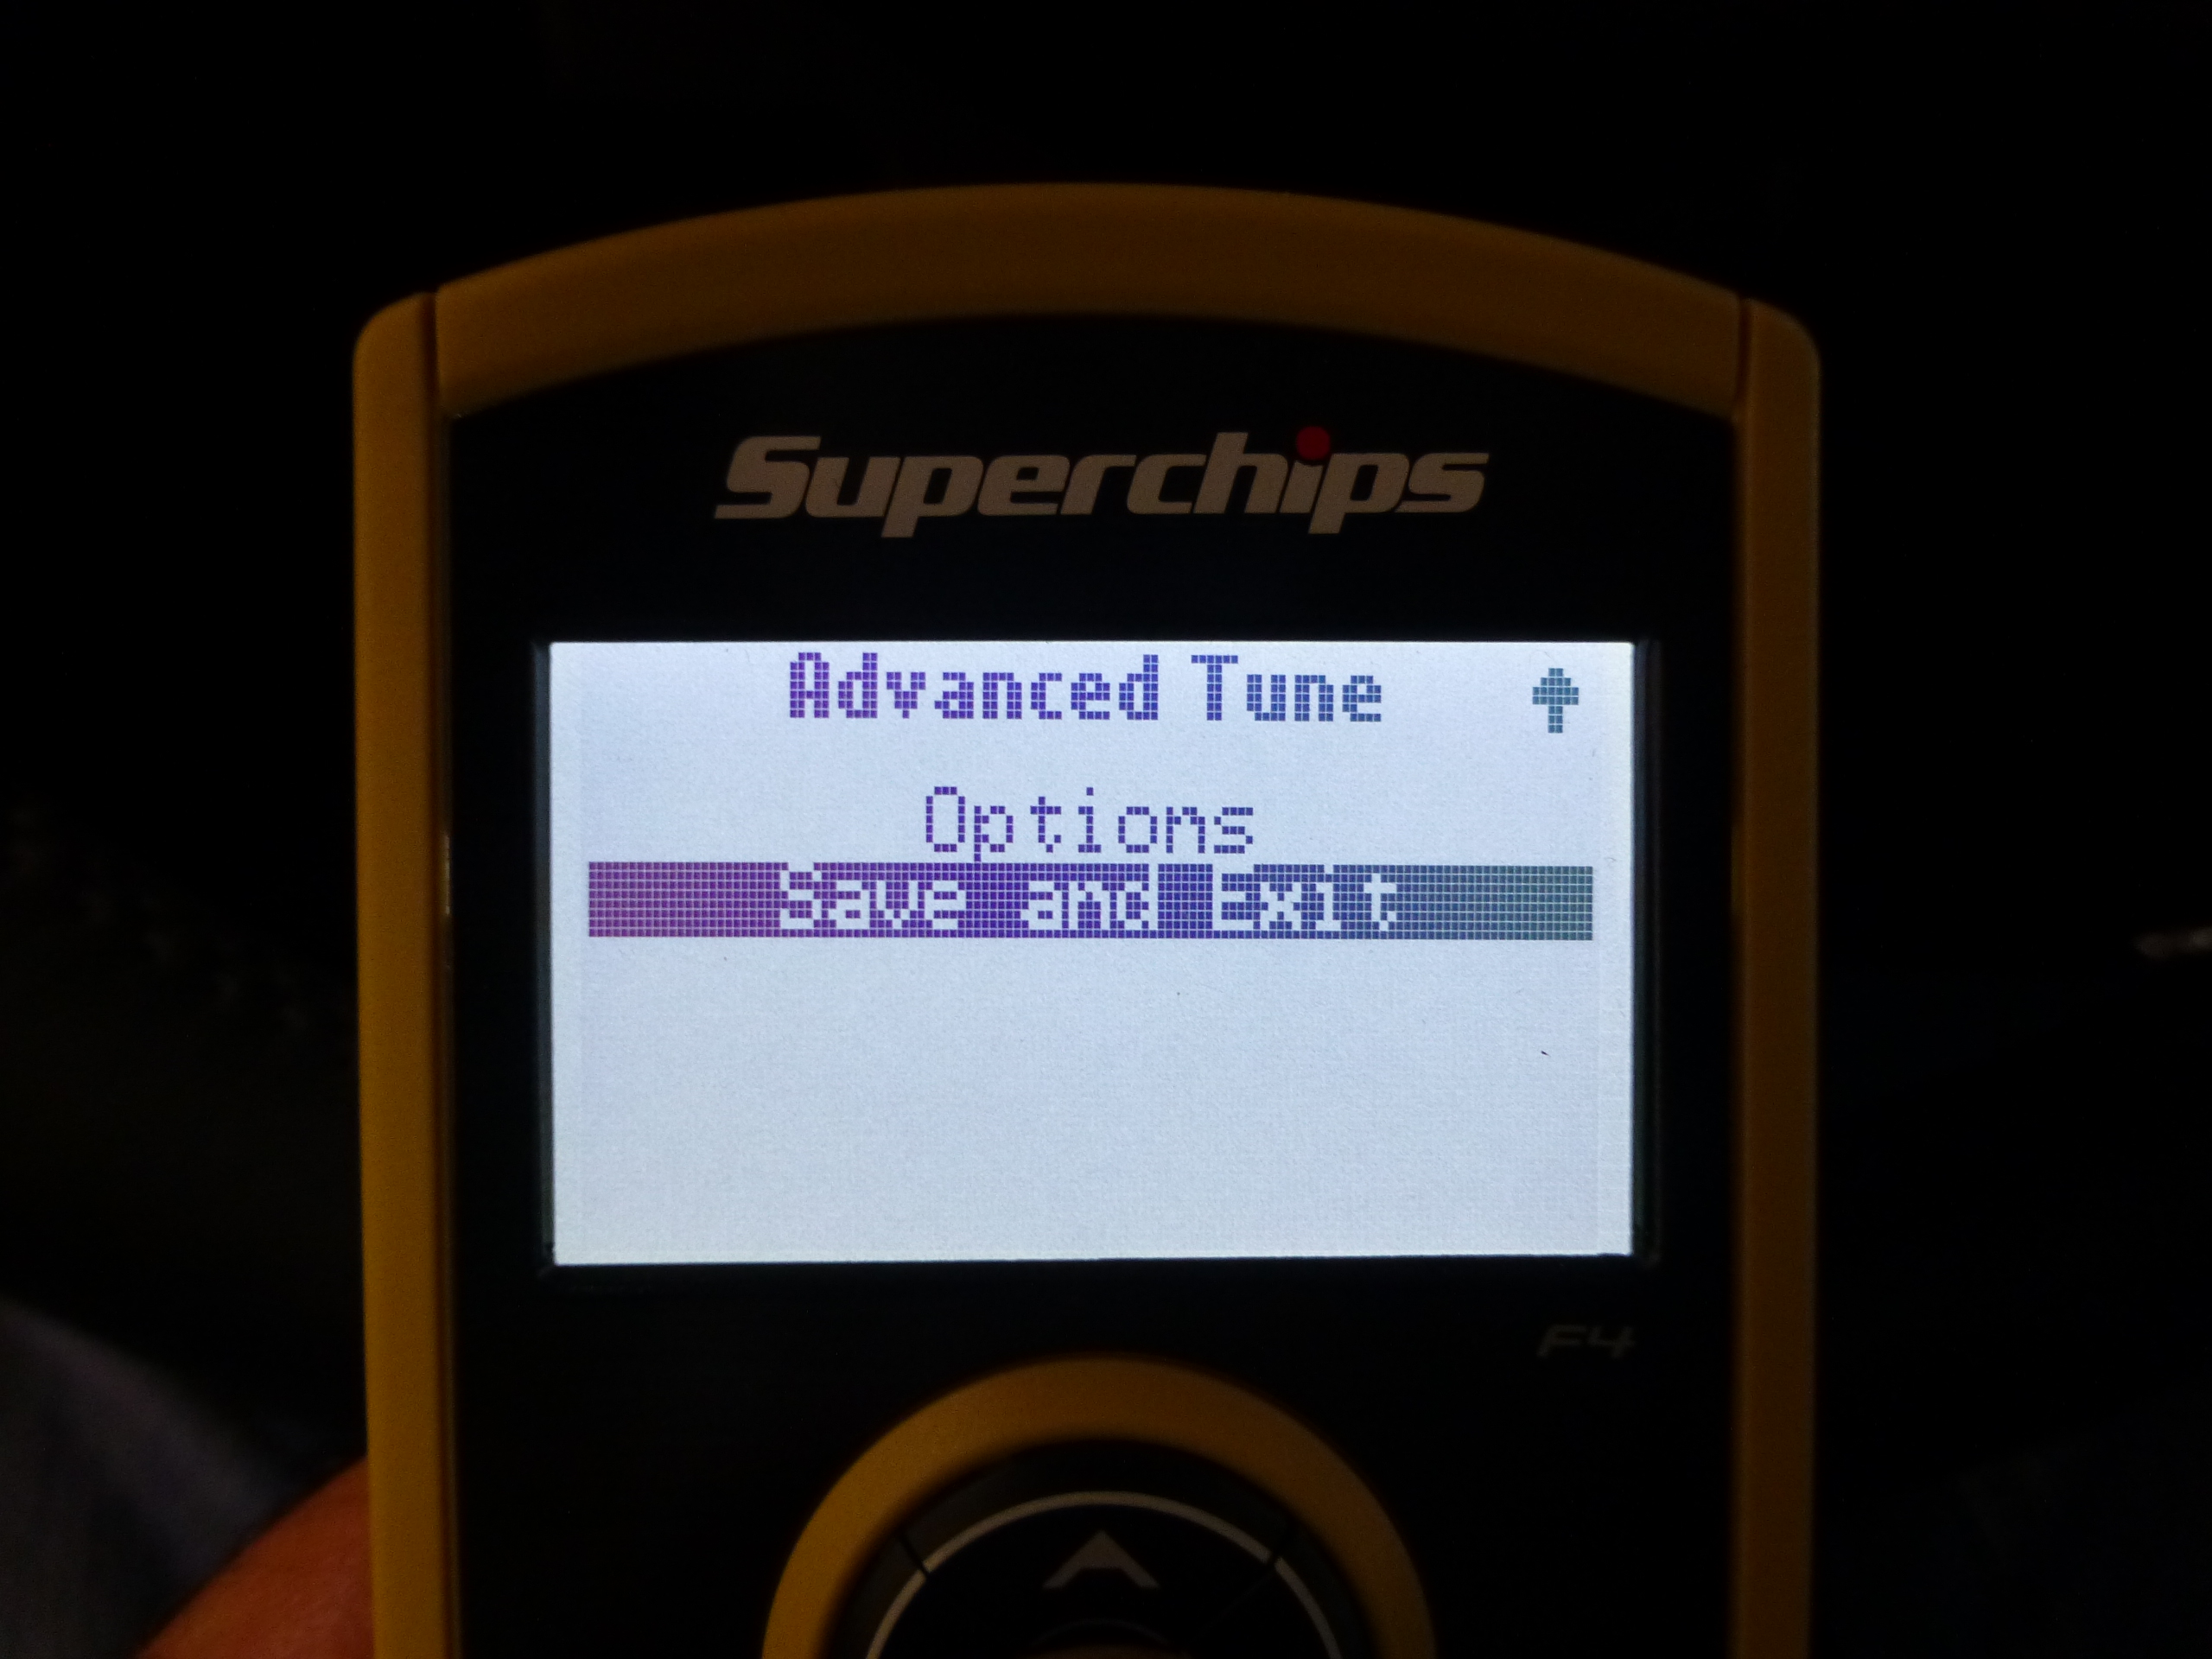
With everything installed it was time for us to dig out our Flashpaq from Superchips and program the computer for the new tires as well as the new gears. Once we had that complete we were able to pull it outside and take it for a spin.


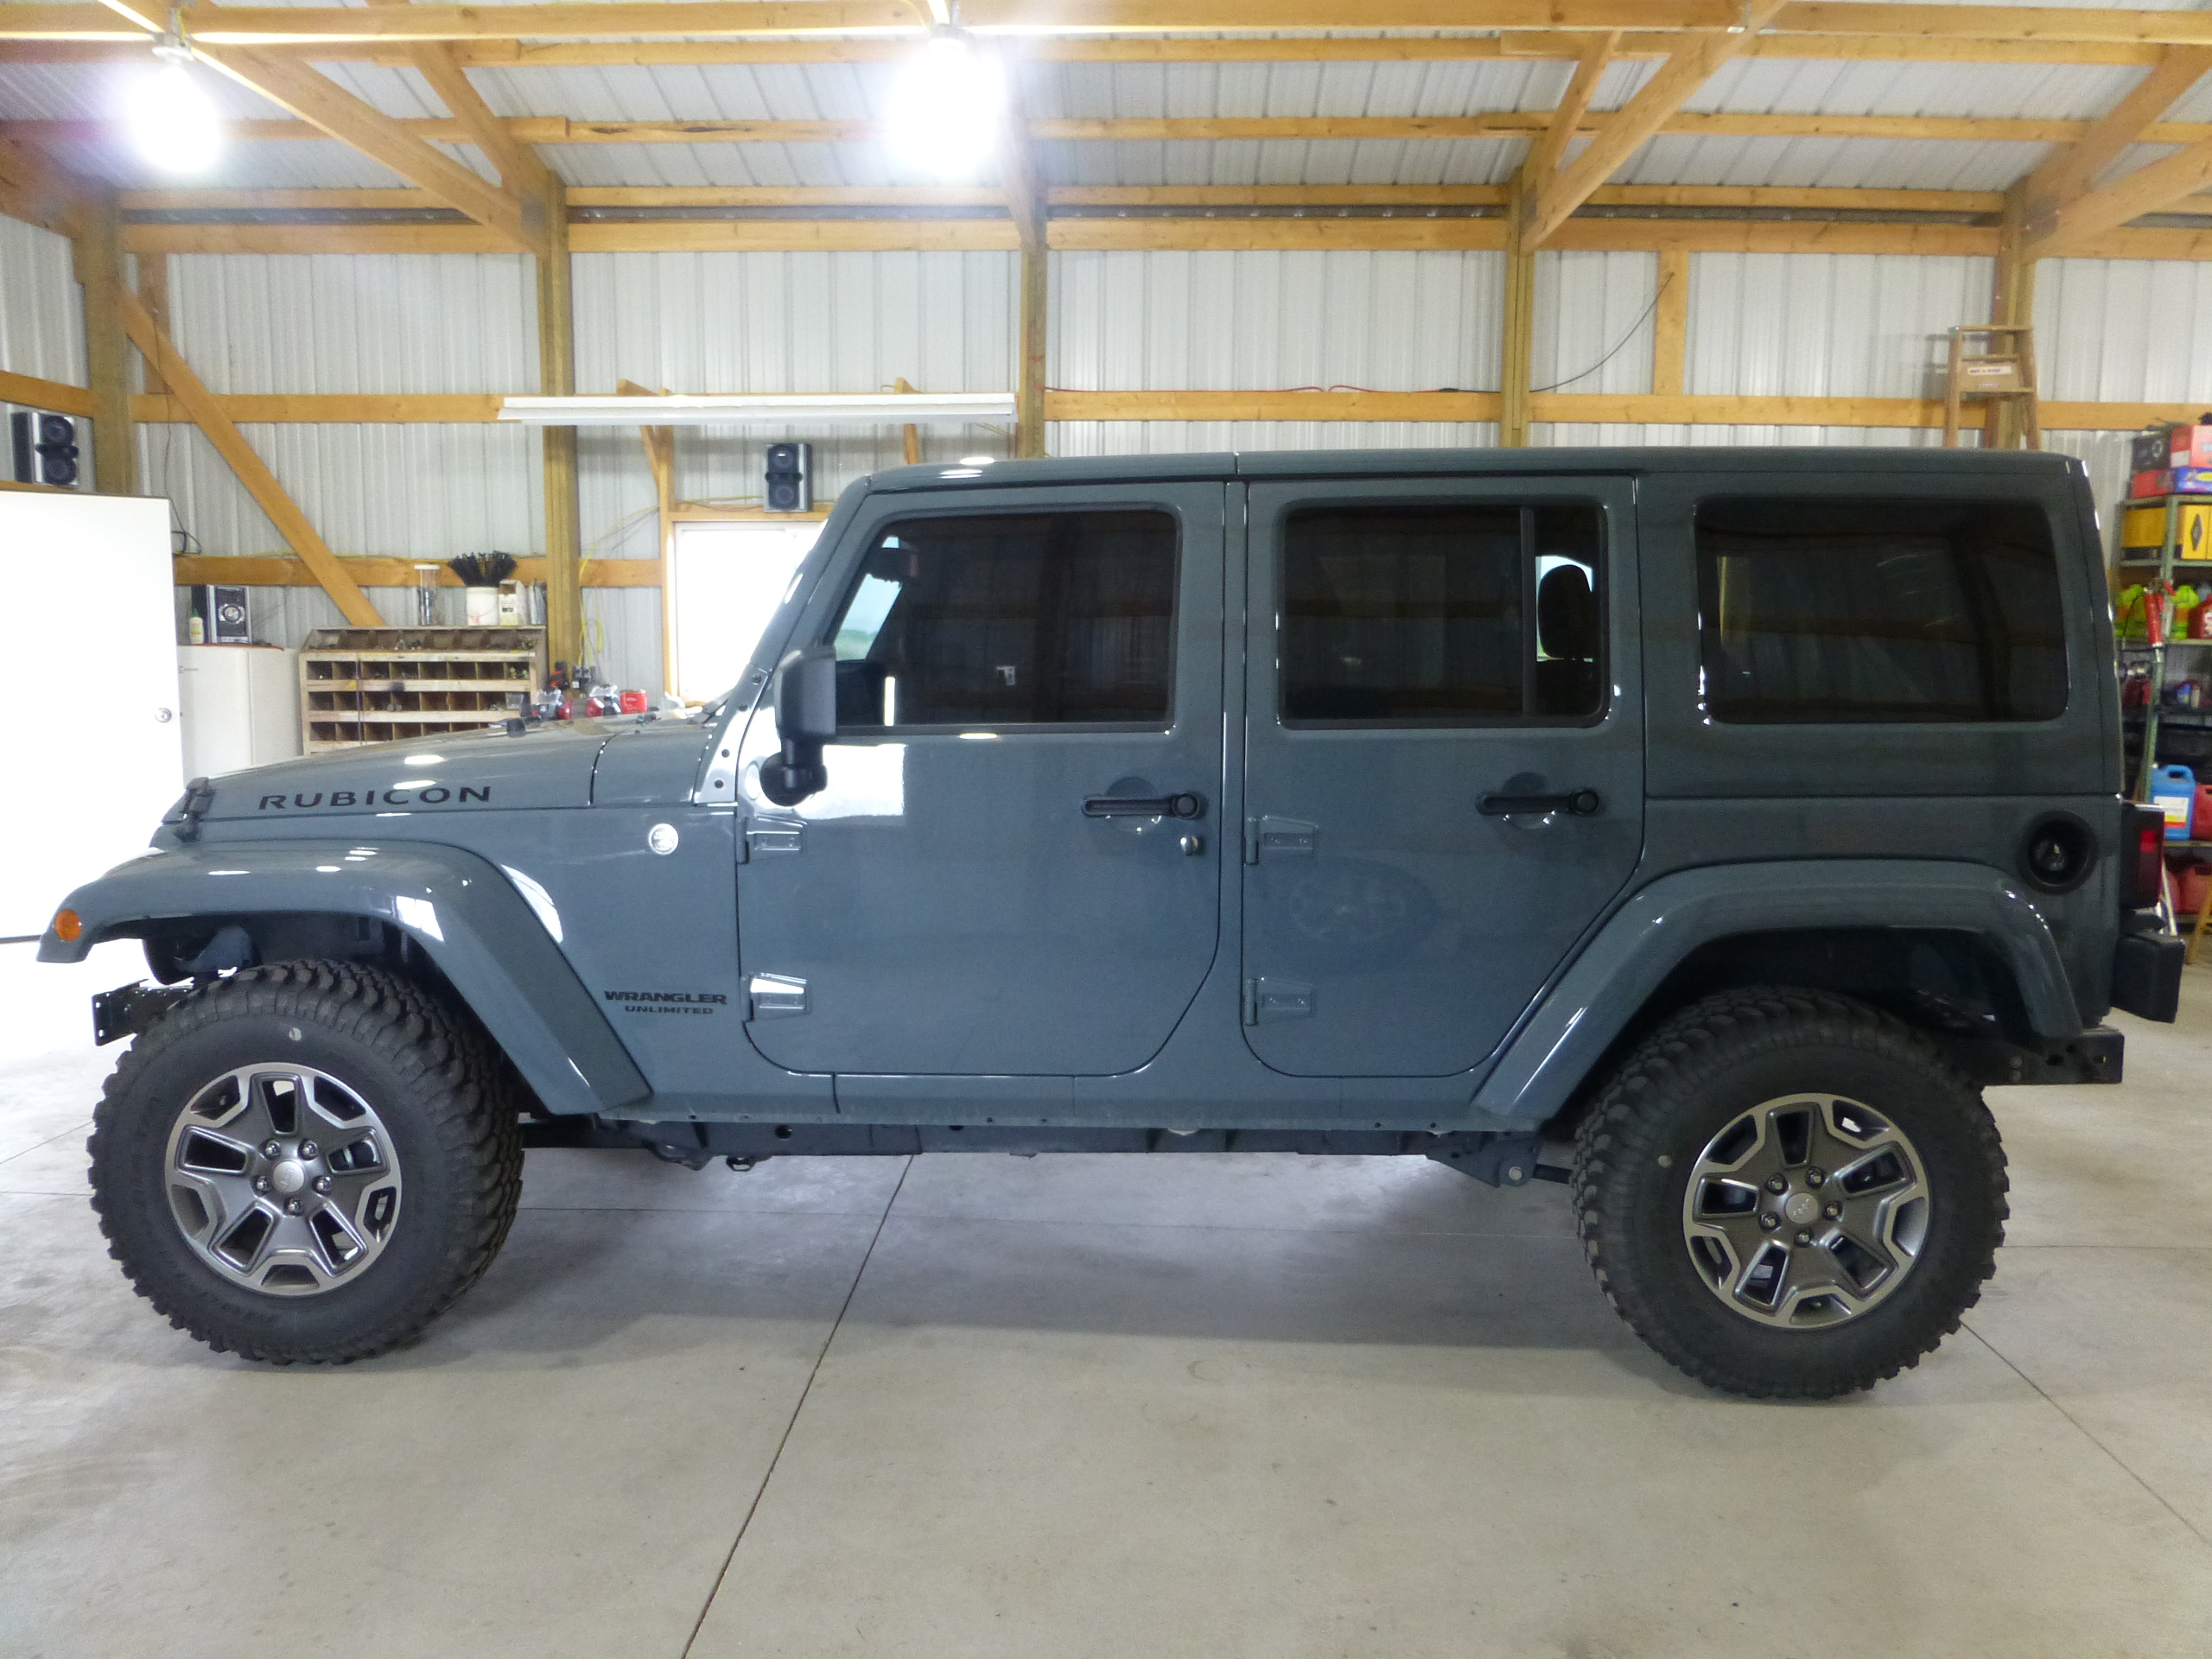
This project has come together as well as we had hoped it would. Before it had been driven a mile; there were several kind hearted individuals that offered to take it out and “make sure everything worked properly”. We are thoroughly pleased with this build as well as the components and manufacturers that we have worked with to bring this JK to life. As one of our contributing sponsors stated during this project; “it’s a Jeep, it will never truly be finished”. Well, Yates is right and we simply can’t leave well enough alone so just when you though the story would end here, just wait… There’s more to come!
Check back and see what kind of trail gear we will fill “Project Teracon” with and what other fun additions we decide are worthy of our newly transformed JK…
Project Teracon General Overview:
Throughout the process of bringing this Jeep Rubicon build to life we will try to showcase each step. You will be able to see the process of installing a new Teraflex front or rear bumper, a Talon winch from Superwinch, L.E.D. head and taillights from Quadratec. Maybe you would like see how a set of OR-Fab Rock Sliders install, or possibly the Teraflex HD Tire Carrier for the over-sized spare. We will even give an overview of the process of re-gearing the axles thanks to Yukon Gear & Axle and we’ll build a new front one utilizing Yukon’s master rebuild kits, RCV Performance Axle shafts with Alloy U.S.A. Ball Joints all installed into a new Teraflex HD 44 axle housing. The reason for sharing this is to show how easy some of it can be for the “Do-it-yourself” type of person; and to give others an idea of why they may want to seek out a professional. If some of the steps are more than you would want to take on without the experience, we would certainly advise that you seek out a professional with knowledge and experience to do the work for you.
Please check back frequently as we will be adding new picture galleries to the page in the weeks ahead.
Our Generous Sponsors:
We want to acknowledge and send out a special thanks to all of the fine folks at Teraflex, Yukon Gear & Axle, Quadratec, Superwinch, Raceline Wheels, Fox Shocks, OR-Fab, Alloy U.S.A. Ball Joints, ARB, Superchips, RCV Performance, Jardine’s Header Palace, Hi-Lift, Spiderweb Shades, The Schimpf’s for the use of the shop space and help, to all of the folks and their contributions… Thank you, Project “Teracon” wouldn’t be the head turner that it will become without you!


4 Comments. Leave new
Very Interesting! Thank you
Thank you!
[…] Project Teracon […]
[…] Project Teracon […]