
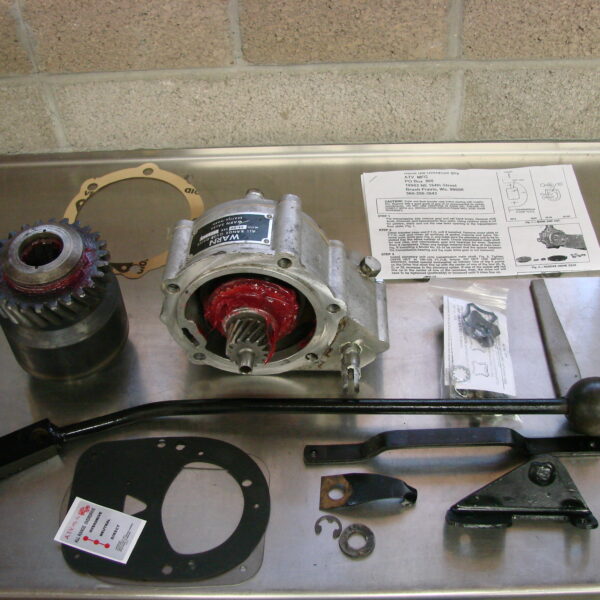
We will be installing an overdrive unit on our old Willys before we head out on our road trip in 2008. We needed something to help us make a little better time on the road so we contacted our friend Herm at http://www.hermtheoverdriveguy.com/ to see if he could help us get our hands on one of these units to fit our Spicer 18. Herm hooked us up, all of the parts came ready to install as well as complete instructions. We’re in hopes that this year we may be able to pass something other than a tractor (the only thing we had a fighting chance of winning in a race with last year) on this year’s trip.
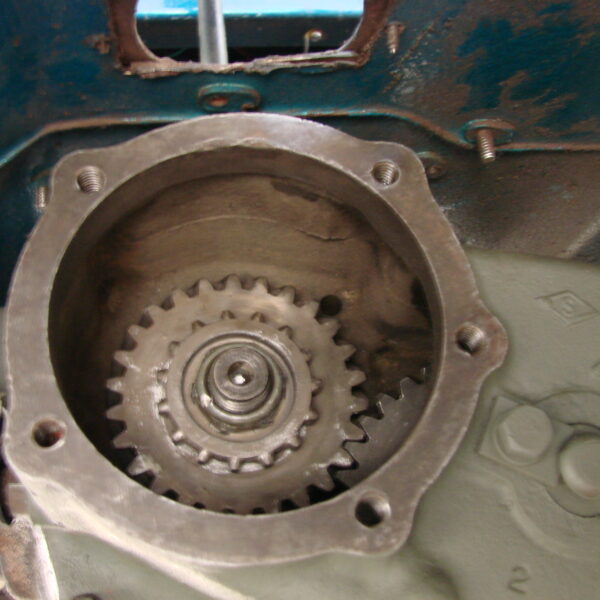
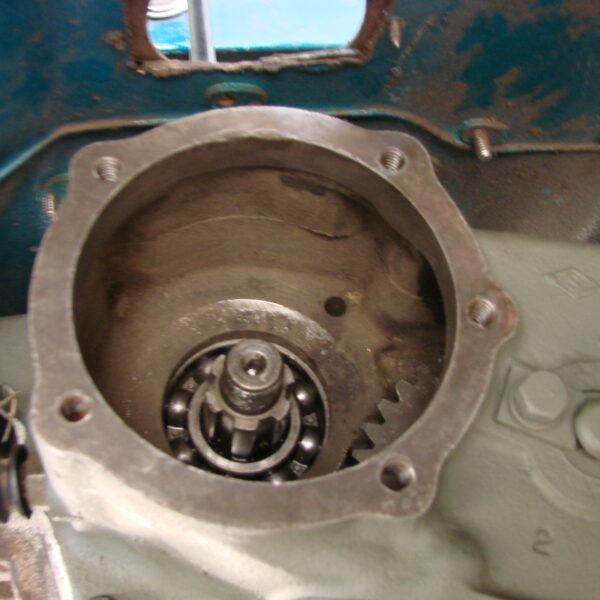
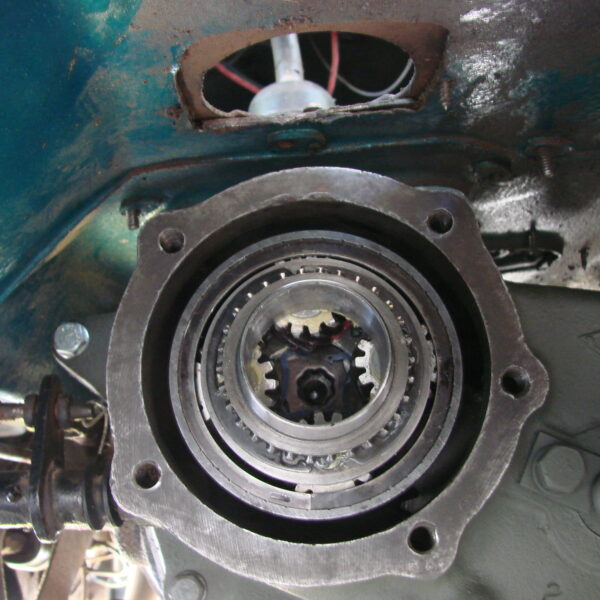
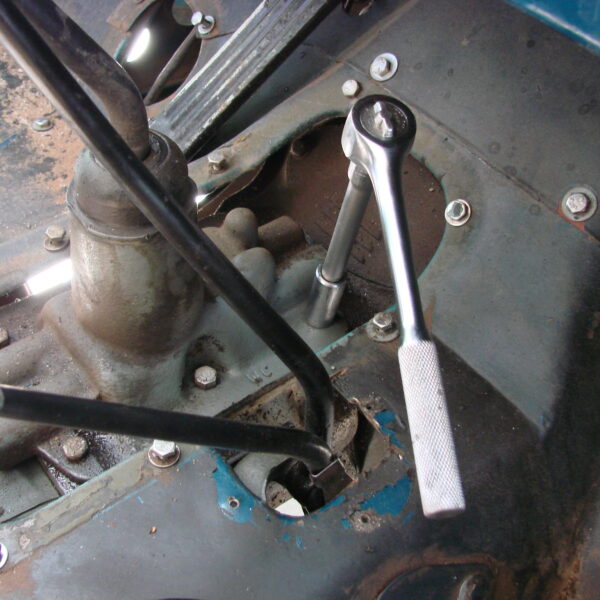
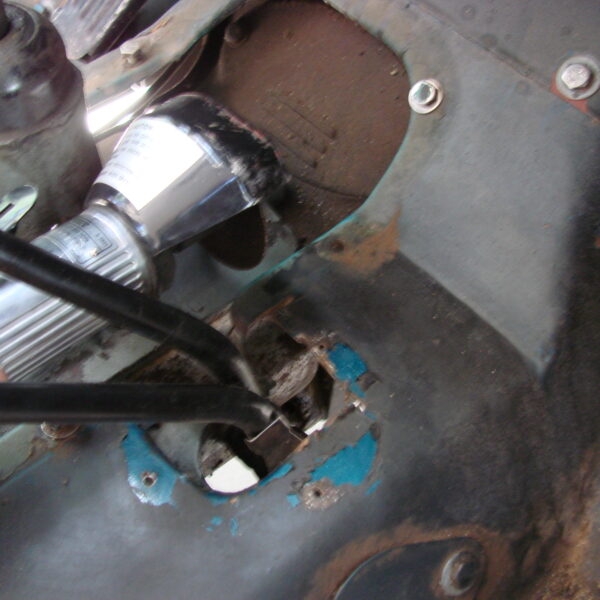
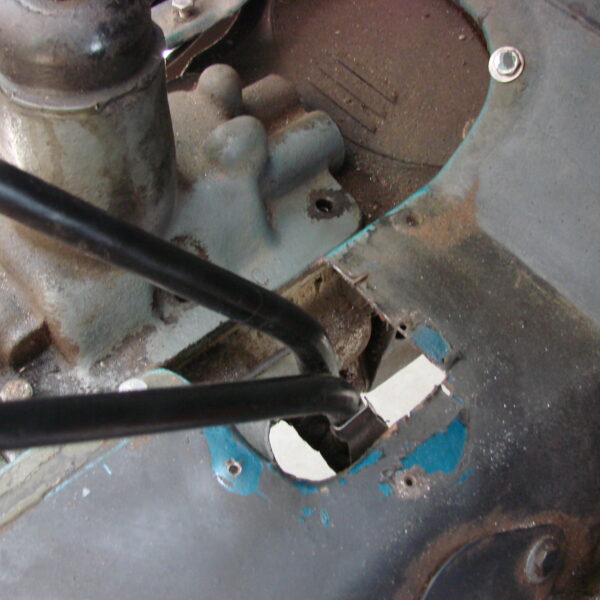
We gathered all of the parts that Herm sent so we could get familiarized with everything before starting the install. First thing we had to do was remove the cover plate on the rear of the t-case so we could access the main drive gear, all we had to do there was remove the nut and pull the gear (in some cases you can wiggle the driveline to help get the gear loose from the other that it meshes with). After the gear is off clean any foreign material from the face of the main bearing and check the transmission main shaft, bearings, and intermediate gear for wear, replace if necessary.
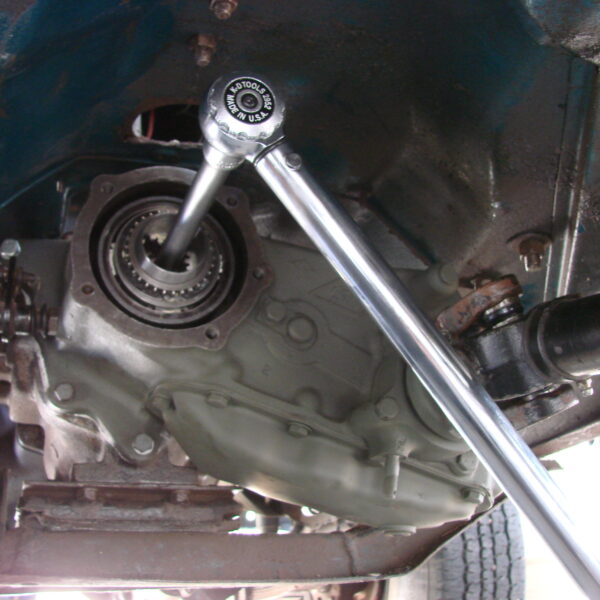
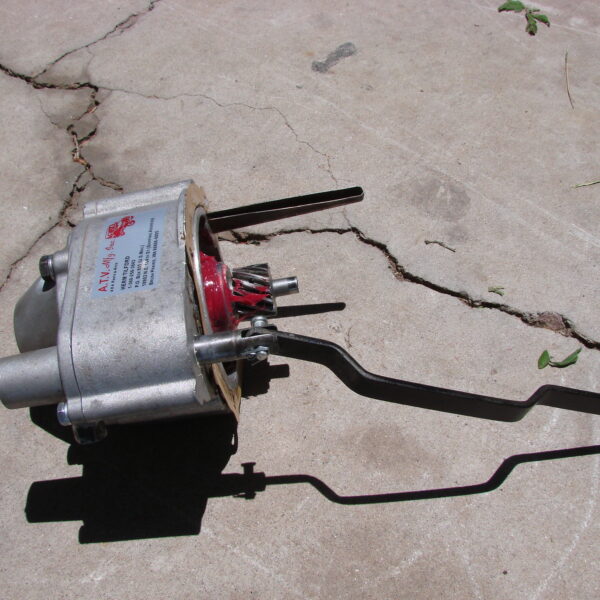
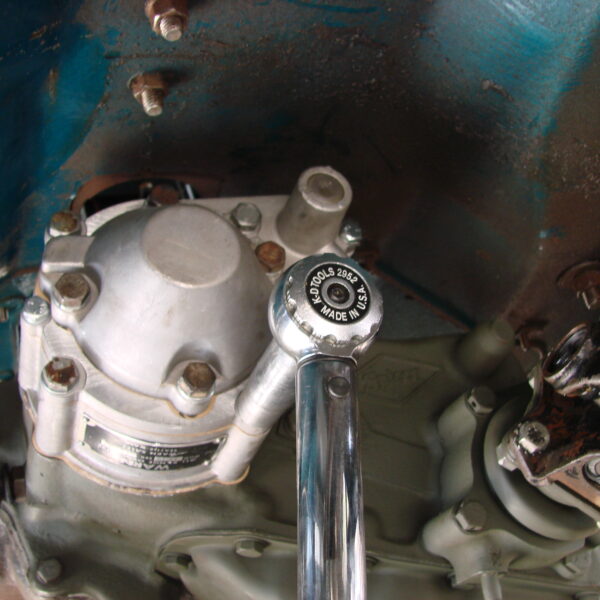
Next the planetary unit is ready to be installed, one end of this unit is threaded inside and will thread onto the output shaft of the transmission. When looking through the opposite end you will see an 8 point “Drive Nut”, with a ½ drive extension thread this onto the transmission shaft and torque to 100-120 ft. lbs. DO NOT — — — USE AN IMPACT WRENCH!
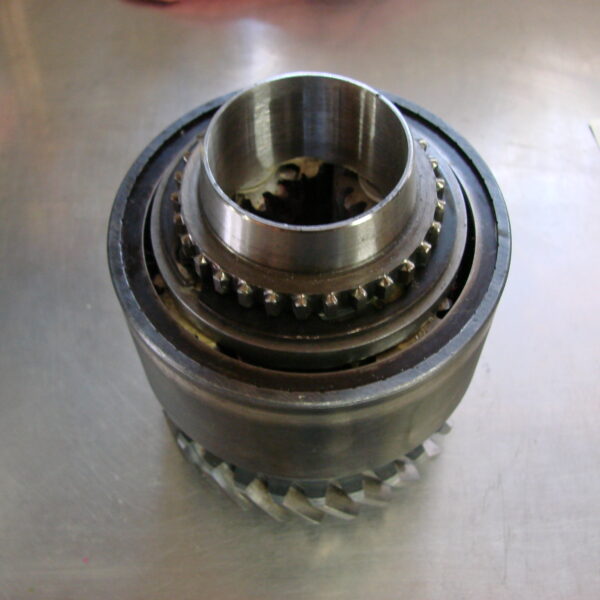
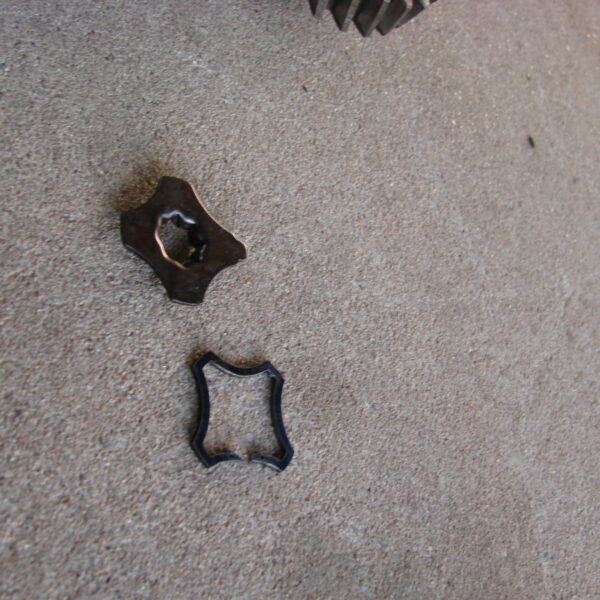
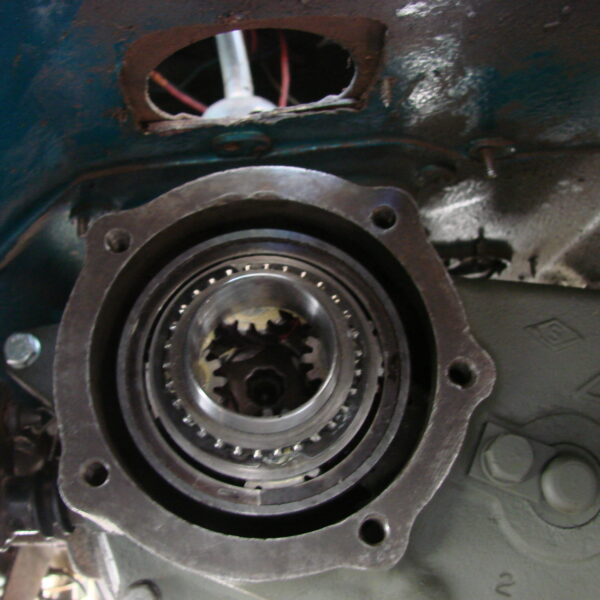
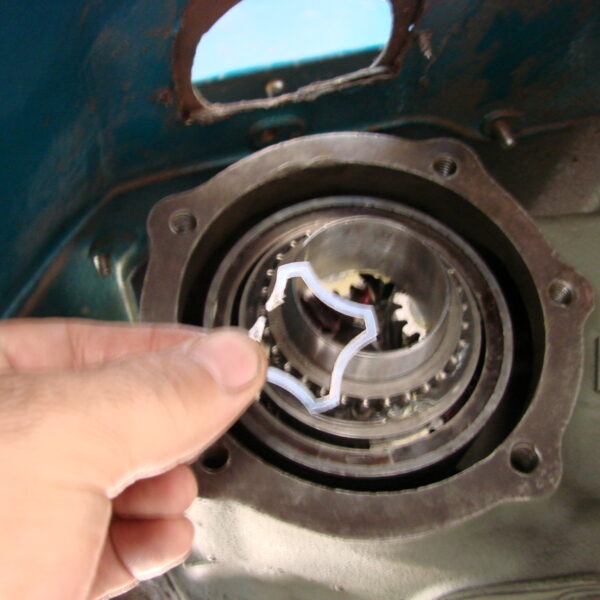
Once the drive nut is tight you have to look inside and see if one of the 8 points in the center of the drive nut lines up with one of the recesses in the planetary unit. The purpose of this is to allow a lock washer, which happens to be shaped like a 4 pointed star to sit flush and allow a snap ring to hold the assembly in place. You will see in the pics that one end of the lock washer has a bevel, that is the end that has to line up with the recess in the drive nut.
Note: If the snap ring is not seated properly in the groove the planetary unit will eventually work loose on the main shaft and cause severe damage to the overdrive unit.
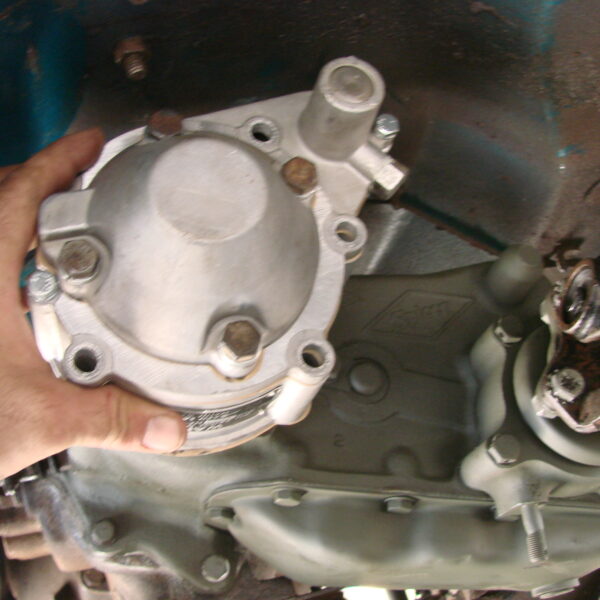
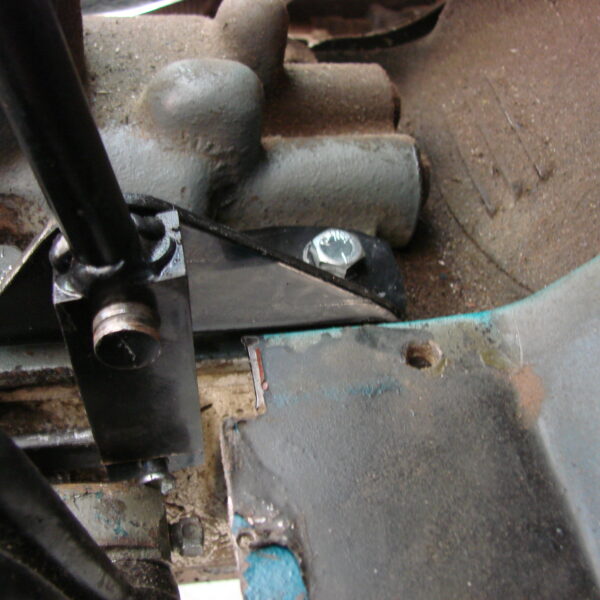
Before putting the overdrive case into position the rear tires need to be raised off the ground and stabilized on jack stands. Put the transmission in neutral and the transfer case in gear and rotate the drive-line by hand to check for free rotation and run out. In preparation for installing the overdrive case we installed the shifter linkage while it was out and accessible. Install the 5 bolts and lock washers, one of the lock washers will need to be a “seal washer” which needs to be installed in the one o clock position, torque to 30 ft. lbs..
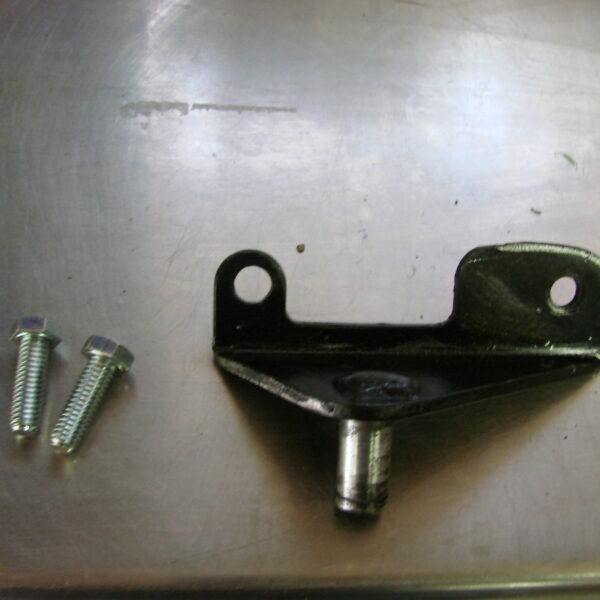
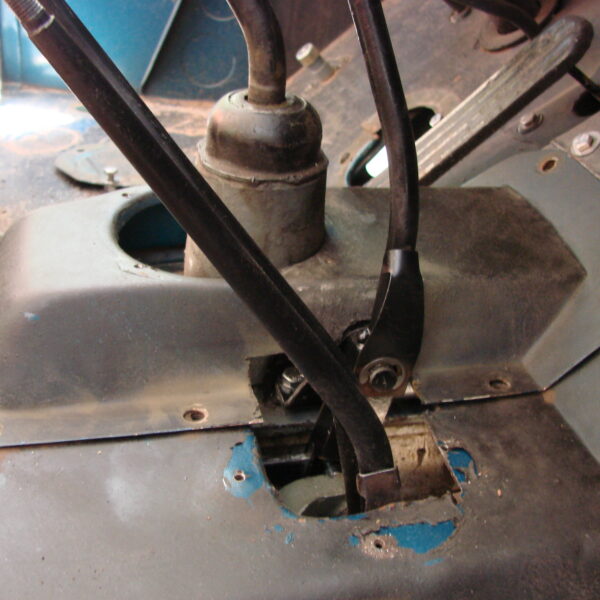
Remove the two bolts on the top of the transmission cover. Connect the shifter to the linkage with the provided hardware and mount the bracket to the top of the transmission cover with new bolts. There is a small amount of the body that needs to be cut out in order for the shifter to have enough room to move freely, using the new cover as a template we marked, cut and made sure we had the travel needed, we had to make an additional notch.
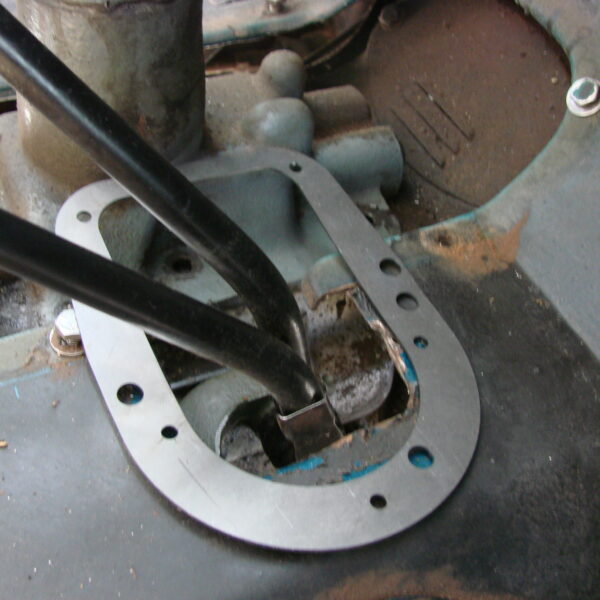

With the shifter mounted and the floor cut to allow enough room for things to move freely the transmission cover will also need to be slightly modified to allow the same travel for the shifter to move. While the cover is off now is a good time to clean it up and paint it as you can see this one is in need of. We removed the shifter boot, cleaned the cover, and made the marks for what needed to be cut out and removed (check twice, cut once!!). You can cut out what is needed to be removed even if you have to check and re cut but you can’t add that metal back if you cut too much out.
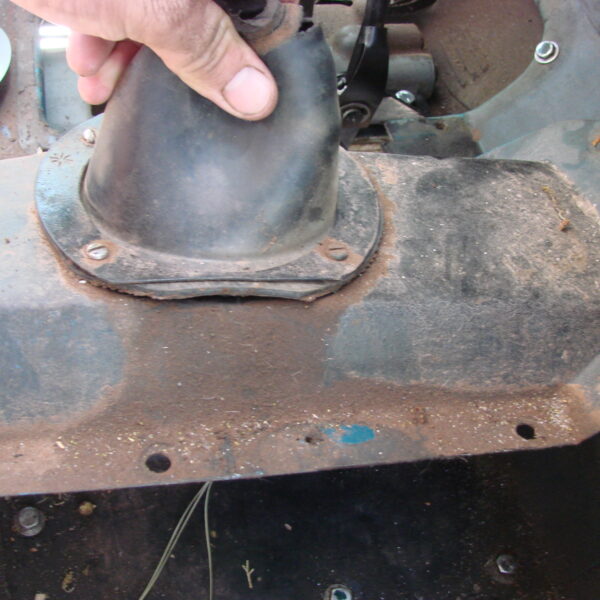
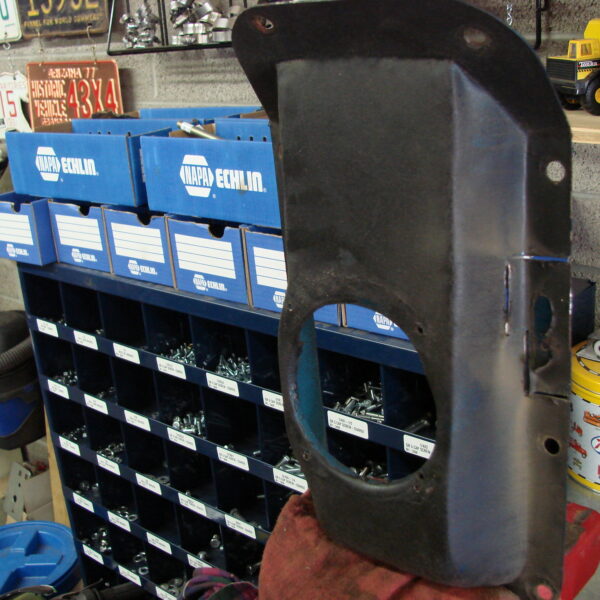
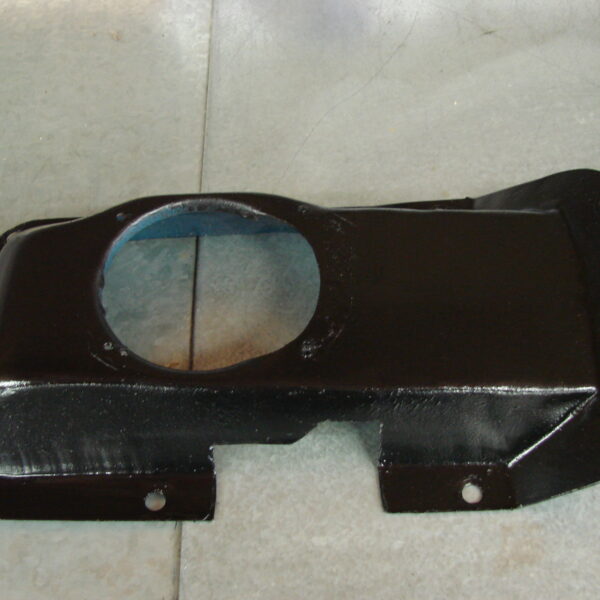
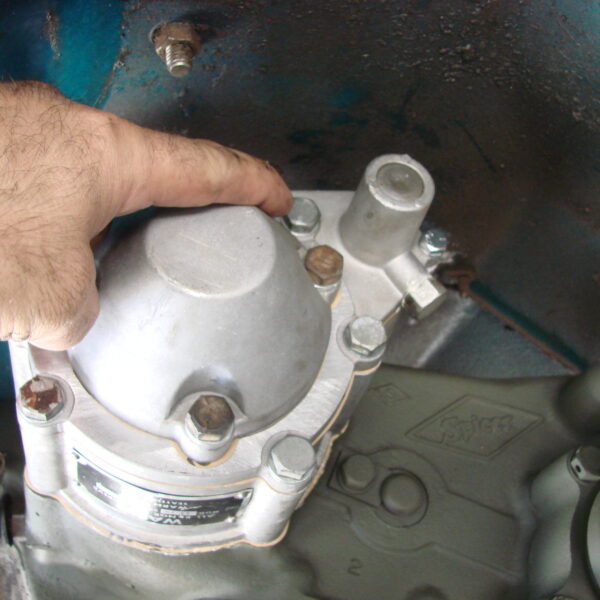
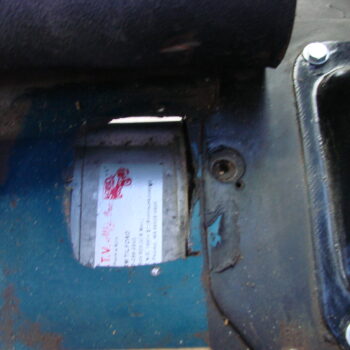
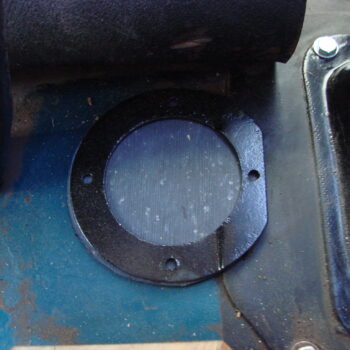
Once we have the fit that we want it is time to put the new cover also provided with our kit from Herm the Overdrive Guy into place as well as the one that will now be covering the hole for the PTO shifter that we eliminated to use the overdrive. A little cleanup and paint and these couple items will be the last of what we need to do to wrap this project up and be able to hit the road a little bit faster this year. With everything in place the last item was to stick our dash sticker on.


2 Comments. Leave new
Need help. Reinstalling overdrive into M38 jeep. Can’t get the two major assemblies to slide together, seems like the sleeve on the assembly connected to the transmission drive shaft won’t slide over the bearing of the outer assembly (picture can be provided). After pissing away an hour, removed both units and can’t even get them to slide together on the bench.
What am I doing wrong? All done IAW instructions above modified for transmission/transfer already installed.
I’m so sorry that we somehow overlooked your comment and message. After this amount of time I’m sure you have found a solution but if you haven’t I would direct you to the guys over at Herm’s Overdrives. They can easily walk you through the process if you’re still fighting it. Again, our sincerest apologies for not getting back to you sooner.