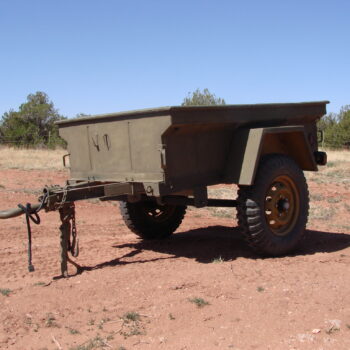
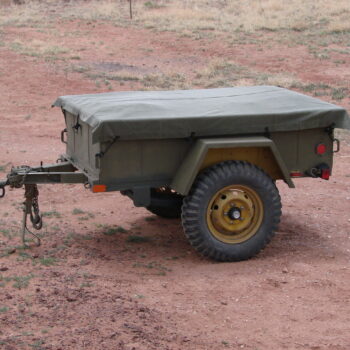
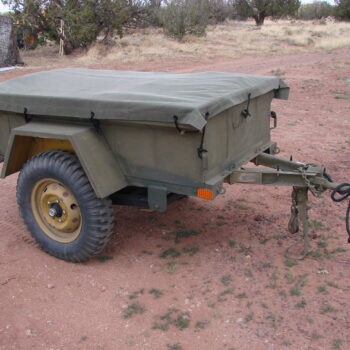
The M416 trailer has been a popular choice for wheelers and people needing small utility trailers for a long time. We had Adventure Trailers out of Prescott,Arizona retrofit one of their suspension systems for our M416 just before we headed out on our Ultimate Road Trip 2007. The improvement between the old and new suspension systems was incomparable, the independent airbag suspension set up they provided us with worked like a charm so this year we wanted to do another upgrade to the trailer to improve the way it towed.
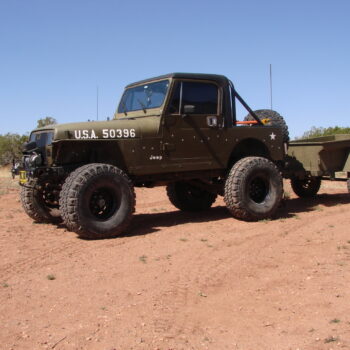
On our road trip the Pintle hitch had a tendency to bind up and eventually caused the hitch to pull away from the frame of our old Willys forcing us to spend a day finding and getting an appointment with a shop that could get the frame welded and supported at the same time. We would have had a mess on our hands if it had been torn away from the frame while we were driving, we could have potentially lost or damaged much of our gear in the trailer that we needed to complete our adventure.
The solution to that problem came once again from Adventure Trailers, if you are not familiar with these guys; they build the best and highly sought after trailers that are specifically built with over-landing in mind. There is no one better out there that we could have gone to since their products like the Horizon® and Chaser® model trailers have seen the roughest of conditions and the harshest environments.Follow along as we convert our Pintle hitch to one of Adventure Trailers “Lock & Roll” systems.
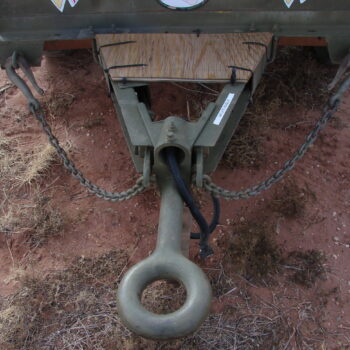
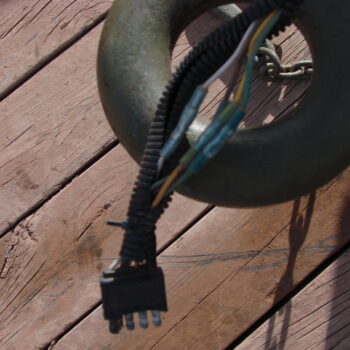
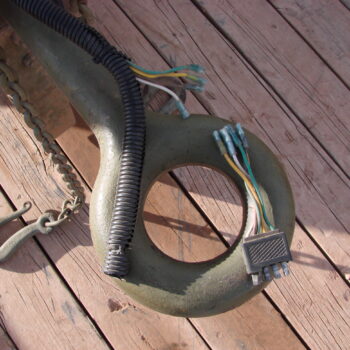
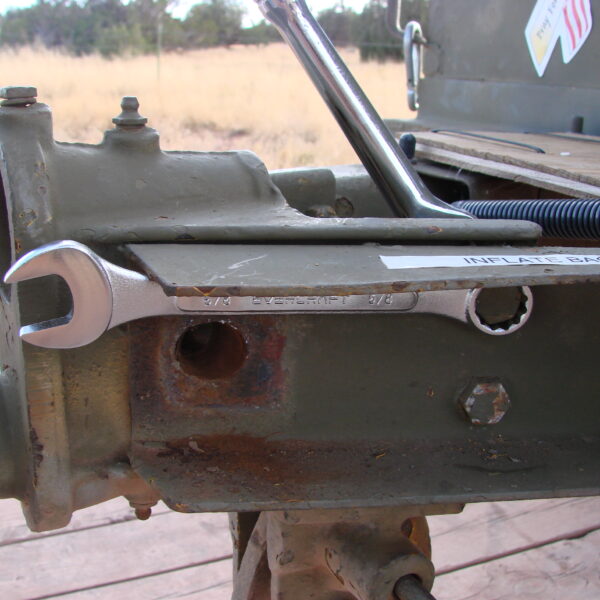
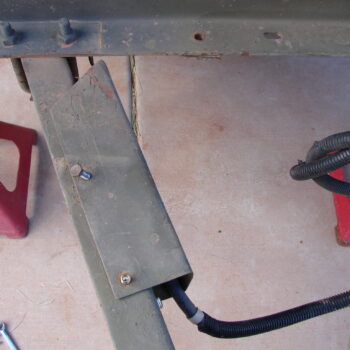
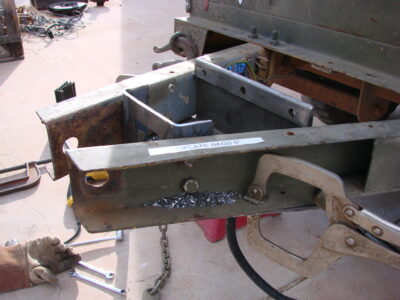
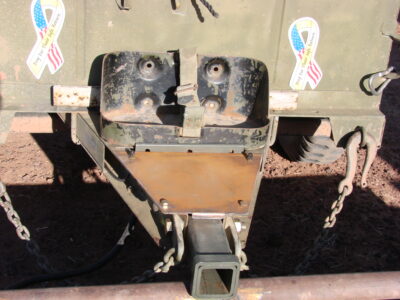
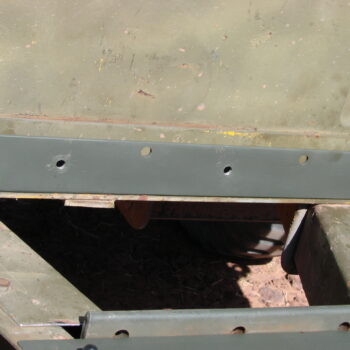
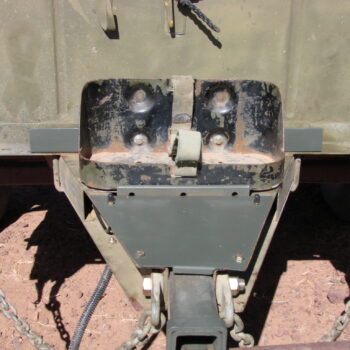
First we have to remove the old Pintle so we can get the proper placement and measurements to build our mounting plate (also available through Adventure Trailers). We had to remove the wiring harness since it went through the top portion of the Pintle and then we removed the large bolt that sits horizontally at the front of the frame.
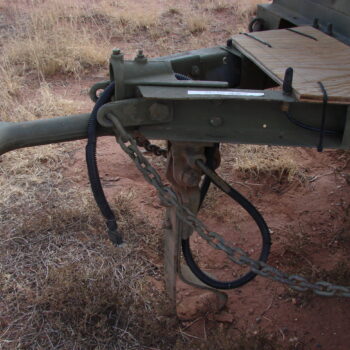
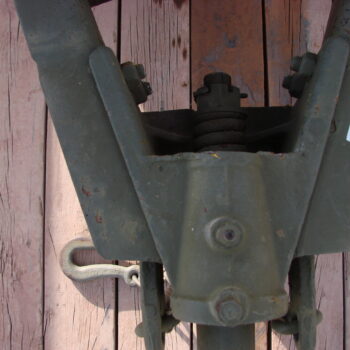
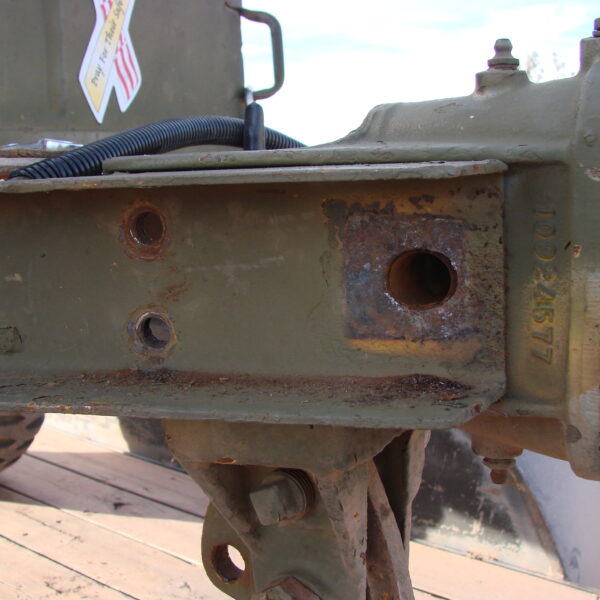
With the front bolt removed we went to the four bolts just behind the large one that was just removed (2 on each side of the trailer frame) and removed those as well. Once those are all removed the hitch needs to be persuaded out of its position with a mallet or hammer.
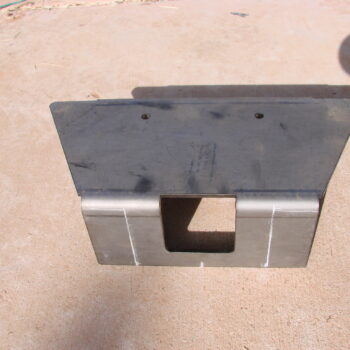
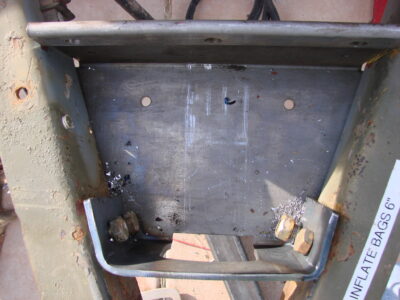
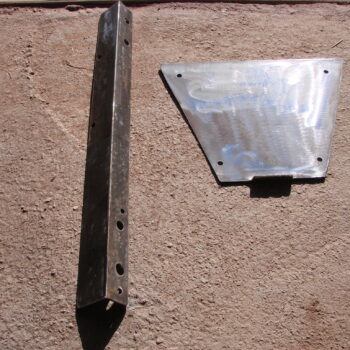
Our trailer still has a plate covering the fuse block where the wiring for the trailer lights meet. Since our new mounting bracket will set further back, this cover will have to be cut down and modified to fit once the new bracket is in place. We began by removing this cover, put the bracket in place from the top so we could see how and where the new bracket would sit (knowing that we would be mounting it underneath) and what, if any other modifications would be needed to get the mount exactly how we wanted it. After positioning the bracket we marked where it needed to be cut to fit in the frame of the trailer, you want to make sure the hitch will be centered. Once we were confident in our measurements we torched the horizontal marks so we could bend the leftover tabs inward to be used as mounting brackets which lined up perfectly with the factory holes in the frame. In order to bend the tabs in we put the bracket in a vice, heated the tabs with a torch and bent them inward to the predetermined position.
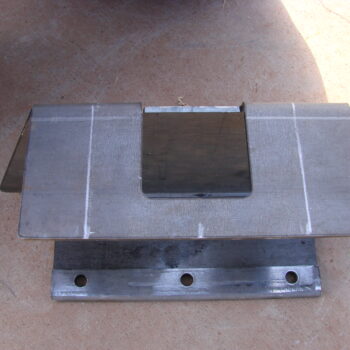
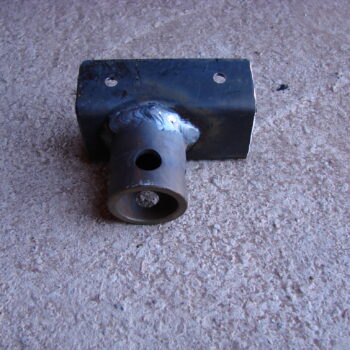
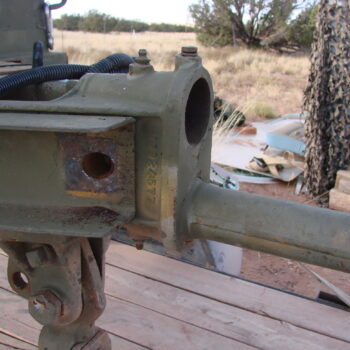
With the bracket in place we looked at the placement of the hitch tube itself and felt that we needed to shorten it just a bit so we cut 3” off of the rear of the receiver tube and checked the placement to see if we liked it.
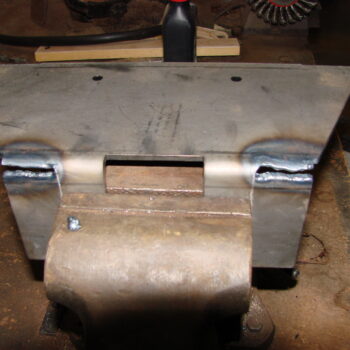
Once the position of the receiver tube was where we wanted it we clamped the new bracket into position on the trailer fame so we could drill our holes for the tabs on the side. With the bracket clamped and bolted in place we slid the receiver tube into the bracket, squared it up and tack welded it into place in the new bracket.
While we had it in place that was the perfect time to take our measurement needed in order to modify our trailers fuse block cover for the wiring.

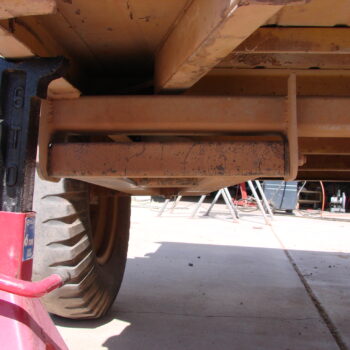
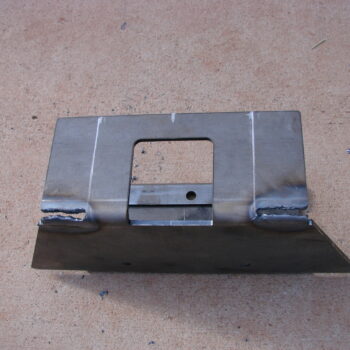
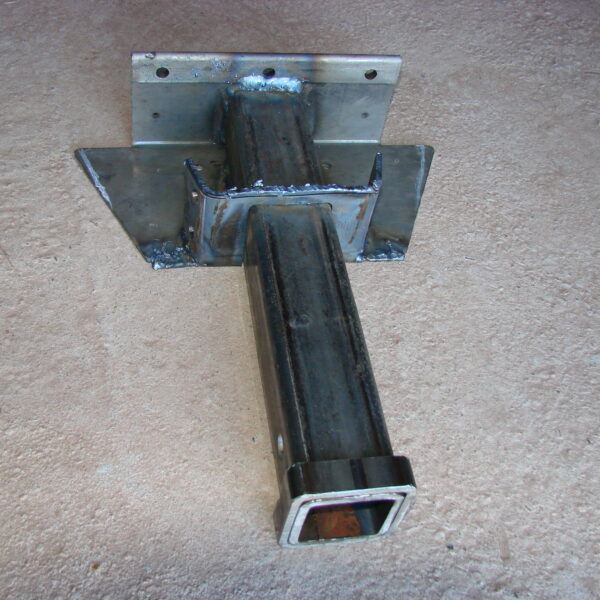
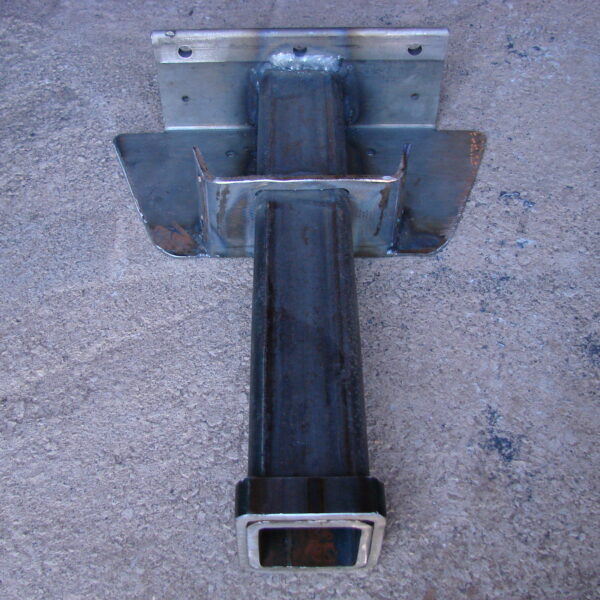
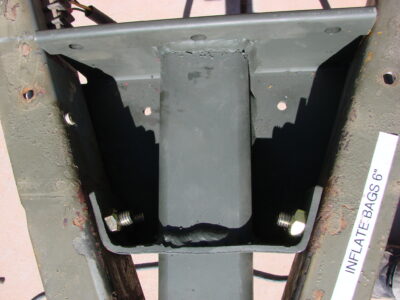
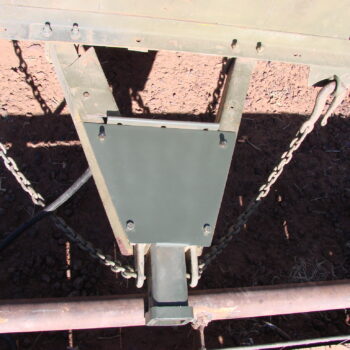
With the tube welded into place in the new bracket we just needed to clean up the edges and grind down some of the bracket since we plan to make a nice clean cover to fit on the top of the framework to hide and enclose to new bracket. It doesn’t show in the pictures but we did weld the tube to the back of the bracket as well as around the edge where the tube slides through the bracket to ensure that we had a good, solid mount for this thing. With the edges ground down and the corners shaped we just need a little paint and it will be ready to mount in place on the trailer and we can move onto building the cover for the top and soon we’ll be ready to hit the trail.

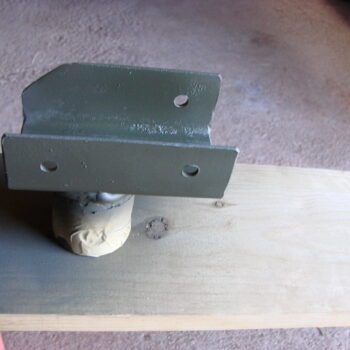
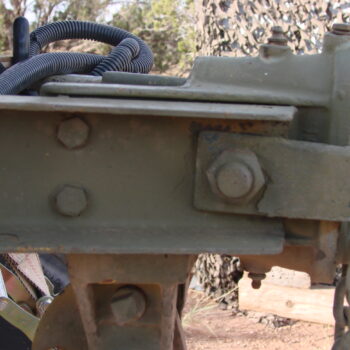
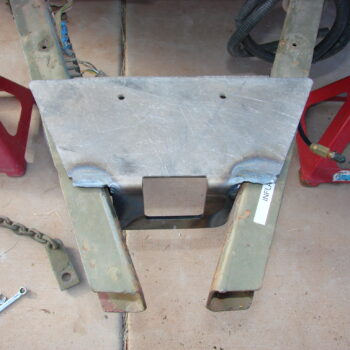
With the new bracket built and ready it is bolted in place using the existing holes that the original Pintle was mounted with. We did add one bolt on the underside of the new bracket just to ensure it was mounted as solid as we could make it.
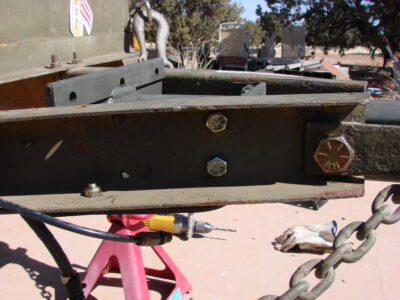
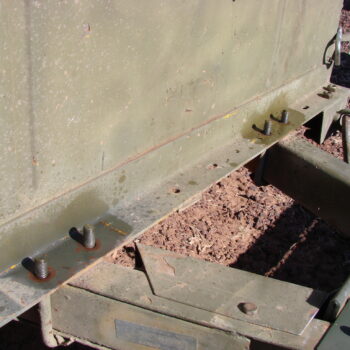
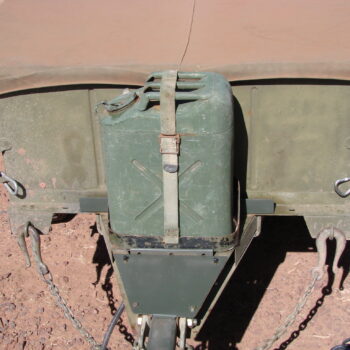
We used a piece of cardboard to make the template for the top piece on the tongue and then used it to make our pattern for the sheet metal used to make the cover. With that cut out, mocked up and ready there appeared to be just enough room to make a bracket that we could use to mount our fuel can and holder. A simple piece of angle iron was selected, cut to size and marked for drilling. We decided to try and once again use existing components or holes where applicable to make it as clean of a mount and design as possible. The u-bolts that clamp the frame to the trailer line up perfectly so holes were drilled slightly larger than the u-bolts so we could slide the bracket in place and use the existing bolts.

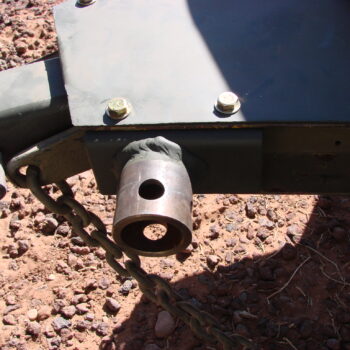
With the pieces designed and correctly fitted they needed to be cleaned up and painted. While the paint was drying we had a few minutes to remove the nuts from the u-bolts we intended to use for the fuel can holder. Since they had been on there for decades and had multiple layers of paint we doused them with “Deep Creep” to help break them loose. When the paint was dry enough we mounted the new mounting bracket and the top cover onto the trailer.


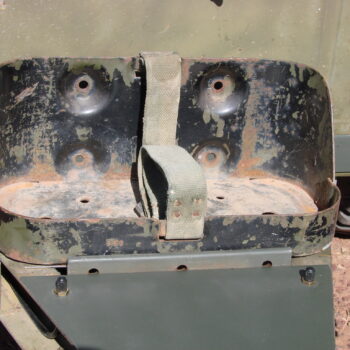
The fuel can holder fits in this space like it was designed to be there, all we needed to do was mark and drill the holes for the bracket and get it bolted in place.

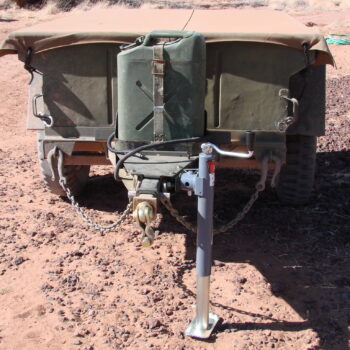
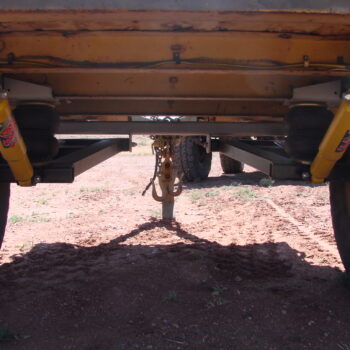
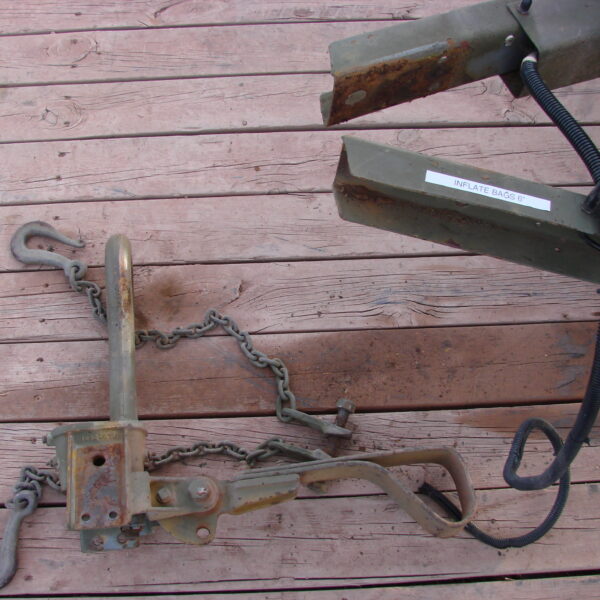
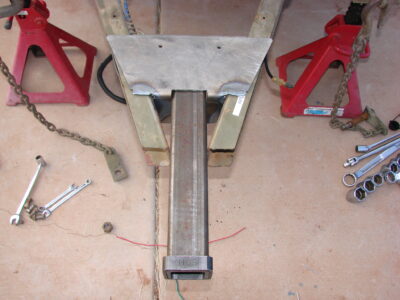
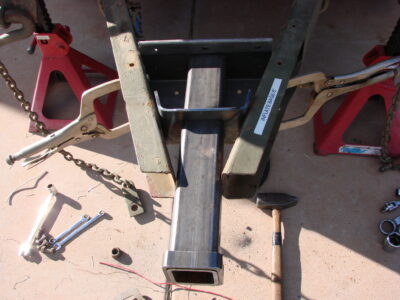
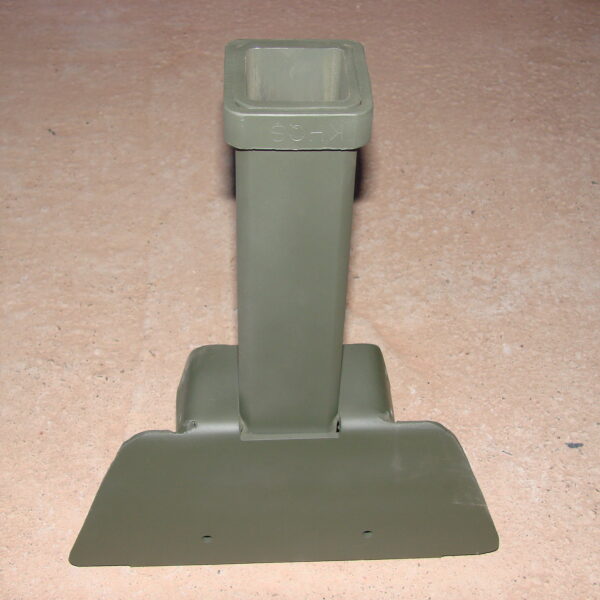
The last thing needed to complete this project is a jack to help with the hooking up and unhooking as well as keeping it level should we need to unhook it for any reason along the way. We chose a jack that we wanted and fabricated a way to mount it to the trailer, it was simple enough once we found some channel iron that fit into the frame of the trailer. We marked where we wanted to mount it and cut it to fit, drilled holes for mounting (once again trying to use any existing holes possible) and coated it with paint to match and finally bolted it into place. Now the trailer project is complete and we are ready to take it on this year’s road trip with the new improvements. For any of the parts needed to complete this project on your M416 you can contact the guys at Adventure Trailers and they can ship you what you will need to convert your trailer to this type of set up to allow you to run one of their, tried and true Lock and Roll® systems.