Ever head out for a trail ride that you had been planning for days, weeks or maybe even months only to have a hub break? Possibly first thing on day one; or were you one of the lucky ones who managed to break it at the end of the trip? For many of us, it seems we’ve been there at one point or another. The thing about locking hubs, if you break one you generally have to buy a pair.
While running Pritchett Canyon in Moab recently we managed to bust a hub and as stated, a pair had to be purchased only to use one. Figuring the other would be a spare that I would throw into the supply bag and hopefully not need for awhile if at all, I quickly tossed it aside thinking that would be it for awhile. I couldn’t have been more wrong!
The very next trip back (to Moab) for Easter Jeep Safari with intentions of uninterrupted fun; our hopes were dashed from the familiar sound of another locking hub snapping. Now I’m not a guy that is excessively hard on his equipment but at the same time; the Yj this particular set of hubs is on happens to be sitting on one ton running gear and is built to hit the hard stuff.
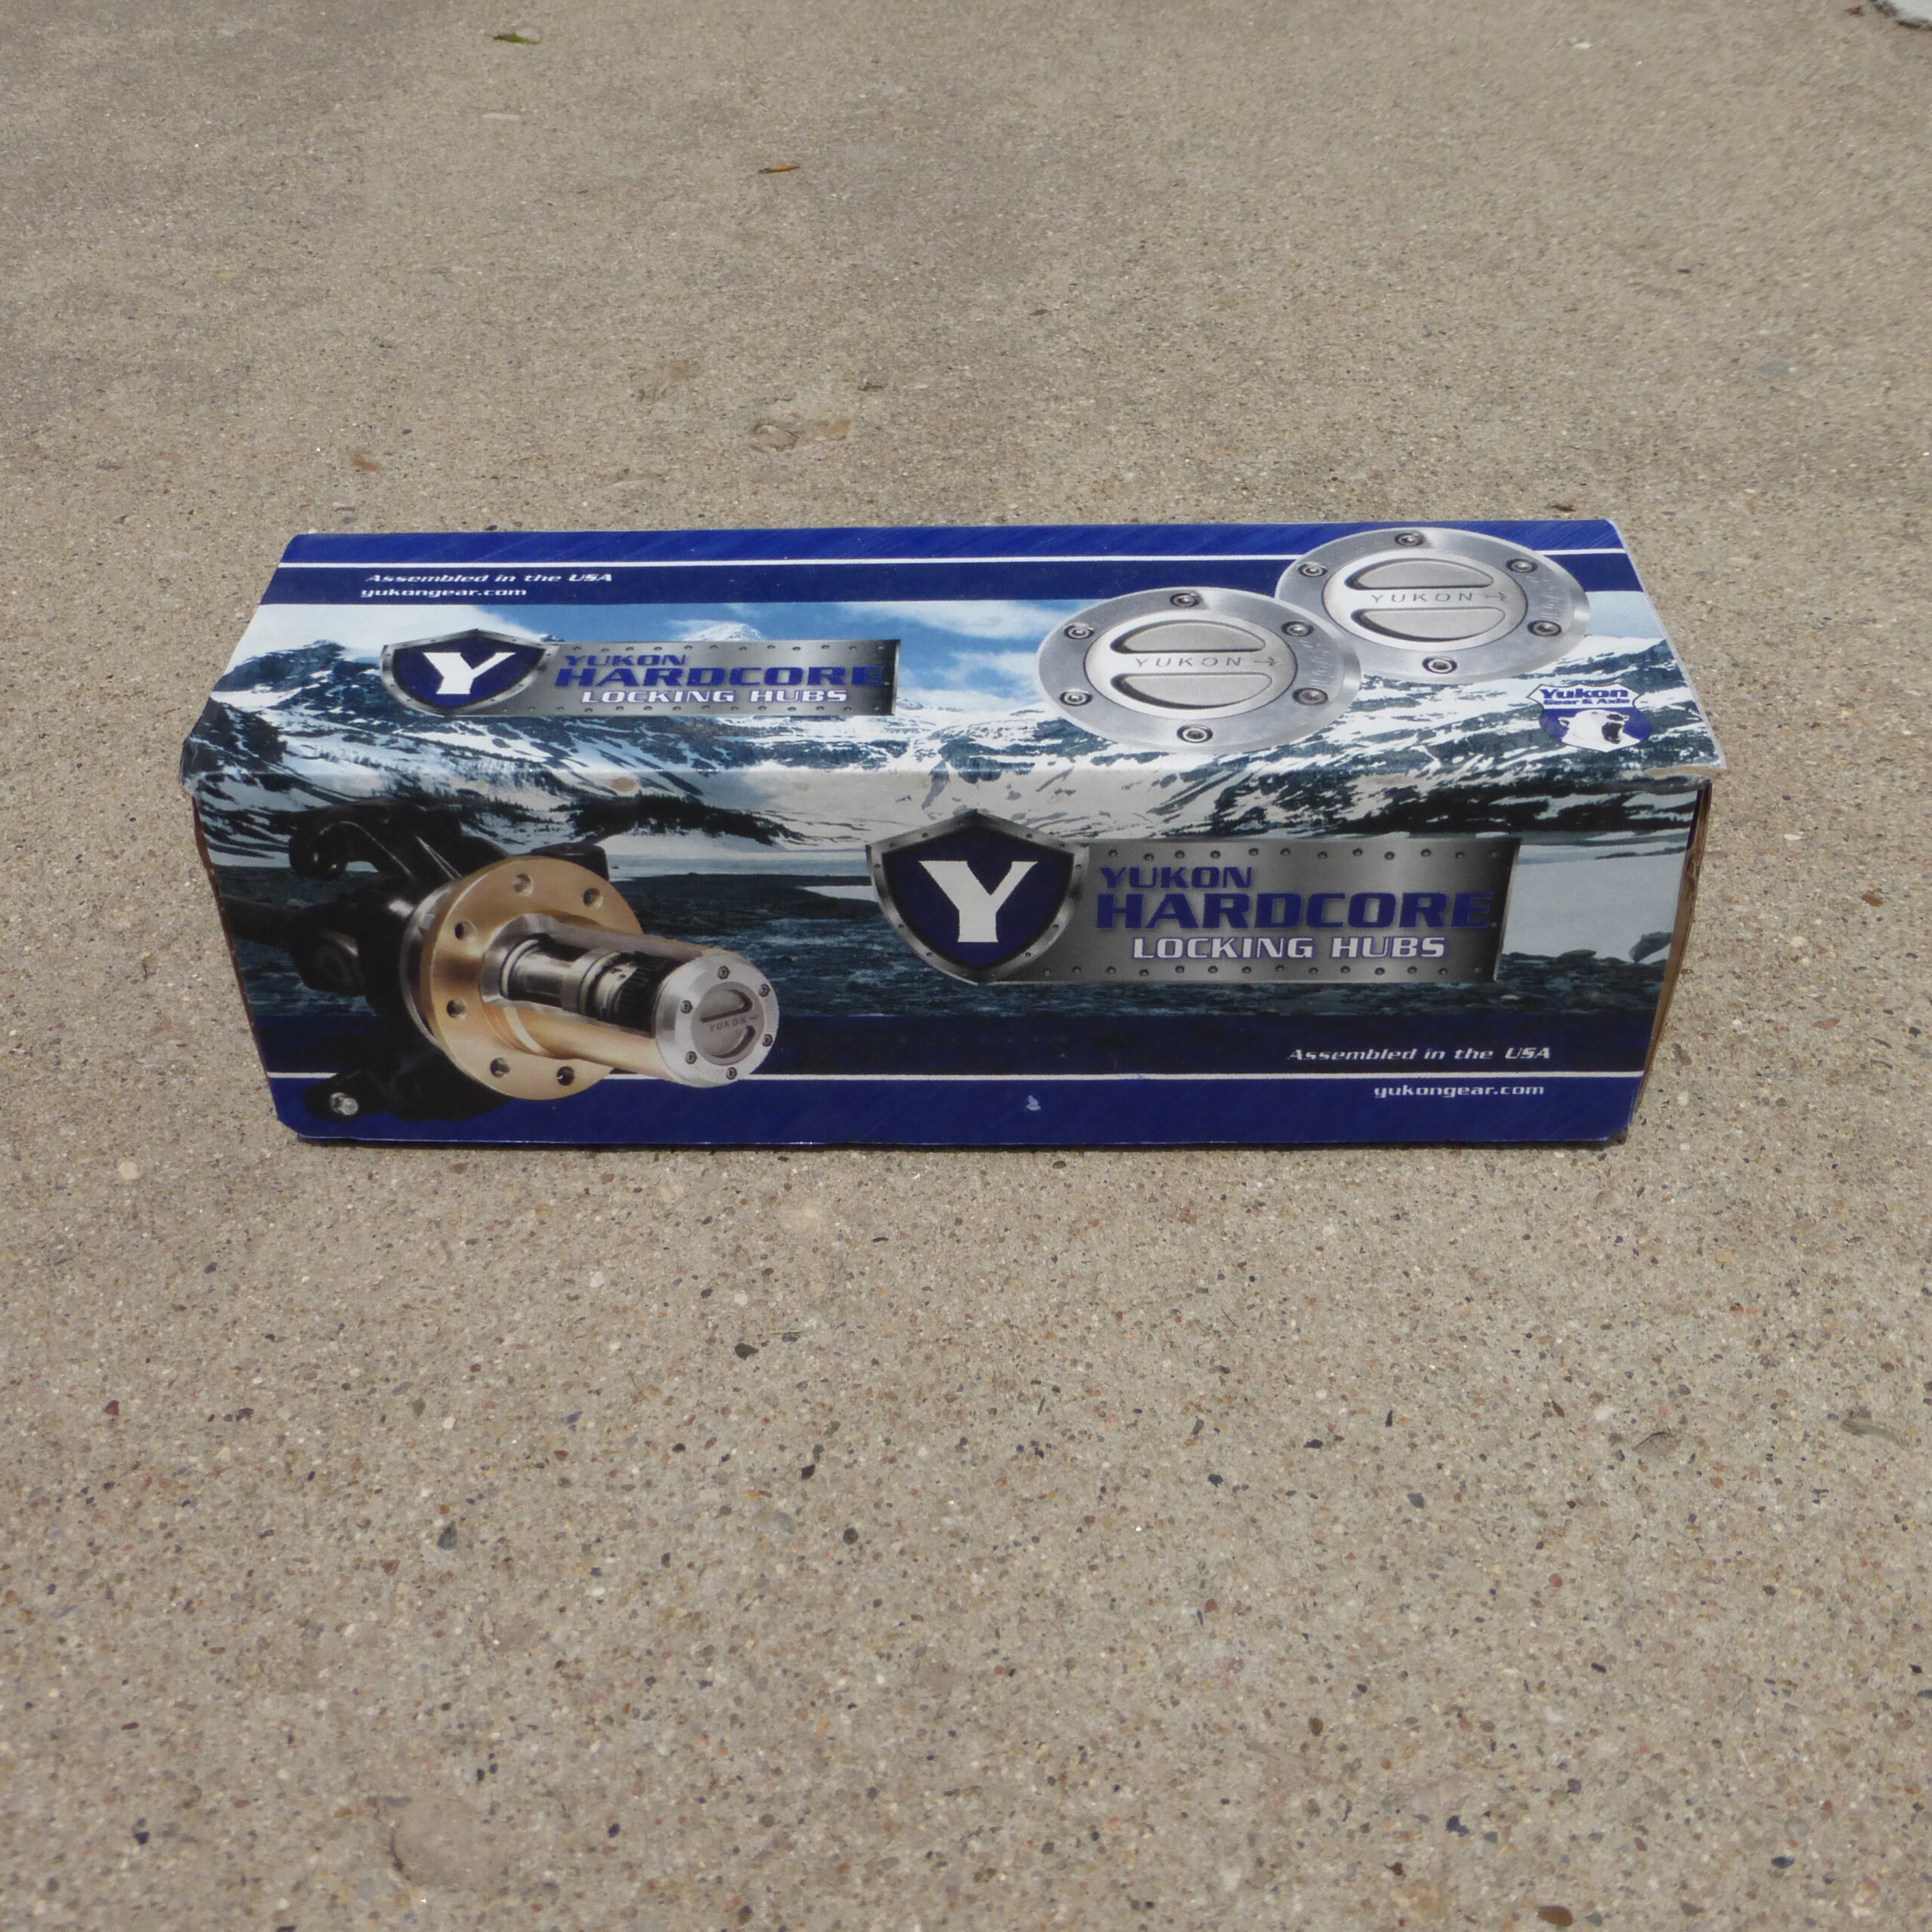
Nothing is more frustrating than having my fun stopped cold in its tracks before it even gets started so the plan was to swap “Brand X” with something that would be better suited for this Jeep and how we use it. The first thing I did after getting the Jeep unloaded and into the shop was call the folks at Yukon Gear & Axle to get a set of their Hardcore Locking Hubs in route. With very little time in our schedule between arriving home and heading out on the next event time was of the essence so we opened the box, dug out our new hubs and installed them so we would be ready to head to the trails. Follow along and we’ll show you the process of installing the new set of Hardcore Locking Hubs from Yukon.
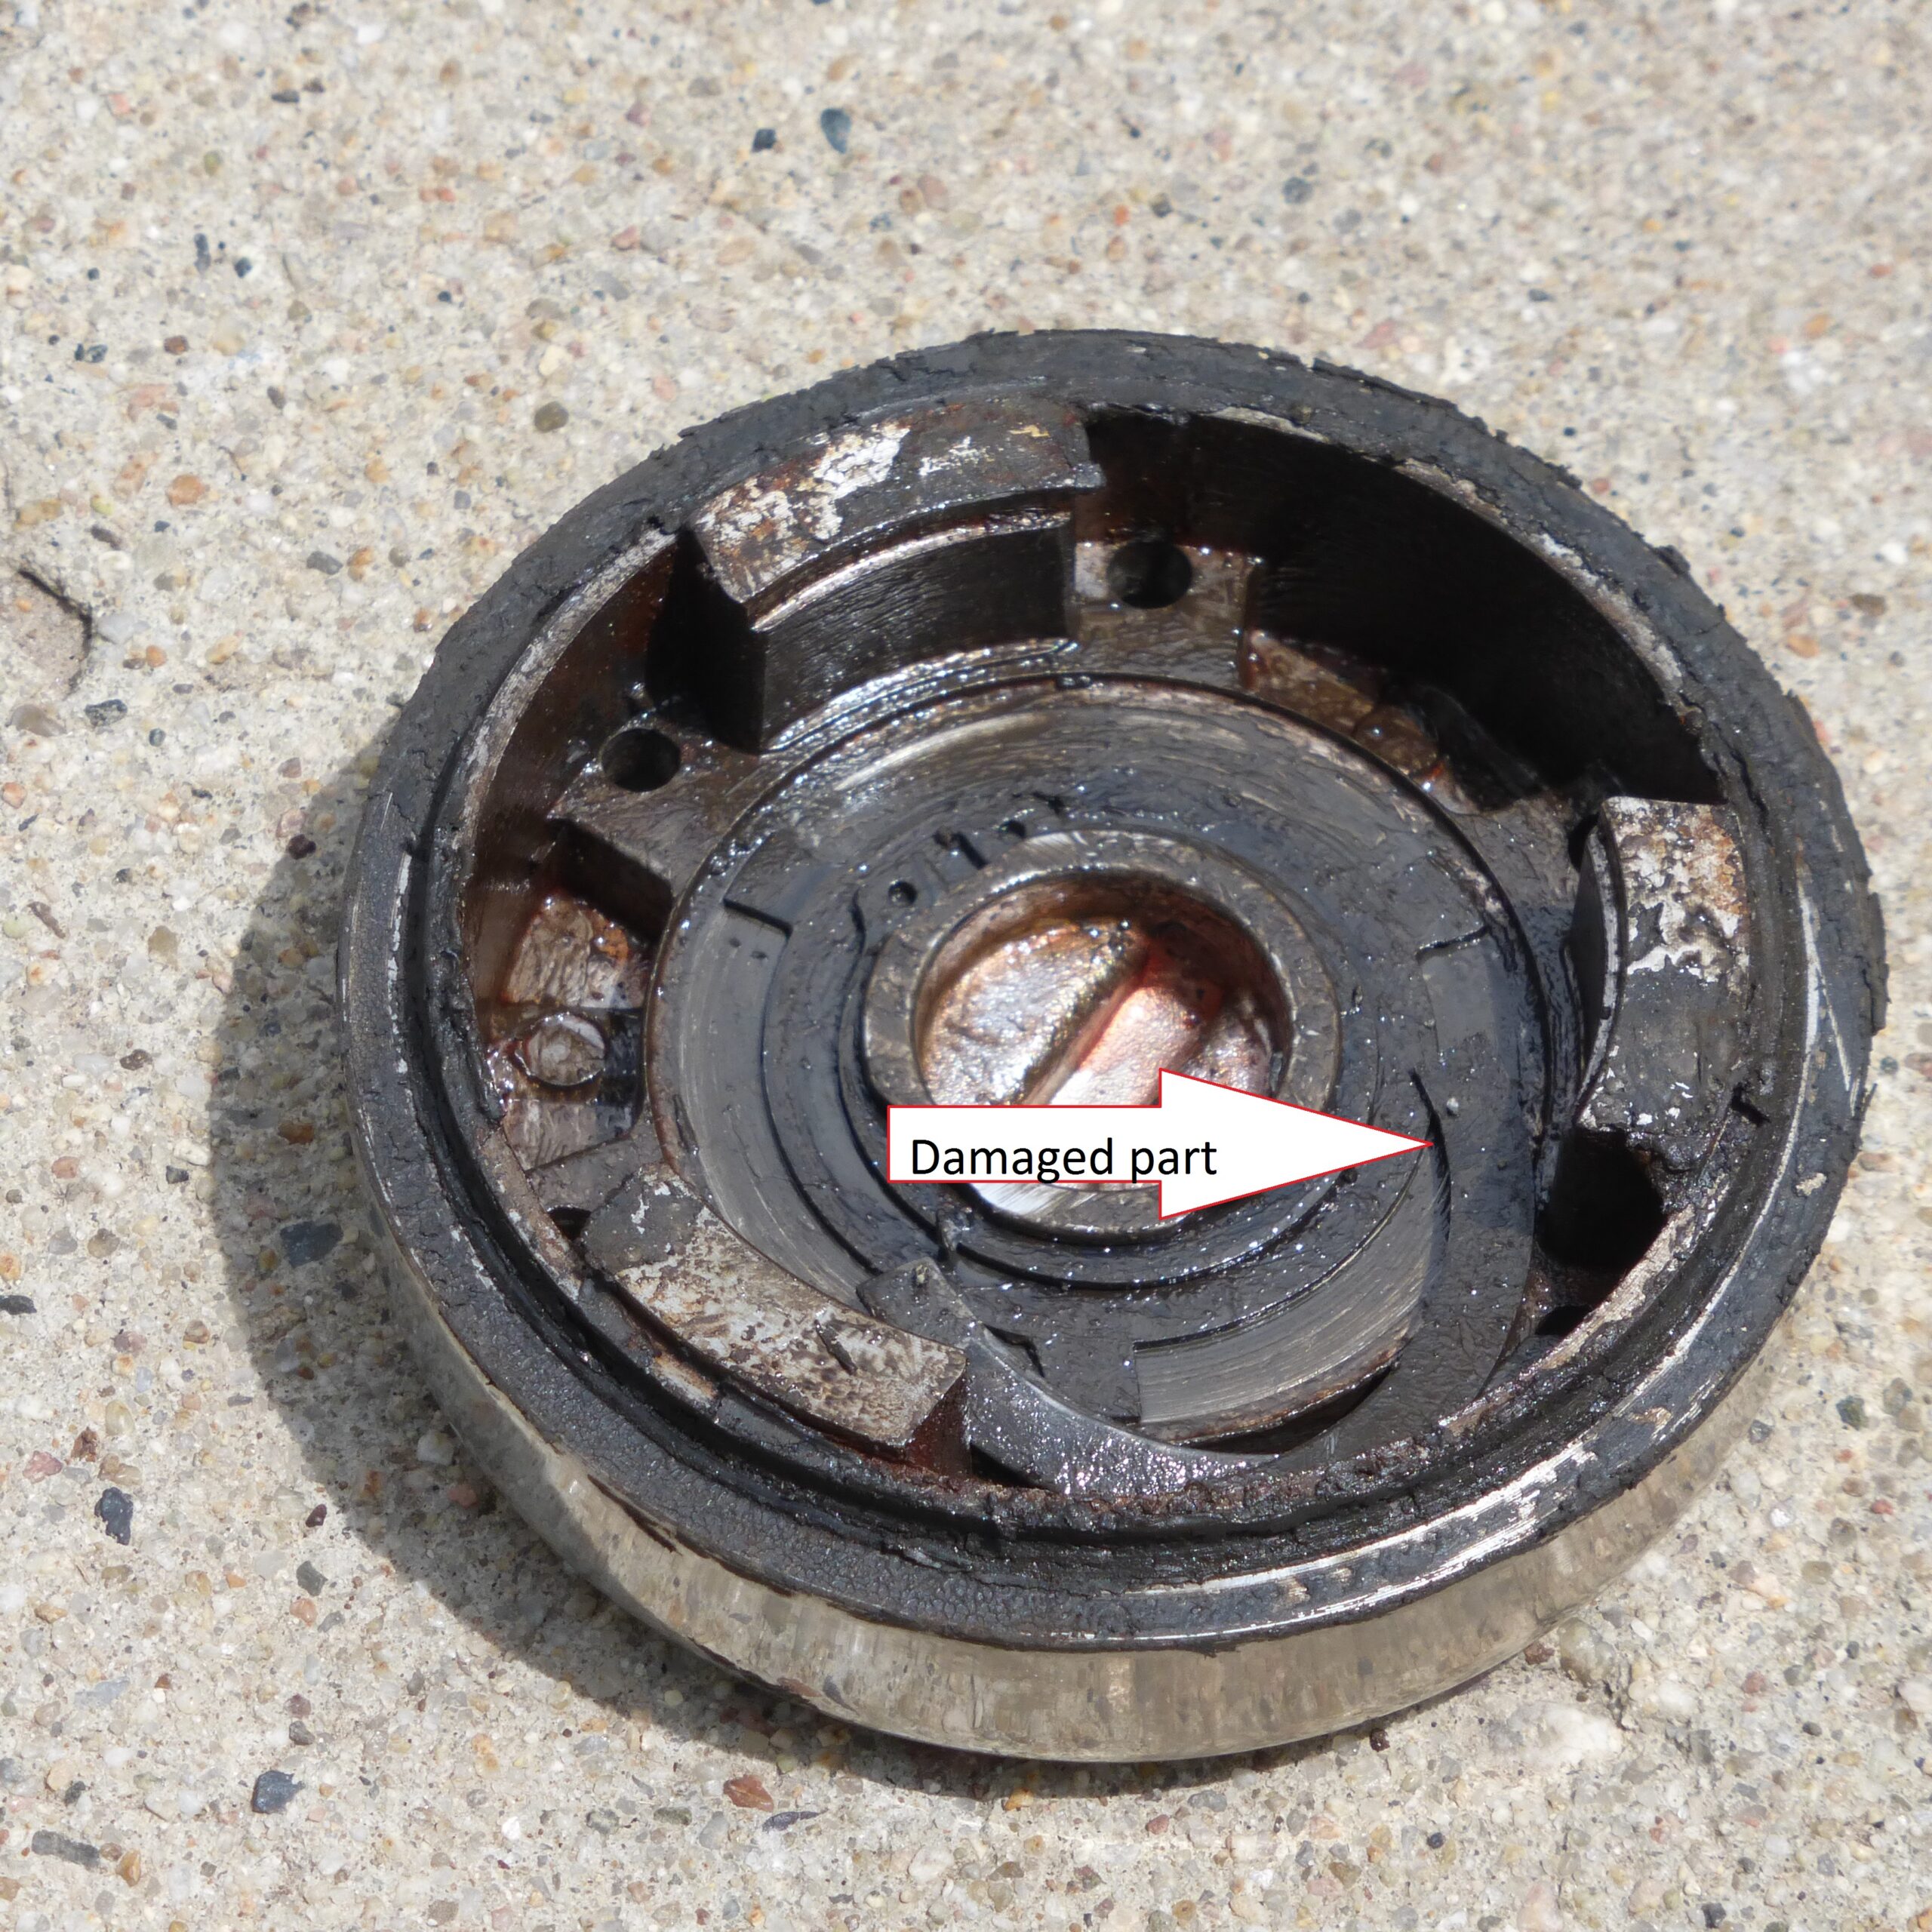
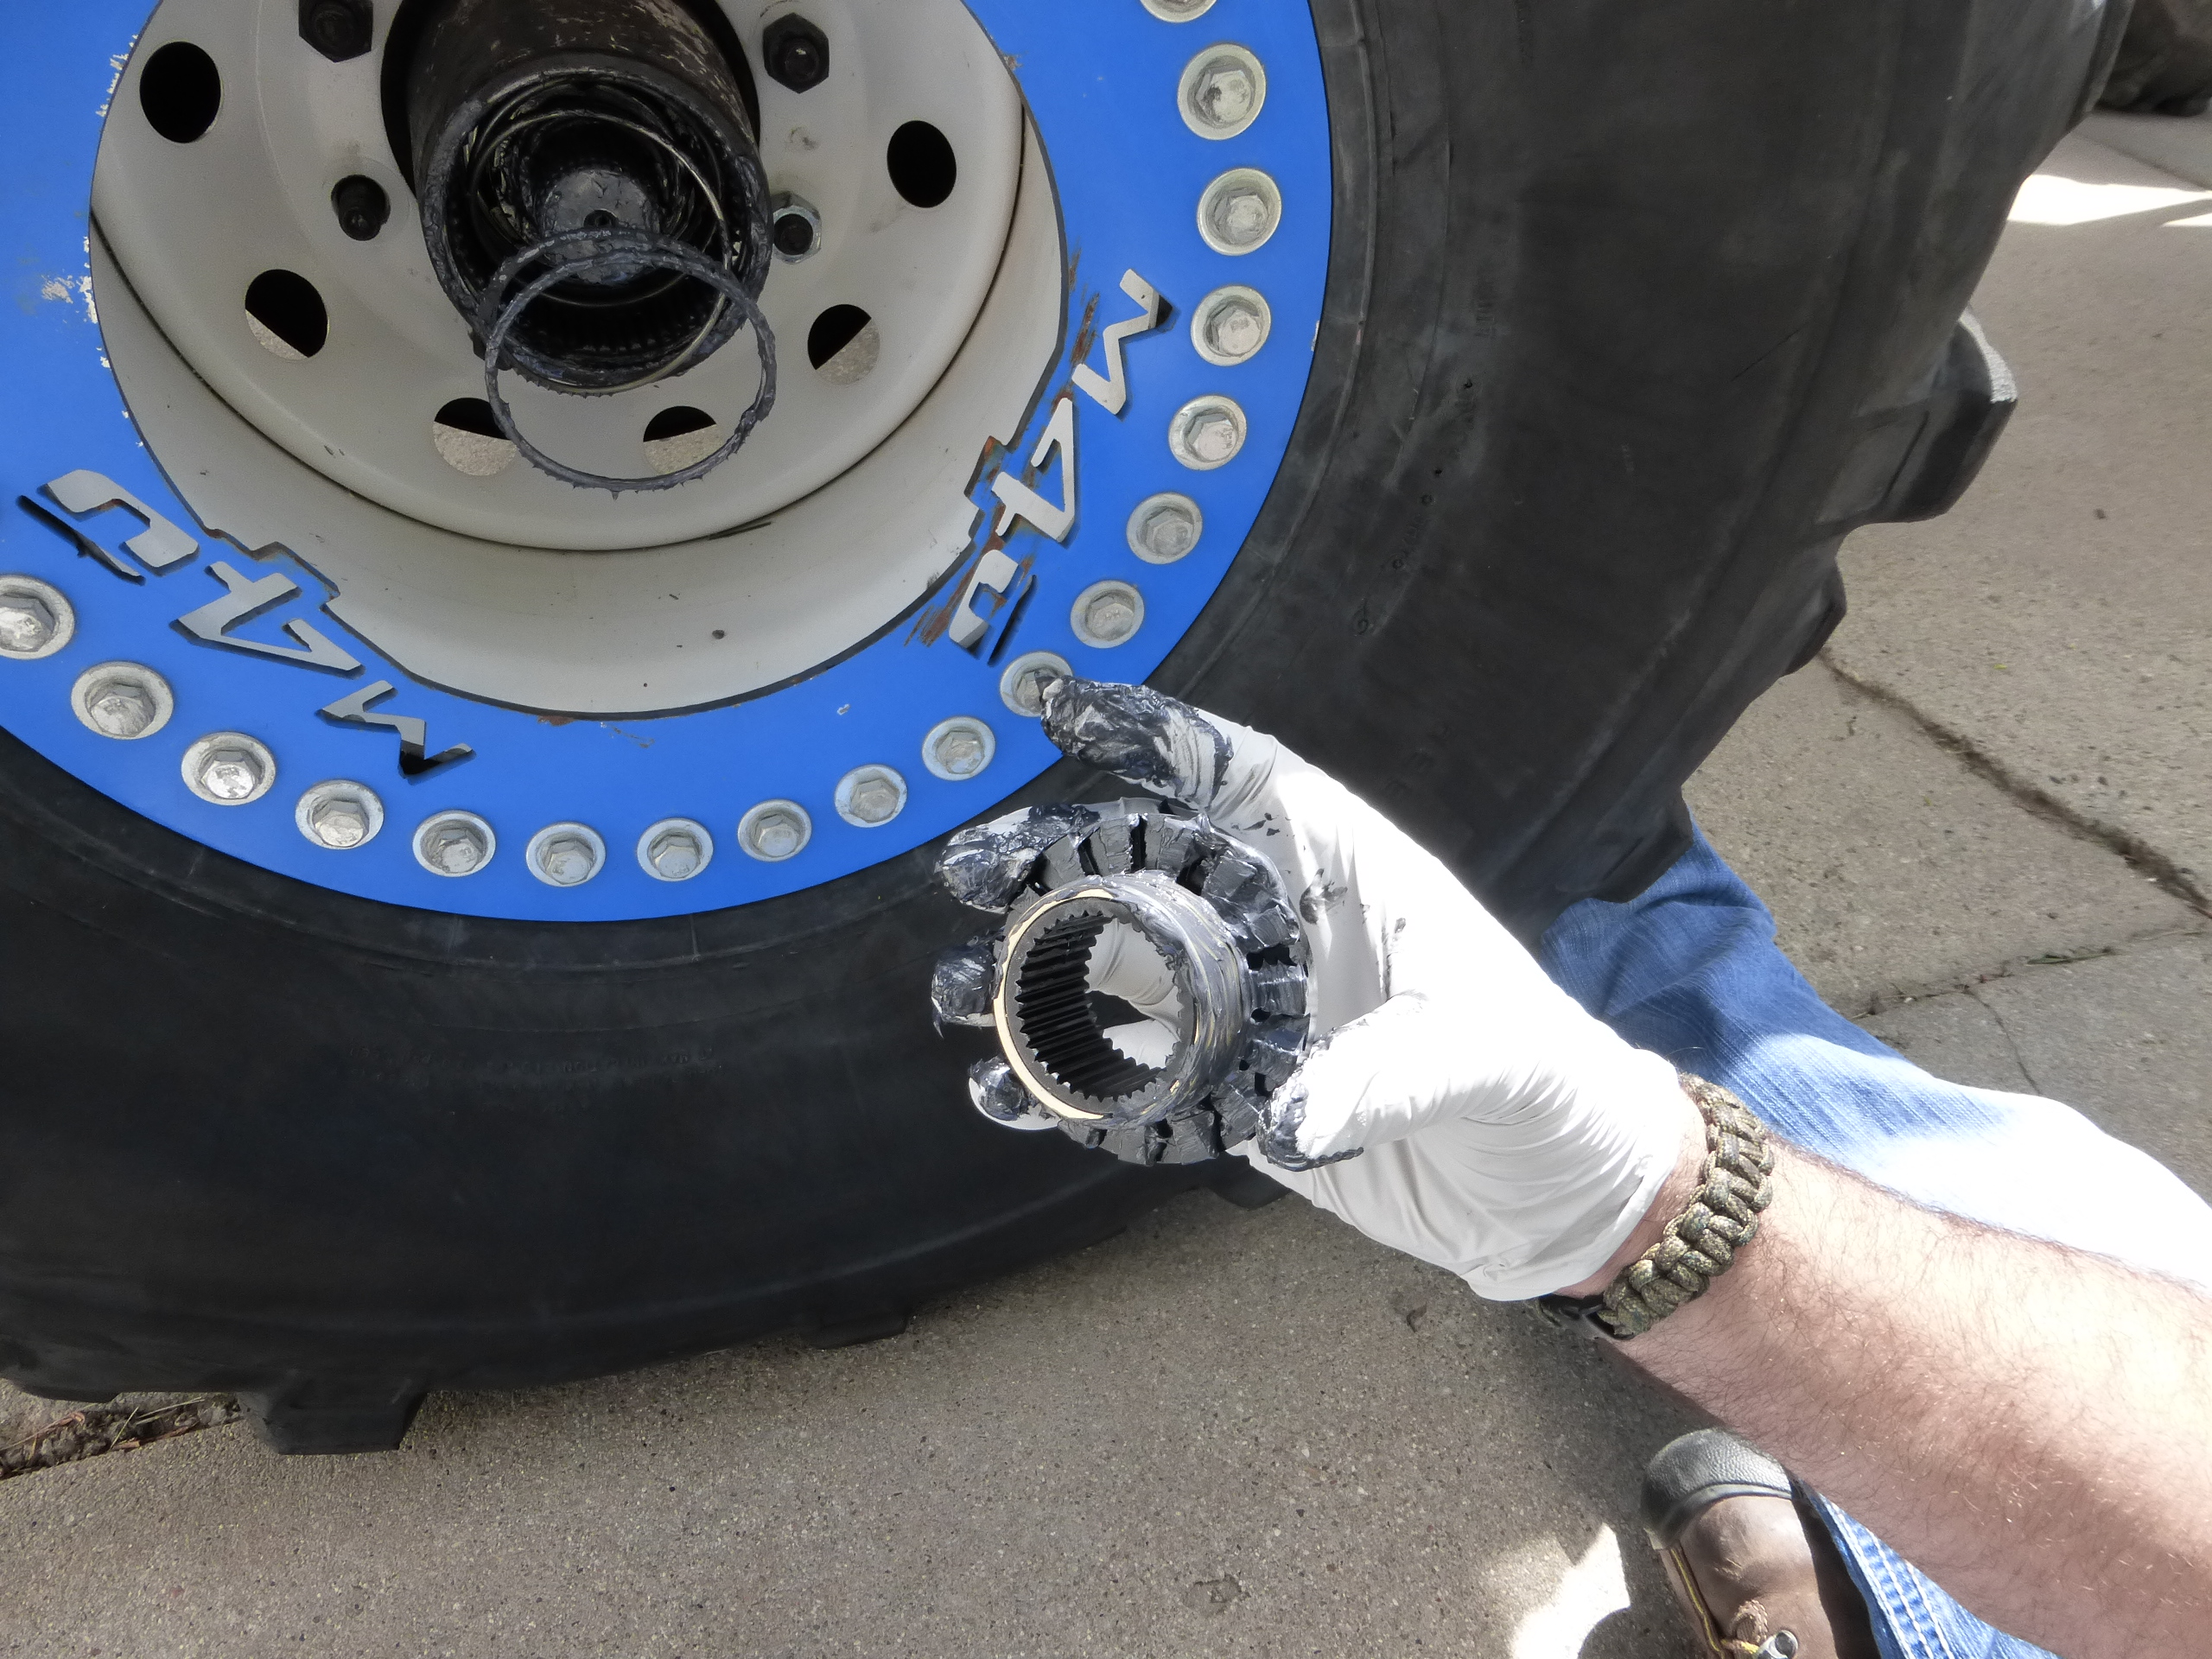
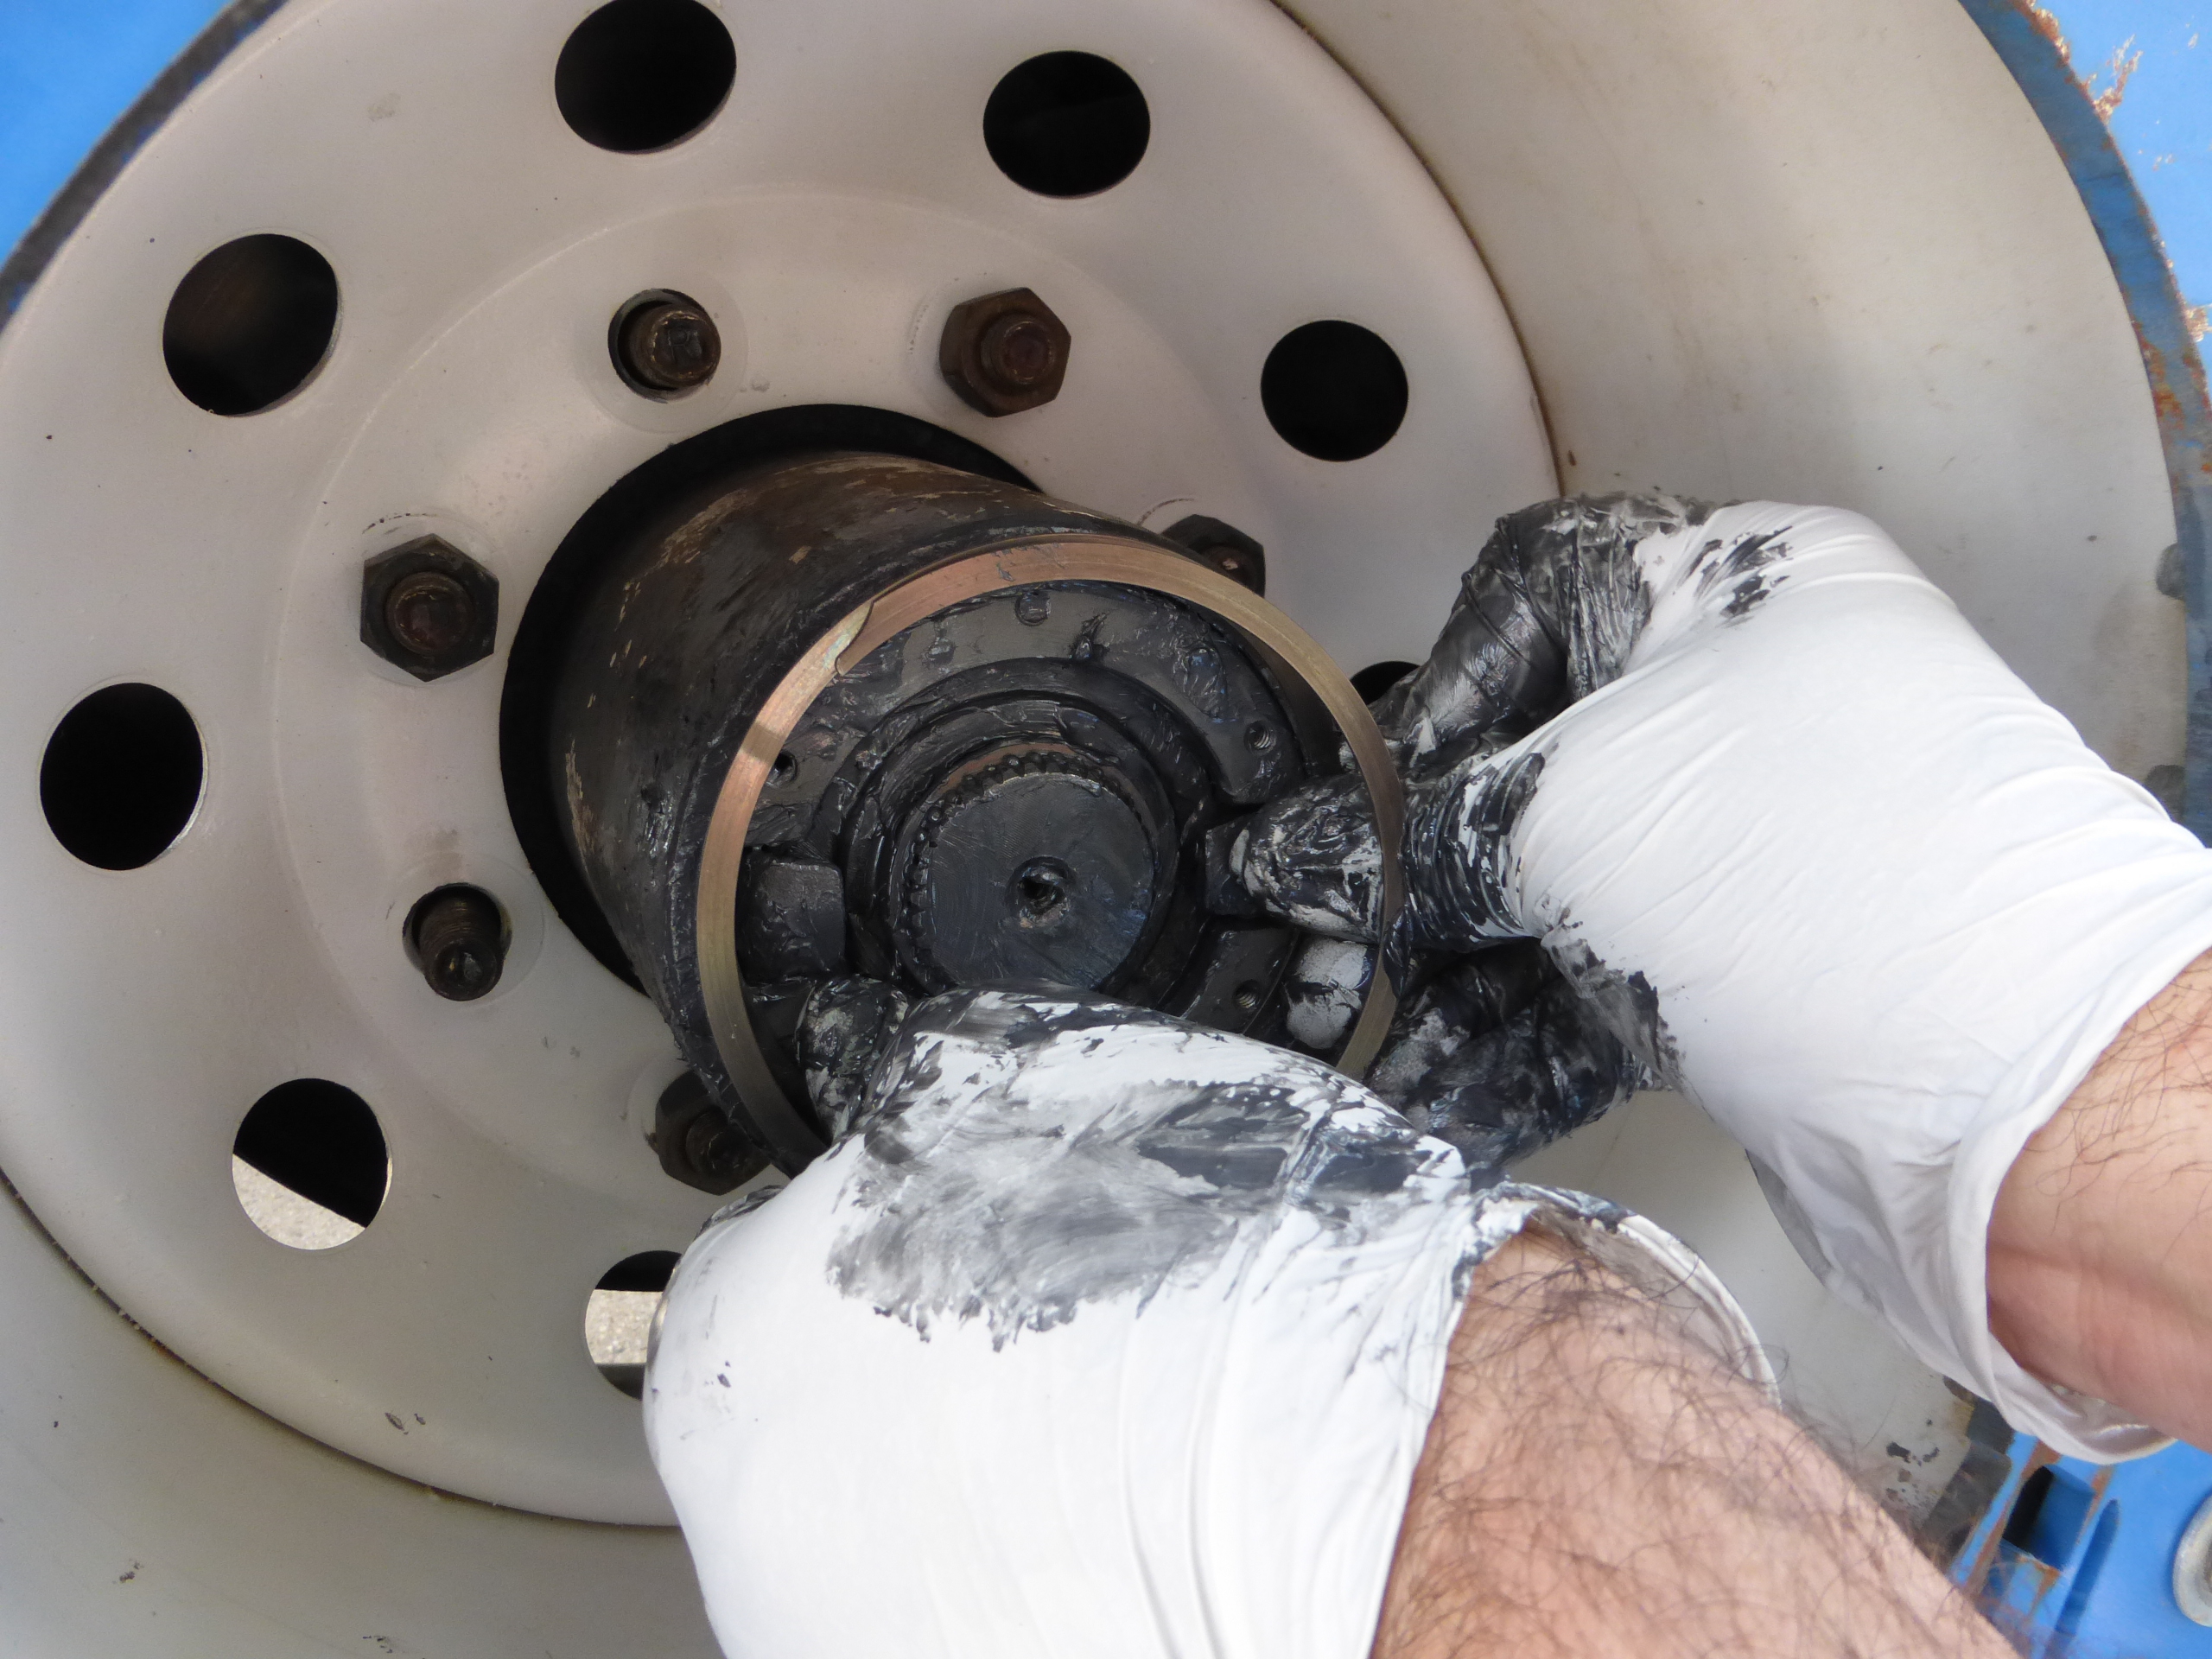
Our first task at hand would be to remove the broken hub and see where the failure occurred. We found this hub failed in the same spot and fashion that the previous one from the same company had so we were glad to be replacing it with something stronger.
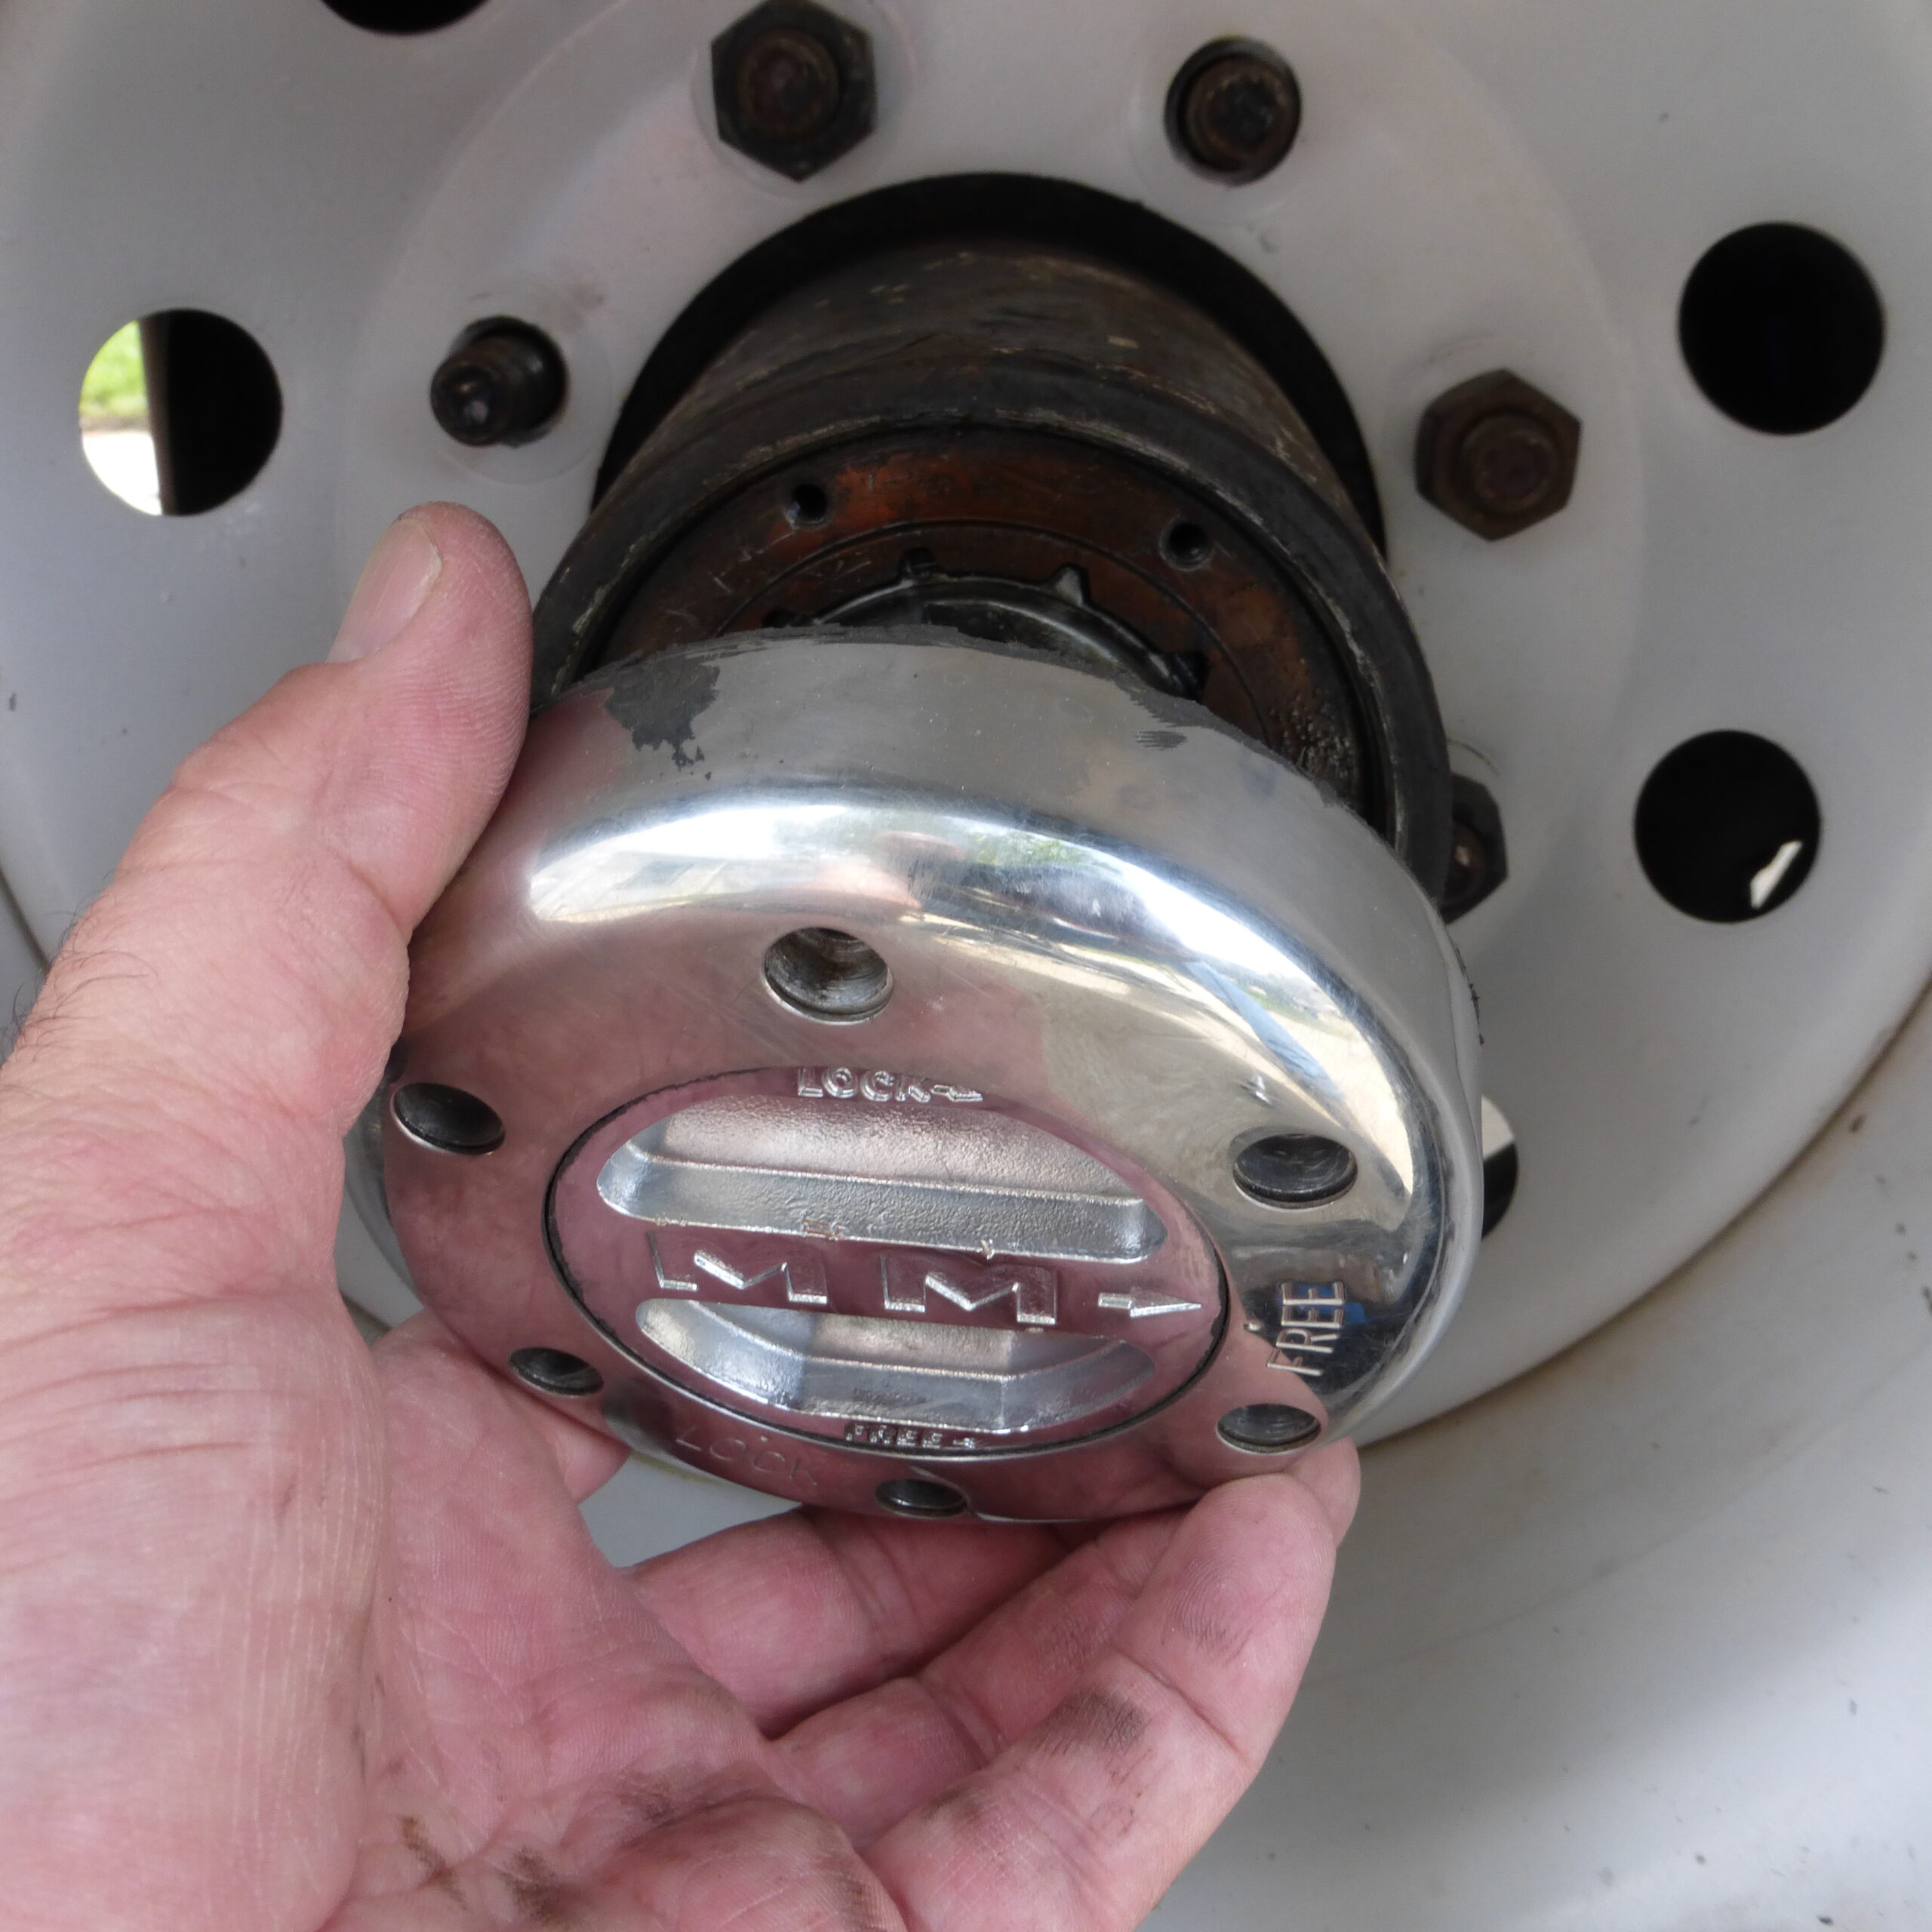

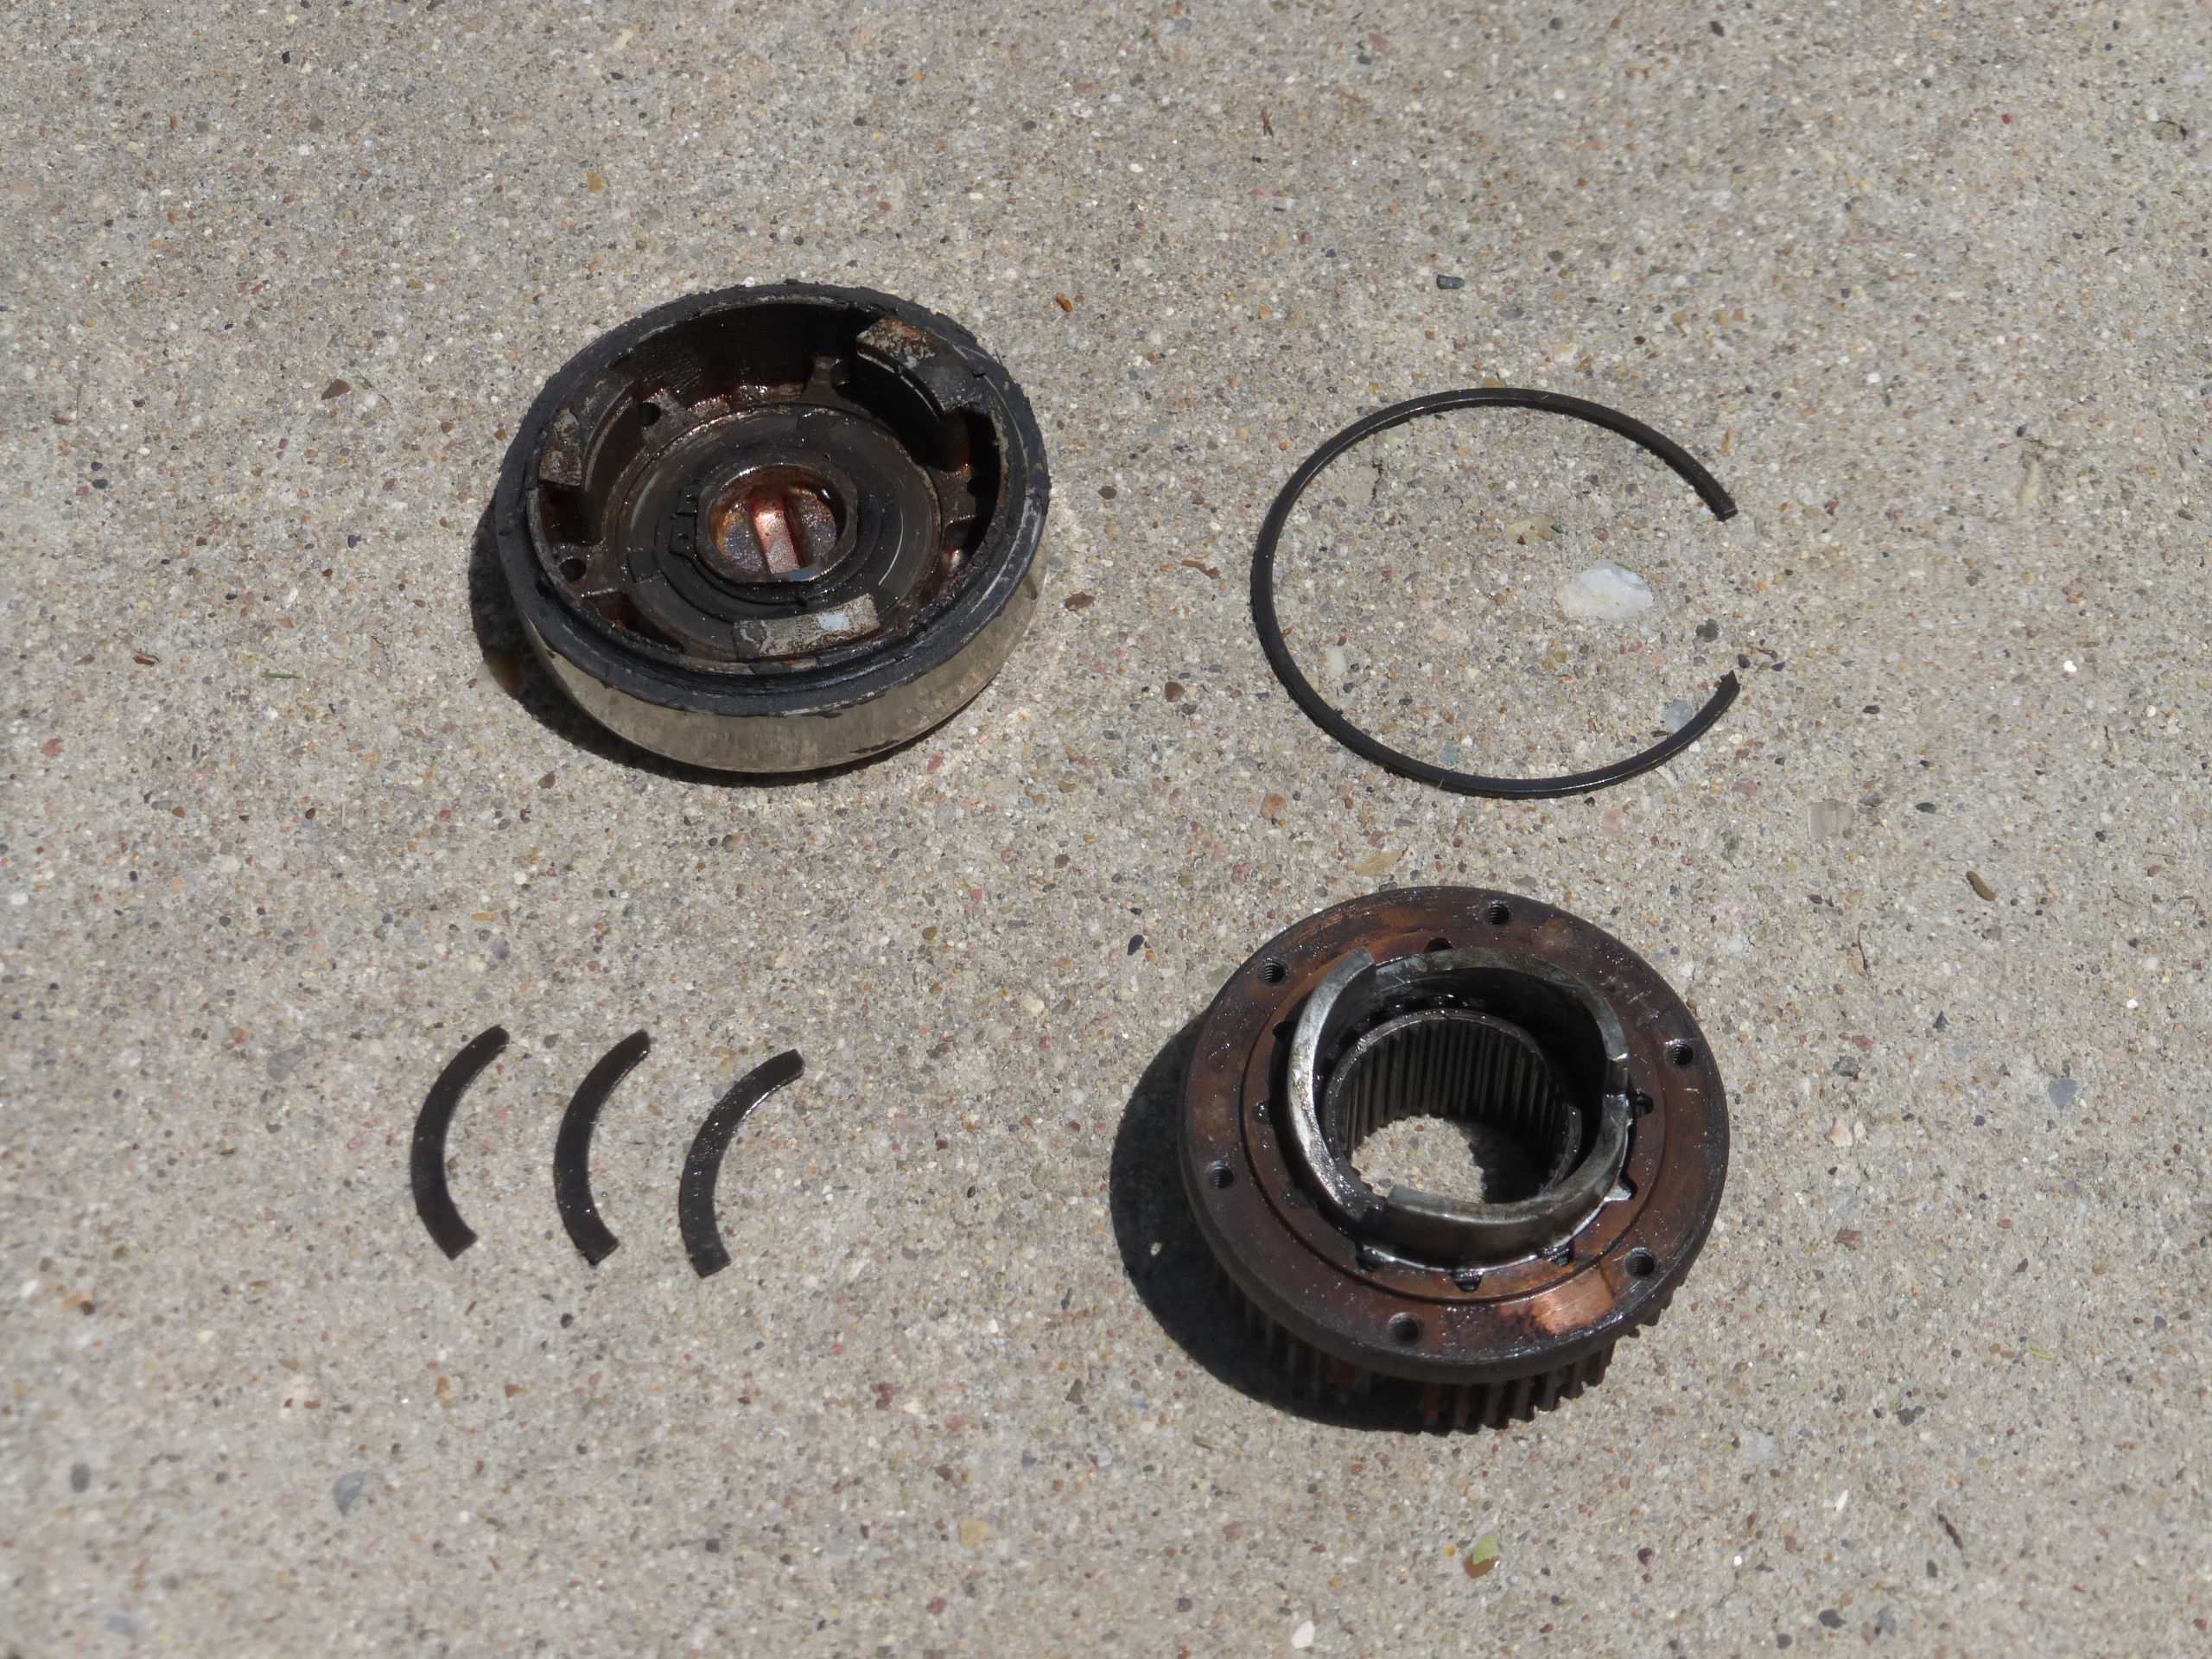

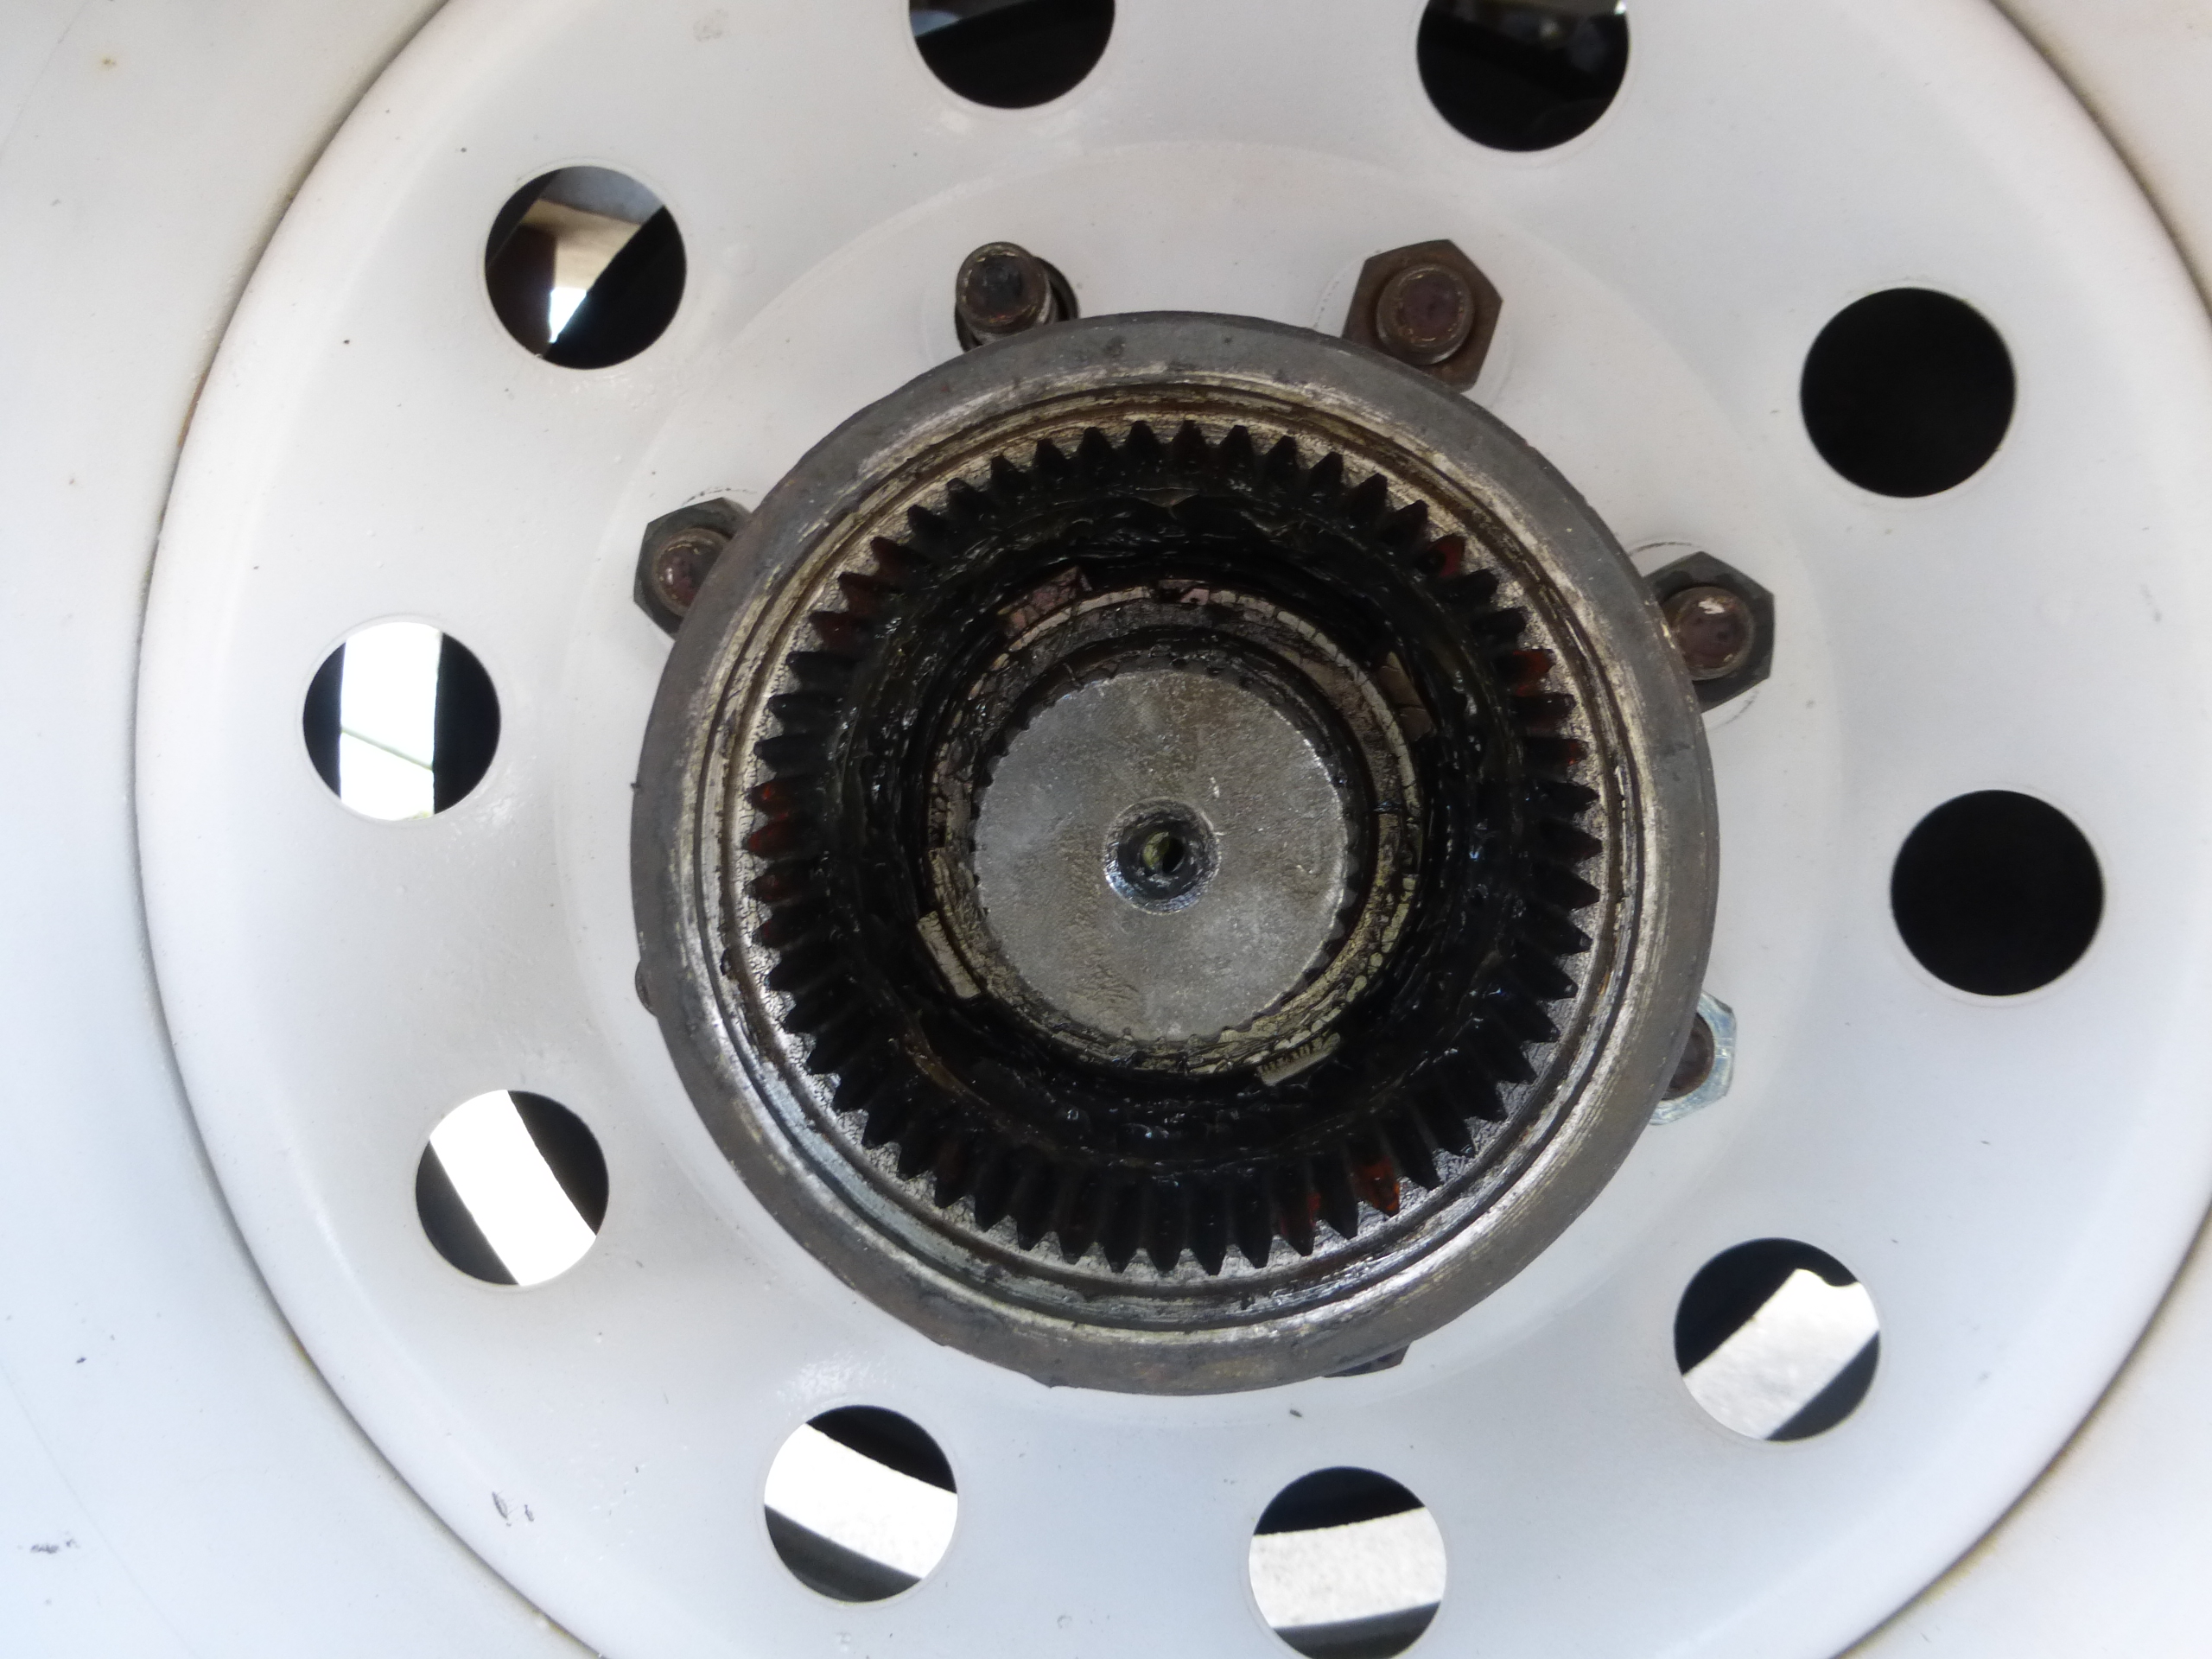
Removing the broken hub was easy, just a matter of six little bolts and a snap ring and they were out. Less than five minutes to remove them, find the failure and get ready for the new Yukon hubs.
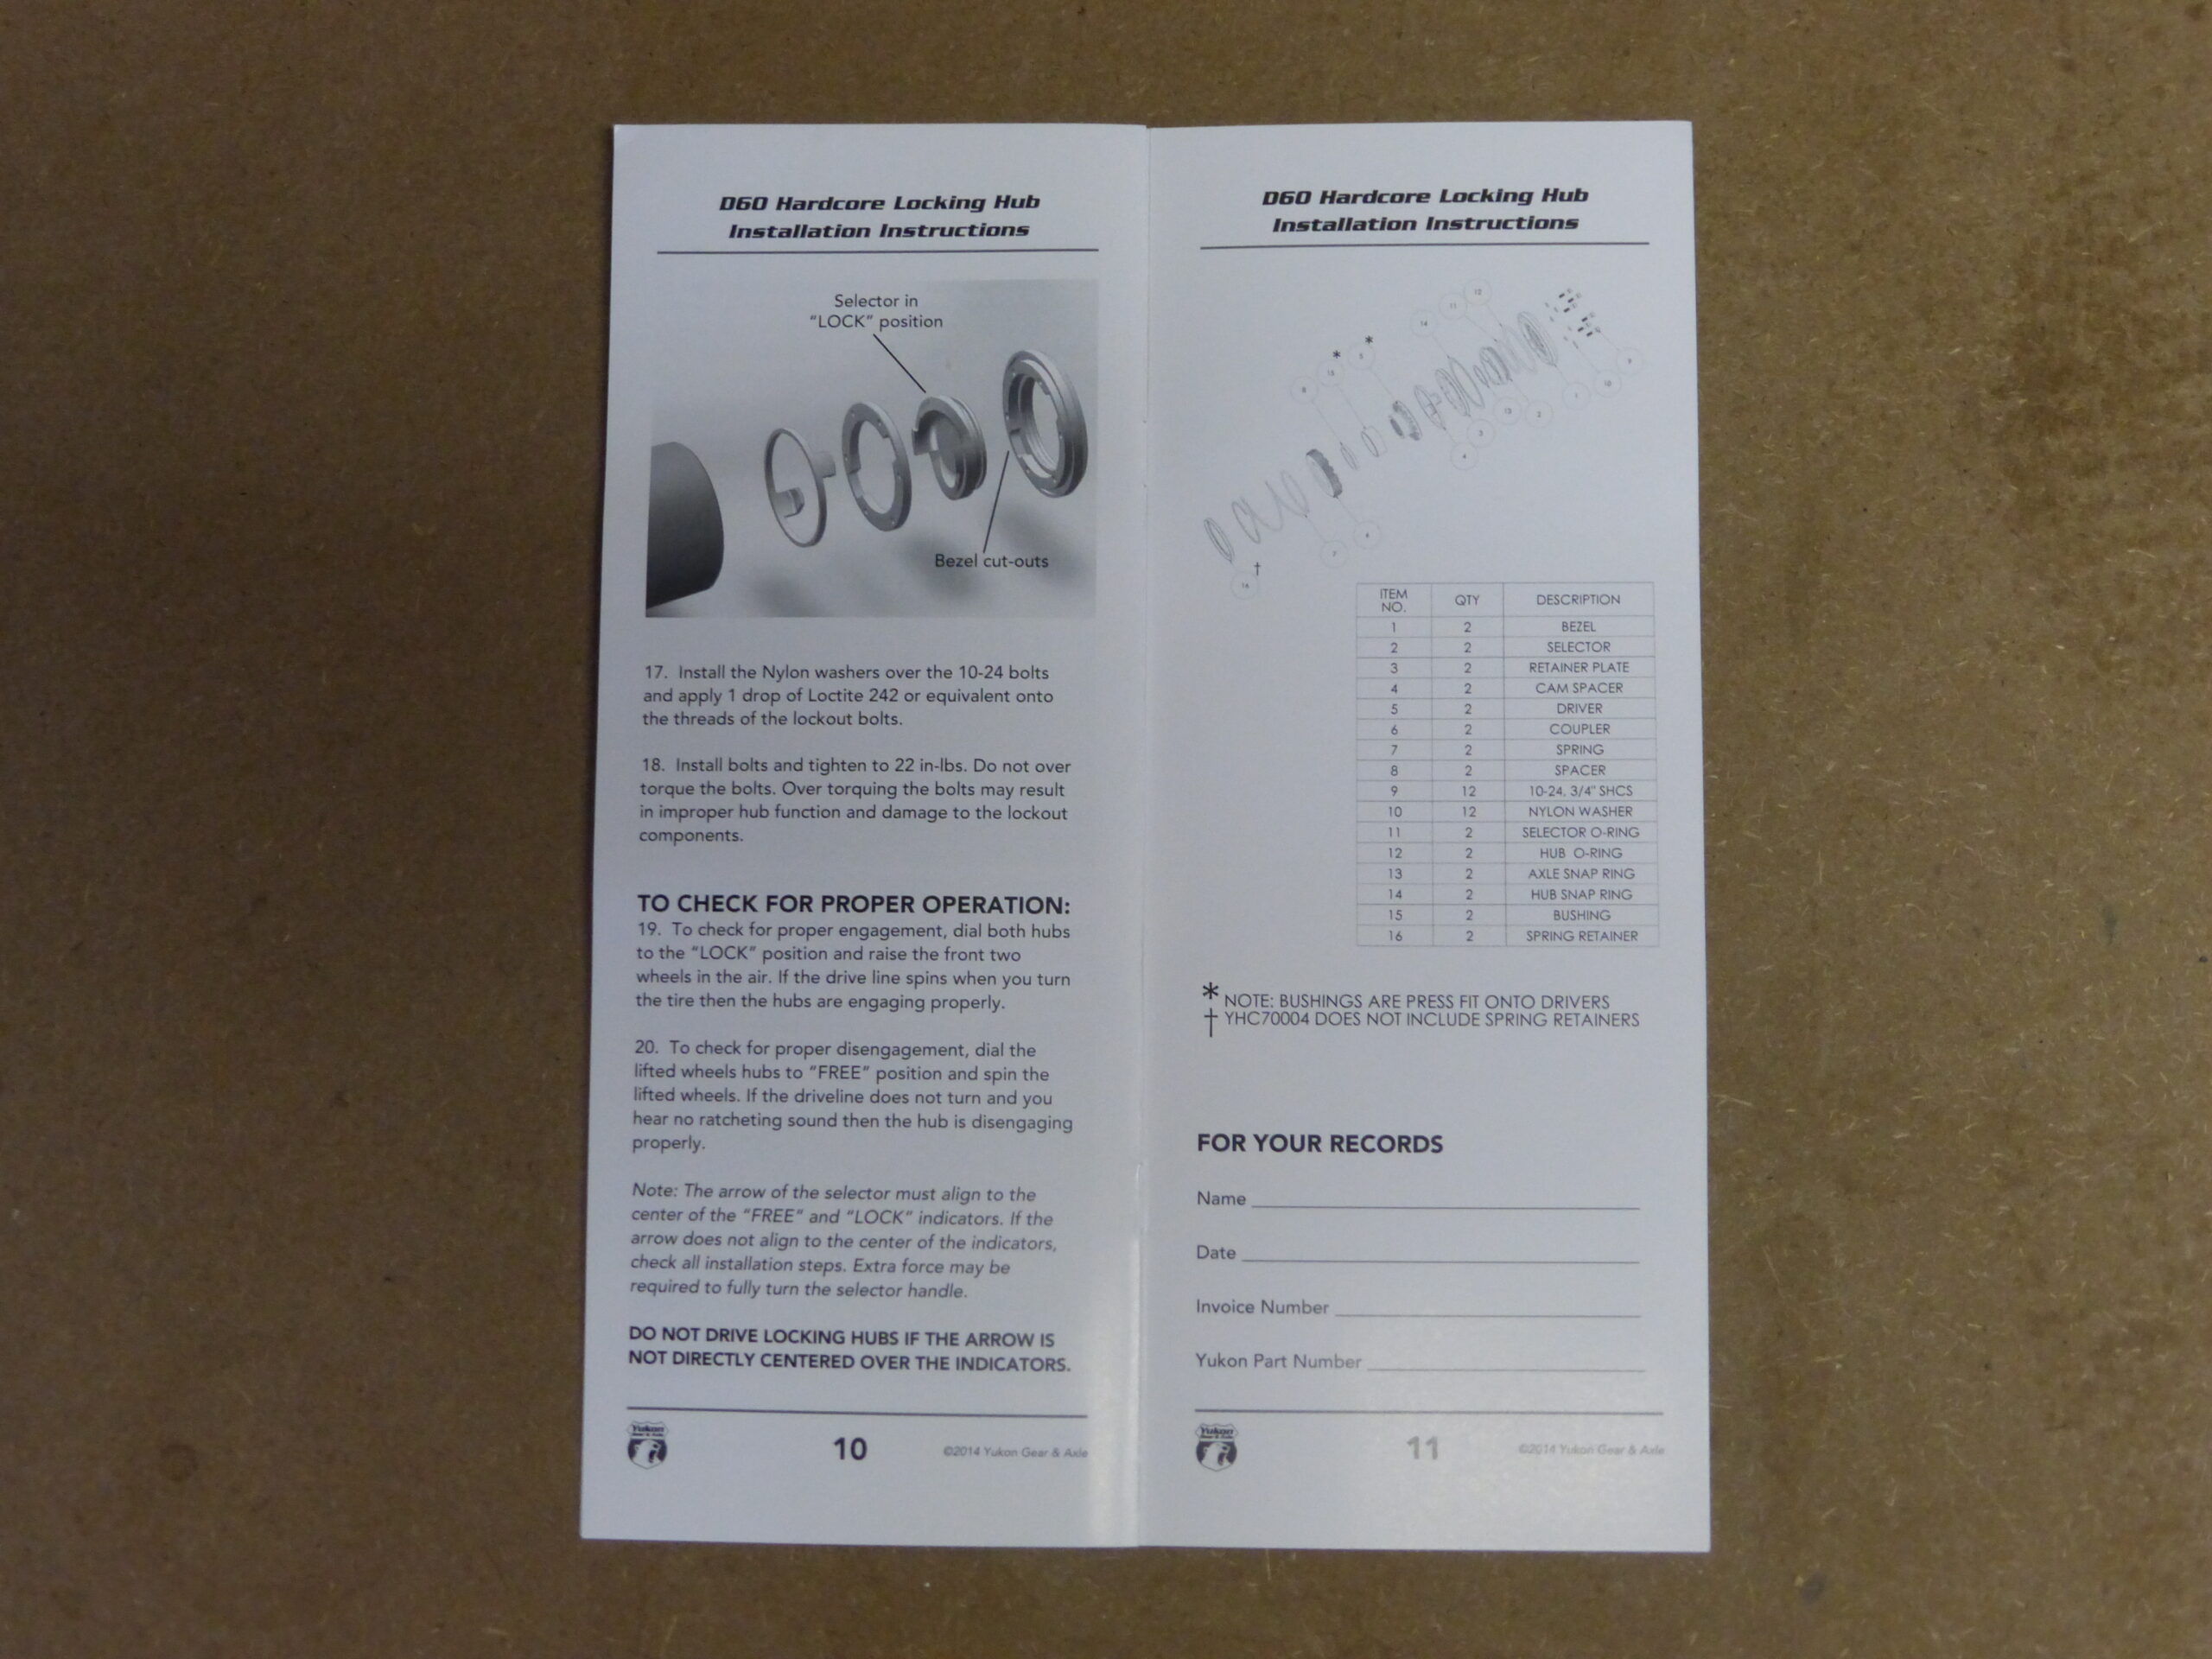
Many times when a person dives into a project they are unfamiliar with they rely on a good set of instructions, it amazes me how many manufactures really limit what they put in for the customer. Yukon has some of the best material as far as instruction goes for their products that I have seen so far, if you’re the DIY type of person but has never installed a set of hubs all you have to do is go step by step with their instructions, they also use pictures to help illustrate.
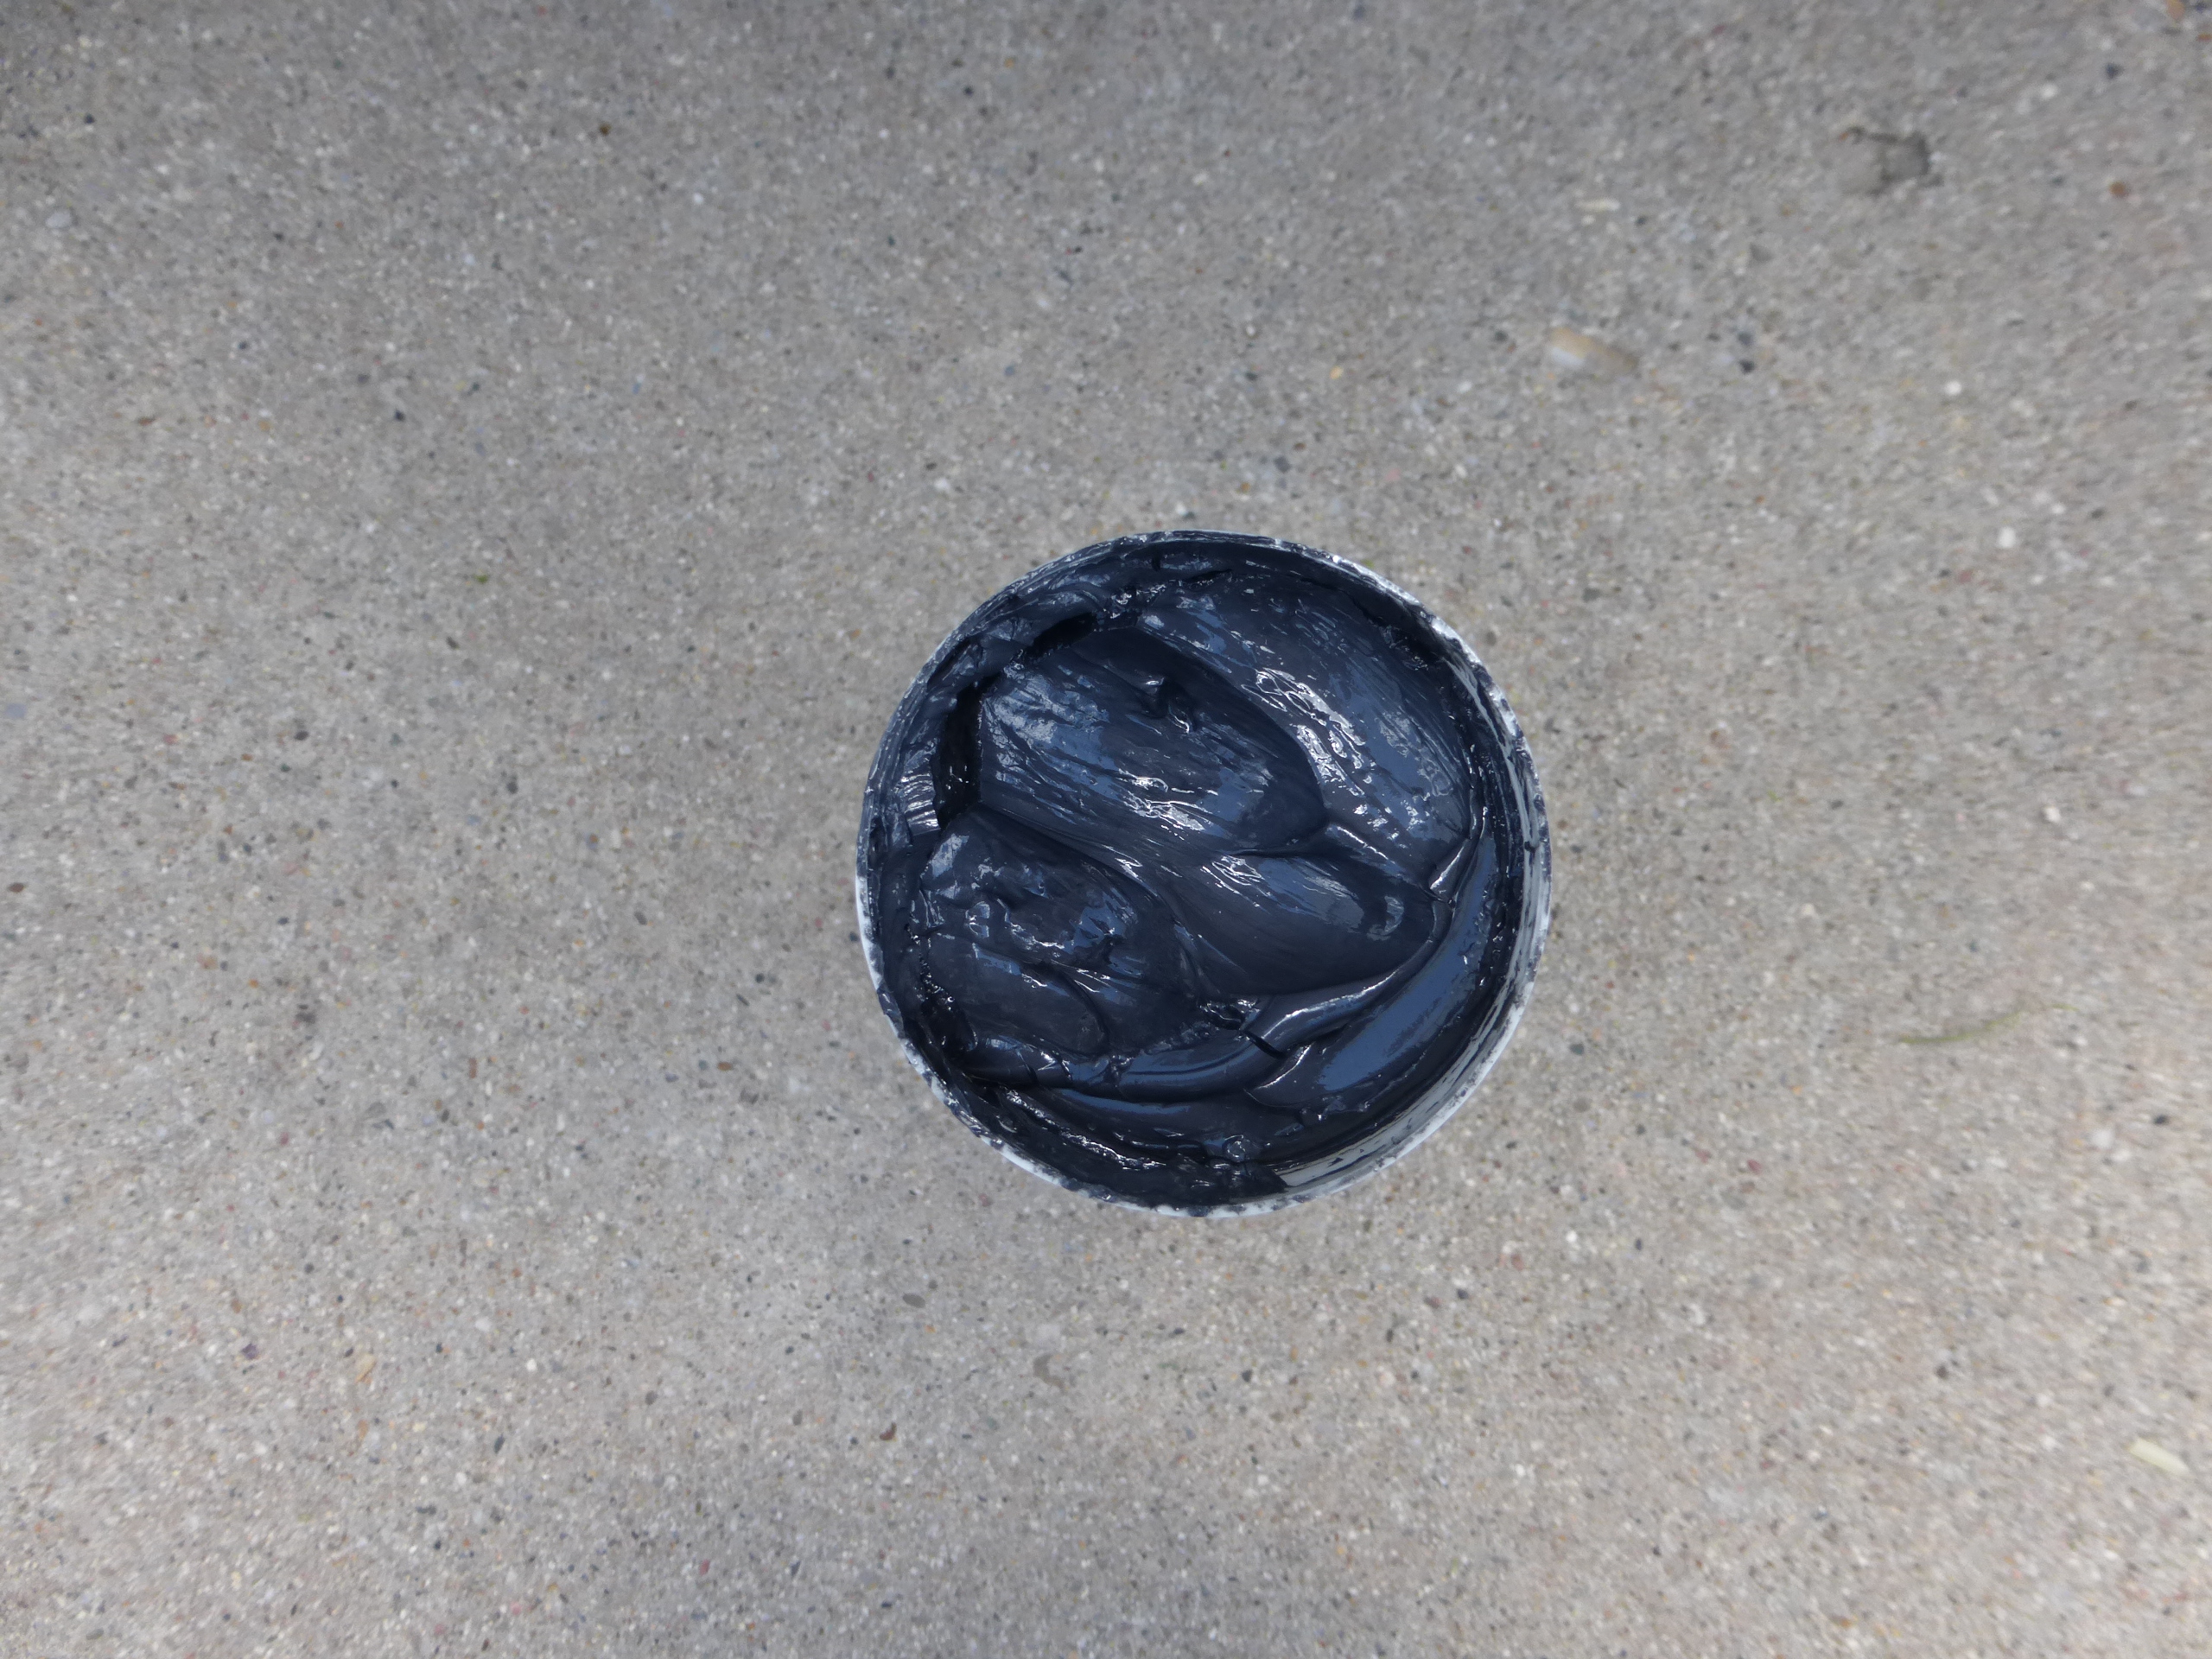
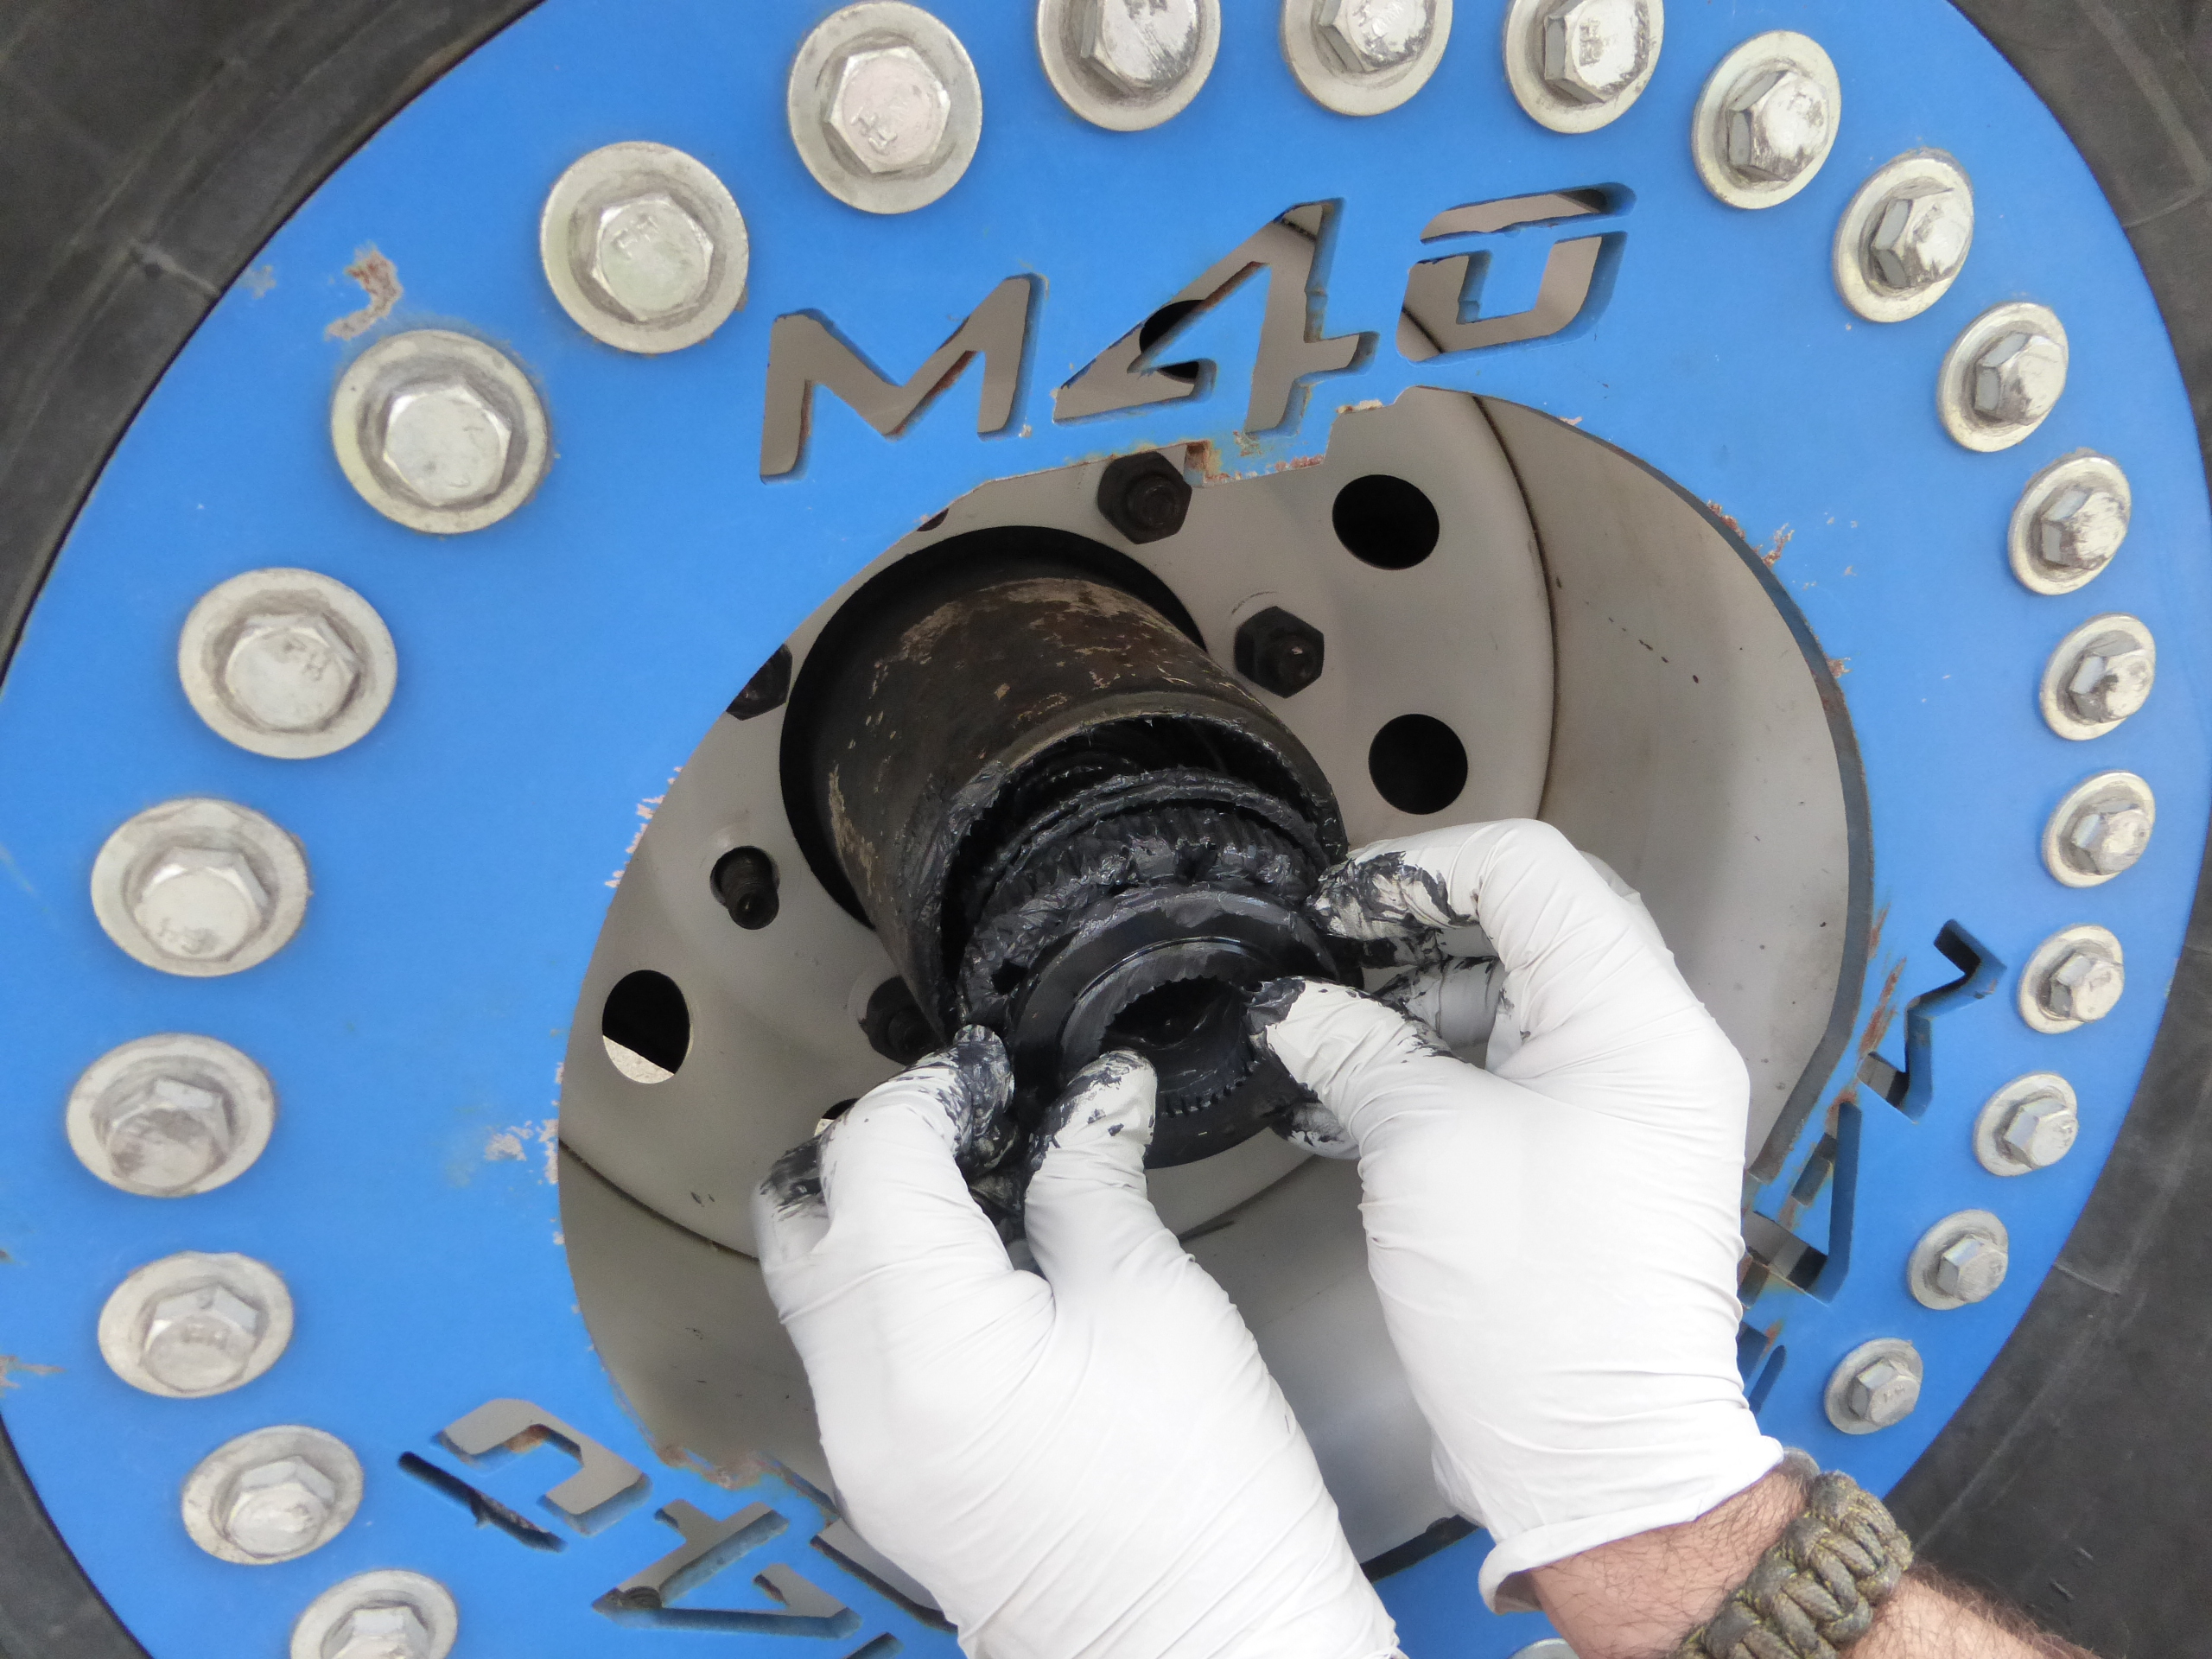
Once the parts list was confirmed we inspected the splines to confirm there was no further damage to the axle shaft and other components then we got our high pressure grease ready for the install.

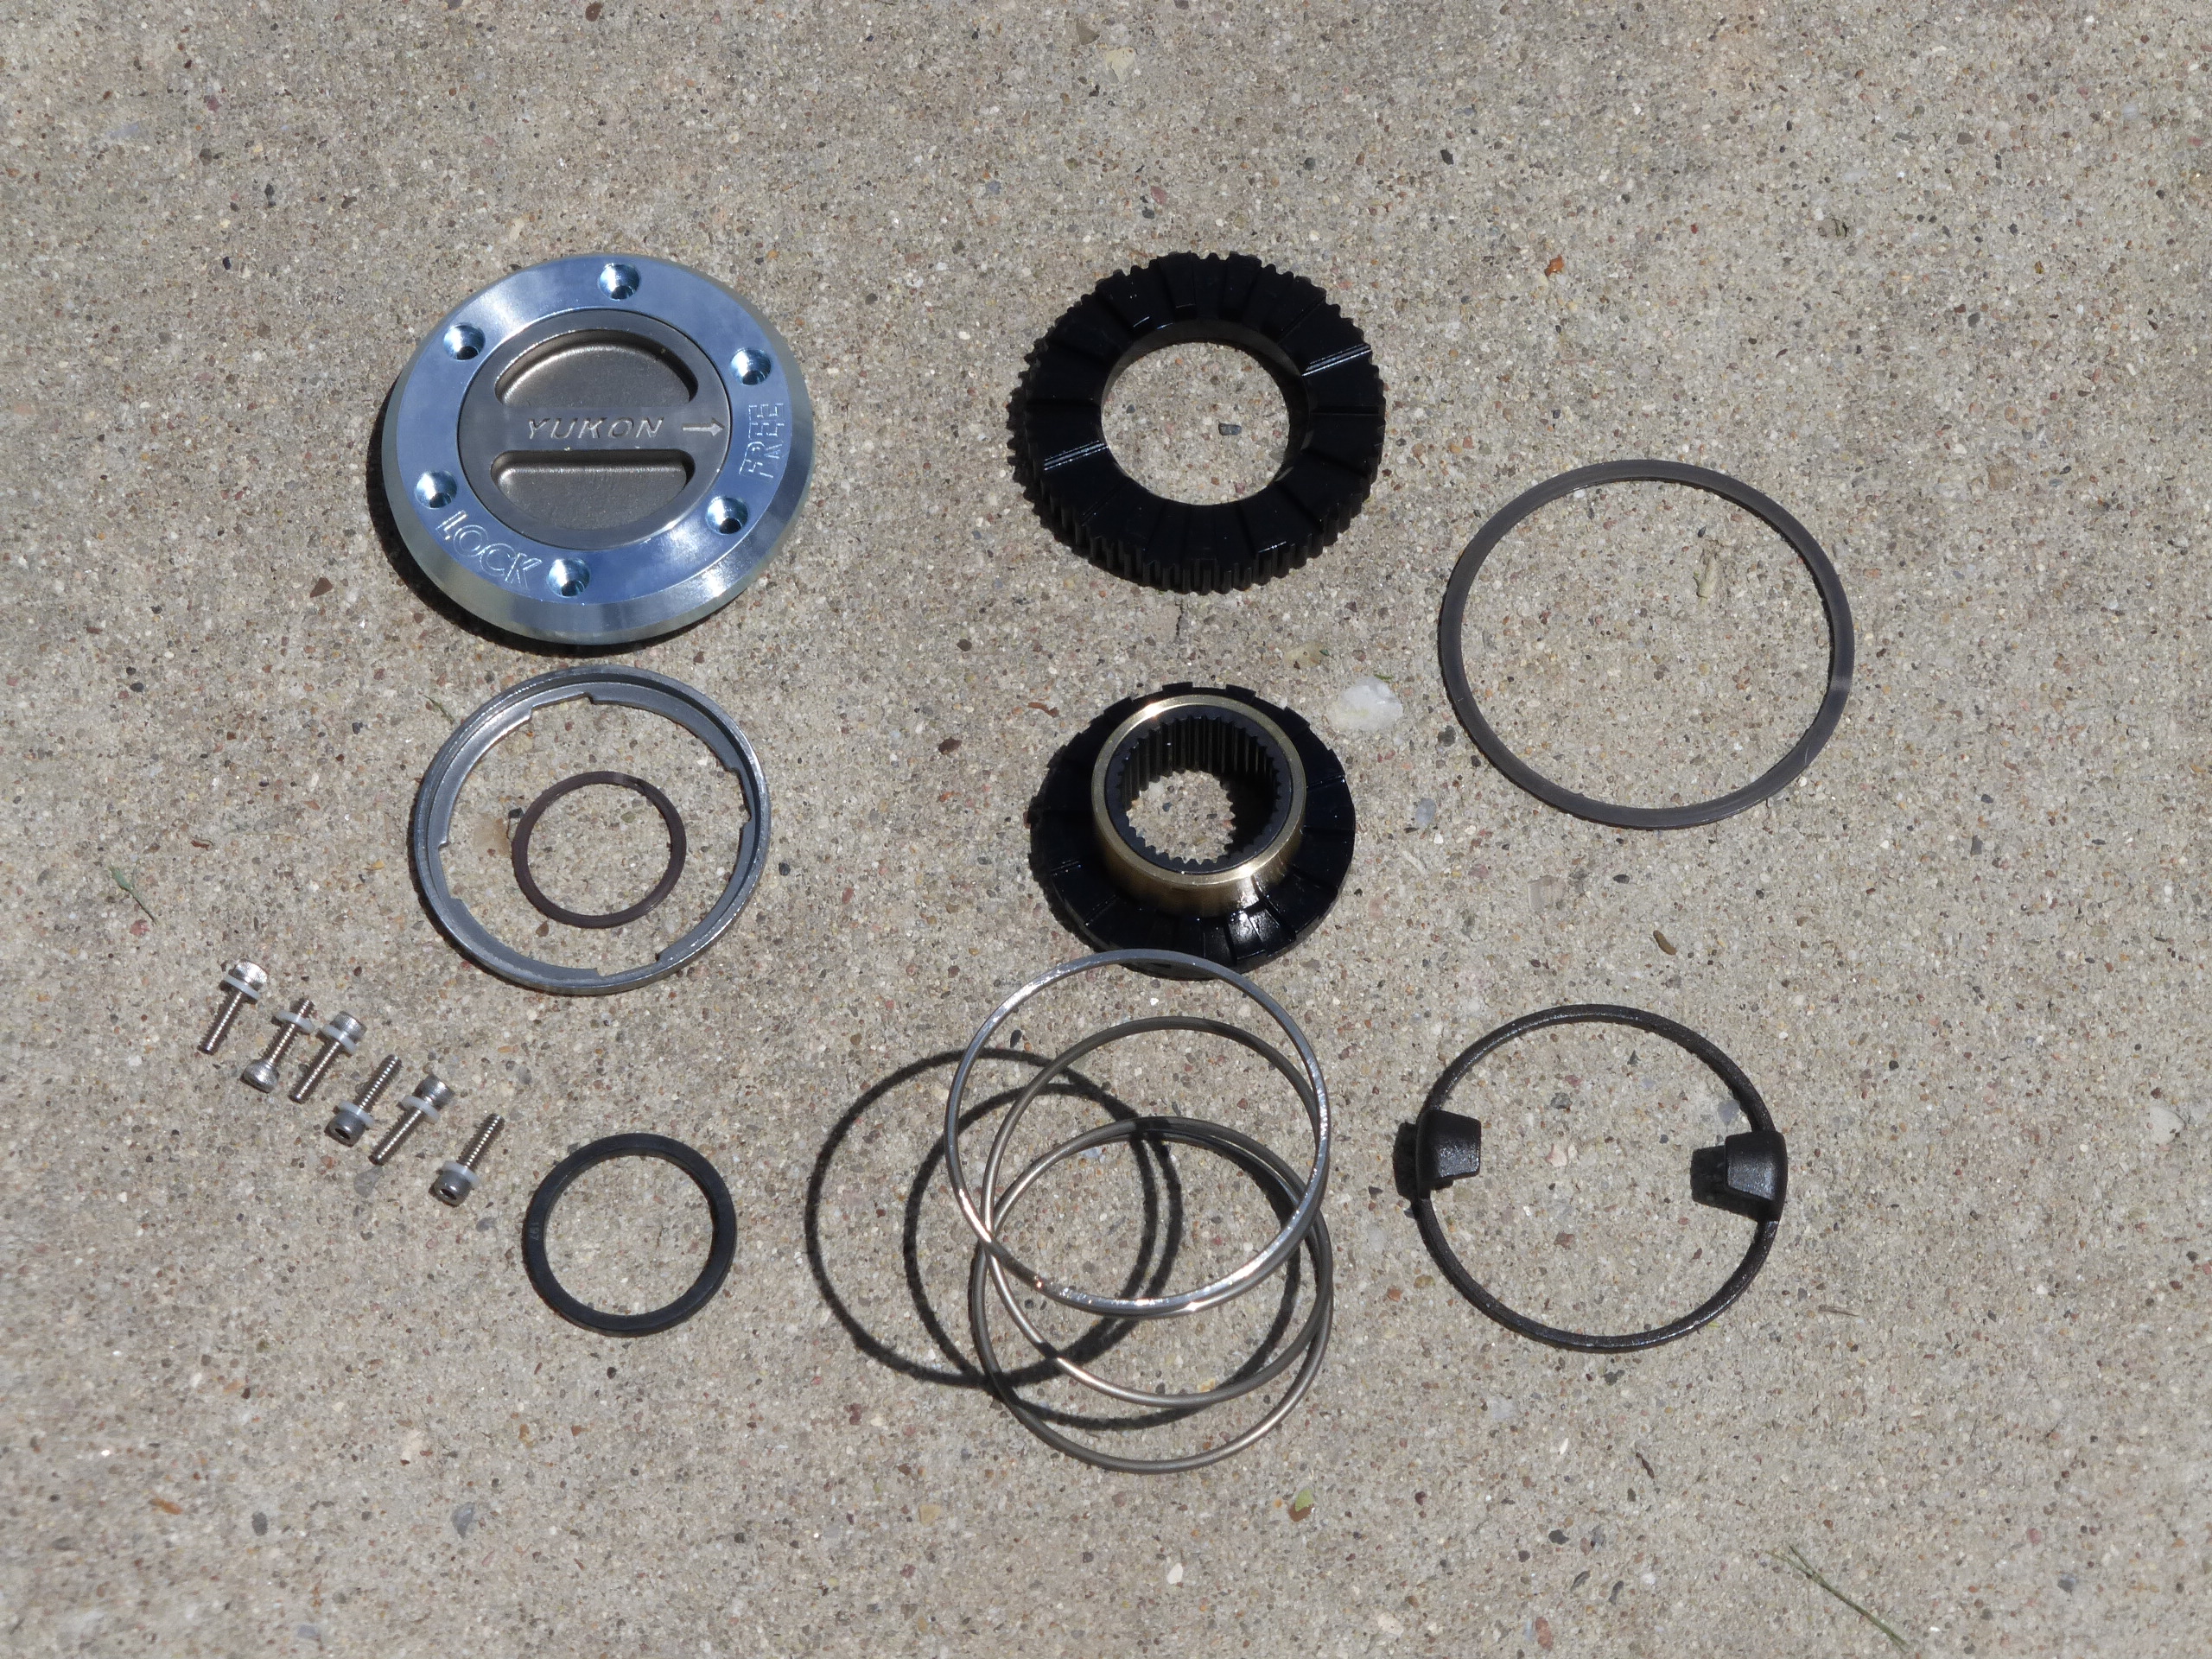

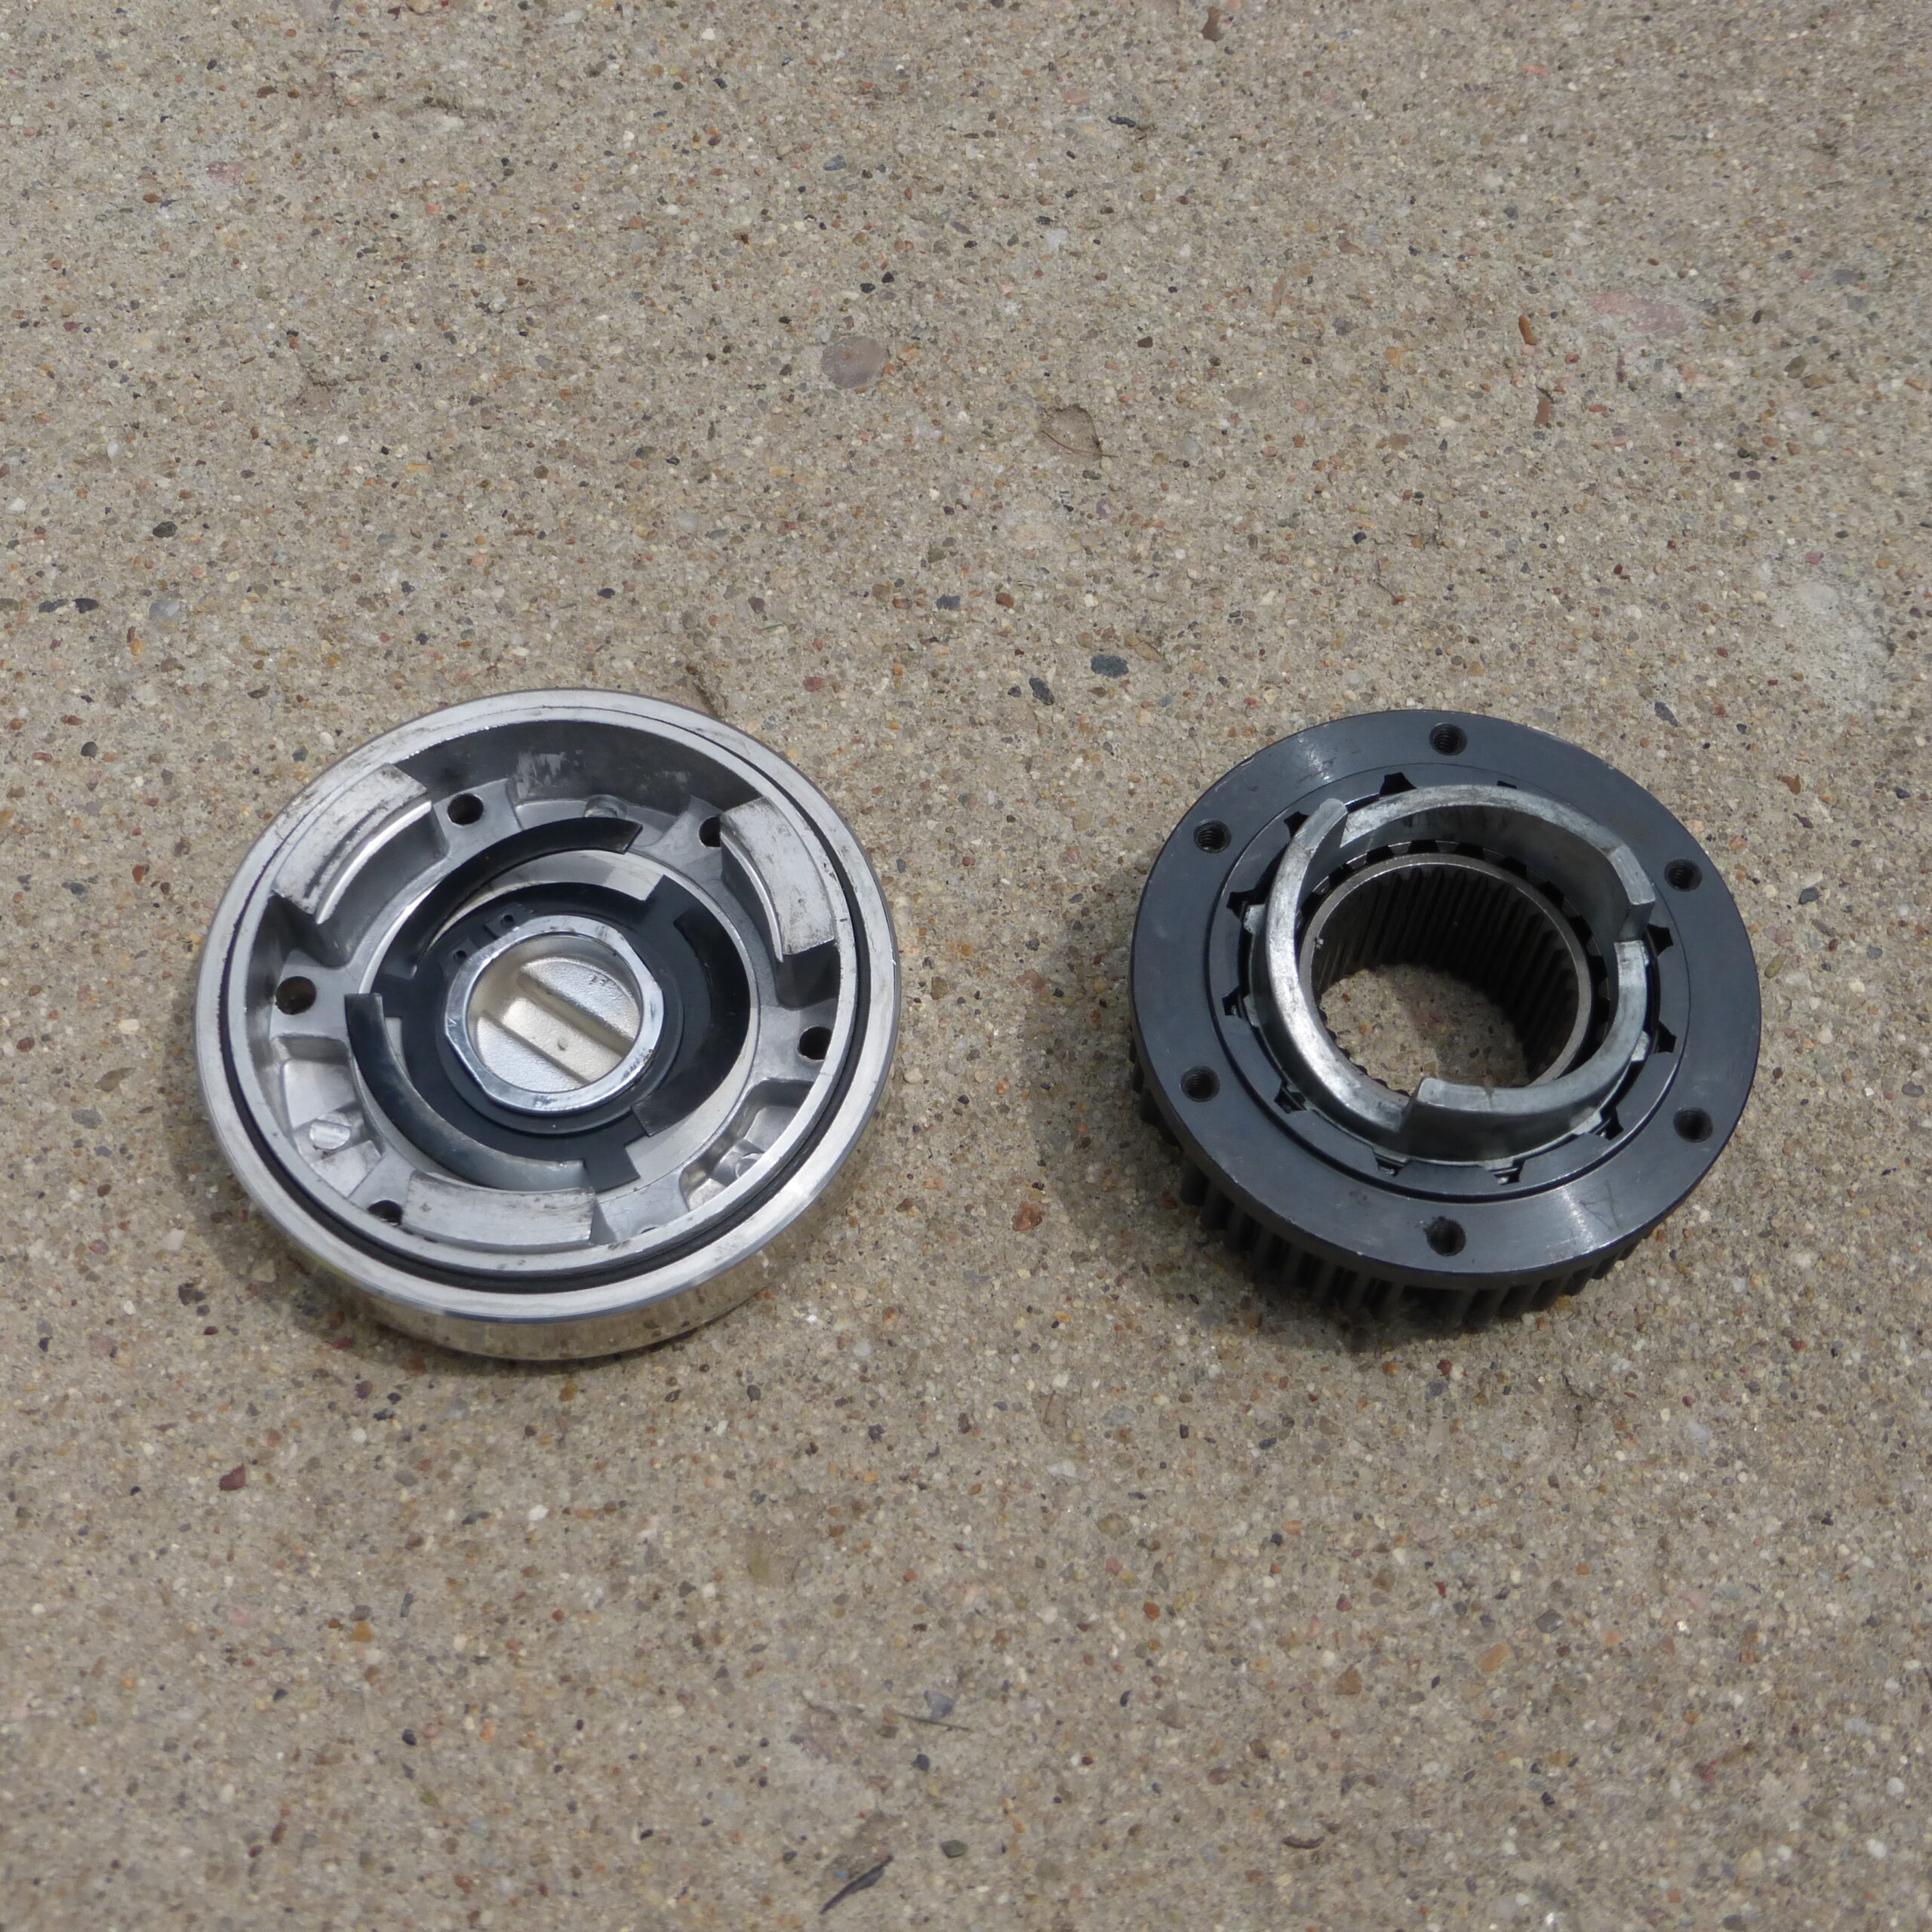
With everything inspected, we covered the shaft and the housing splines with a good coating of grease and installed the spring retainer, spring and a small spacer. The spring retainer goes in a specific way but the spring itself is symmetrical so it can go in either direction.


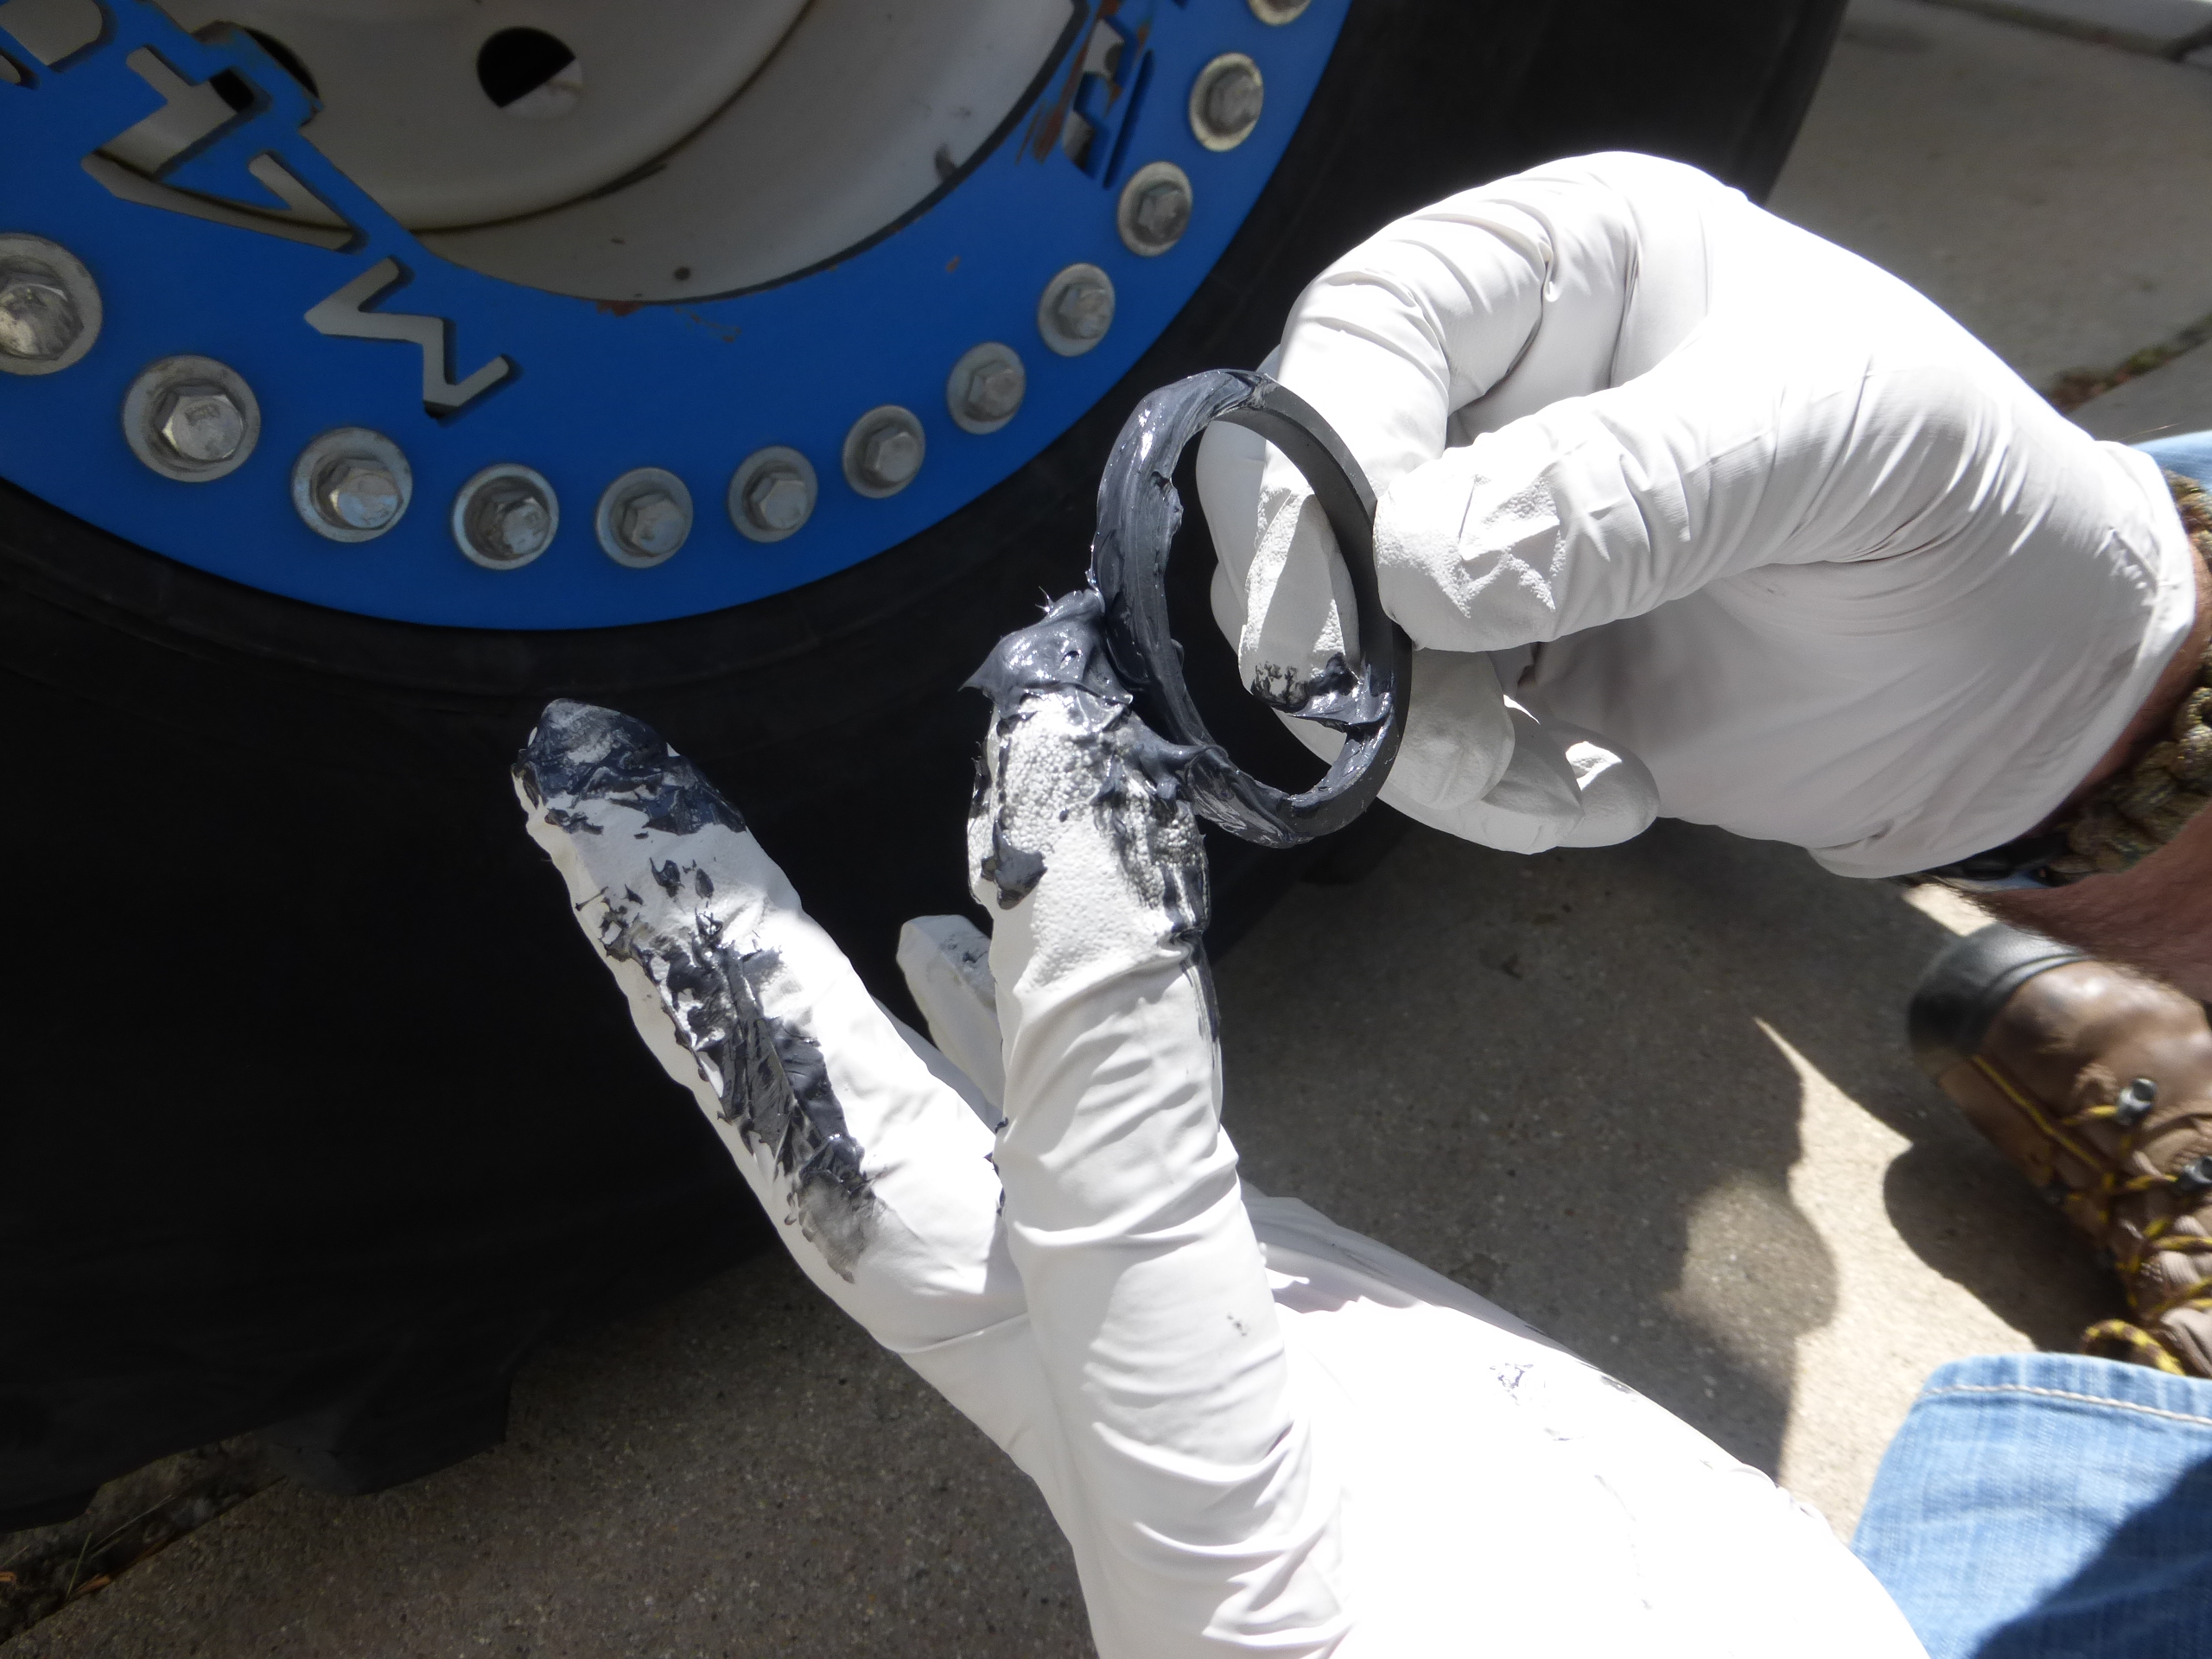
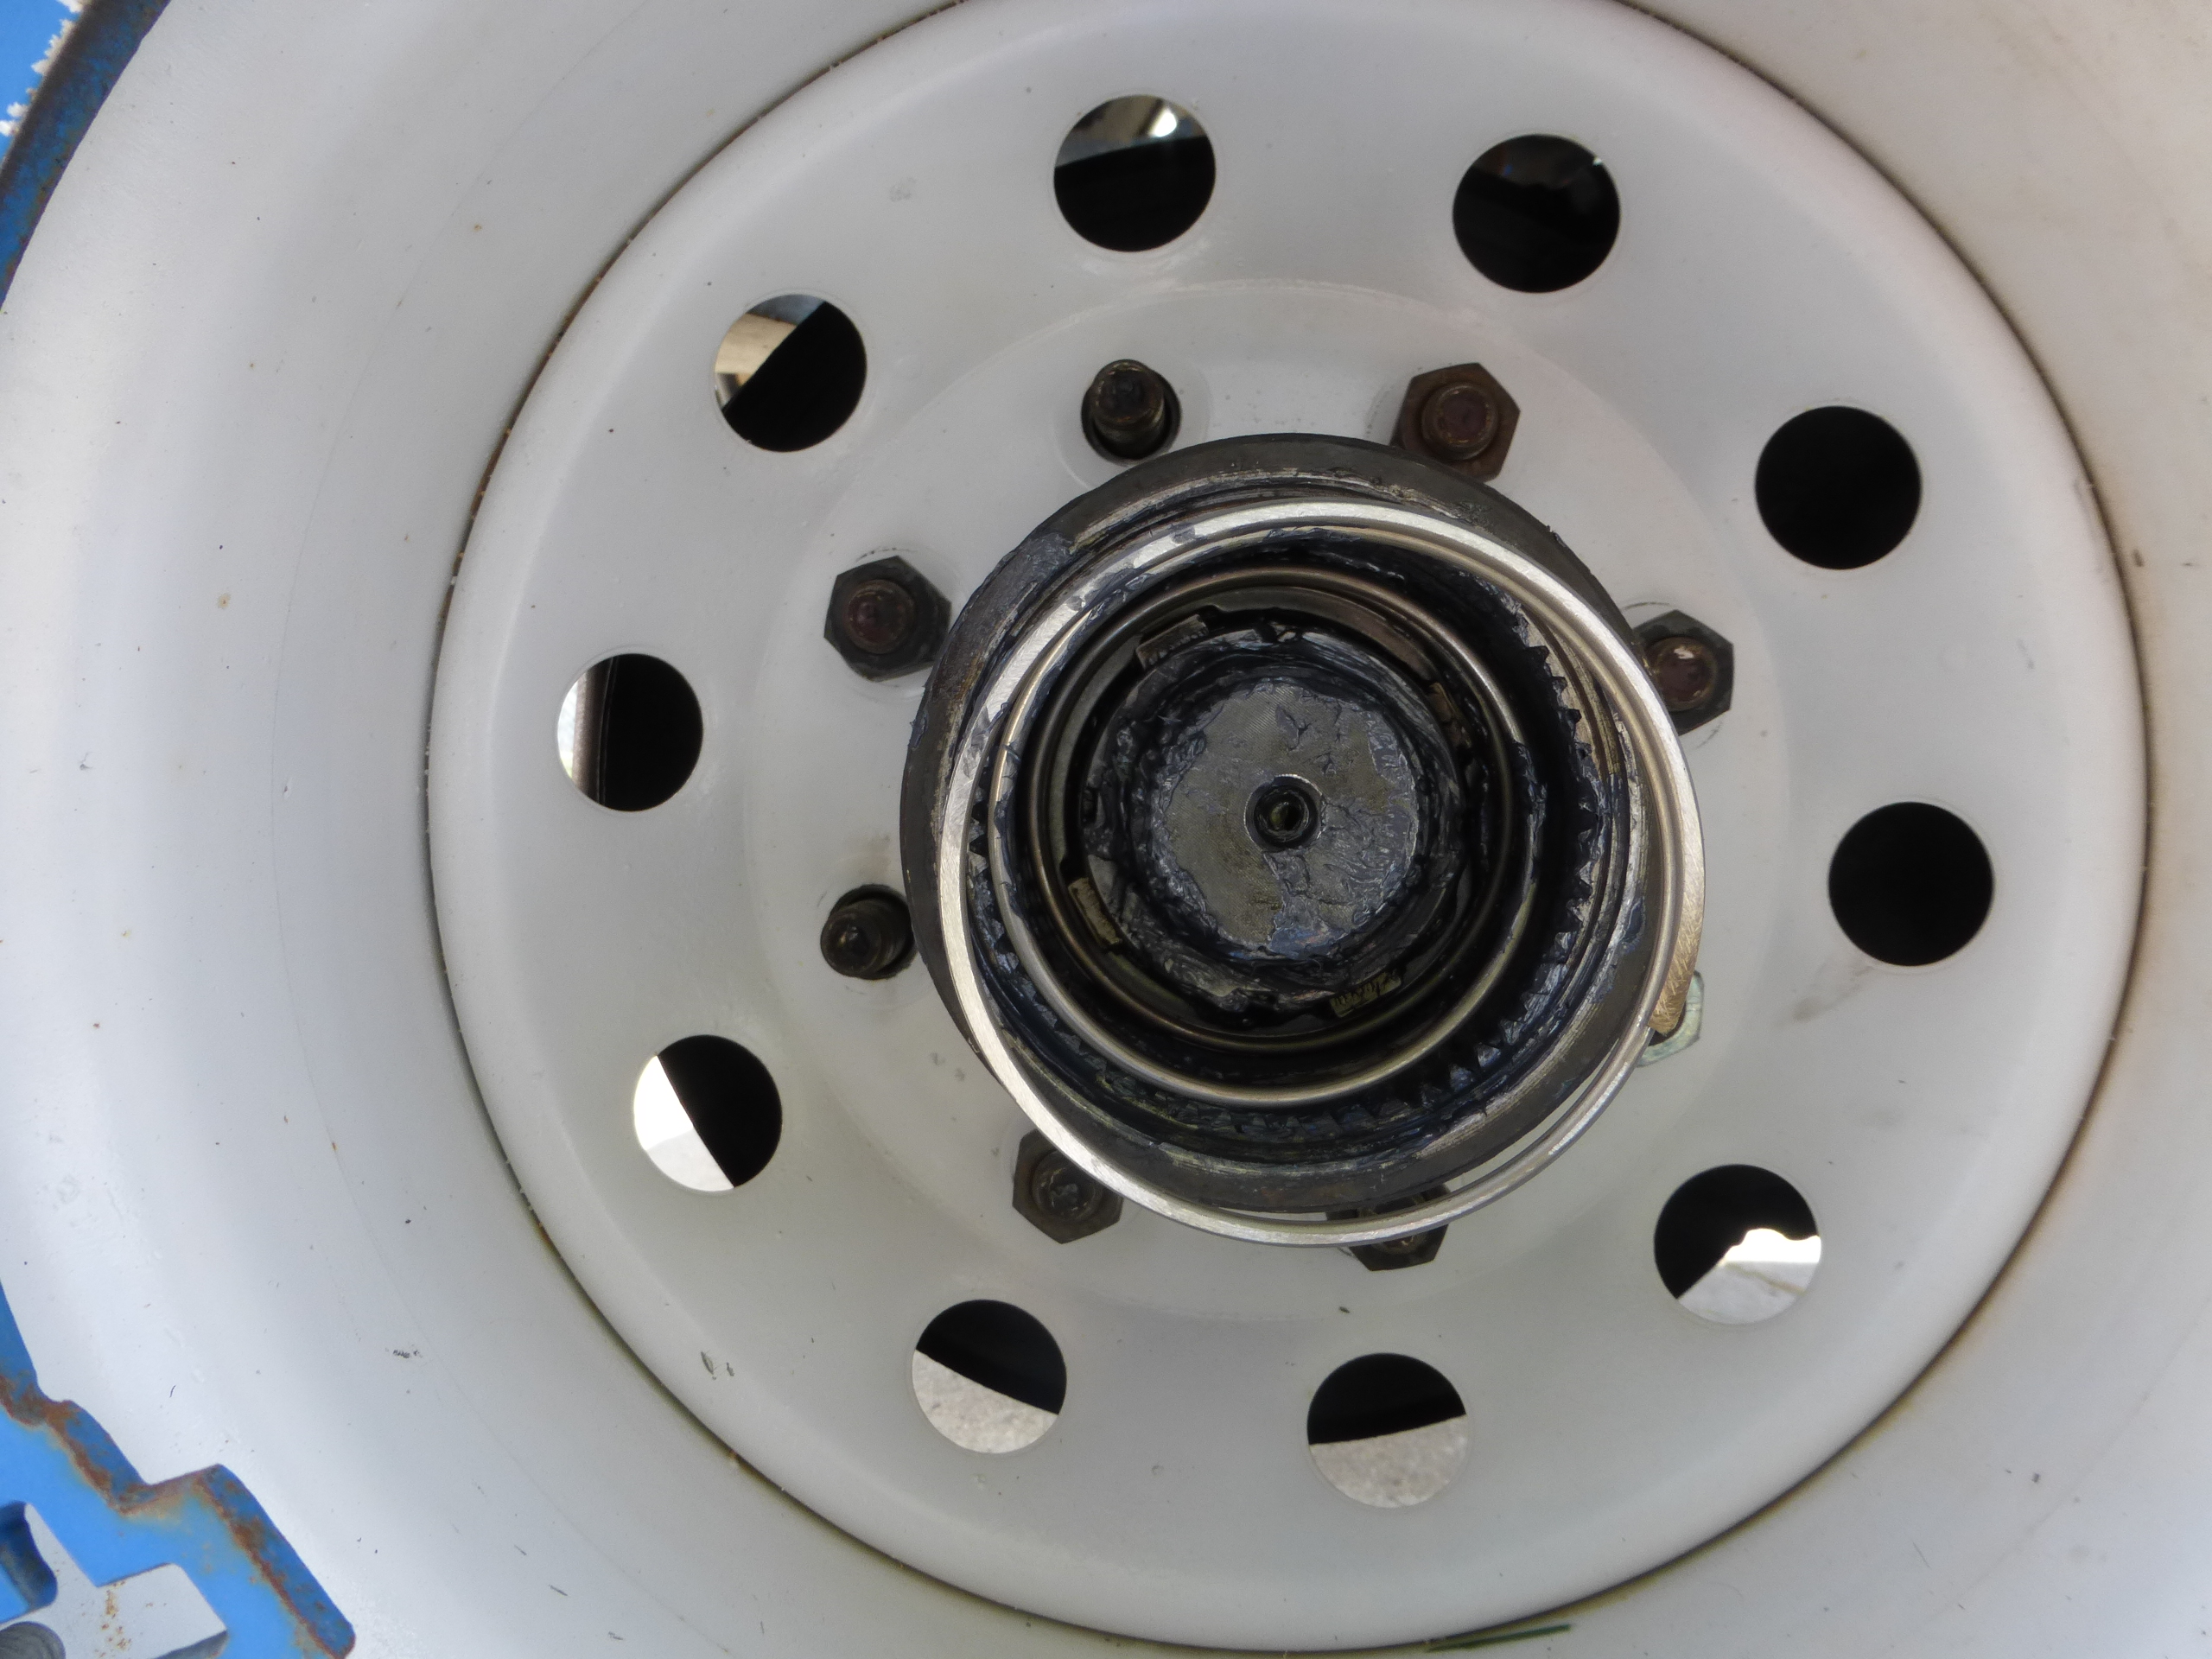
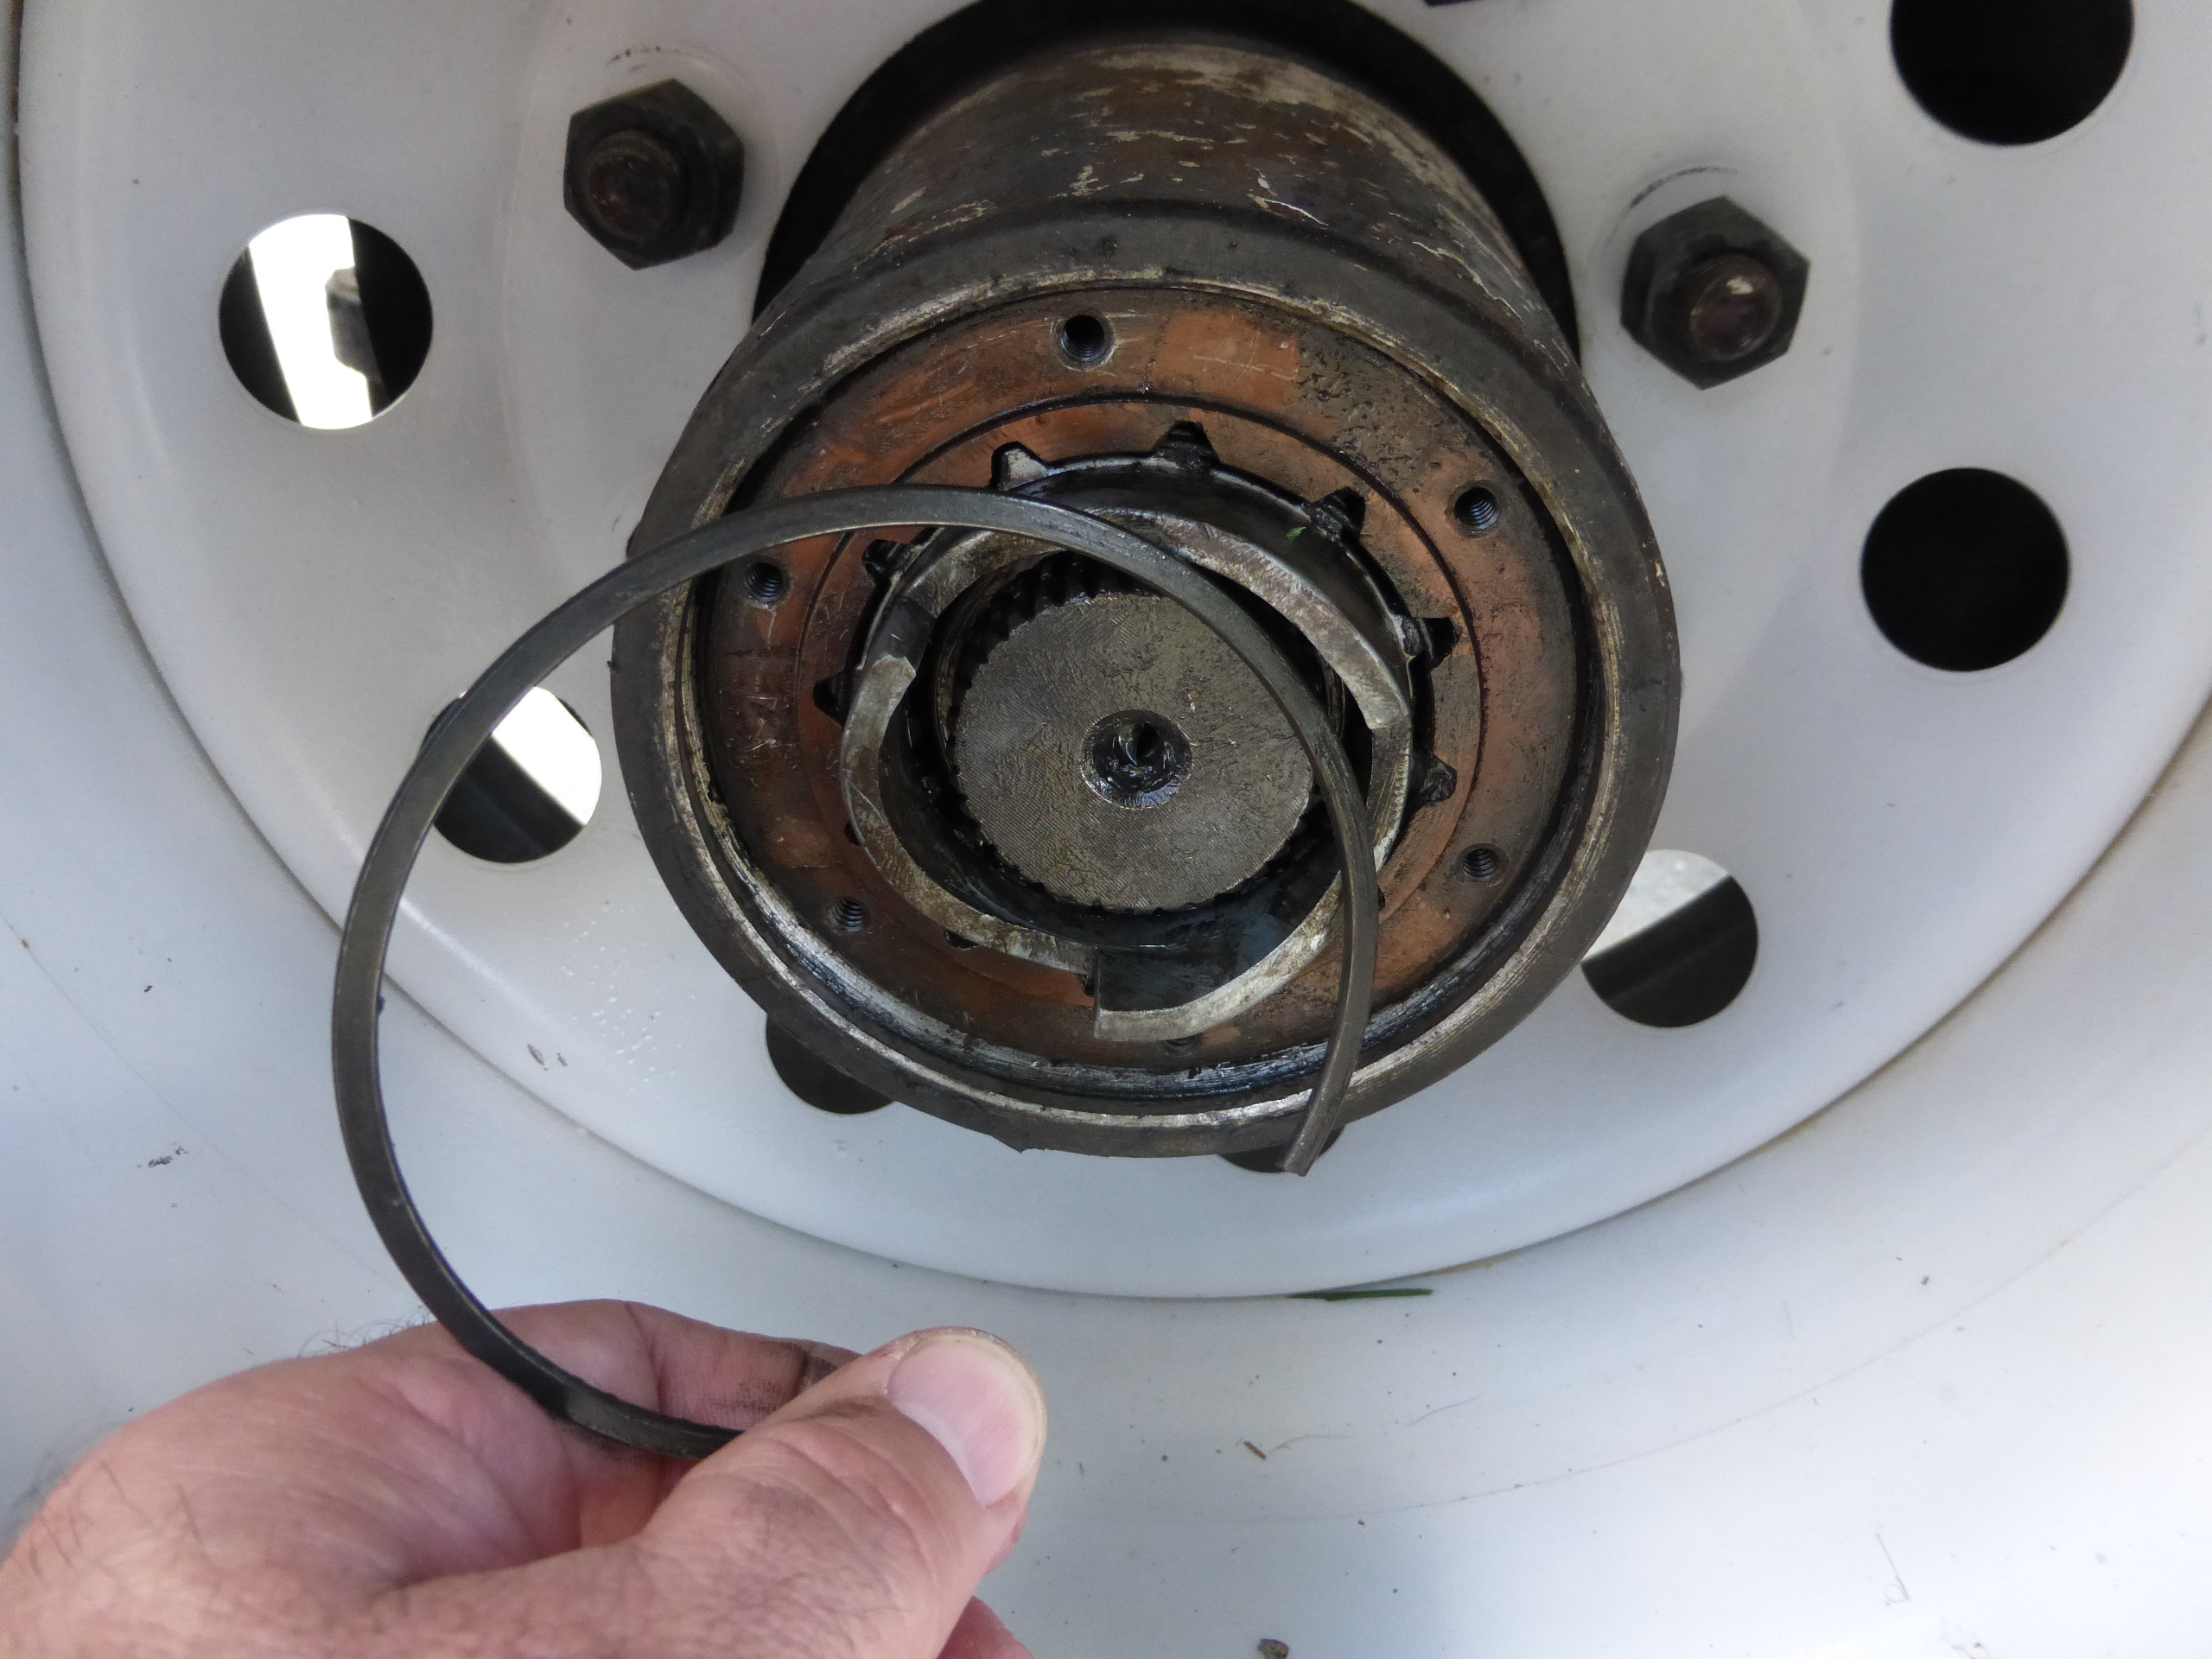
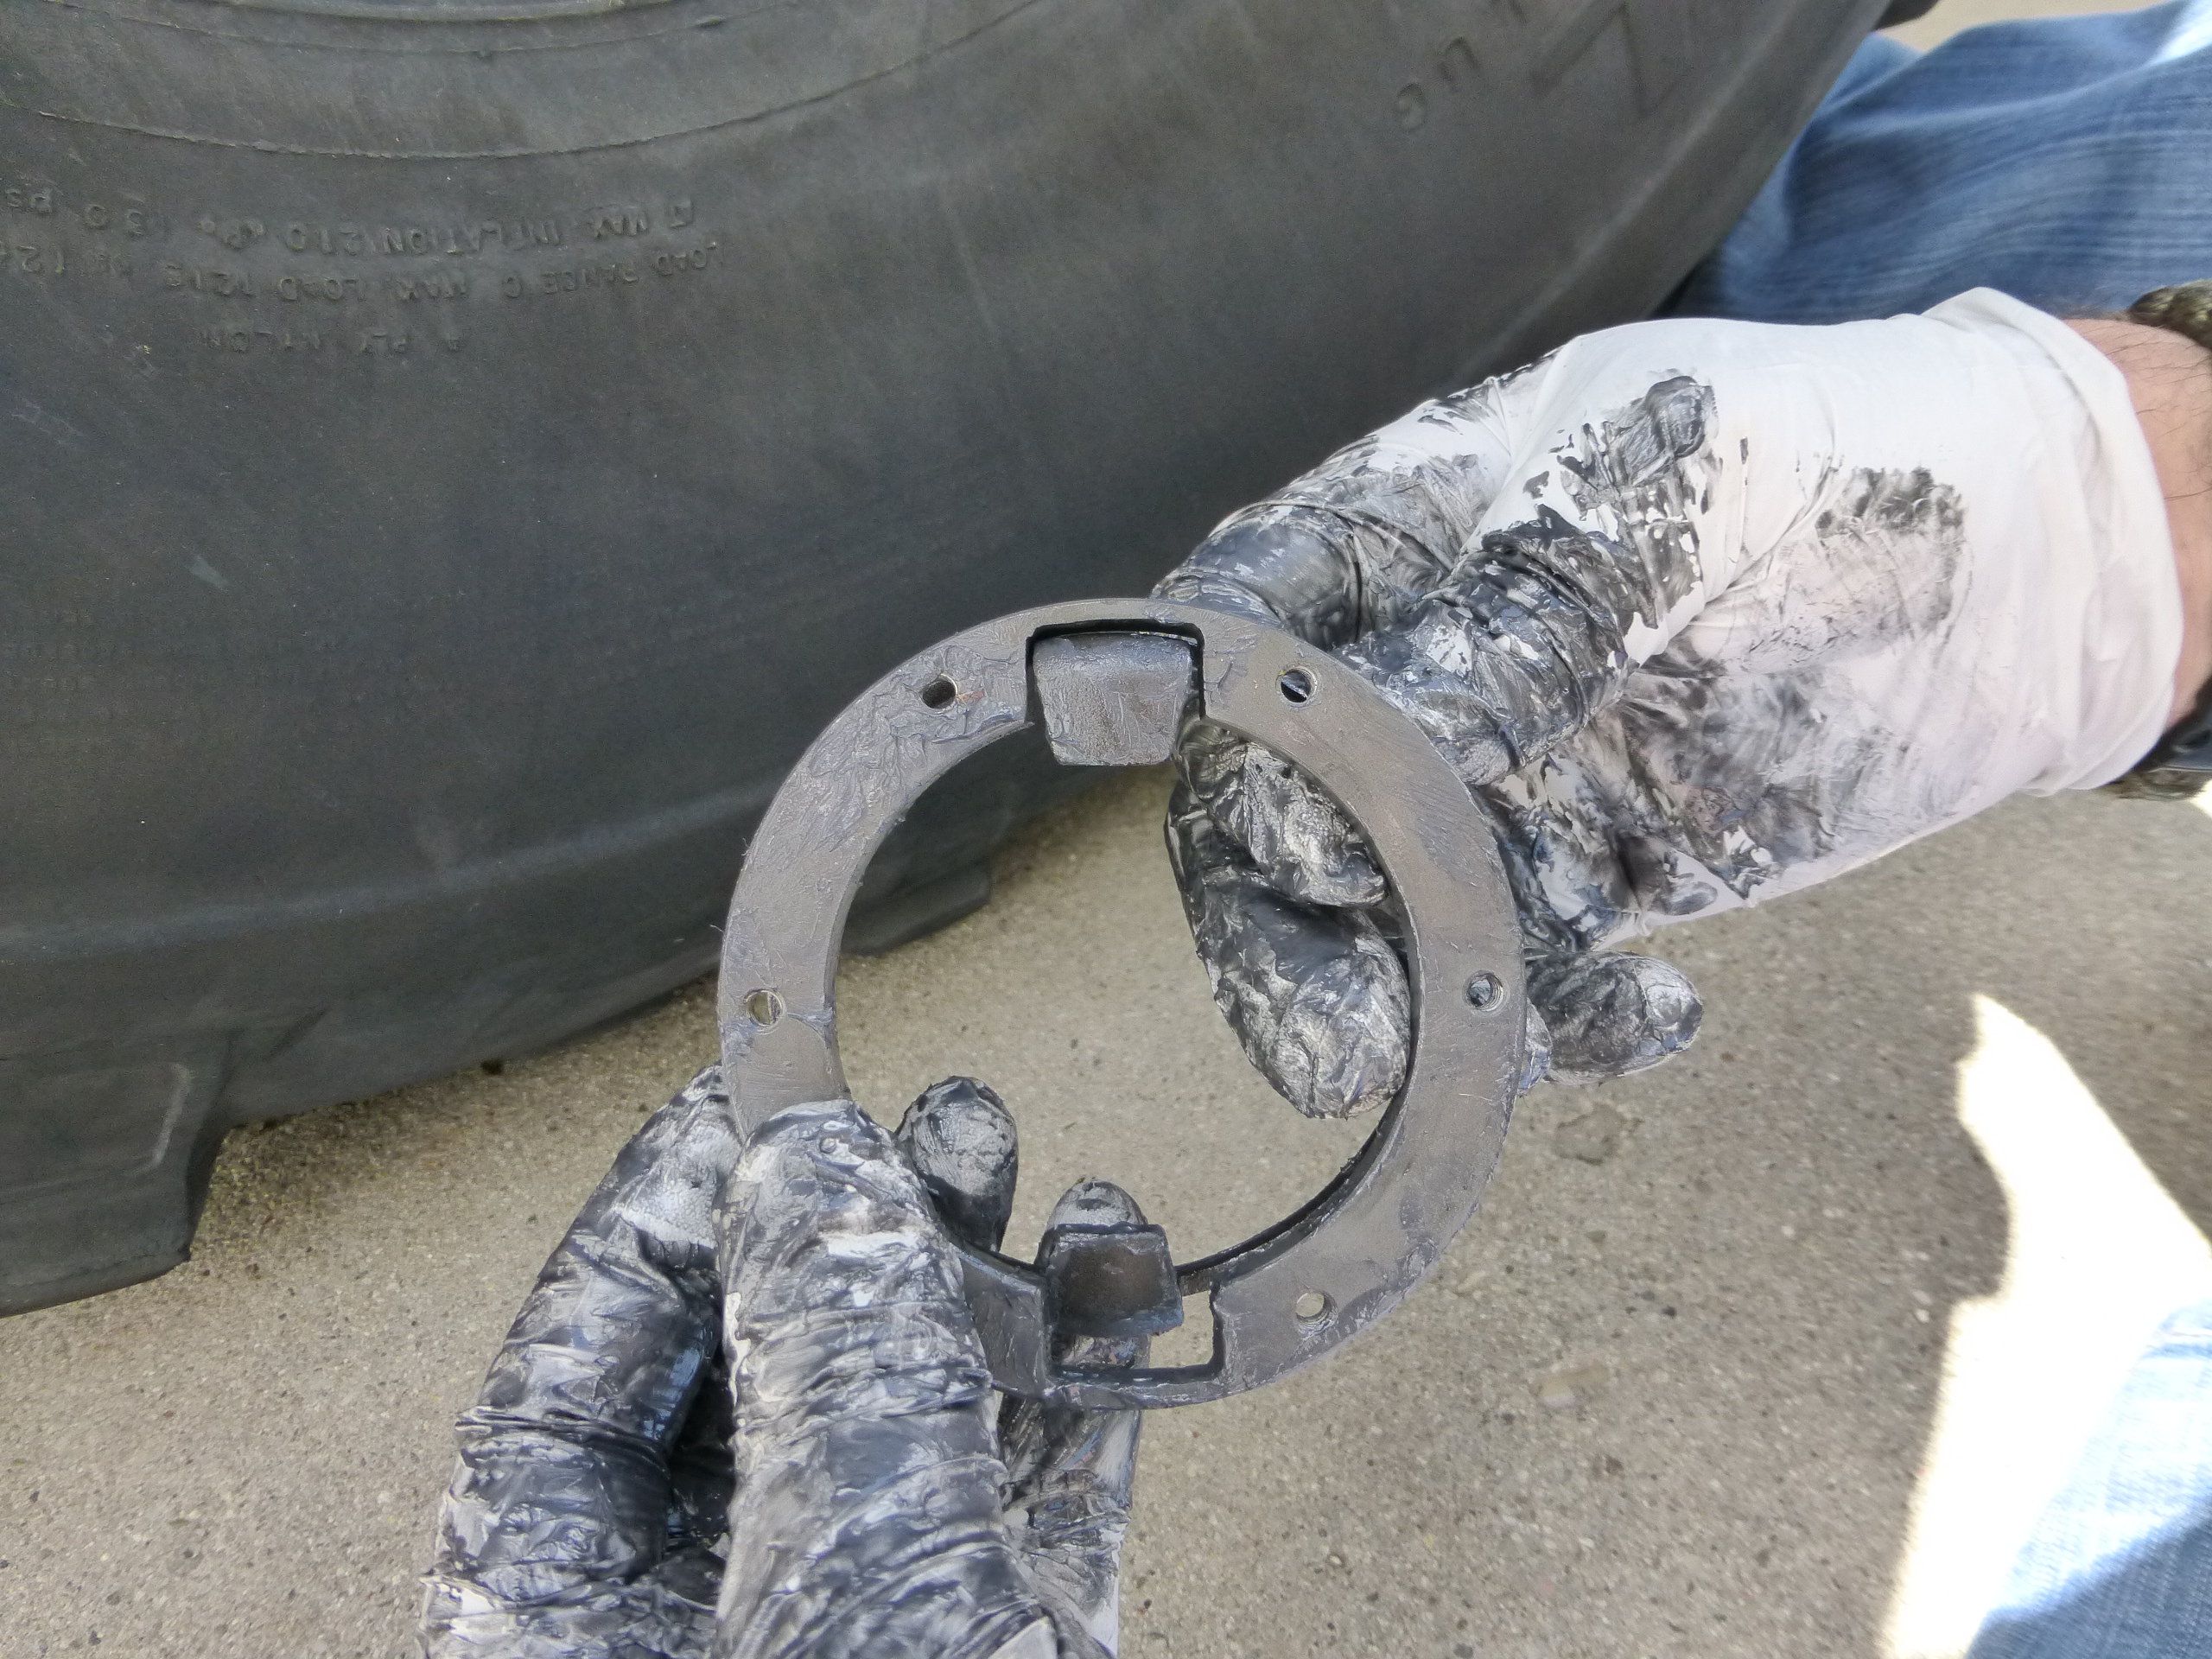
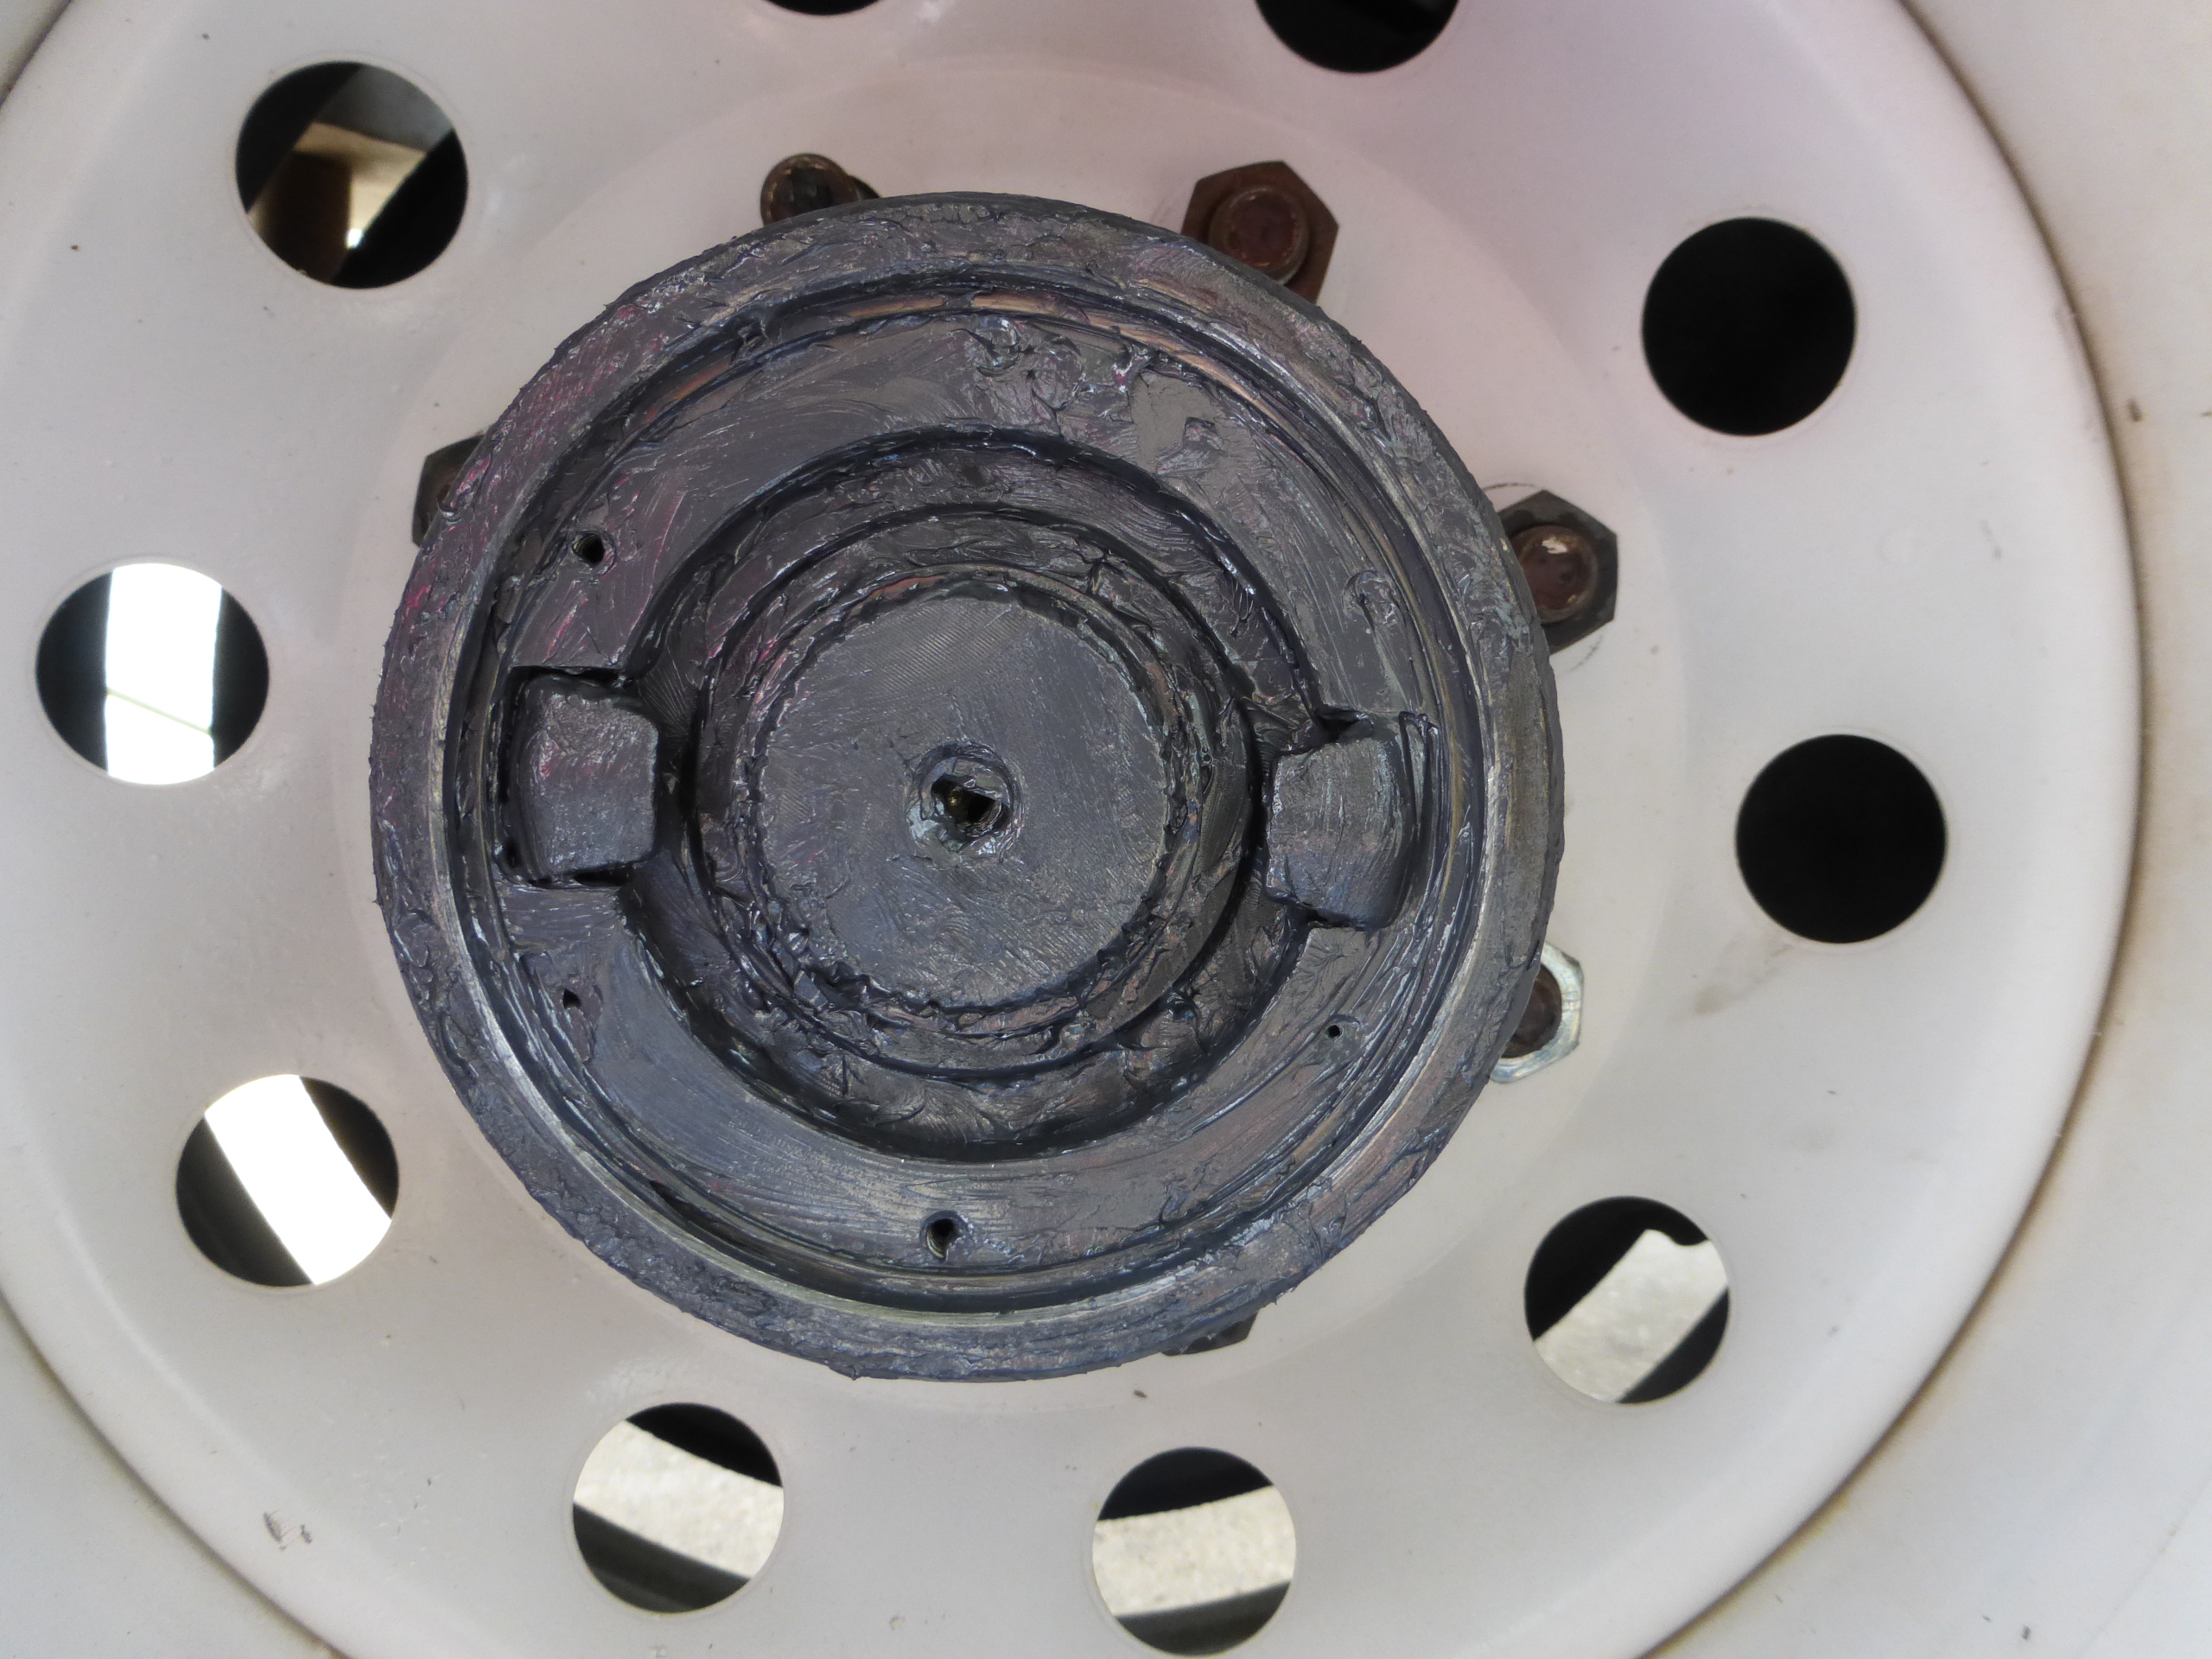
Next is the tricky part, there is a coupler and a driver that also have to be coated with grease and installed into the housing. The spring adds a bit of a challenge to getting it all aligned and installed far enough to get the outer shaft snap ring into place to hold everything in. If you have someone who can lend a hand it helps during this step. Once these two parts are installed you can secure them with the supplied snap ring so the next two parts (the cam spacer and retainer plate) can be installed.
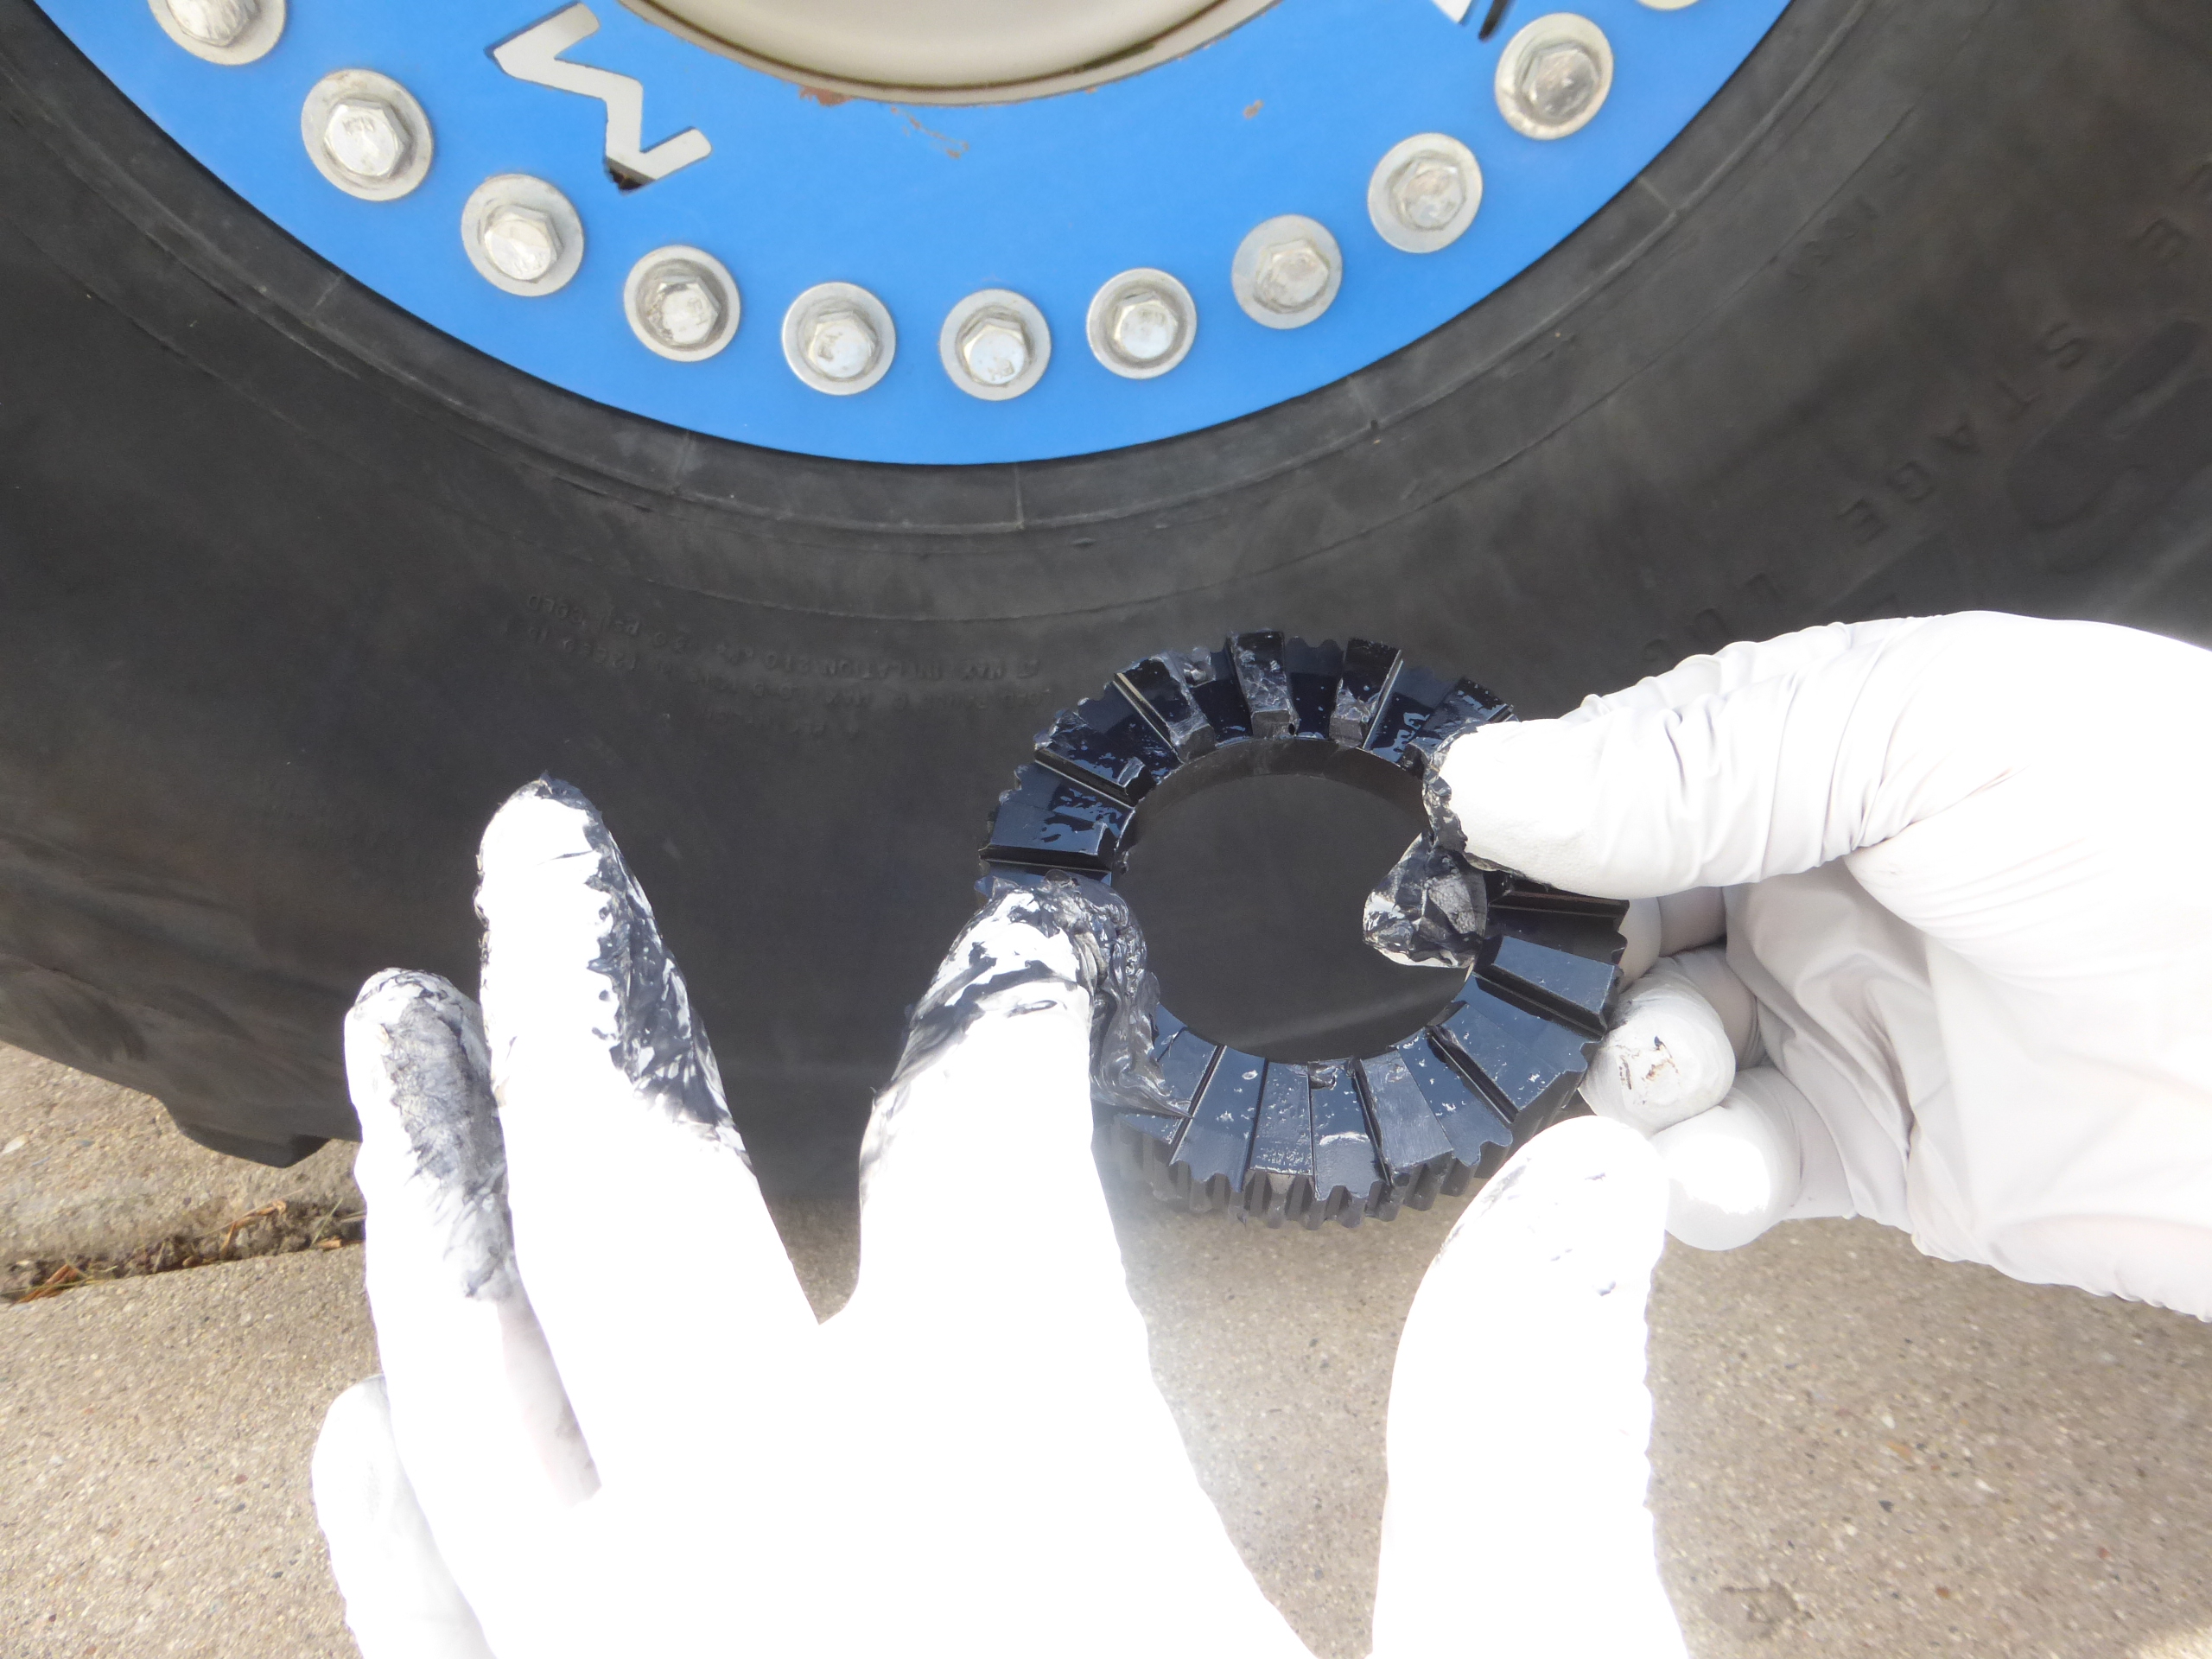
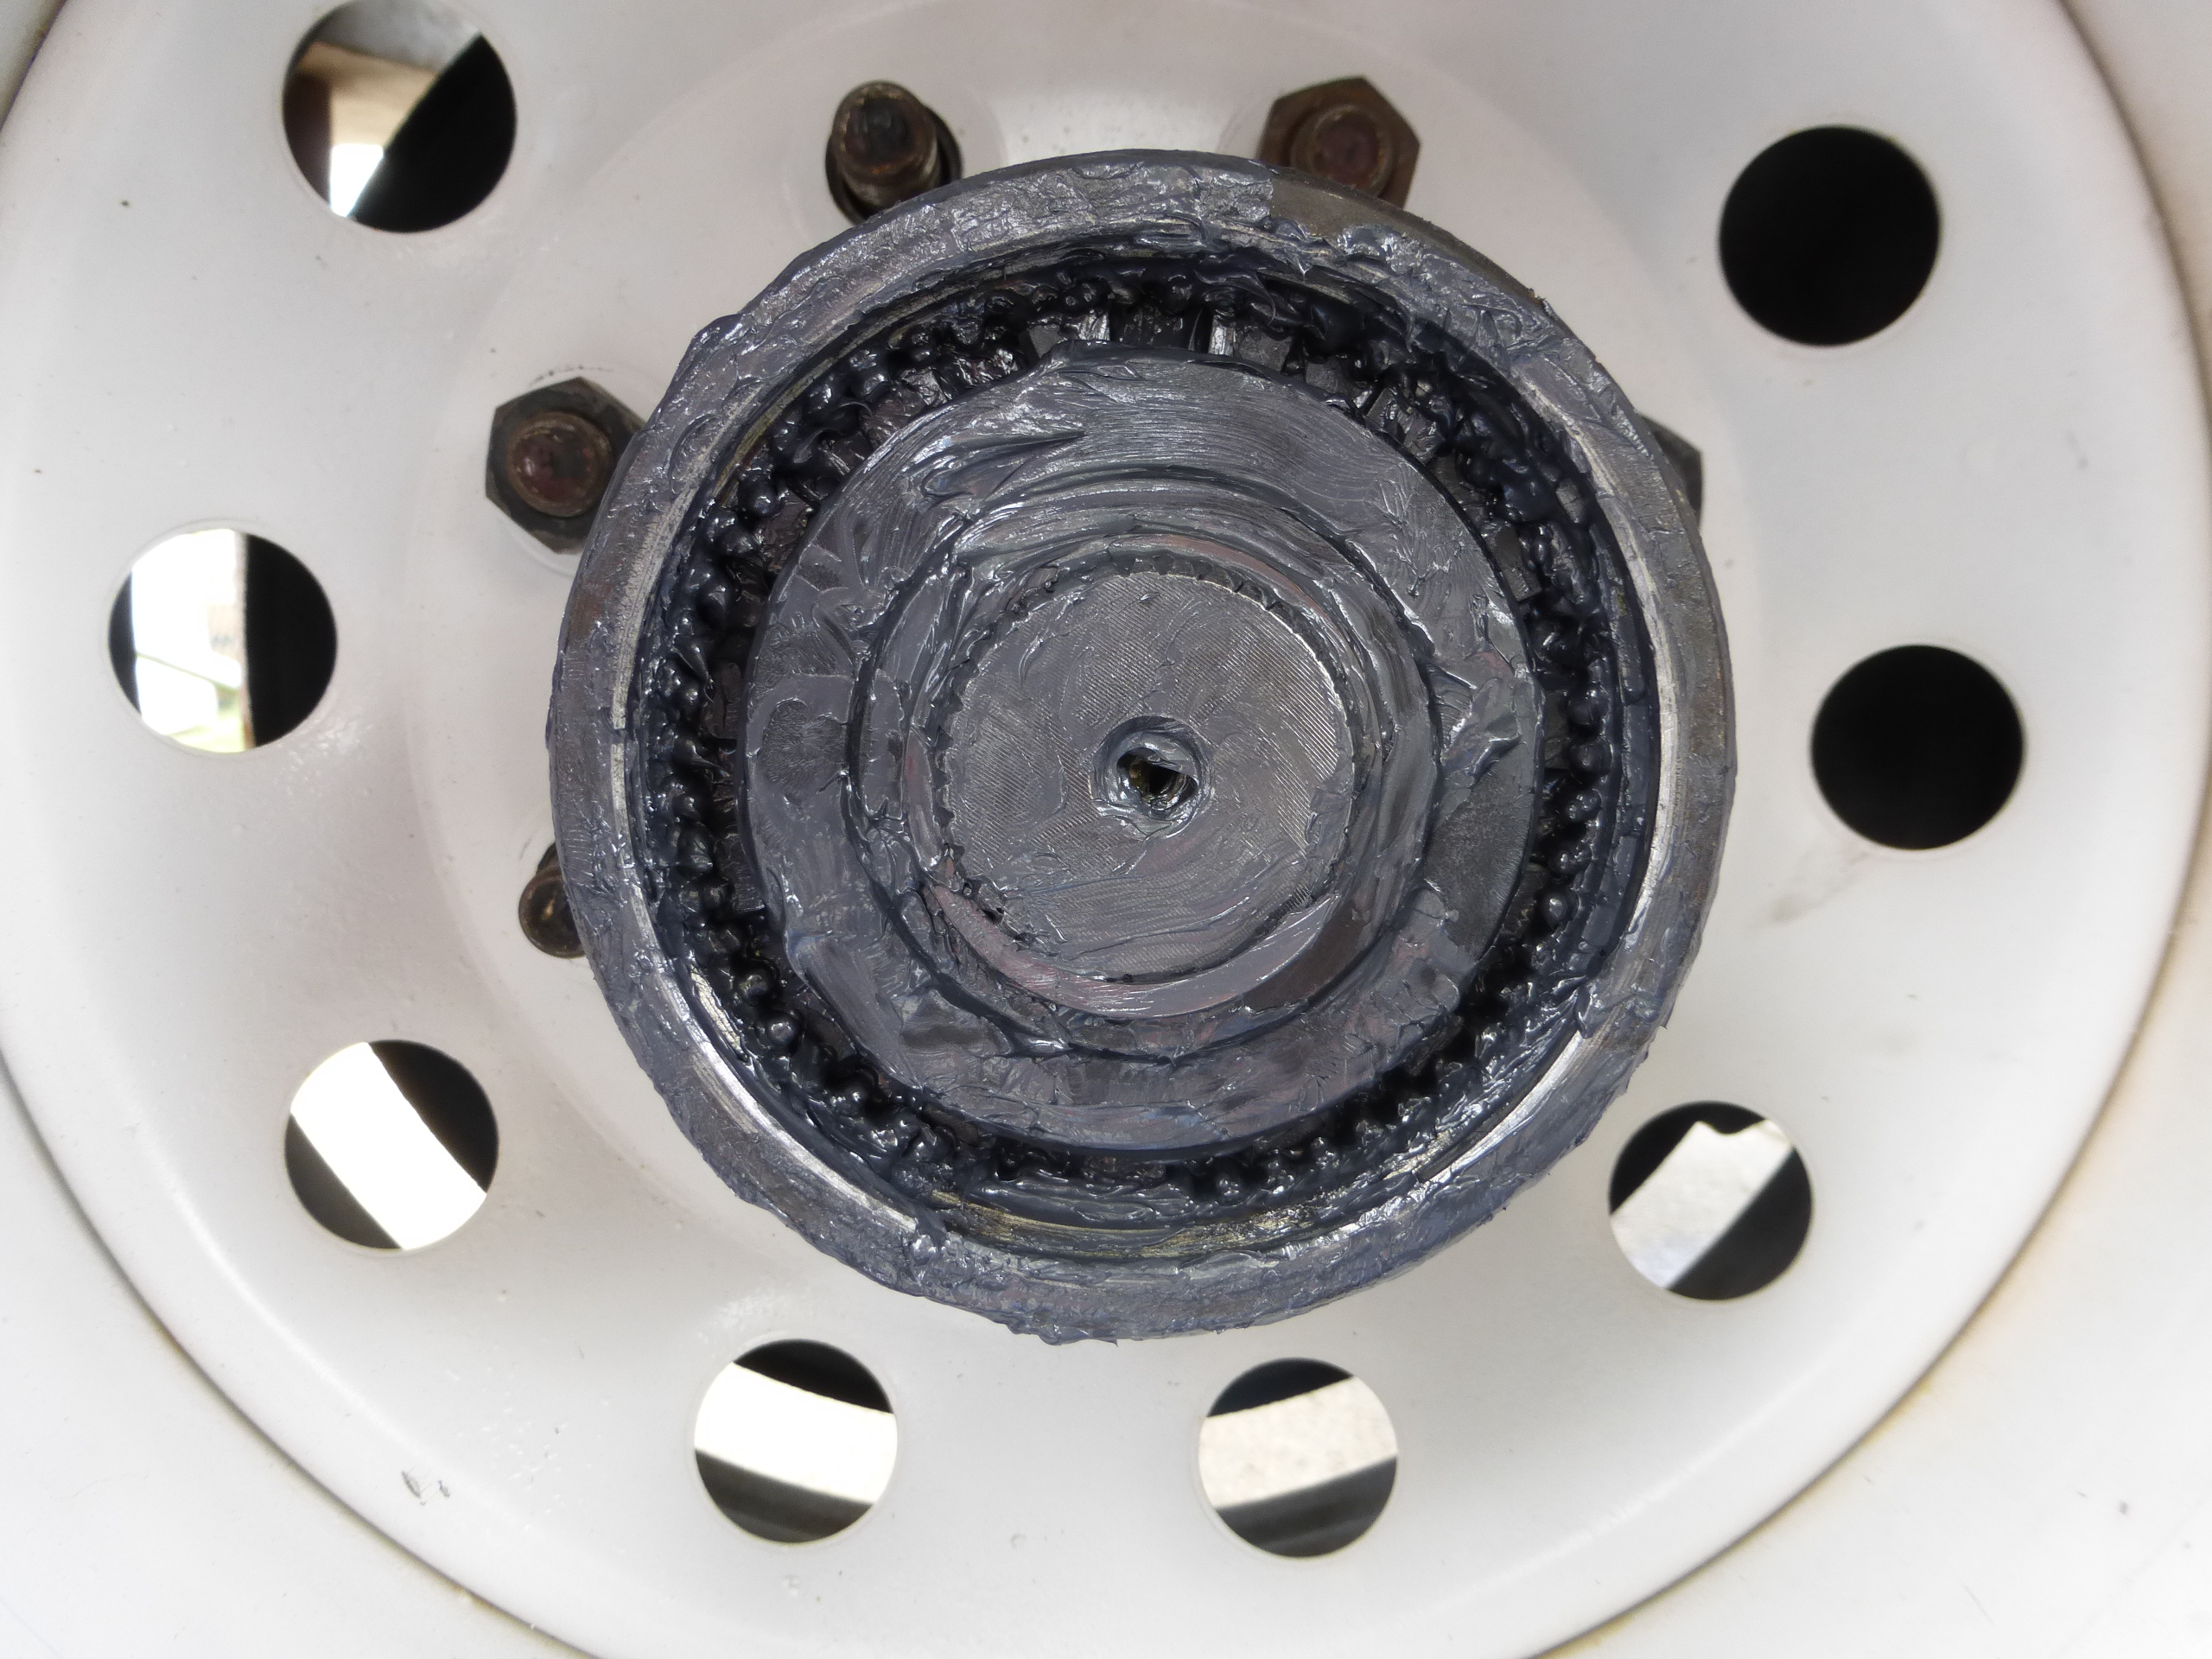
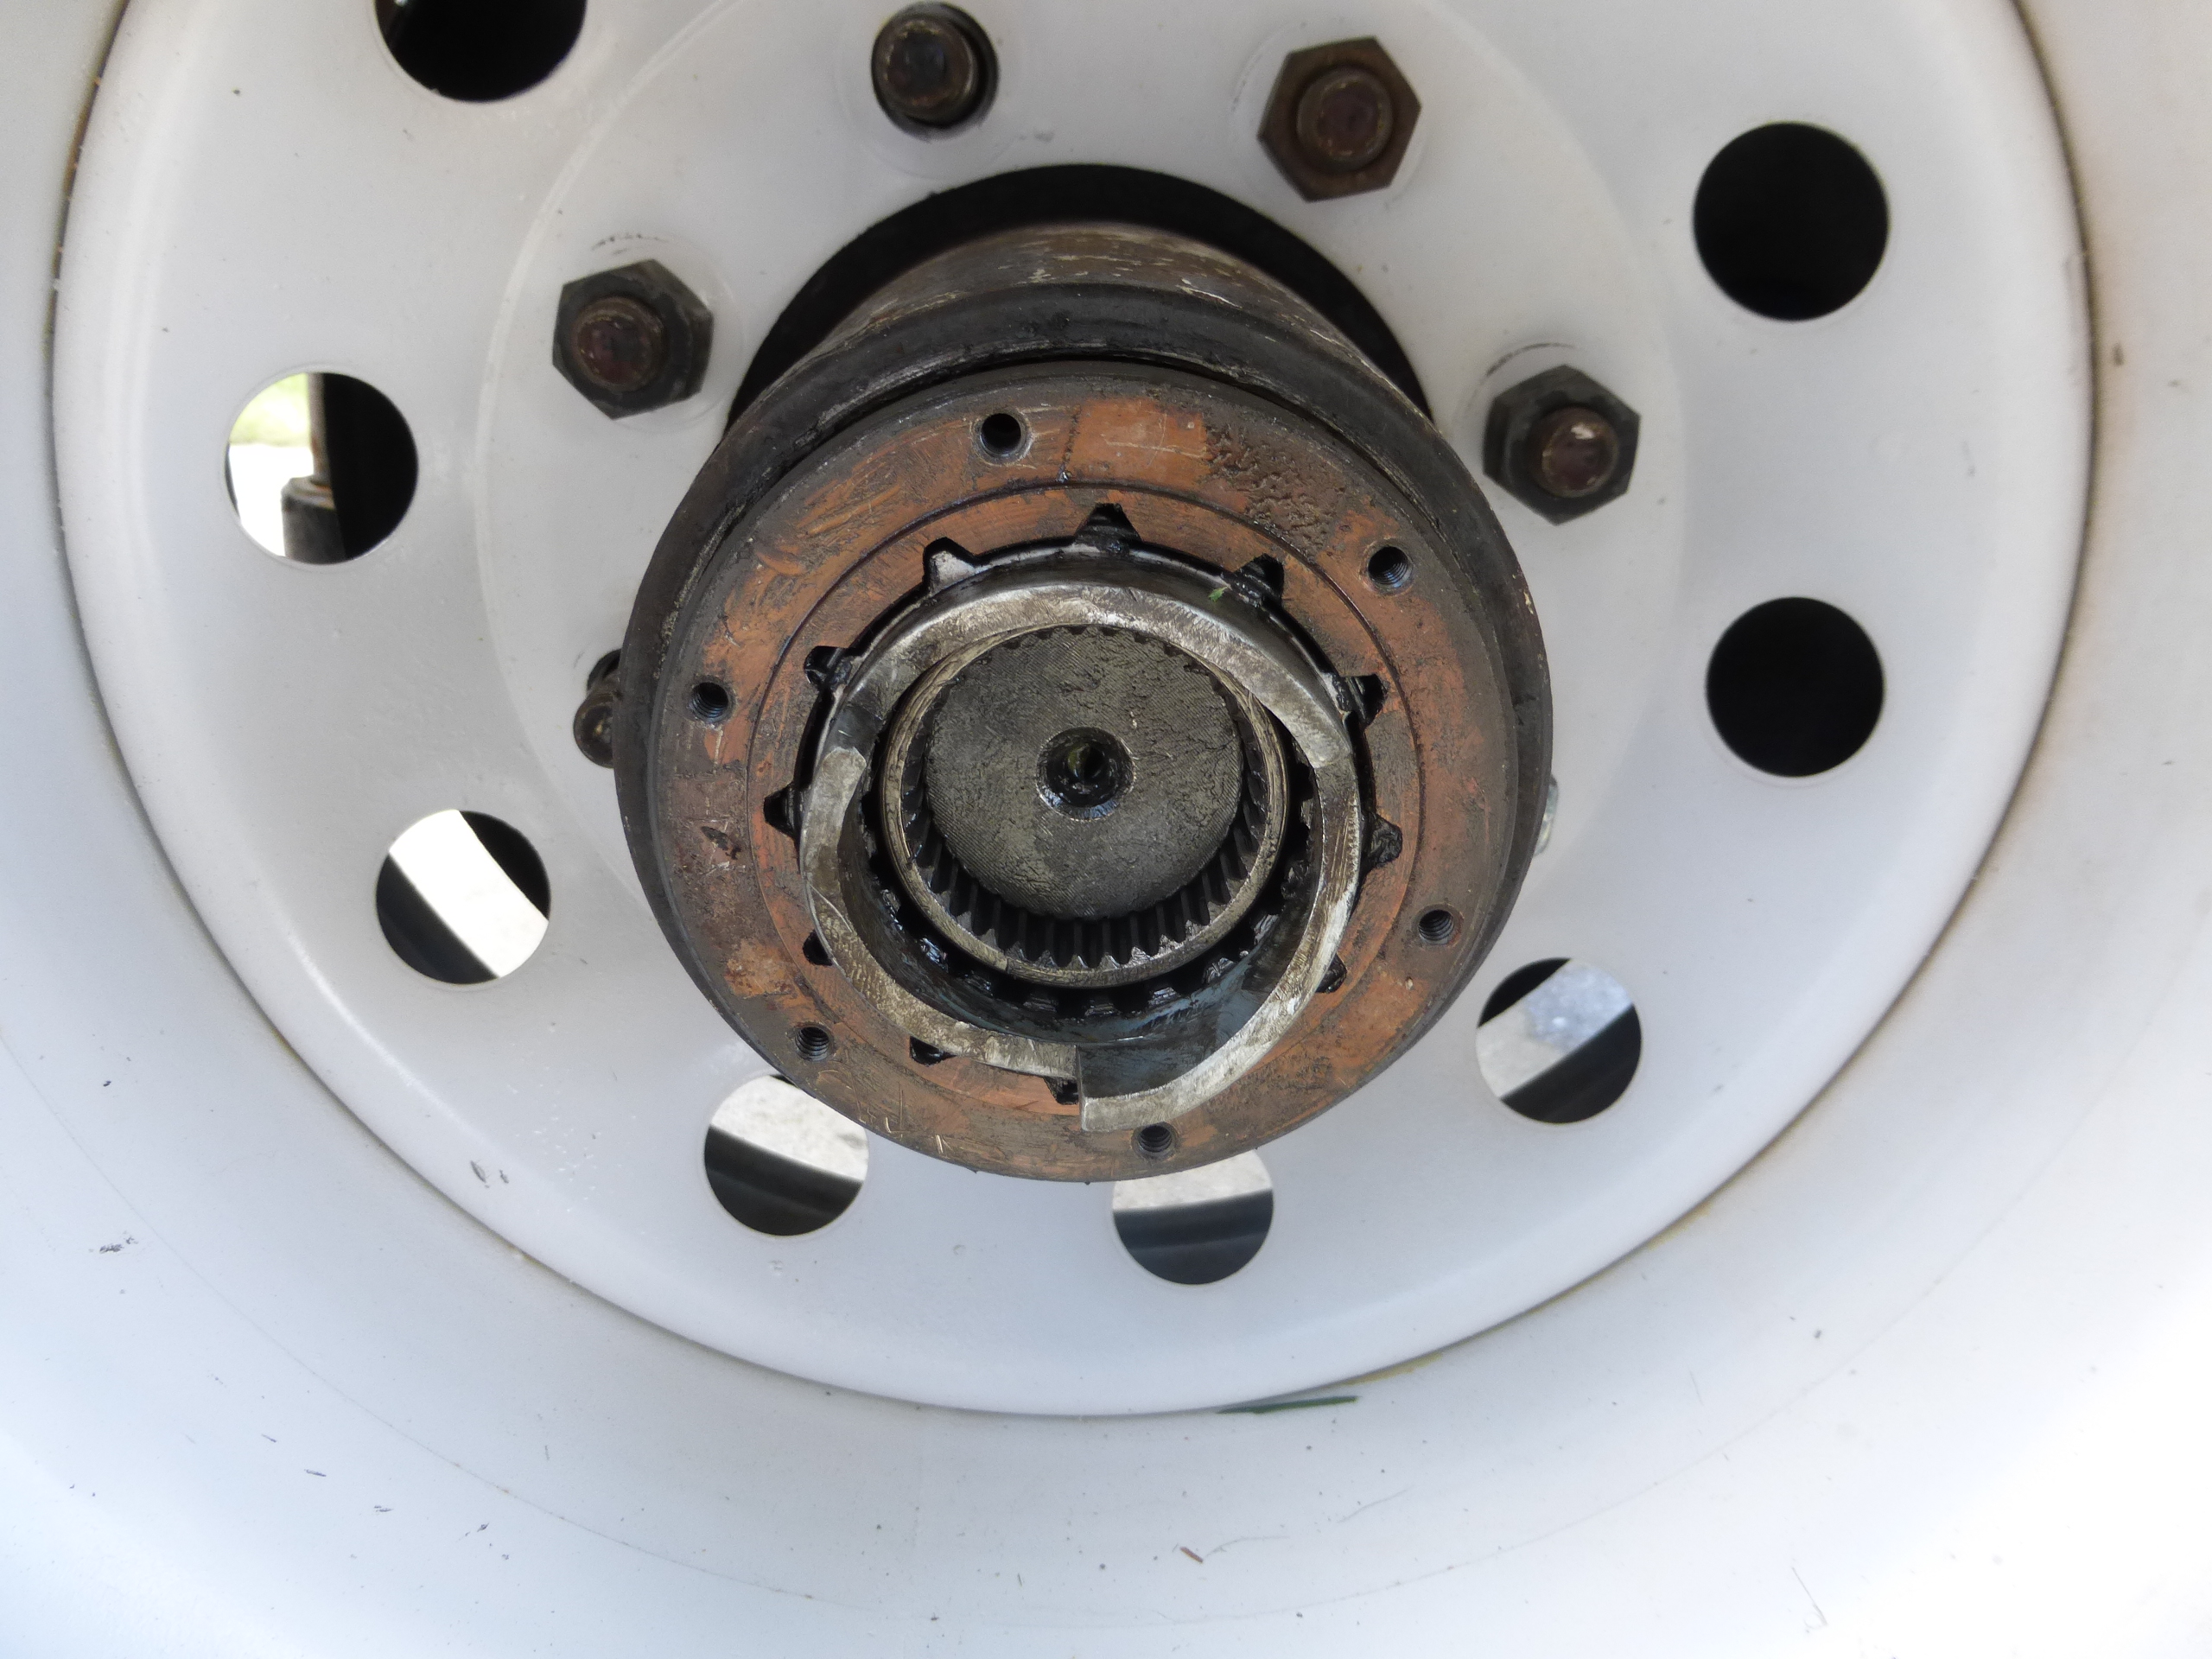
The next few steps are pretty cut and dry, quick and easy. The cam spacer and retainer plate both need to be coated with high pressure grease as well, assemble together (the ears fit into the notches) and then they slide into the housing and are retained there with the final snap ring. Once all of that is in place and locked down, install the nylon washers on the six small bolts and tighten to Yukon’s specifications.


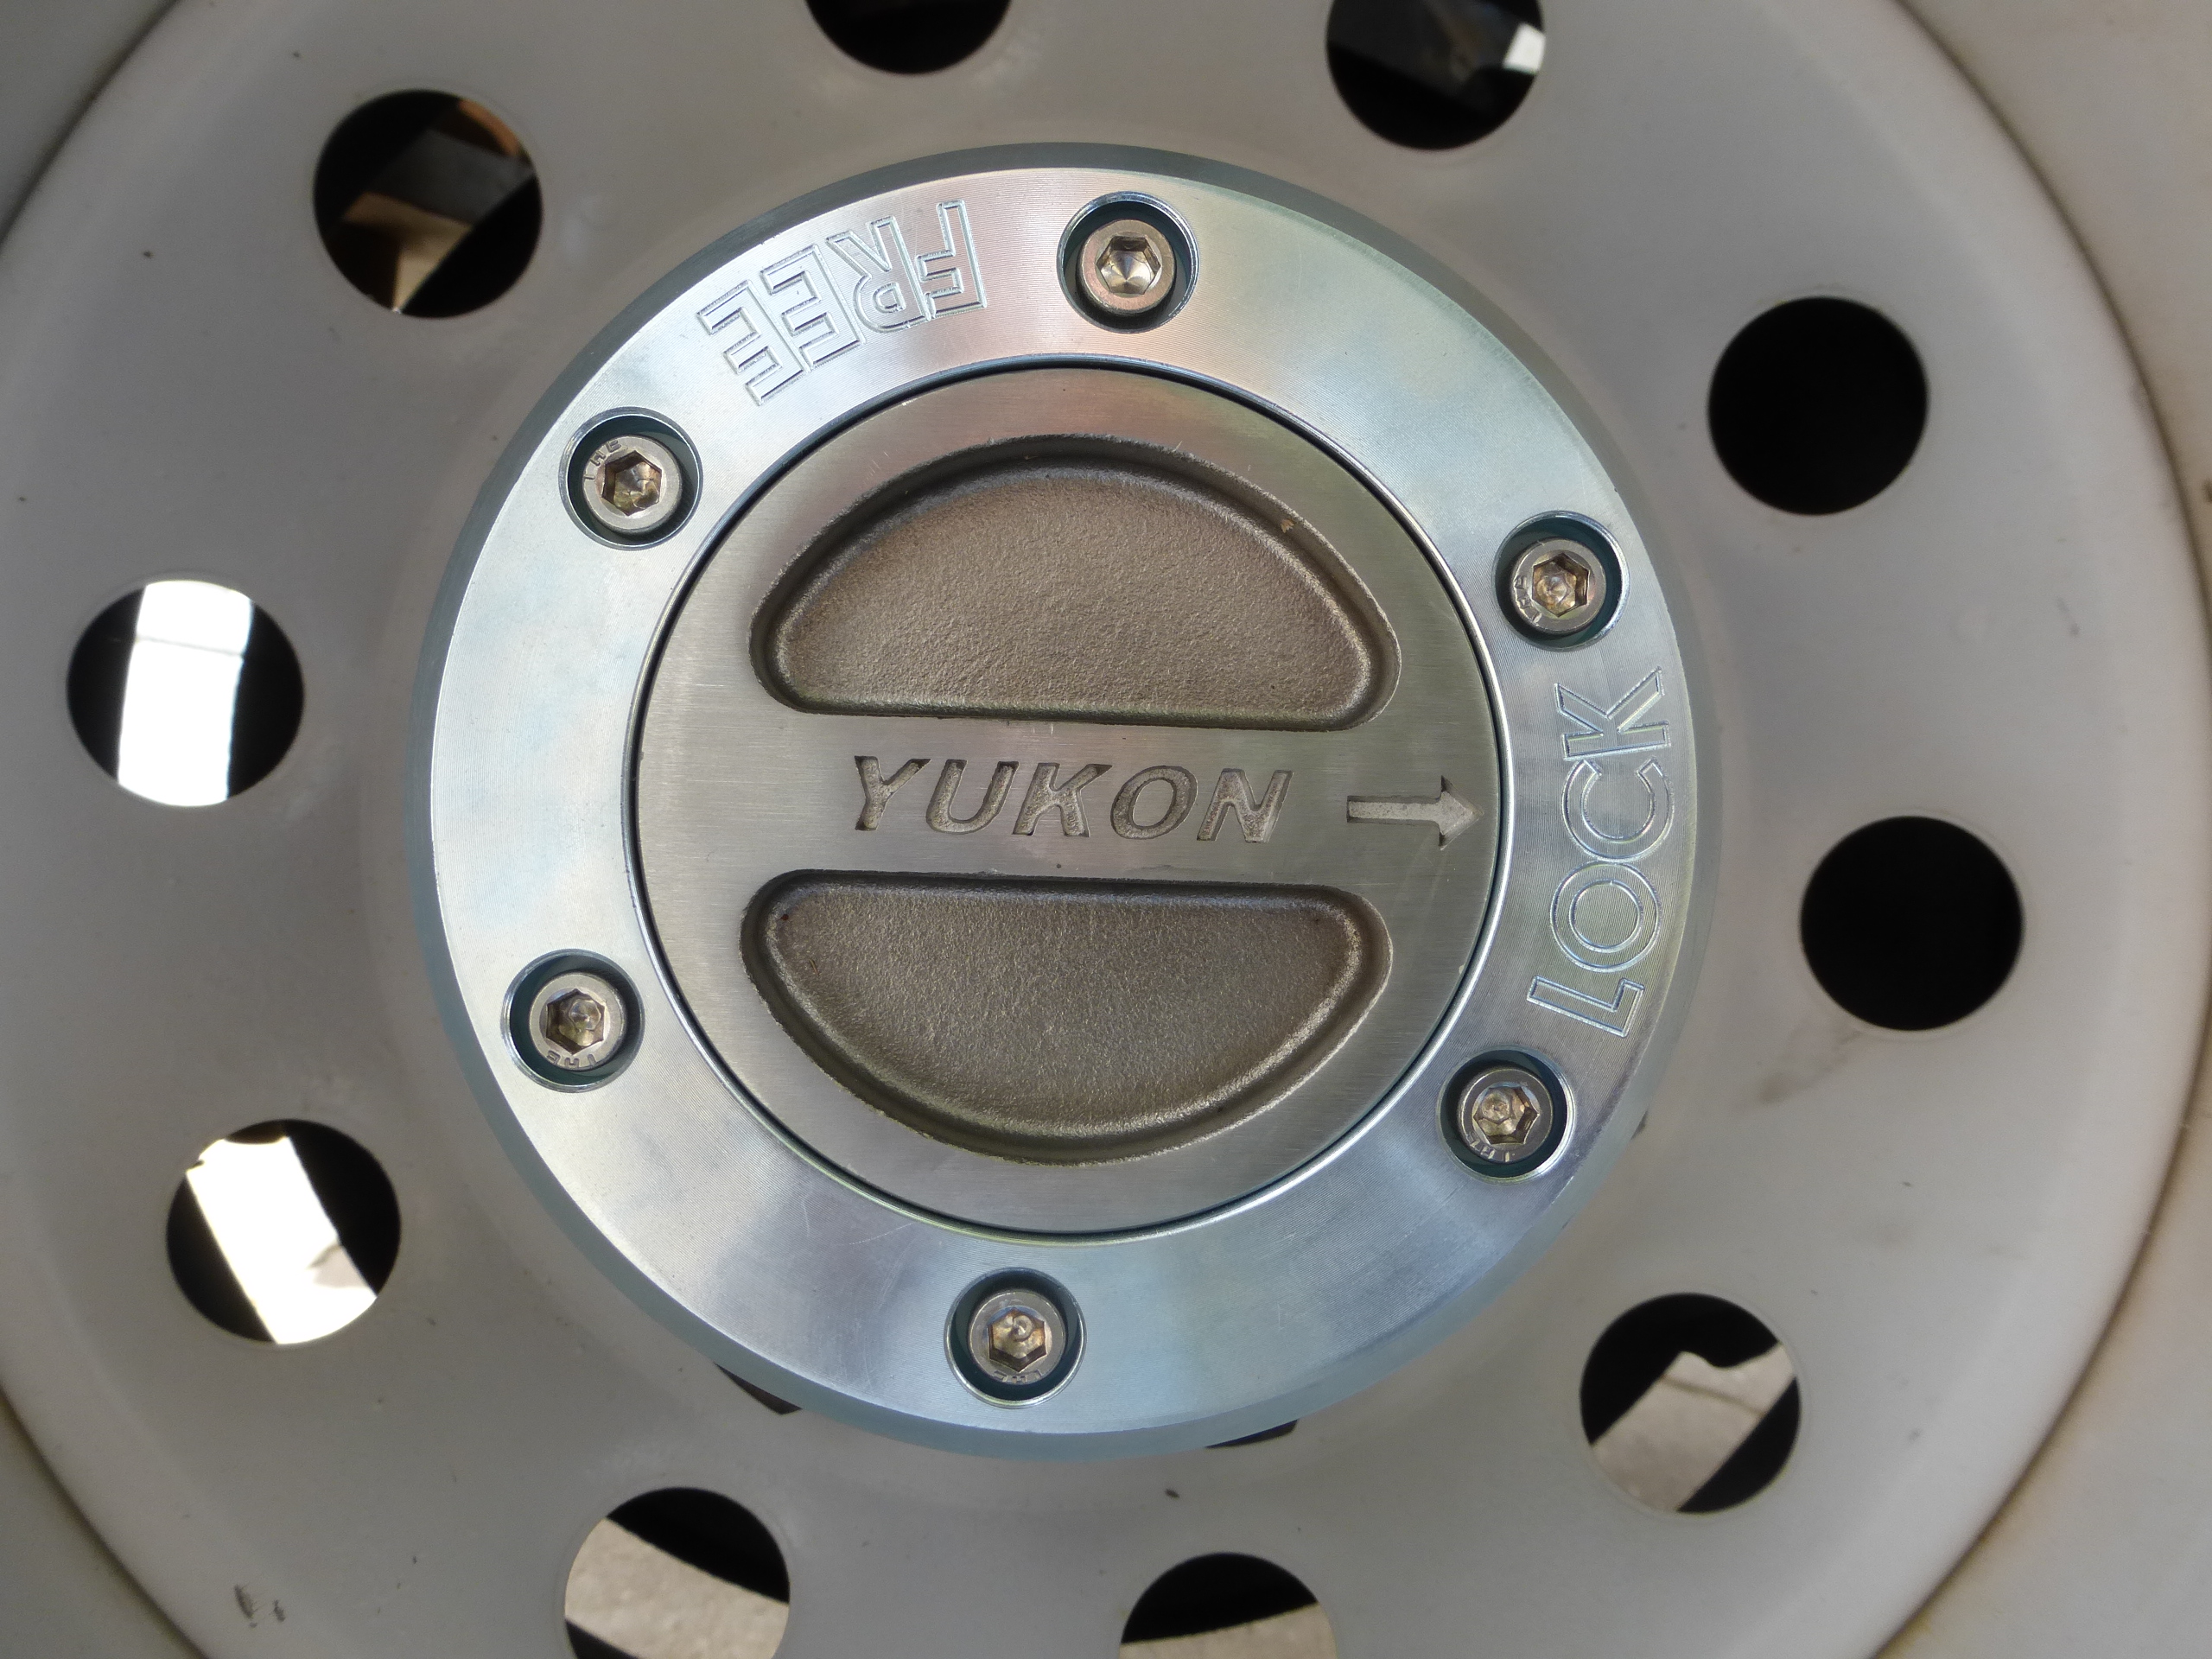
Note: The arrow on the selector will need to line up with the “Lock” position during the install. All of the components are designed to align during the installation of the bezel and selector. Yukon has provided their Technical Support number in the instruction manual should you have any issues during the install of these hubs.